With the release of Odoo 16, a new module is introduced called Knowledge Module. This module is inspired by Wikipedia where people can gather lots of information, to be precise any information from bottom to top. Similarly using knowledge modules users can create content, say articles with a lot of information that can be used to increase the productivity of employees. Articles can be arranged with some properties to include a table of contents, images, texts, tags, links, etc can be added to arrange your article data.
These articles can be used for internal purposes, or sometimes some documentation we might need to share with clients. Thus basically once the articles are created they can be shared internally or externally and will have the possibility to mention who can read the article, who can edit the article etc.
Knowledge Application is now available only in the Enterprise edition of Odoo V16.
In this blog, we are going to discuss everything that you need to know about Odoo 16 Knowledge Application.
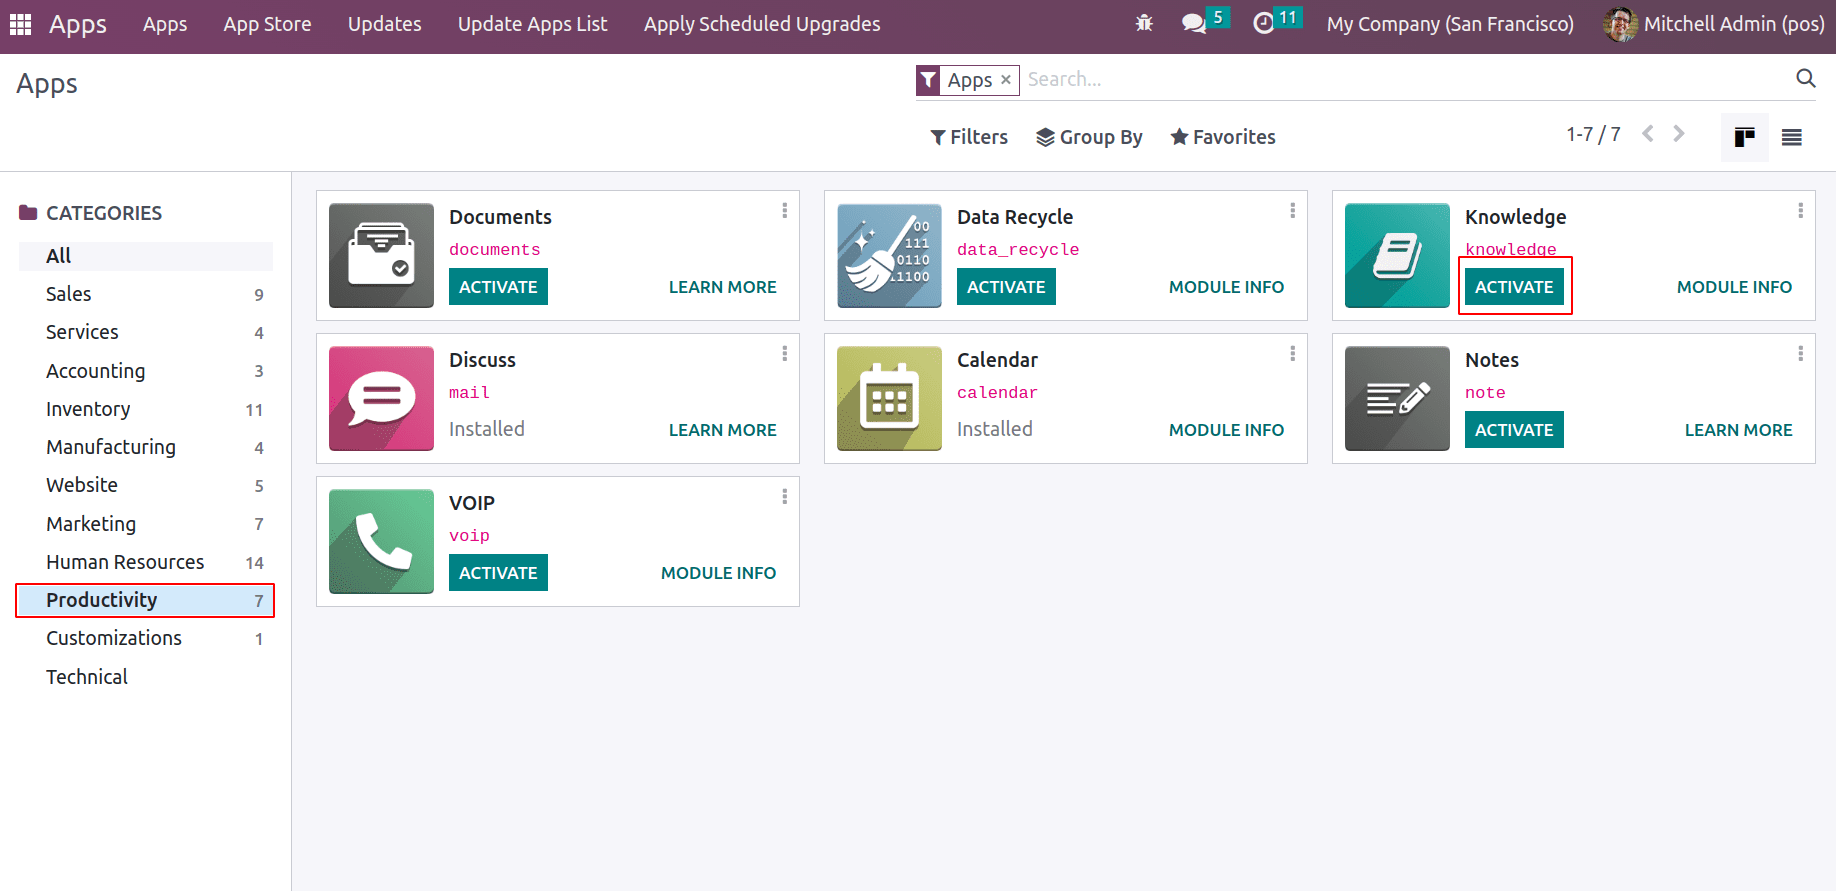
As discussed, the Knowledge module is a productive application, which can be installed from Apps. Go to Apps, and under the category ‘Productivity’ one can see the Knowledge module. Activate the module.
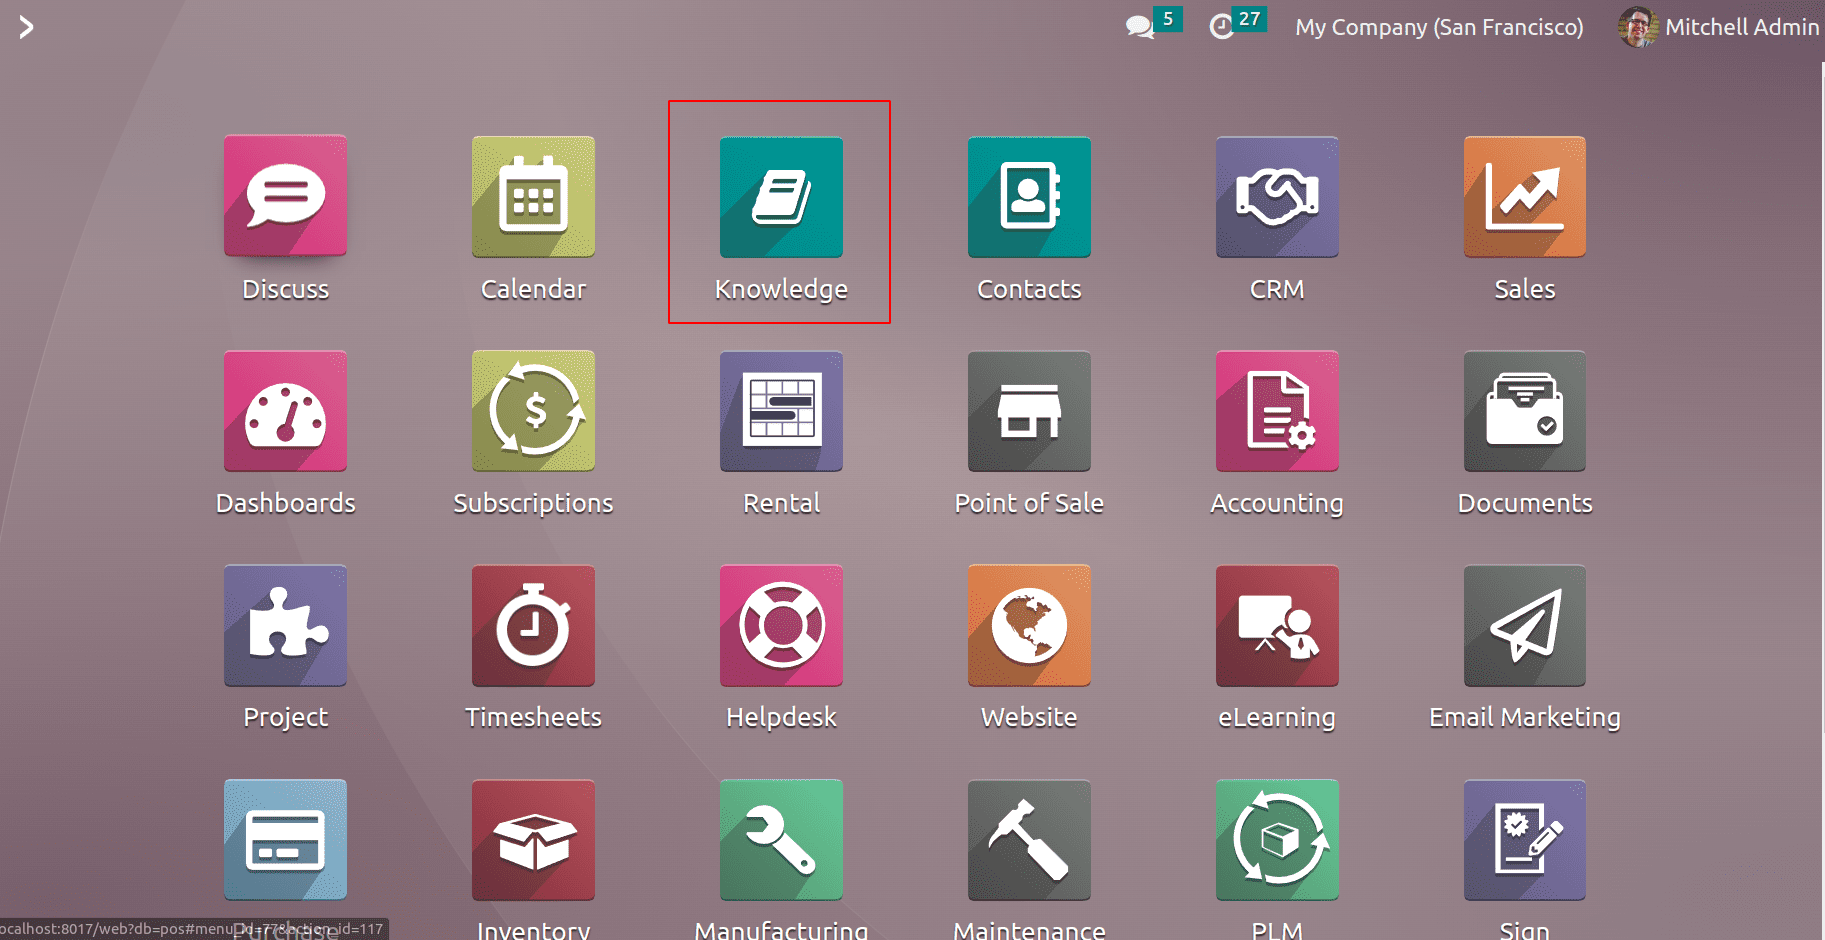
Once the module is installed, the knowledge module is available in the dashboard of Odoo 16.
Arranging Your Articles
As the module is opened, one can see the articles on the left side, which are arranged in different workspaces. A workspace can be defined as a folder or department where the articles are kept.
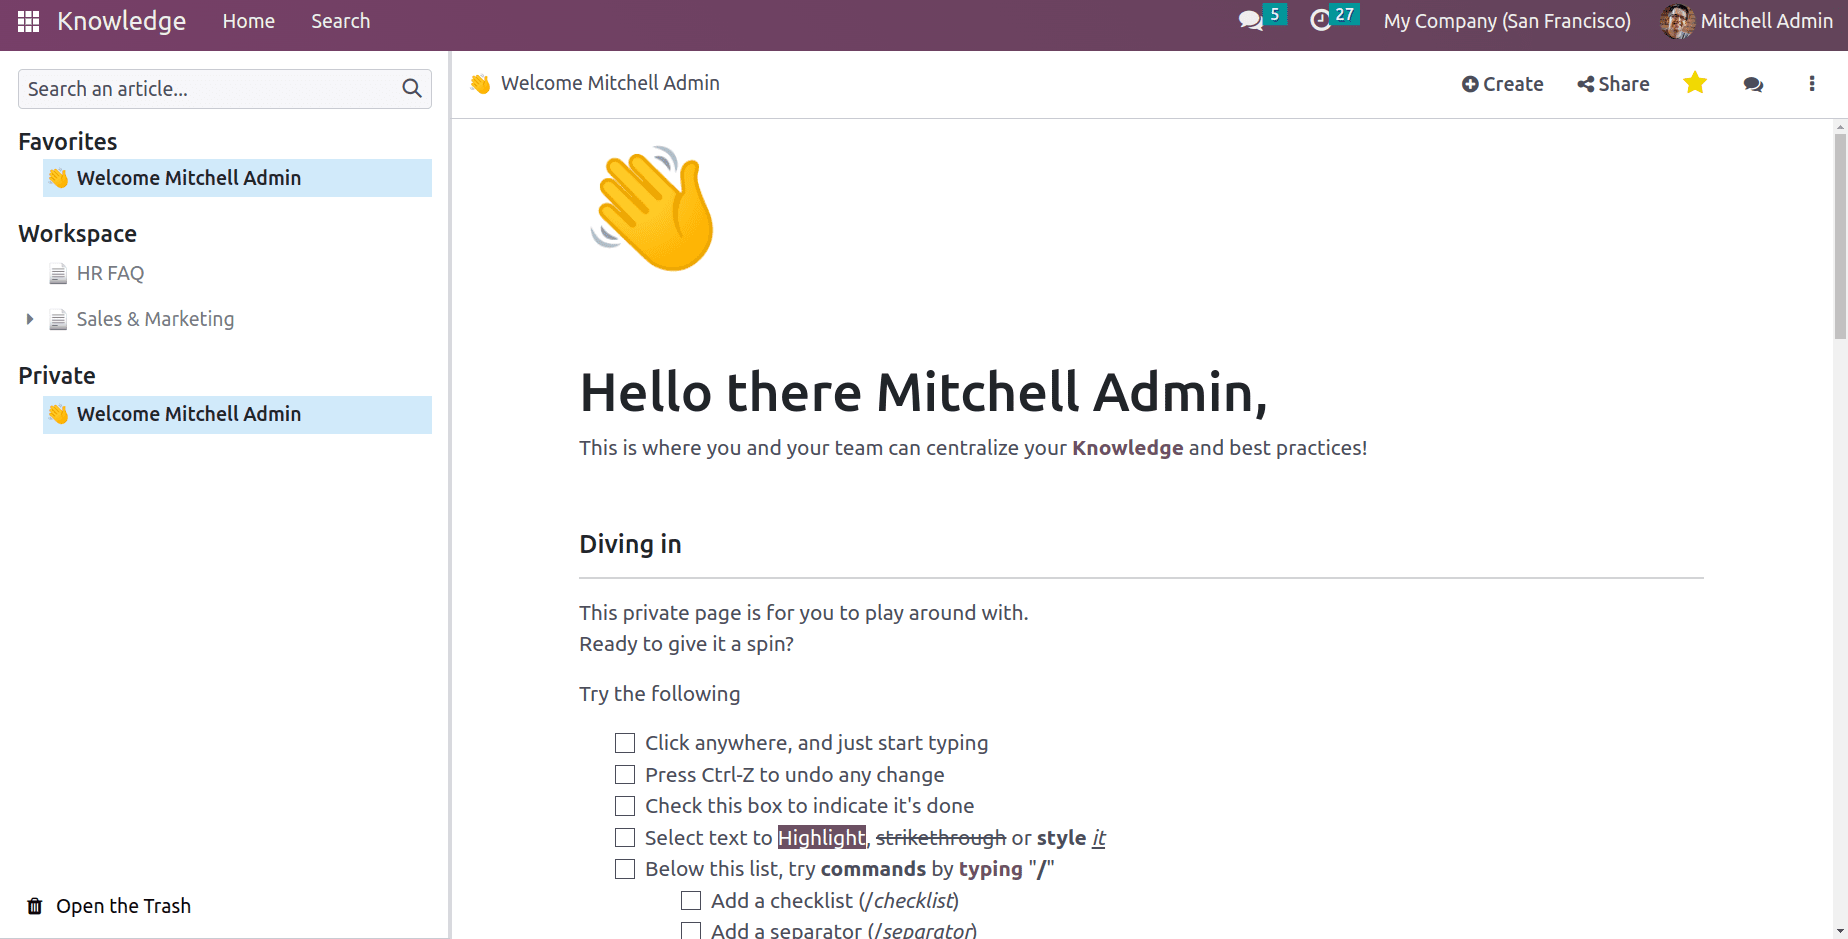
There are three sections:
Favorites: This section kept the important articles
Workspace: This section holds the article that can be accessible to the internal users
Private: This section holds the articles that are private to the logged-in user.
Private articles are not allowed to be accessed by other internal users of the company. If there are multiple articles and if some of them are important, one can mark such articles as favorites. Thus, it will be shown under the favorite section. If the article is like some FAQs, Helptools, tutorial articles, etc that can be allowed to use by other internal users. So documents can be put under the workspace. One can simply drag a private article to the workspace as well.
Who can access your article
This is an important factor. By accessing your private document, internal users can edit the data. This can be controlled by setting permissions such as who can read, who can write etc. For a private article, the share icon at the top right-hand corner enables you to set permission click on share, and choose the person in the specified field where the recipient is added.
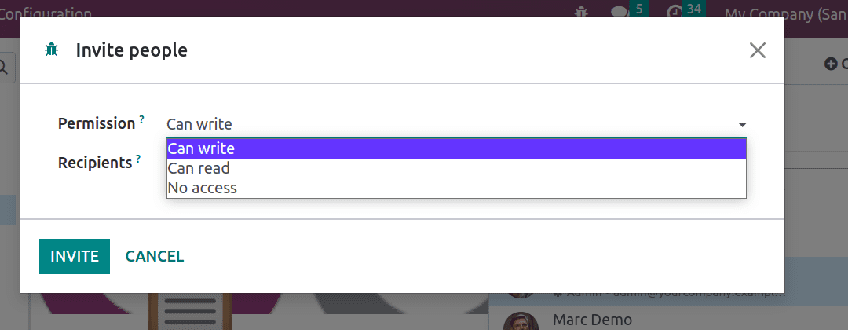
Once it is shared it will show under the shared article.
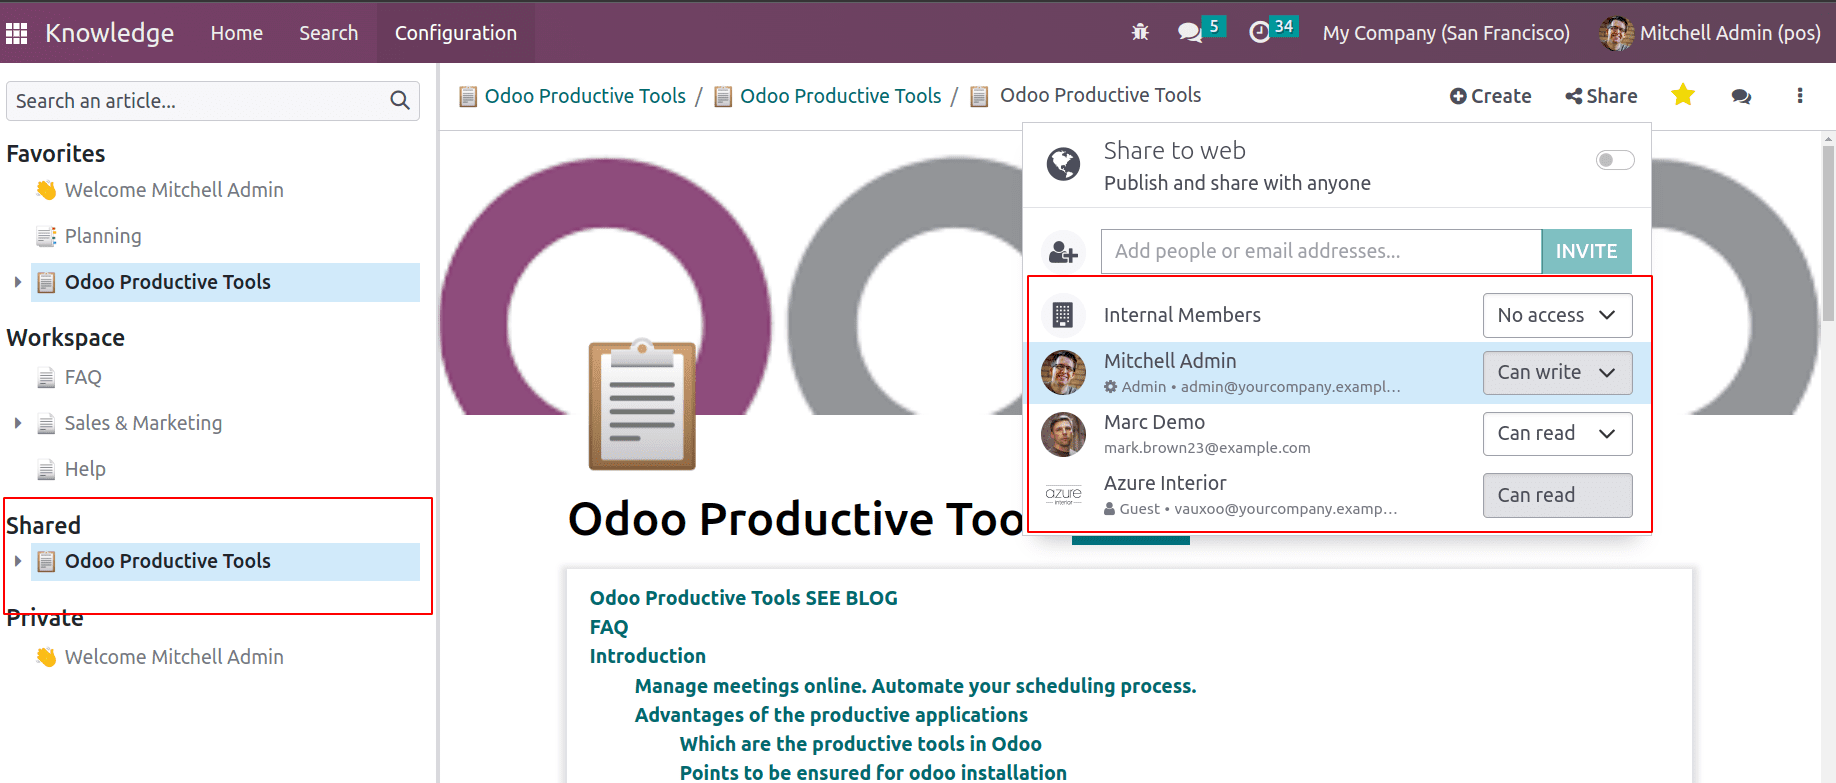
Later, if required, permissions can be revoked as well.
Public documents in the workspace will be available to all internal users and can be edited by another internal user. Thus, its permission will be ‘can write’. And any internal users can update the article.
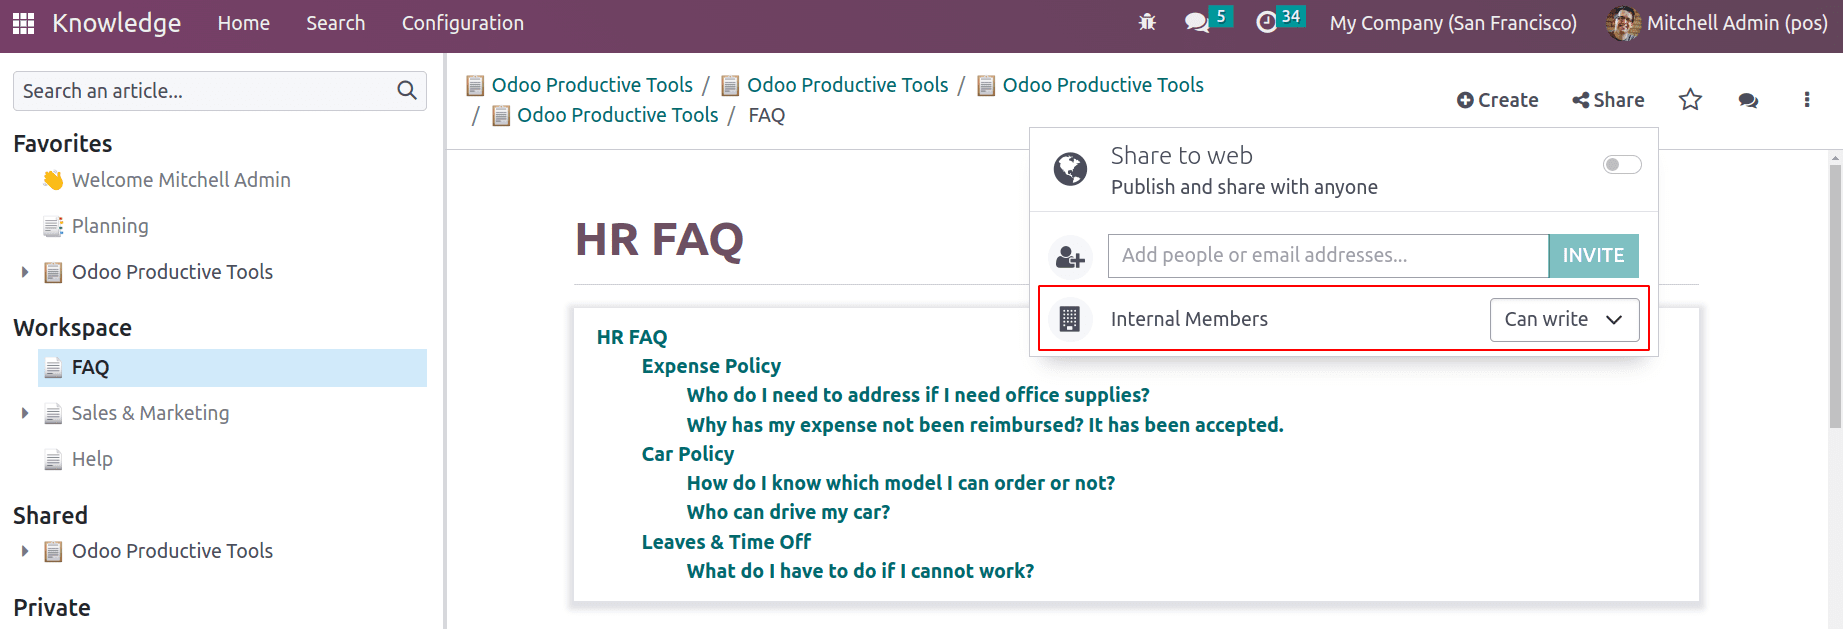
Once any article is starred that will be seen in the favorites.
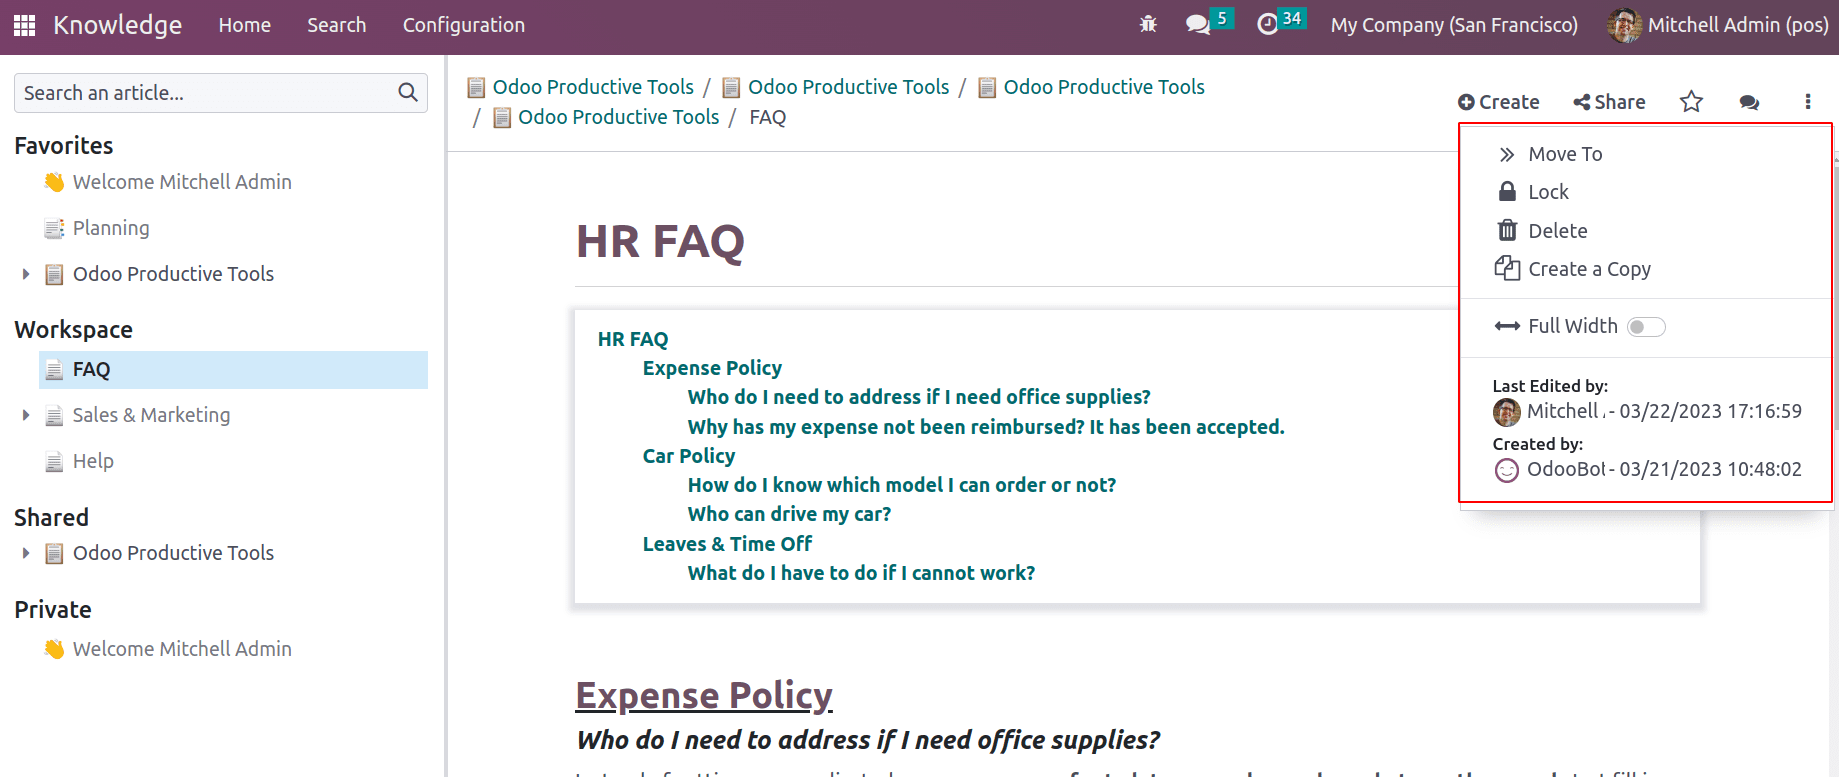
The three dots at the top right-hand corner provides the ‘>>move to’ option to move an article. A pop appears where users can choose a workspace or articles. So it will move to that chosen article or can choose an article to use as a parent article.
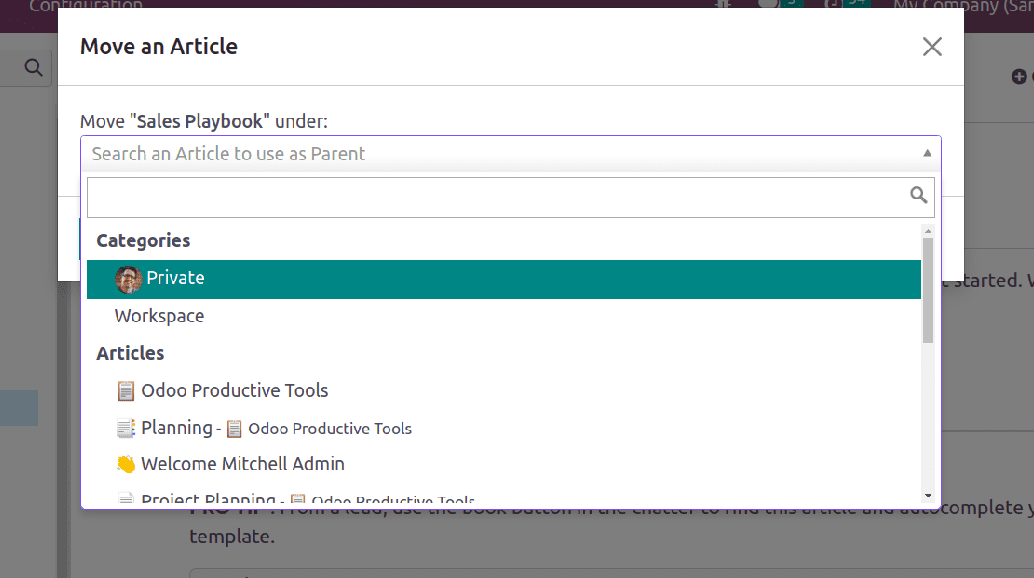
Lock option locks the article so no one can edit the article, without unlocking it. The delete option removes the article and ‘Create a Copy’ duplicates the article. The article can be viewed on full screen by toggling ‘Full Width’. Below that the creation date and last update date of the articles are available.
How to create an article
Now let us look at how articles can be created and what are properties and fields available to write an article.
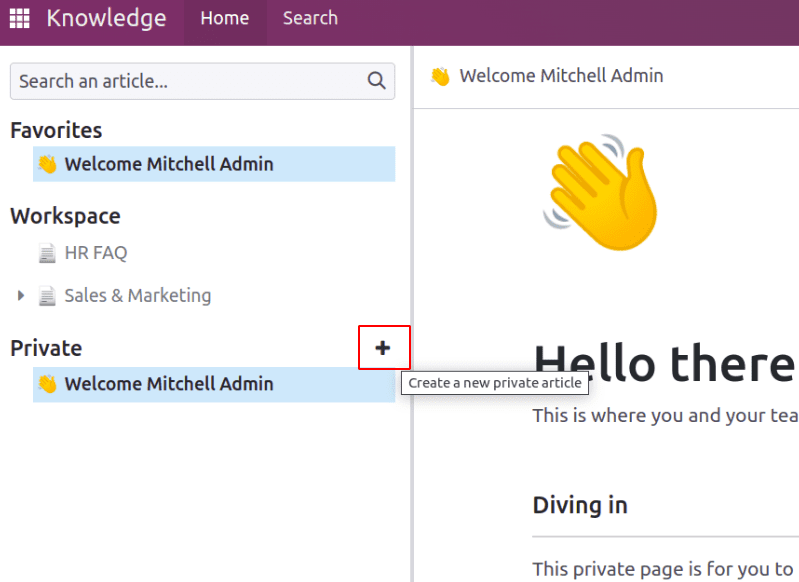
An article can be created by clicking on the ‘+’ Icon at each section as shown in the above screenshot.
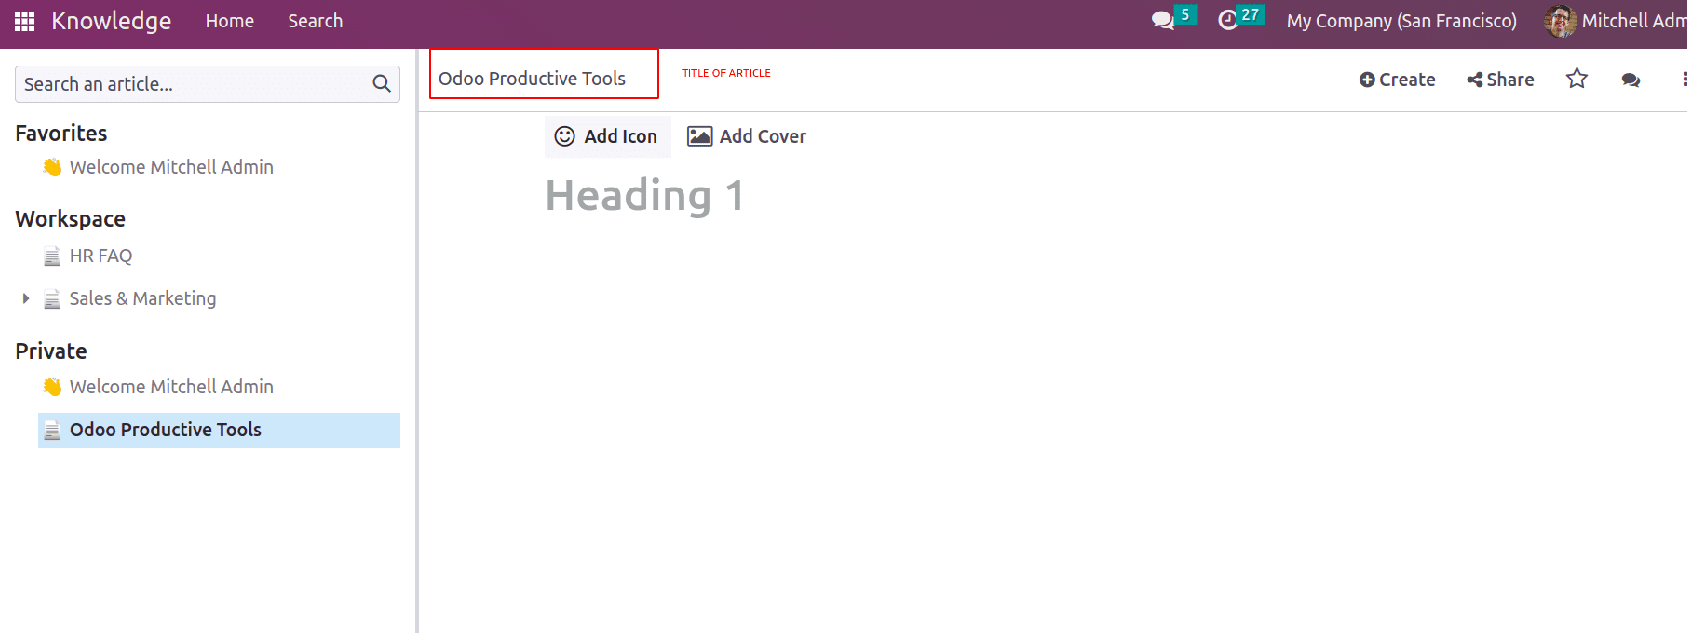
The ‘Create’ option at the top right corner also enables the creation of a new article.
The article title can be given at the top portion. Below is a provision to add emojis with ‘Add Icon’ and add a cover Image to the article using the ‘Add Cover’ option. Then the heading of the article can be added and write the article content on the specific topic.
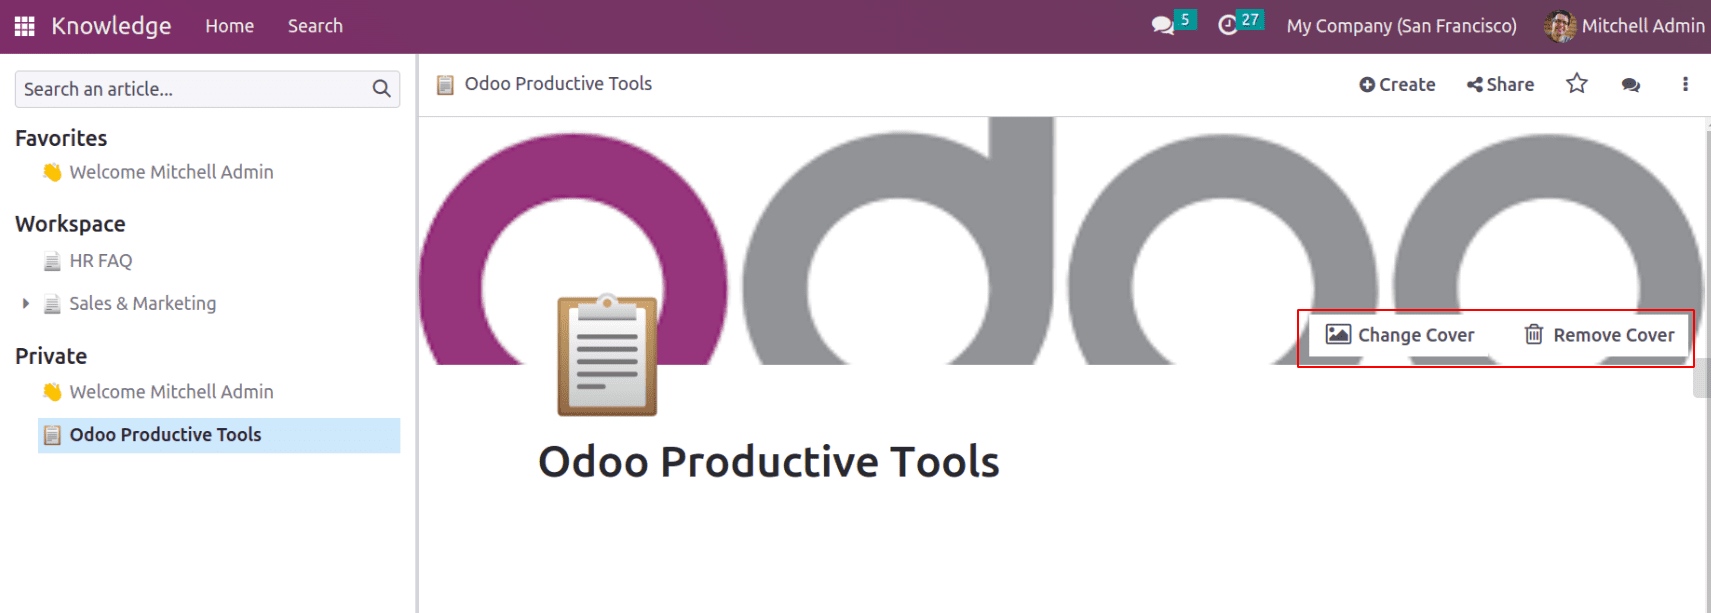
One can change and remove the cover image if required in the future. One can use the basic building blocks to add headings, subheadings, and contents. There are some fields and properties provided to add to the articles.
One can start typing with the editor options Odoo provides. Typing ‘ / ’ gives you different structures, formats, navigation, media, widgets, knowledge options, and building blocks to add various types of editing options for your article content. Let us see the features available to create article content.
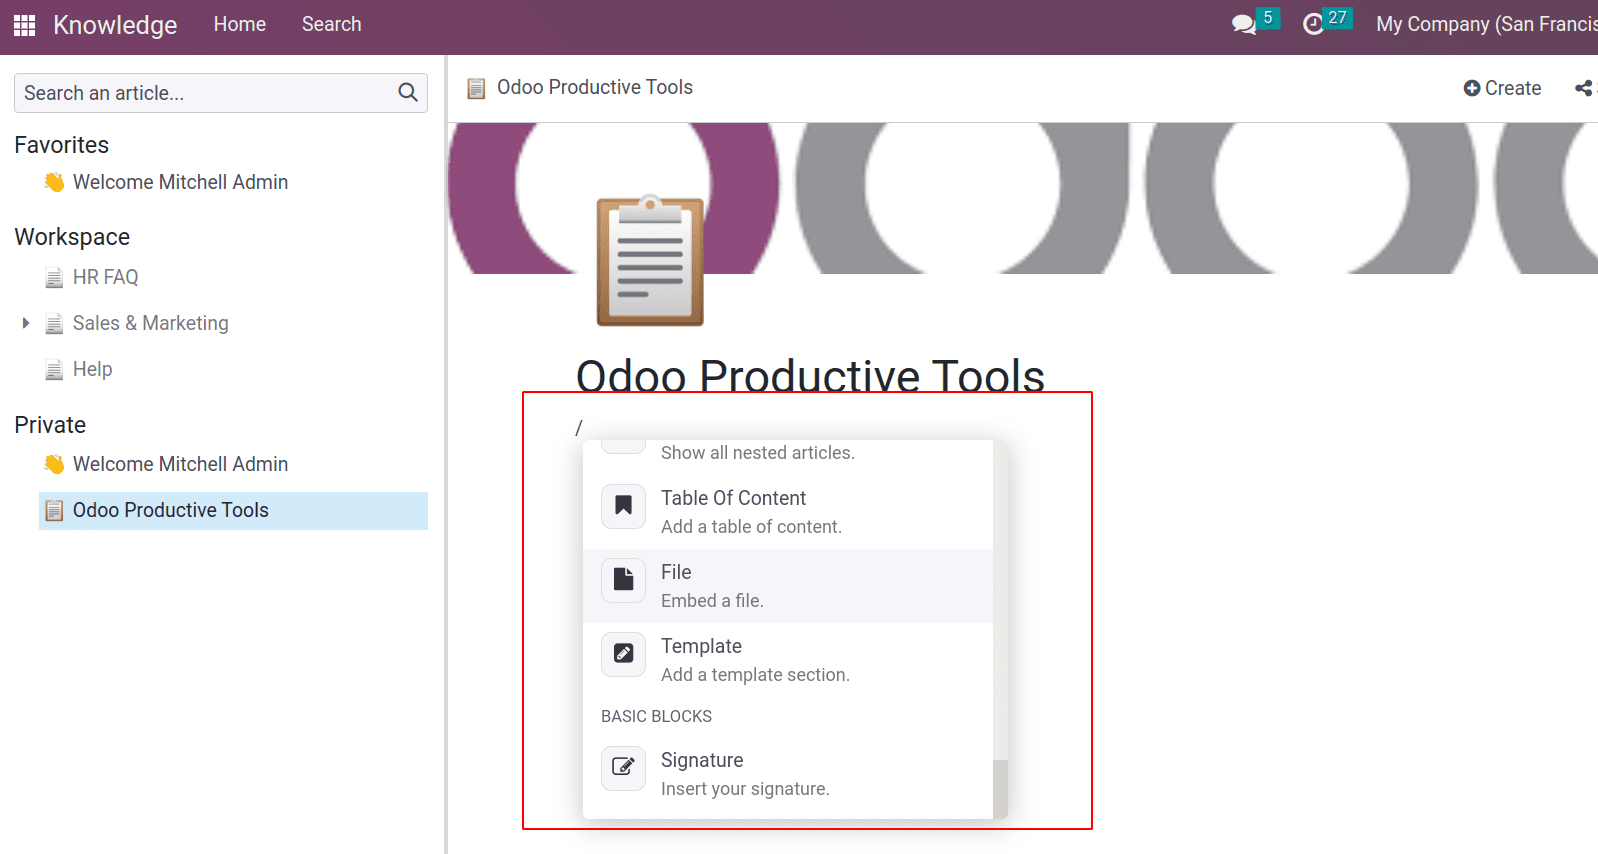
Let us see each editing option available.
Table of Content: This will help to a table of content for your article. It’s easier. As headings and subheadings are added to your article, they will automatically be added to the table of content.
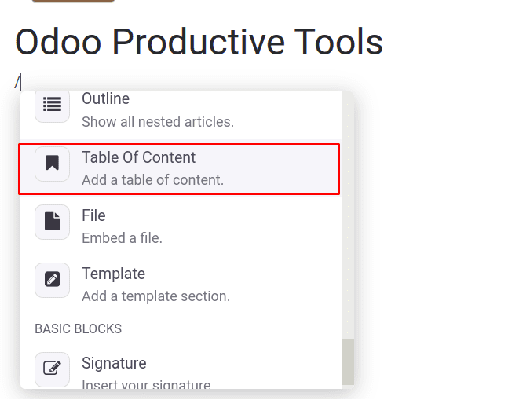
Type ‘/’ and choose the table of contents, which will add a table of contents to the article.
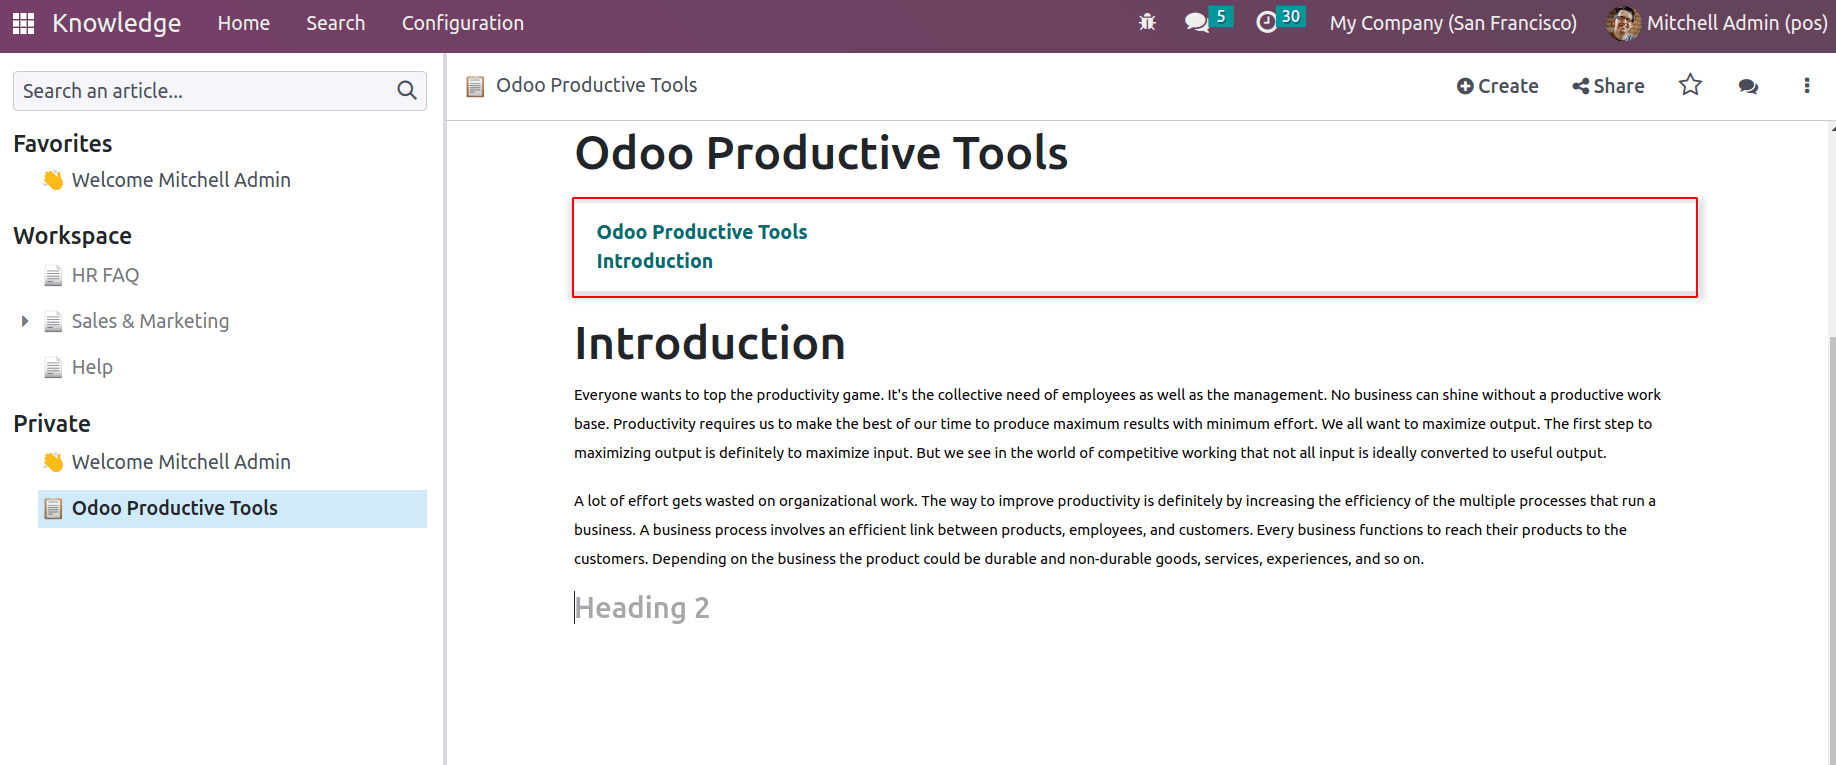
Headings: Different headings and subheadings can be managed with ‘/’ and then choose heading 1 for big heading, heading 2 for medium heading, and heading 3 for small heading, based on the requirement.
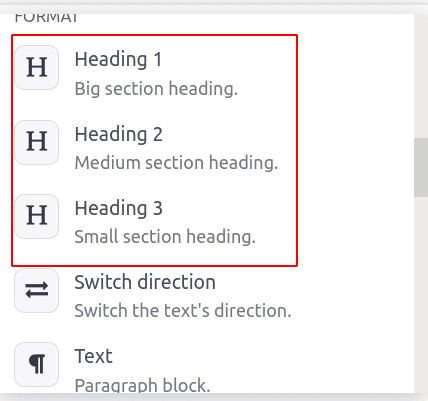
So article headings can be arranged based on titles and subheadings.
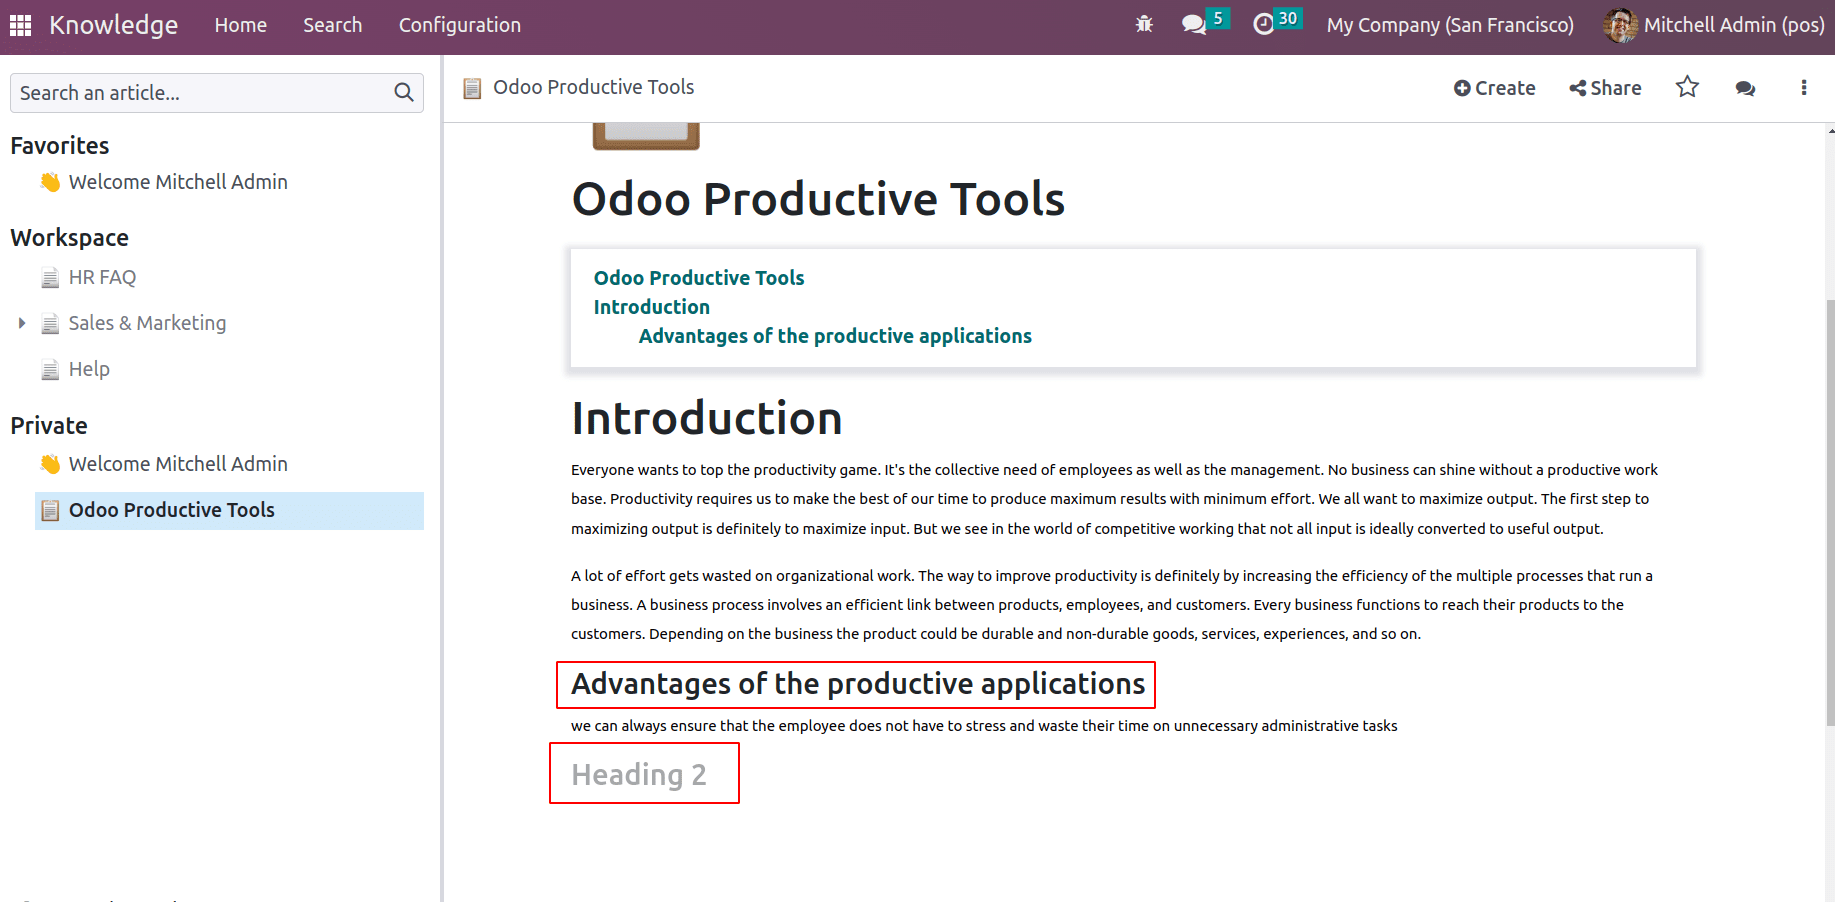
Also, we will be able to resize the texts and headings with default text editor tools. Once the text has been selected, the text editor tools will appear.

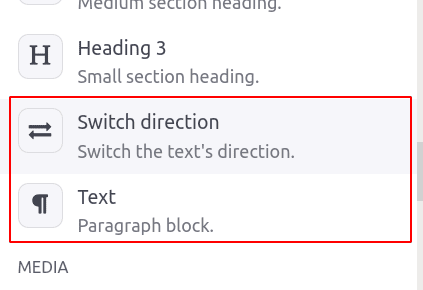
Switch Direction: This will switch the direction of the text to the opposite of the normal script. In case the article includes another language or in case the writing is required from right to left, the direction can be switched.
Text: The ‘/’ + Text will help users to arrange paragraph blocks for your article.
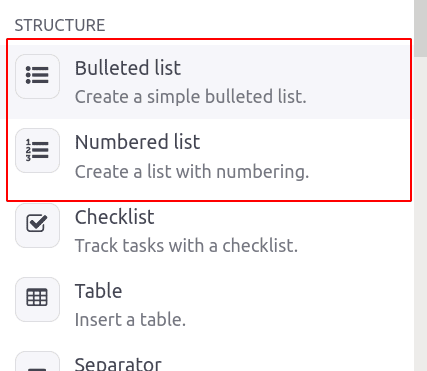
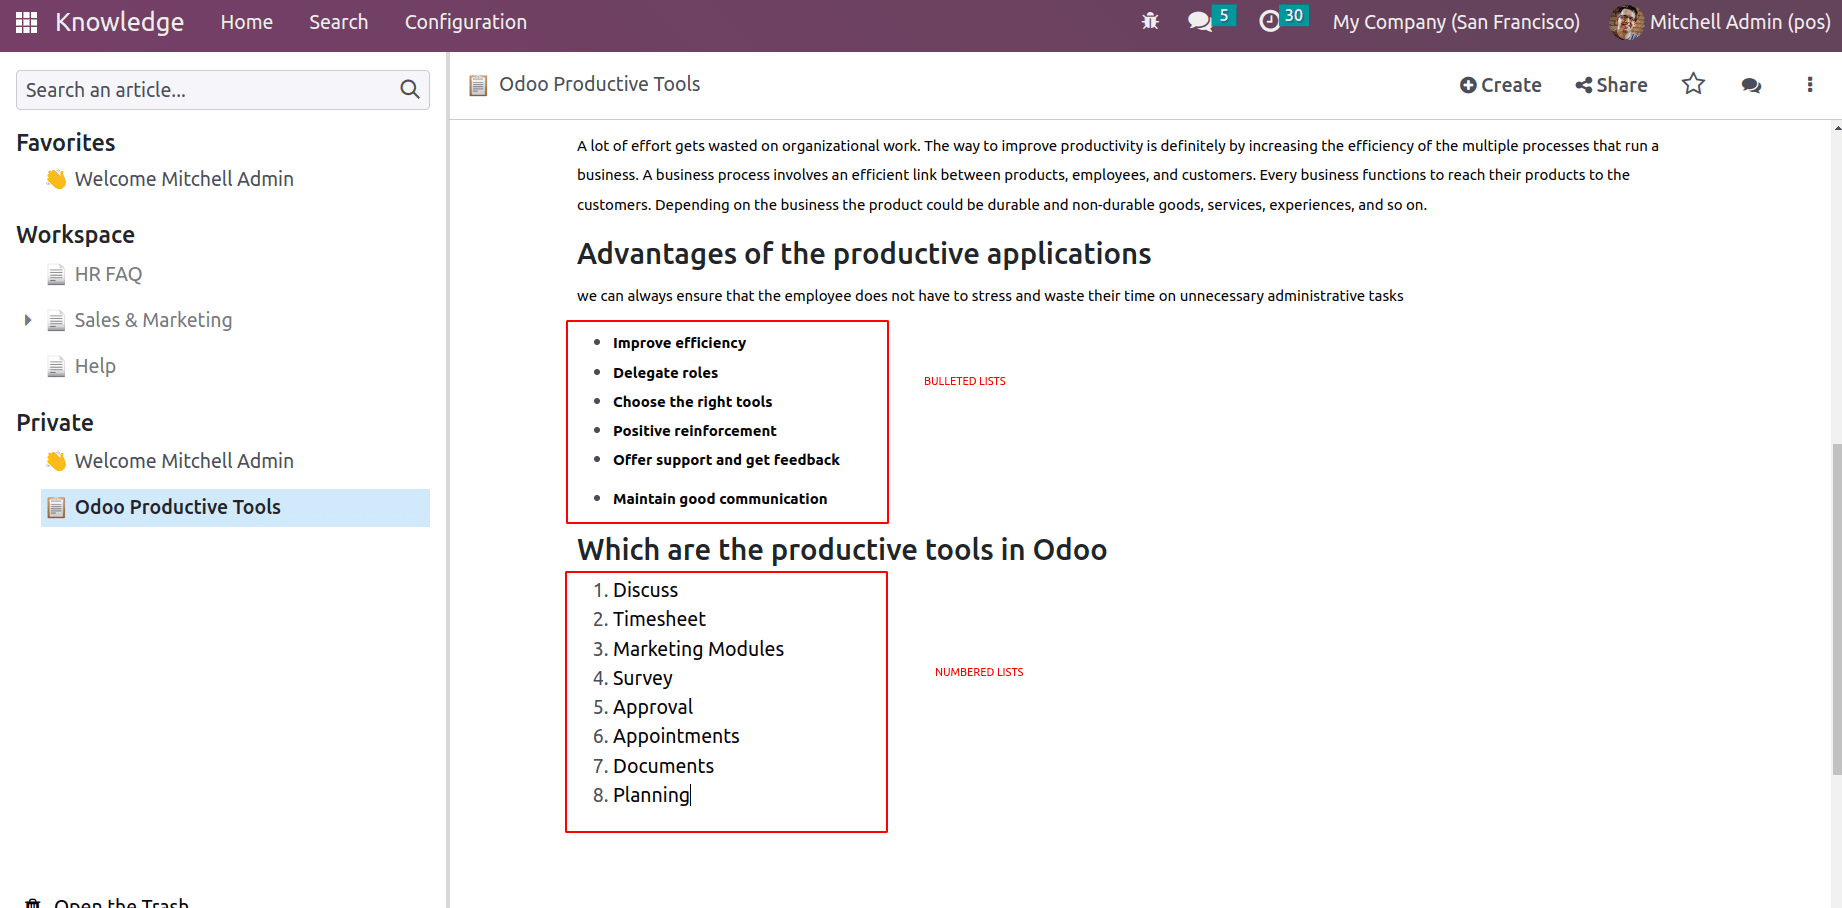
Bulleted List: The bulleted list feature enables users to add features as a bulleted list.
Numbered List: Features can be listed with the numbered list as well.
Thus point to be highlighted or important point of an article can be arranged with these. ‘/’ + Bulleted list or ‘/’ + Numbered list respectively helps to arrange lists with bullets or points.
Checkbox: The user can add checkboxes to articles and allows to select one or more required data from the list. A strikethrough will appear when the checkbox is selected.

Separator: Separator tools separate the two sections with a separator line. The ‘/’ separator allows users to add a separator line to an article
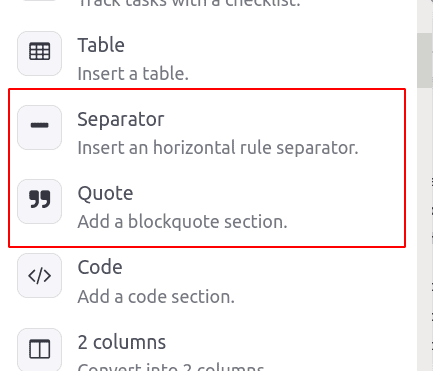
Quote: Quotes from people or anything regarding the article can be added as quotes with Quotes.
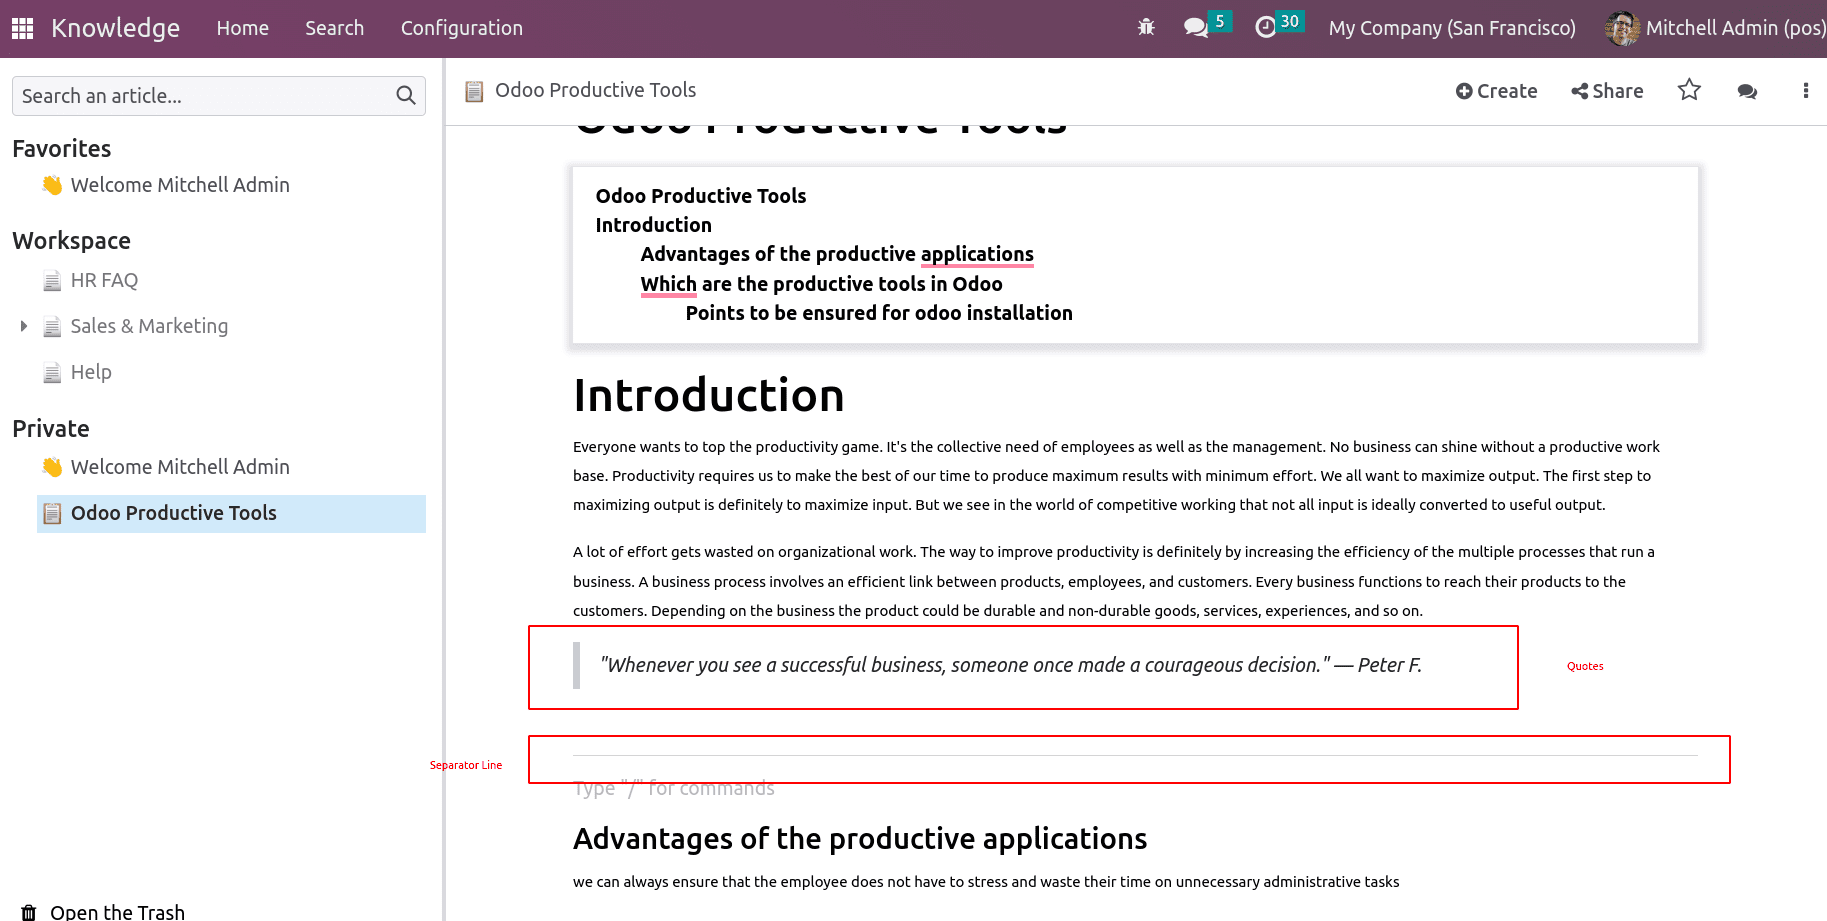
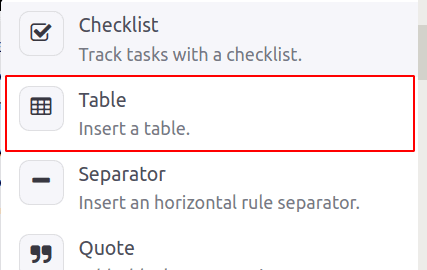
Table: A table is another tool to add a table to your article with rows and columns since some details should be documented in a tabular form. The ‘/’ table helps one to add a table to the article.
And once it is chosen, one has to select how many rows and columns are required for the table.
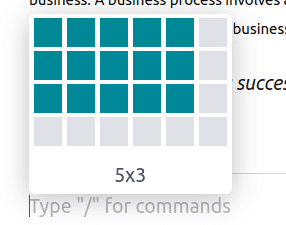
This table will have the specified rows and columns in the structure.
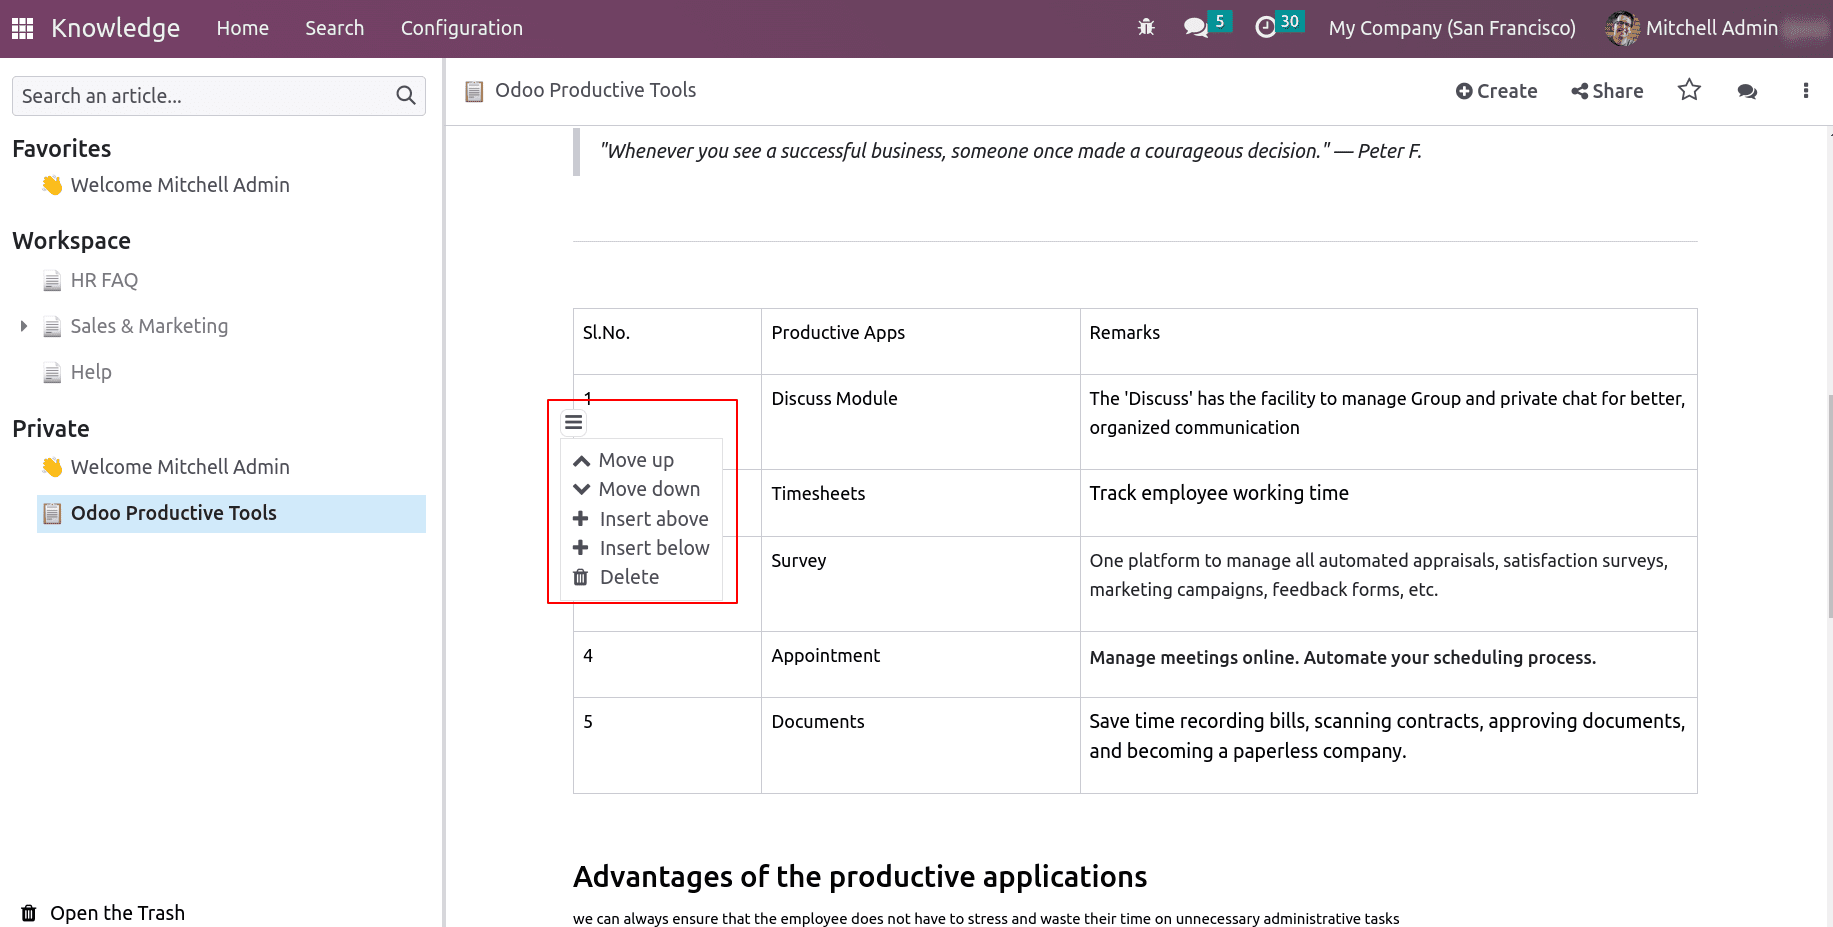
Rows can be moved up or down and, new rows can insert above or below. Similarly columns as well.
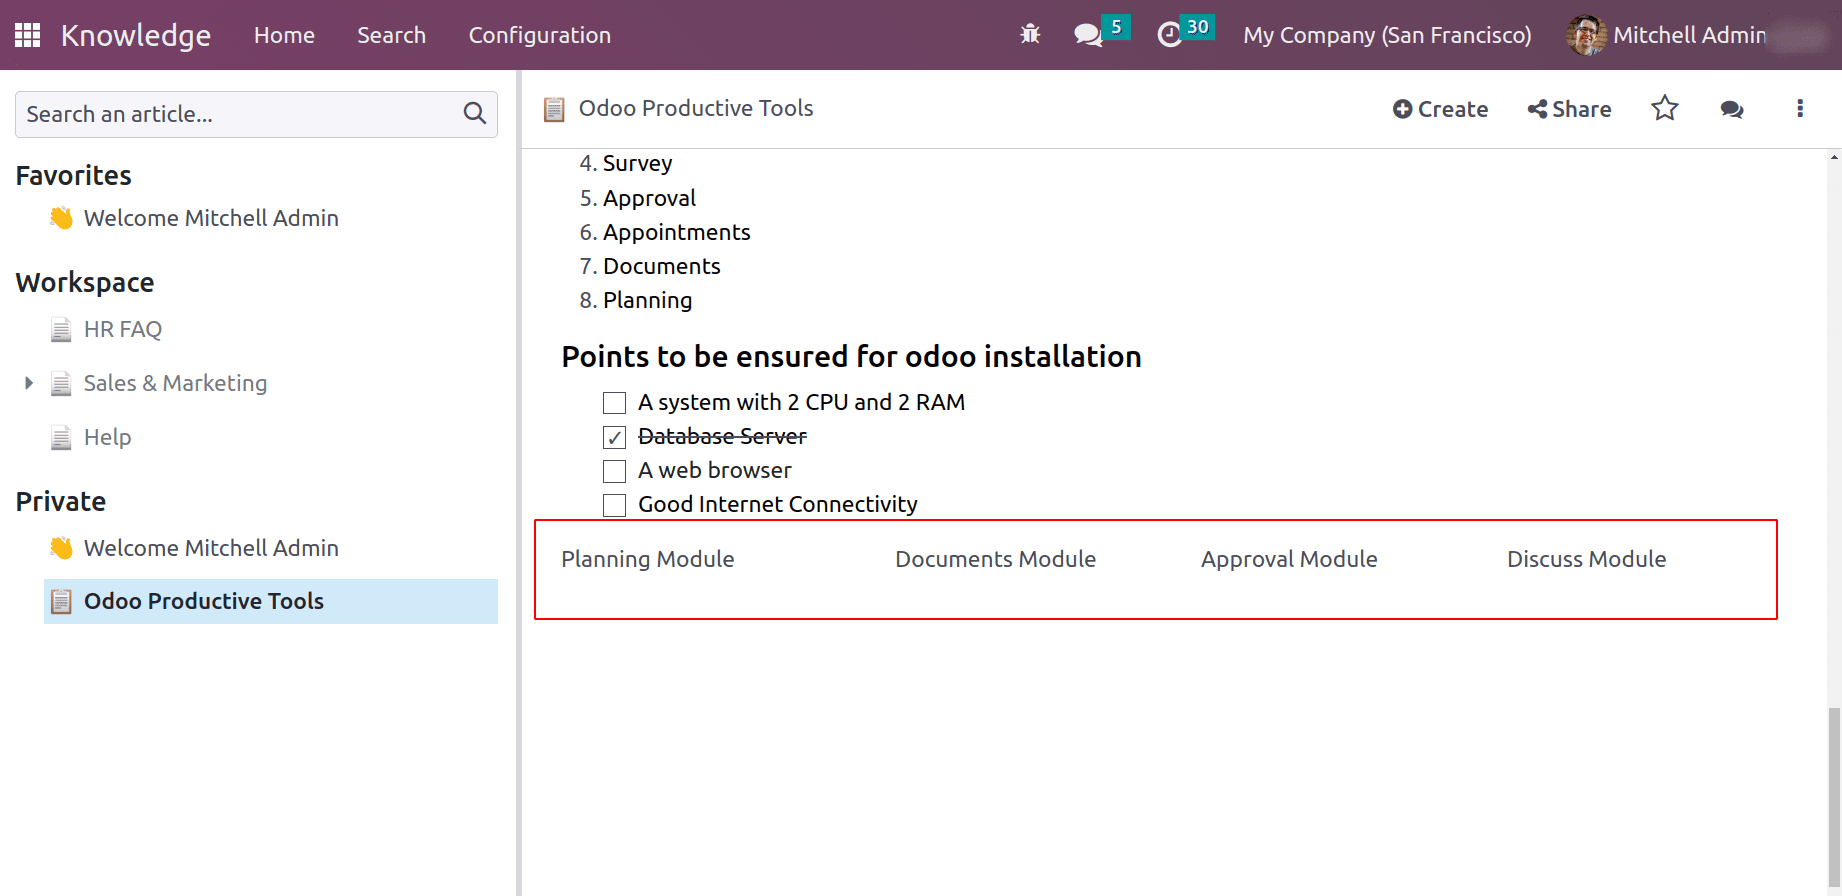
Columns: Columns can be added to article with 2 columns, 3 columns, 4 columns etc.
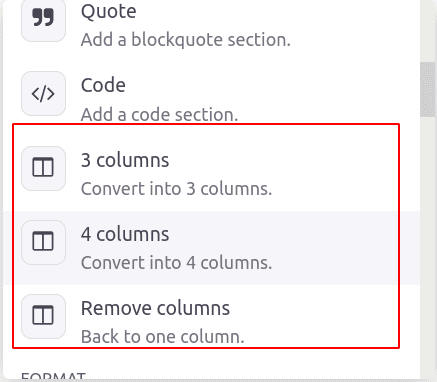
Remove columns: The ‘/’ remove column removes the column from the added column.
Code: If article is about an coding guideline or some thing related to coding, this feature can be used to add code. ‘/’ code enable to choose the structure code. This will appear as a piece of code written in the software. Or even the script should appear as a code this structure can be used.
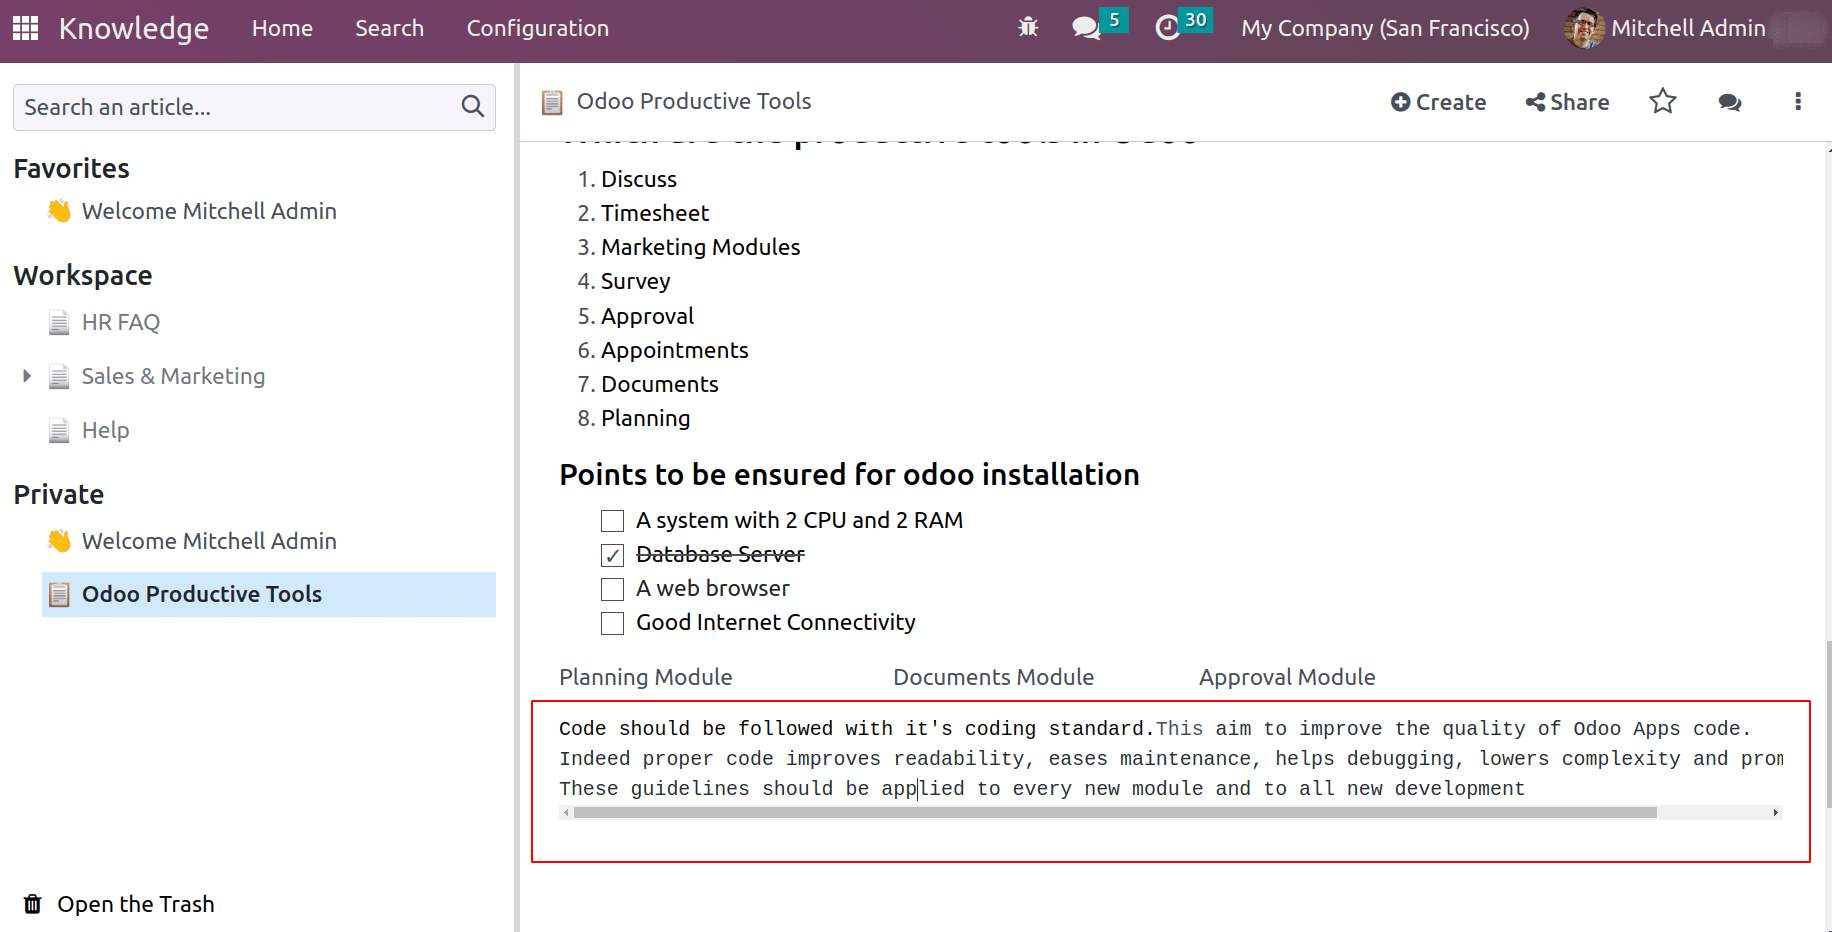
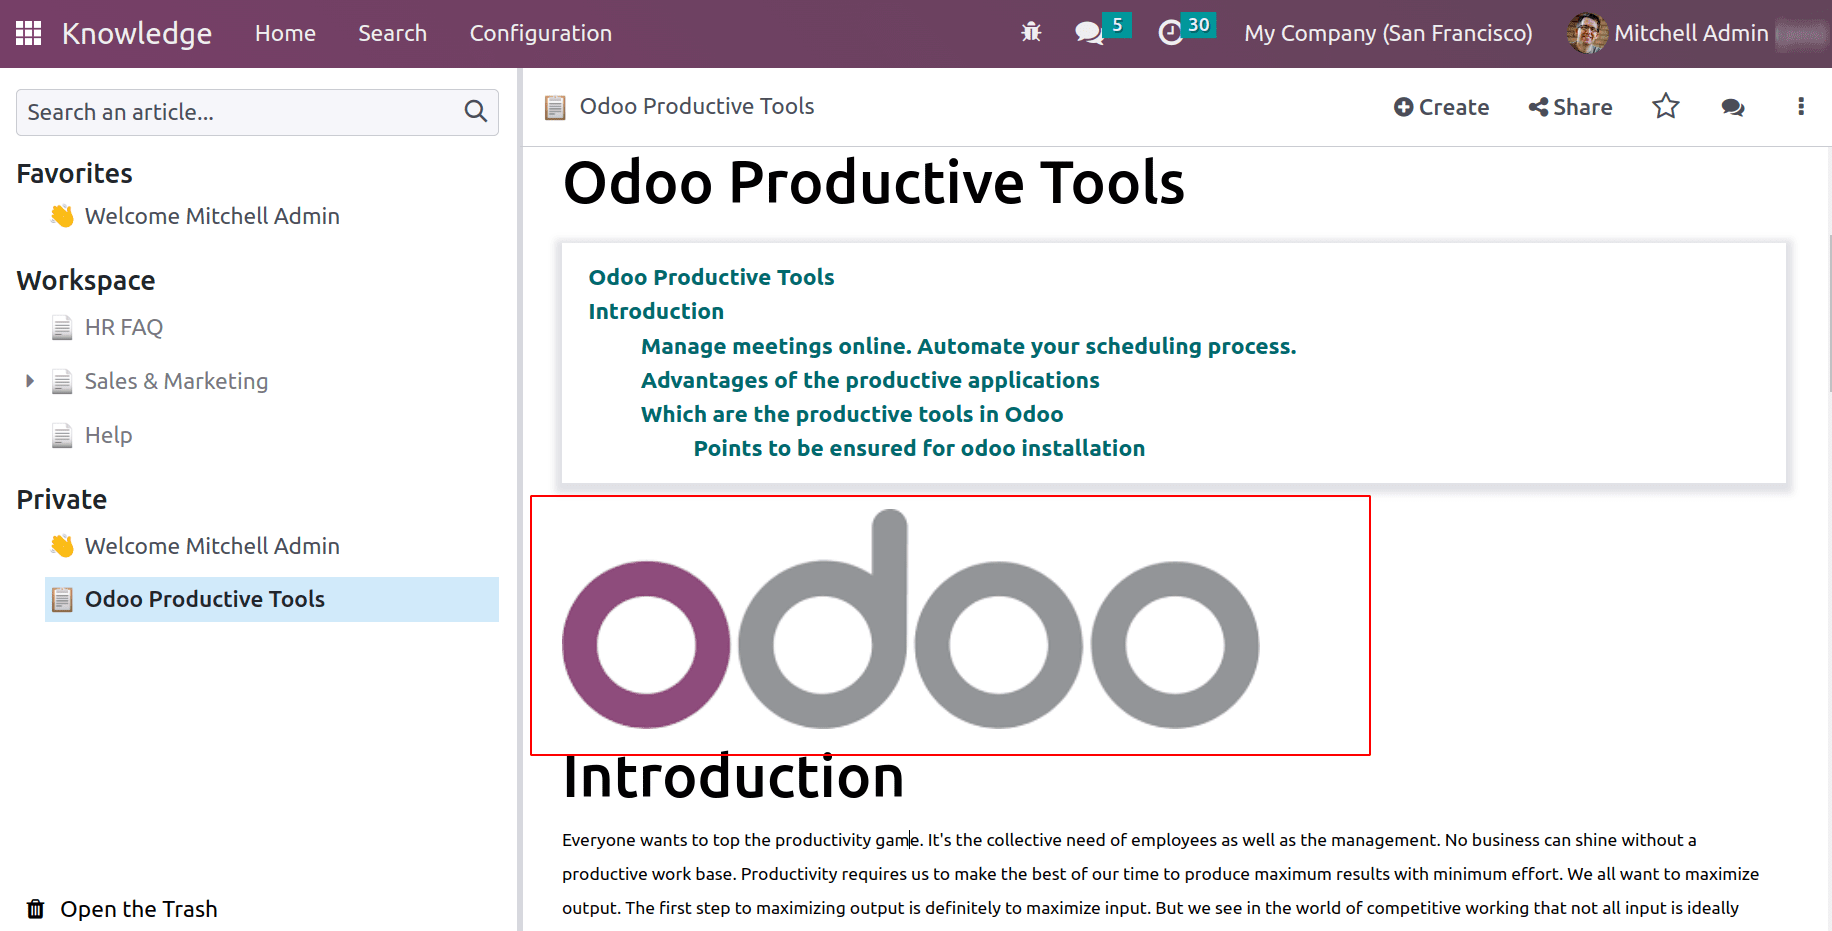
Image: The image feature under media section enables to add images to your article. ‘/’ images can be used to add image.
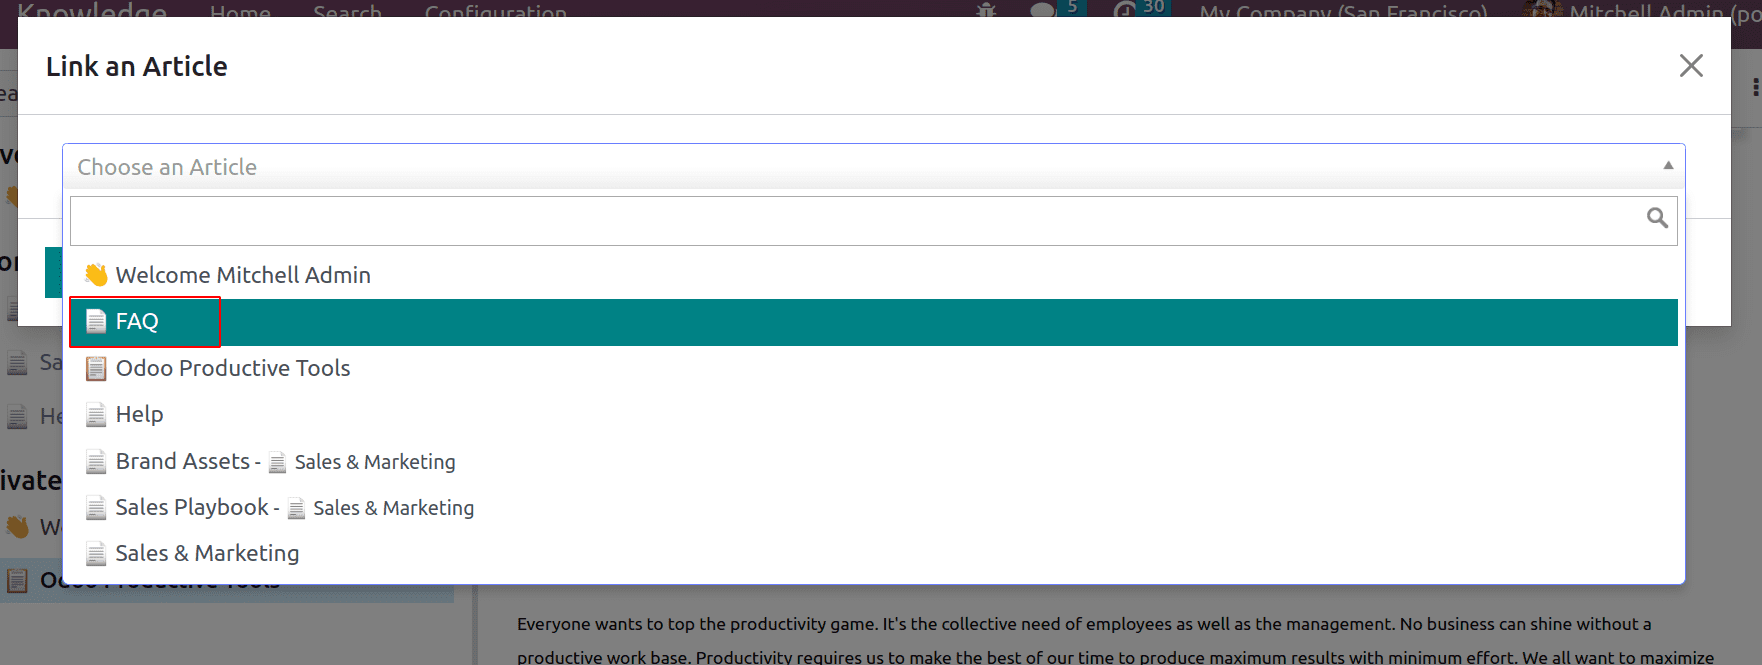
Article: Another feature that comes under media is ‘Article’, where other articles can be added. In some documentation, sometimes we might need to add some reference articles or brochures, thus ‘/’ article adds another article link to the current article. Thus it will ask for to choose the article from a dropdown. Choose the article and click on INSERT LINK.
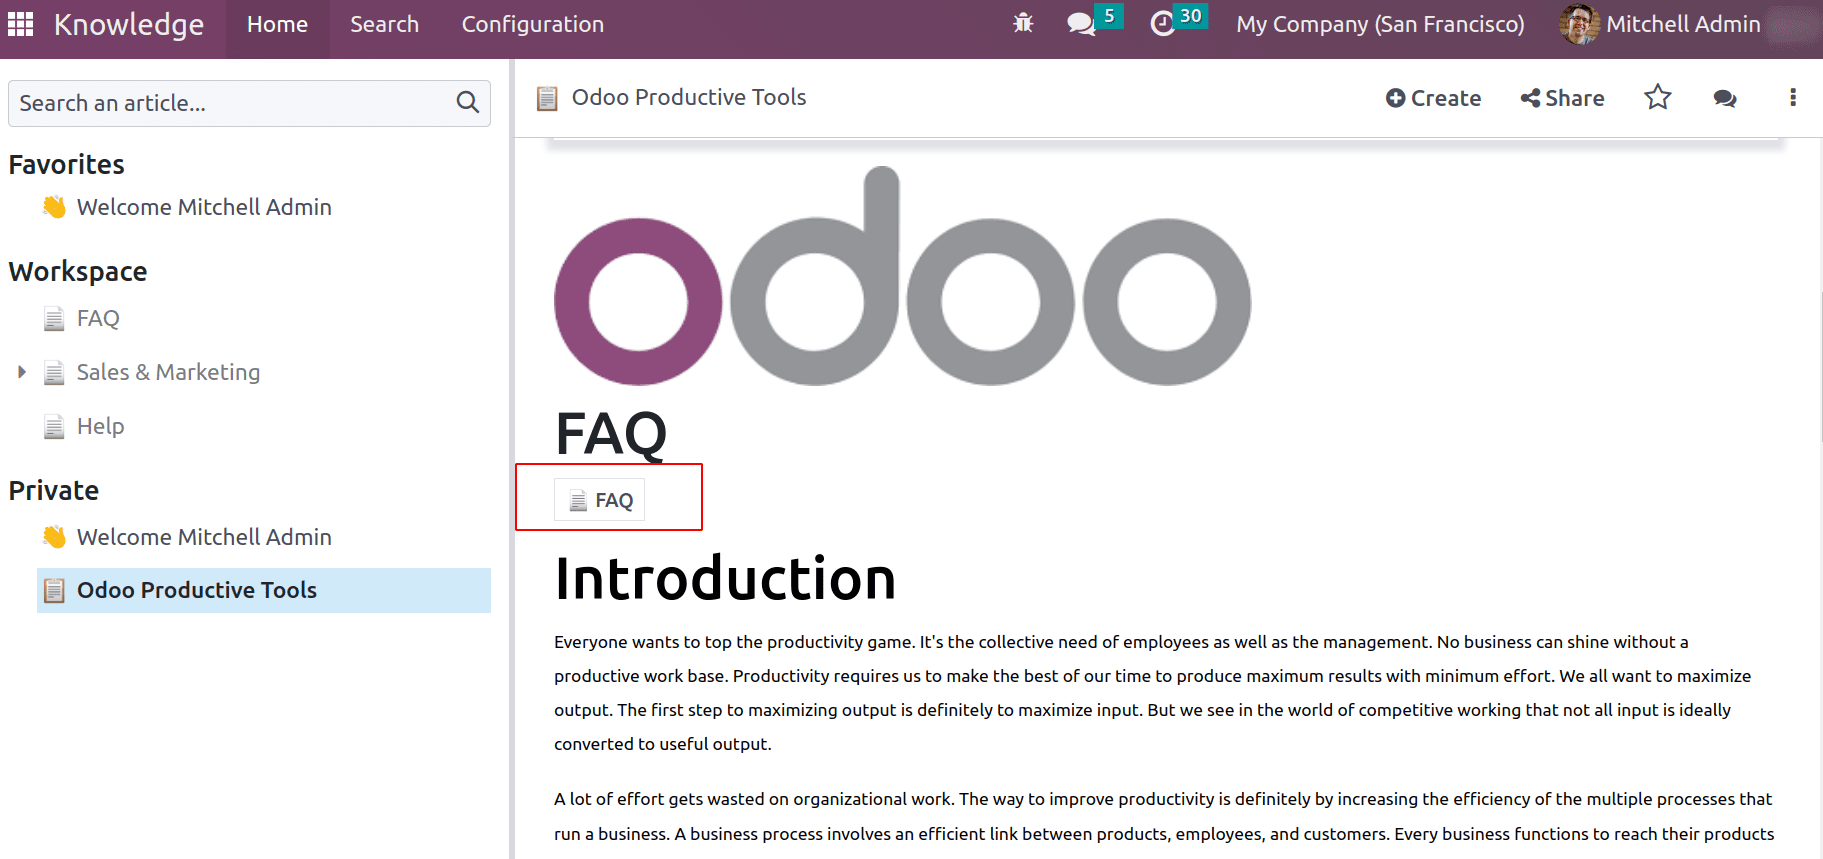
Thus link to the article will be added to the current article. Users can click on the link and redirect to that article.
The Widget sections provide widgets to star/rate the content.
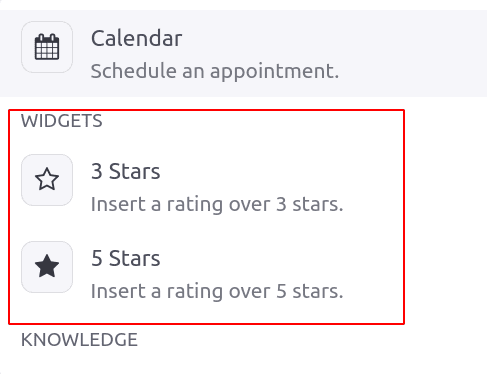
Using these widgets article content can be rated 3 Stars and 5 Stars. The ‘/’ 3 Stars helps to add 3-star rating to content and similarly for 5 stars as well.
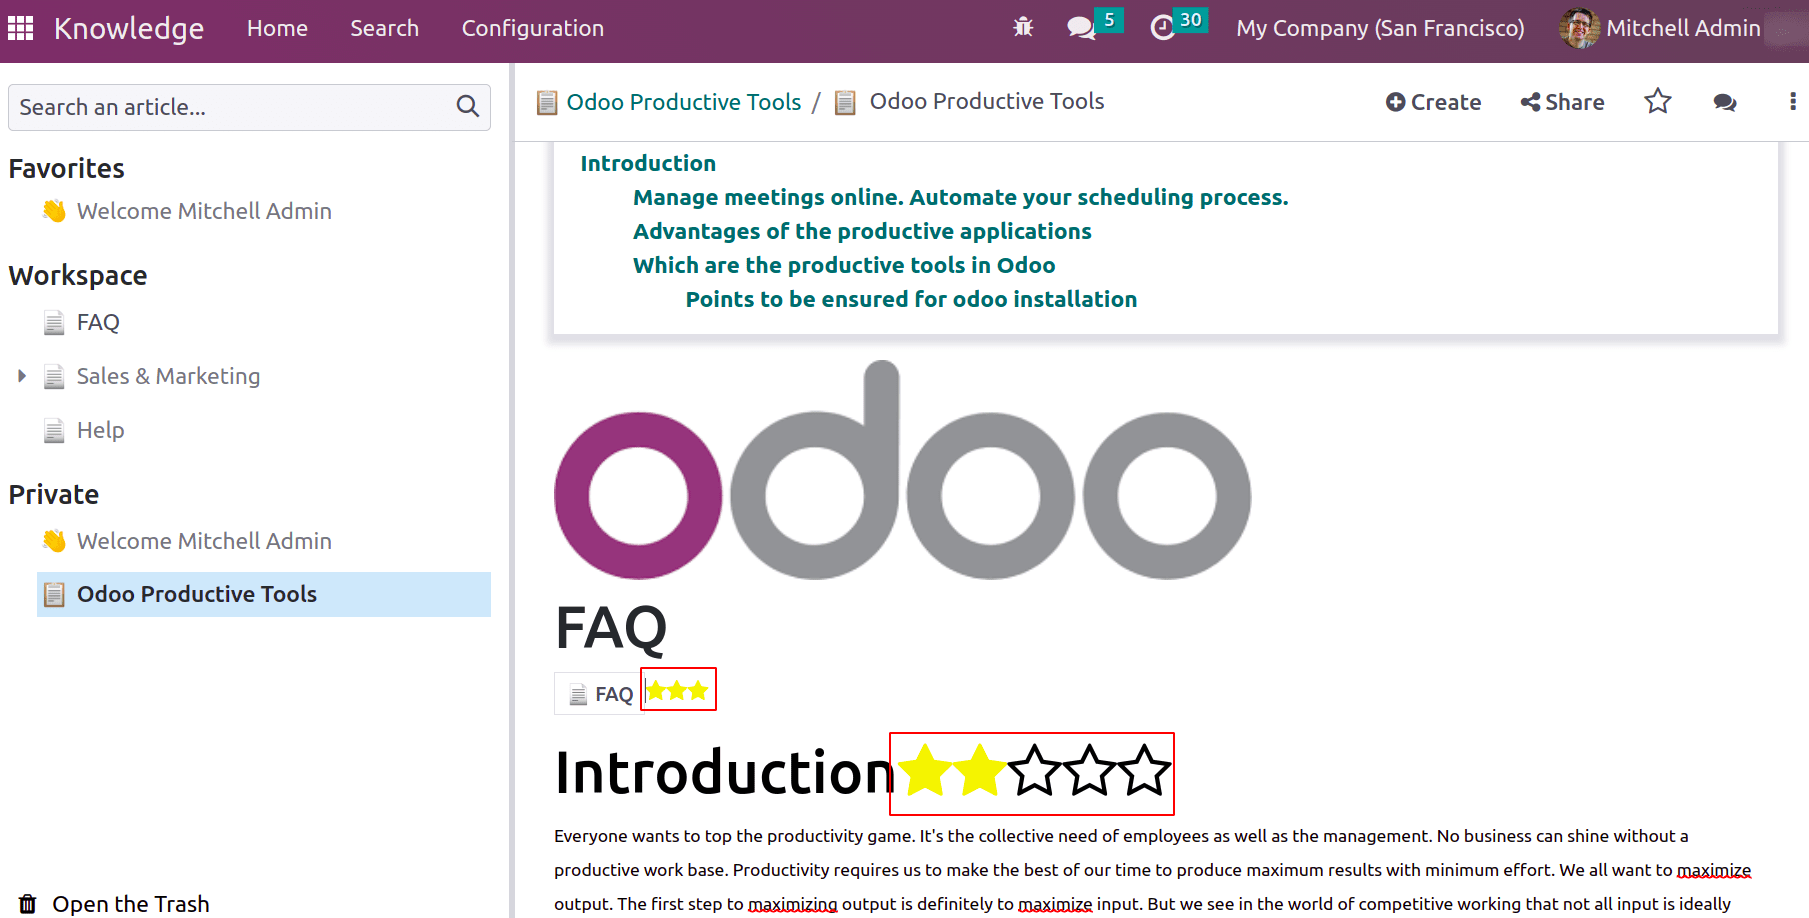
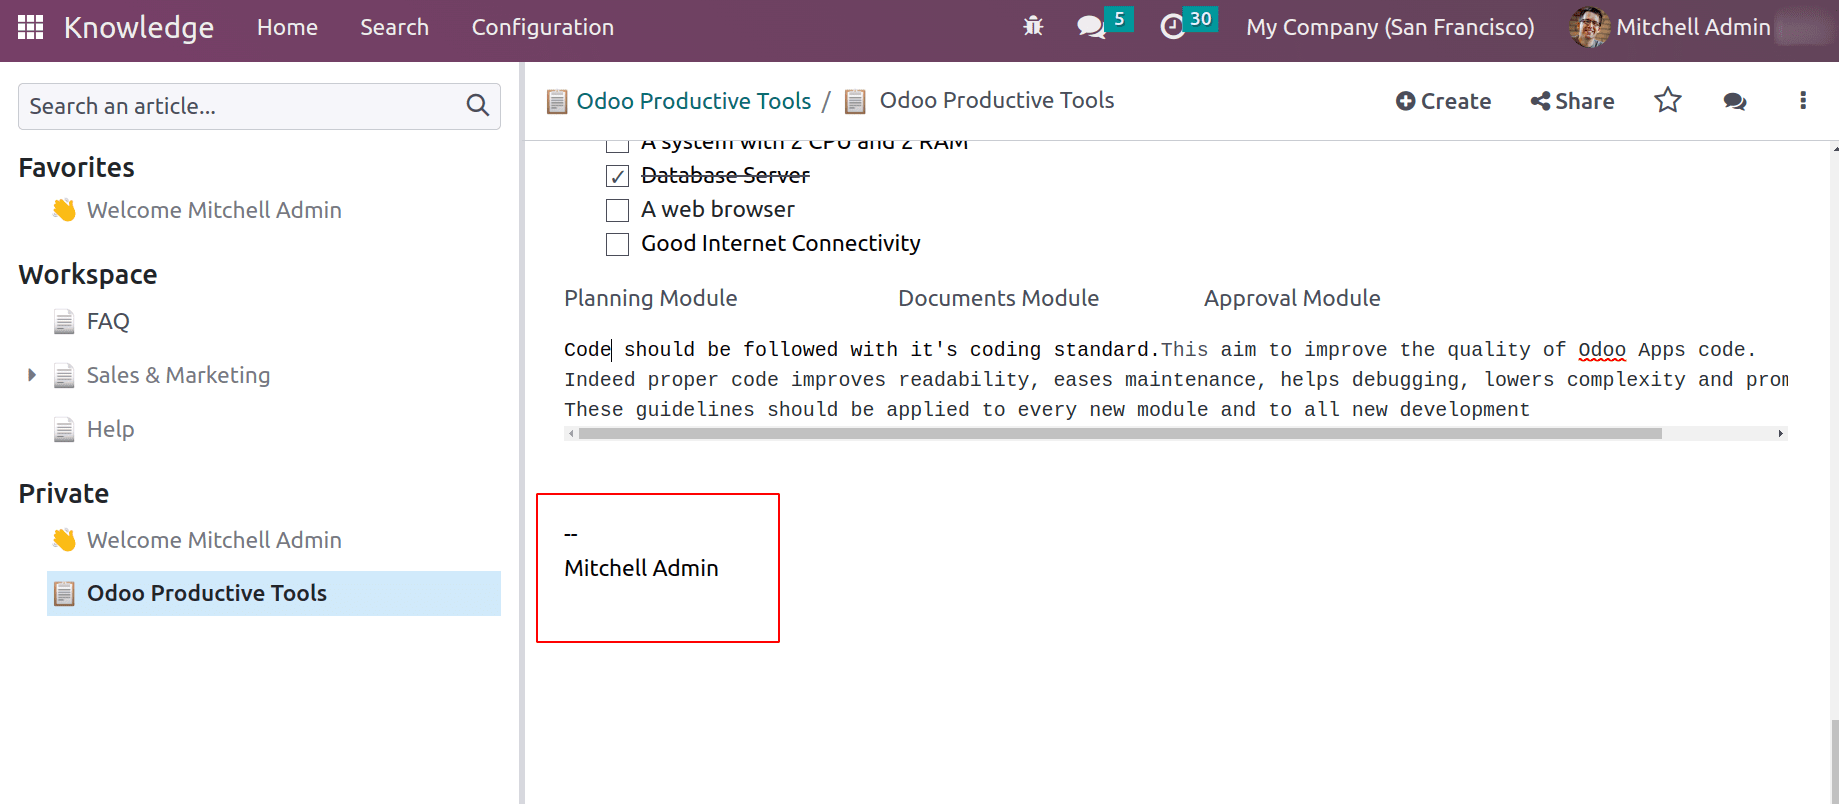
Signature: Under Building Blocks one feature is available, which is ‘Signature’. The author's signature can be provided for the article. An article may contain different topics and each topic may be written by some experts. So a signature can be added if needed.
Now let’s discuss the tools available under the NAVIGATION section. This section consists of certain commands as listed in the screenshot below.
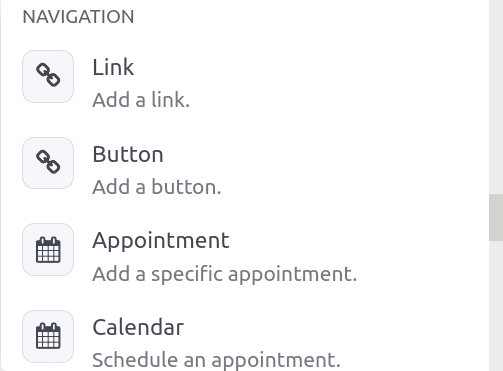
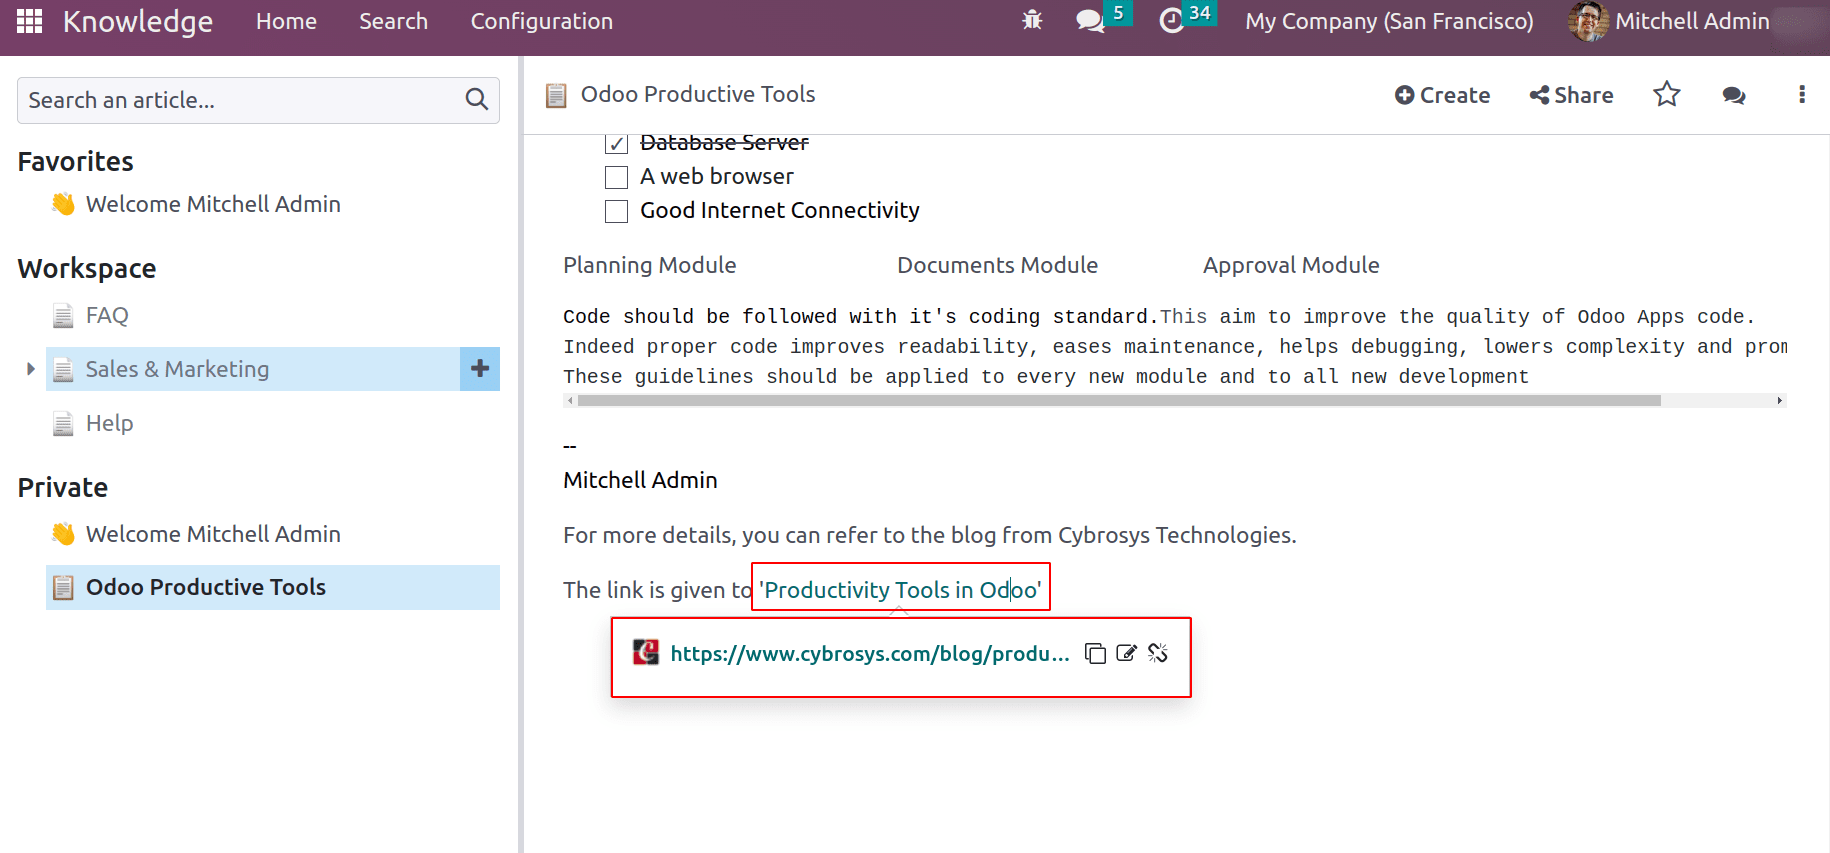
Link: typing ‘/’ open up the power box. One can then type the command ‘link’ and press the enter key or choose ‘link’ from the drop-down which helps to add links to your article. Thus a pop appears to add a link label, URL, type, size, and style.
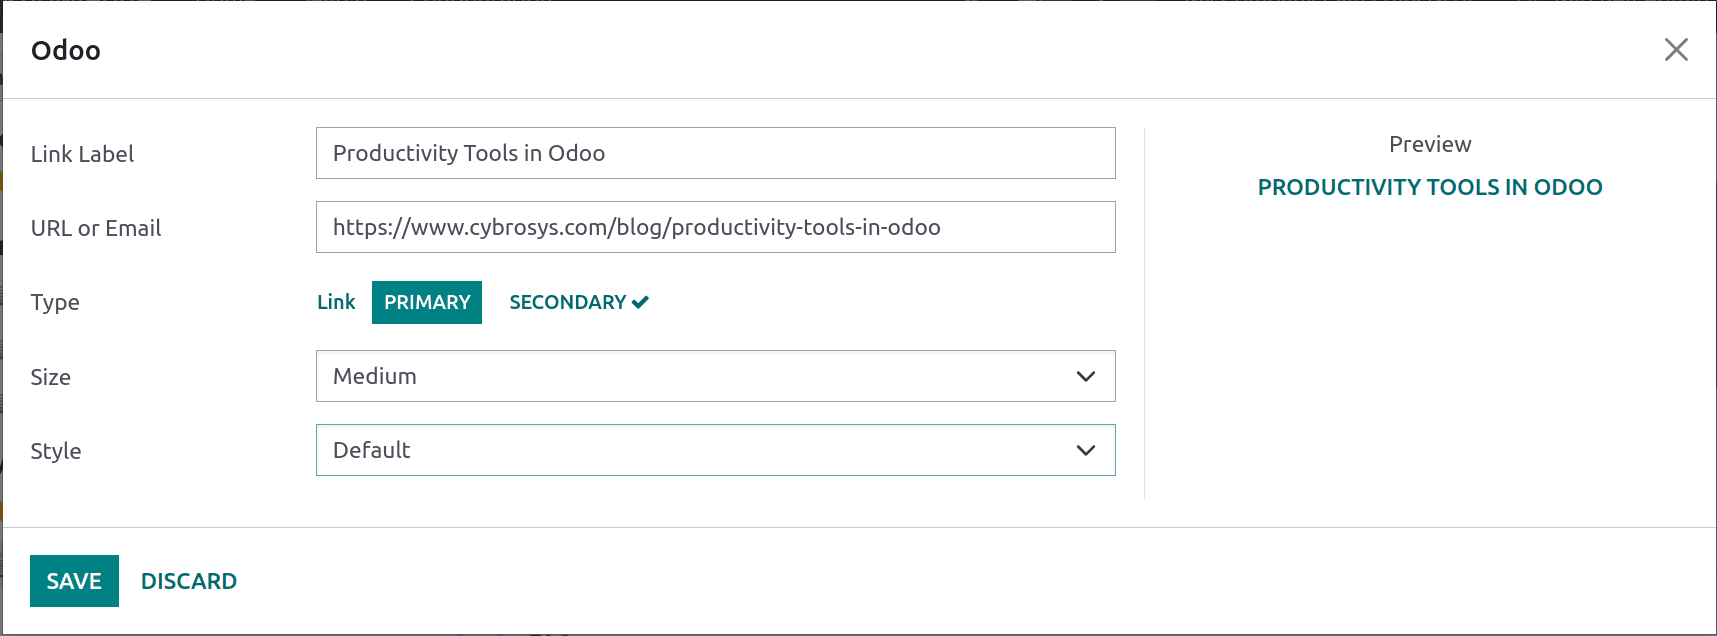
The link preview can be shown in the specified size and style, which can be added to your article.
Button: Allows you to add a button to your article
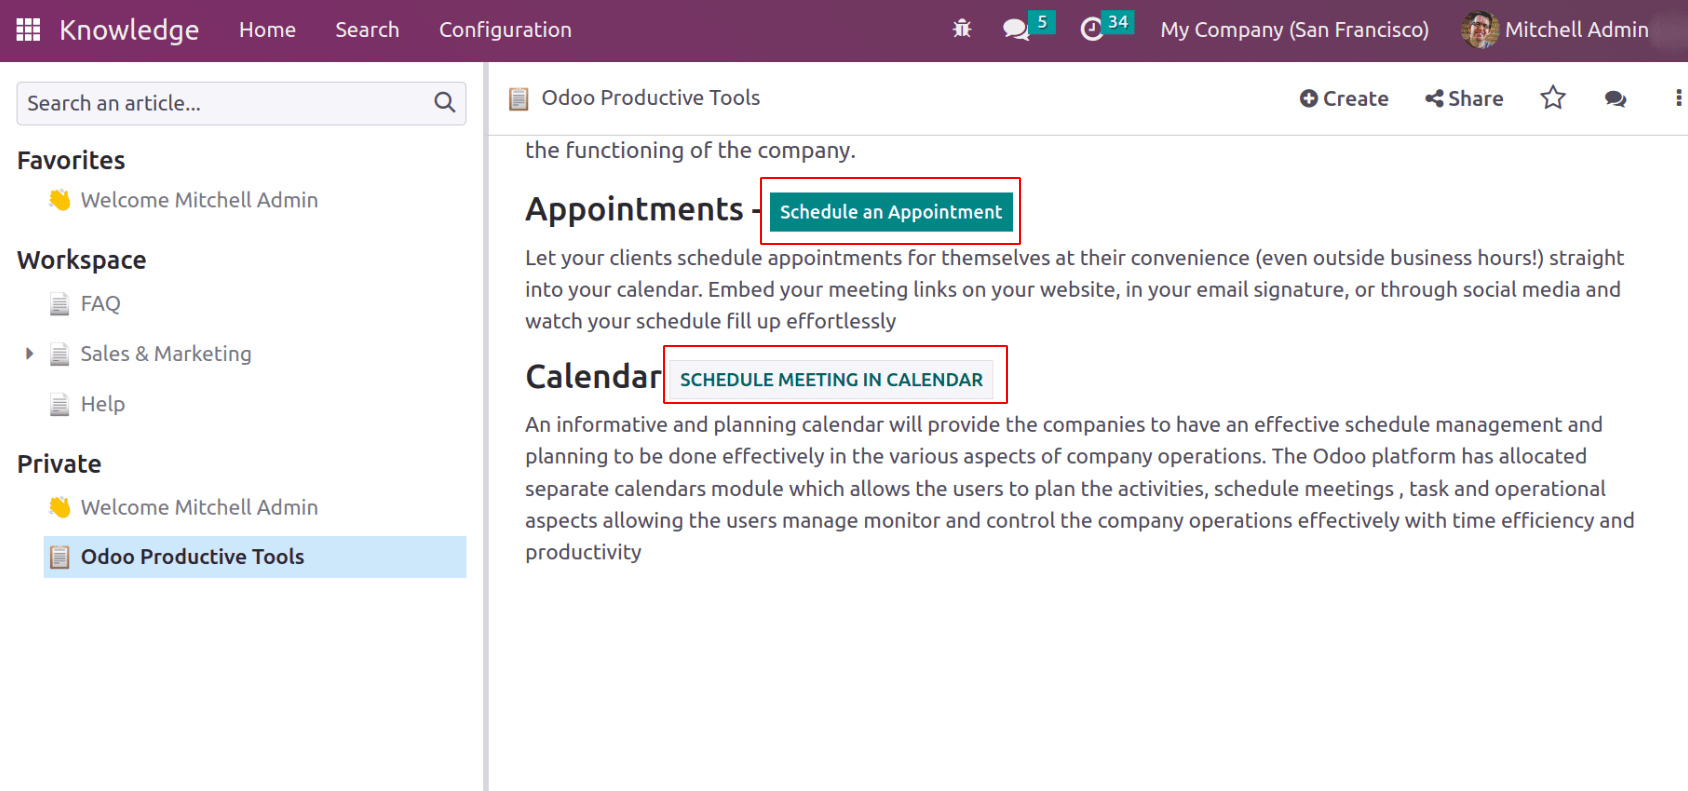
Appointment: Allows to add specific appointment details to the article
Calendar: Schedule an appointment from the calendar

The /calendar and /appointment commands will allow the user to add calendar and appointment types to your article. This command pop-up a wizard to add the calendar link and similarly for the appointment.

These calendars and appointment buttons can be configured by adding styles and size.
All the above-mentioned commands are available in every Odoo module, to write notes and descriptions. Now will move to the commands that are only available to Knowledge. They are seen under the KNOWLEDGE section of the powerbox.
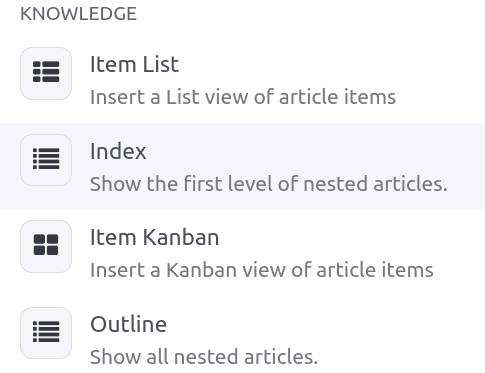
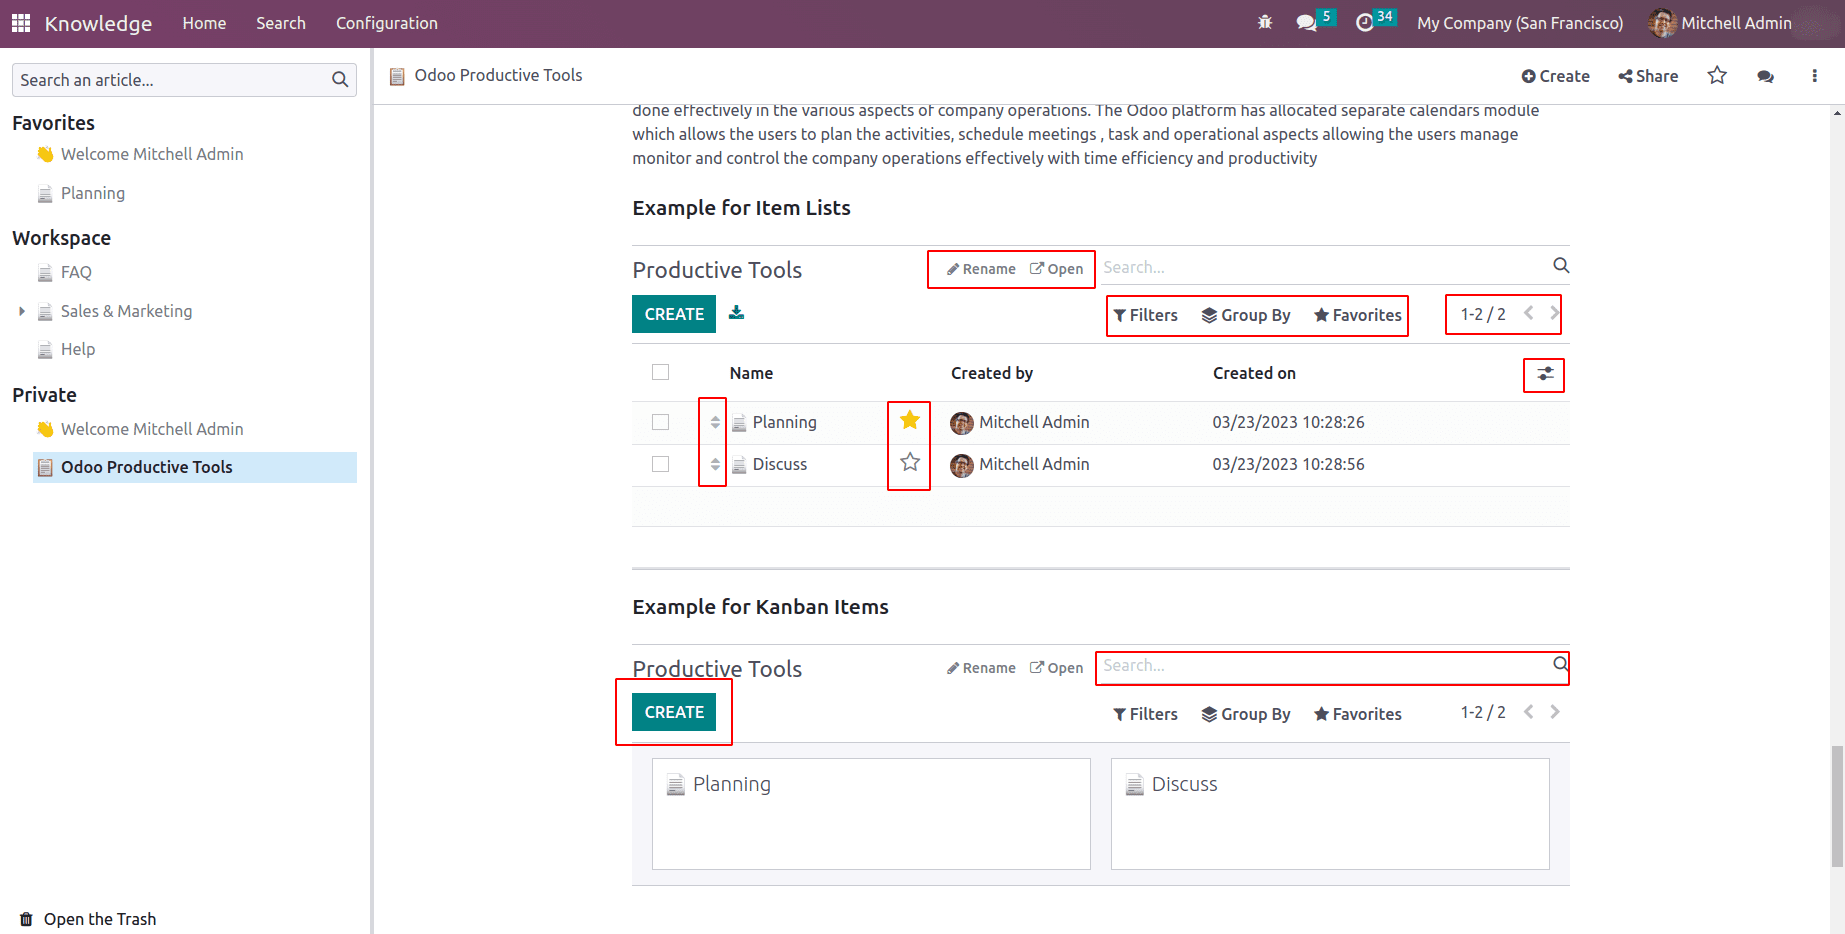
Item List: will insert a list view of article items.
Item kanban: will insert a kanban view of article items.
In the Item list and kanban list, users are able to create no article items, they can be marked as favorites, and article order can be interchanged. Odoo enriches these two features with odoo’s default search and group by options helps to filter articles and group articles. Also, it is possible to rename and open the Item lists and kanban items.
Also, properties can be added to the kanban. For that inside the article, the property field needs to mention.

Properties are data-filled fields that can be added to articles by any user with write access. These fields are shared by all child articles and article items belonging to the same parent. An article must be either a child article or an article item in order to add properties.
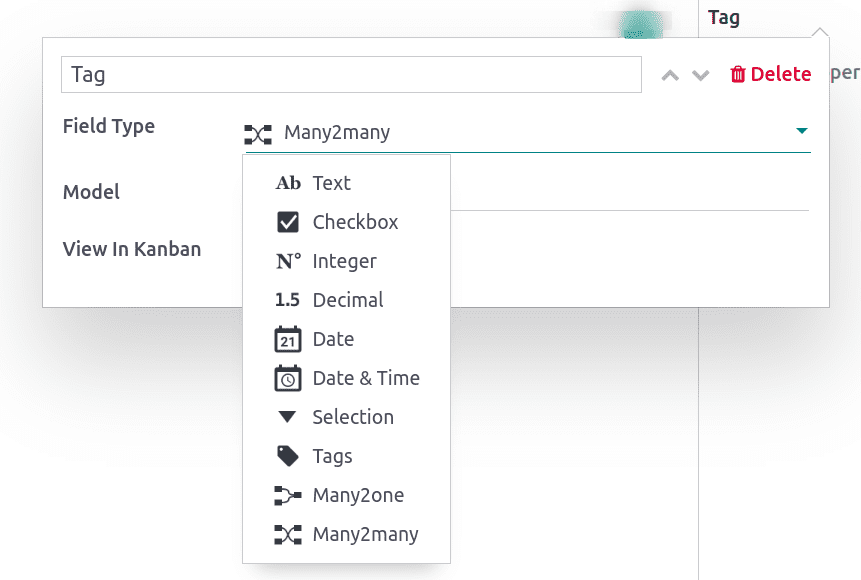
These properties are available in the kanban view if ‘View in kanban’ is checked.
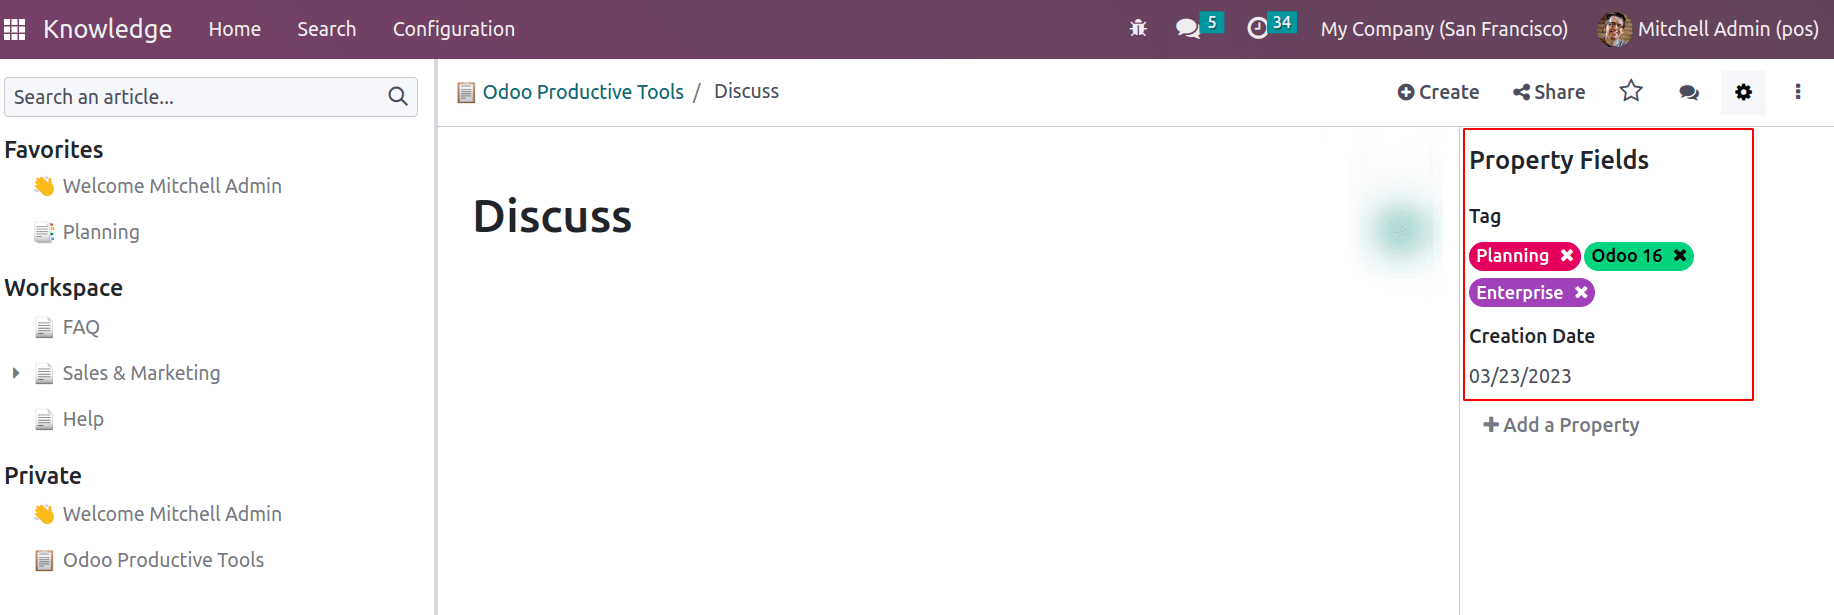
Once the properties are added to the article, they will be shown in the kanban lists.
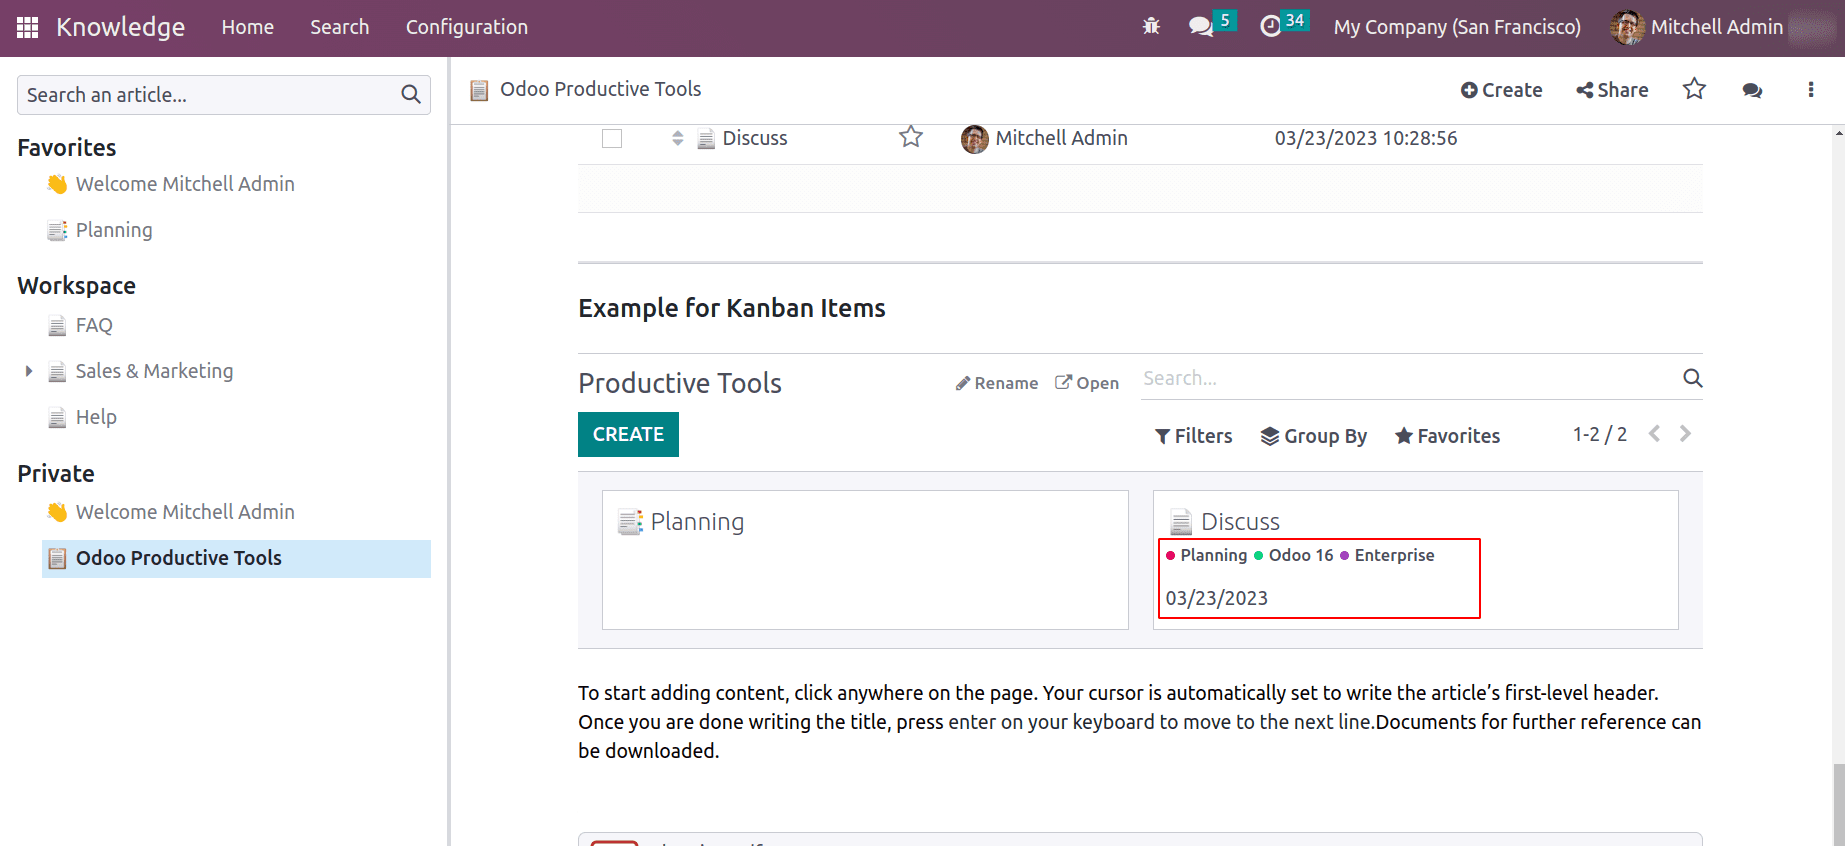
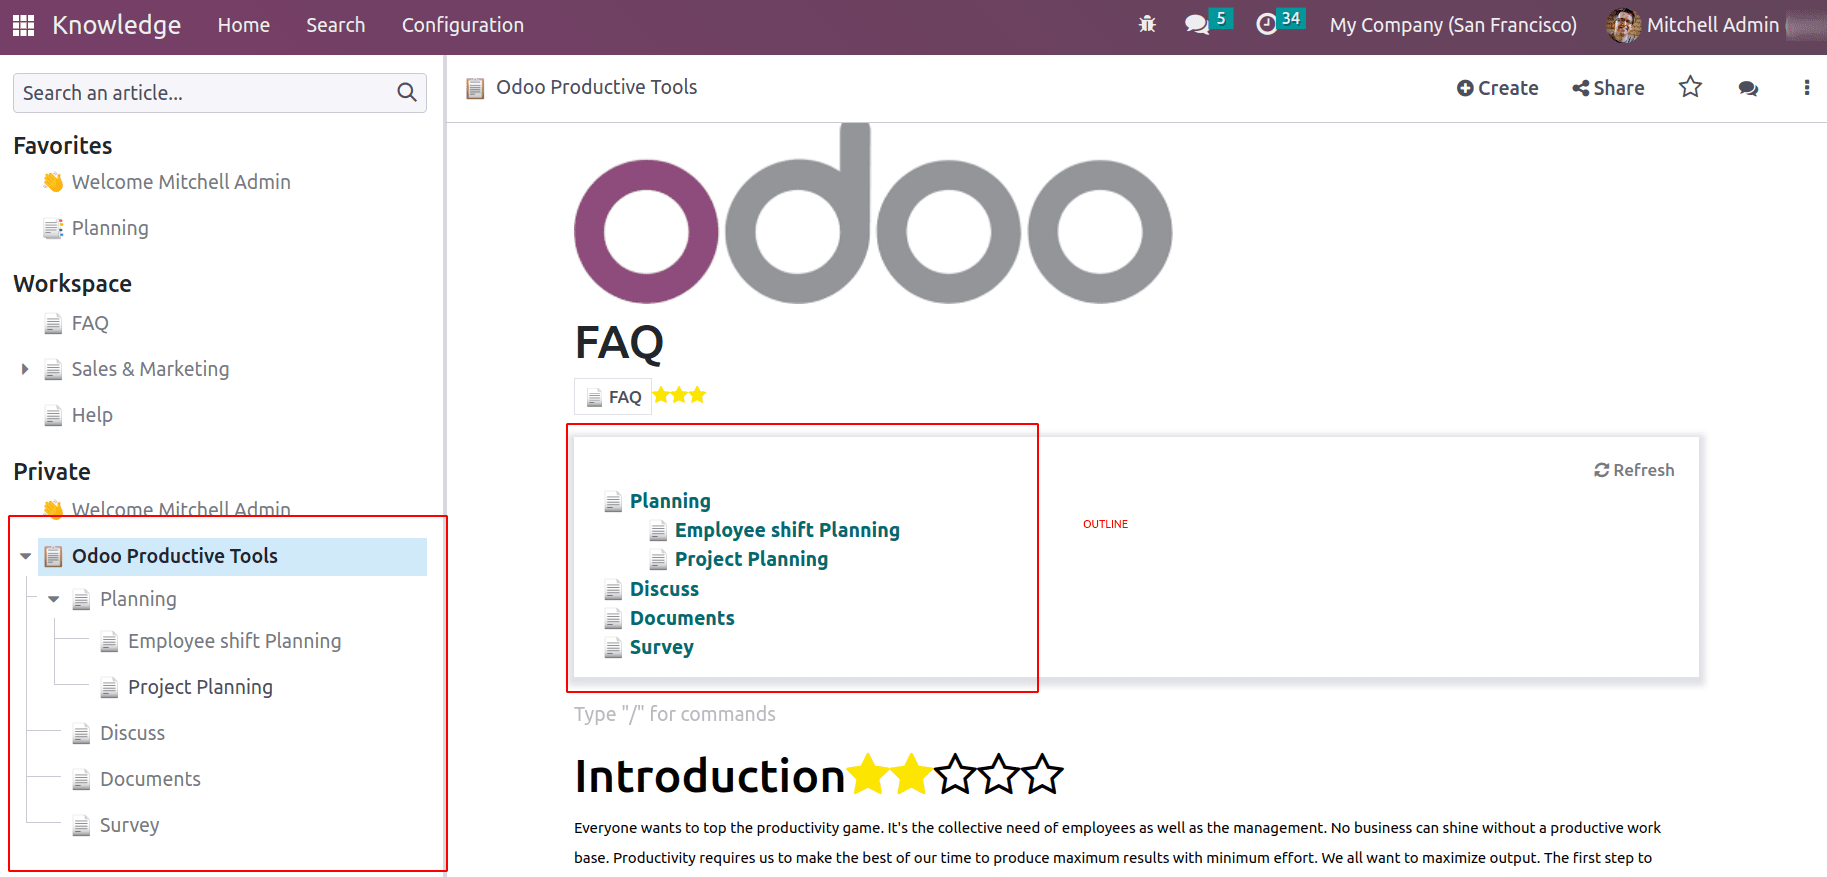
Index: If an article has sub-articles, the / index command only shows the first level of articles only. Even if the sub-article has nested with other articles it will not show the nested one.
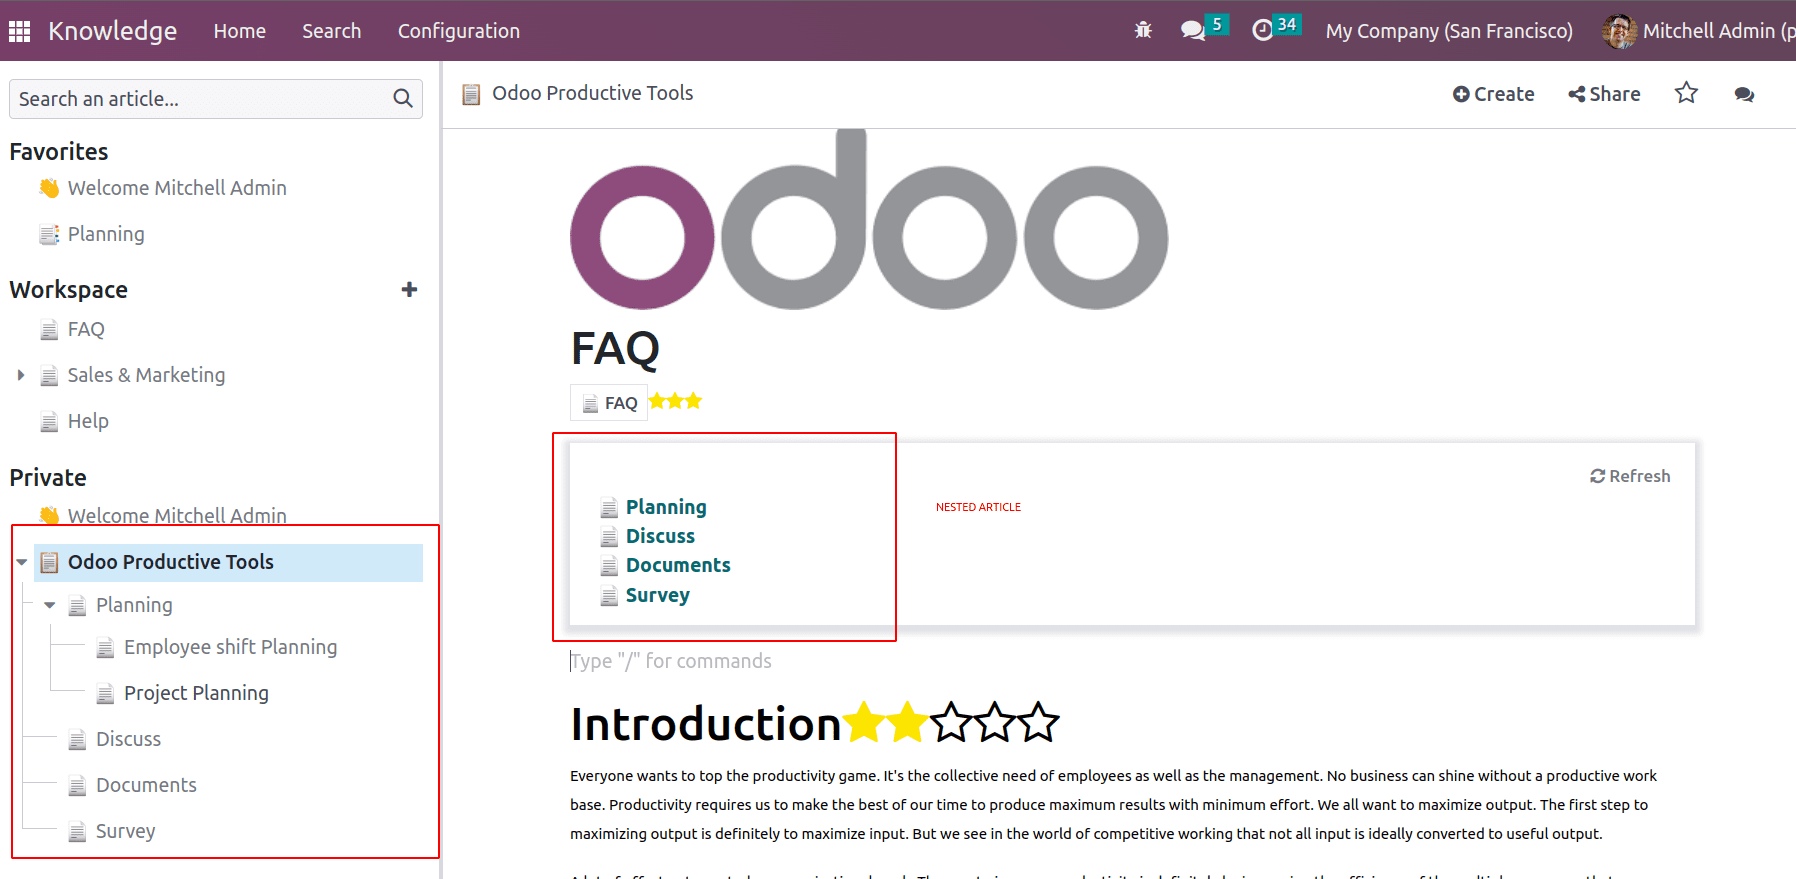
Outline: If an article has sub-articles, the / outline command shows the nested articles as well
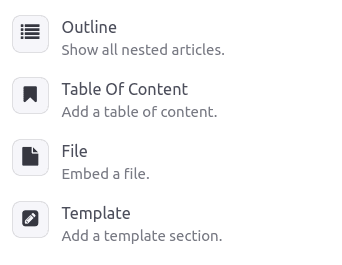
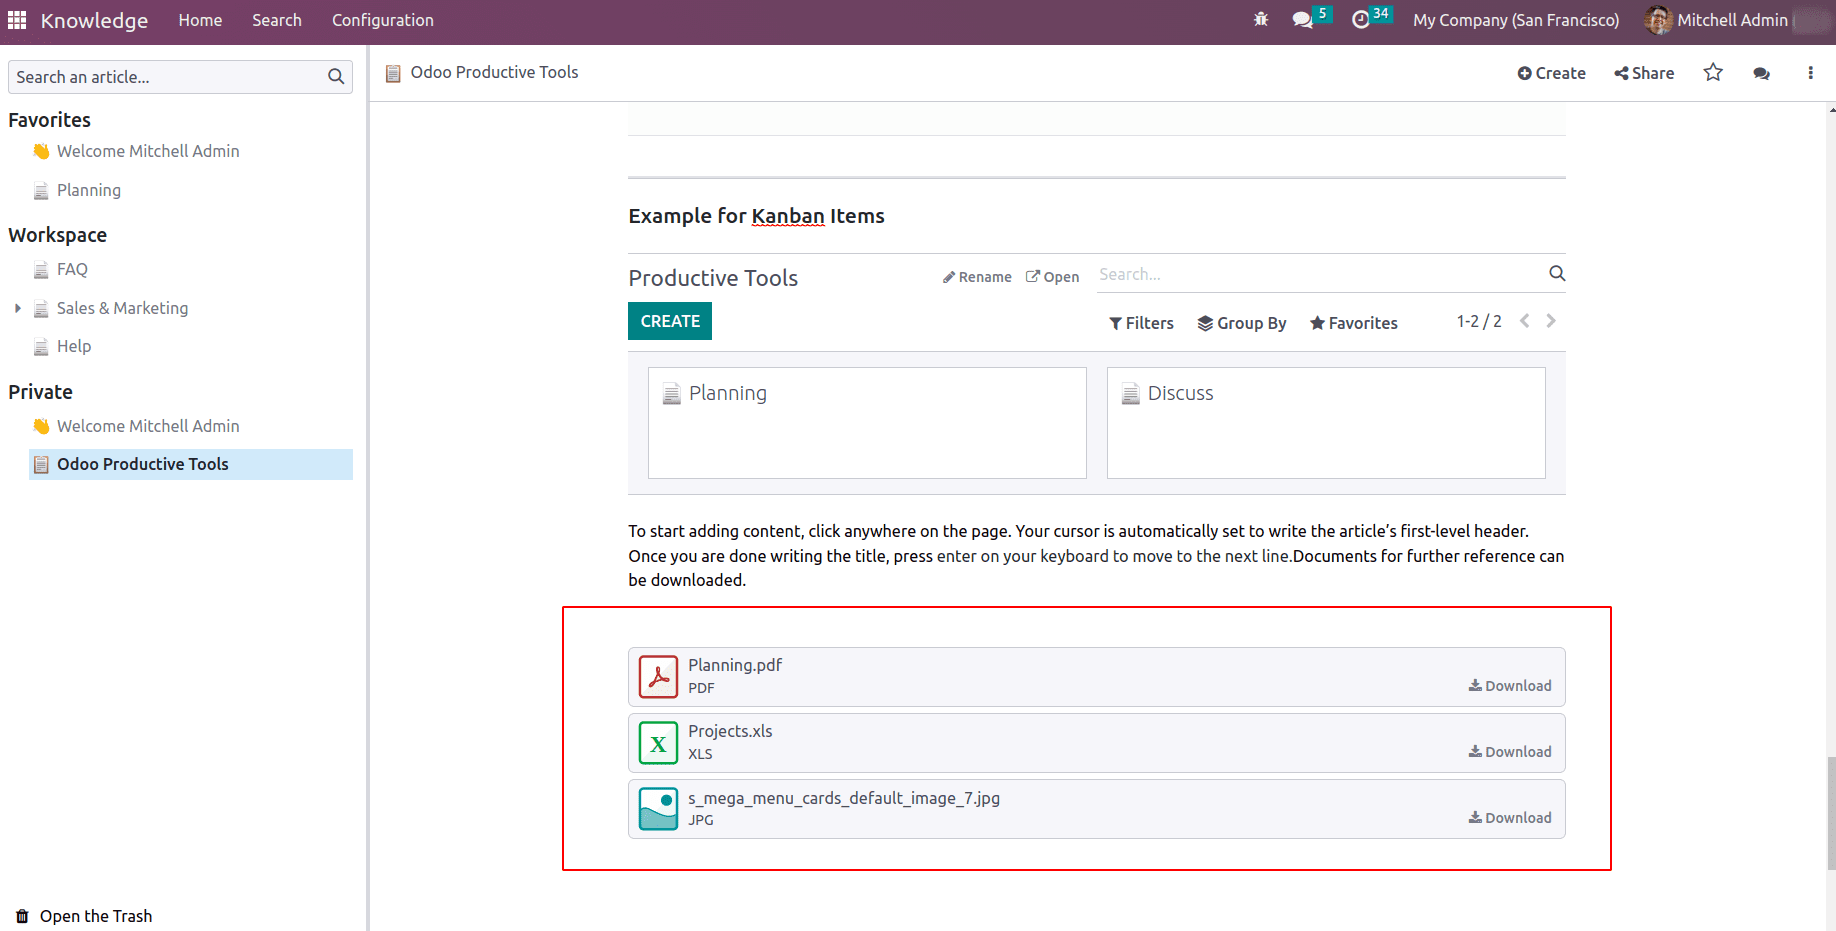
File: / file command enables users to embed files into the article. Thus the readers are able to download the files and learn more. Once the file command is chosen from the powerbox a pop appears to choose and add files.
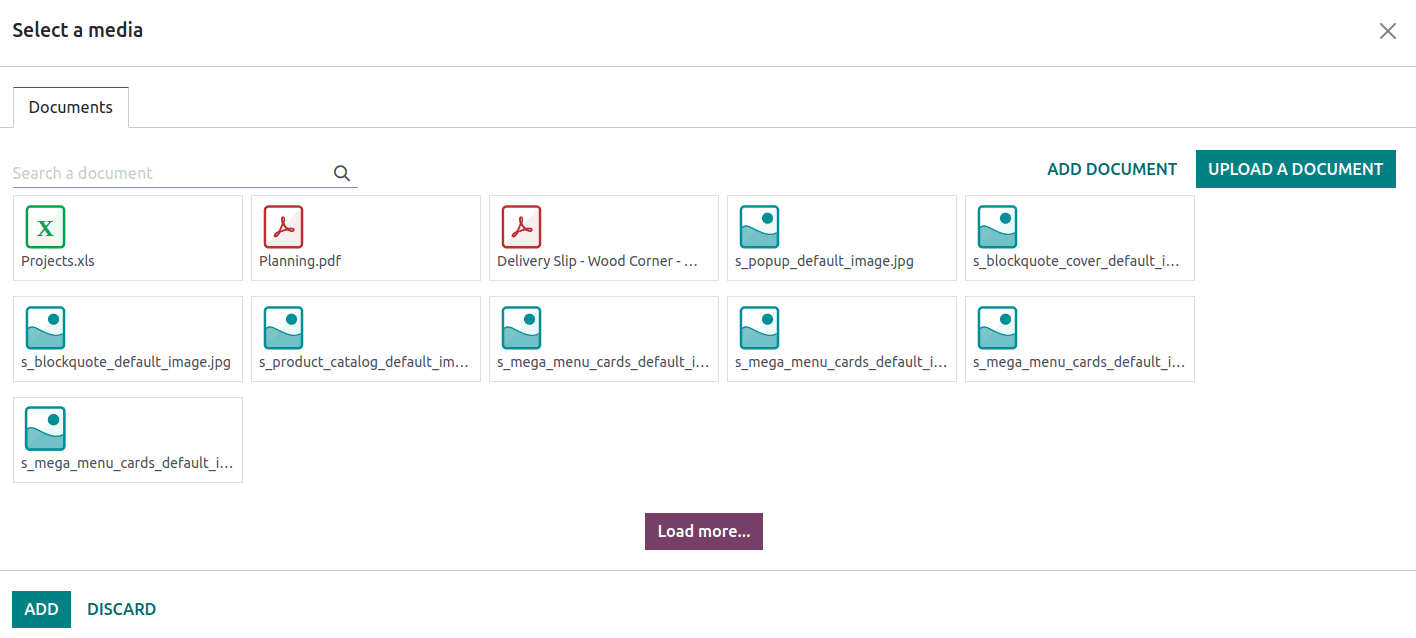
One can also upload documents from the system.
Template: Another command / Template enables users to keep templates. Later this template can be used in other modules.
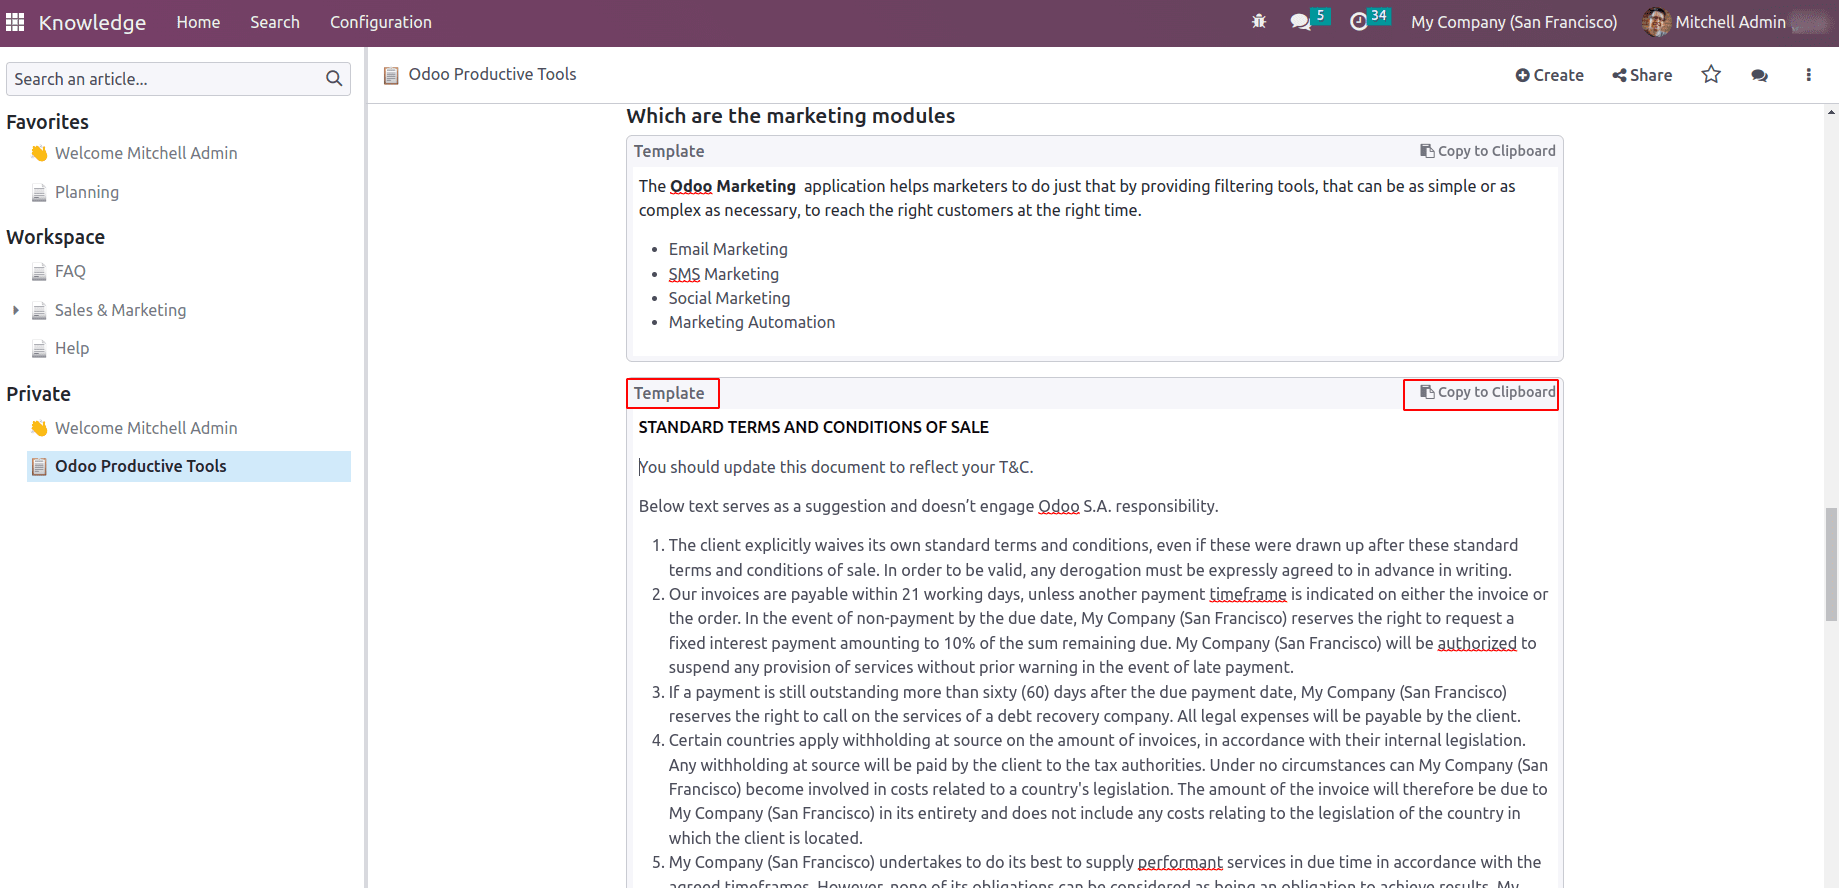
Suppose a salesperson is creating a quotation, so he can collect the terms and conditions from this article.
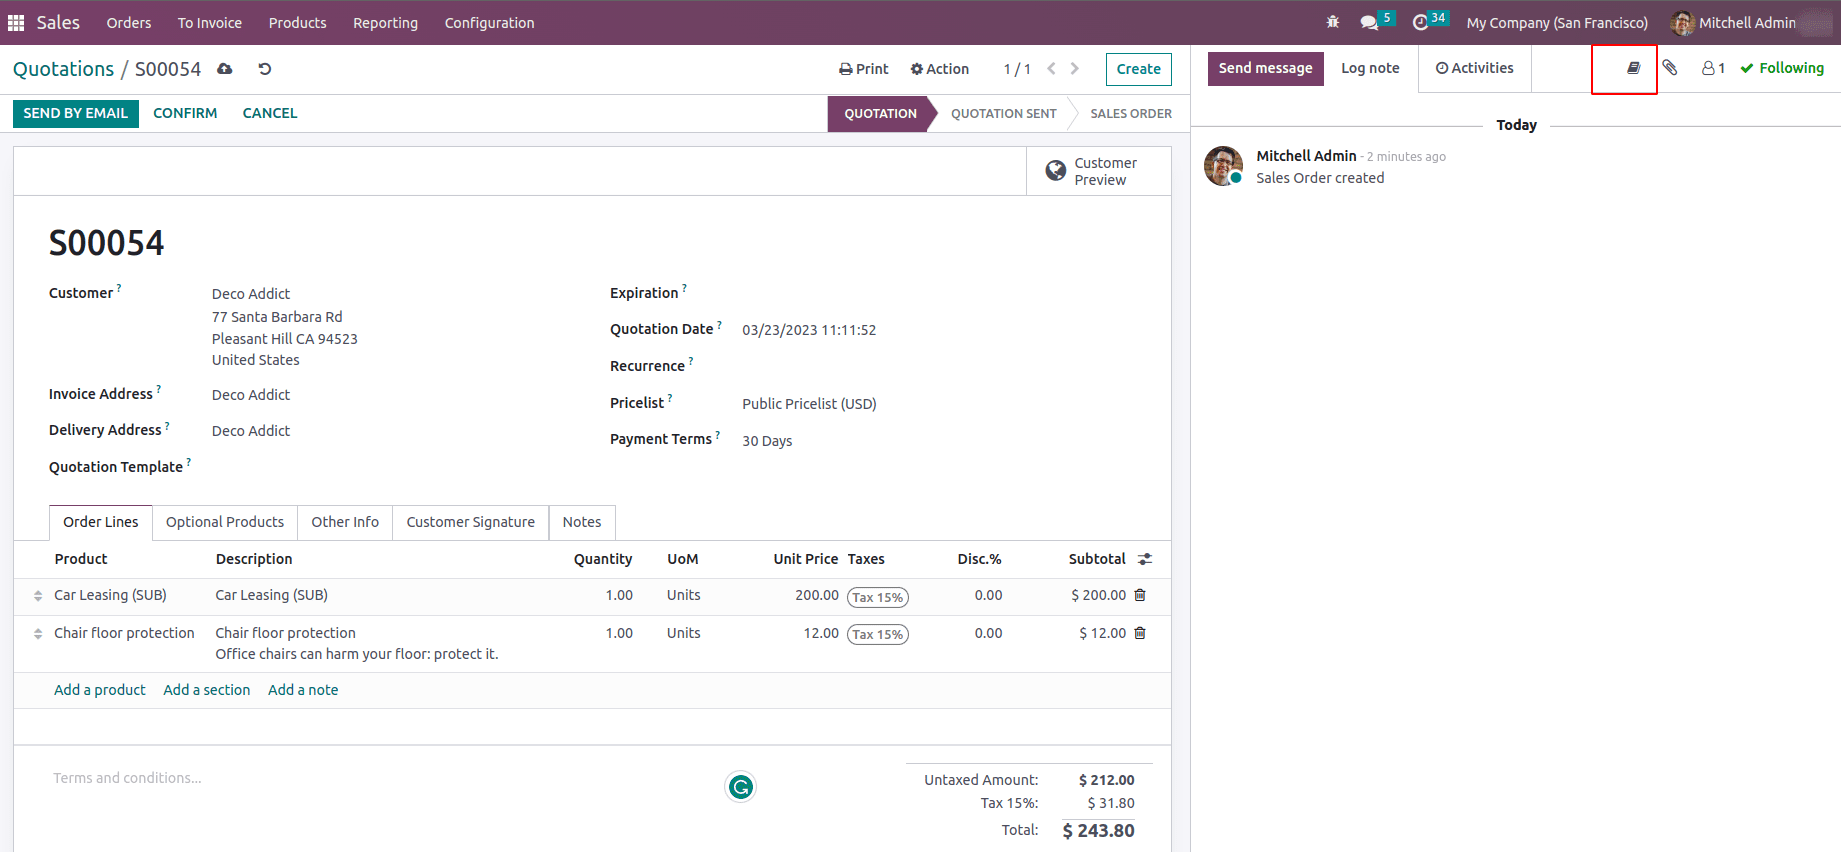
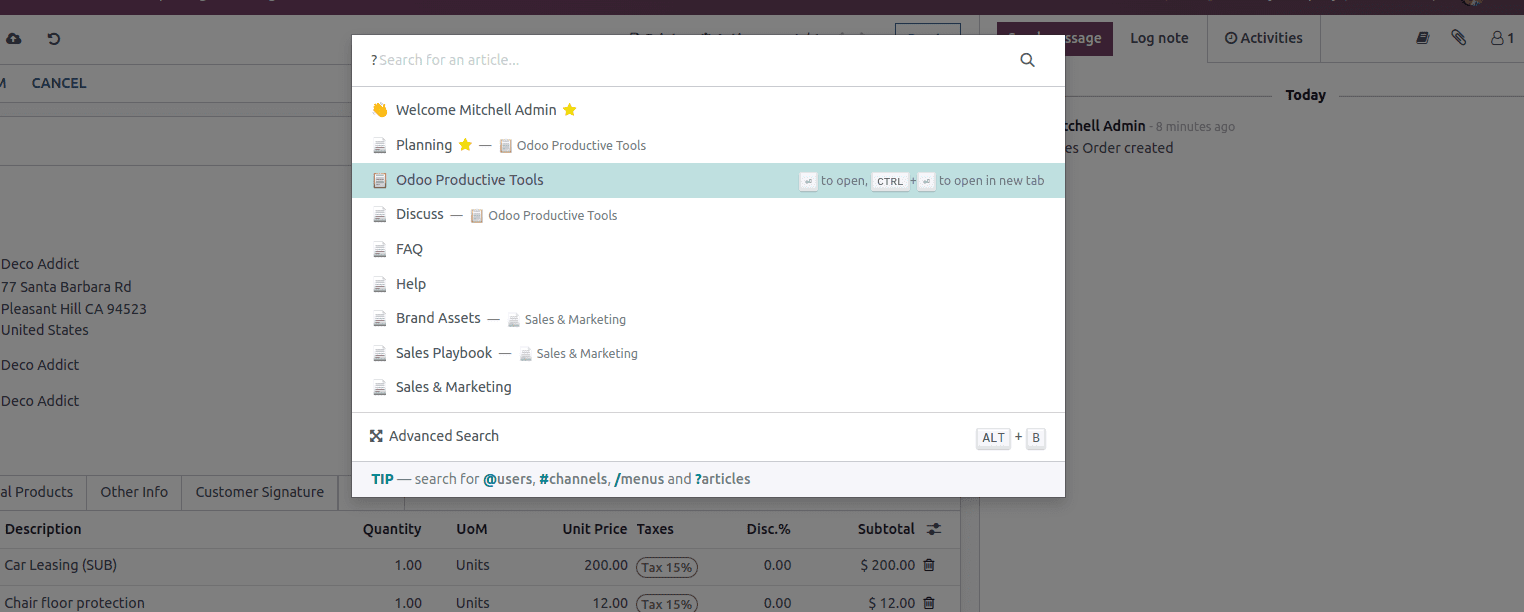
In the chatter, an icon is there to open the article and users can choose an article from the list of articles.
This will redirect to the article where the template data is scripted. There are some options in the template to ‘send as message’, ‘Use as Terms and conditions’, and ‘Copy to Clipboard’.
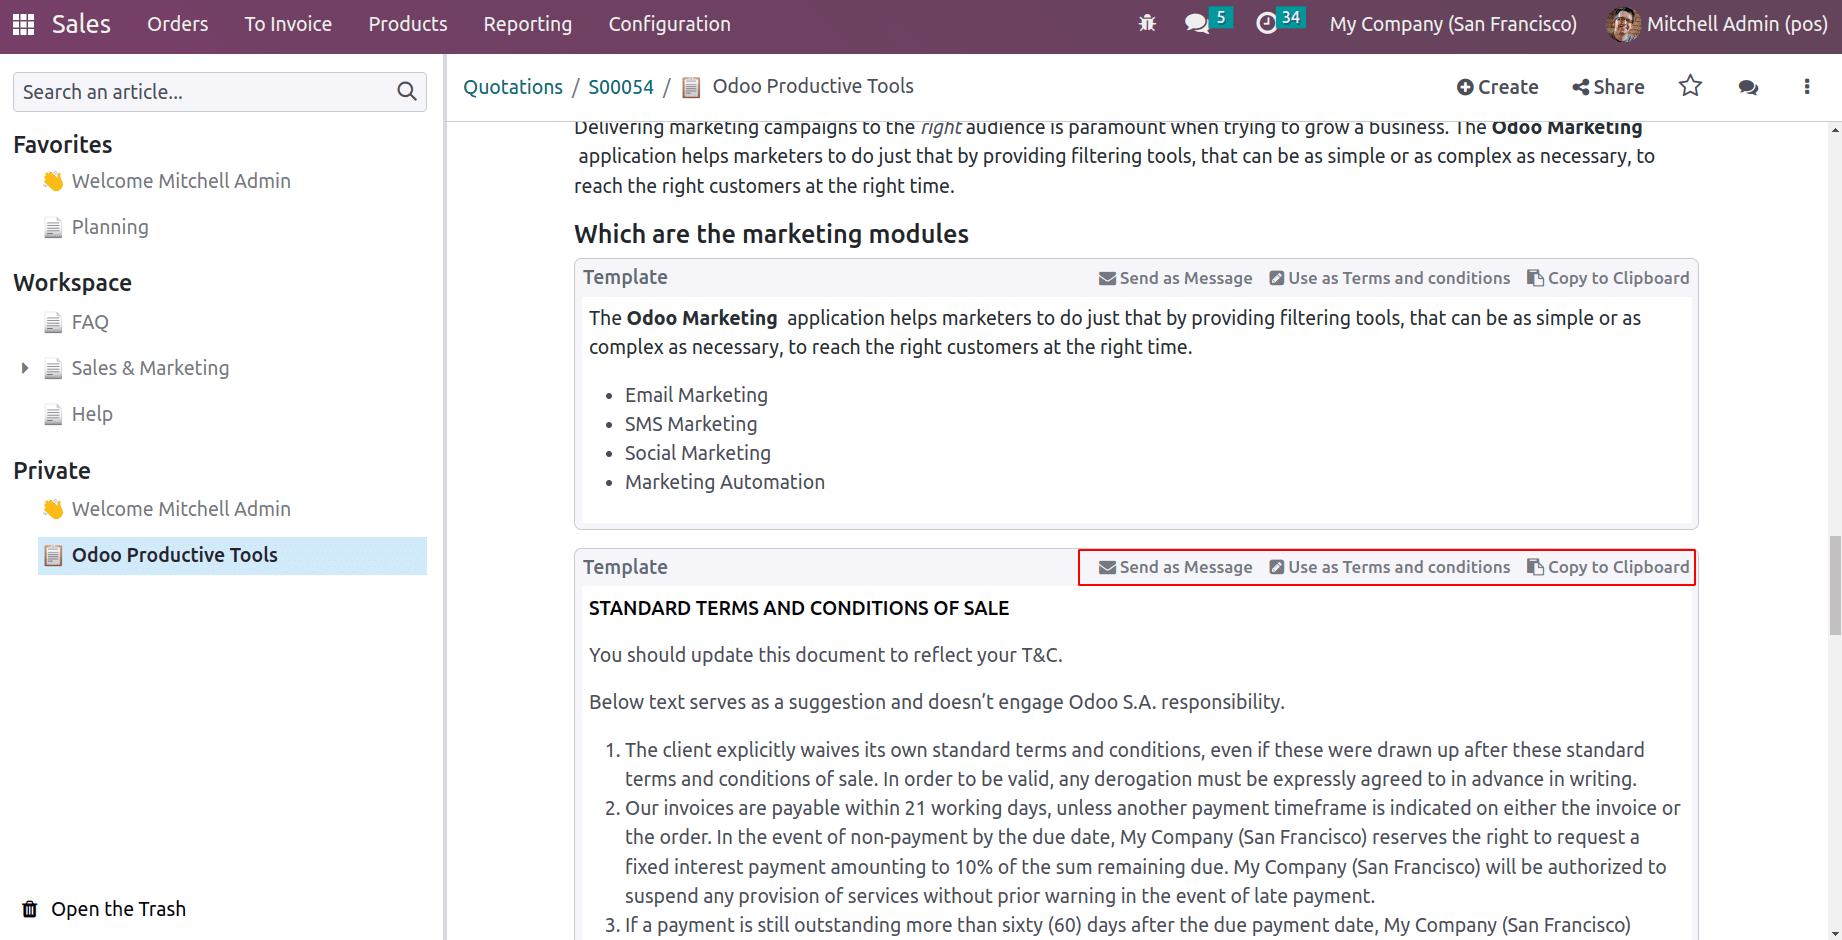
On clicking ‘Use as Terms and conditions’ the conditions mentioned in the template will be copied to the sales quotation.
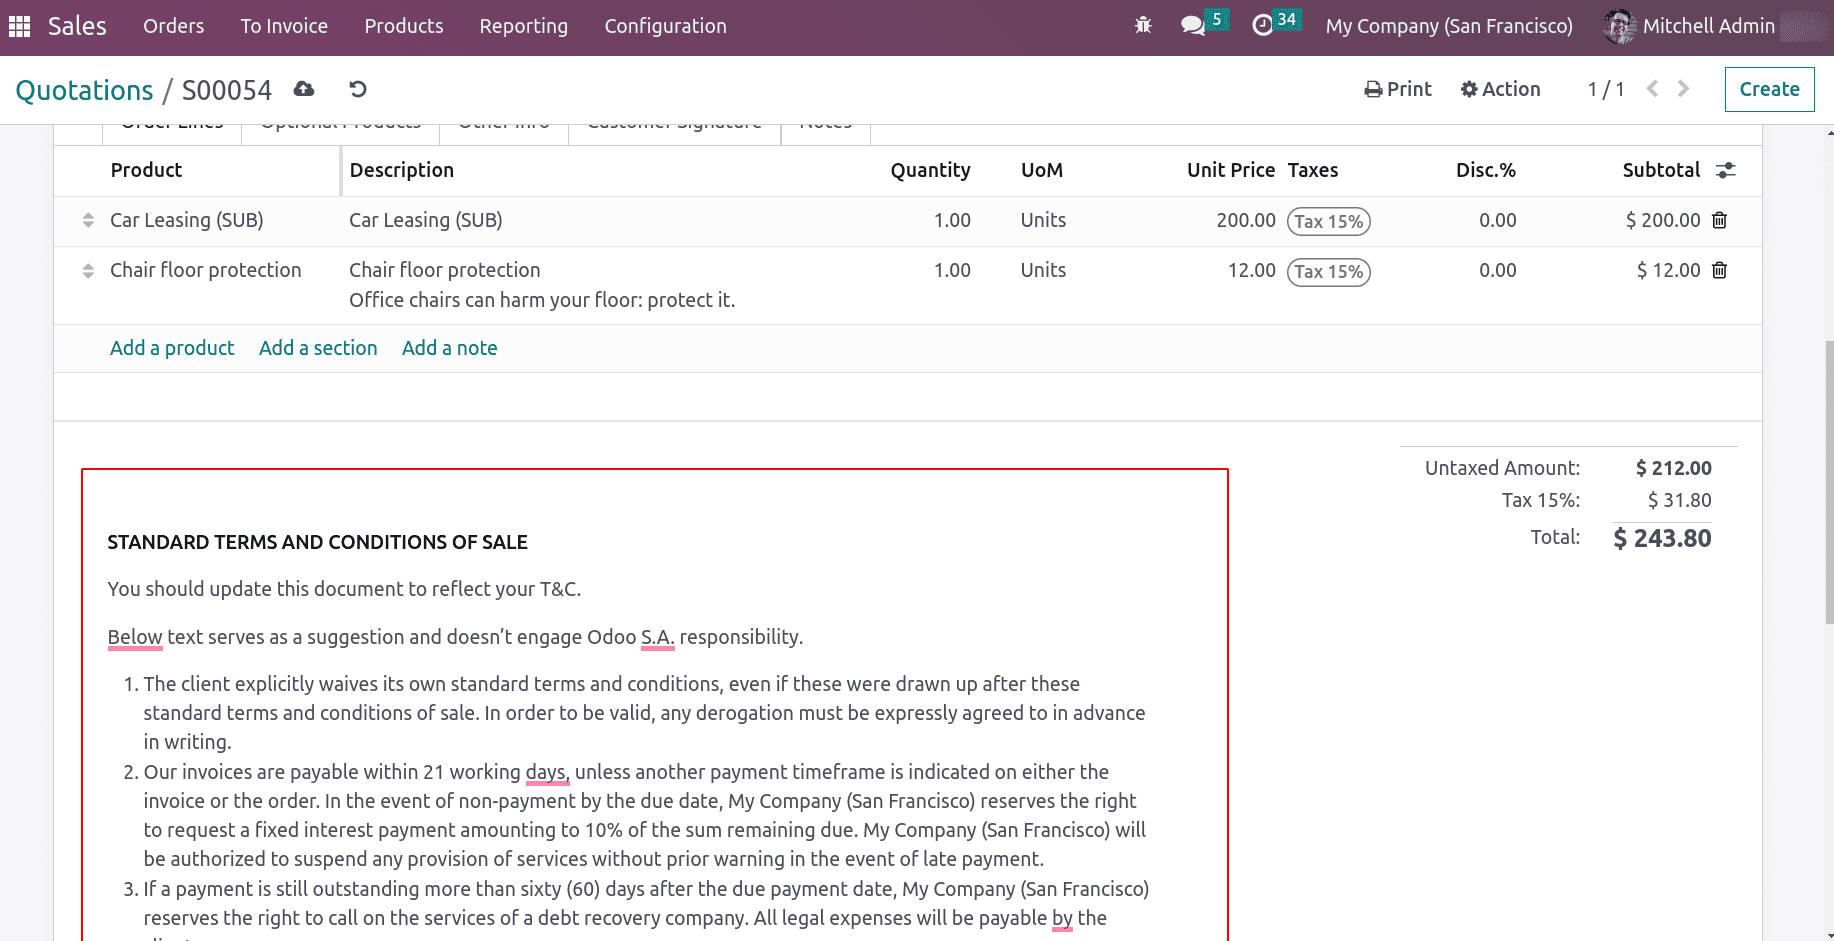
Thus using the above-mentioned commands articles can be arranged efficiently. So we have gone through the details of how an article is created and the commands that can be used to write an article.
The search menu allows users to view all the articles, where articles can be filtered, grouped, and searched.
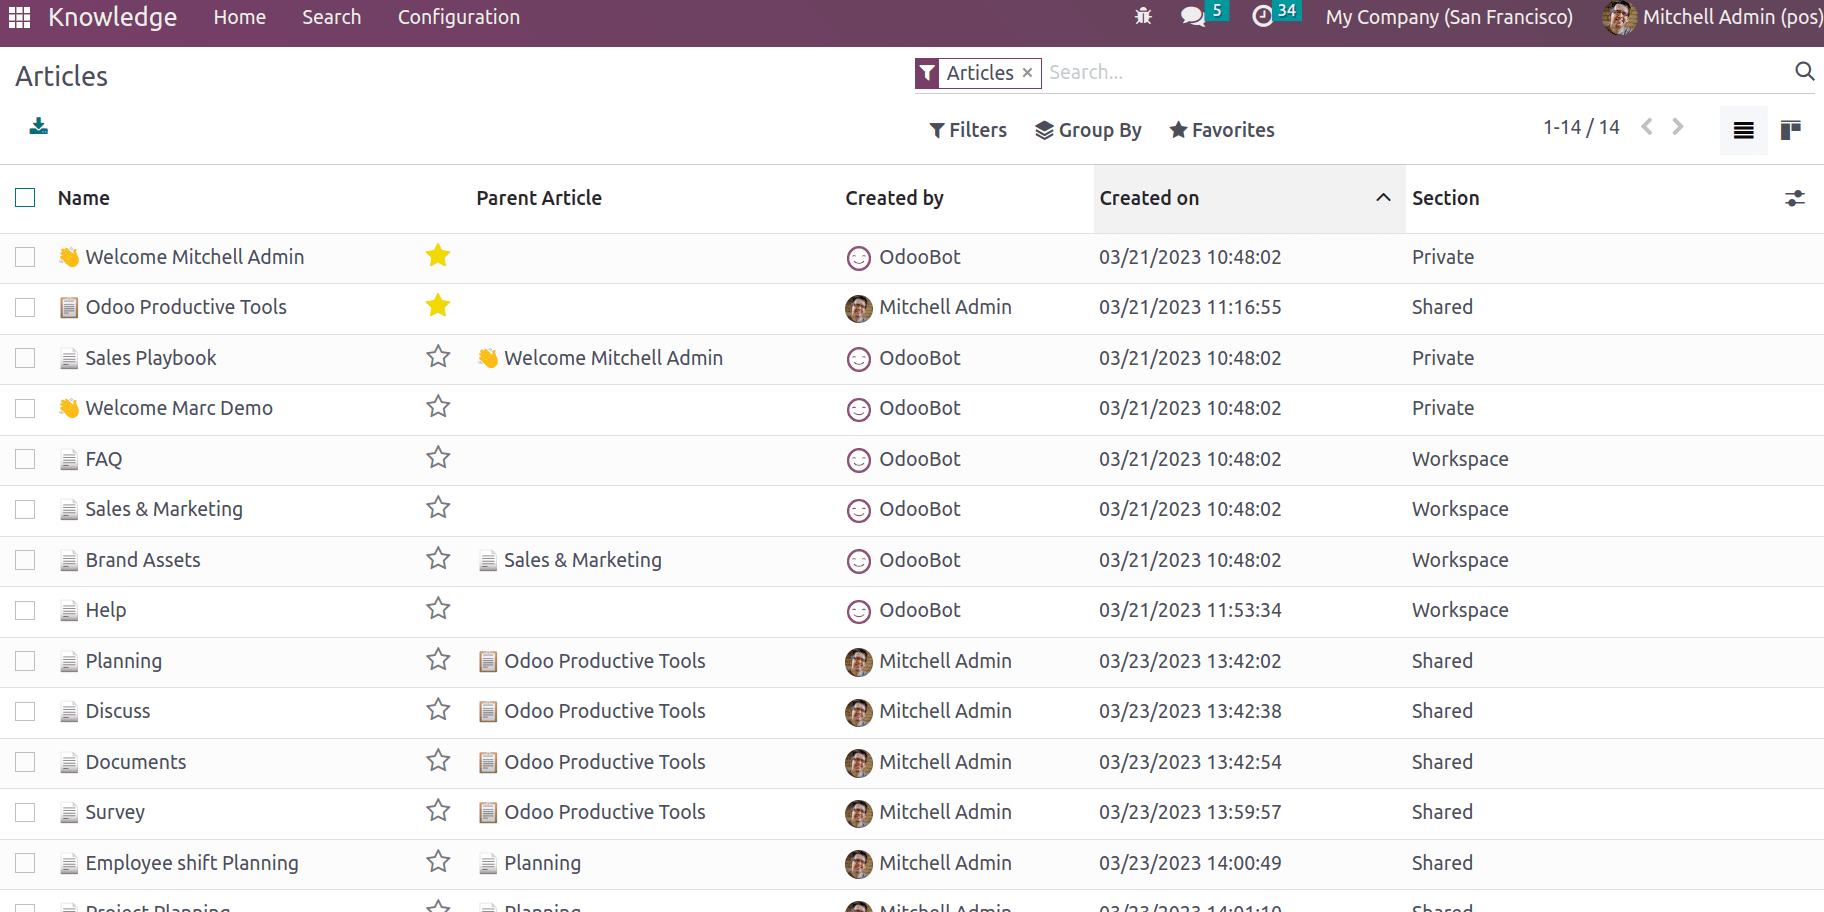
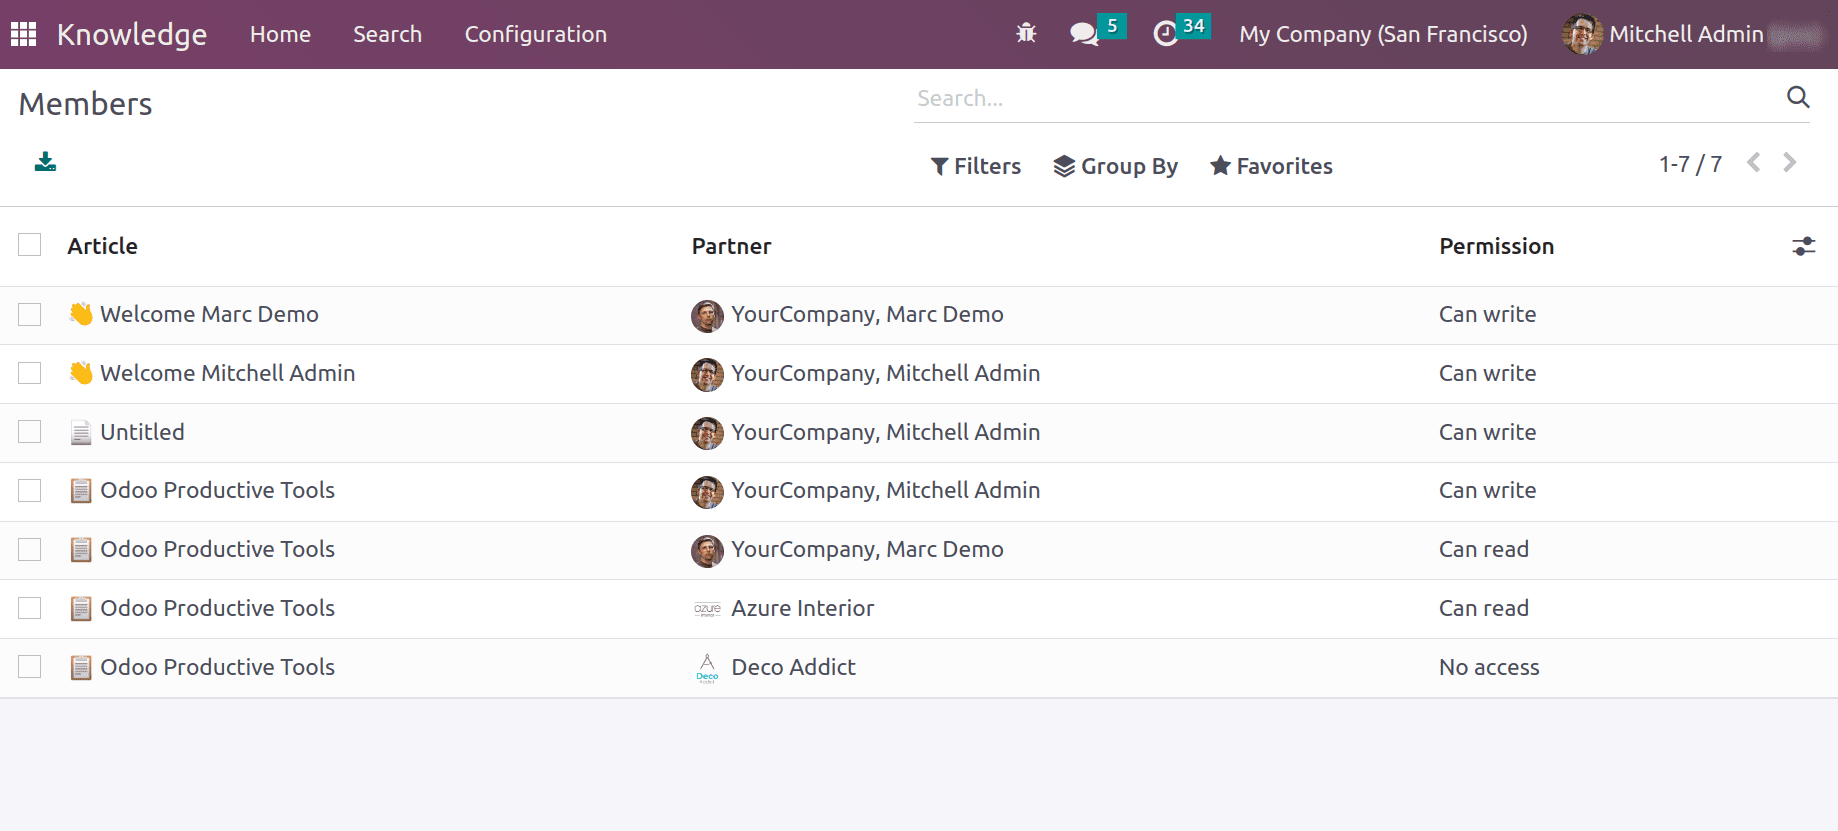
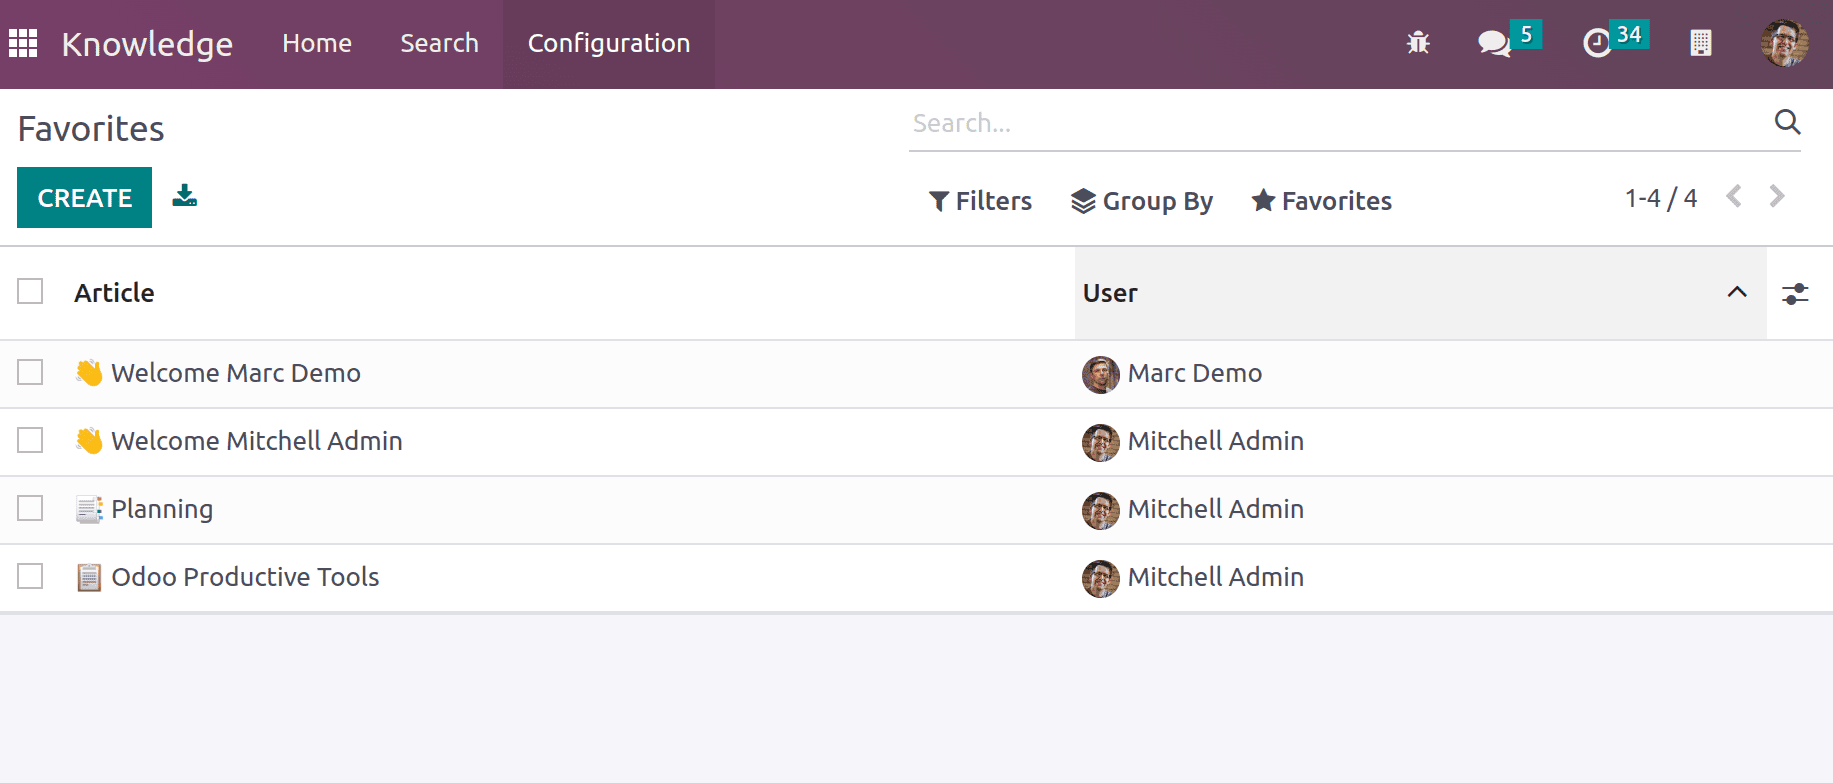
Under the configuration menu, details of members, favorites, and Trashed can be available.
Members: shows the details of members who have access to articles and their permission.
Favorites depicts the article that is marked as favorites and users.
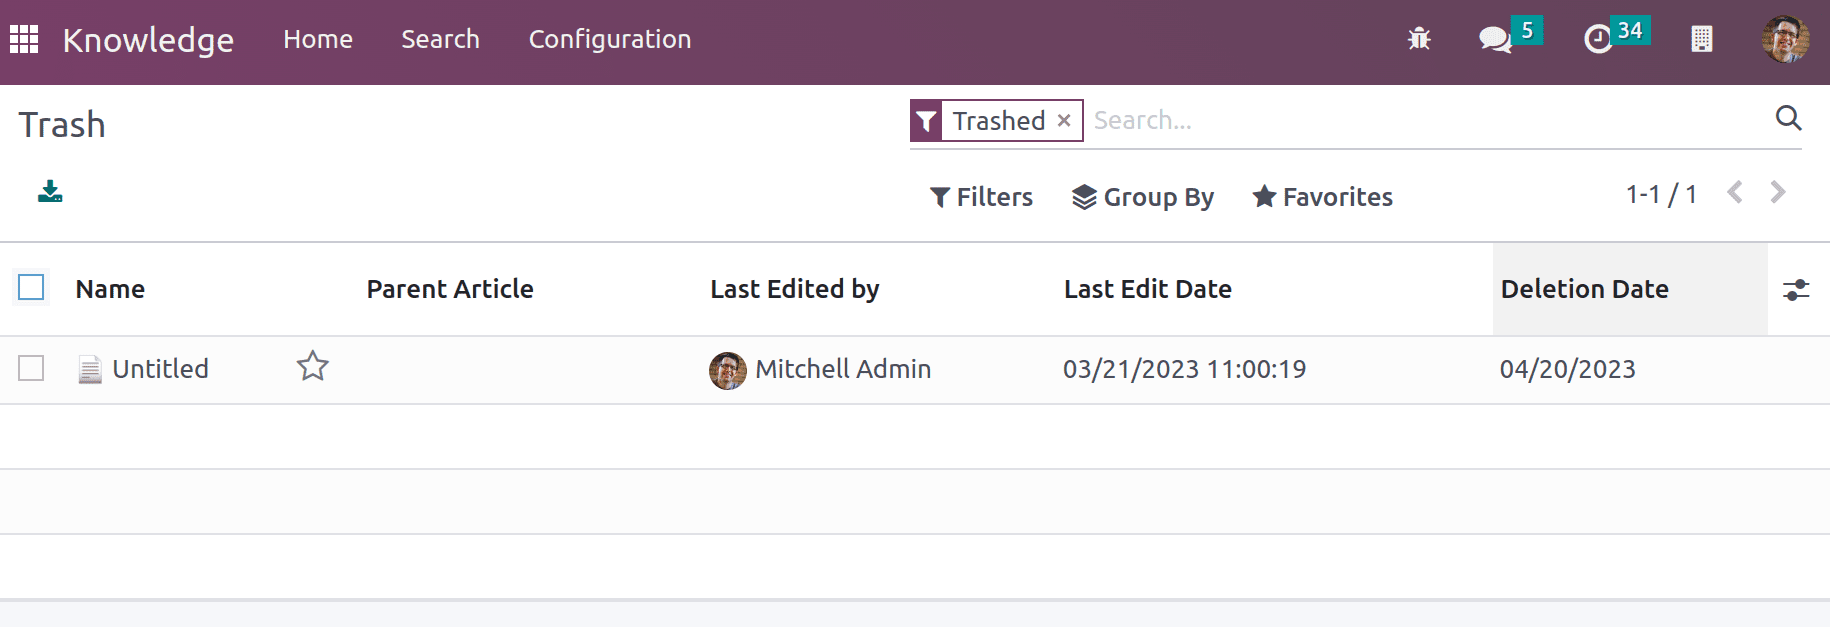
Trashed depicts the removed article details. They can be unarchive if required.
