It is very beneficial for a firm to evaluate or get feedback for their products and services from customers. Odoo 13 has an excellent module of Survey Management to cater to these, survey, polling, feedback, needs of a company or an organization. This feature of Odoo enables us to get suggestions and feedback from customers and employees.
How to Create a Survey
Let’s install the Survey Module first, click on the “Create” button to create a survey.
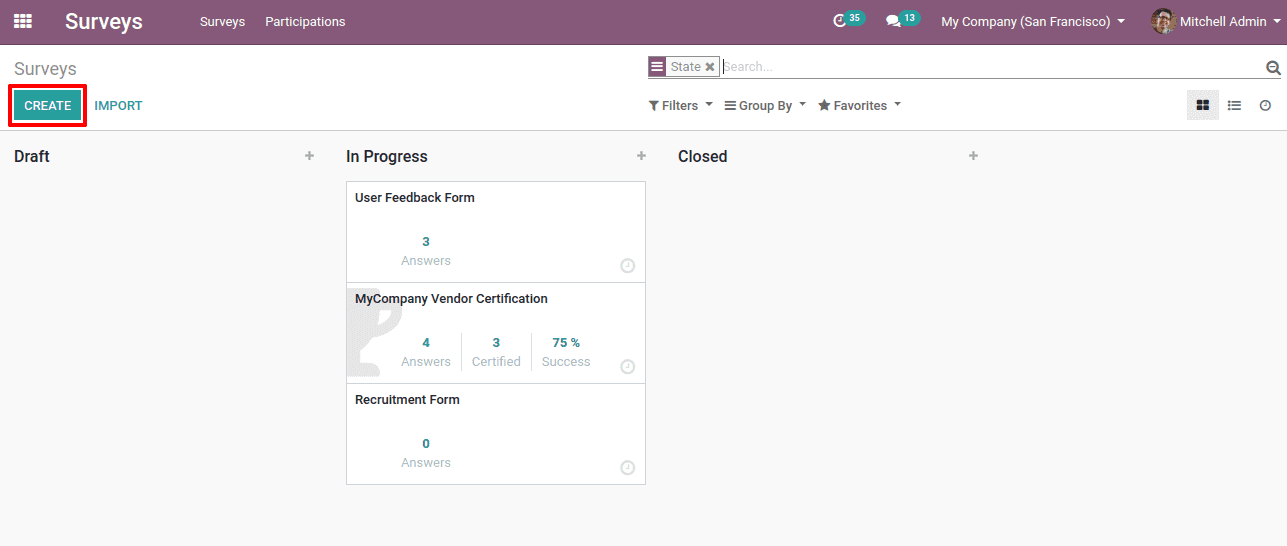
We shall create a survey.
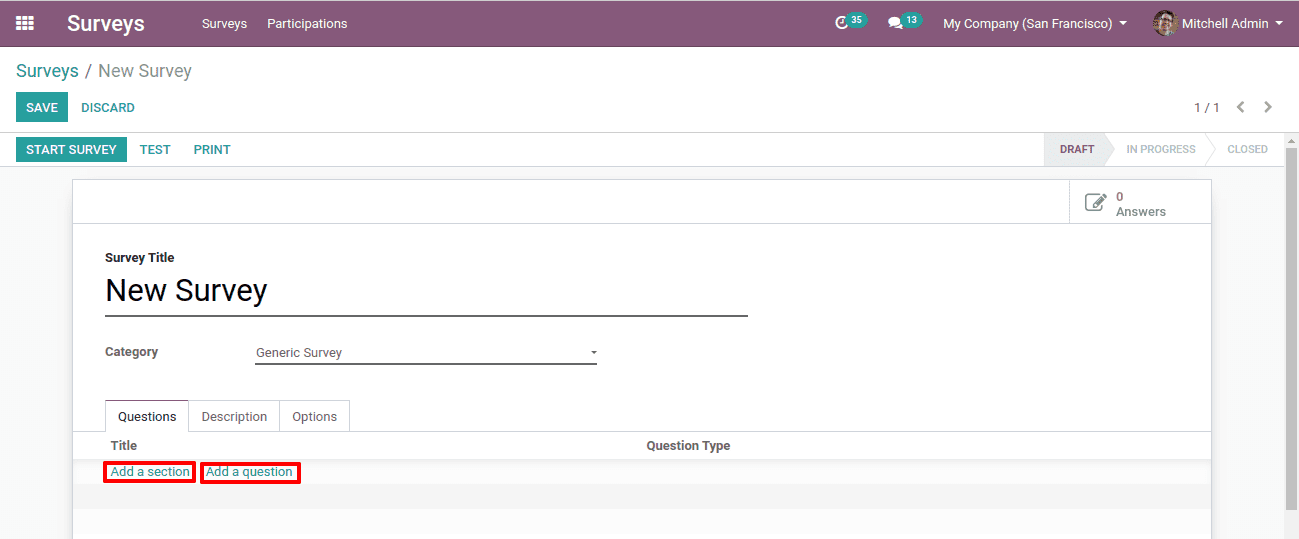
The form to Create Survey can be visible here.
Here we have to mention the survey title and category under which the survey comes.
We also have the options of “Add a Section” and “Add a Question”
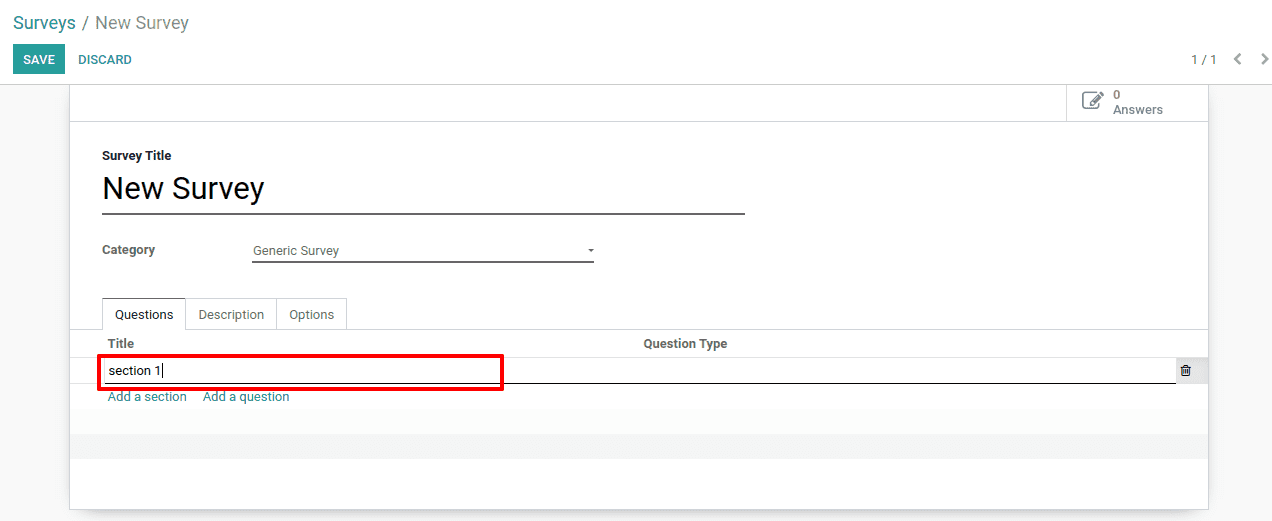
By clicking on “Add a section” we can create a section under which a set of questions comes. We can have as many sections as we need.
By clicking on “Add a Question” we can create questions for a survey. Here a pop-up window will appear to create questions.
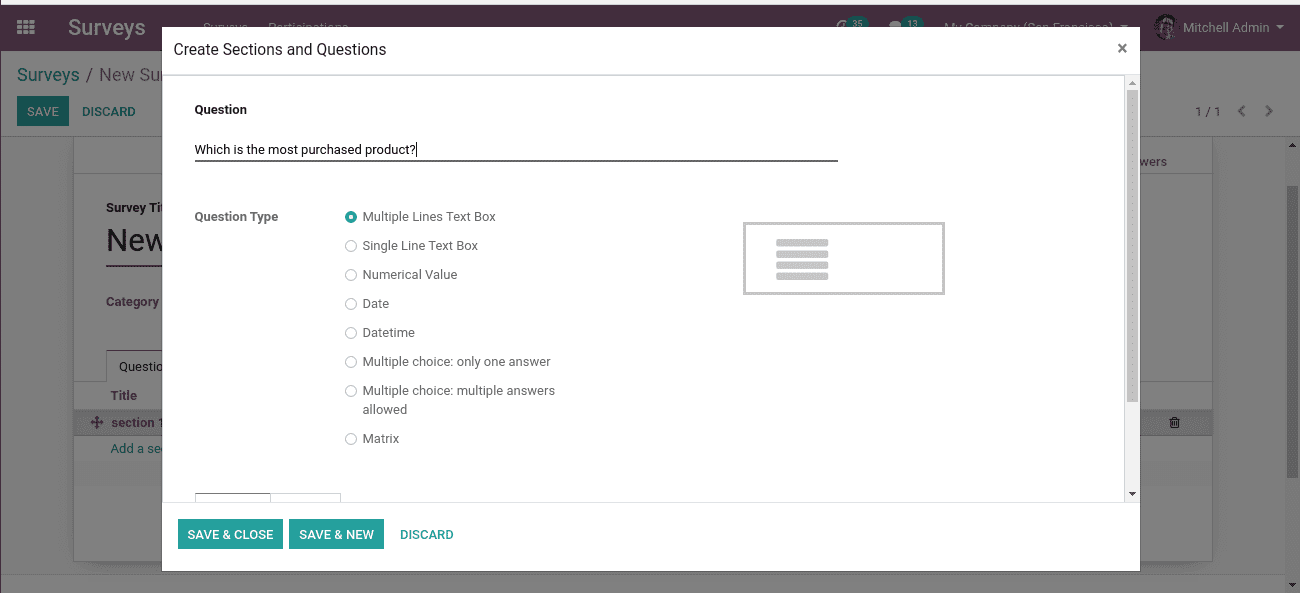
Here we shall enter the Question. Select the Question type and click “Save & Close” or “Save & New” to create another question.
Question Types
Here we have different types of questions for the best validation of answers.
1. Multiple lines text box: here the customers can answer with multiple lines like a paragraph. Used for feedback collection.
2. Single line text box: here the answers must be in a single line.
3. Numerical value: here the answers must be in numerical value.
4. Date: here the answers are in dates.
5. Date and time: answers can be in date and time.
6. Multiple choices, only one answer: here we can give options and the customers can select one as an answer.
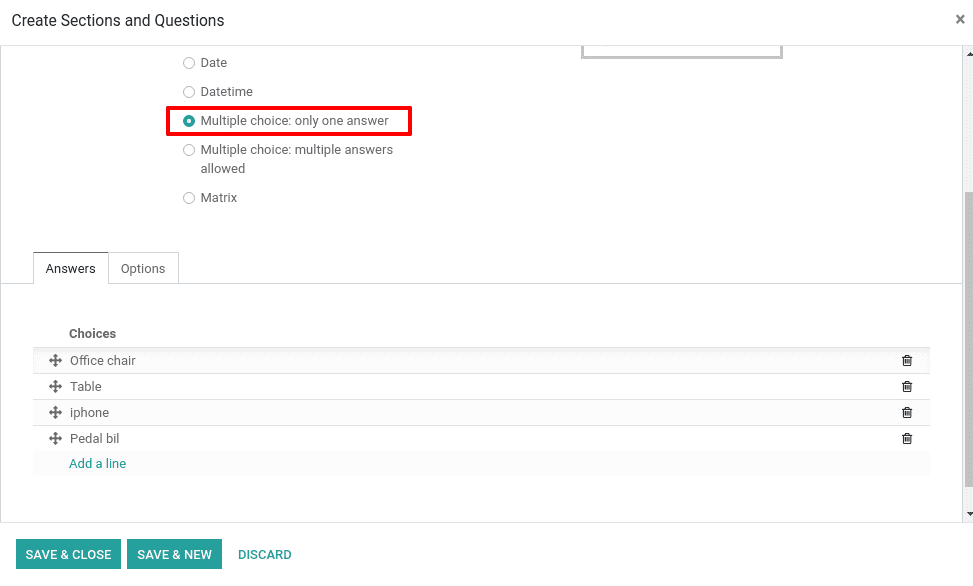
7. Multiple choices, multiple answers allowed: here we can give multiple options and the customers can select multiple options as answers.
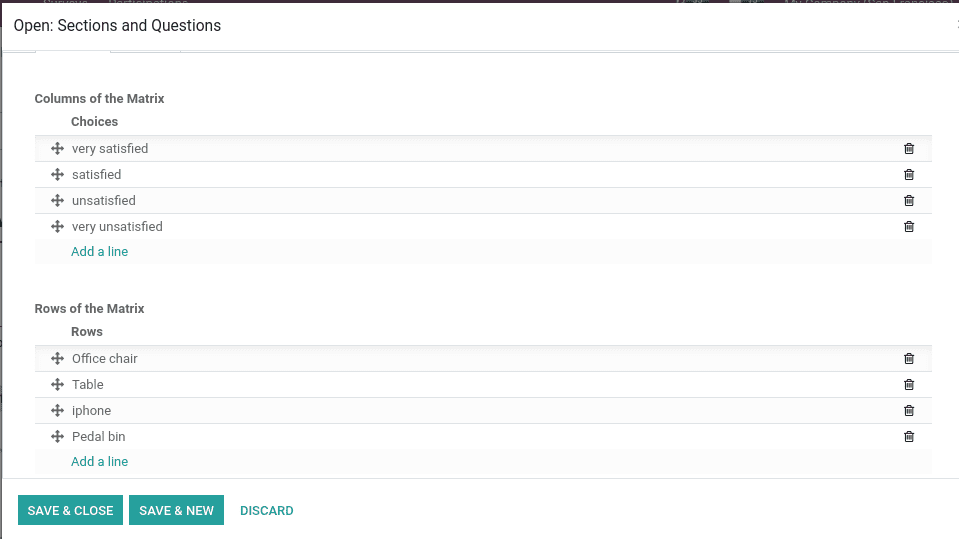
8. Matrix: here the answers are like ratings. This is mostly given to rate the product or services and so on.
Test Survey
Now after creating a survey, we shall have a test of it.
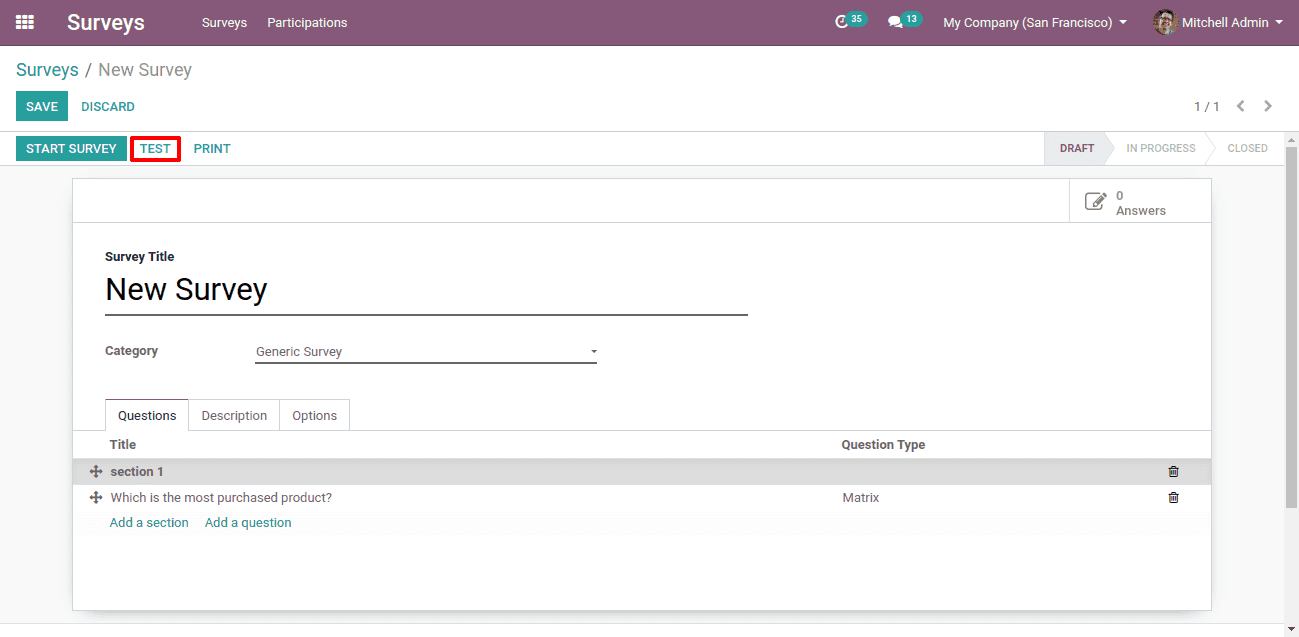
Click on the “Test” button to run the testing of the survey.
While clicking on it we will be redirected to a website to do the survey test.
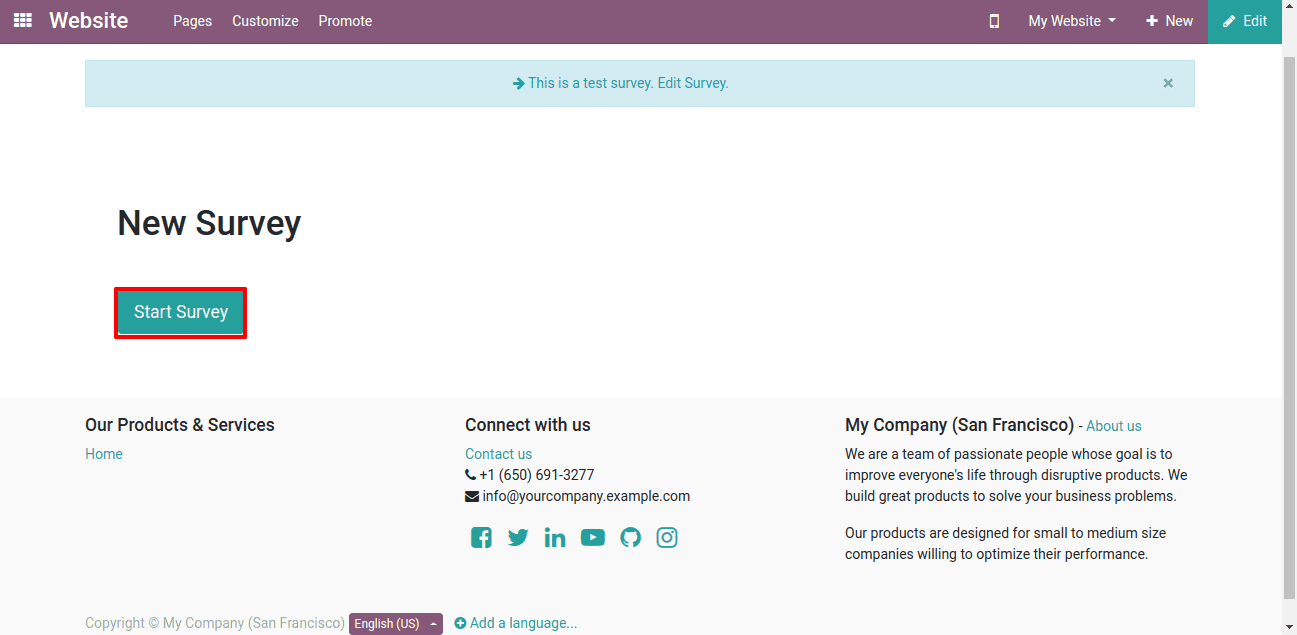
Here clicking on the “Start Survey” we shall start the test of it.
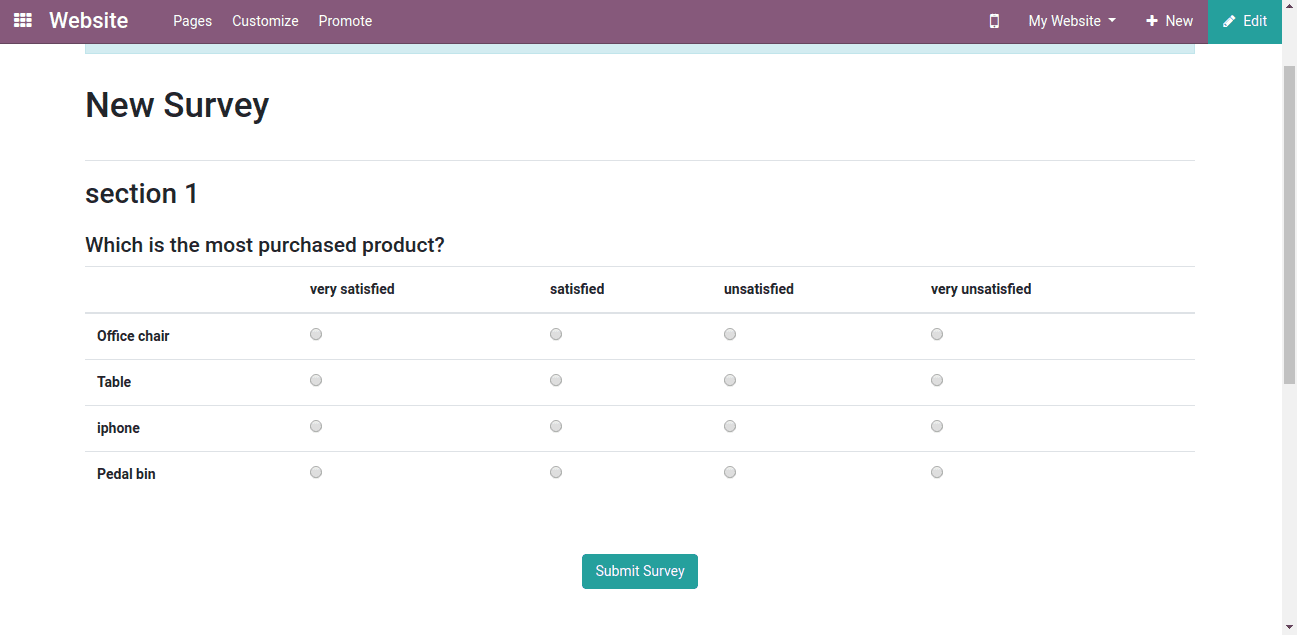
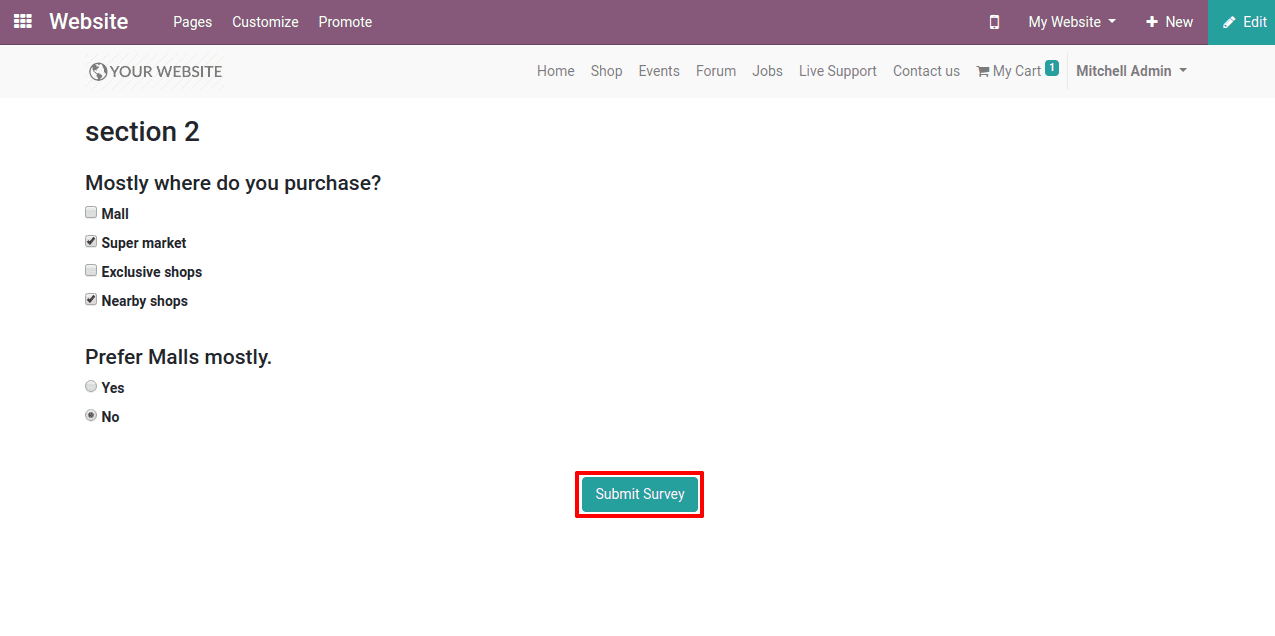
This is the Survey page on the website, here we shall answer it and click on the “Submit Survey” below to submit it.
Here we have the option to review our answers too.
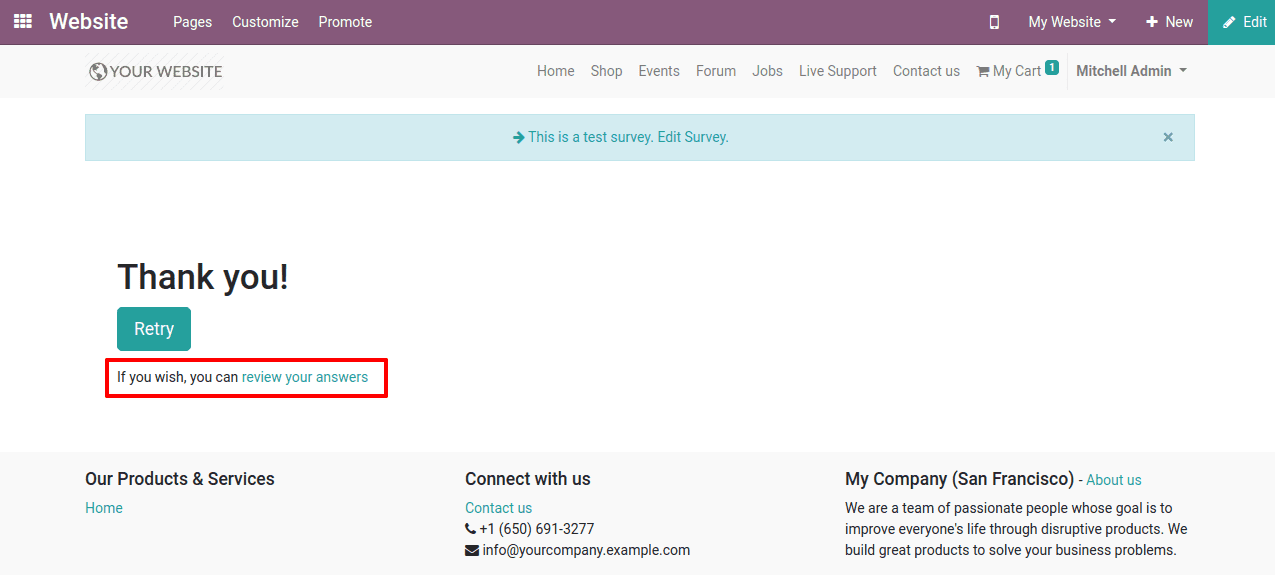
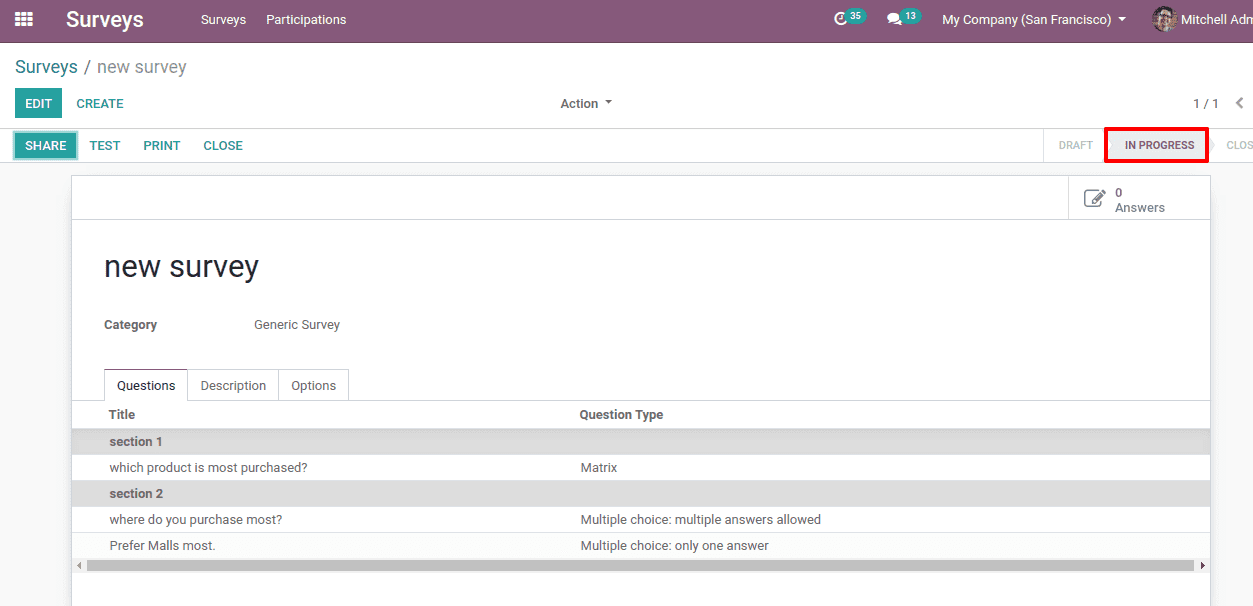
After the test survey, we shall start the real survey by clicking on the “Start Survey” button.
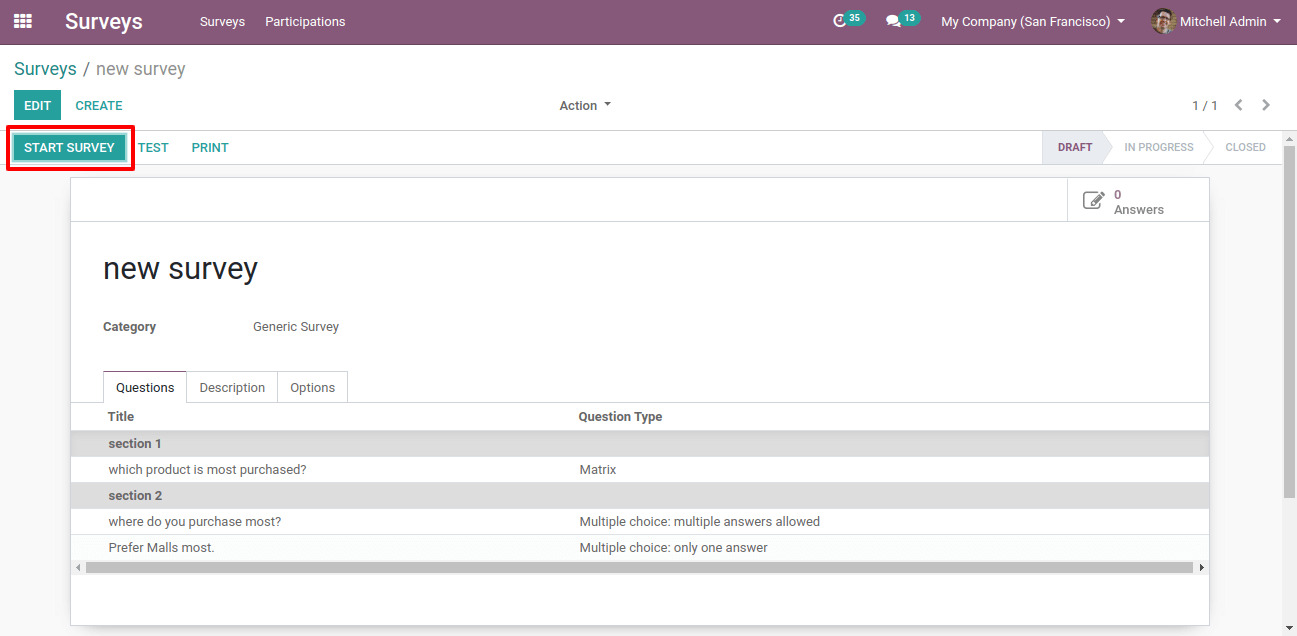
Now we can see the status of the survey as in Progress.
Survey validation
The answer that the users have given must be validated.
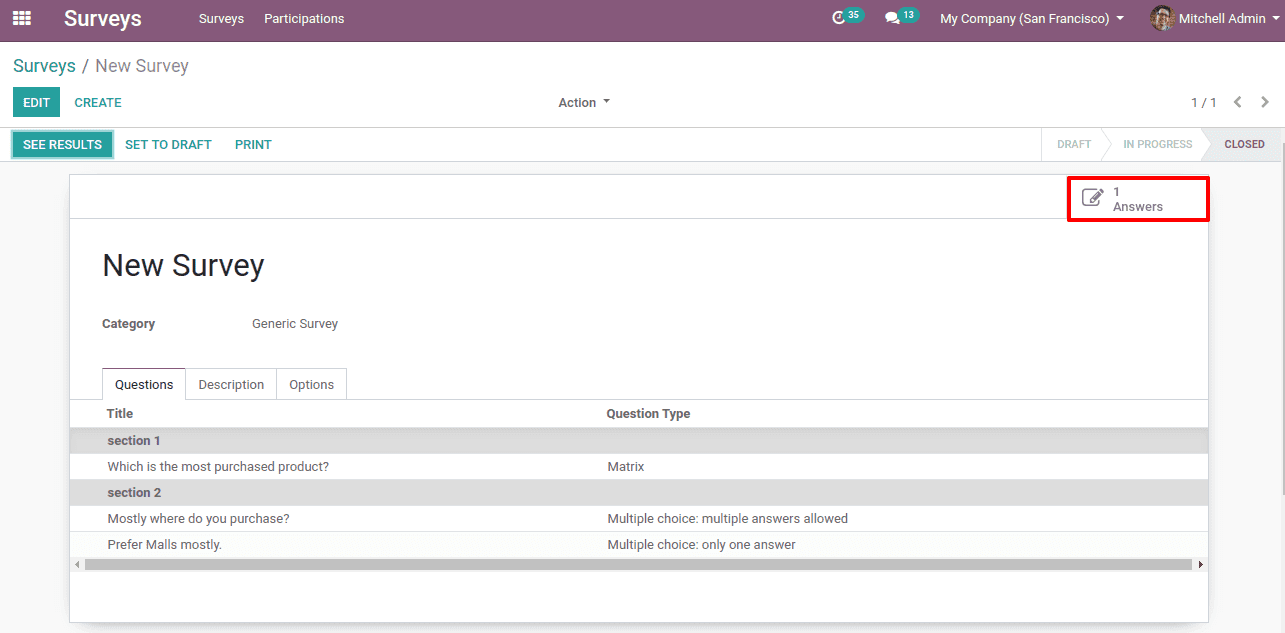
Here on the “Answers” smart button, we can see how many answers have come.
The answers can be visible by Clicking on it.

Here we can see the status as completed.
Clicking on the user we can see the answers that the user has answered.
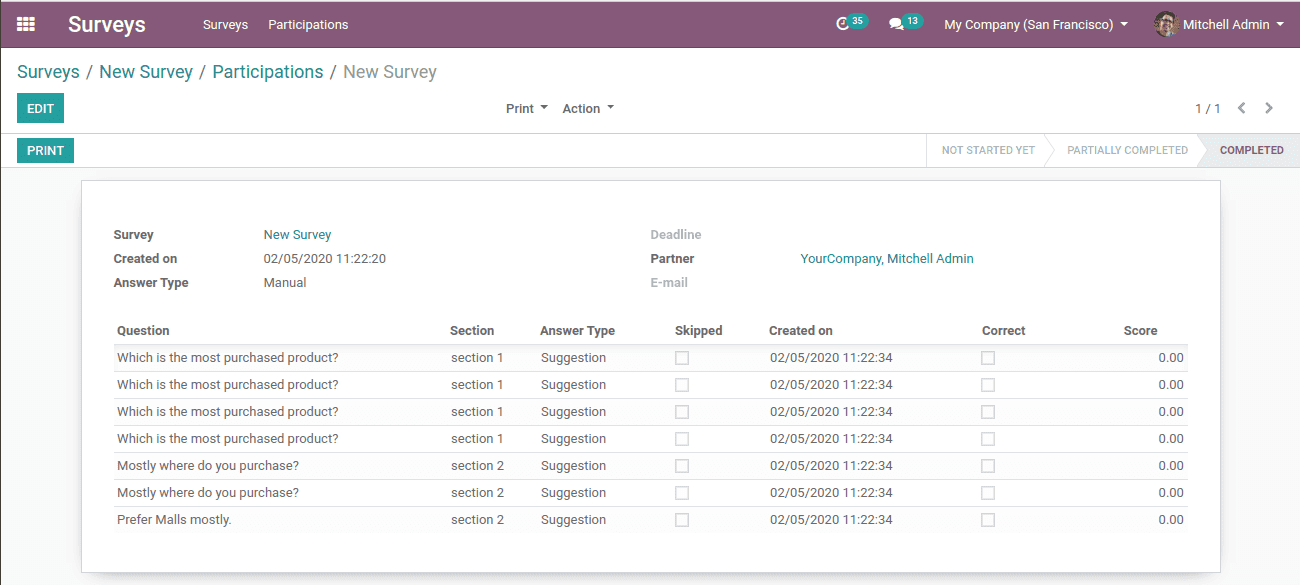
Here we shall click on each line of the questions to see the answer. Then a pop-up window of the answer will appear.
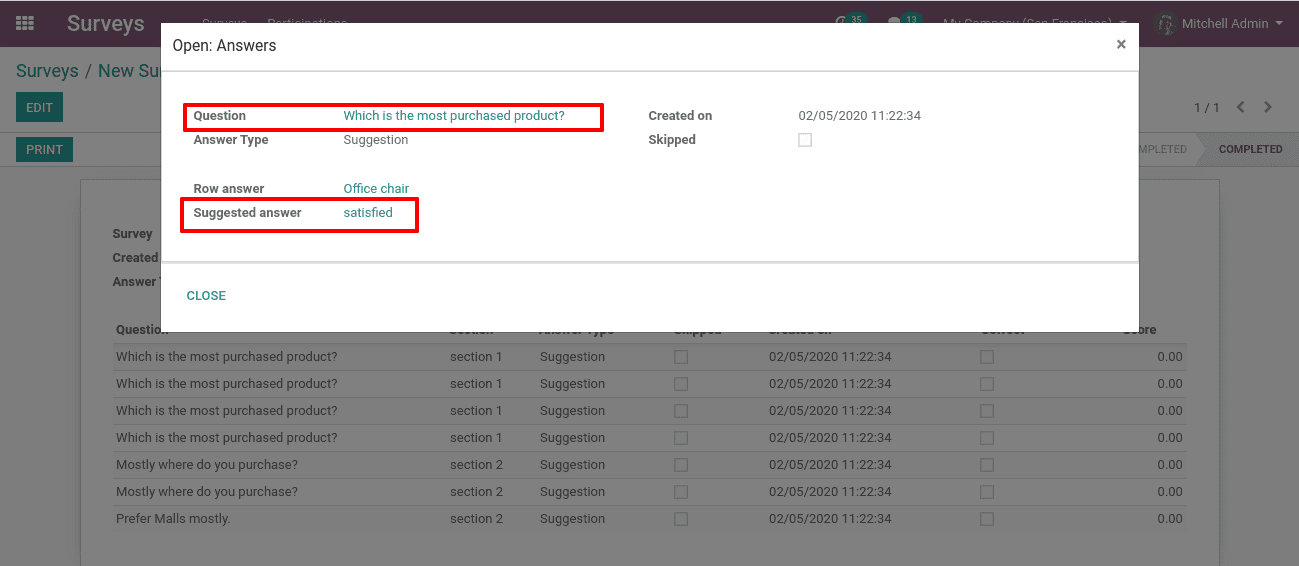
Here we can see the question as well as the suggested answer by the user.
Survey share
We have the “Share” button here to share the survey with different users or the public.
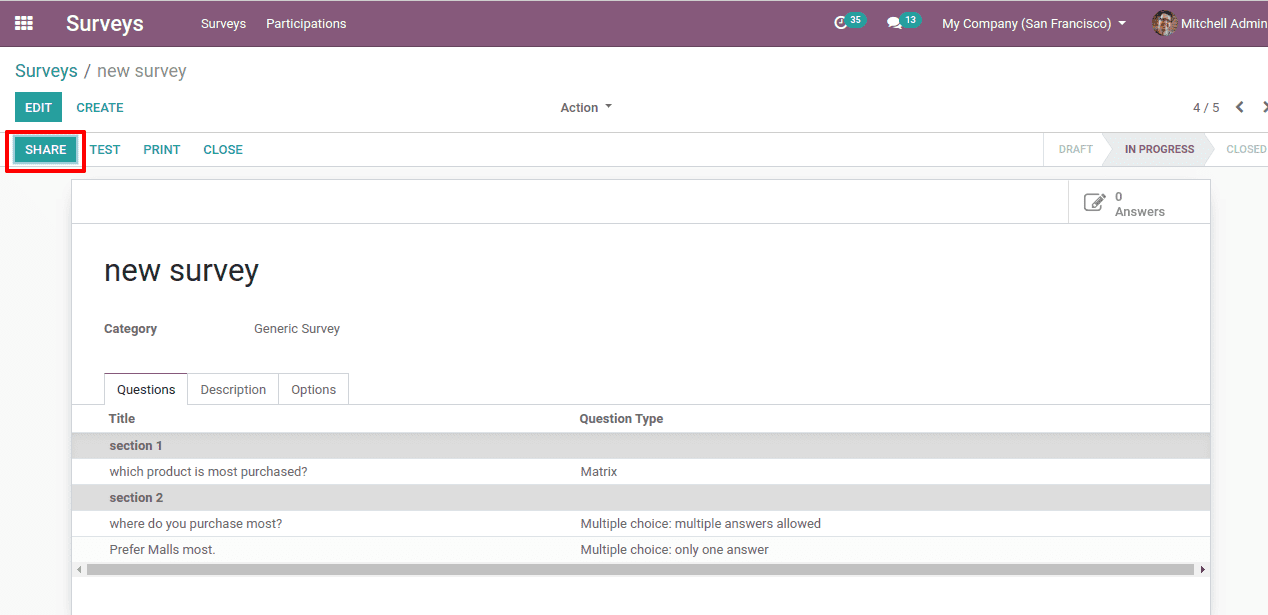
Clicking on it a pop-up window with a link appears.
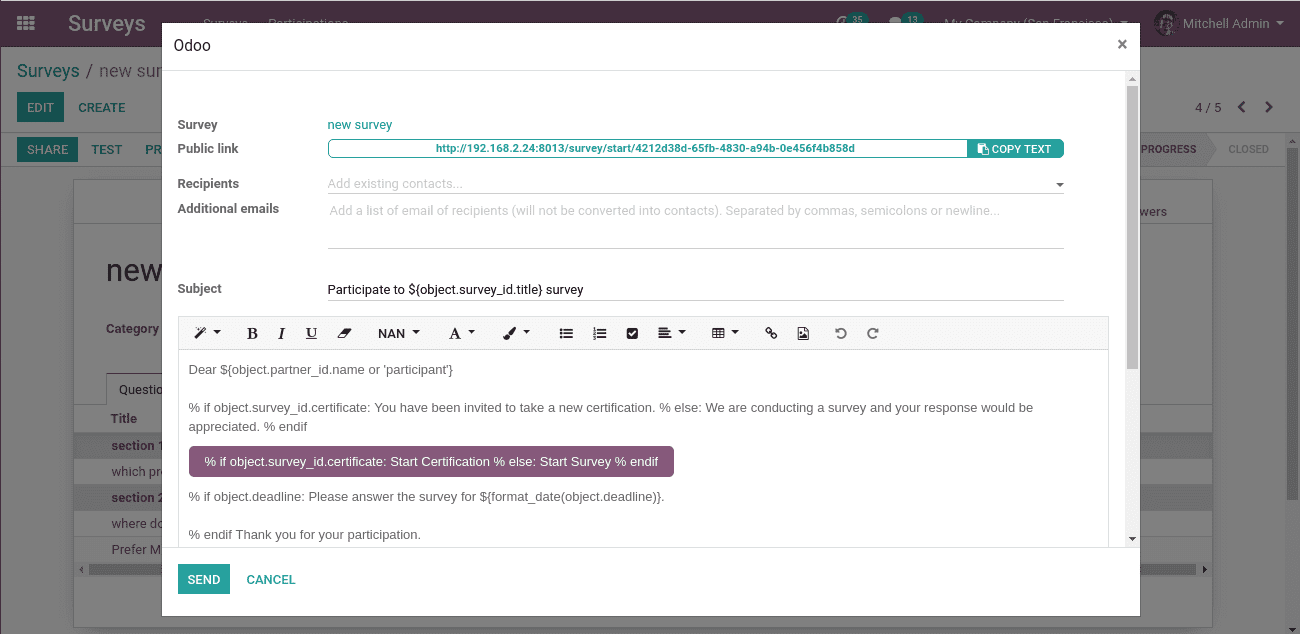
Here we shall add the recipients of the mail. If needed we shall copy the link to send it to some others.
Now you can click on the “Send” button.
Survey report
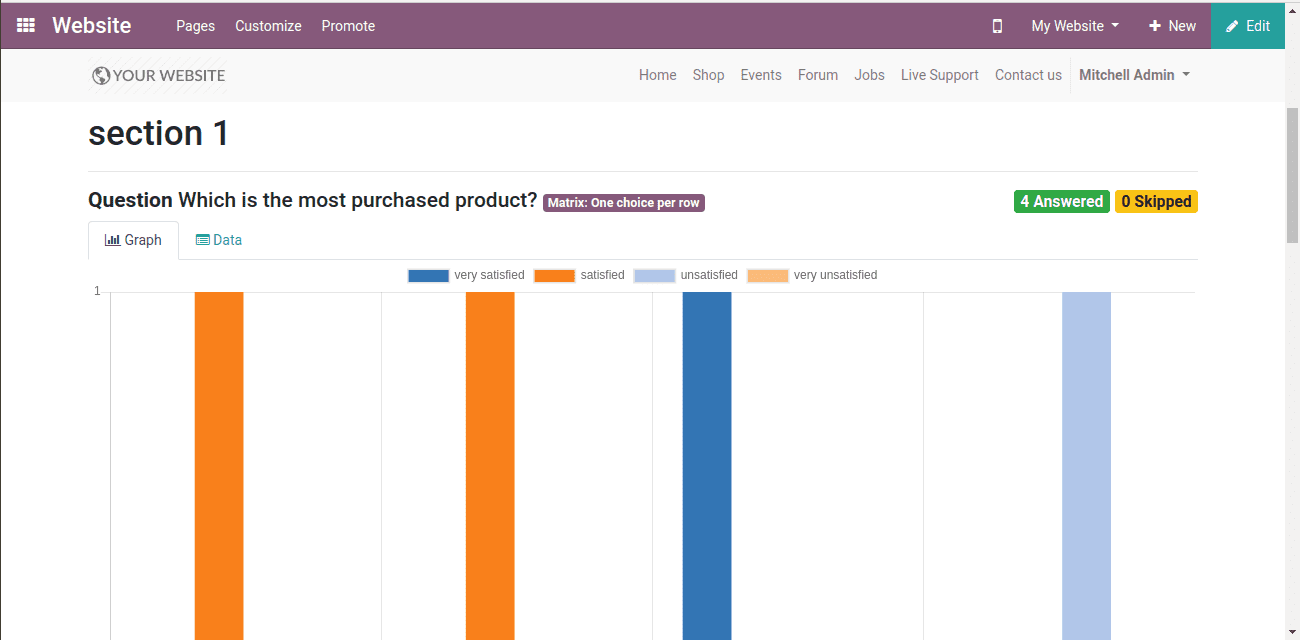
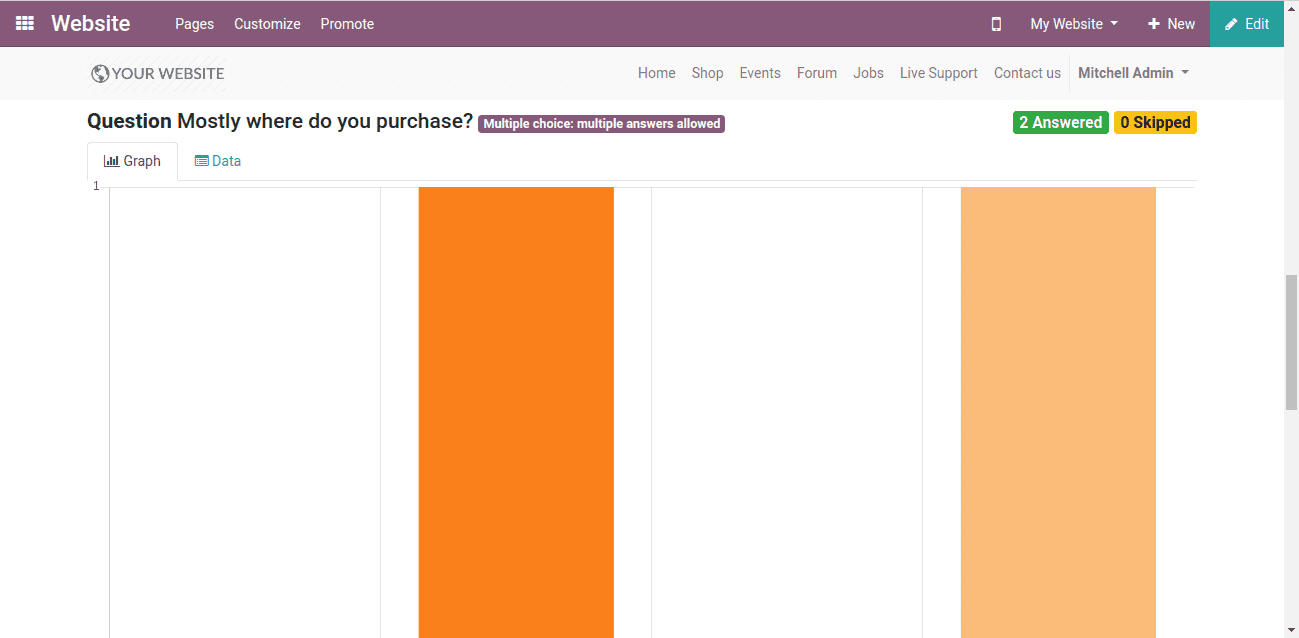
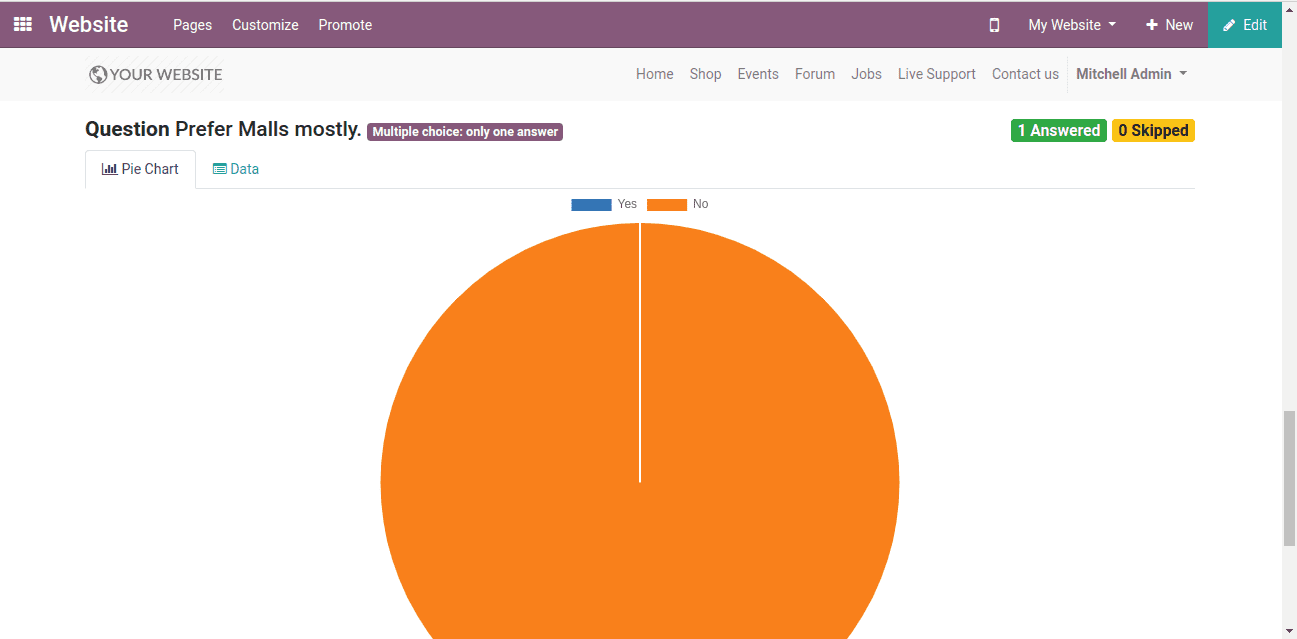
Clicking on “See Results” we can see the analysis report of the answers given by the users.
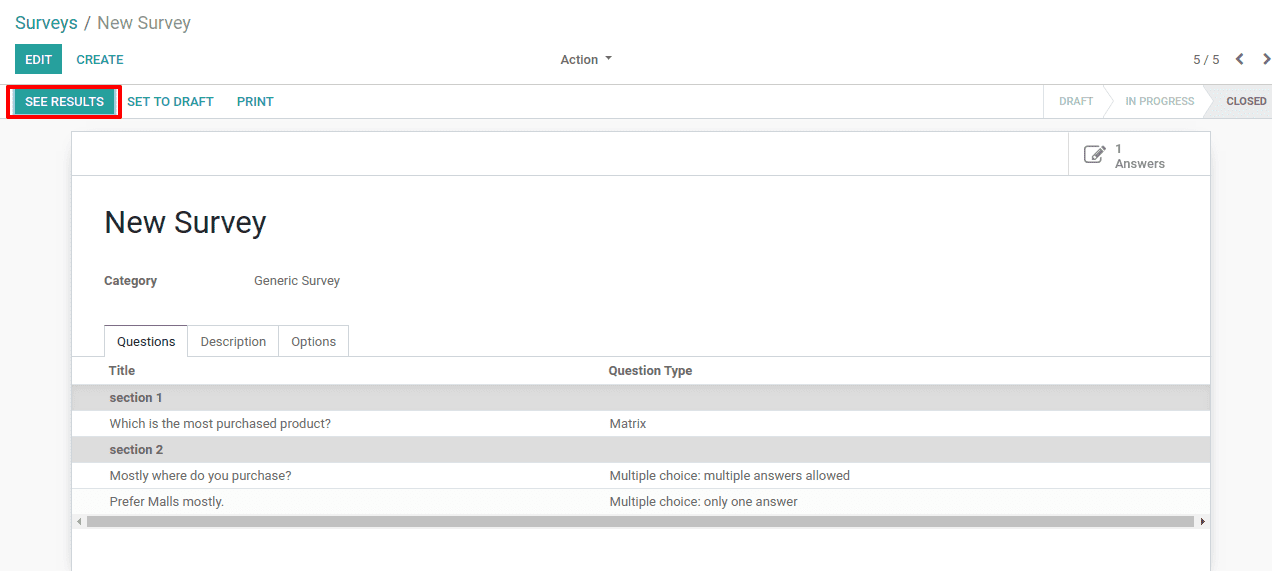
Clicking on it we shall see all the answers and its analysis on different graphs.
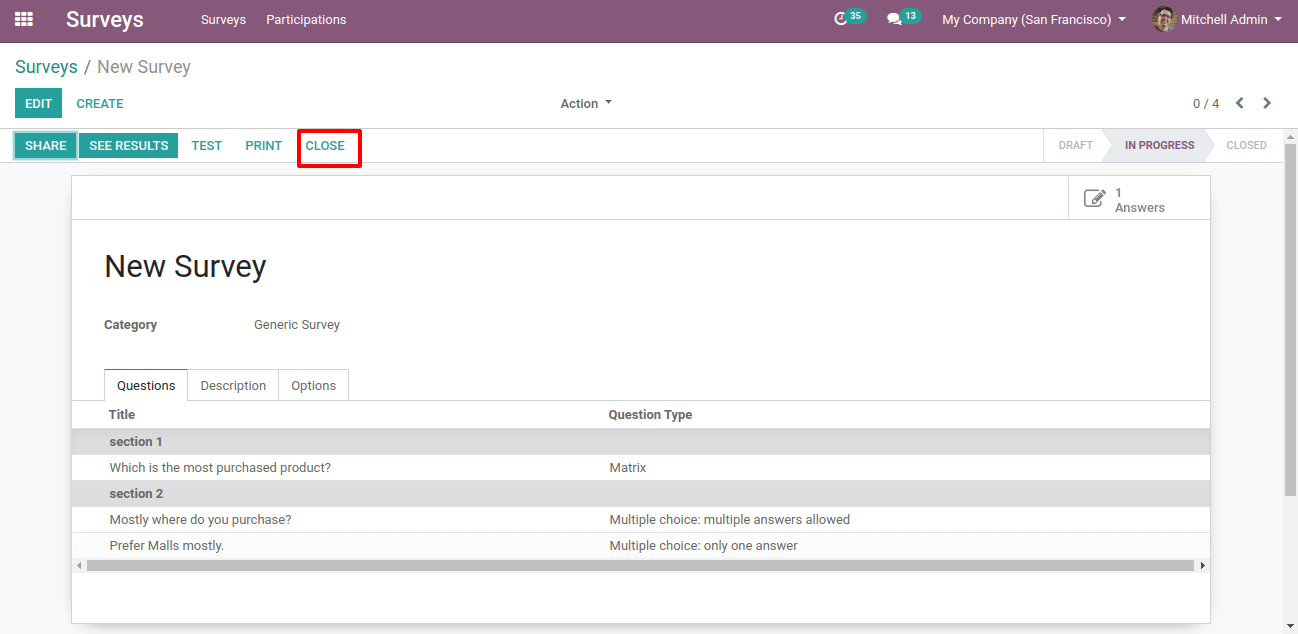
Now when all the survey is done we shall close the survey.
For that, we shall click on the “Close” button.
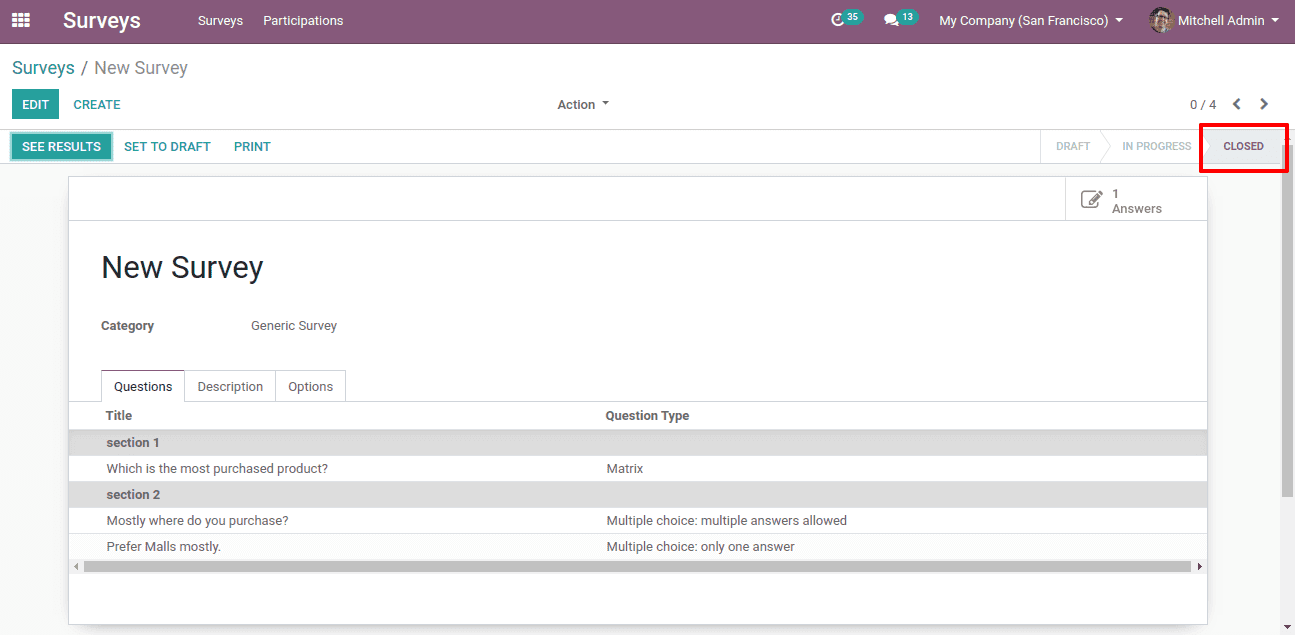
When we close the survey the status of the survey will be closed.
This covers information in general about ‘Survey Management in Odoo 13’.