Freight management is the process of monitoring and controlling the delivery of goods. Companies large and small that handle freight movements need to determine how to get their freight to the right destination on time and at the lowest possible cost. In the transportation process, such a company is called a shipper, indeed it uses a third party to transport the goods.
The freight management module in Odoo will help you to manage all aspects of your freight operations. Features like transporter details, Vehicle information, route information, with delivery order details are available in this module. It will manage all your transport entries. You can install the module using the following link.https://apps.odoo.com/apps/modules/16.0/freight_management_system/
This blog is to help you to understand the workflow of the Freight Management application.
1. Freight Orders
When you install the module, an additional menu called Rental Management is created under the Freight menu. Go to shipping, then create the freight orders.
Here you can create the freight orders with the appropriate fields and fill in the data.
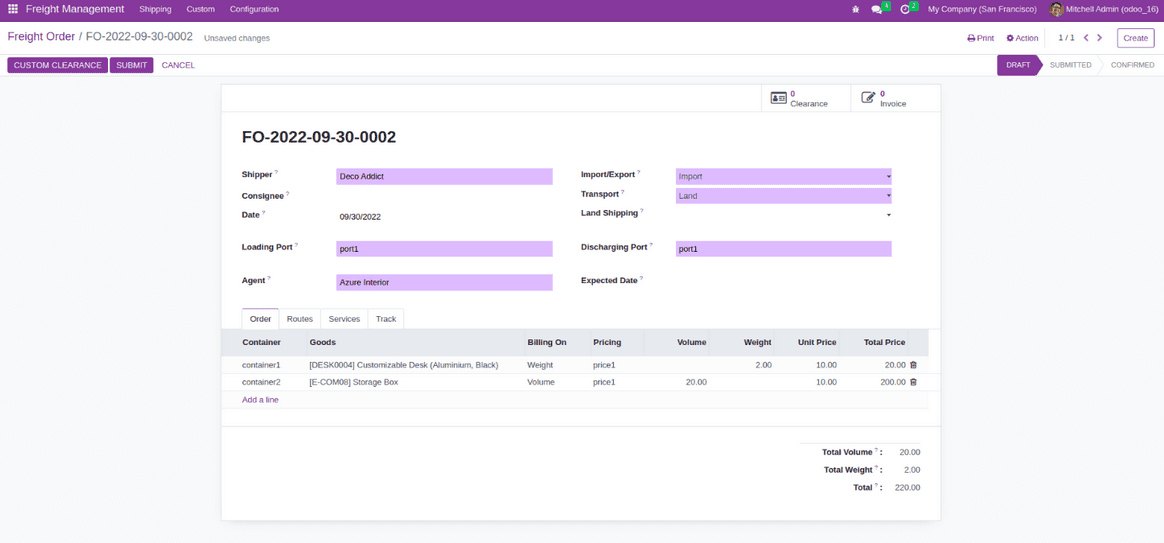
2. Freight order lines
Add a scare order line. Choose the right shipping container, payment method and price. It will calculate the total cost according to the collection and cost. If we add more items than the box can contain, a warning message will appear.
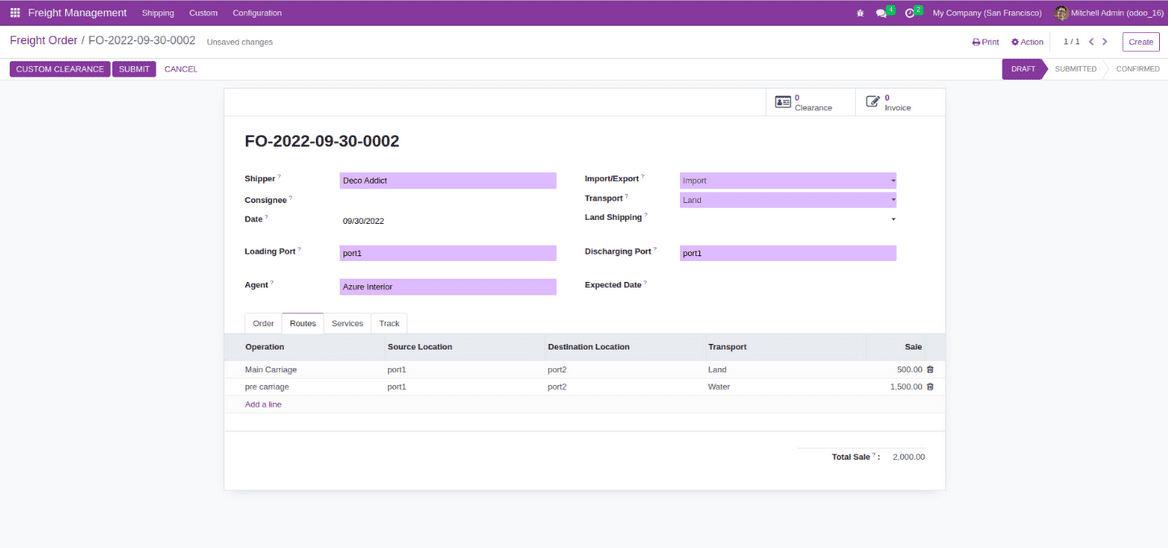
3. Freight Operation Routes
Identify the load. We can also add actions to the method.
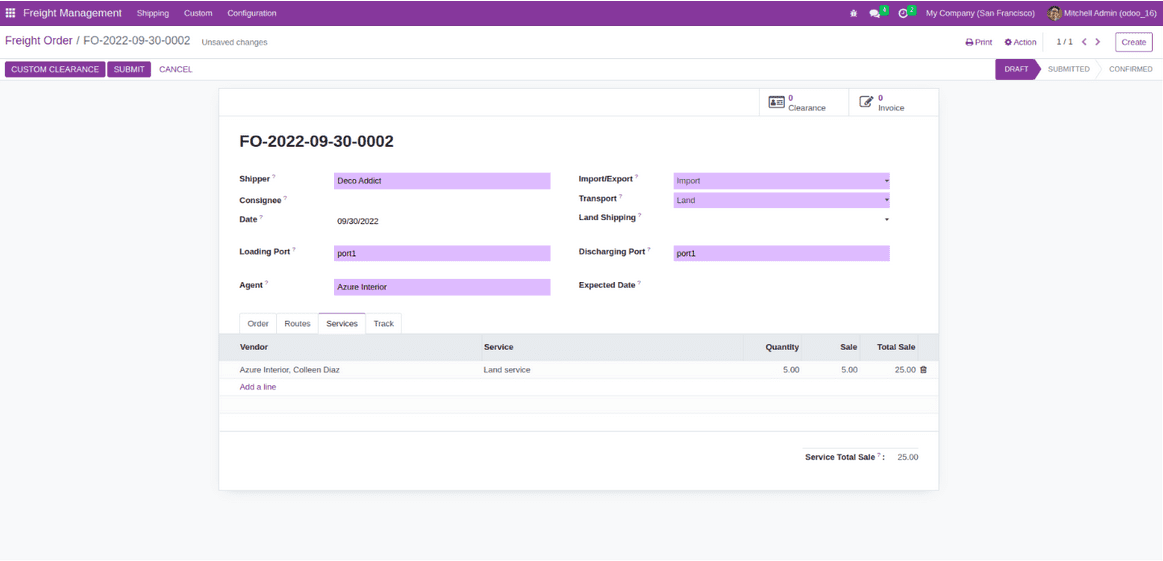
4. Freight Operation Services
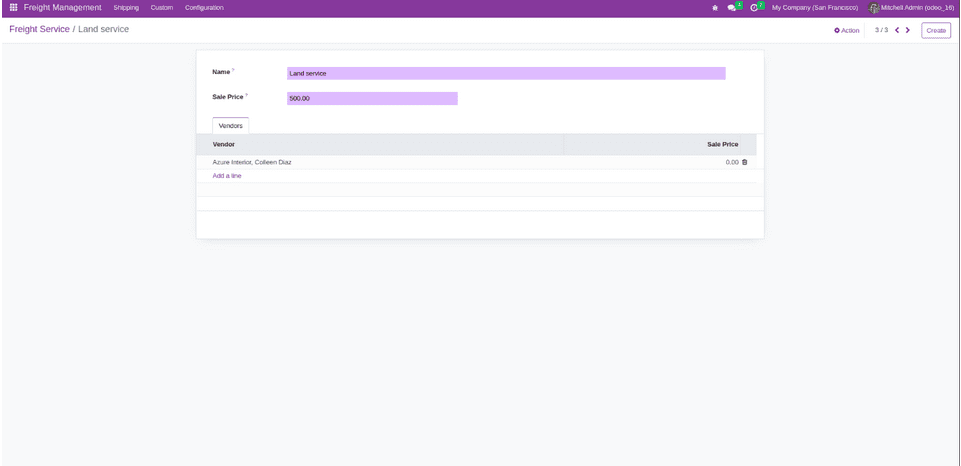
Defining the services for the shipping. Also, we can add the Services. We can calculate the total sale amount based on the vendor and the services provided by the vendor.
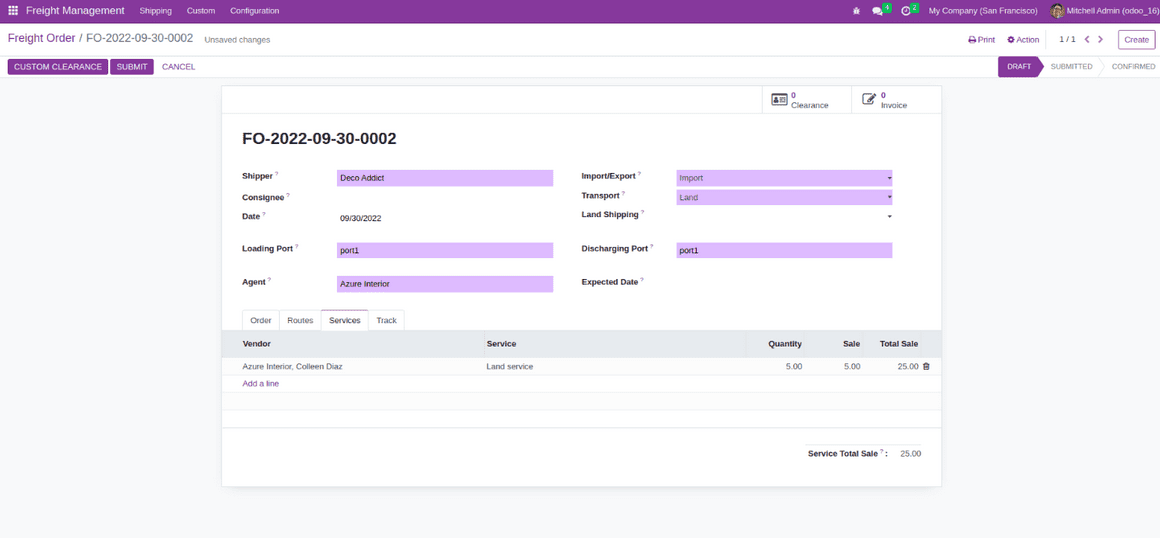
5. Custom Clearance
We can create custom clearance for the freight order by clicking the custom clearance button. We can view the custom clearance in the custom clearance menu under the custom. After Conforming the custom clearance, we can confirm our freight order.
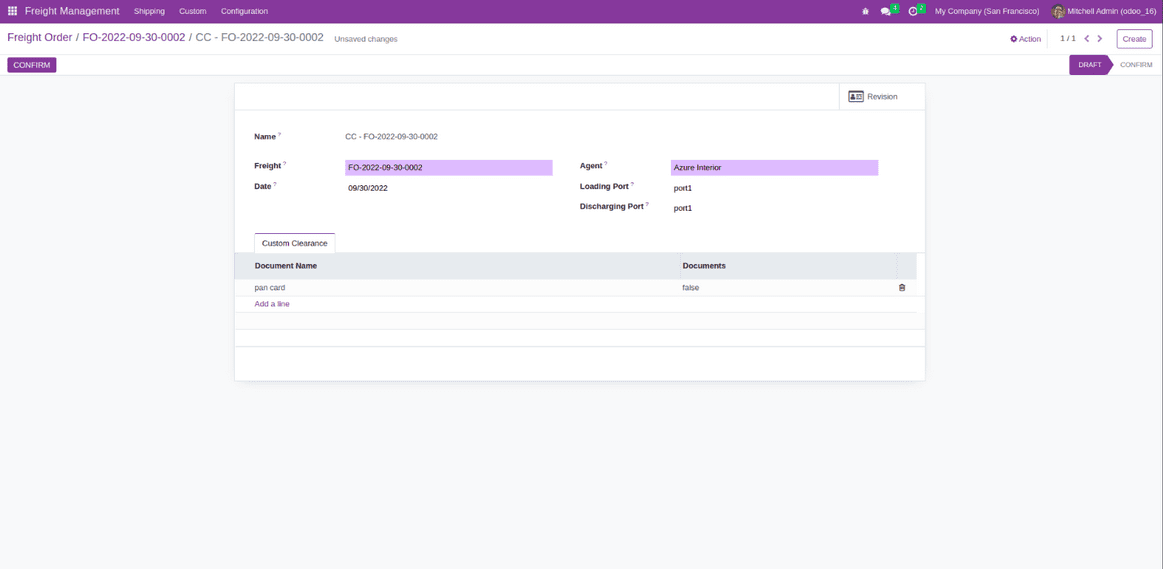
6. Custom Clearance Revision.
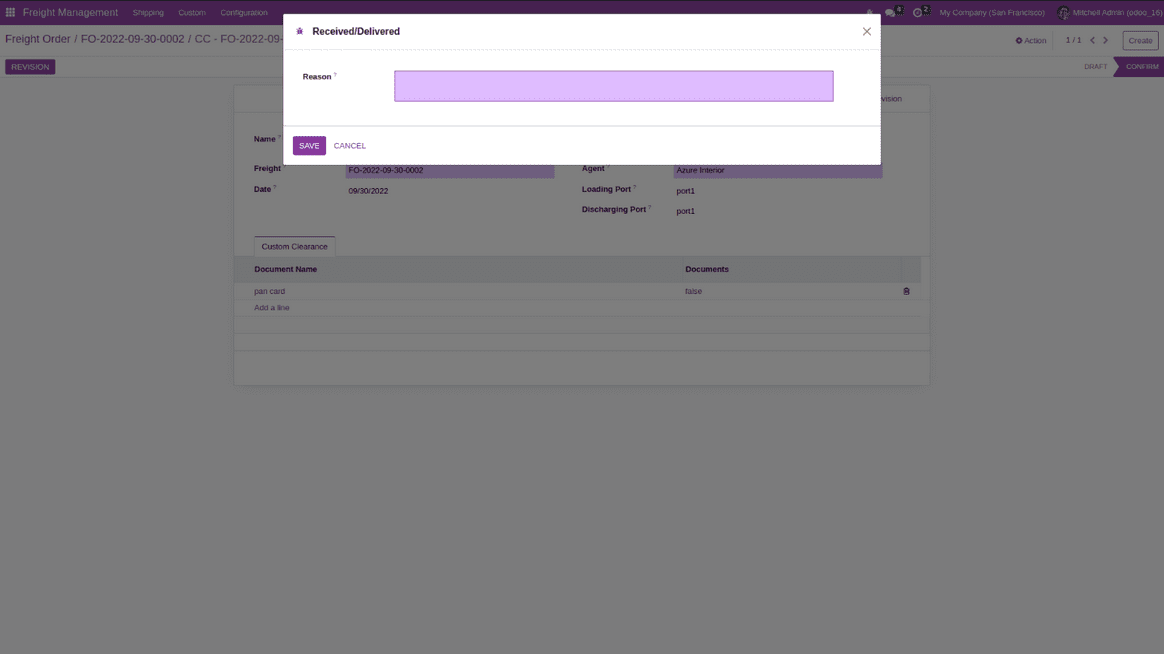
We can create the revision for the custom clearance by clicking the revision button. We can view the custom clearance revision from the Revision smart button.
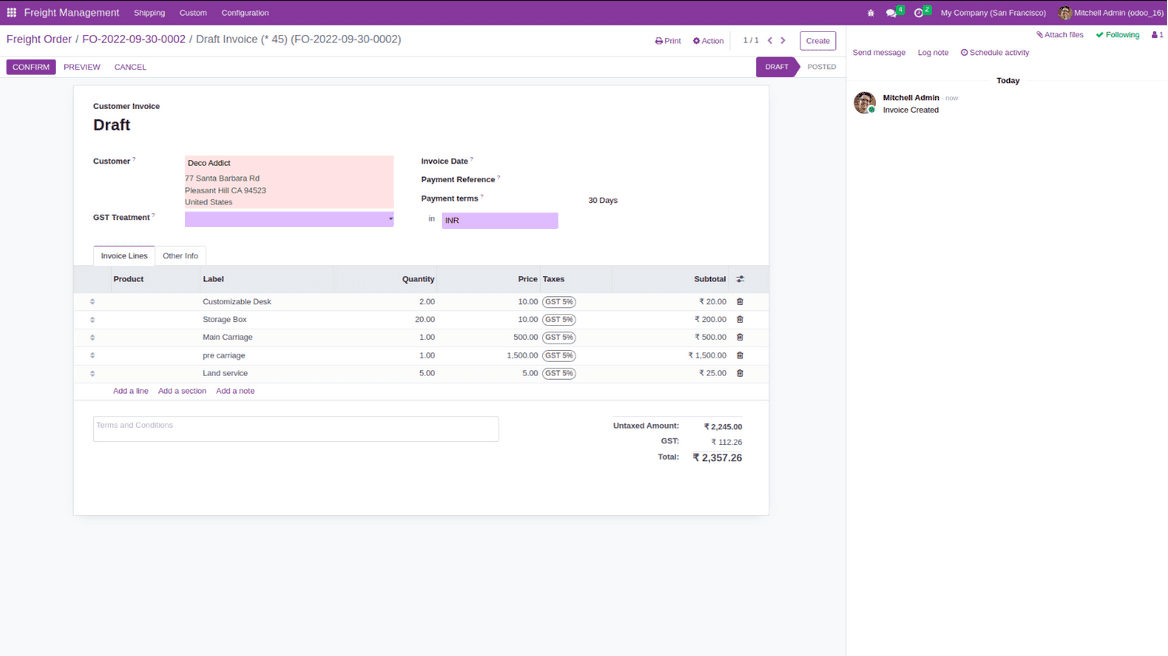
7. Freight Order Invoice
We can create the invoice for the freight order by clicking the invoice button.
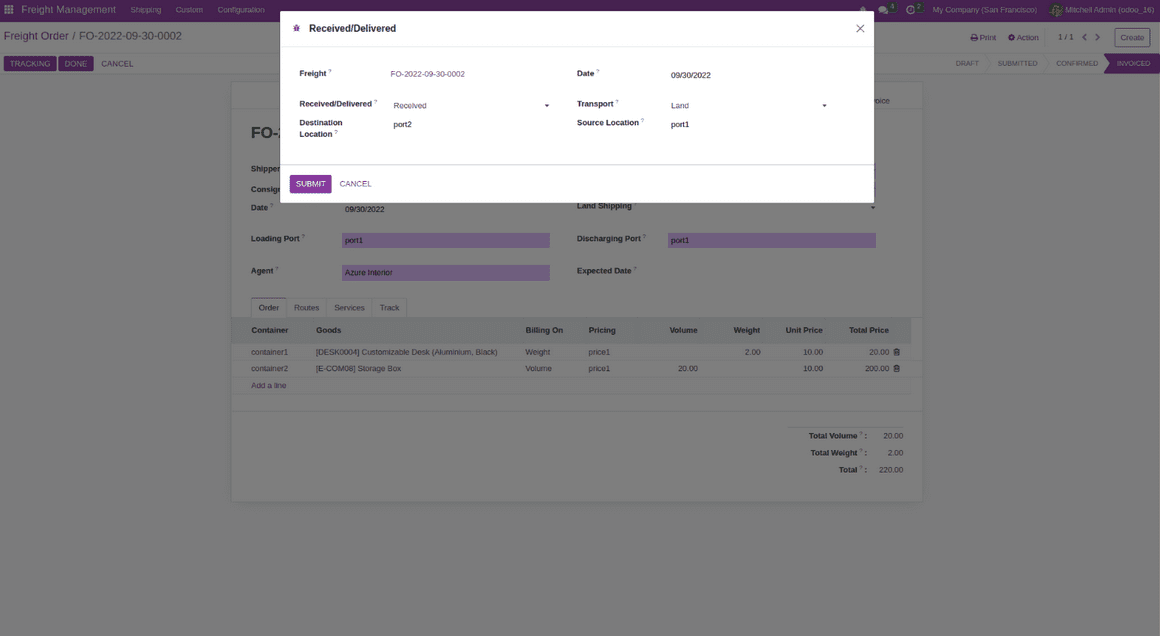
8. Freight Order Tracking
we can track our order by clicking the tracking button.
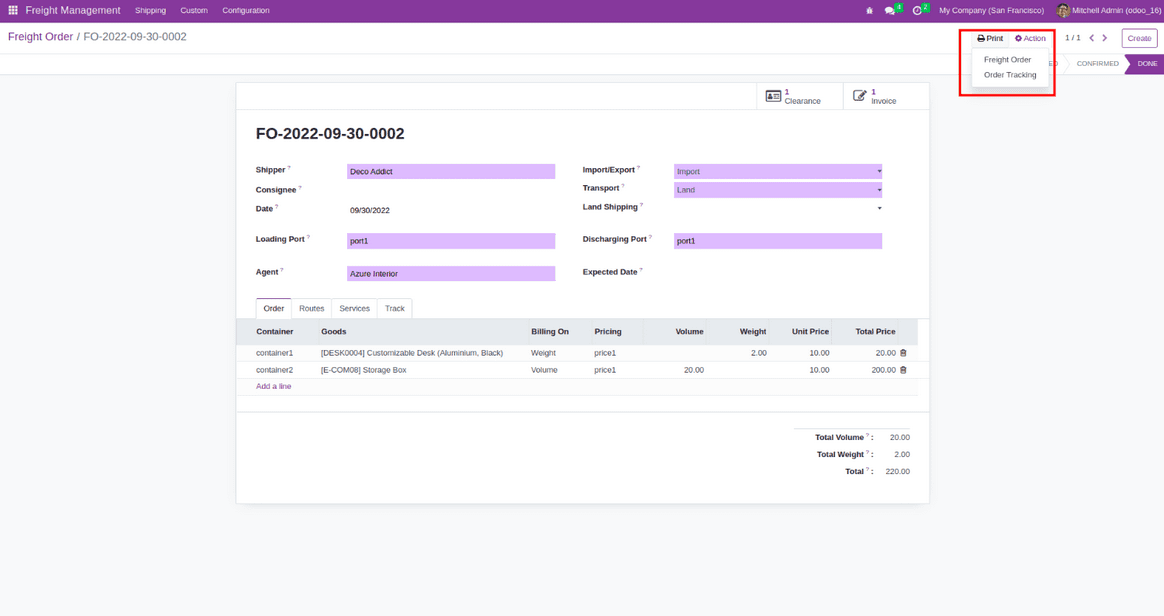
9. Freight Order Reporting.
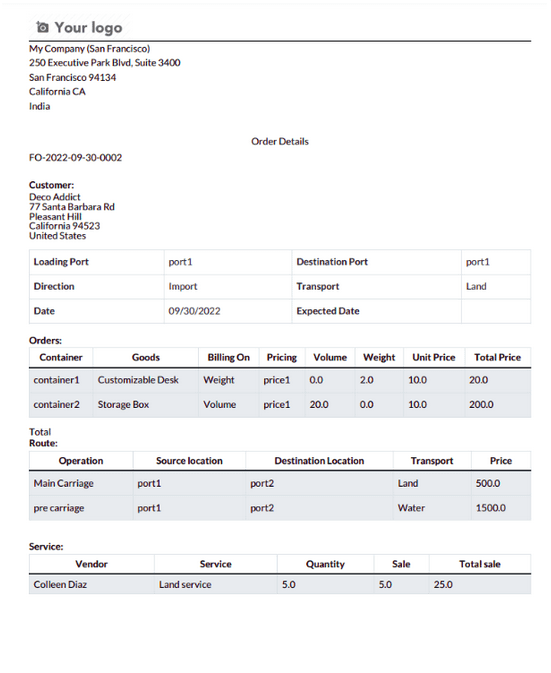
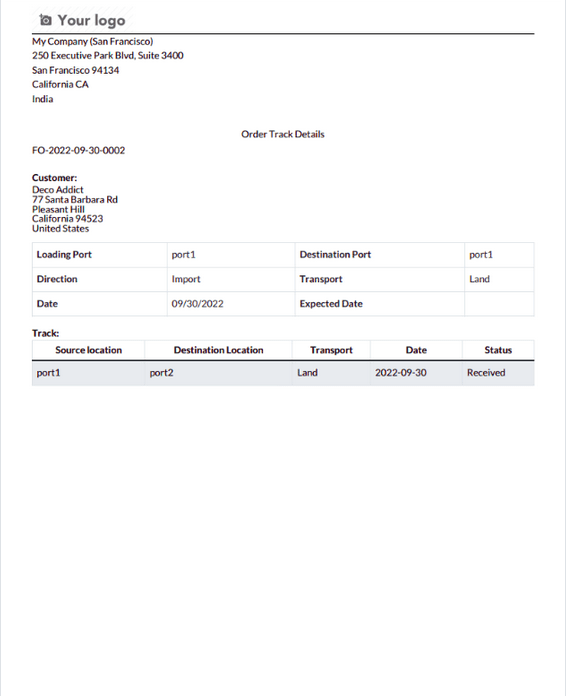
From the action bar, we can print the fright order report and order tracked report.
Freight Order report
Freight Order Tracking Report
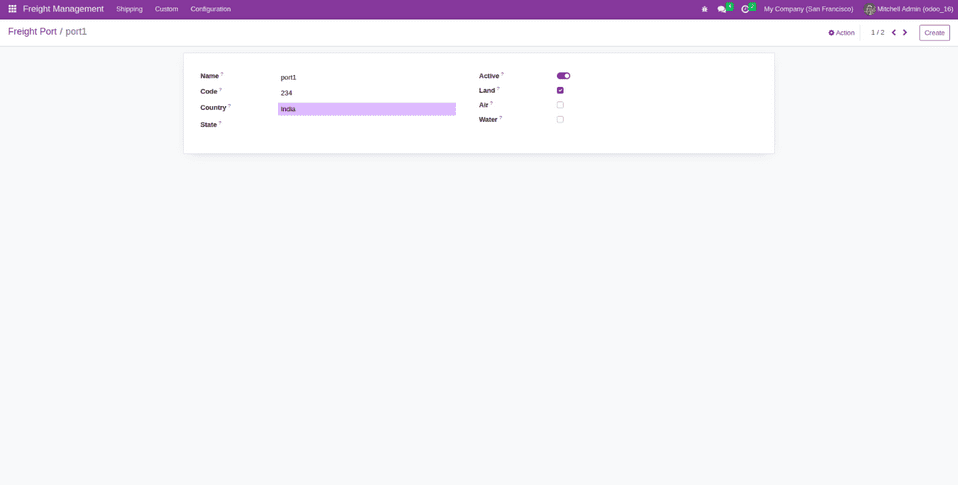
10. Configure Ports.
Under the configuration menu, we can see a port menu for configuring our ports. Here we can specify the port location and available transport methods.
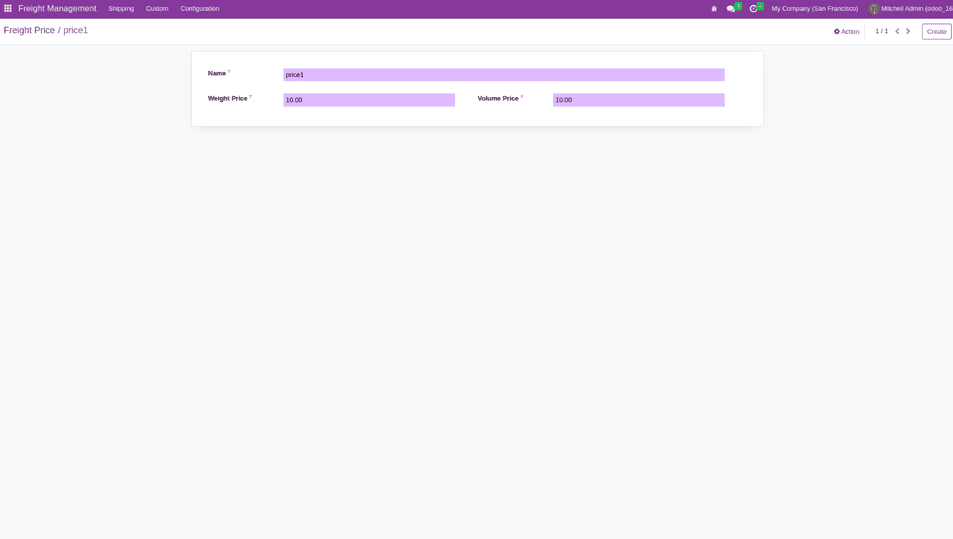
11. Configure Pricing
In the configuration menu, we can see the price list used to set the price. Here we can specify the value for weight and volume.
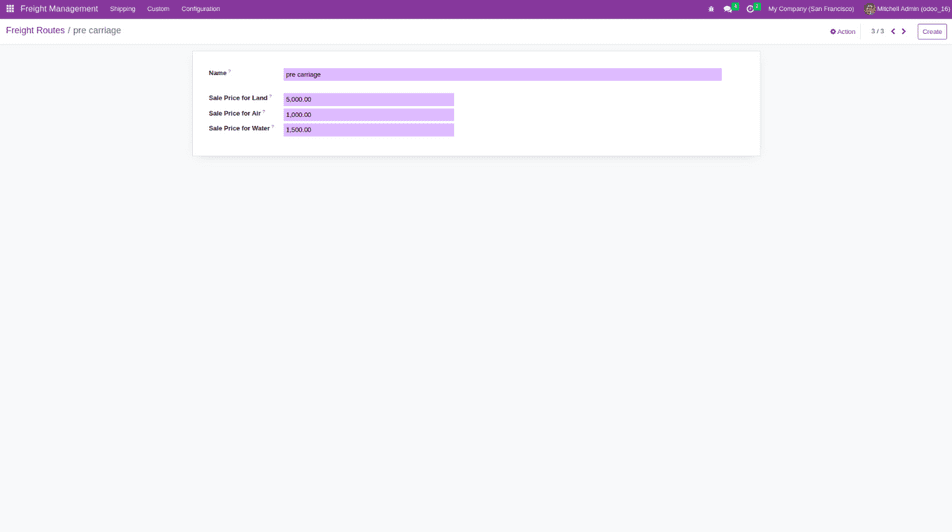
12. Configure Route Operation.
Under the configuration menu, we can see a Route operation menu, which is used to configure the routes.
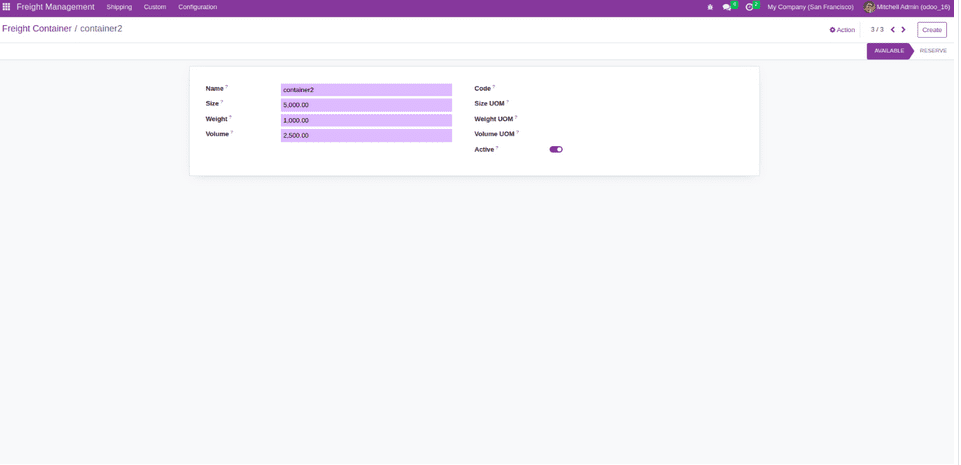
13. Configure container.
Under the configuration menu, there is a Containers menu, and it is used to configuring the Container. Here we can specify the weight and volume. If we add more goods than container capacity, it shows a warning message. Once the order is confirmed for a particular container, we can't use it for another order.
14. Configure services.
In the configuration menu, we can see the menu used to configure the service. Here we can set an exception for a particular vendor.
With this blog, we had an overview of the Freight Management application available in the Odoo 16 platform.