Managing a business is not easy. Handling your sales, stock, accounting and shipping should be fast, simple and efficient. Odoo POS is a perfect solution for this. Business management becomes seamless and quicker with Odoo’s fully integrated business application. Definitely Odoo POS has all the features that you are looking for. The easy to use interface allows you to serve multiple customers at the same time. Odoo 13 POS can work both in online and offline mode. So according to a user, one can purchase or sell orders without being much conscious about the internet.
The blog discusses the features of Odoo 13 POS.
Odoo POS features:
1. Payments
* Payment methods
* Credit/Debit cards
* Split tenders
* Currency rounding
* Offline payments
* Invoicing
* Accounting
* Customer tips
2. Checkout
* Prices & discounts
* Parallel orders
* Customized receipts
* Dynamic barcode
3. Customer & Loyalty
* Register customers
* Identify customers
* Business Customers
* Loyalty Cards
4. Products
* Product categories
* Product Search
* Units of measure
* Multiple barcodes
* Product variants
5. Web Application
* Browser support
* PC compatible
* Works offline
* iPad first
Let's look in detail.
Here we will be discussing the advanced shop features and advanced restaurant features using odoo POS.
Odoo Retail Shop Management
Odoo POS provides everything that your shop needs. It is based on an excellent and smart interface that all retail companies can use without any disruption. As Odoo POS is very flexible you can configure the application the way you need in order to meet your precise needs.
For instance, you get with the following attributes:
Order History
When you open the POS system there you can see the Order History.
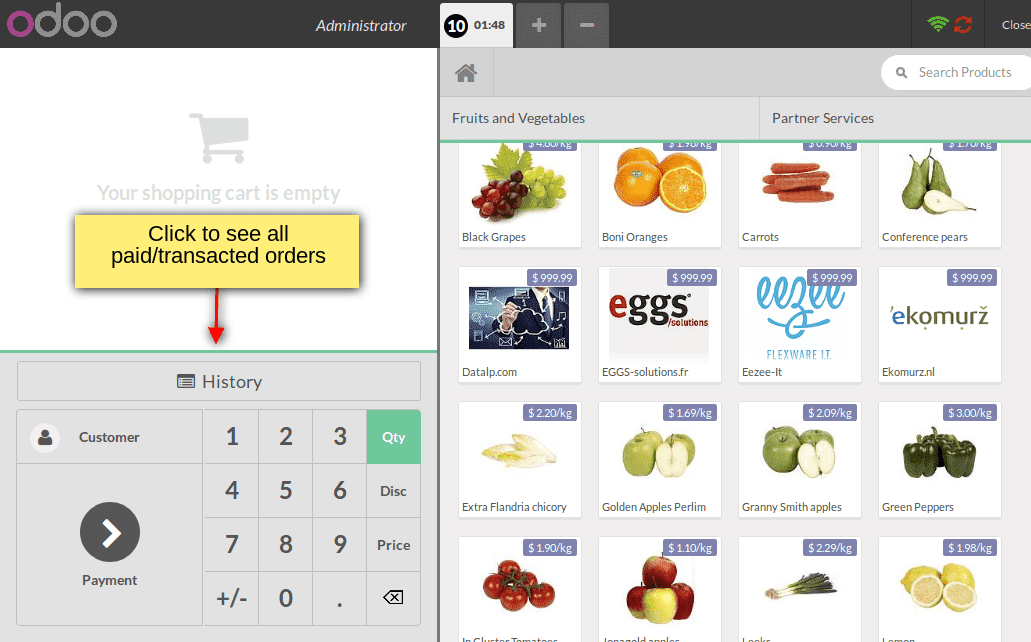
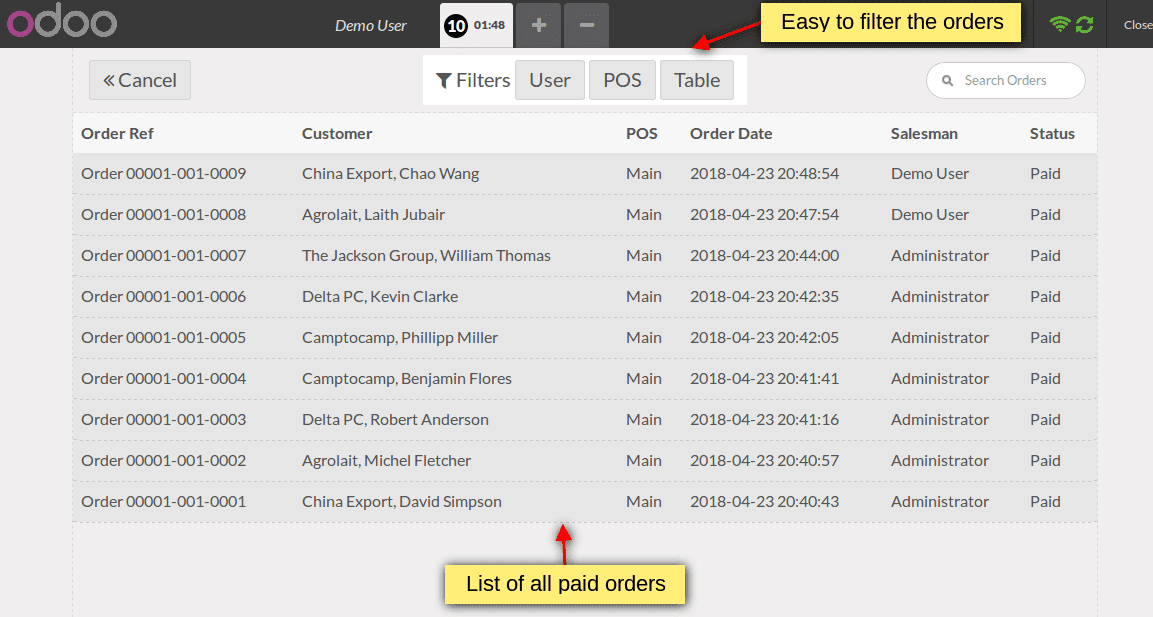
After you click the History Button, all the paid orders will be shown in the tree view. For finding the orders easily you can also use the filters.
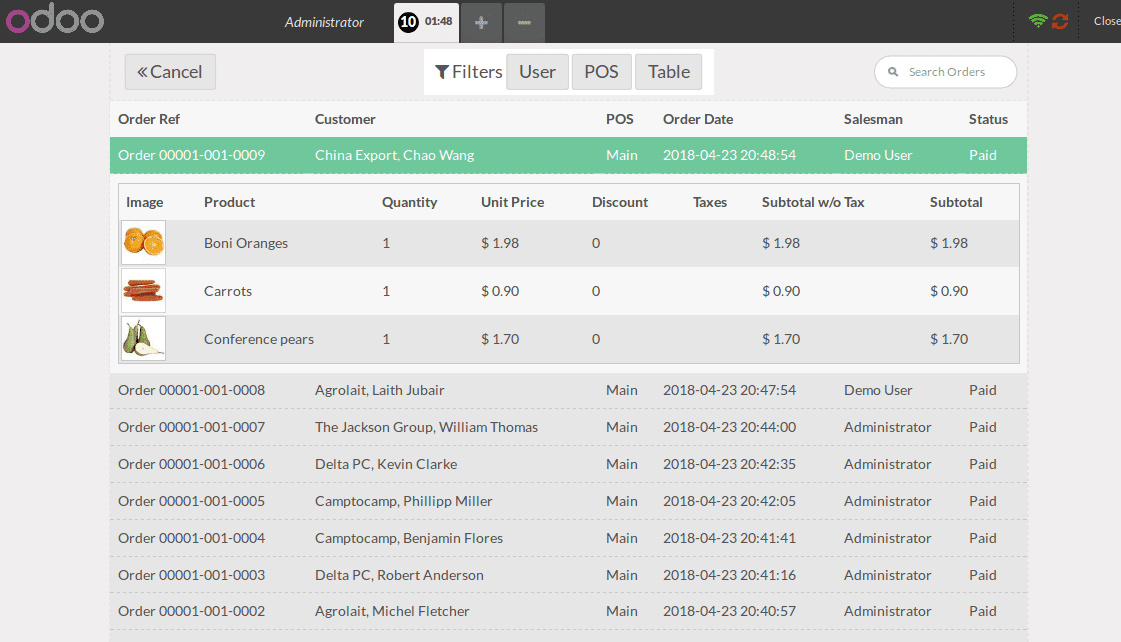
You can click on the ordered item for the details.
Daily sheets
It allows the users to save their time by analyzing the pos daily sales in a single touch. So that it helps to maintain a track of the sales daily wise and the totals for each payment type.
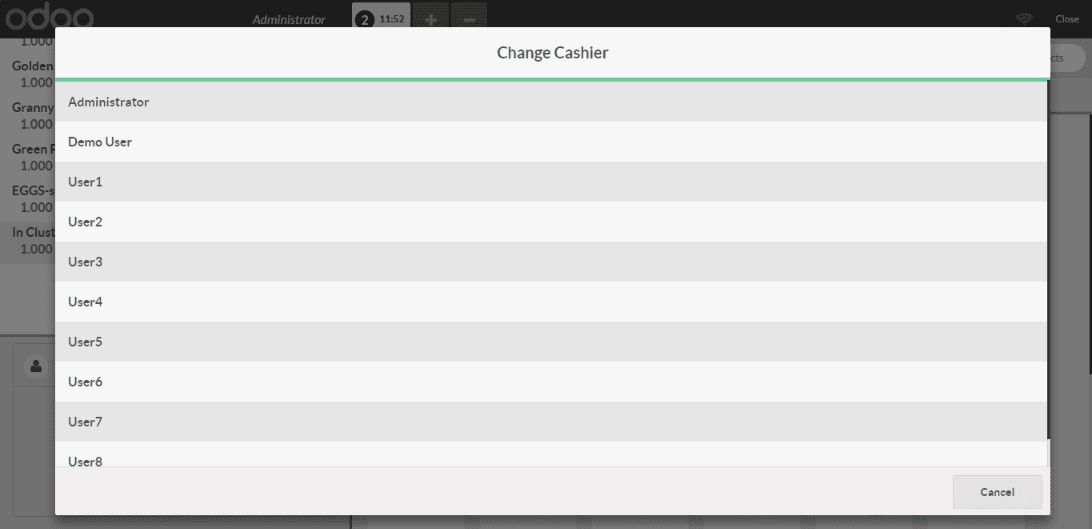
Cashier accounts
It includes details of handling different cashier account along with securing them by taking advantage of the badges and pin codes.
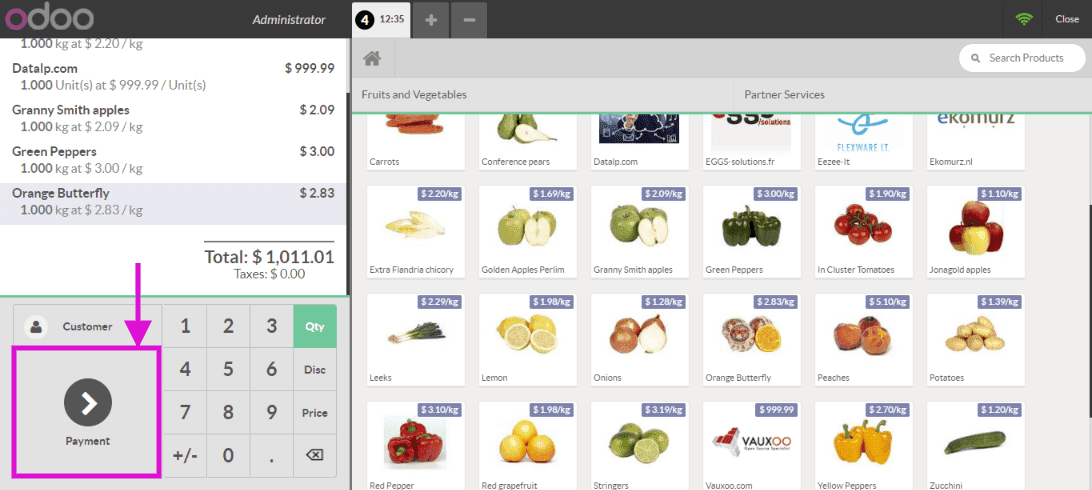
For this open POS session then create an order, click on the payment finally select a cashier.
Cash flow
This session will examine the cash register adjustments and monitor the cash content at the end of the day effortlessly. It shows each account's credit and debit values separately.
Stock and Inventory
Across all locations, it will monitor your inventory, stock analysis in real-time, and it reviews the odoo stock integration along with the shipment.
Odoo Restaurant Management
For activating the restaurant features, Select Point of Sale -> Configuration -> point of sale - bar
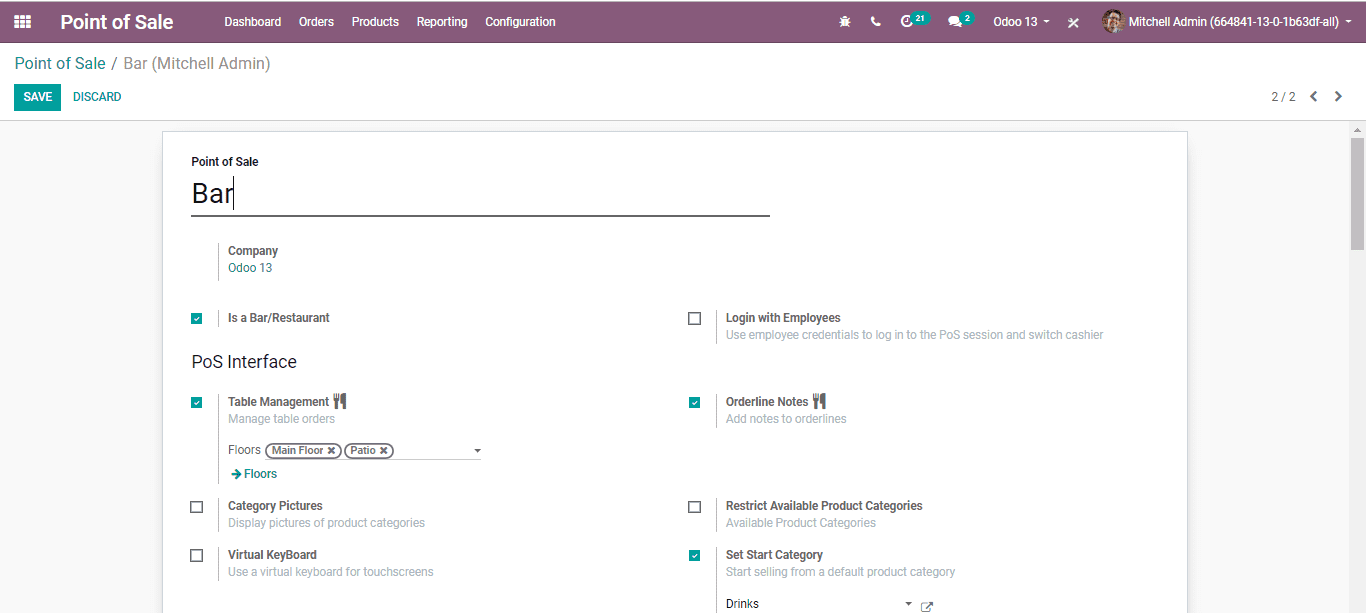
For configuring you pos, select the option Bar or Restaurant.
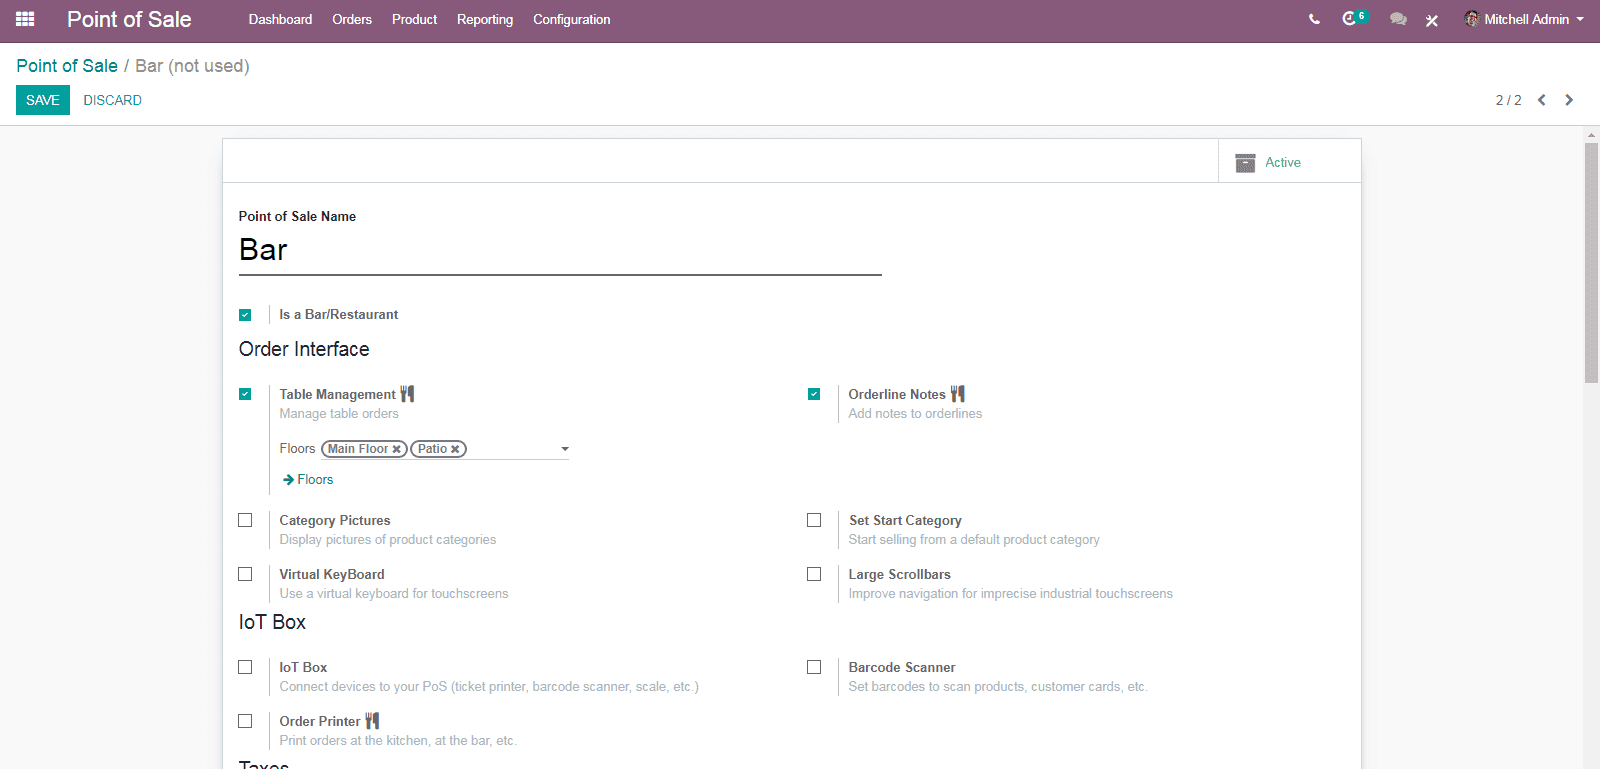
According to your choice, you can configure the pos interface.
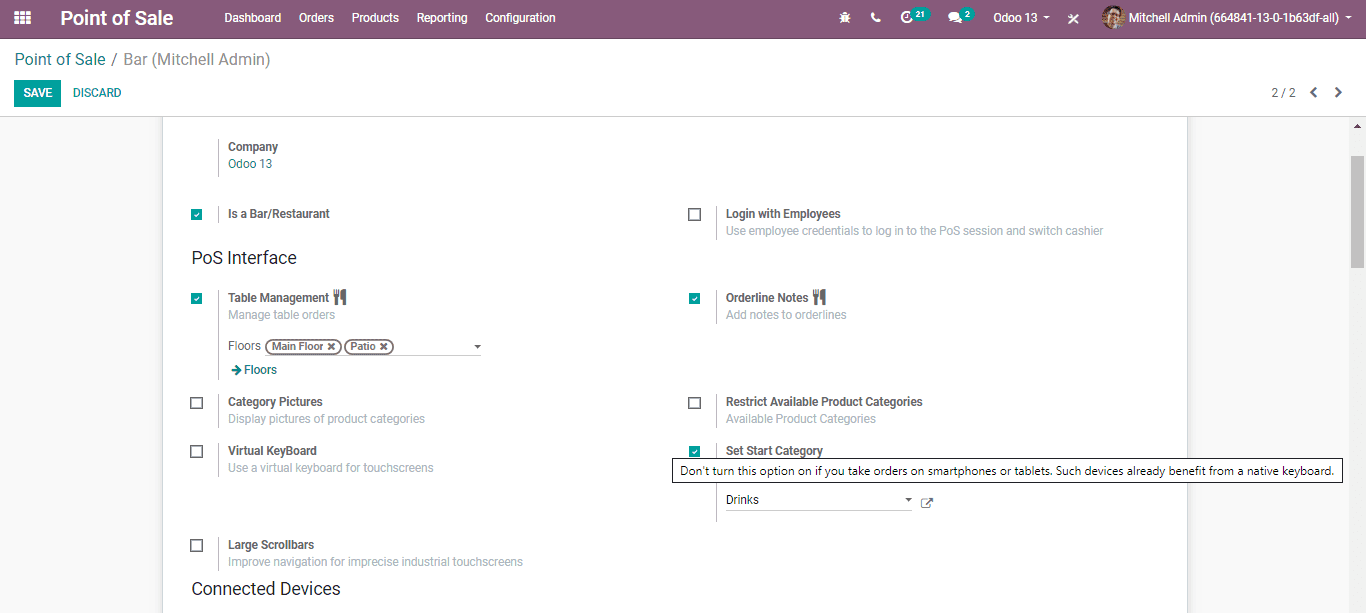
Table Management
With OdooPOS, it becomes easier to manage a restaurant. One can effortlessly handle the tables and floors within the restaurant.
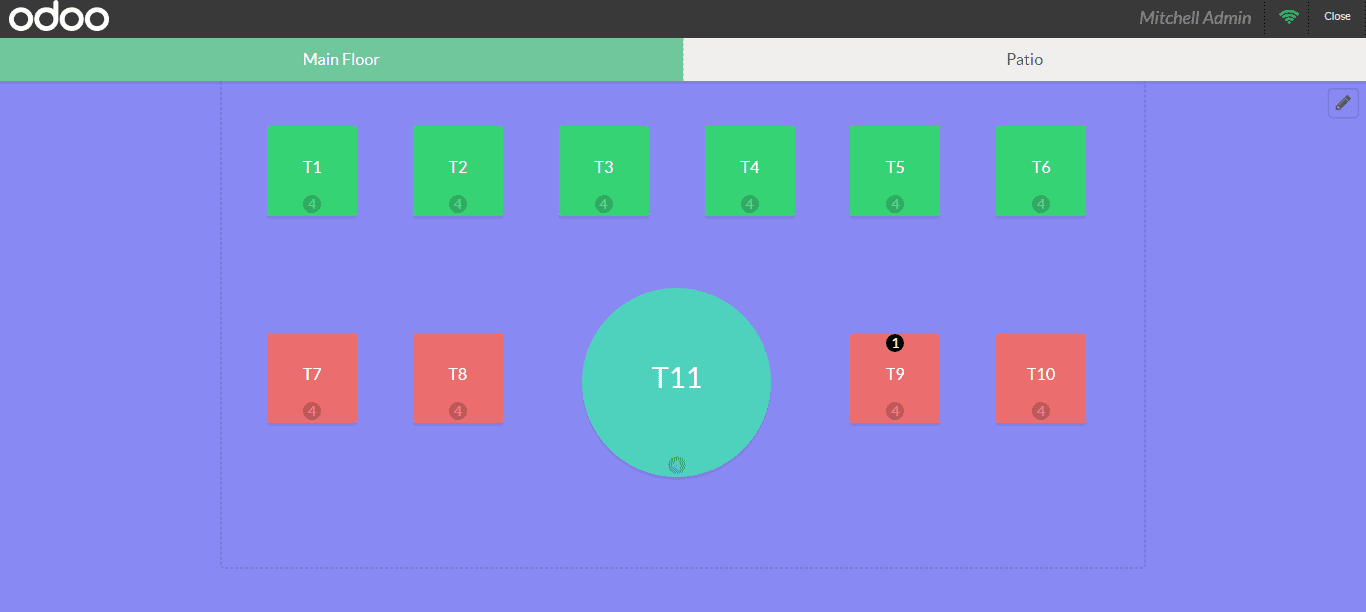
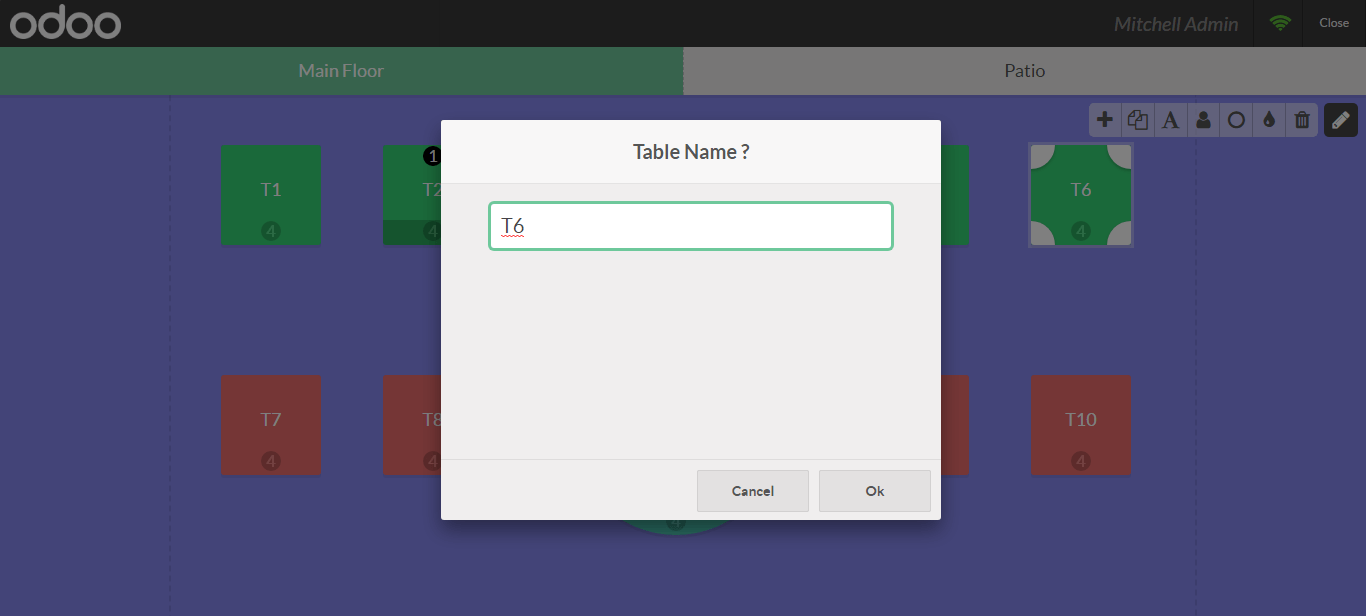
You can also rename the table using the pencil tool
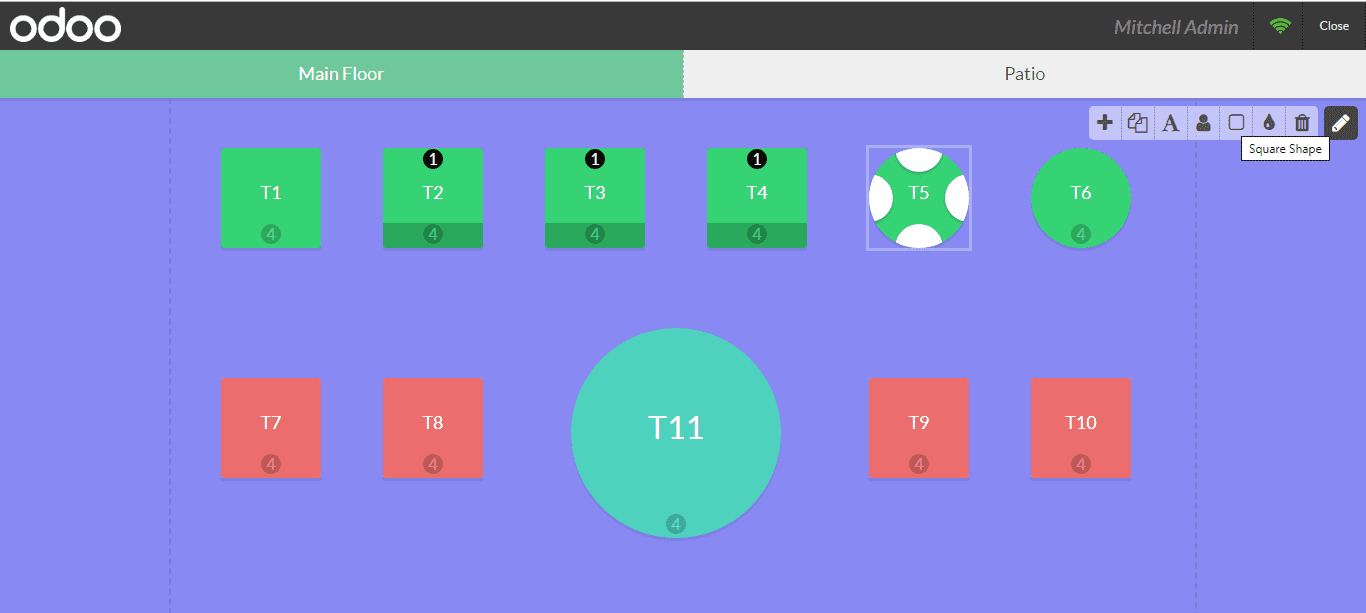
If you want to change the shape if you want.
If you set the floor plan you can start taking orders by closing the edit mode.
Register your table’s orders
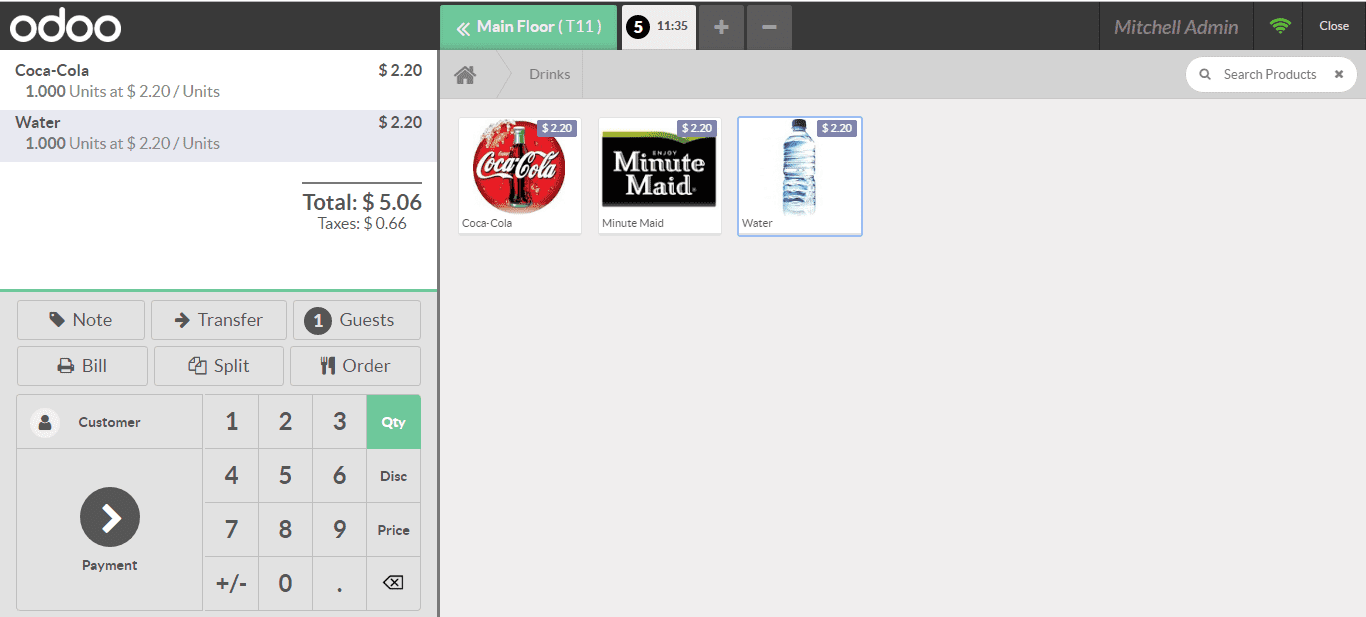
Transfer customers between tables
For this, you have to select the tables where your customers are sitting then transfer the customers by clicking the transfer button and select the new table.
Printing orders at the kitchen
Configuration: Enable the kitchen/bar printer -> Add a printer -> Select a printer -> Print the order.
Configuring your Payment method
For adding a new payment method to a point of sale initially, you have to select the point of sale then the configuration after that select the Payment Section then click the link “Payment Methods”.
The fields come under the payment method are;
* Intermediary Account: it is a kind of Account used as an equivalent of the income account entry of account representing PoS Sales.
* Split Transactions: If we enable this option, each of the payments will be created from a different journal item. It also aids you in closing the PoS.
* Payment Terminals: Along with a terminal in this journal, Record the payments.
Bills and payment
You can use bill printer feature for printing the bill before your payment
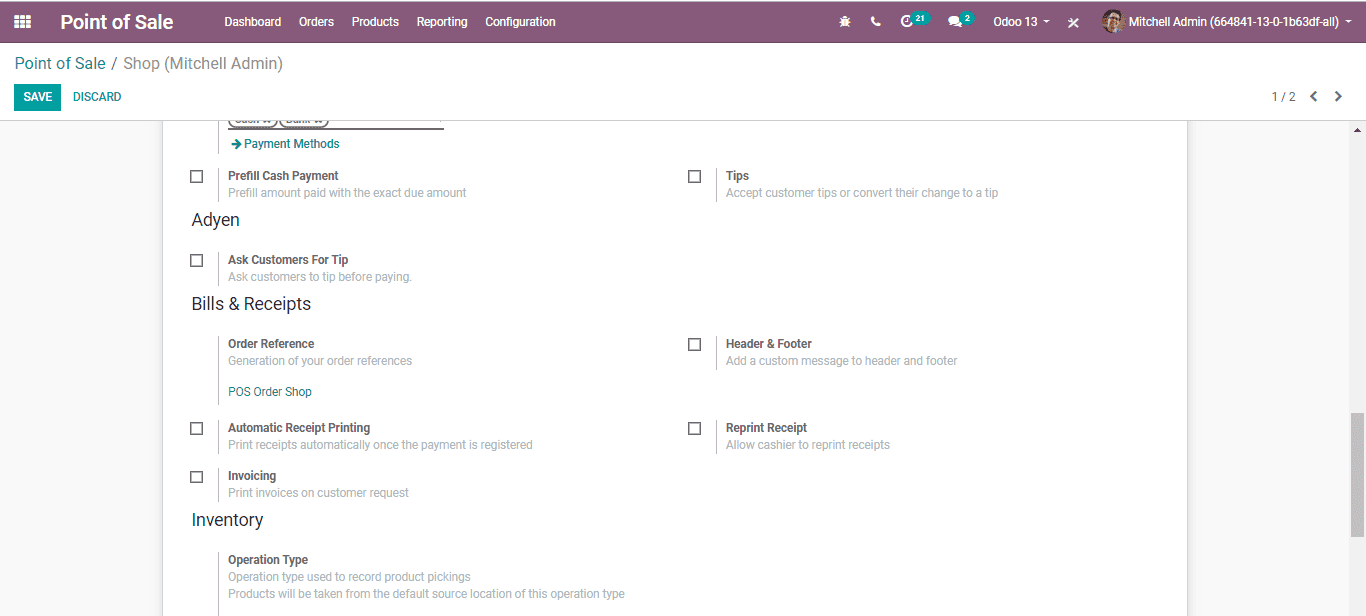
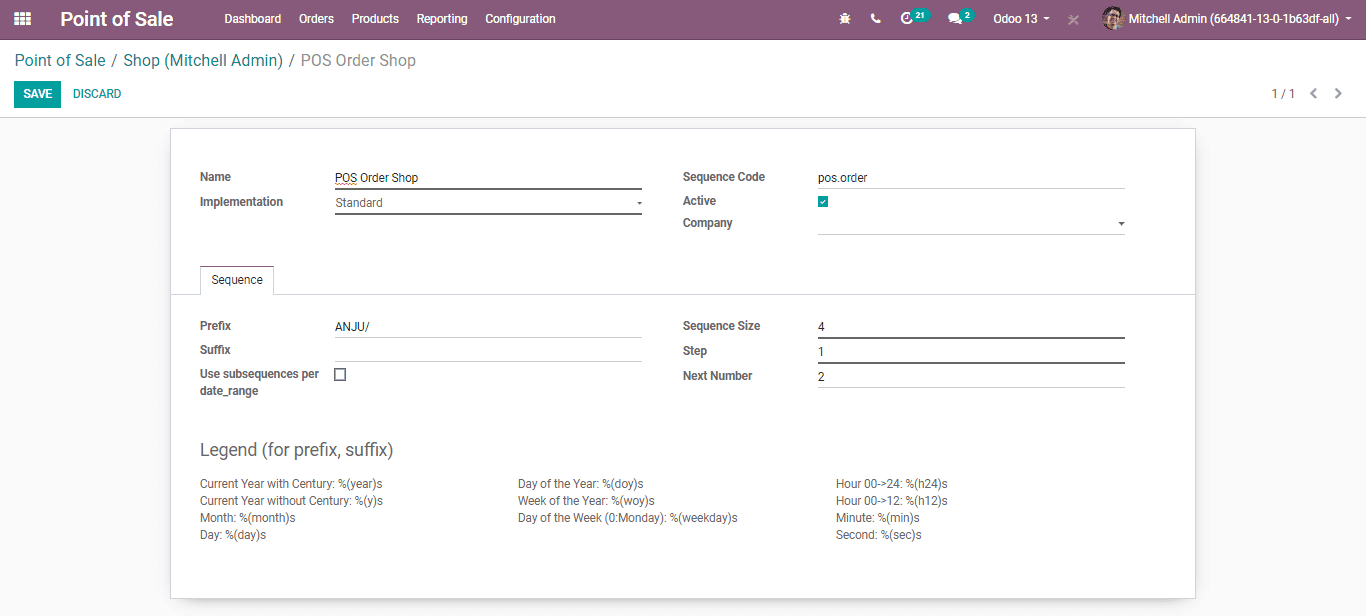
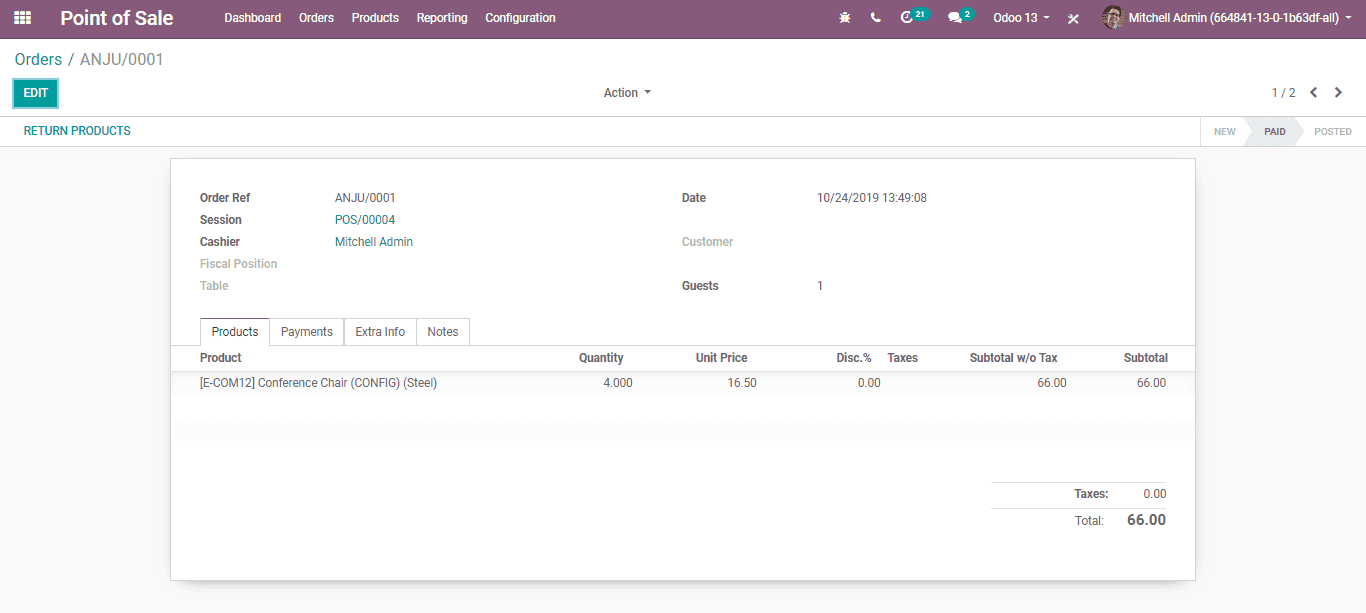
Order reference: Odoo creates order sequences automatically. To customize the reference numbers of the orders one can utilize this feature.
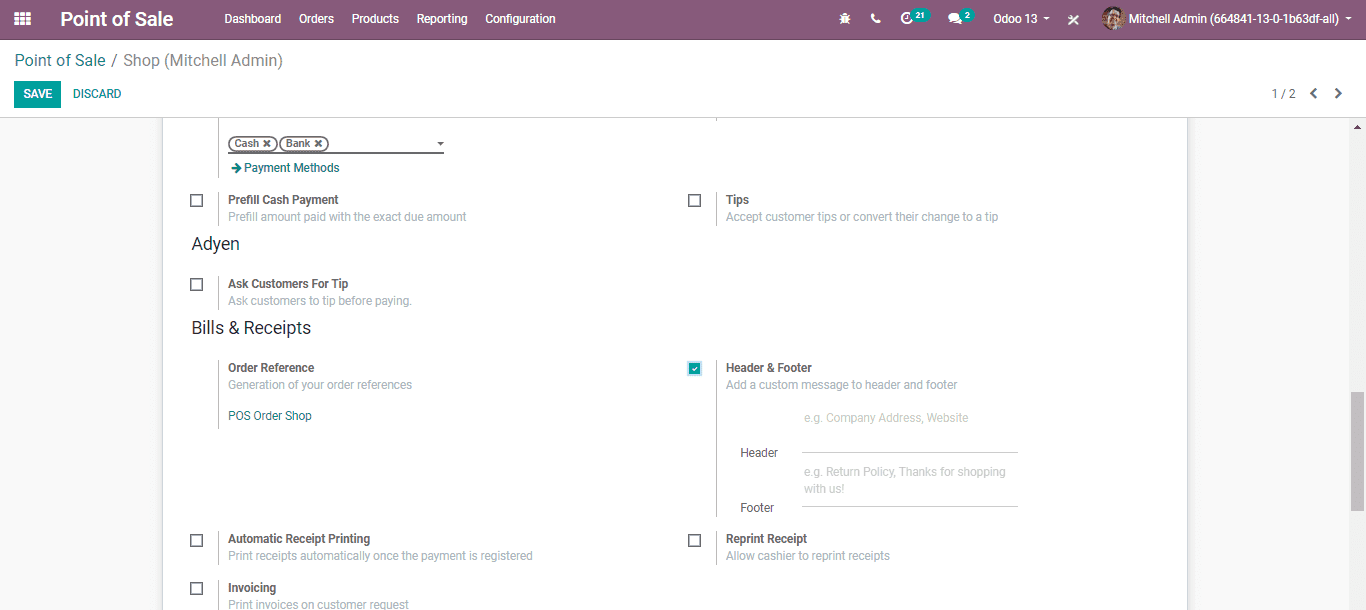
Header and Footer: In the header and footer of the receipts or bills you can add a custom message by selecting this option.
Automatic Receipt Printing: at the end of each order, the bill will be automatically printed, when you click on this option.
Reprint Receipt: This feature in the settings, helps the cashier to reprint the bill.
Invoicing: By selecting this, the invoice will generate in the PoS itself.
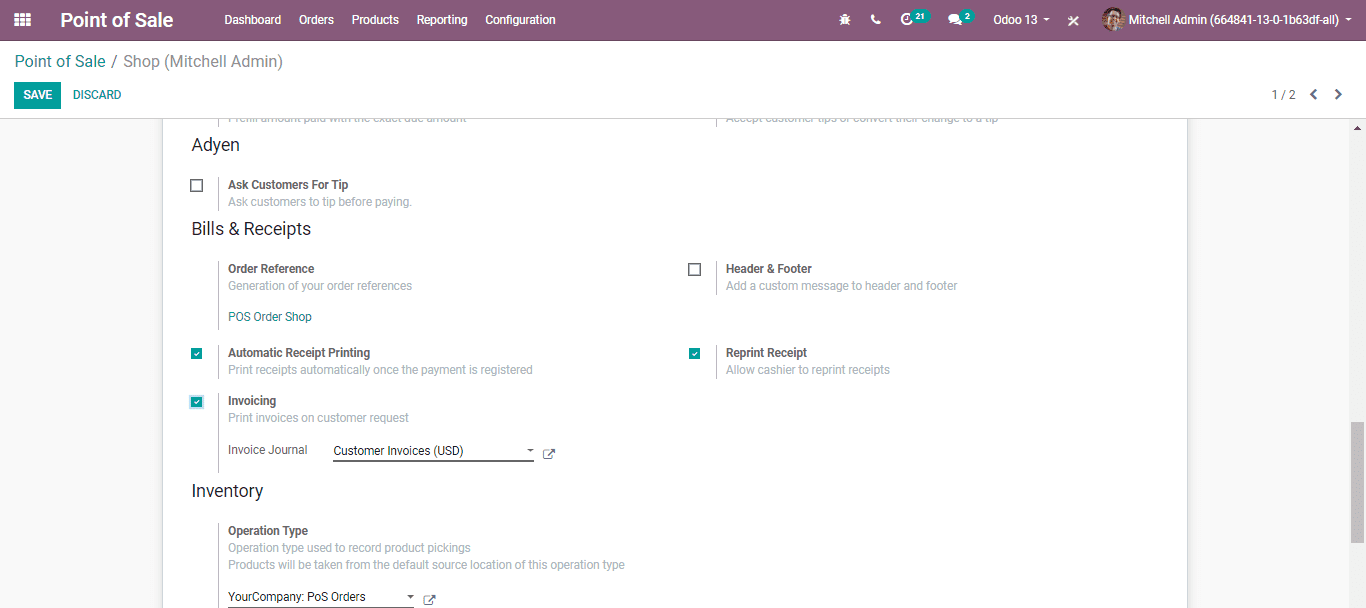
Invoice from the PoS itself
Initially, choose a customer, move to the session interface then use the customer button there.
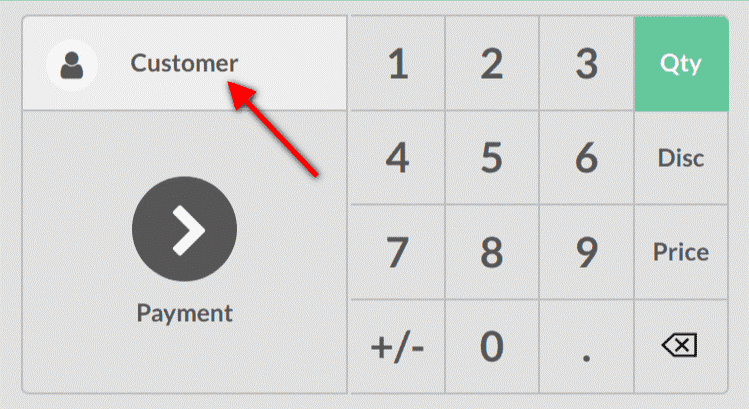
You can fill the customer form after selecting the customer. You can validate it by using the invoice button on the payment screen.
Connecting to External devices
The database can be easily connected with helpful hardware such as IoT box devices and barcode scanners via choosing the options shown below.
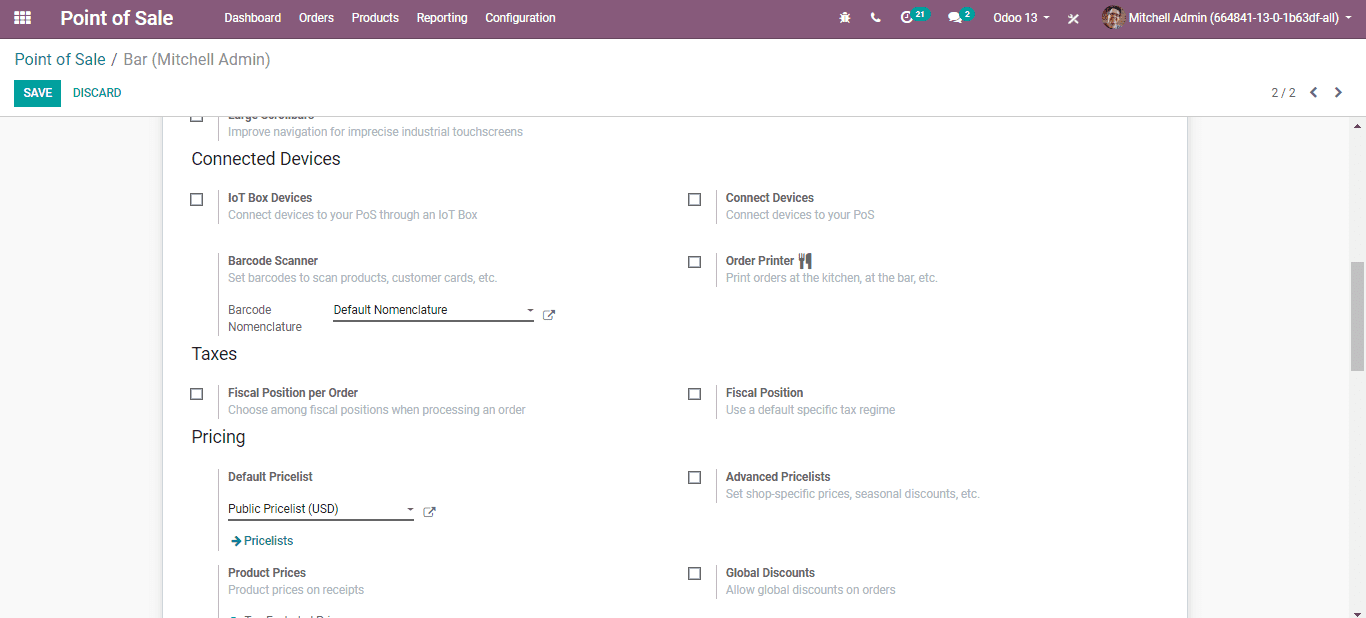
Odoo POS Discount and Loyalty
This feature definitely allows your company to Retain your customers by encouraging repeat purchases. So without any doubt, we can say loyalty programs determine how customers can acquire points with their purchases and what kind of purpose they can send them. We can also provide various kinds of rewards like a gift, POSresale and a discount to our customer.
For activating the Loyalty Programme Feature Initially you have to select the Point of sale then Configuration after that the Pricing and enable the Loyalty Programme. Then, you can choose your POS interface. You can select the Loyalty in the Pricing features.
For further details, you can also refer to our Odoo POS v13 Book.