Are you in search of a management device for your developing online enterprise? Odoo eCommerce is the right choice. Odoo eCommerce provides you with the opportunity to effortlessly construct add products on your website. One can set up their online store in Odoo using a few clicks. Odoo contains everything that you require while setting up your online store and can create an unceasing shopping experience.
Let’s look at some Features of Odoo eCommerce
* Design & configure: Inline Editing, Word processor text editing, Product variants creation, Sell digital products, Online Form Builder, Multi-store eCommerce, Building blocks system, Professional Themes.
* Integrated tools: Options to boost sales, Promotional or coupon codes, Cross-selling and Upselling, Abandoned carts.
* Shopping experience: Customer onboarding, Live chat embedded, Easy checkout process, Easy search system, Guest & registered user, Skip shipping address, Customer portal, Wishlist, Products comparator.
* Payment & Shipping methods: Create shipping rules, Fully integrated, Other payment methods, shipping methods.
* Billing & Accounting: Calculate & Bill Shipping Costs, Chart of accounts, Integrated Accounting package, Tax rates.
eCommerce Dashboard
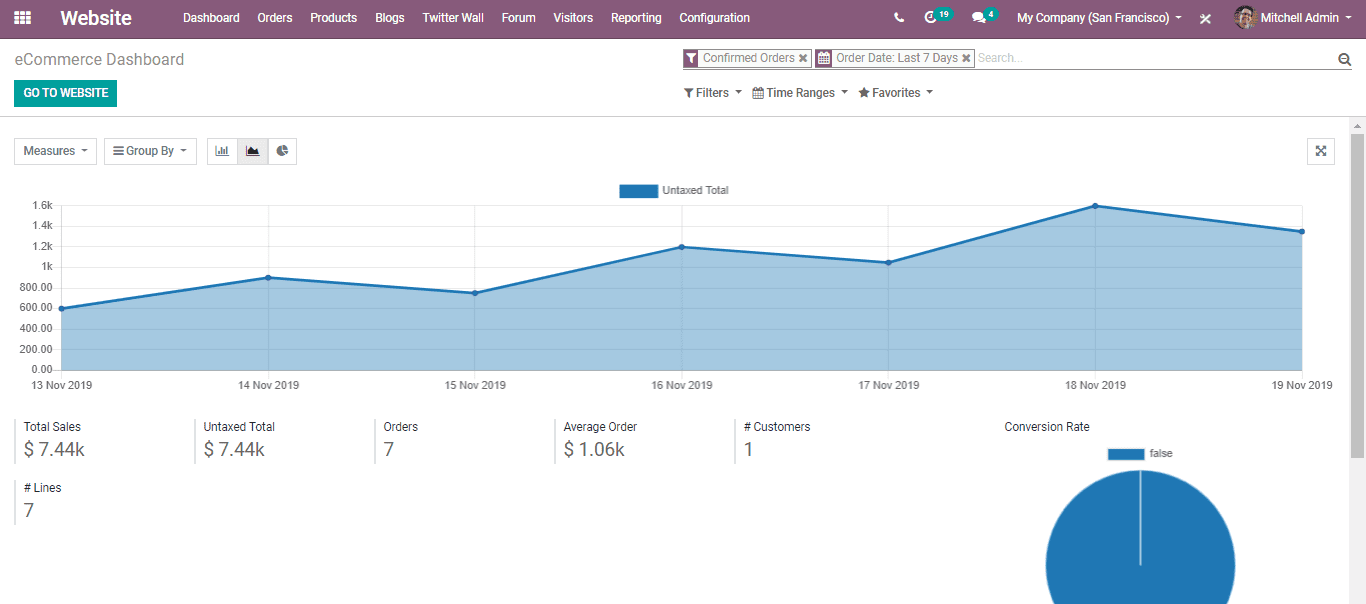
Odoo 13 eCommerce dashboard provides high data visualization, interpretation of data and serving managers with on-time access. As the managers get to understand in on-time the average order value, the imply delivered amount, average invoiced amount, etc. help them to develop their strategy in eCommerce.
You have one more option under the dashboard as Analytics.
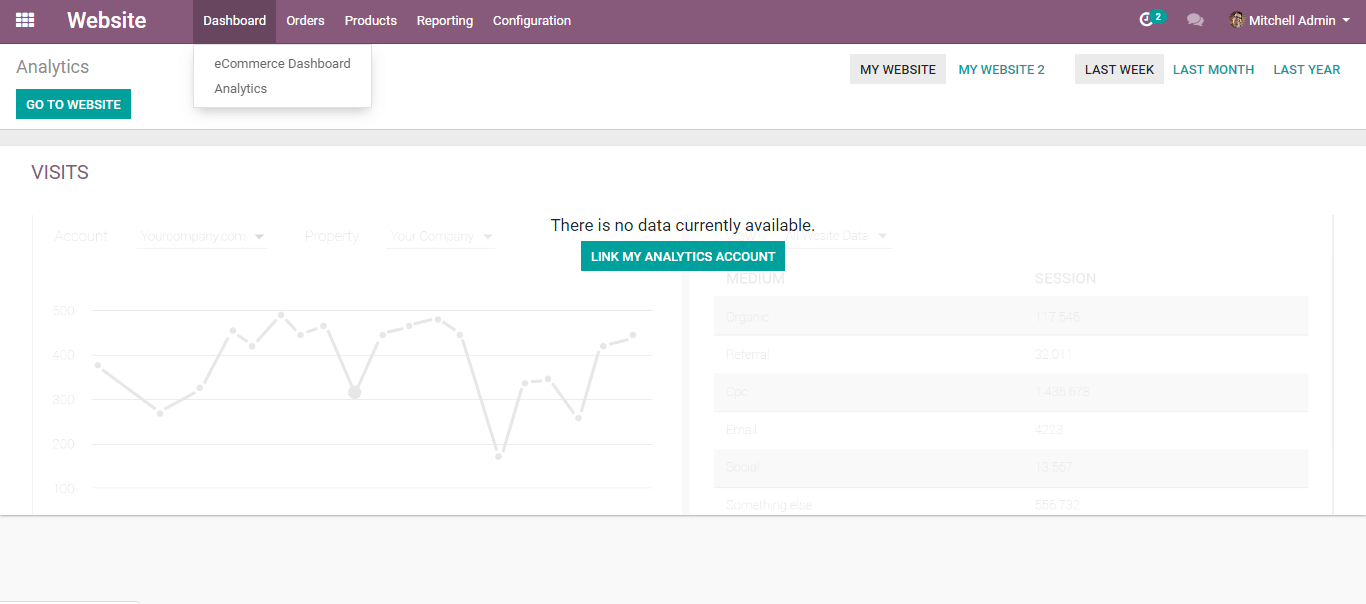
It also helps one to observe the analytics of their website visits. To keep track, the website traffic you can also connect to the google analytics.
If you need to connect with Odoo with Google Analytics
Make a google analytic account - Then Accept the terms to get the Tracking ID.
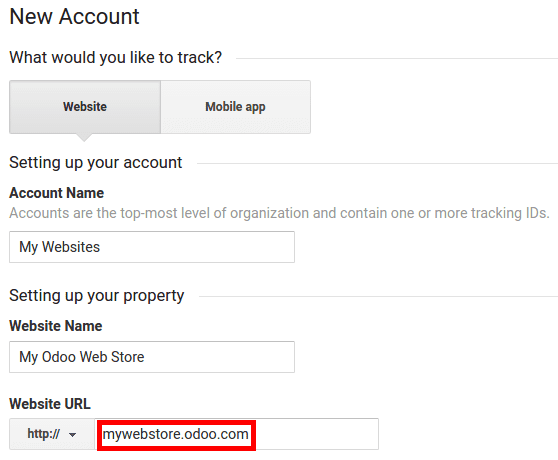
The tracking ID should be copied for inserting them in Odoo.
Turn on Google Analytics by selecting the Configuration Menu of Odoo’s Website. Save the tracking ID by pasting it.

Tracking the Order
View order
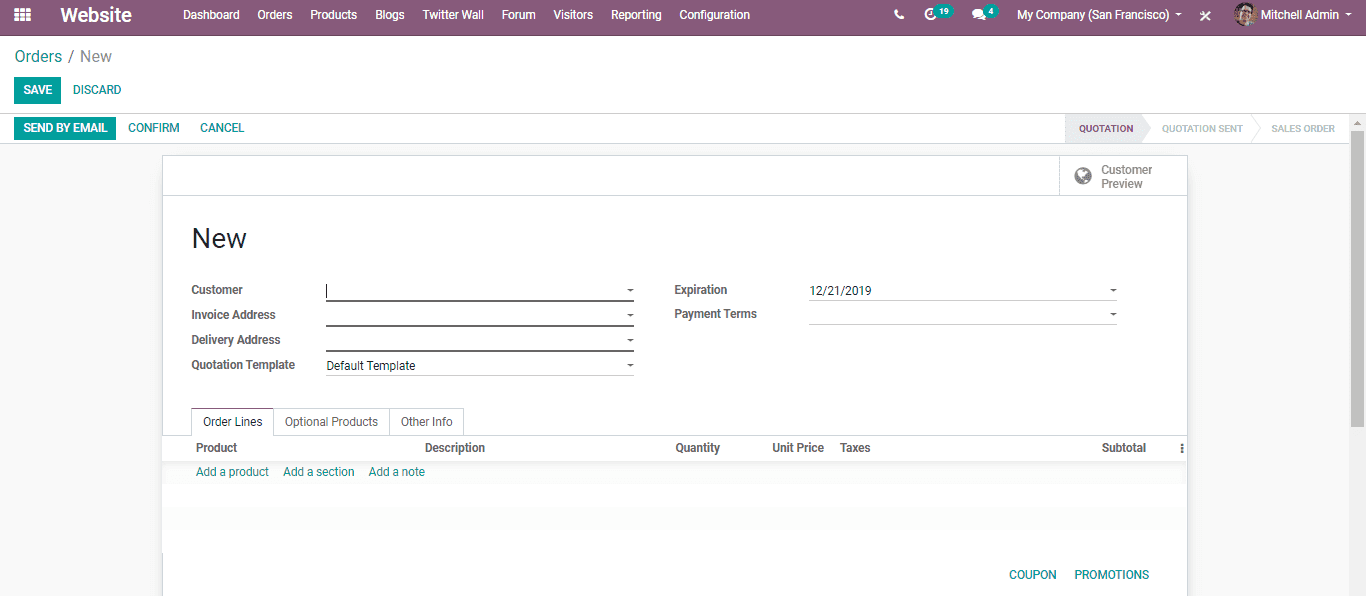
You can see every confirmed sales order by choosing the option below:
Website Admin -> Orders -> Orders
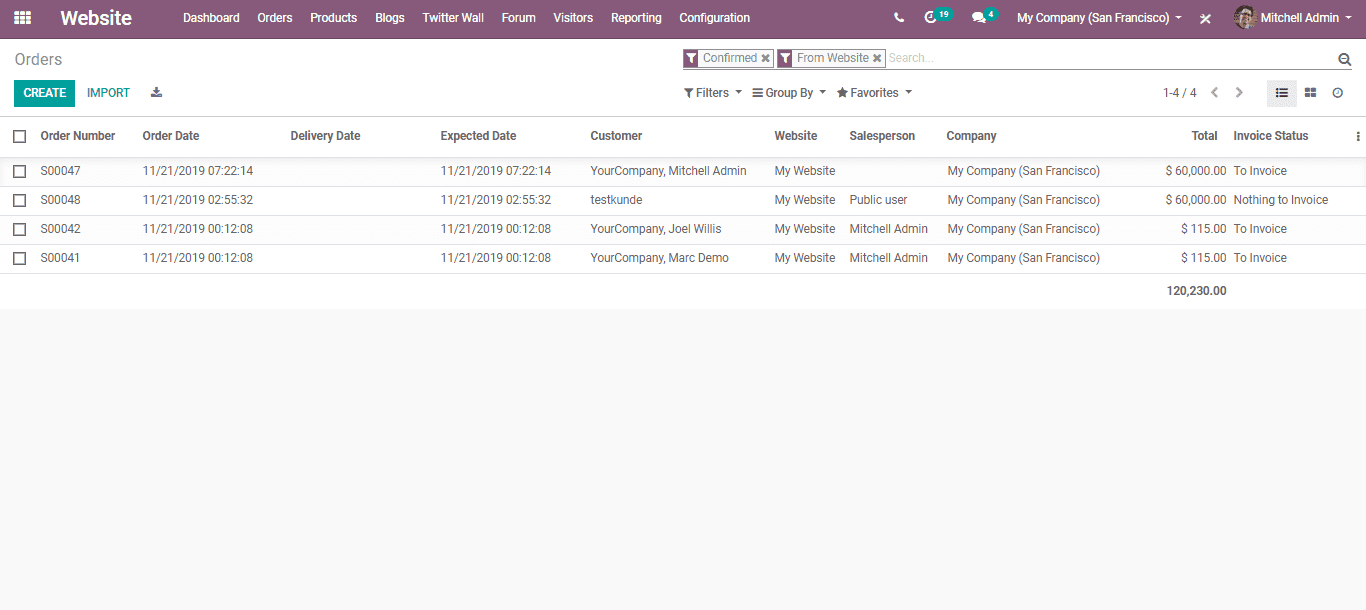
By clicking the CREATE button, if needed you can also create an order manually.
Abandoned Carts
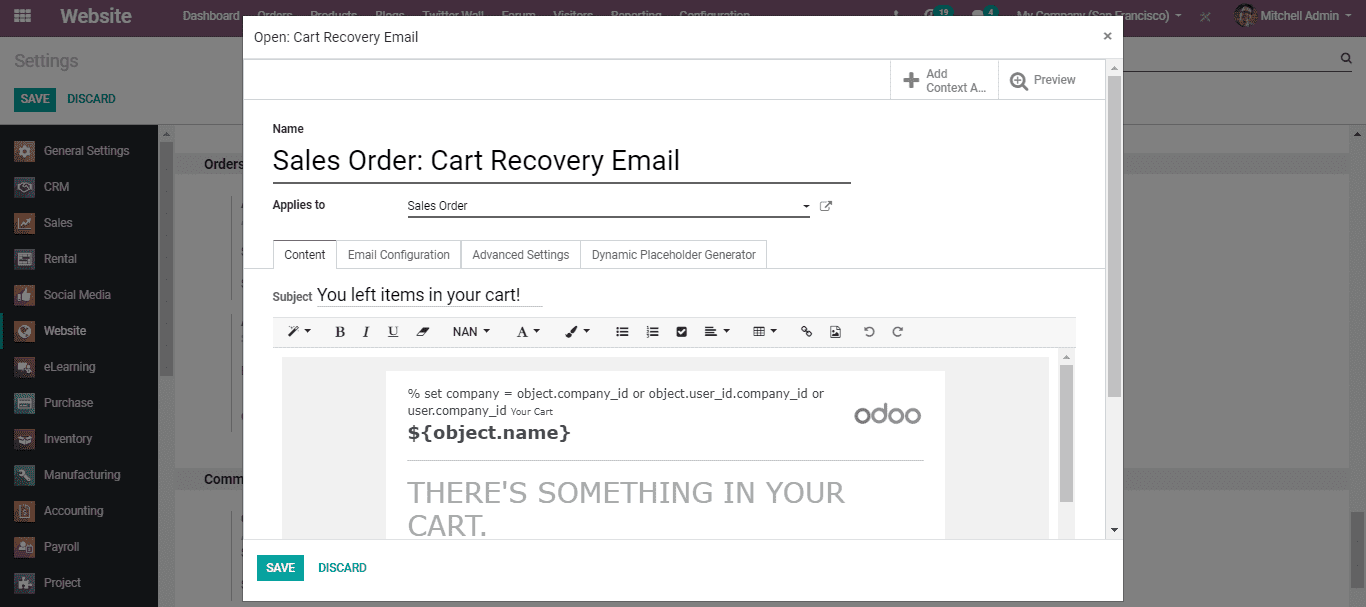
The carts waiting for the clients can be saved by one. It is inevitable to pursue with the buy-in odoo eCommerce. An email layout can be set for the Abandoned Carts.
For activating the feature choose, Website Admin -> Configuration -> Settings -> Orders Follow up.
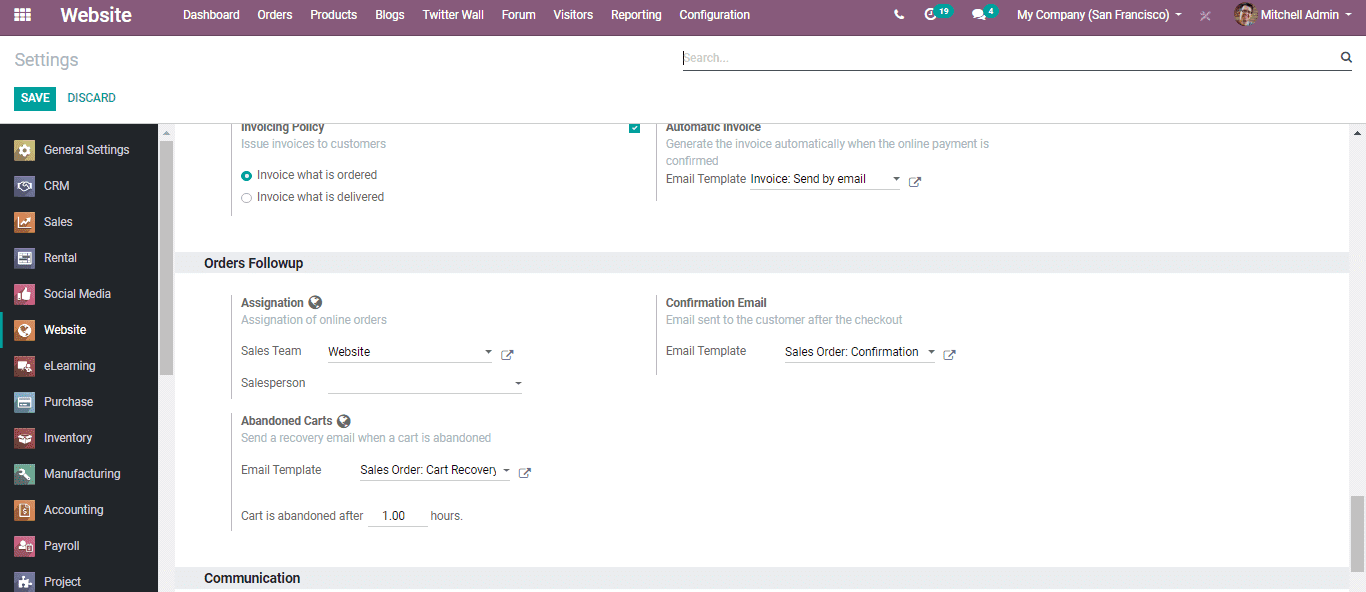
On the one hand, one the template can opt from the drop-down or generate a new one. There is the provision to edit the cart recovery mail along with other corresponding settings.
Customers
For creating a new customer and seeing your regular customer, select Website Admin -> Orders -> Customers
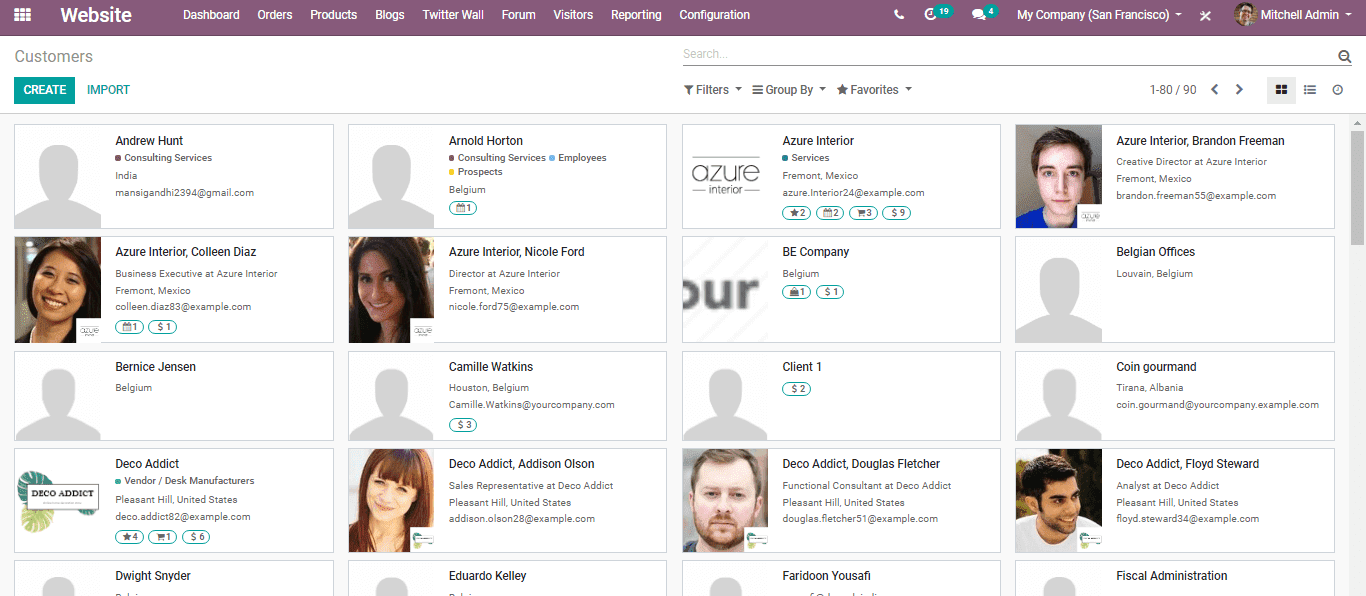
By clicking the create button you can create a new customer.
Product Management
Add a new product
For adding a new product, select Website Admin -> Products -> Create
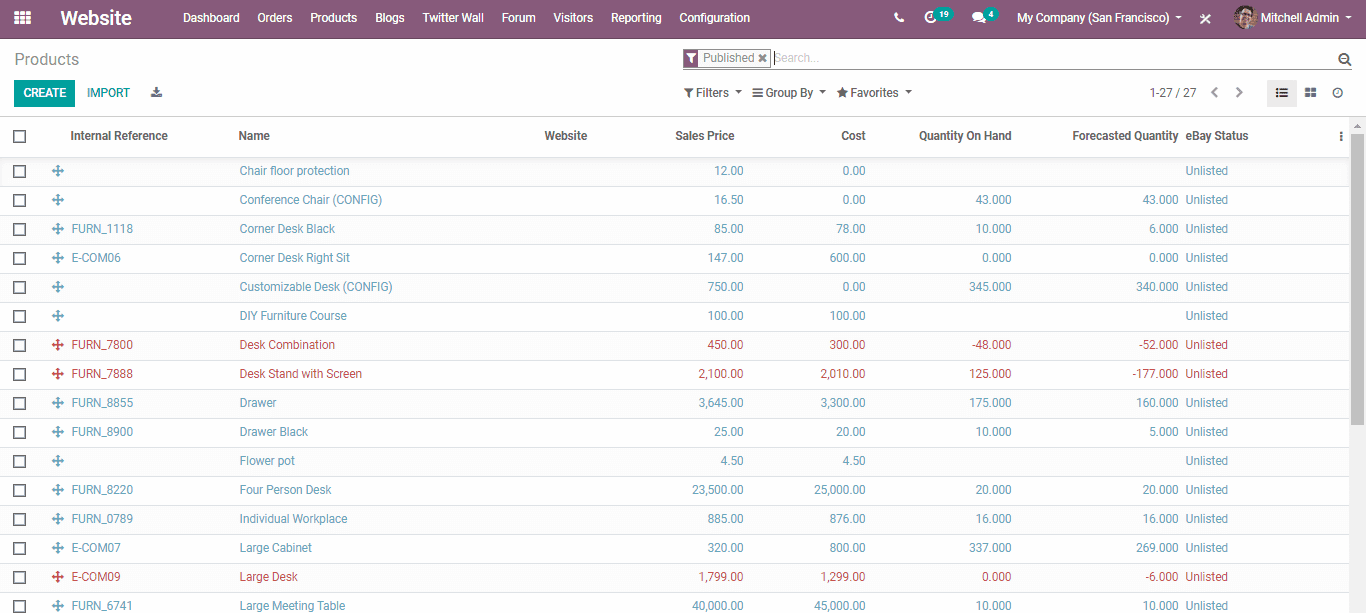
Edit product details
For editing the product details, select Website Admin -> Products
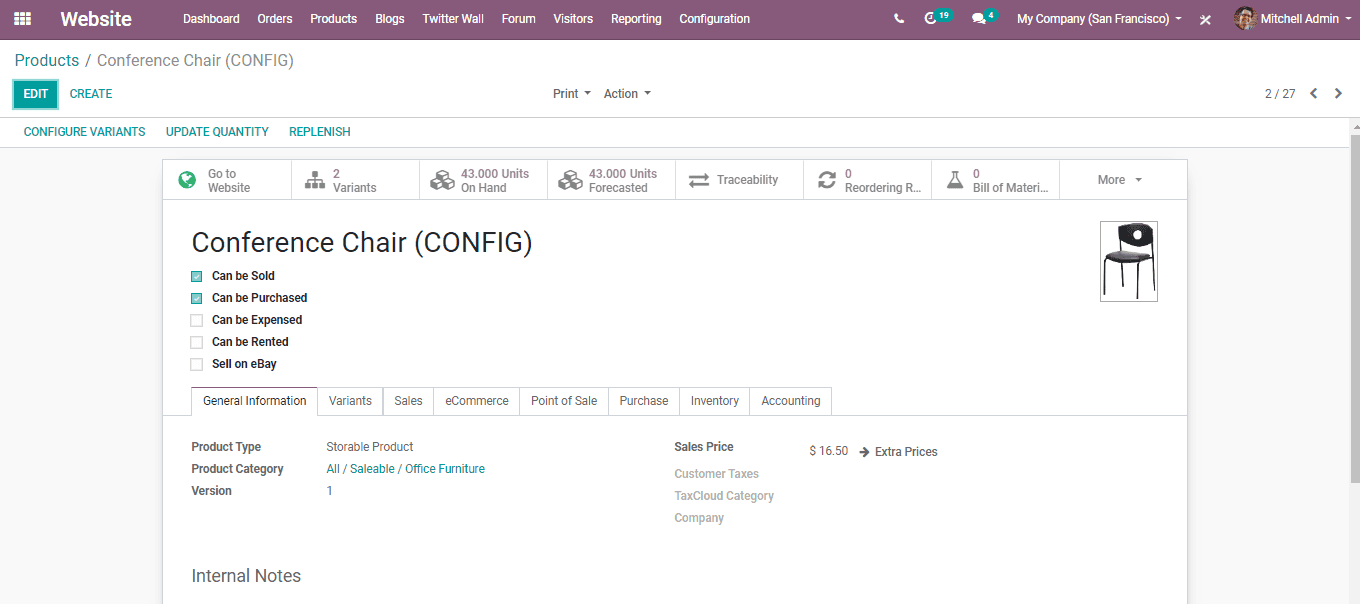
To edit the product info click the "Edit" button and "Update Quantity in Hand" to update quantity manually. One can also configure product variants via clicking CONFIGURE VARIANTS.
Pricelist
Odoo fixes with an effective pricelist feature to guide the pricing strategy wanted to one’s eCommerce business. The price list or rate fee may be for a certain product or for a set of products. By taking advantage of the Odoo price list, one can also effortlessly handle the product pricing based on the needs of the company.
To use a specific price list in Odoo you can set different criteria like:
* Periods
* Quantity
* Quality Service
* Economic environment
* Competition
* Product demand
From the settings of Odoo eCommerce, you can select the pricing strategy.
For this select Admin -> Configuration -> Settings -> Pricing
By ticking the checkbox, choose the option of Multiple Sales Prices per product. Thus save the changes.
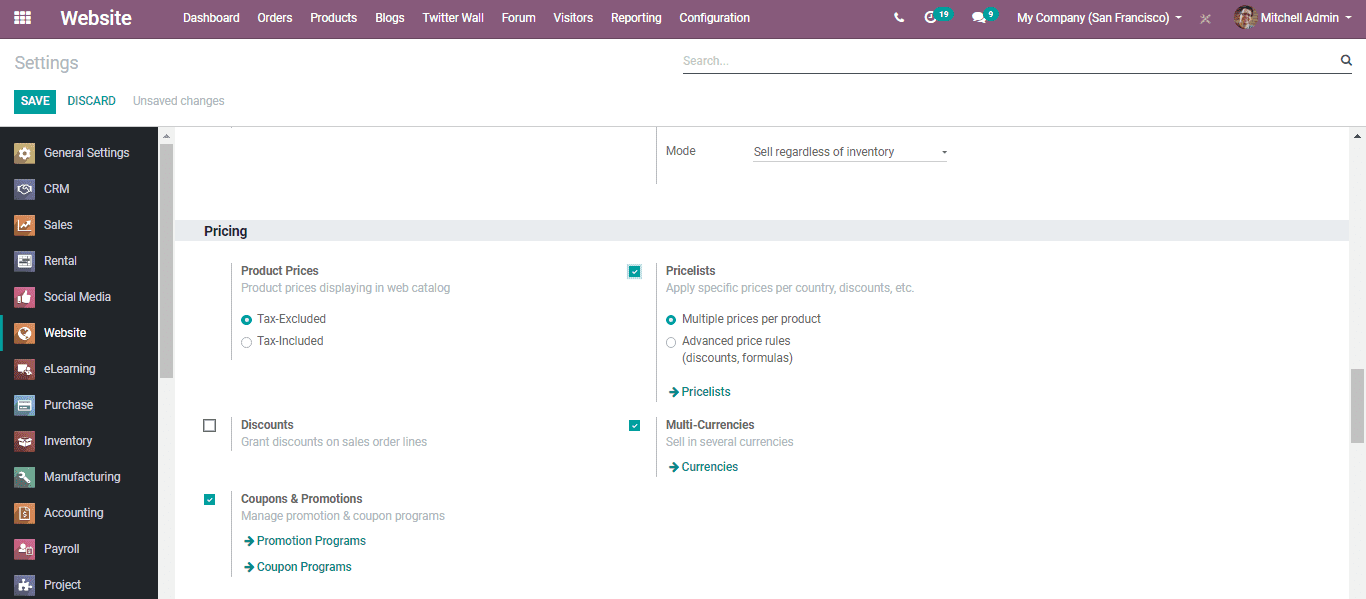
Let’s have a look into the two types of sales pricelists in Odoo
* Multiple prices for each product (e.g. customer segments, currencies).
* Advance price rules (discounts, formulas).
You can see the different price lists created by going to the Products tab.
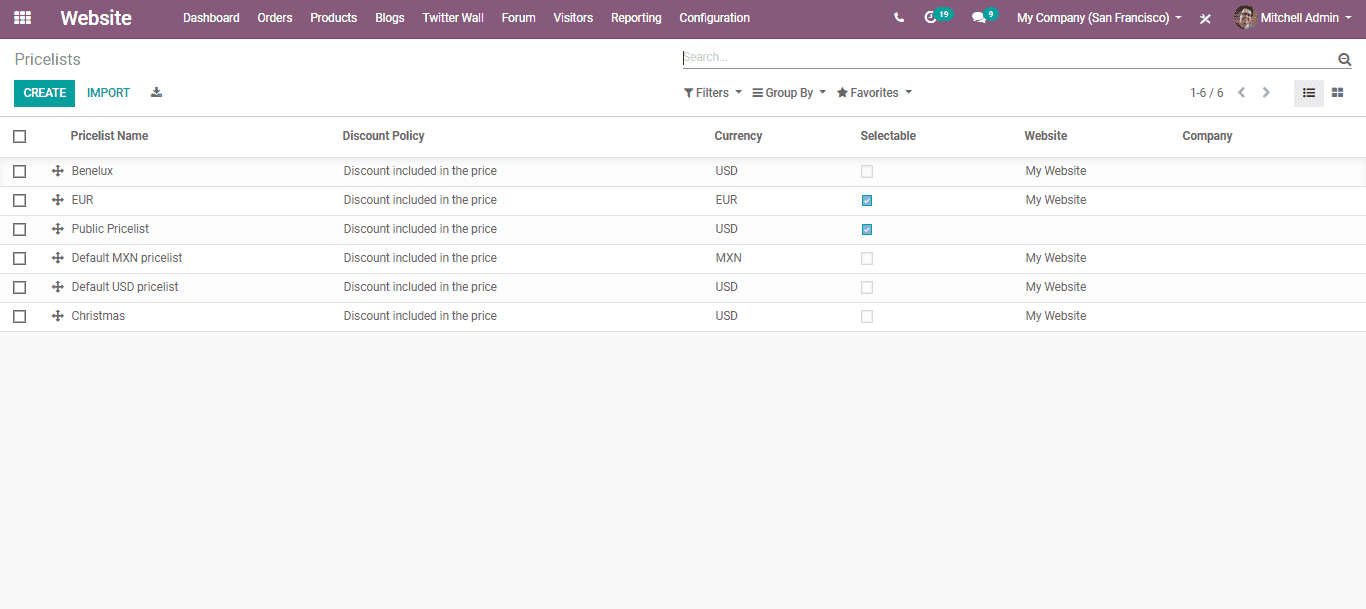
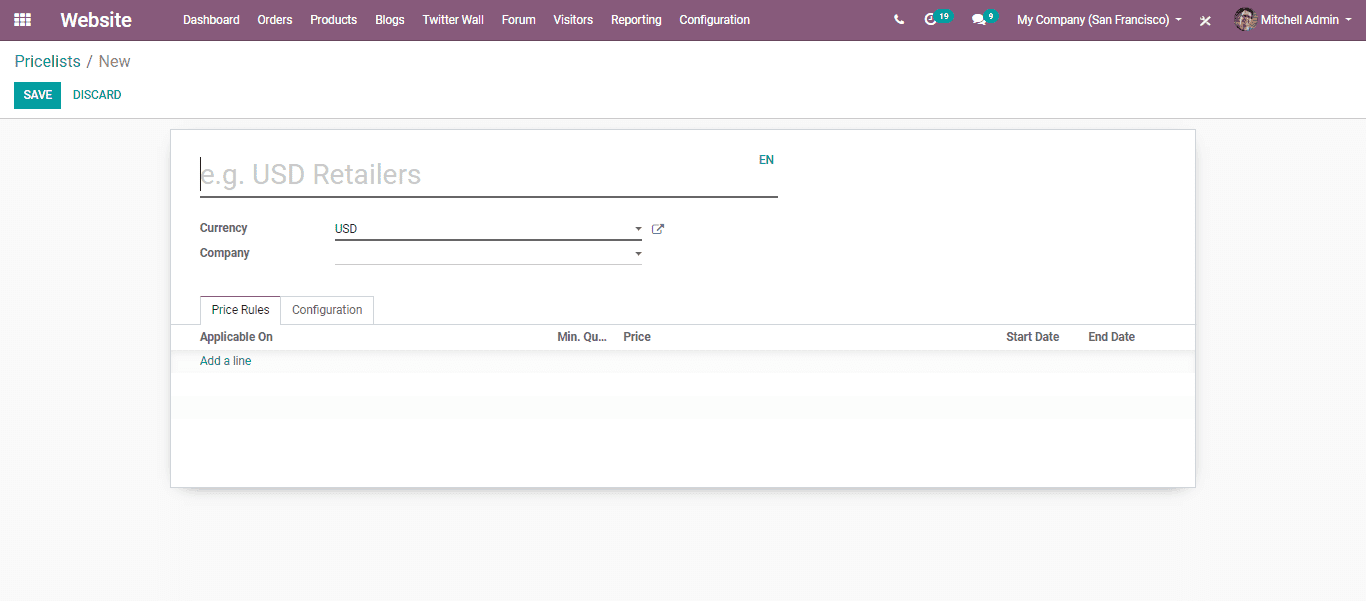
By selecting the Create button you can also create a new pricelist.
Promotions and Coupon programs
According to the present requirements, the “Promotion and Coupon Programs” enables the end-user to create the promotion for their products.
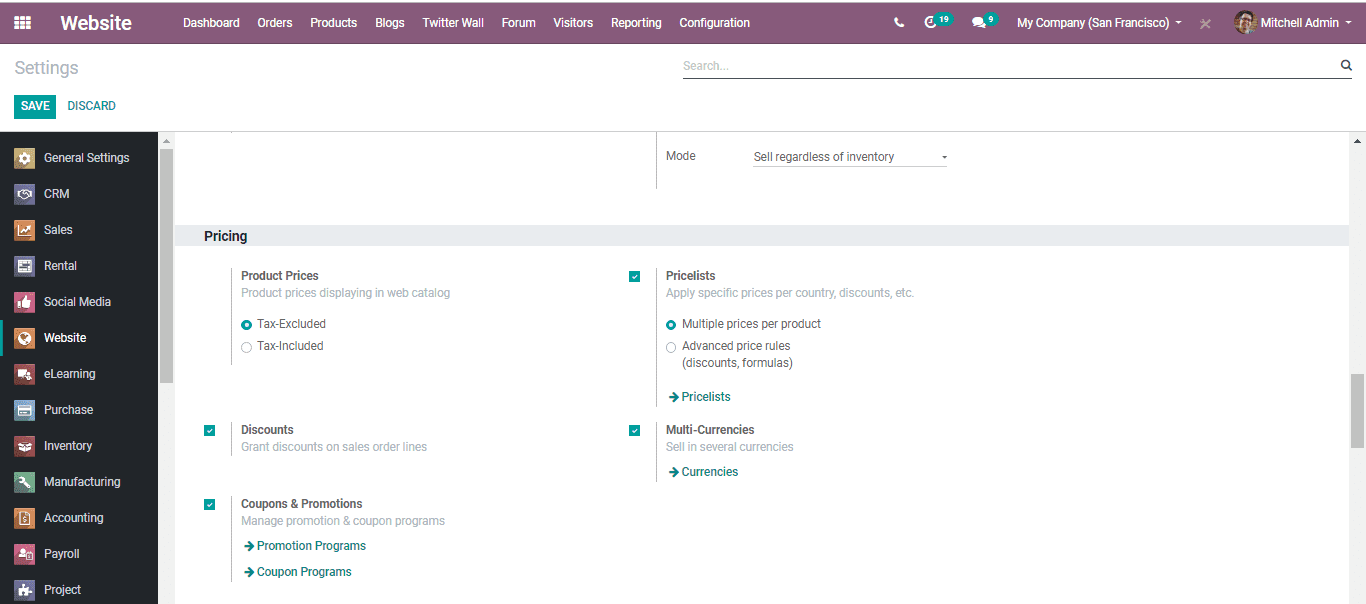
Select WebsiteAdmin -> Configuration -> Settings -> Pricing
To enable Promotion and Coupon programs. In the option Coupon and Promotion mark the tick. Opt the Save button to mark changes.
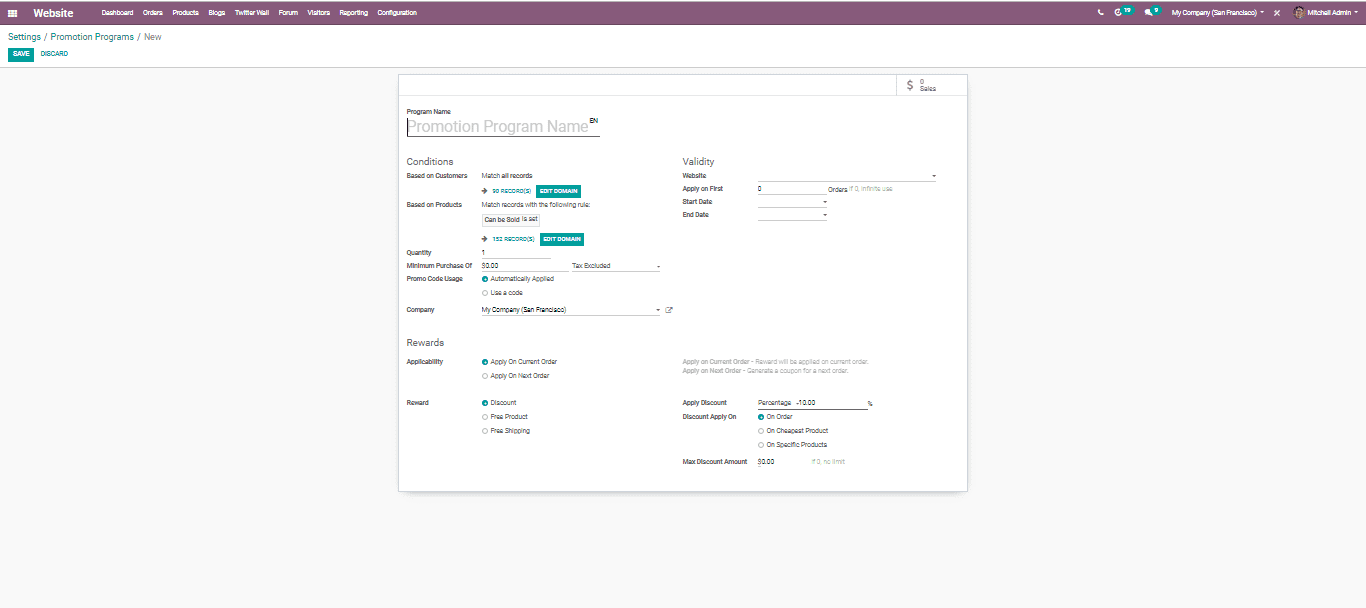
You can create a new loyalty program to attract clients by selecting the promotions and coupon programs,
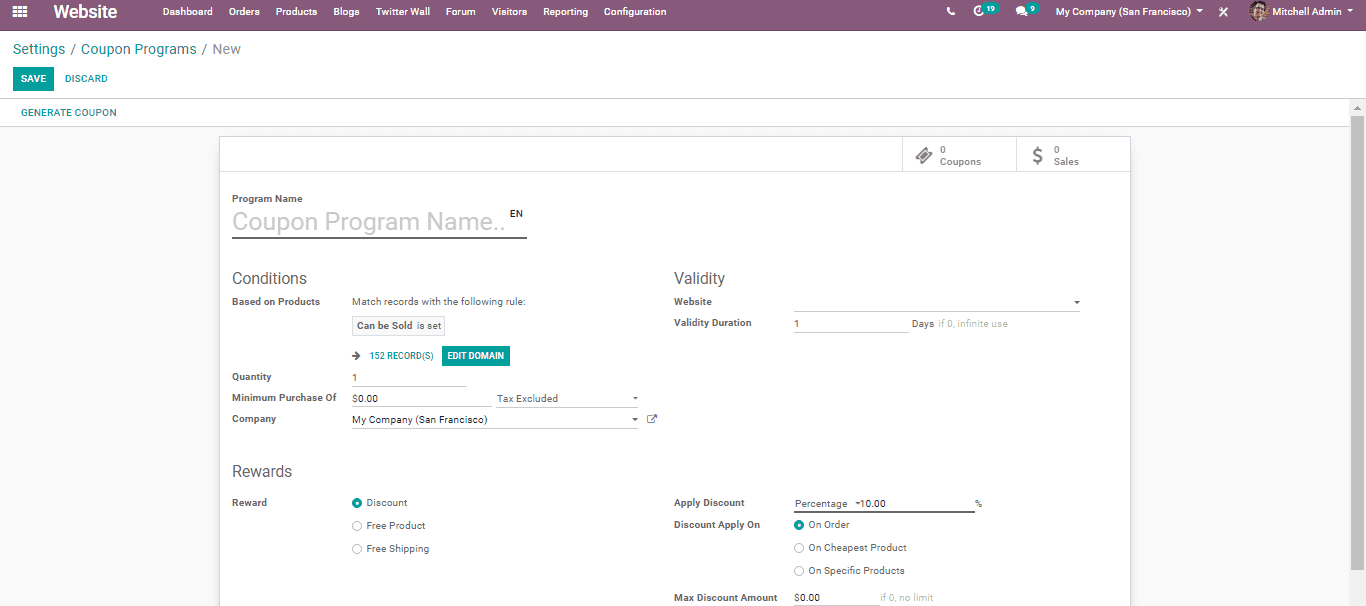
You have the following programs when you entered the coupon programs.
Payment Acquires
A commercial enterprise is at end dependent on its earnings technology or investment return. All business organizations accumulate income from their clients in return for the services or products they offer. All the transactions are made instantaneously and effortlessly through some built-in Payment Acquiries in Odoo Enterprise.
The entire built-in payment acquiries can be found in Website Admin -> Configuration -> eCommerce -> Payment Acquiries
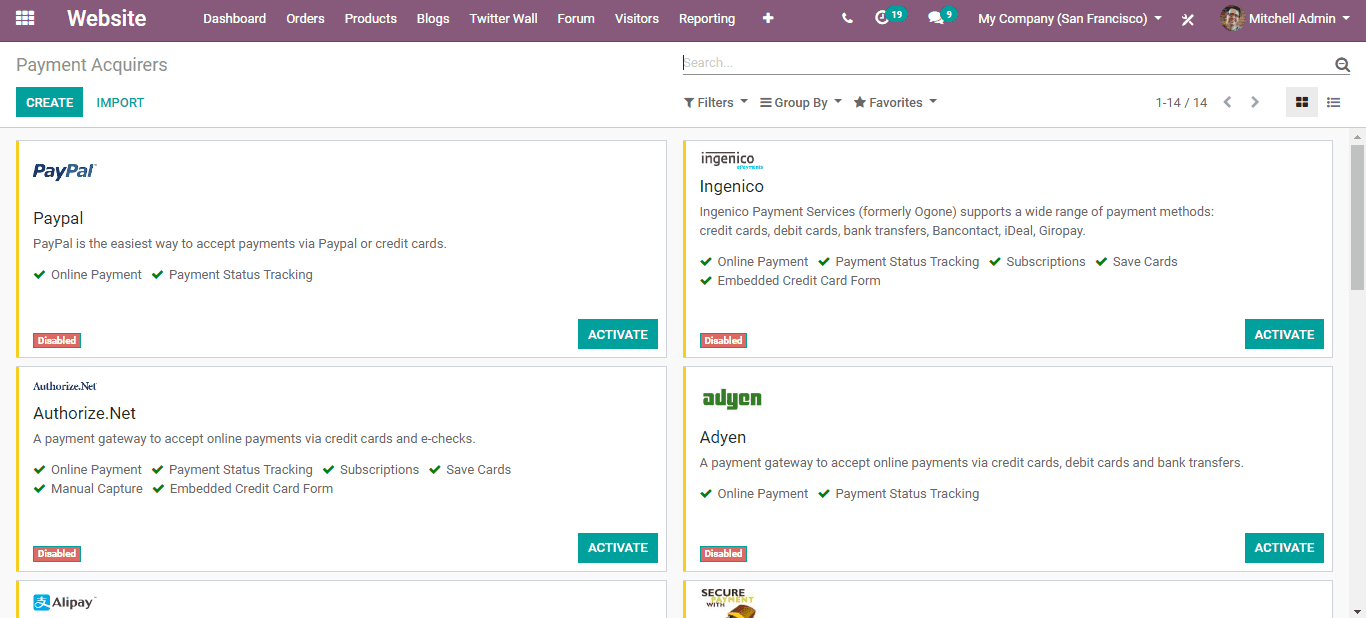
For configuring your payment acquiries select the Activate button.
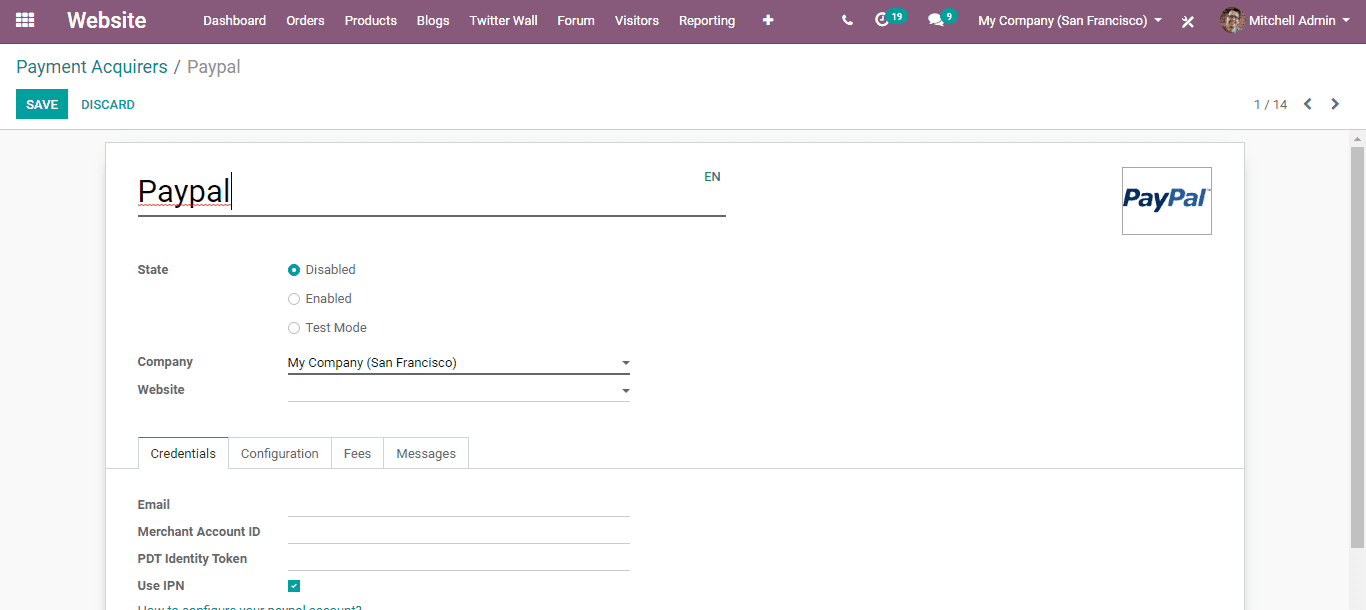
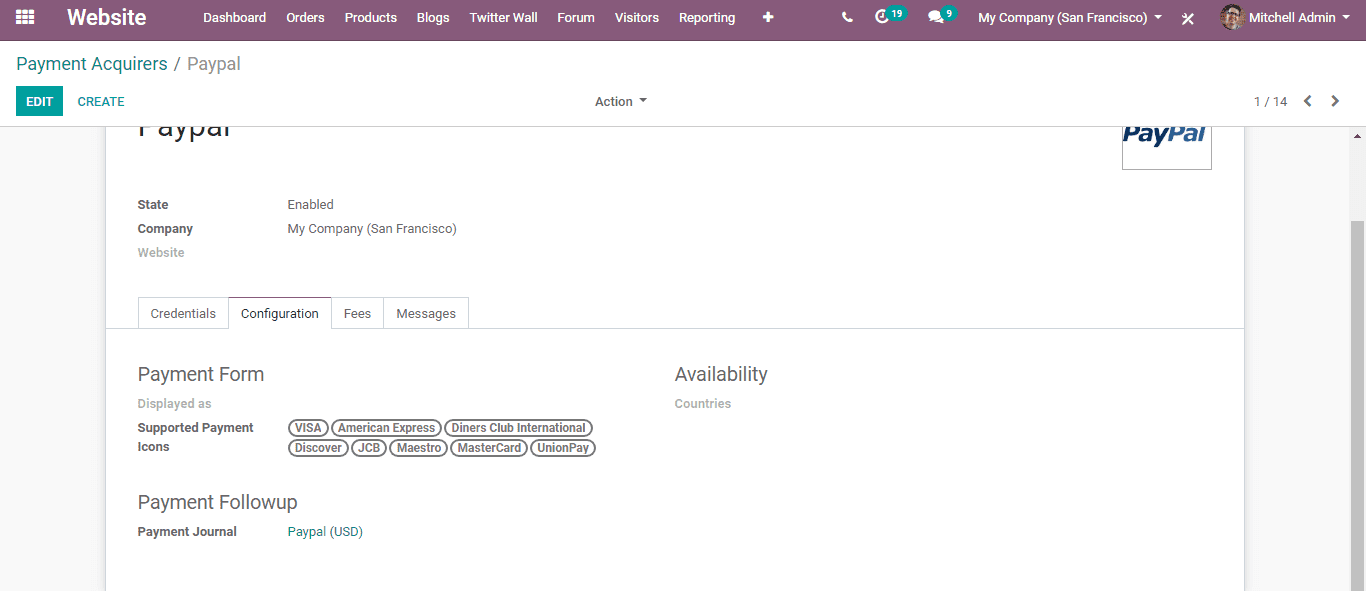
Publish the content on the website so that to make that available to the users if you already configured the settings.
Shipping Methods
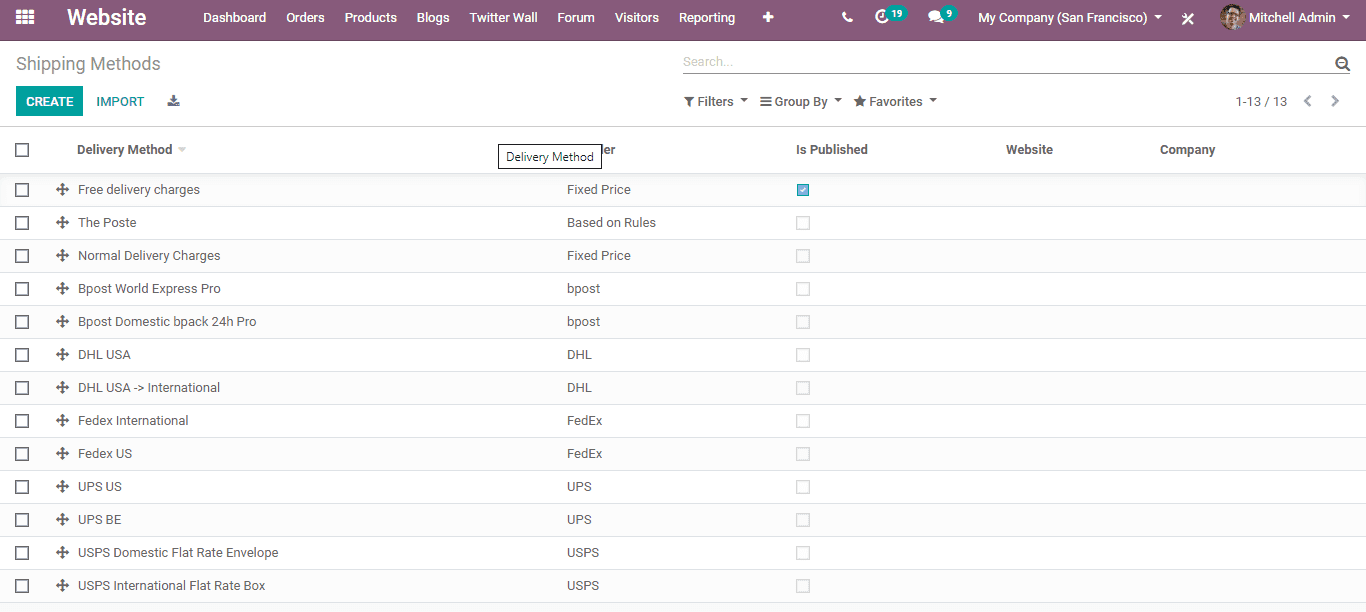
Various shipping methods can be managed by Odoo, as it is, it isn't always activated default. The shipping integration of Odoo is accessible for FedEx, Temando USPS, DHL, etc. Shipping Methods make you manage the transportation company, the destination, and the cost.
Configuration: Website Admin -> Configuration -> eCommerce -> Shipping Methods
eCommerce Categories
One has to set a category for each product to make visible the products in the category wise.
Via choosing, Website Admin -> Configuration -> Products -> eCommerce categories
You can set various categories of products.
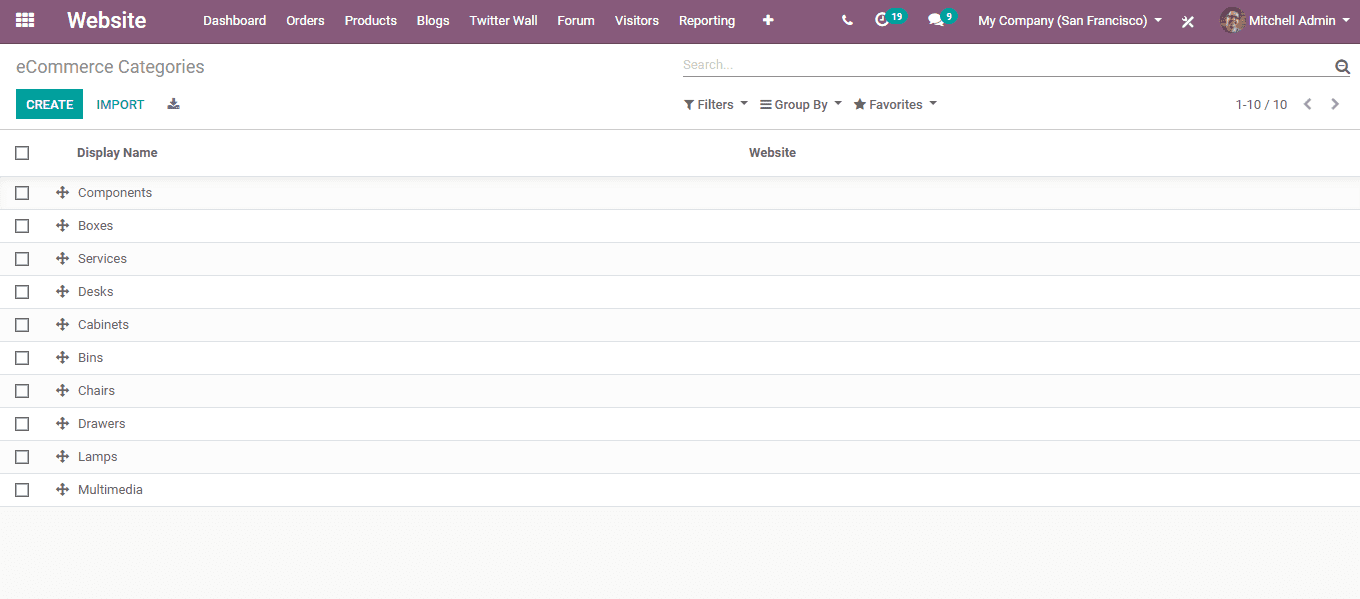
By selecting the Create button one will reach a new window. New eCommerce Categories can be created here.
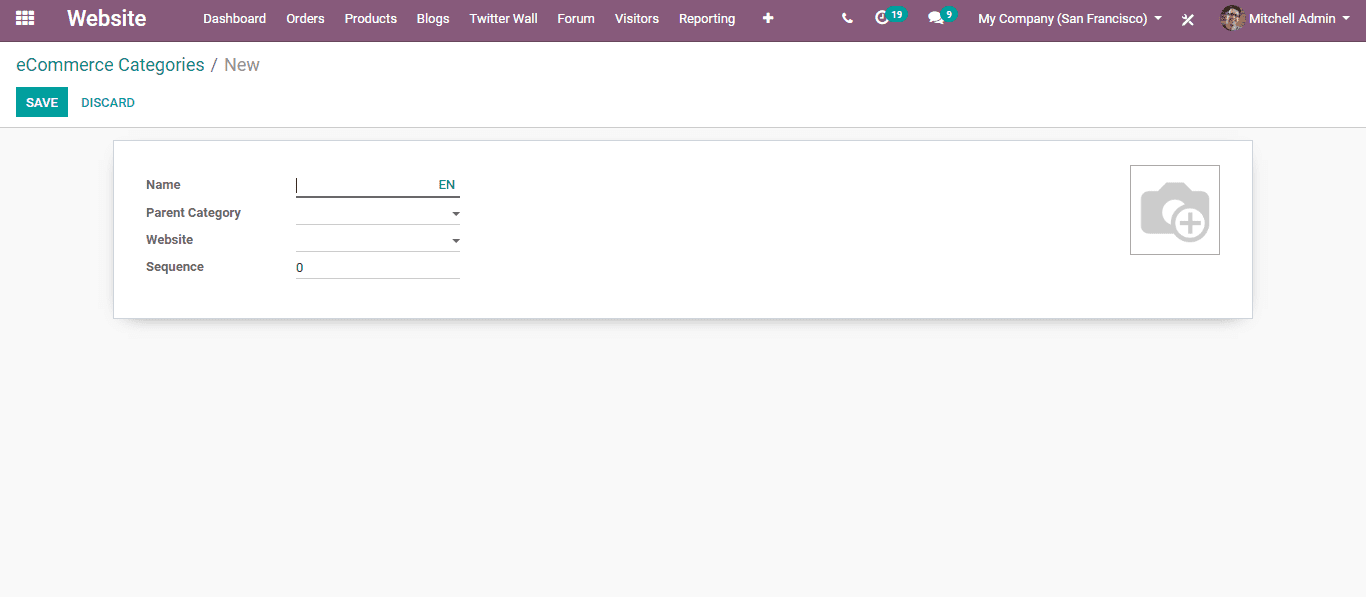
The parent category should be selected initially and then save it. There is also a provision for editing the product category.
Edit or Delete a product category
For this, go to,
Website Admin -> Configuration -> Product -> eCommerce Category.
For delete or update, it selects on any one of the categories listed.
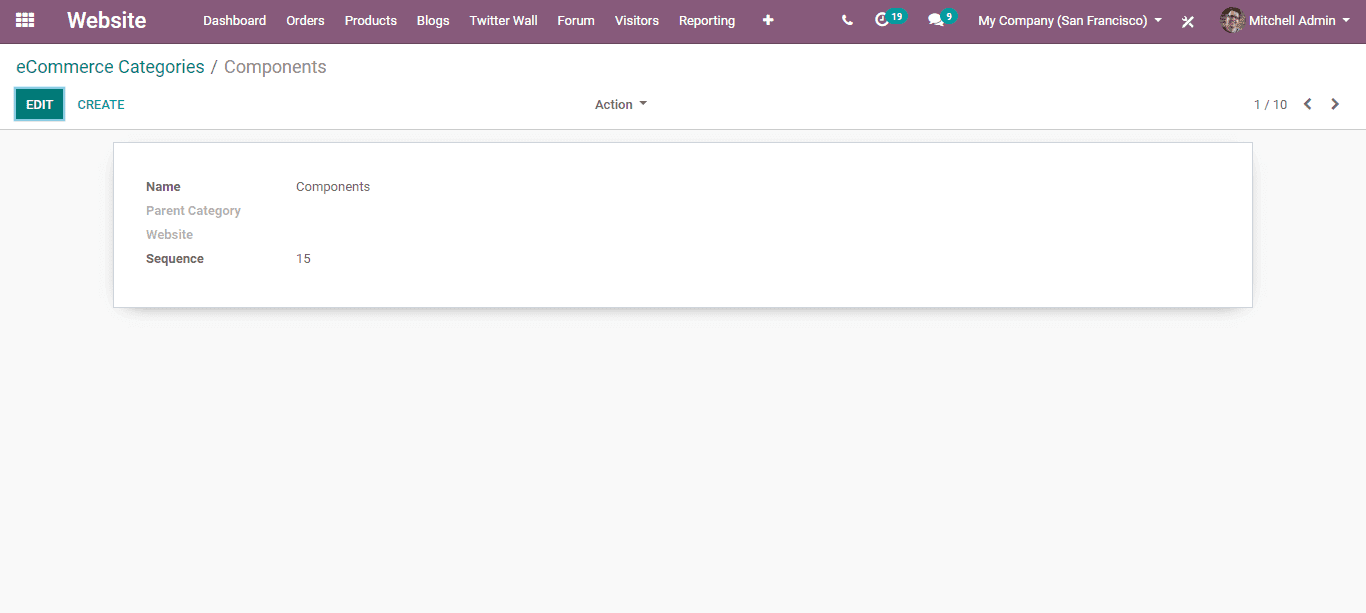
Then select the website and choose the Customize, one can point out various options there. For viewing the products in category wise allow Product Categories options.