The master production schedule is an important feature of the Odoo Manufacturing module. This tool helps the business to plan future actions based on the demand. As we know, master production scheduling is reporting the activities based on the forecast. Thus this function can help the business to manage all the activities it will also help us to manage the manufacturing based on the requirement from the market.
In other words, we can say that a Master production schedule helps us to find out the number of products that we require manufacturing in a particular period of time if we want to meet the demand for the product. If a company is using a master production schedule, the company will be able to manage different operations including the buying of the components needed for manufacturing, allocation of employees and workers, planning of work centers, etc.
The manufacturing module of Odoo is one of the best and comprehensive enterprise resource management tools and this will help us to manage the master production schedule (MPS) in a systematic way. MPS eases our operations in the manufacturing industry by helping us to plan and organize all your activities in an orderly manner. It will also support the management to prepare a plan for the manufacturing. We can also foresee our future business opportunities along with the challenges and benefits with the help of this predictive tool.
We will also be able to manage different tasks the best way using the tool. As we will know the requirement, we can understand the requirement for the raw material and the employees. We can ensure an uninterrupted flow of production with the support of this feature.
To check MPS in Odoo Manufacturing let us go to Manufacturing> Planning> MPS
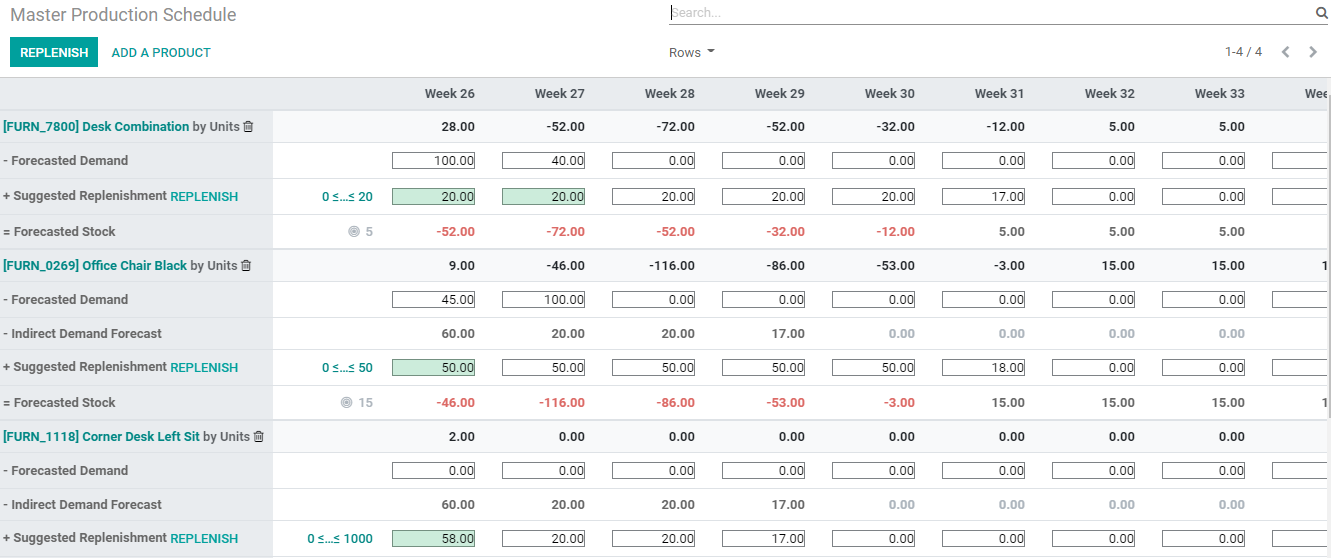
This is the master production schedule page of the Odoo Manufacturing module.
There are many columns and rows here. The number of columns can be fixed by the user at the settings. Here we can view 12 columns at a time and we can find that the columns are marked with Week numbers.
We can find that the products are listed out in different layers on the page.
How will MPS benefit us?
MPS will help us get an idea about the actual required quantity. IT will assist us to study the capacity of our work centers and improve the efficiency to meet the requirement. Saving time as well as money is also possible with MPS support. As material availability can also be checked we can manage material replenishment using this tool We can also manage and analyze the requirements.
As we have discussed the general perspective of MPS we can now dive into the functionalities and features of this module. To make use of MPS we have to first configure the MPS.
Go to Manufacturing> Configuration. We can find the Settings page here. We have a Planning segment in the settings and below this we can enable our MPS.
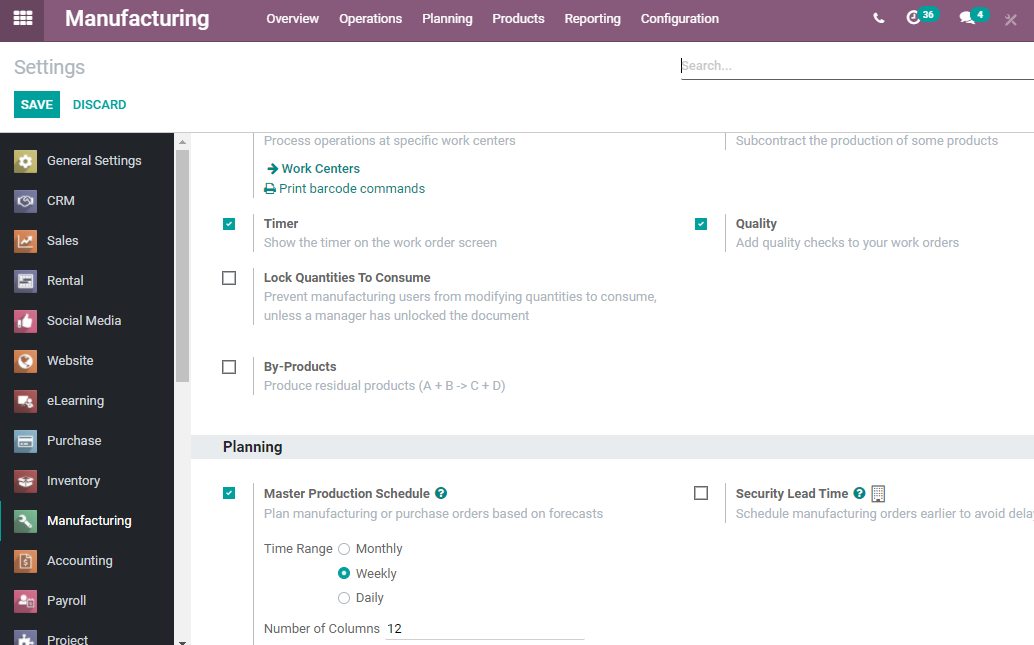
By enabling this feature we will be able to make use of the MPS. Different time ranges are here and we can select from monthly, weekly, and daily. We can also select the number of columns here. I have chosen the weekly option here. We have also selected 12 columns and this means, we will have 12 columns. After selecting the required options save them and return them to the manufacturing module.
Below we can find the Planning menu and MPS

Let us choose the MPS option and we get the page as earlier.
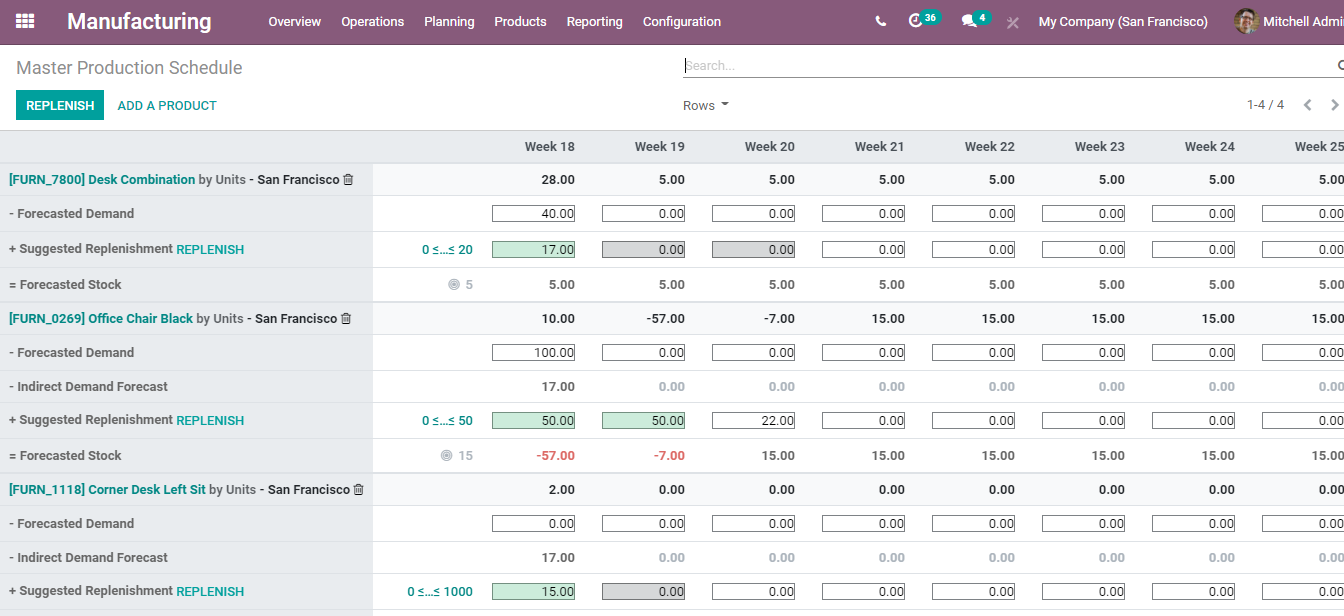
Earlier in the settings page we had selected week as our time range and that is why we can find the columns named after week. We had also selected 12 as the number of columns and the number of columns here is also the same.
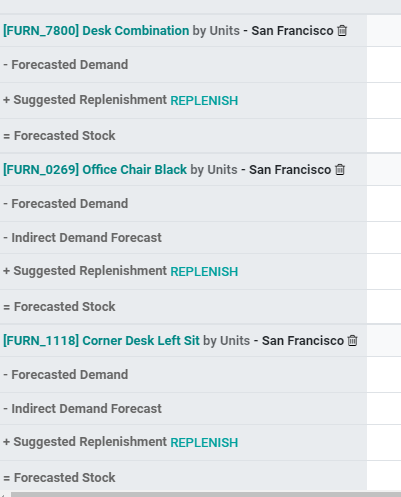
We can find different details from here and below each product name we can find details like forecasted demand, indirect demand forecast, forecasted stock, suggested replenishment forecasted stock.
This page gives us two options either to replenish or to add a new product.

Add a product
ADD A PRODUCT tab will help us to add a product. We can click on the tab and then we get a new pop-up window. Add the product details here. We can fill in the details or select a product from the list.
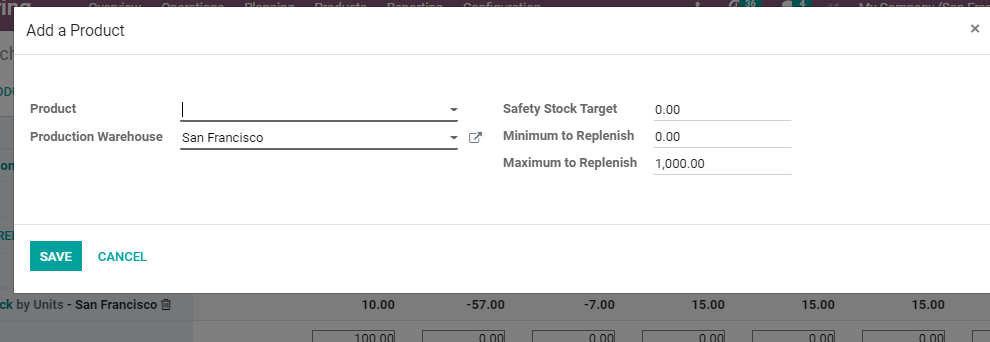
Once we add a product we Save the changes and set Safety Stock Target or the number of extra products stored in the inventory in order to avoid running out of stock of the product. Here, this means the quantity that we required after a fixed period of time.
This window also enables us to manage our Minimum Quantity to Replenish. This supports us to set the Maximum replenishment quantity.
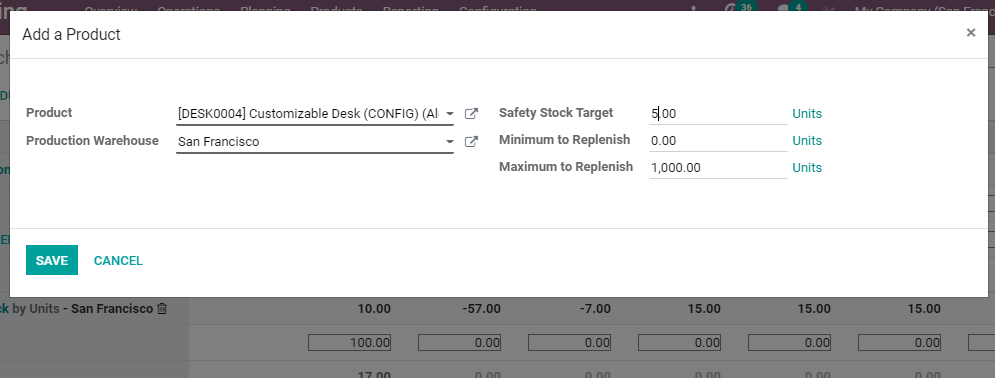
As we have selected the safety stock target and minimum and maximum quantities to replenish we can save the changes.
As we have returned to the MPS page we can manage the rows and details. WE can remove or add some of the details.
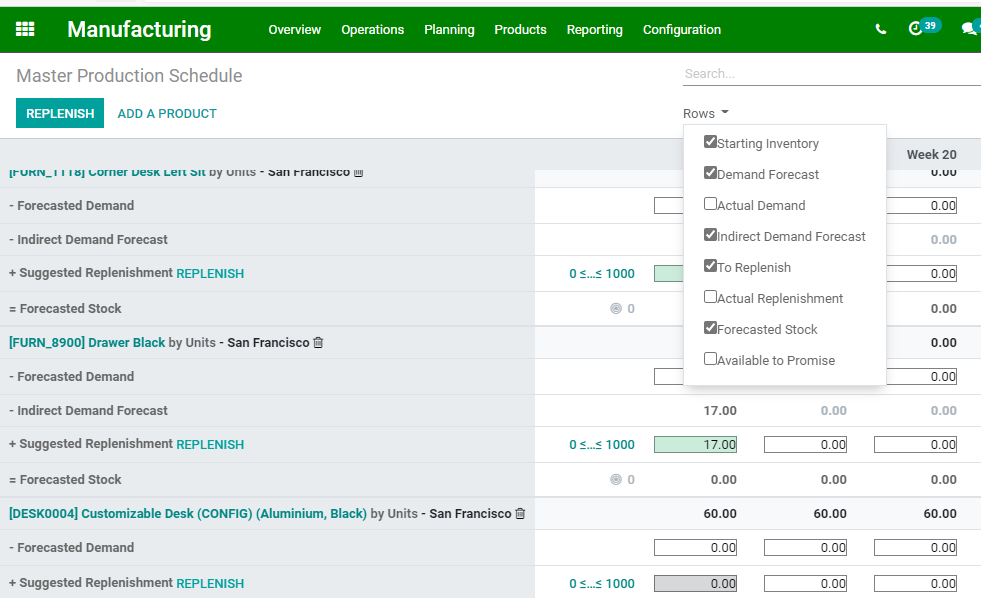
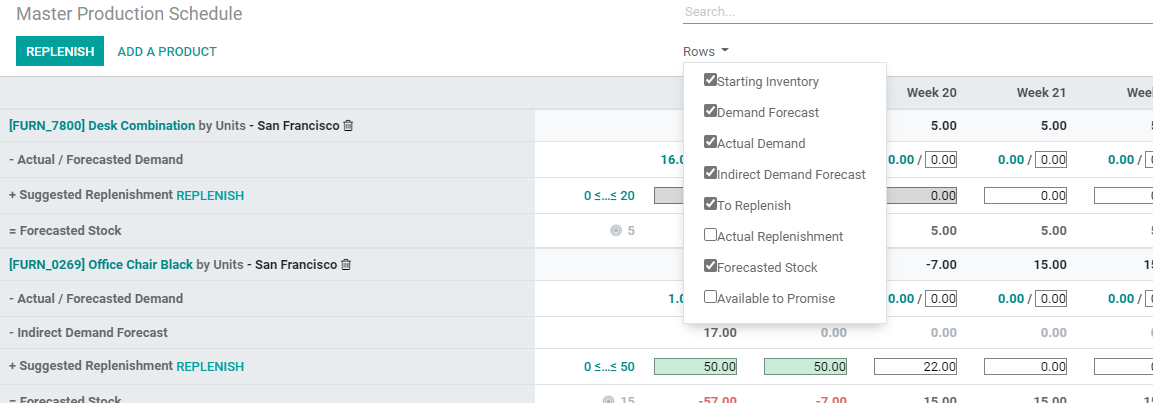
We can find Rows drop down menu.
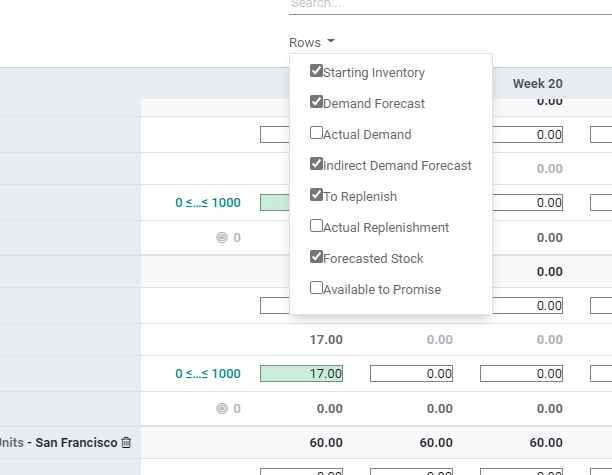
Clicking on it we can find a set of options. We can enable the options we want and disable the options not required.
A key support that we get with the use of MPS is to forecast the demand for the product for a particular period of time.

We can also compare the forecasted demand and actual demand. We will have to enable to actual demand option using the Rows to make use

Here we can see that demand for the Desk combination is 40. The actual demand for the same is 16. What is actual demand? It is nothing but the confirmed sales.

Replenish
We can plan and manage replenishment automatically with MPS. MPS uses the statistics and data given to the ERP tool for making use of the process.

With MPS Replenishment becomes a simple process.
We can complete replenishment using the suggested replenishment option near the Replenishment button. This will help us to carry out replenishment in a product-wise manner.

The second way is to replenish all the suggestions in the MPS. This can be done with the help of the tab Replenish found on the top of the page.
What happens when using the Replenish button attached to suggest replenishment. We can check the sam for the product Desk Combination

On clicking Replenish we can view a colour change, ie, the green colour will change to grey and that means the item has been replenished.

On using this option our ERP auto generates Requests for Quotation or RFQ or Manufacturing Order. As we need Actual Replenishment details we can enable it from the Rows.
Now we can access the details related to actual/ suggested replenishments.

Click the actual replenishment number and we can get this widow

We can carry out the replenishment using any of the three given options. First is a request for a quotation. The second one is the receipt and the third one is the Manufacturing Order.
The window above shows us 17 manufacturing orders have been generated.
Change Replenishment quantity
It is not mandatory that we go for the system suggested replenishment quantity. We can make changes in the quantity to be replenished.

We can use the suggested replenishment number to make changes.

If we want to remove the edited number use the close button.
MPS is a comprehensive support system and to learn more about it visit www.cybrosys.com