Jira is a popular project management tool commonly used by teams to plan, track, and manage their work efficiently. Originally developed as an issue-tracking system by Atlassian, Jira has evolved into a comprehensive platform that supports agile methodologies, software development, and project management processes. With Jira, teams can create projects, define tasks, assign responsibilities, and set deadlines. It provides a centralized workspace where team members can collaborate, communicate, and monitor progress. Jira's flexibility allows customization to fit various workflows, making it suitable for a wide range of industries and projects. One of Jira's key features is its ability to create and manage issues, which can represent tasks, bugs, user stories, or any other work item. These issues can be organized into customizable boards, such as Scrum or Kanban boards, enabling teams to visualize their workflow and track the status of each item. Jira also offers robust reporting and analytics capabilities, allowing teams to gain insights into their productivity, identify bottlenecks, and make data-driven decisions. It integrates with various tools and services, fostering seamless collaboration and automation across different stages of the development or project lifecycle. Overall, Jira empowers teams to streamline their work processes, enhance transparency, and improve overall productivity by providing a flexible and scalable platform for managing projects effectively.
In this blog post, we will explore how to use Jira for project management and illustrate its key functionalities with helpful screenshots.
1. Creating a Project
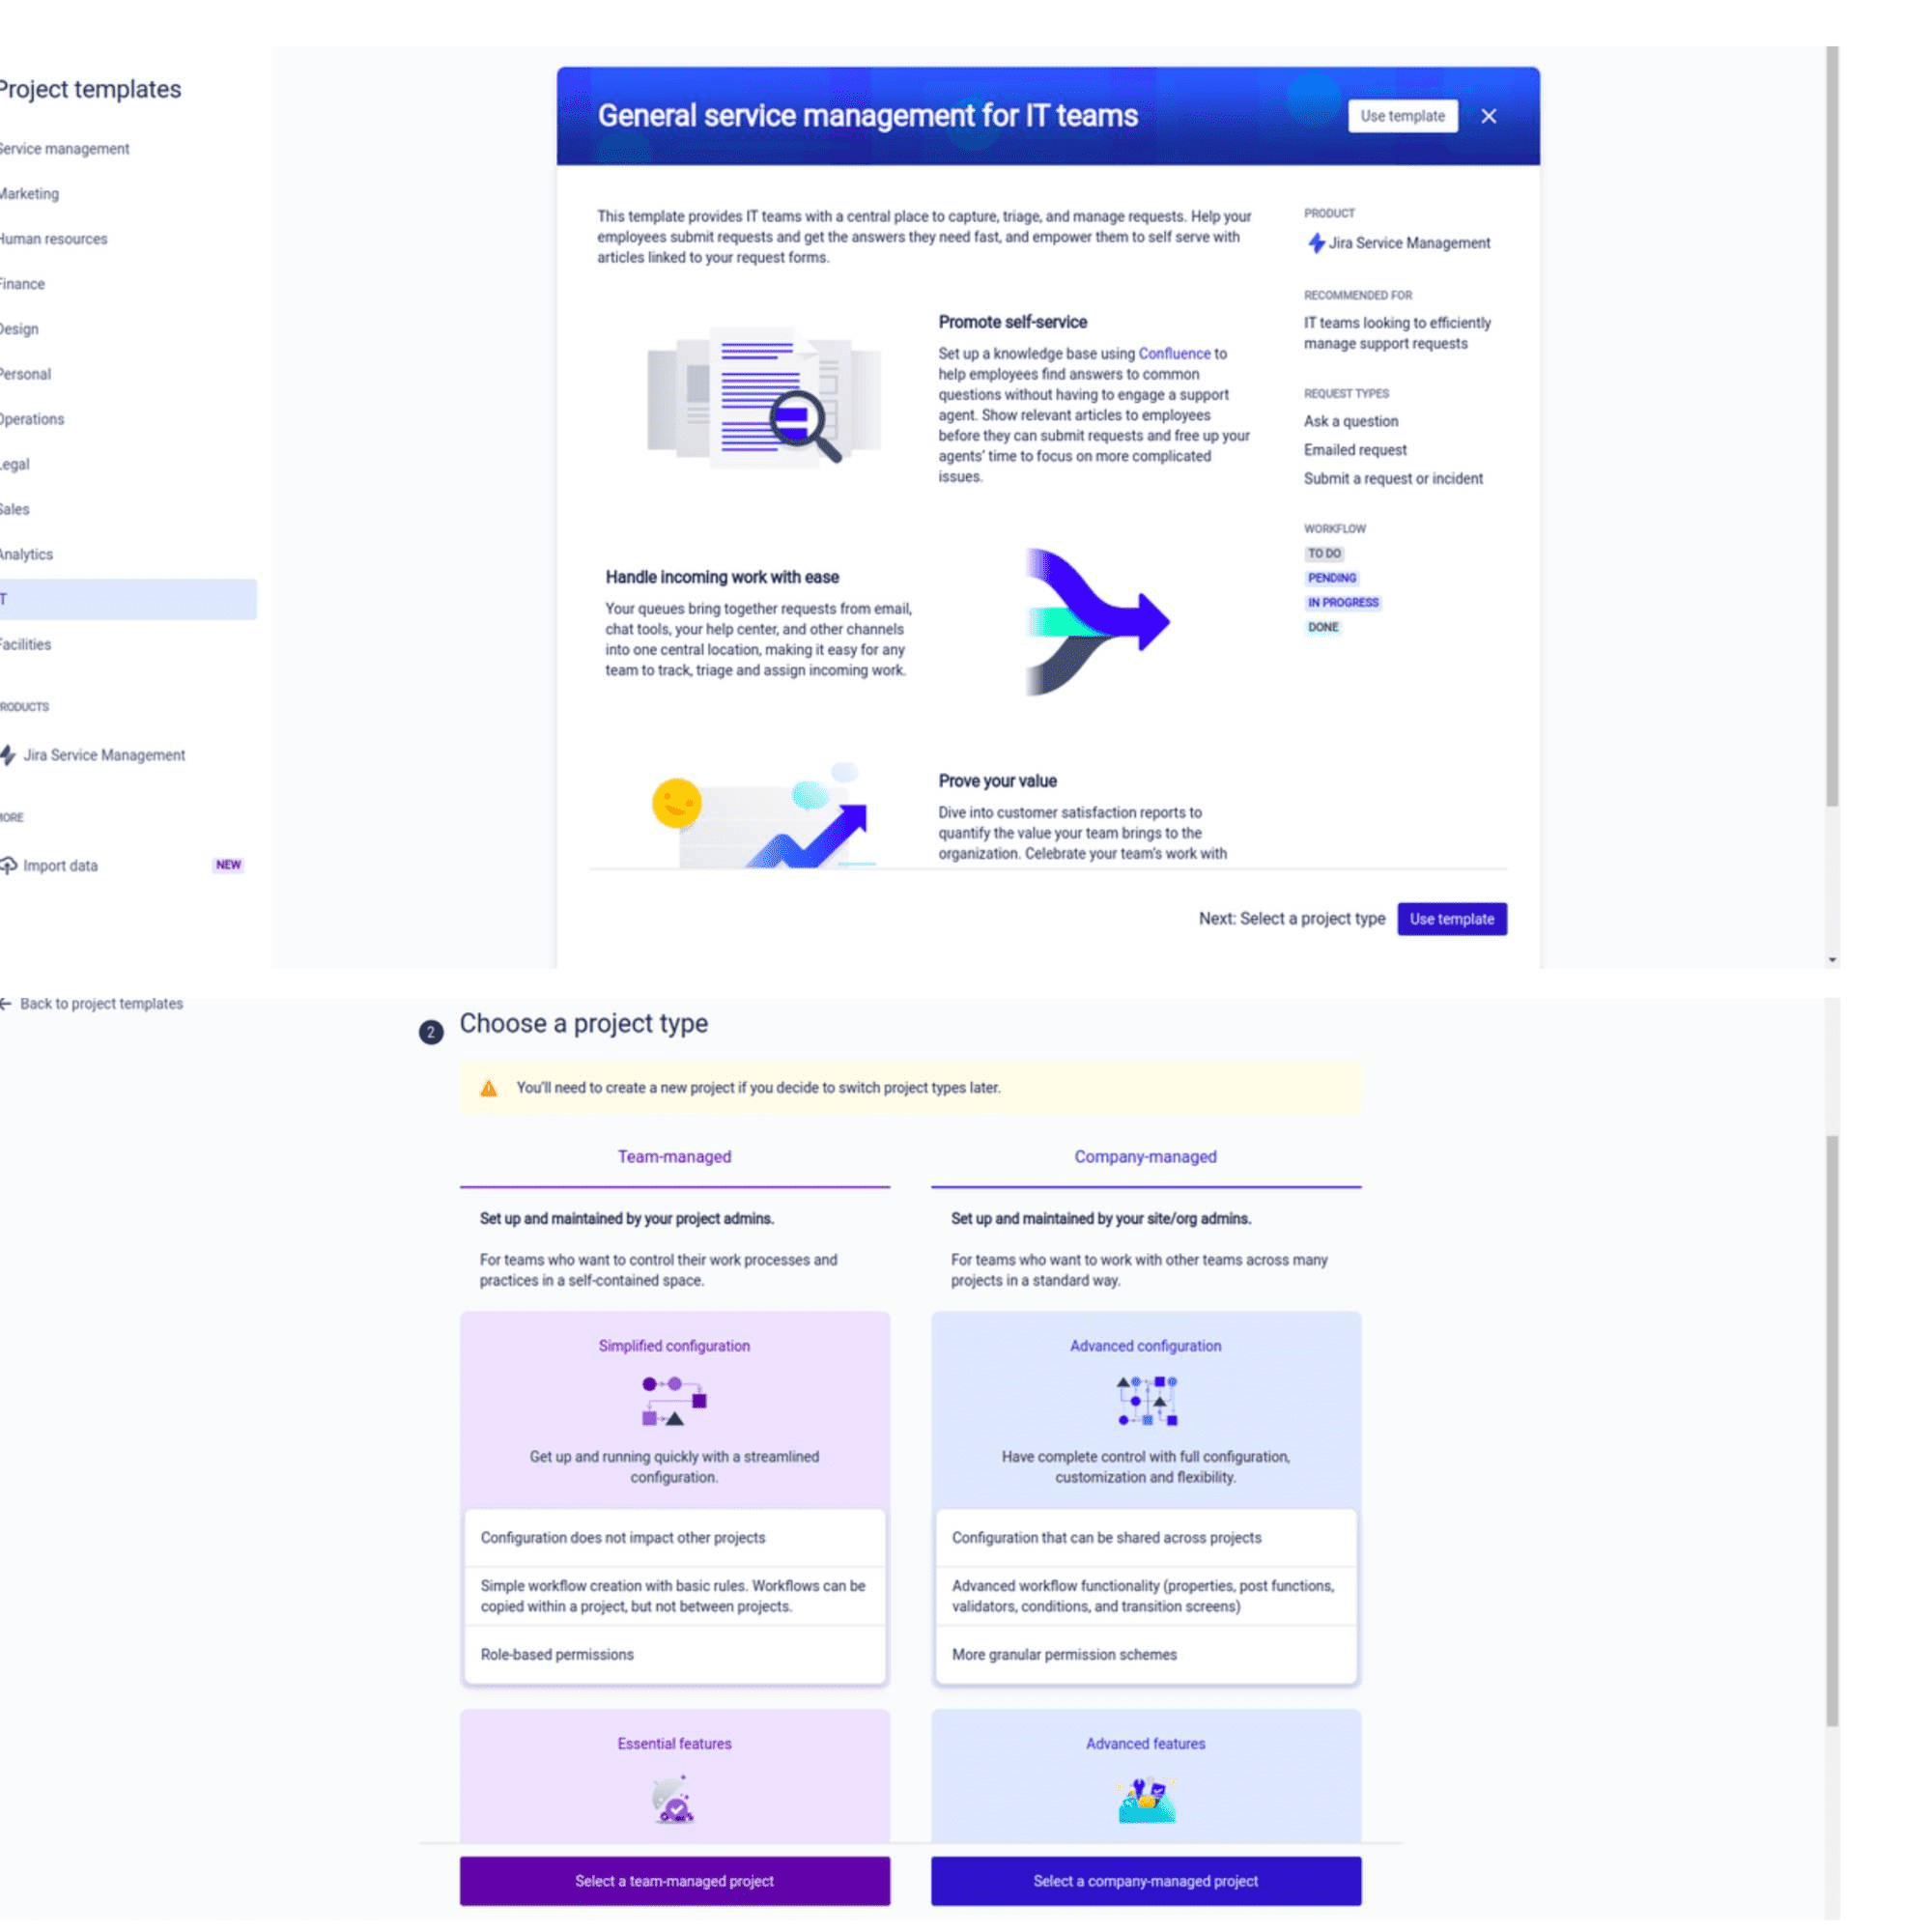
To get started, log in to your Jira account and navigate to the Projects section. Click on "Create Project" to begin setting up your project. Select the project template that aligns with your team's workflow, such as Scrum, Kanban, or Basic Project Management. Or you can also follow the steps below.
1. Go to the Projects page.
2. Click Create Project.
3. Enter a name for your project.
4. Select a project template, if desired.
5. Enter a description for your project.
6. Set a start and end date for your project, if desired.
7. Click Create.
2. Defining Project Details
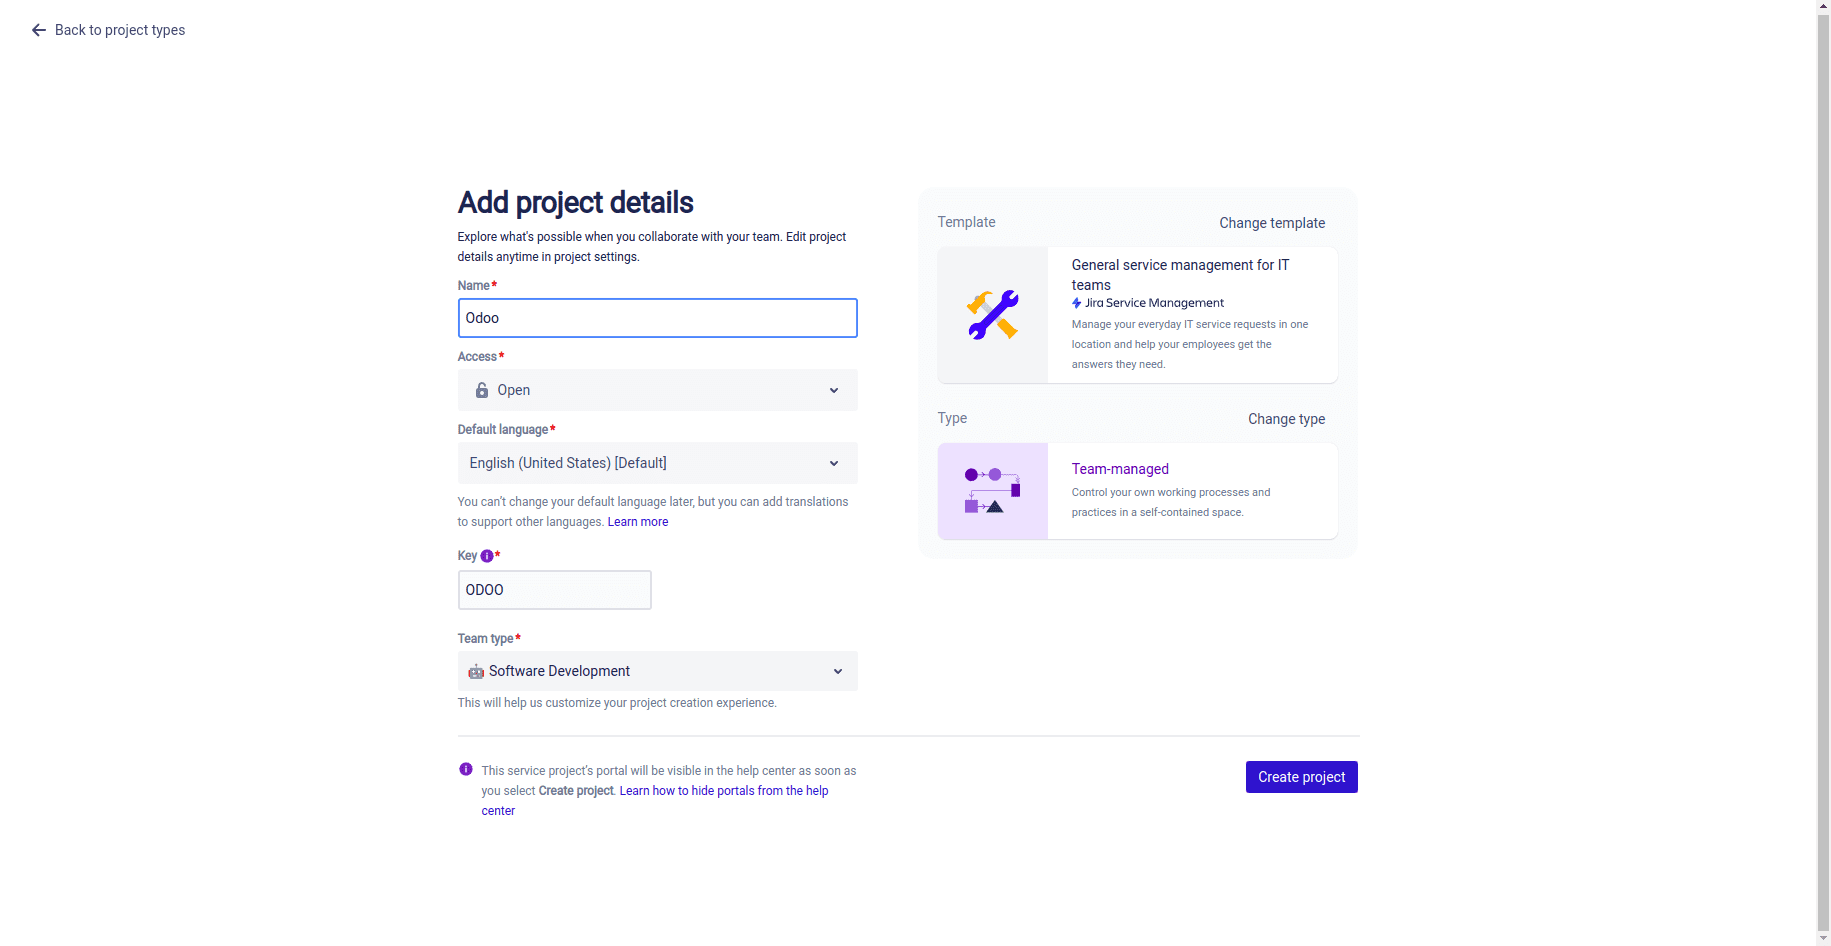
Next, provide essential details about your project, including the project name, key, project lead, and project description. You can also set project permissions to control access and collaboration within the project.
3. Creating Issues
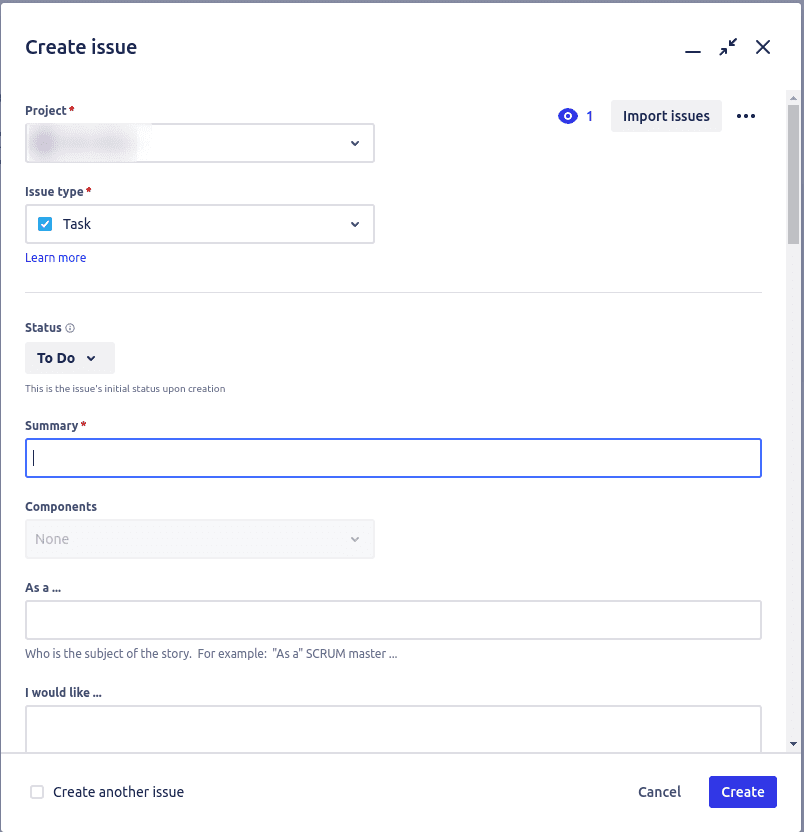
Issues in Jira represent tasks, bugs, or any other work items. To create an issue, click on "Create" and choose the appropriate issue type. Fill in the required information, such as summary, description, priority, assignee, and due date.
4. Organizing Issues with Boards
Jira offers customizable boards to help you visualize and track the progress of your issues. You can create Scrum or Kanban boards based on your team's preferred methodology. Boards provide an overview of your project's workflow, allowing you to move issues across different stages, such as "To Do," "In Progress,", "Dev Testing," "UAT," and "Done."

5. Collaborating and Commenting
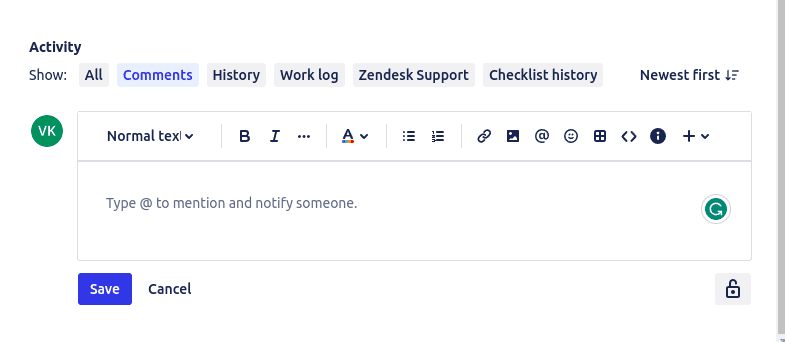
Effective collaboration is key to successful project management. With Jira, team members can easily communicate and provide updates by adding comments to issues. This helps maintain a transparent and centralized communication channel, ensuring everyone is on the same page.
6. Tracking Progress and Reporting
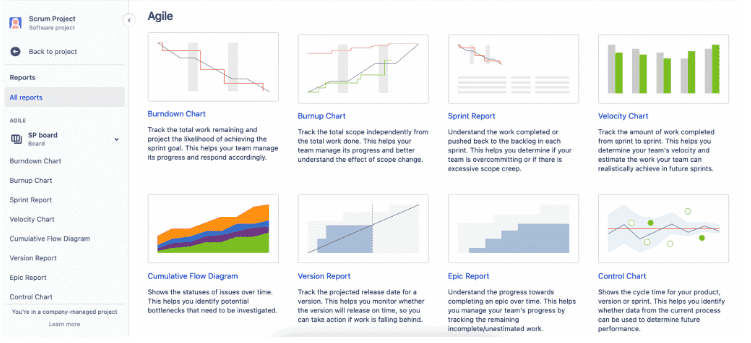
Jira offers robust reporting and tracking capabilities to monitor project progress and performance. Utilize the built-in reports, such as burndown charts, velocity charts, and control charts, to gain insights into your team's productivity, identify bottlenecks, and make data-driven decisions.
7. Integrations and Automation
Jira integrates seamlessly with a wide range of tools and services, allowing you to enhance your project management workflow. Connect Jira with popular tools like Confluence for documentation, Bitbucket for version control, and Slack for real-time notifications. Additionally, leverage automation features to streamline repetitive tasks and improve efficiency.