The Point of Sale (POS) module in Odoo 17 is a powerful tool designed to manage sales operations in various retail environments. With its flexible interface and extensive customization options, businesses can adapt the POS system to fit their unique needs. One of the most useful aspects of this customization is the ability to modify or create control buttons within the POS interface. This guide will take you through the process step by step, helping you to improve the functionality of your POS system efficiently.
Understanding the POS Architecture
Before jumping into customization, it's important to have a basic understanding of the POS architecture in Odoo 17. The front end of the POS is primarily built using JavaScript, leveraging the OWL framework, which is Odoo’s web component system. The control buttons in the POS interface are part of these frontend components, so to modify or add new ones, you will need to work within this framework.
Step-by-Step Guide to Modify/Create Control Buttons
In this example, we will add a new control button to the product screen and implement a popup that appears when the button is clicked.
Step 1: Create the Static Directory
Start by creating a directory called static within your module. Inside this directory, create two more directories: js and xml. The xml directory will contain the template for your button, and the JS directory will hold the JavaScript functionality.
Step 2: Create the XML Template
Next, create a file called custom_control_button.xml inside the xml directory. This file will define the appearance and behavior of your custom button. Add the following code:
<?xml version="1.0" encoding="UTF-8"?>
<templates id="template" xml:space="preserve">
    <t t-name="CustomControlButton" owl="1">
        <div class="control-button btn btn-light rounded-0 fw-bolder"
             t-on-click="onClick">
            <span>Custom Button</span>
        </div>
    </t>
</templates>
Step 3: Create the JavaScript File
Inside the JS directory, create a file named custom_control_button.js. In this file, you will add the JavaScript code necessary to handle the button's behavior. Use the following code:
/** @odoo-module **/
import { ProductScreen } from "@point_of_sale/app/screens/product_screen/product_screen";
import { _t } from "@web/core/l10n/translation";
import { ConfirmPopup } from "@point_of_sale/app/utils/confirm_popup/confirm_popup";
class CustomControlButton extends ProductScreen {
    static template = "CustomControlButton";
    async onClick() {
        const { confirmed } = await this.popup.add(ConfirmPopup, {
            title: _t("Popup"),
            body: _t("Custom control button was clicked"),
            confirmText: _t("Ok"),
            cancelText: _t("Close"),
        });
    }
}
ProductScreen.addControlButton({
    component: CustomControlButton,
    position: ['after', 'OrderlineCustomerNoteButton'],
});
This JavaScript file imports the necessary components, extends the ProductScreen class, and adds a button. The onClick method defines what happens when the button is clicked, in this case, opening a confirmation popup.
Step 4: Update the __manifest__.py File
After writing the XML and JavaScript files, you need to reference them in your module’s manifest file. Update the __manifest__.py file as follows:
'assets': {
    'point_of_sale._assets_pos': [
        'your_module/static/src/js/custom_control_button.js',
        'your_module/static/src/xml/custom_control_button.xml',
    ],
},
Step 5: Test Your Customization
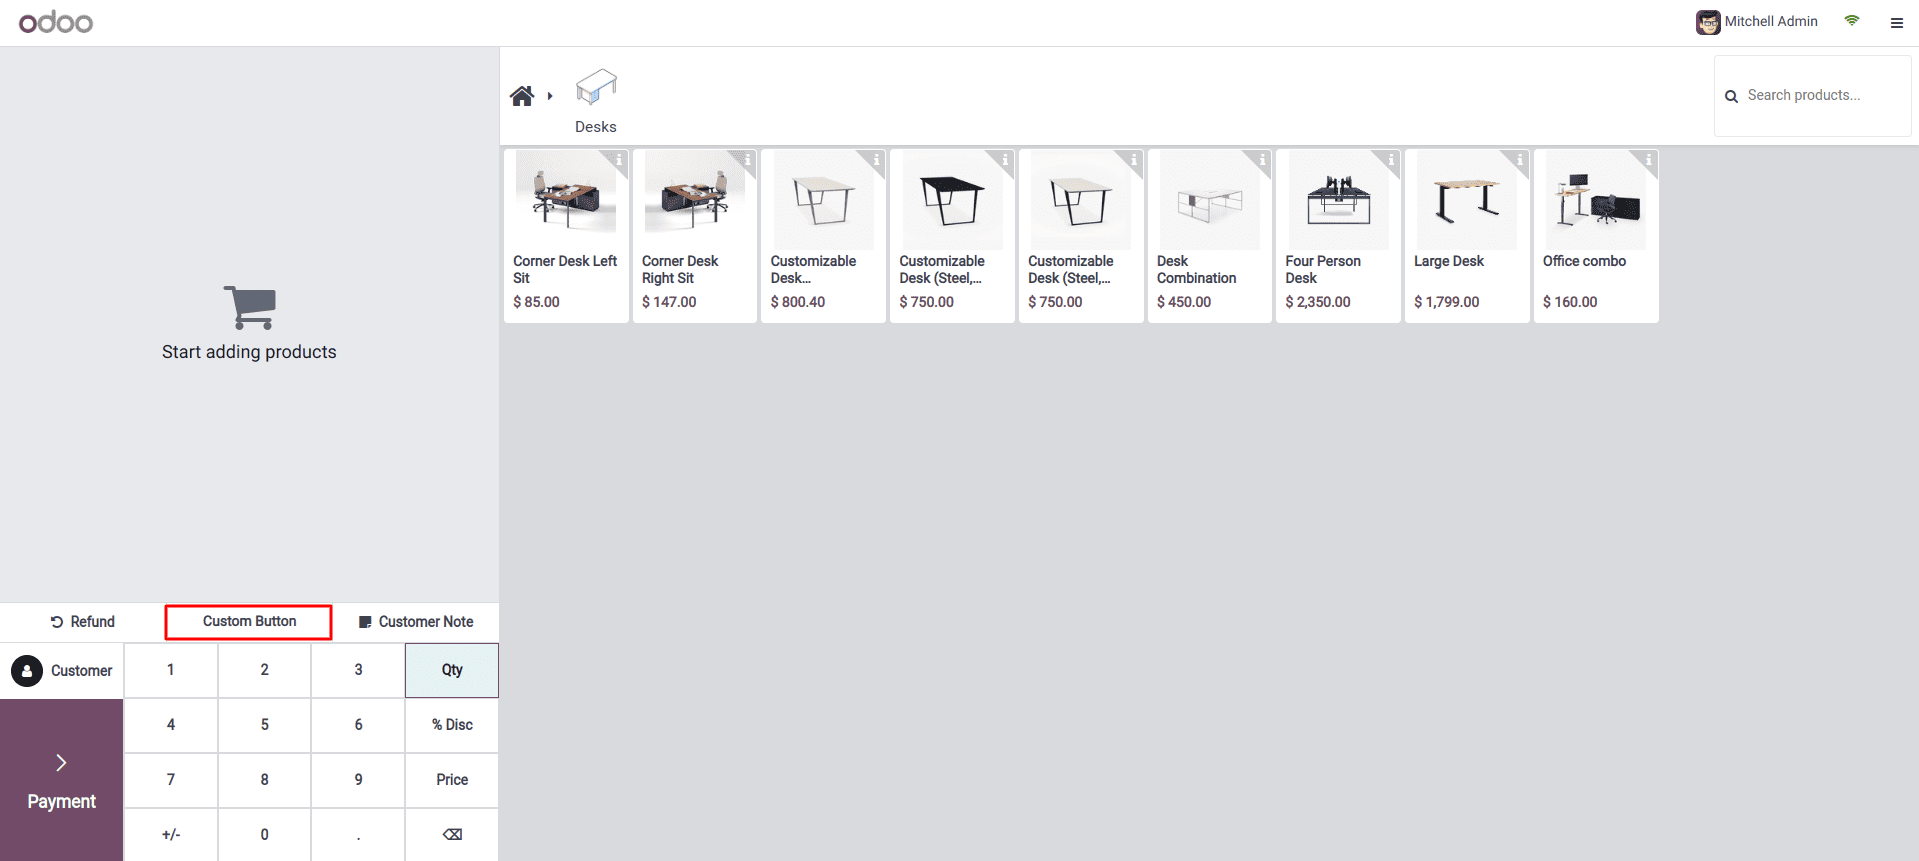
Once everything is in place, install your module and launch the POS interface. You should see a button labeled “Custom Button” on the screen.
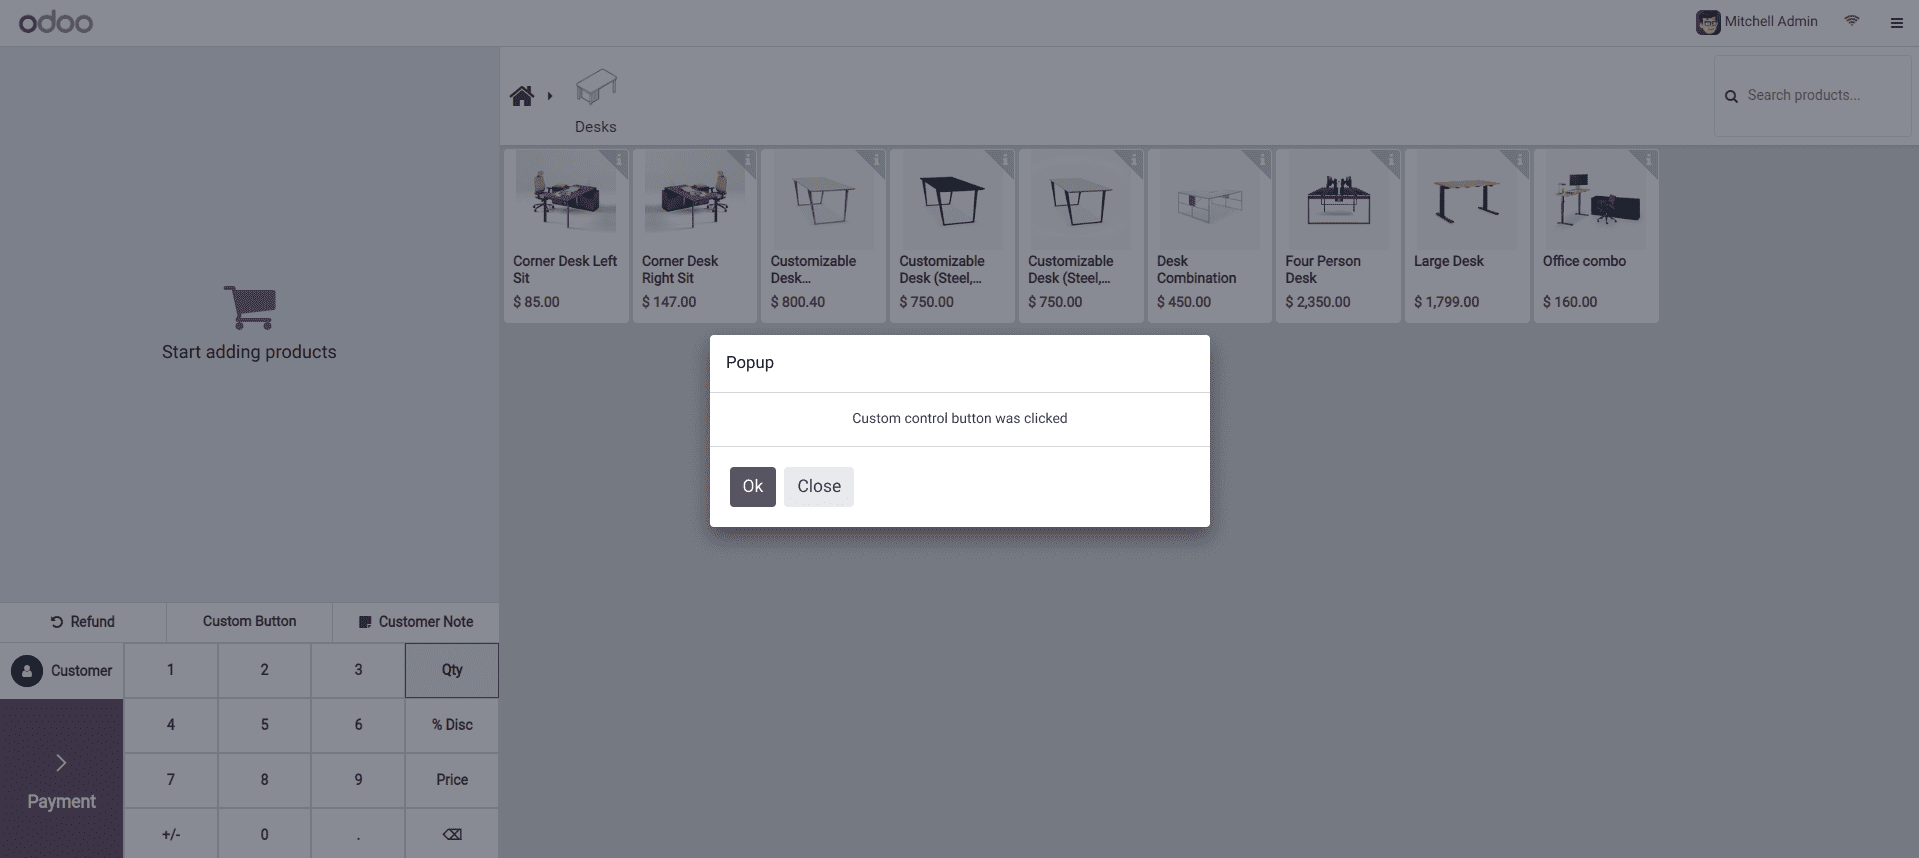
When clicked, a popup will appear, confirming that the button has been clicked.
Conclusion
Customizing control buttons in the Odoo 17 POS module allows for a high level of flexibility and enables you to tailor the interface to your specific business requirements. By following the steps outlined in this guide, you can enhance the POS interface with new functionality, improving both the user experience and operational efficiency.
To read more about How to Add a Custom Button in Odoo 17 POS Screen, refer to our blog How to Add a Custom Button in Odoo 17 POS Screen.