Retail organizations that want to maximize productivity and customer satisfaction must have an effective inventory management system in place. Stock levels are precisely controlled thanks to the full solution offered by Odoo 18 Point of Sale, which combines inventory management with sales procedures. Businesses can keep an eye on stock availability and make well-informed purchase decisions with real-time inventory tracking. Stockouts can be avoided with the use of automated stock replenishment features, which enhance customer satisfaction. Furthermore, comprehensive reporting tools help organizations optimize their operations by providing insights into inventory performance and sales patterns. Even in hectic settings, users can easily manage inventory with Odoo 18 POS. Through the utilization of these capacities, retailers can minimize waste, cut expenses, and improve overall efficiency. The main functions and advantages of Odoo 18 Point of Sale inventory management will be covered in detail in this guide, along with how they may revolutionize retail operations.
So, let's discuss the Inventory Management option in Odoo 18 Point of Sale. Go to the point of sale and choose the Settings from the Configuration.
: Configuration > Settings
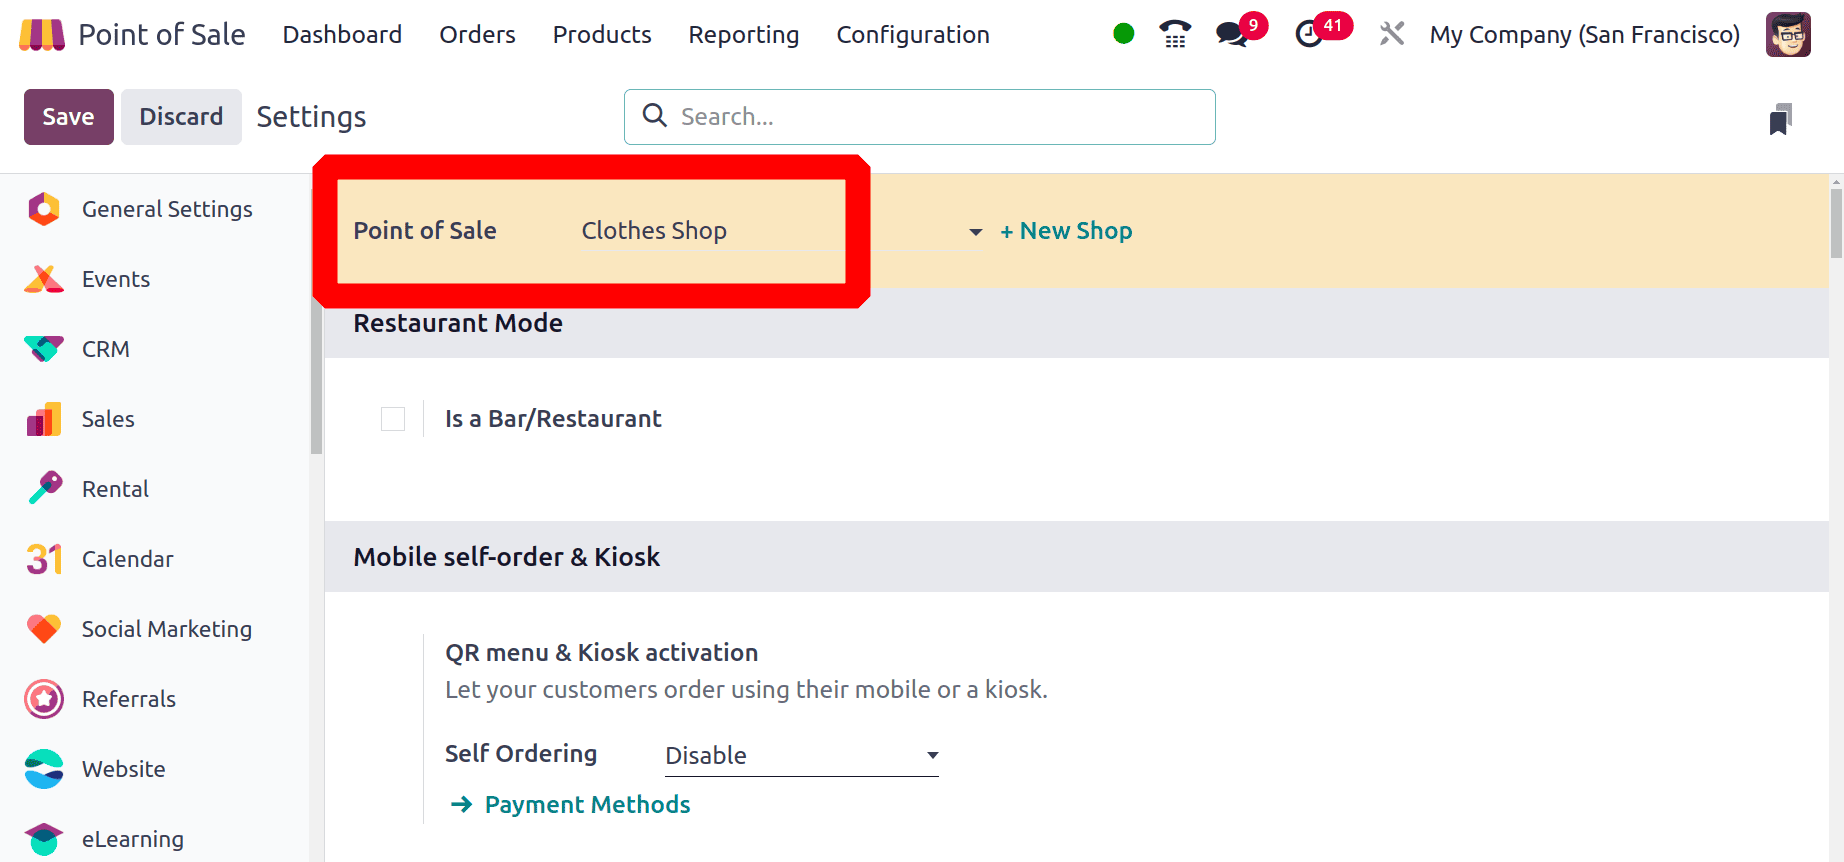
Here the chosen session is Clothes Shop, the inventory management can be set under the section Inventory.
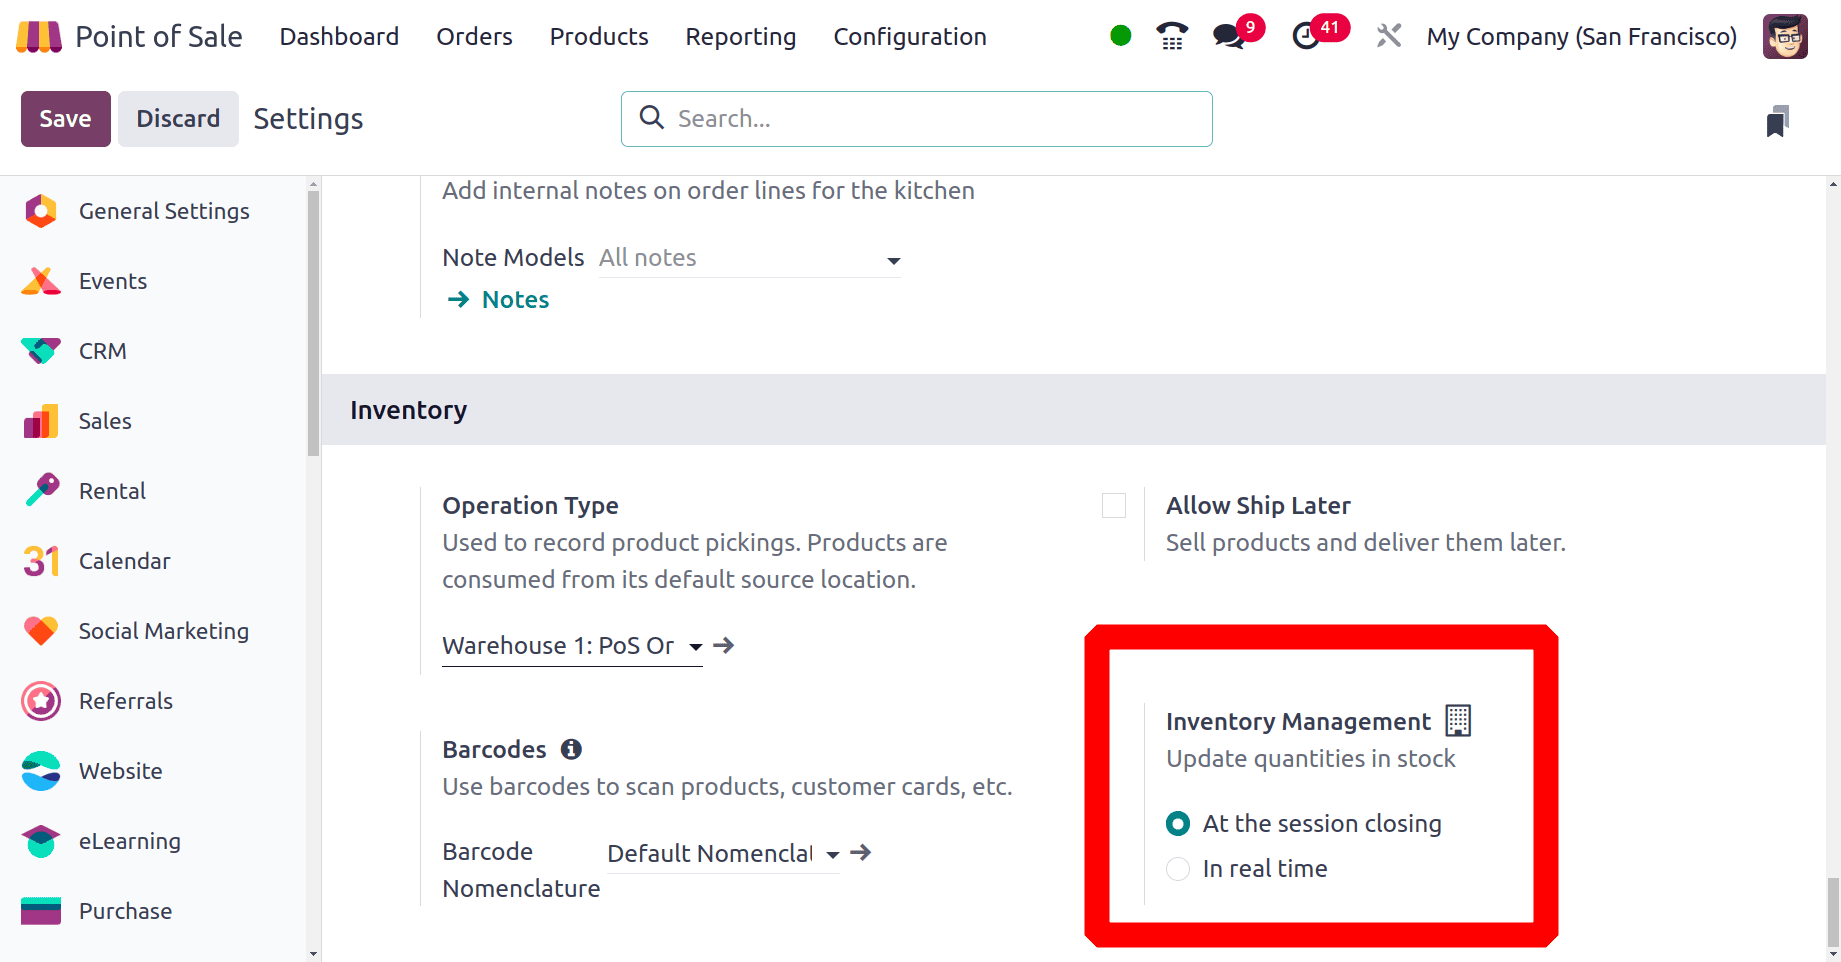
Under Inventory Management, the option is used to update quantities in stock. There are two options: one is ‘At the session closing’ and ‘In real-time’. If the Inventory management is set as At the session closing, then the stock details will be updated in the system only after closing the shop session. And if it is set as In real time the stock changes will update in the system simultaneously. Let's check each one separately.
* At the session closing
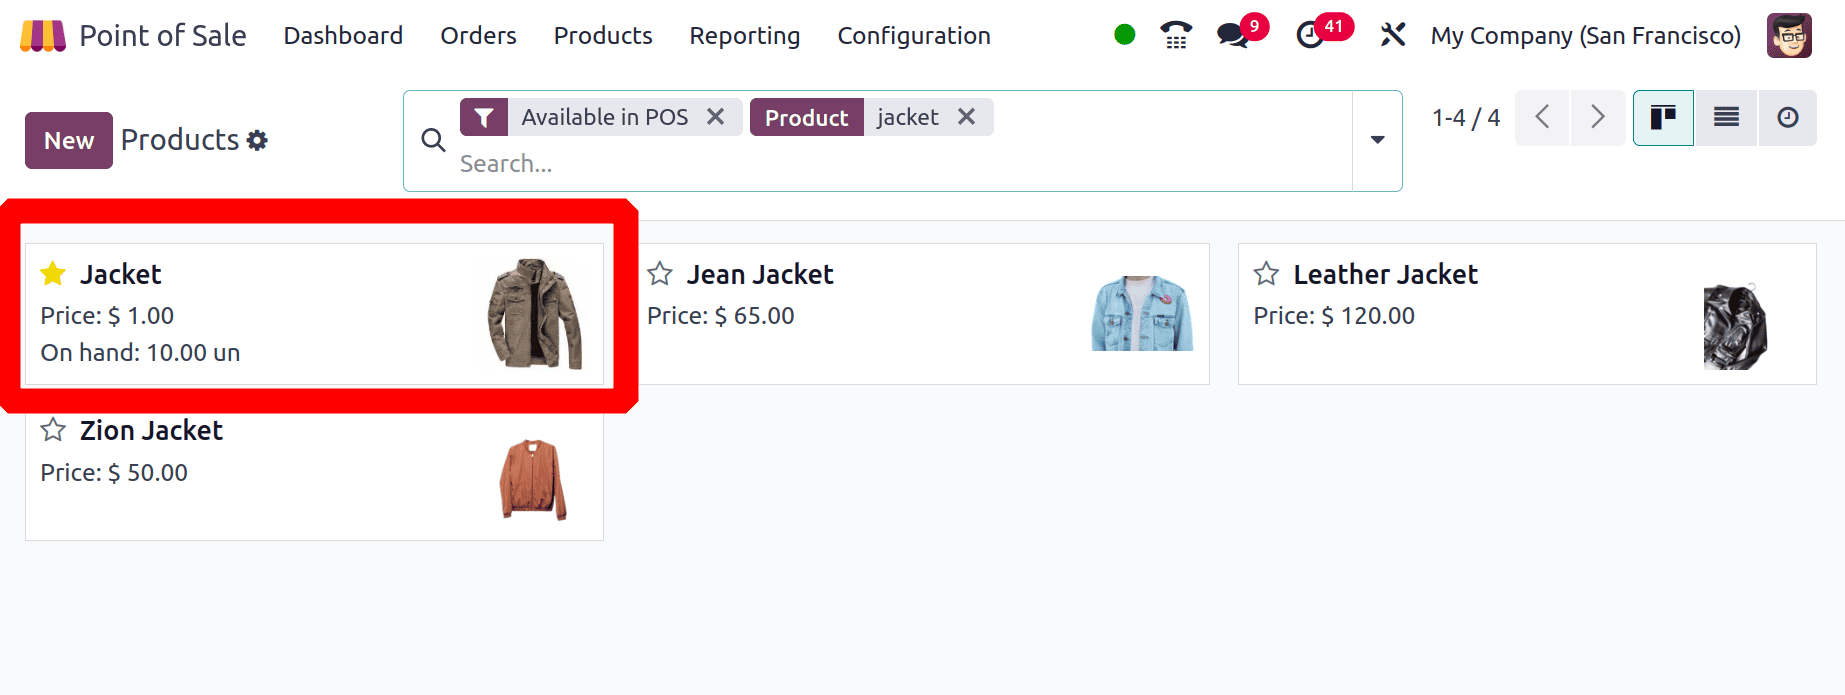
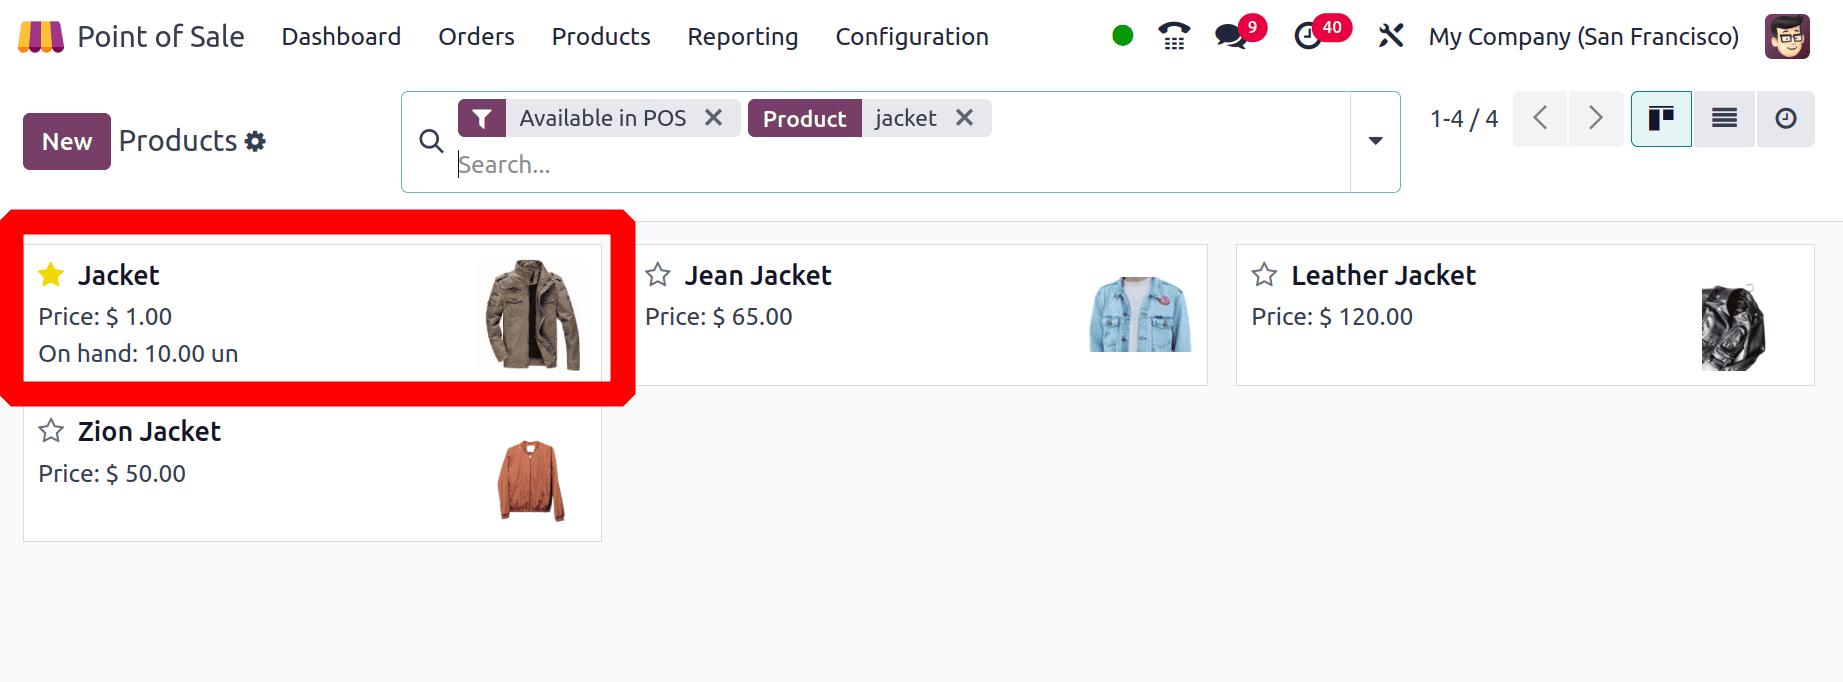
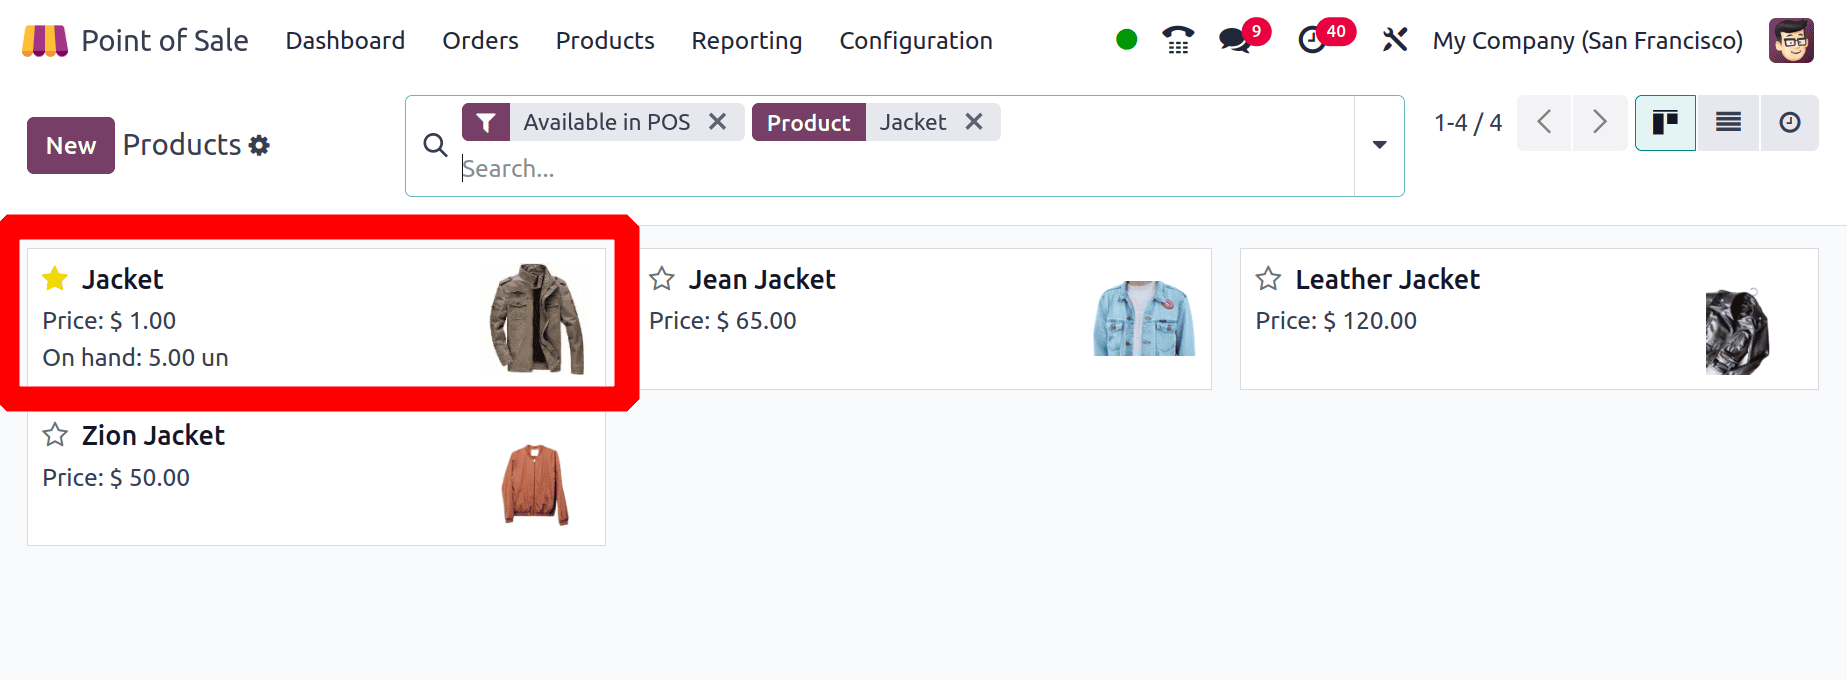
Here the Inventory Management for the shop named as Cloths Shop set as At the session closing. Save the settings, then the configuration is completed. Before opening a session check the stock count of some products. For that, open the product form. Here the chosen particular product Jacket and the product available inside the warehouse is 10 quantities.
So open the session Clothes Shop; for that, click on the button Open Register. After clicking on that button the Clothes Shop will open.

Choose the product Jacket with some quantities. Here the salesperson chose 5 quantities of Jackets.
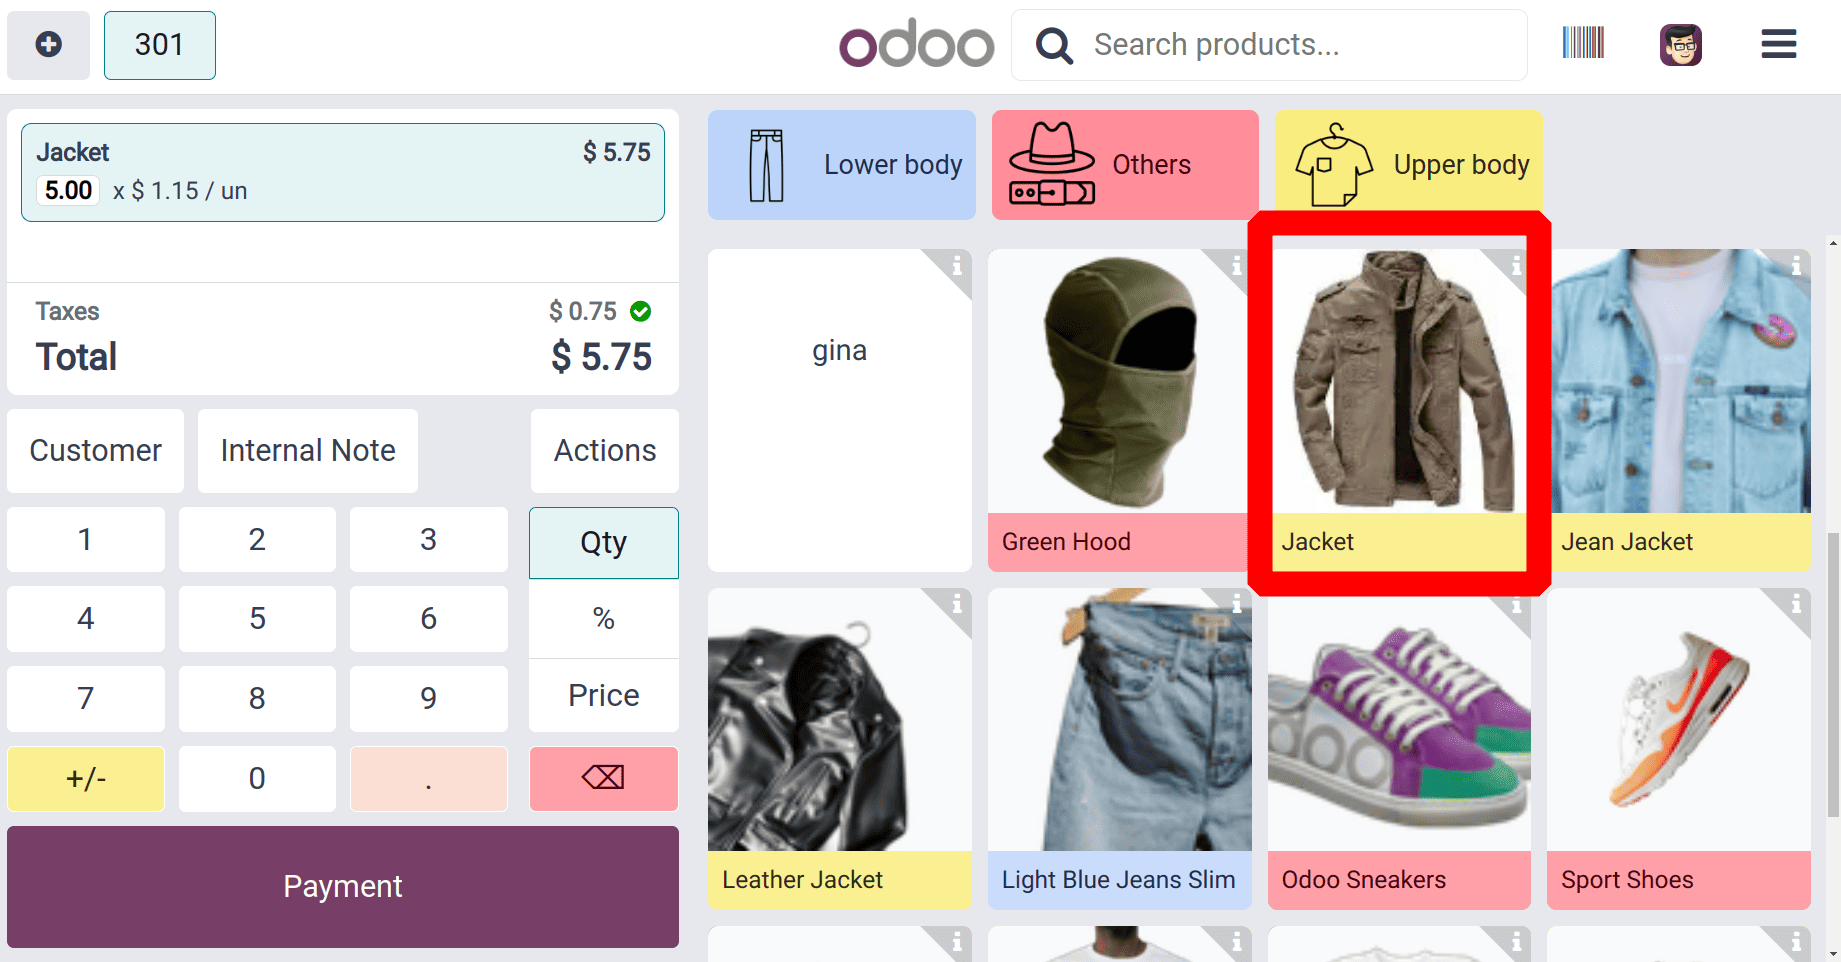
Then make the payment to complete the order. The payment page contains the payment methods.
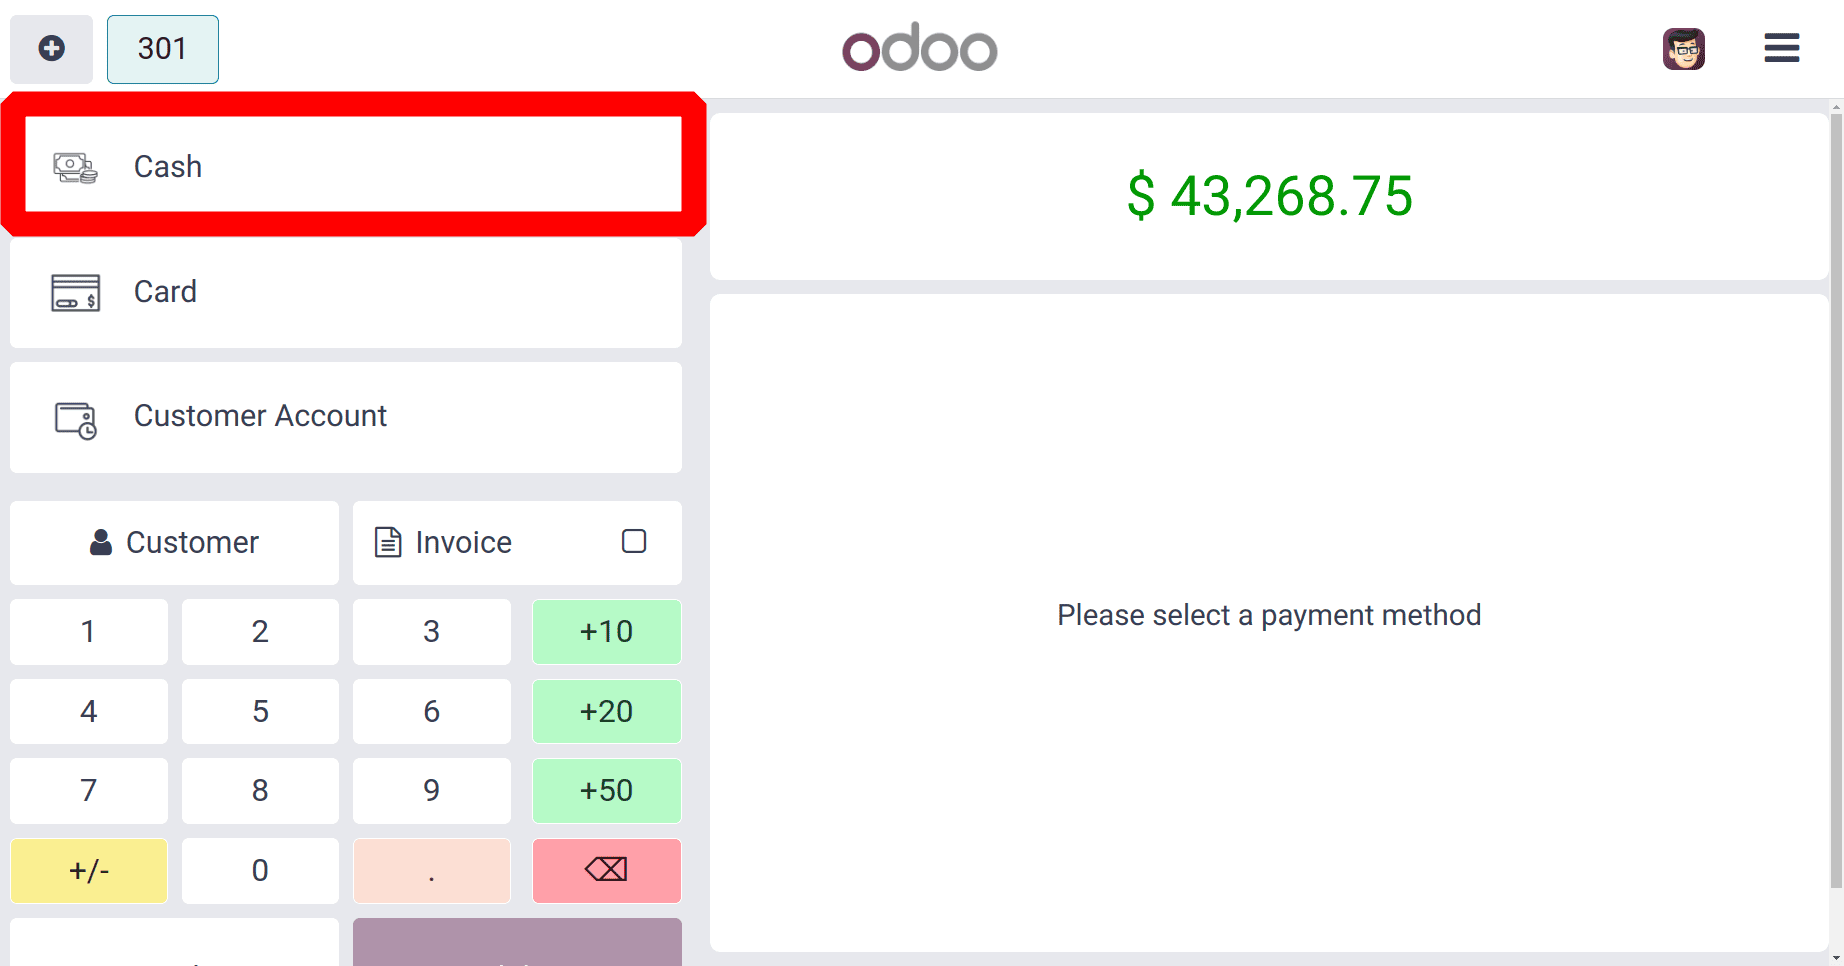
Then the order for 5 quantities of Jacket is completed. This means 5 quantities of jackets are currently removed from the stock. But here the Inventory management is set as At the session closing.
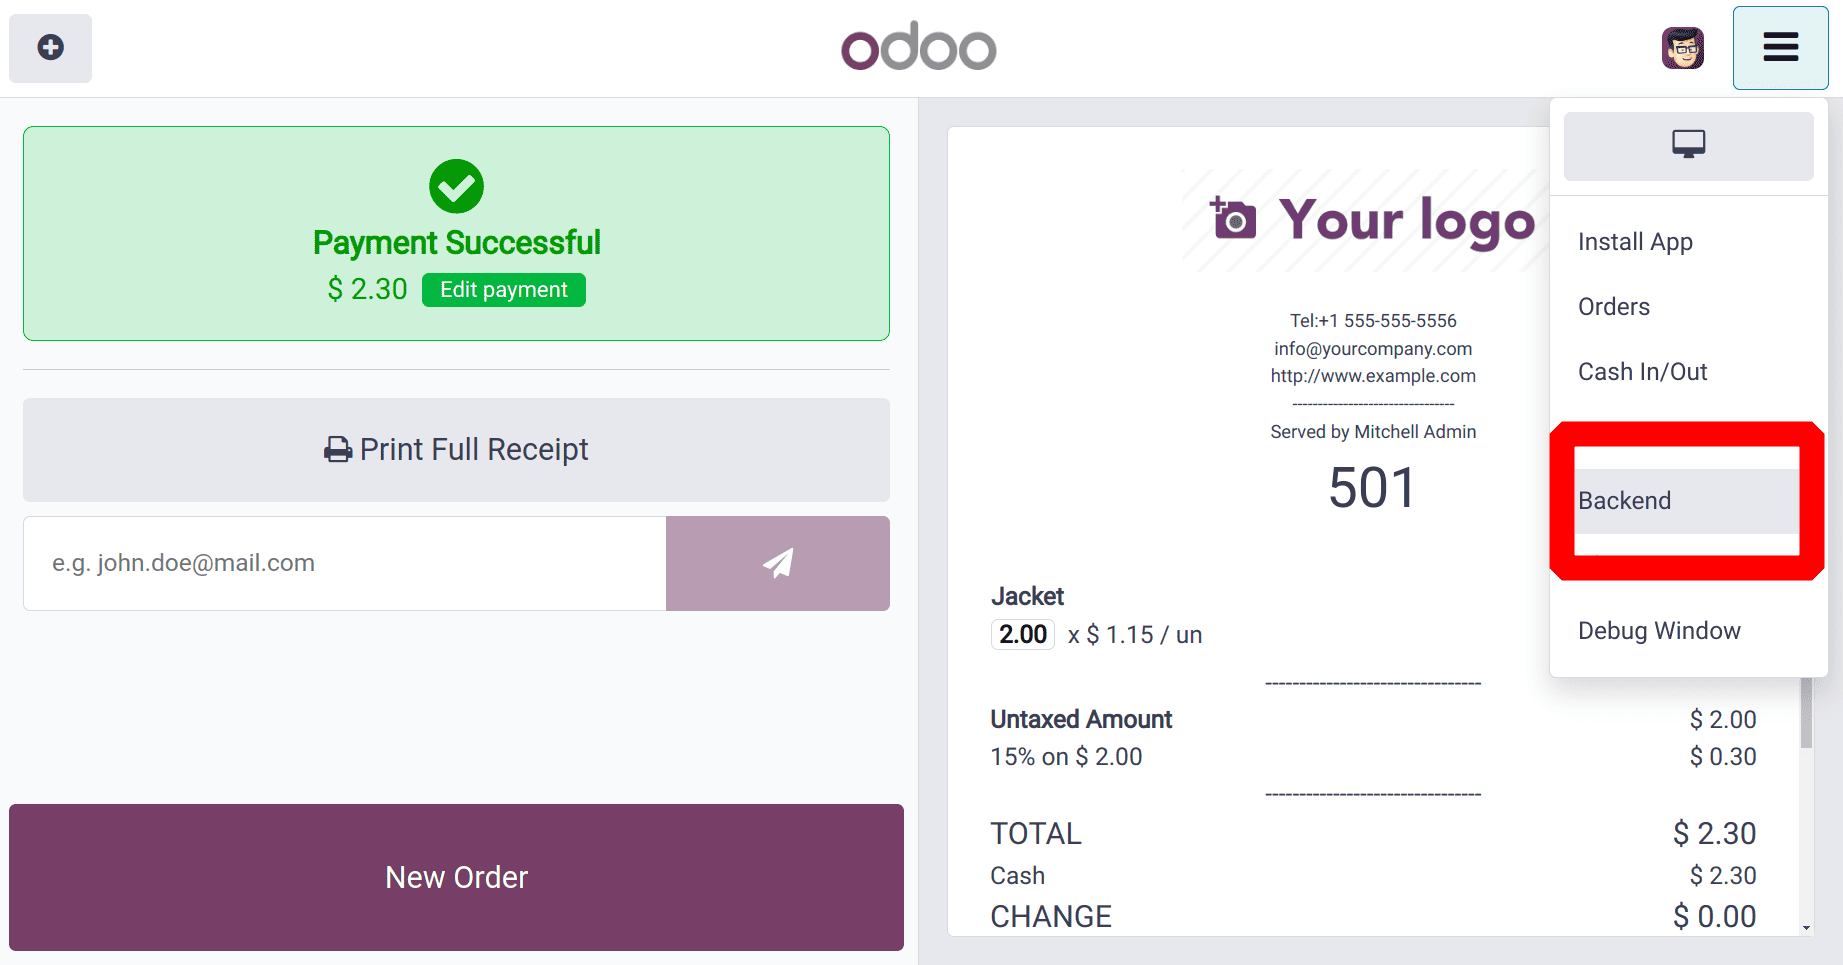
So before closing the shop, let's check the stock count of the product in the inventory. Go to the icon placed in the upper right corner of the screen. In the list, choose the Backend.
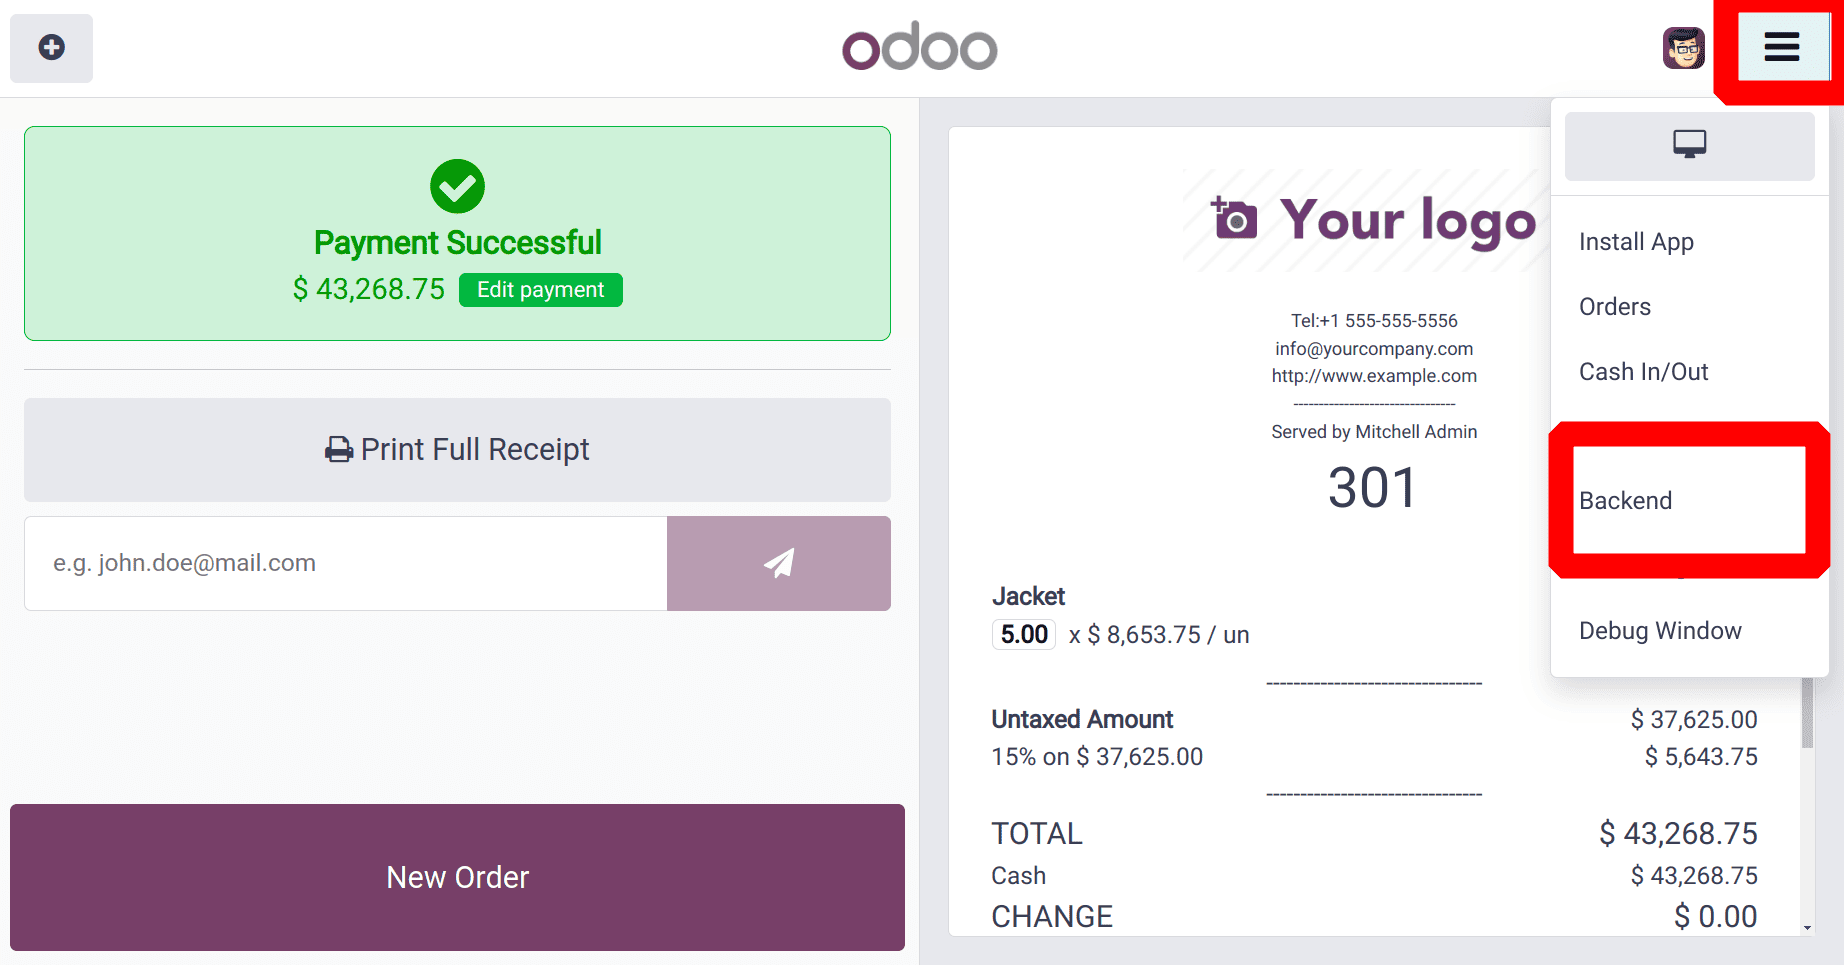
Here the clothes shop, instead of the Open Register, there shows another button named Continue Selling. This is because the shop is not closed.

Then let's check the stock count of the product Jacket again. After selling 5 quantities of jackets, the Onhand quantity is 10.
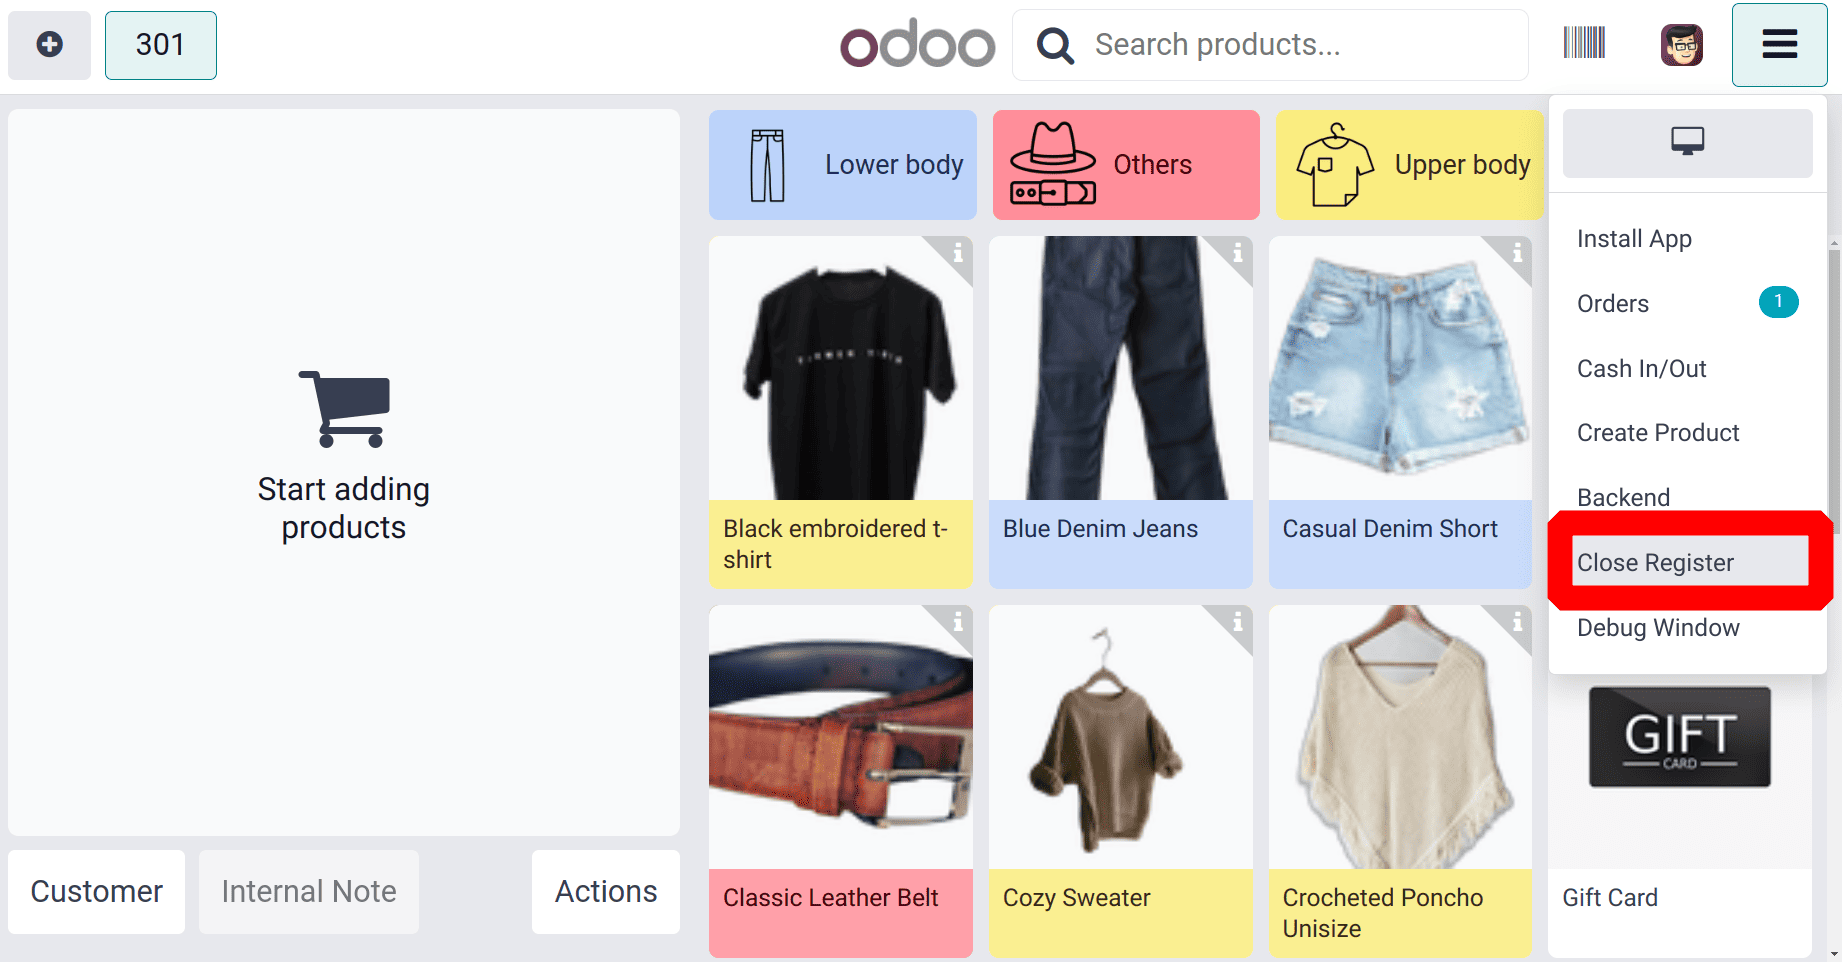
Then click on the Continue Selling button, then the Clothes Shop opens again. Then, from the same upper right corner choose the Close Register to close the Clothes Shop.
Here in the dashboard, the Clothes Shop is shown there. At this time the button that appears is Open Register. This means the Clothes Shop is currently closed.

Proceed to the items once more to verify the availability of the Jacket product. Then, there are currently just 5 in stock. This indicates that the stock count was reduced based on the amount sold.
* In real-time
The Inventory Control is configured so that When the stock count fluctuates, the stock count will update concurrently in real-time. For that, change the configuration of the Clothes Shop again.
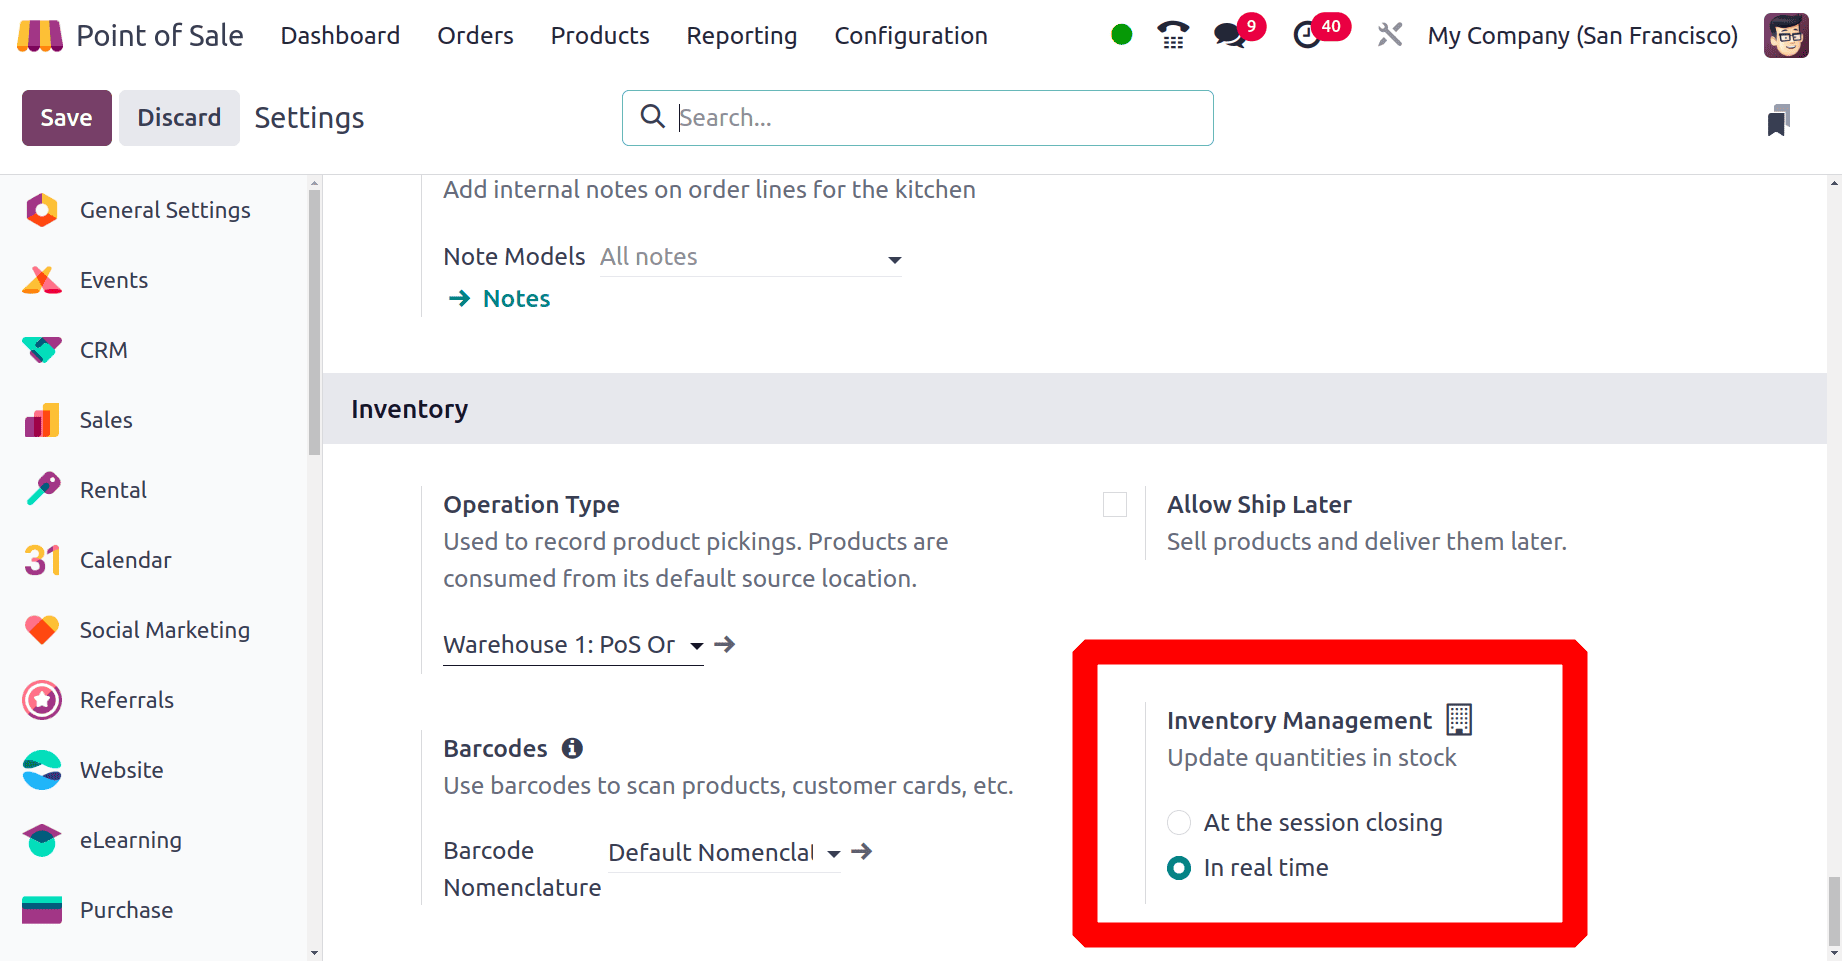
After changing the configuration, save the new settings. Open the session again from the dashboard. For that, click on the Open Register button.

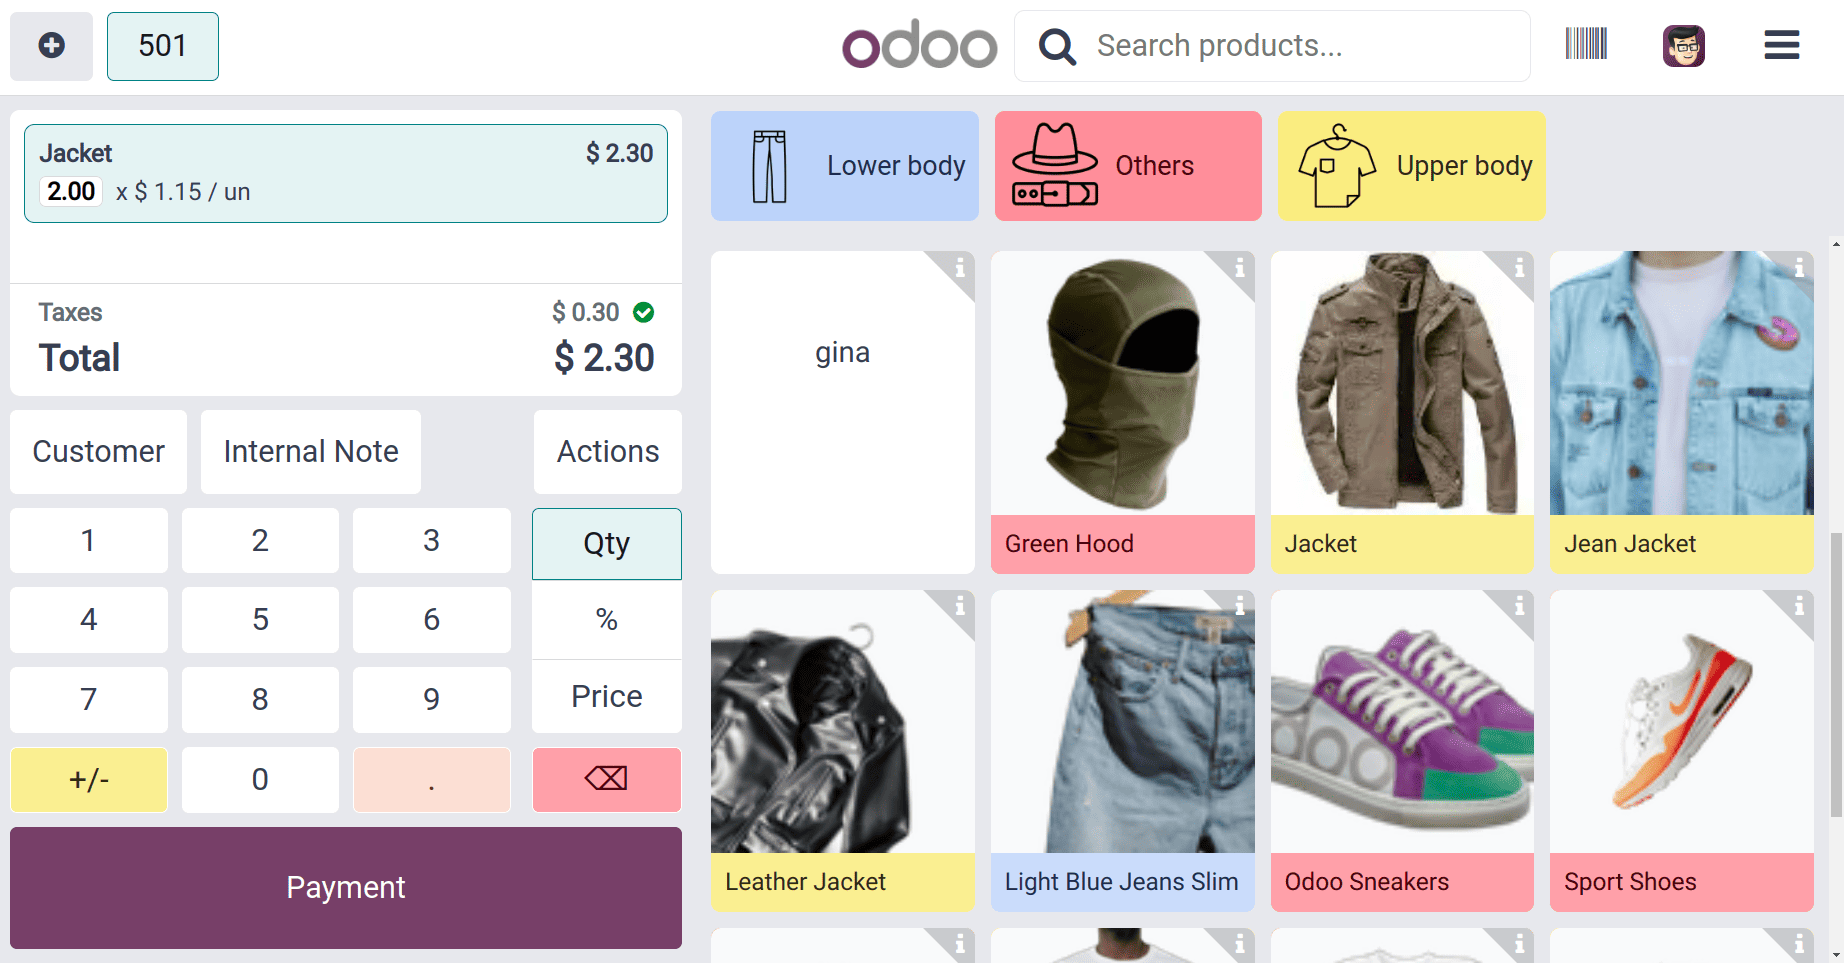
Again choose the same product Jacket with 2 quantities. The product with quantities and price details are shown on the order board. Then click on the payment button.
Complete the payment by choosing the payment method. Then upper right corner click on the Backend button.
As said before, the Clothes Shop is not closed yet. Because of that, the session only contains the Continue Selling button.

Then, check the stock quantity of the product again. The salesperson completes two quantities of the Jacket. Before selling the order the onhand quantity was 5. So after completing the order, the onhand quantity changed to 3 quantities.
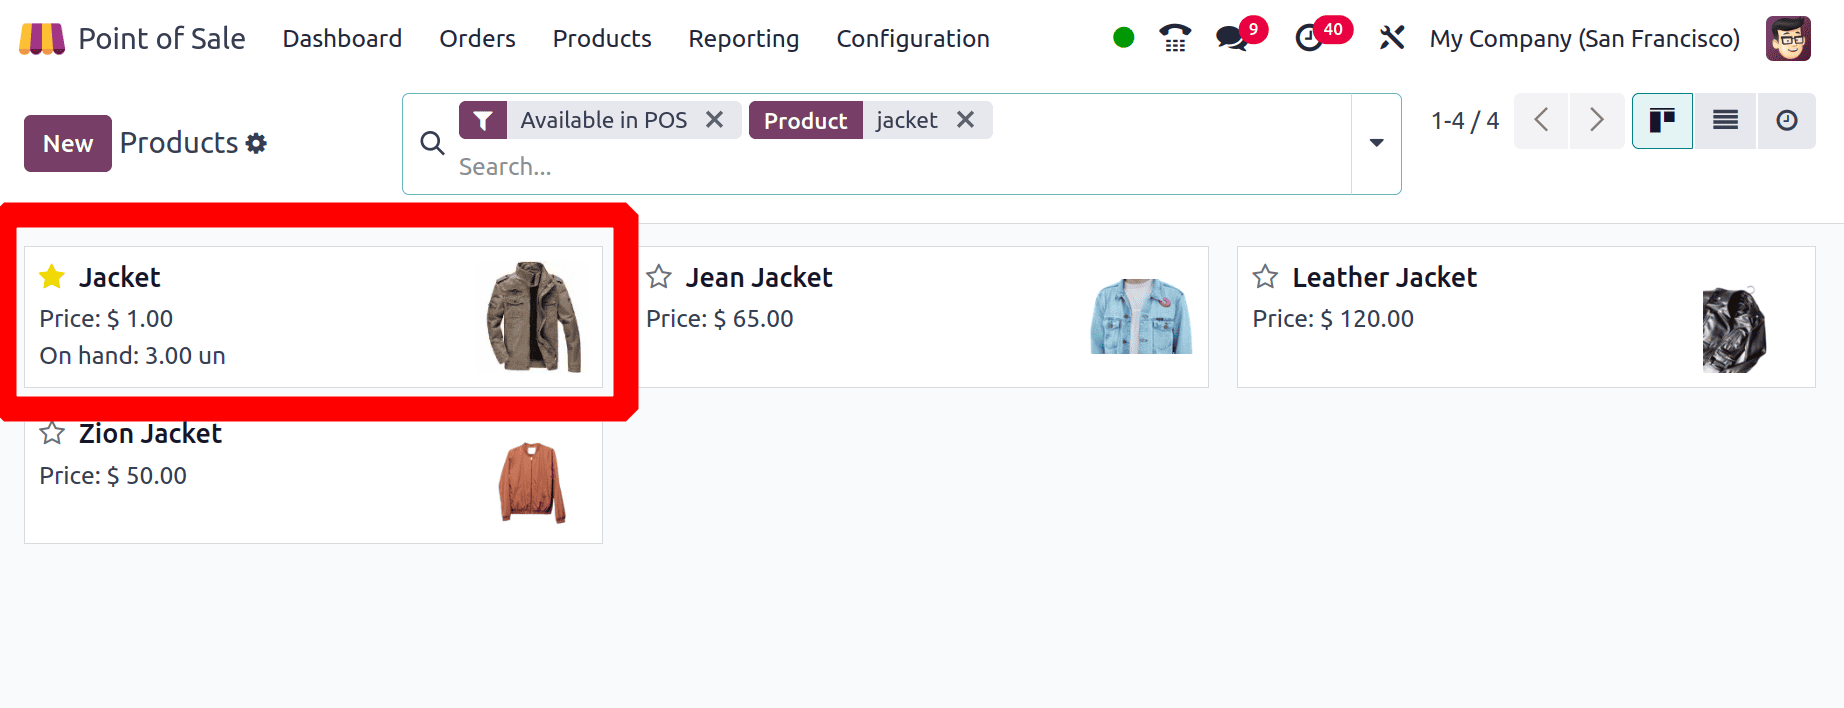
Here the quantity changed on the basis of completing the sale. At this time, the onhand quantities are updated simultaneously with the sale. The stock update is accurate if inventory management is done in real time, but the system will lag.
To read more about How to Share an Order Among Shops in Odoo 18 POS, refer to our blog How to Share an Order Among Shops in Odoo 18 POS.