An employee is an essential part of a company. In other cases, the worker pays business expenses with his own money. It costs money for someone to travel for work-related assignments, such as field excursions. Sometimes the company covers these expenses. Since they are business expenses, the employee will receive reimbursement from the organization.
Effective spending management is aided by the Odoo spending module. This module aids employee expense approval and proper spending tracking. It also provided an easy way to integrate with other modules, such as accounting, payroll, etc.
Let's examine the Expense module's management of employee spending.
When the expenditure module is opened, all of the user's created expenses are displayed. The NEW button can be used to generate a new expense. The report can also be scanned. This view offers the following options: Filter, Group By, and Favourite.
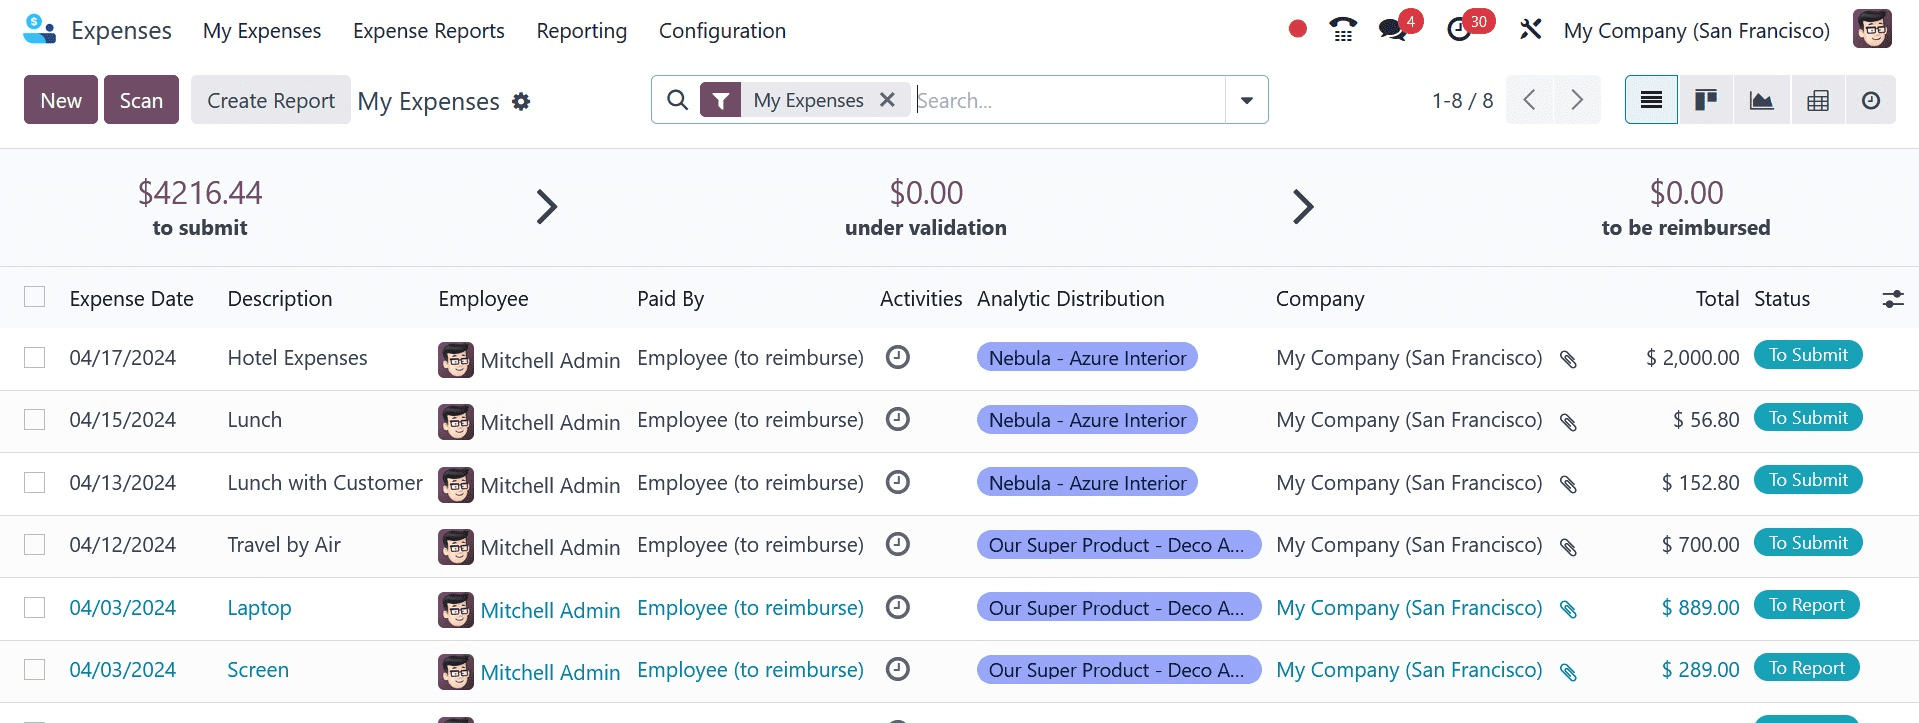
A certain expense category is selectable by users. Numerous spending categories are available to users, including Communication, Gifts, Travel & Accommodation, Others, etc. It is possible to create these categories. To add a new category, choose the Configuration menu's Expense Category option.
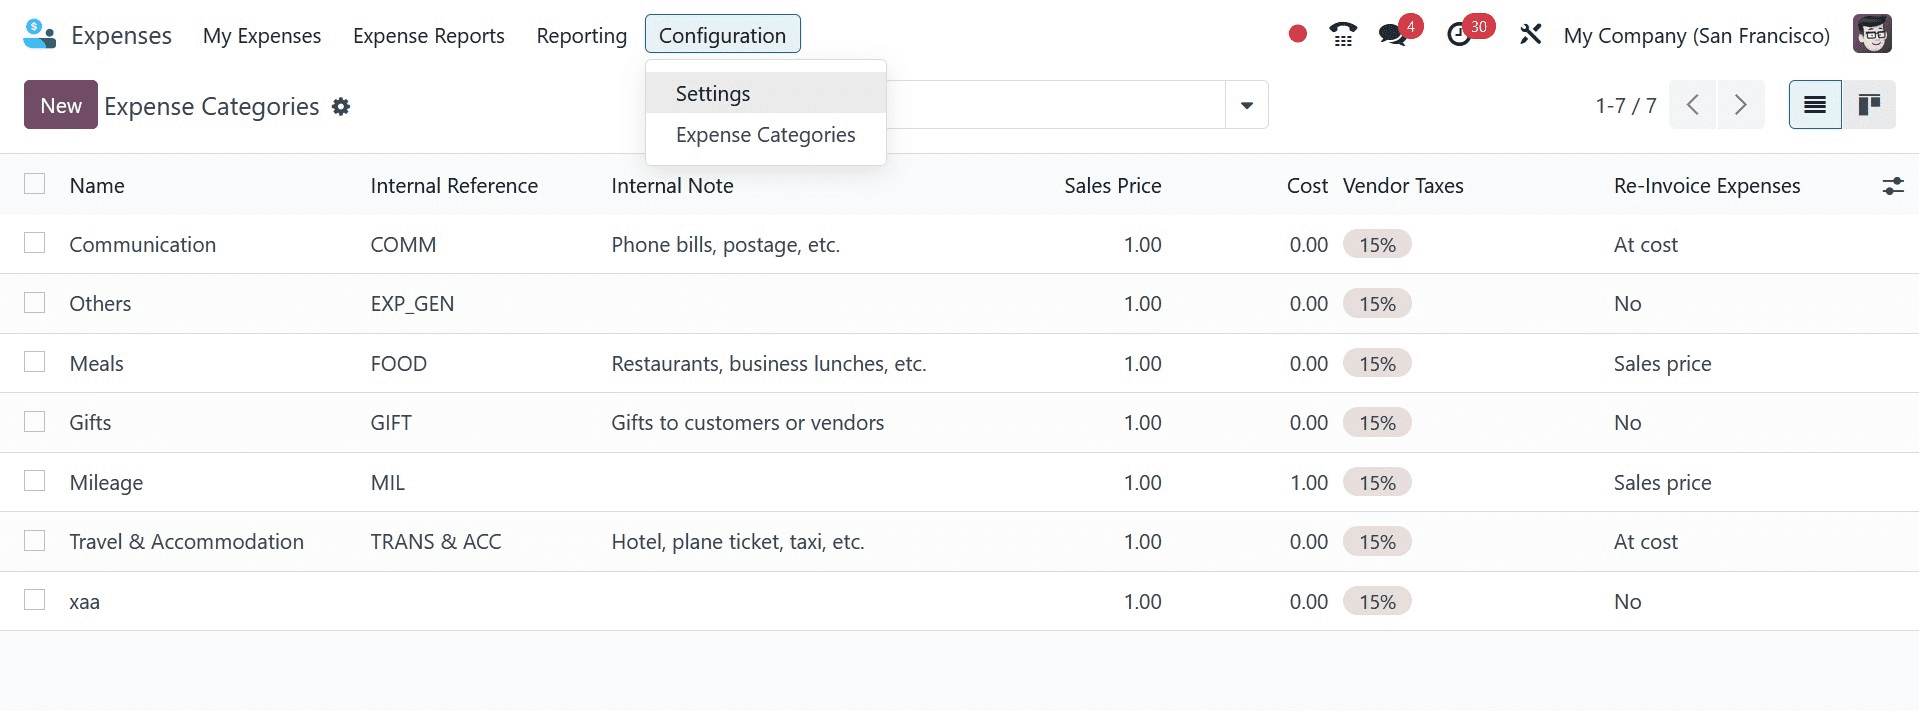
This page displays all of the generated categories. This view also provides the created category name, internal reference, sales price, and cost data. The user can make a new one by selecting the New button.
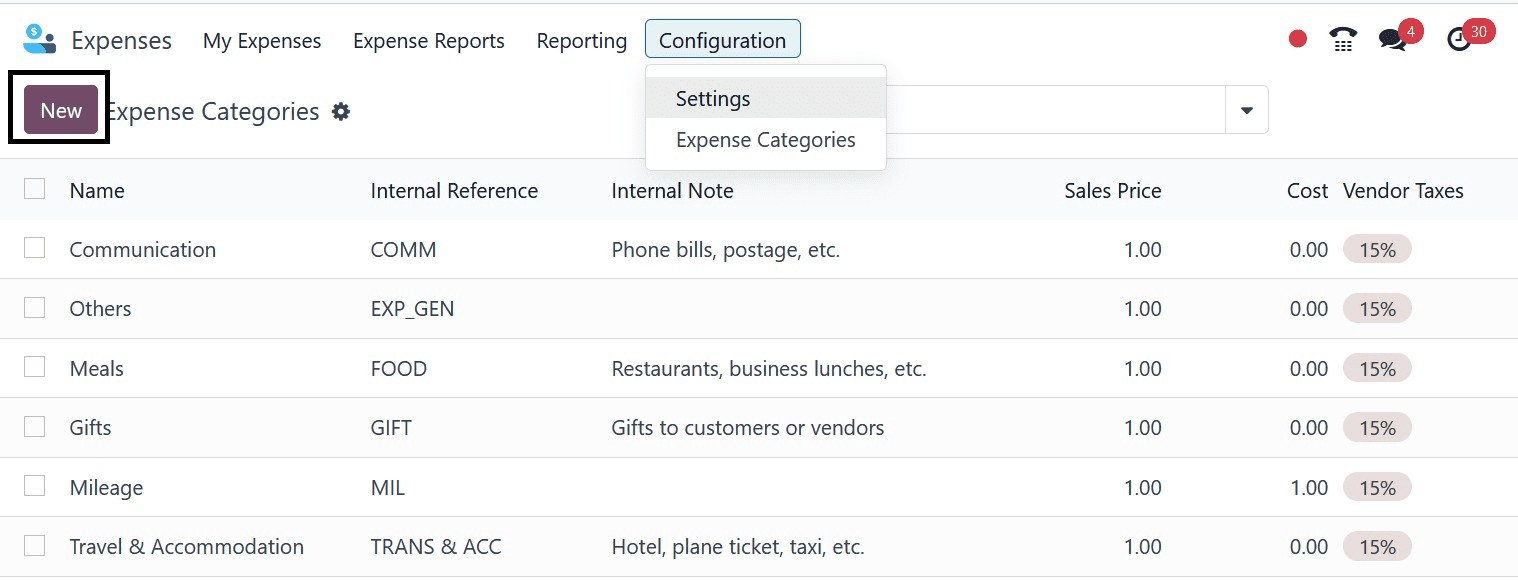
The user can make a new one by selecting the New button.
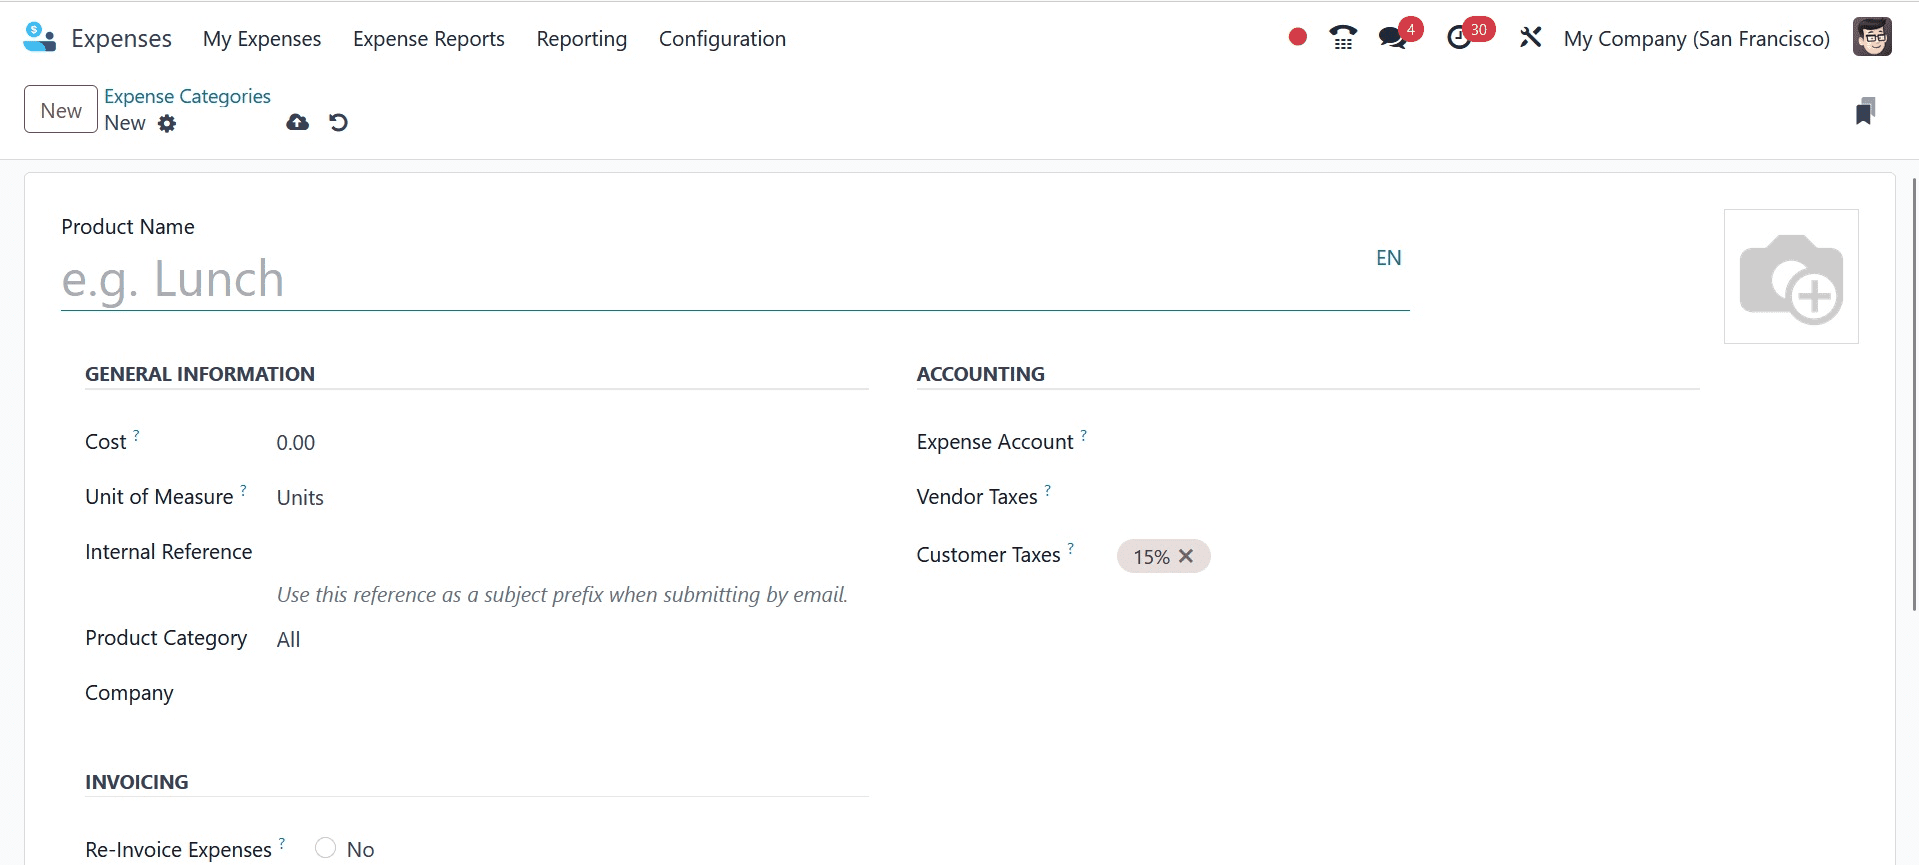
It is possible to add accounting data to the product, such as expense accounts, vendor taxes, and customer taxes. When an expense is produced with this product, these accounts will be impacted if the user enters the Accounting information. If no specific account is indicated here, the account mentioned inside the product category will be used.
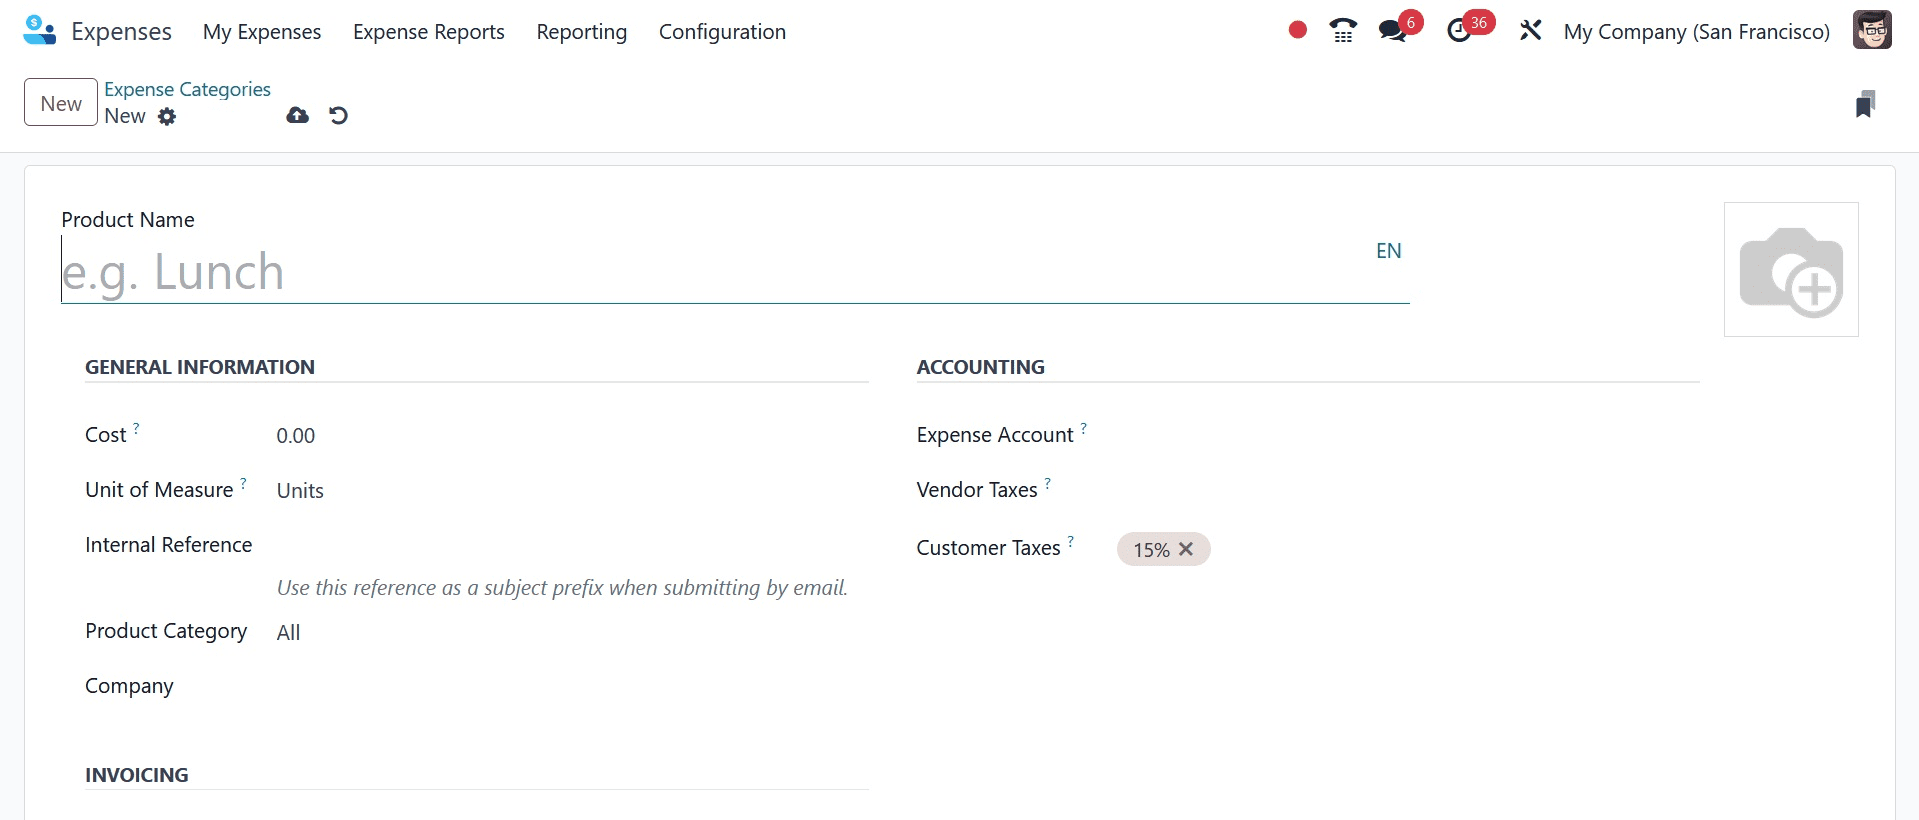
The user can specify which foundation is used for product reimbursement in the Invoicing section. There are three alternatives accessible here. The first is "No," which means the employee will not be reimbursed for these goods. The second option can be chosen if the reimbursement is based on the product being provided "At Cost." An extra field will be added to the general data known as Sales Price if the user selects the third option, Sales Price. The cost will be billed to the client again on the increased sales price.
The Internal Notes tab allows you to add more notes.
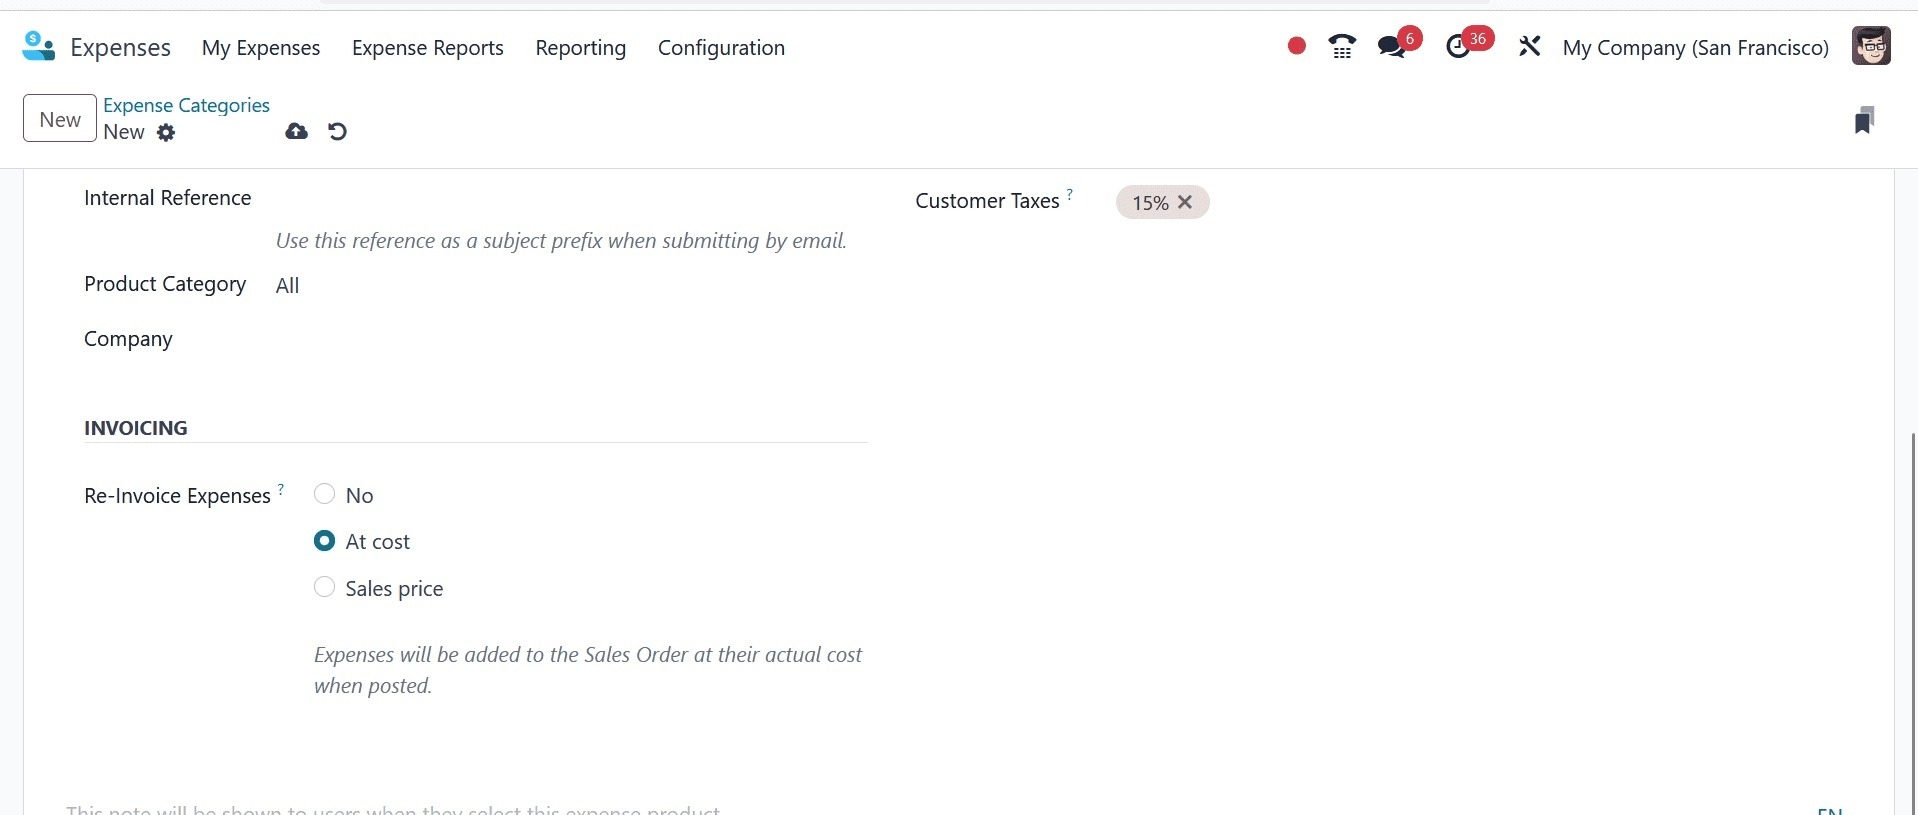
A new expense category called "Field Visit" was formed here, and it gets reinvoiced based on cost. The $750 cost is applied to the total. There is an addition to the expense account. Next, save the category.
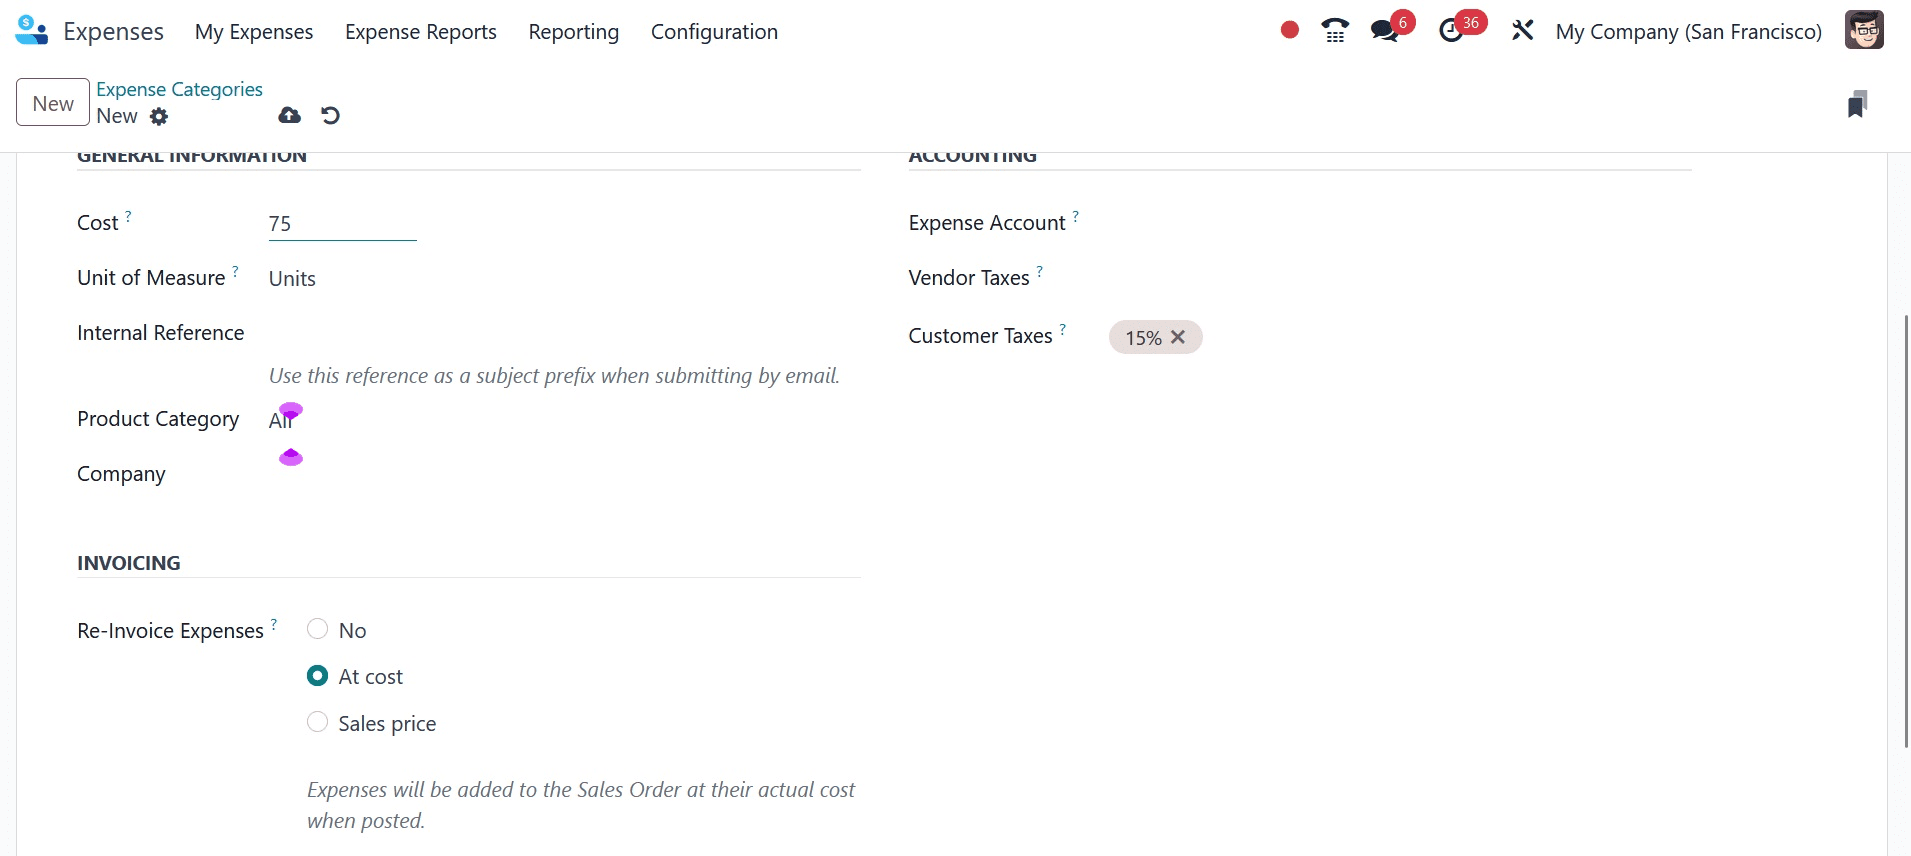
Let's examine the process of expense creation. Navigate to the My Expense page to enter a new expense for the employee. The user can then add a cost to the specified category from there. Select the NEW option to add a new expense.
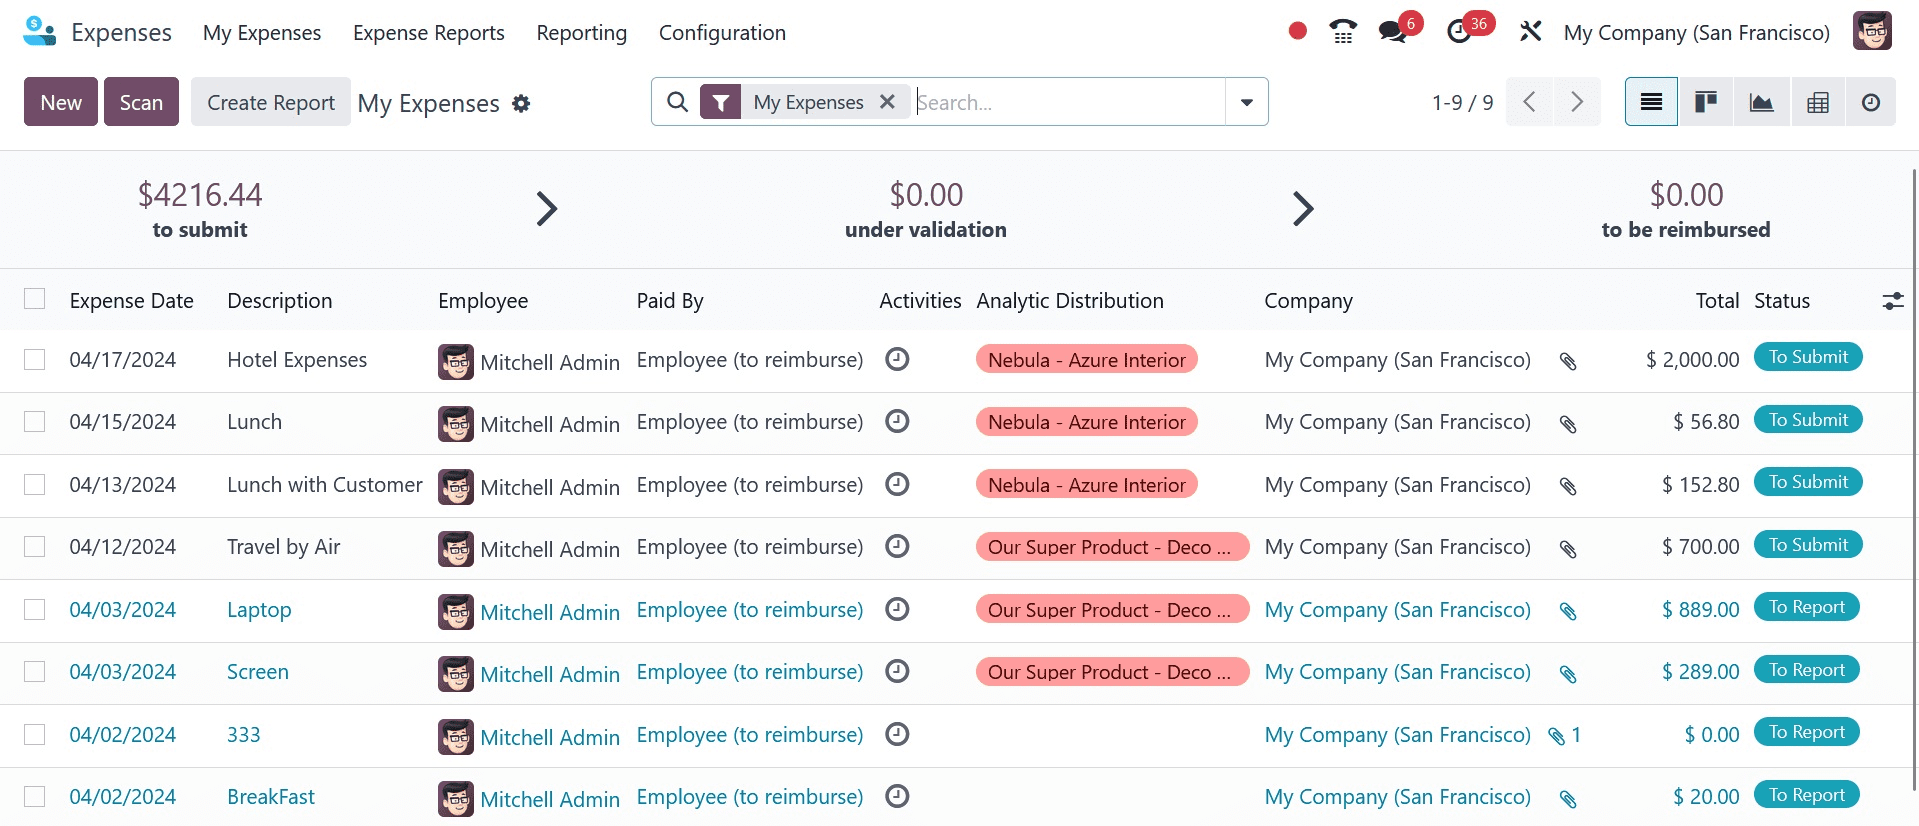
The user must first include a description of the expense when creating it. Next, select the category for the expenses. The Total field will then automatically update based on the quantity selected in the selected category. Select the staff member who incurs the costs. Date of expense creation and account that can be added to the recorded transaction. Using the Attach Receipt option, the employee can upload the expenditure document.
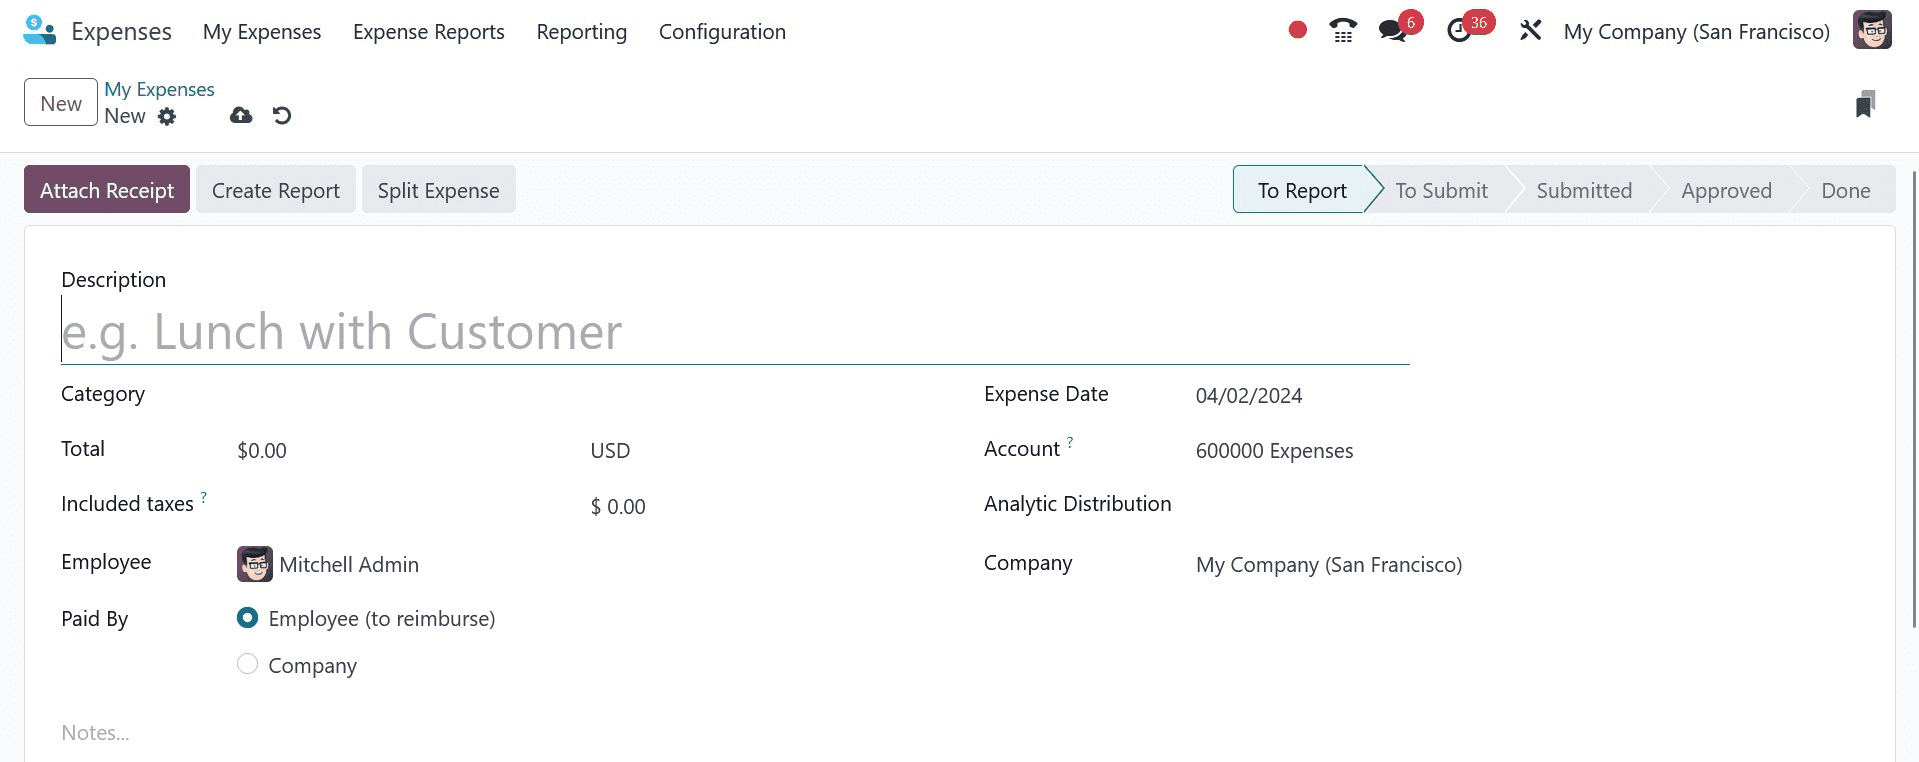
Pay the Expense offers two alternatives. Either the employee incurs the cost. The cost will compensate the client in these circumstances. The second modification is a cost that the business bears.
Let's examine each one in turn.
Case 1: Company Pays
Customers are occasionally charged by the company for the cost of completing a task. In the event of a customer meeting, the company will pay for the associated travel expenses in some capacity. The cost of communicating with the customer, including phone costs and postage, will be covered for that.
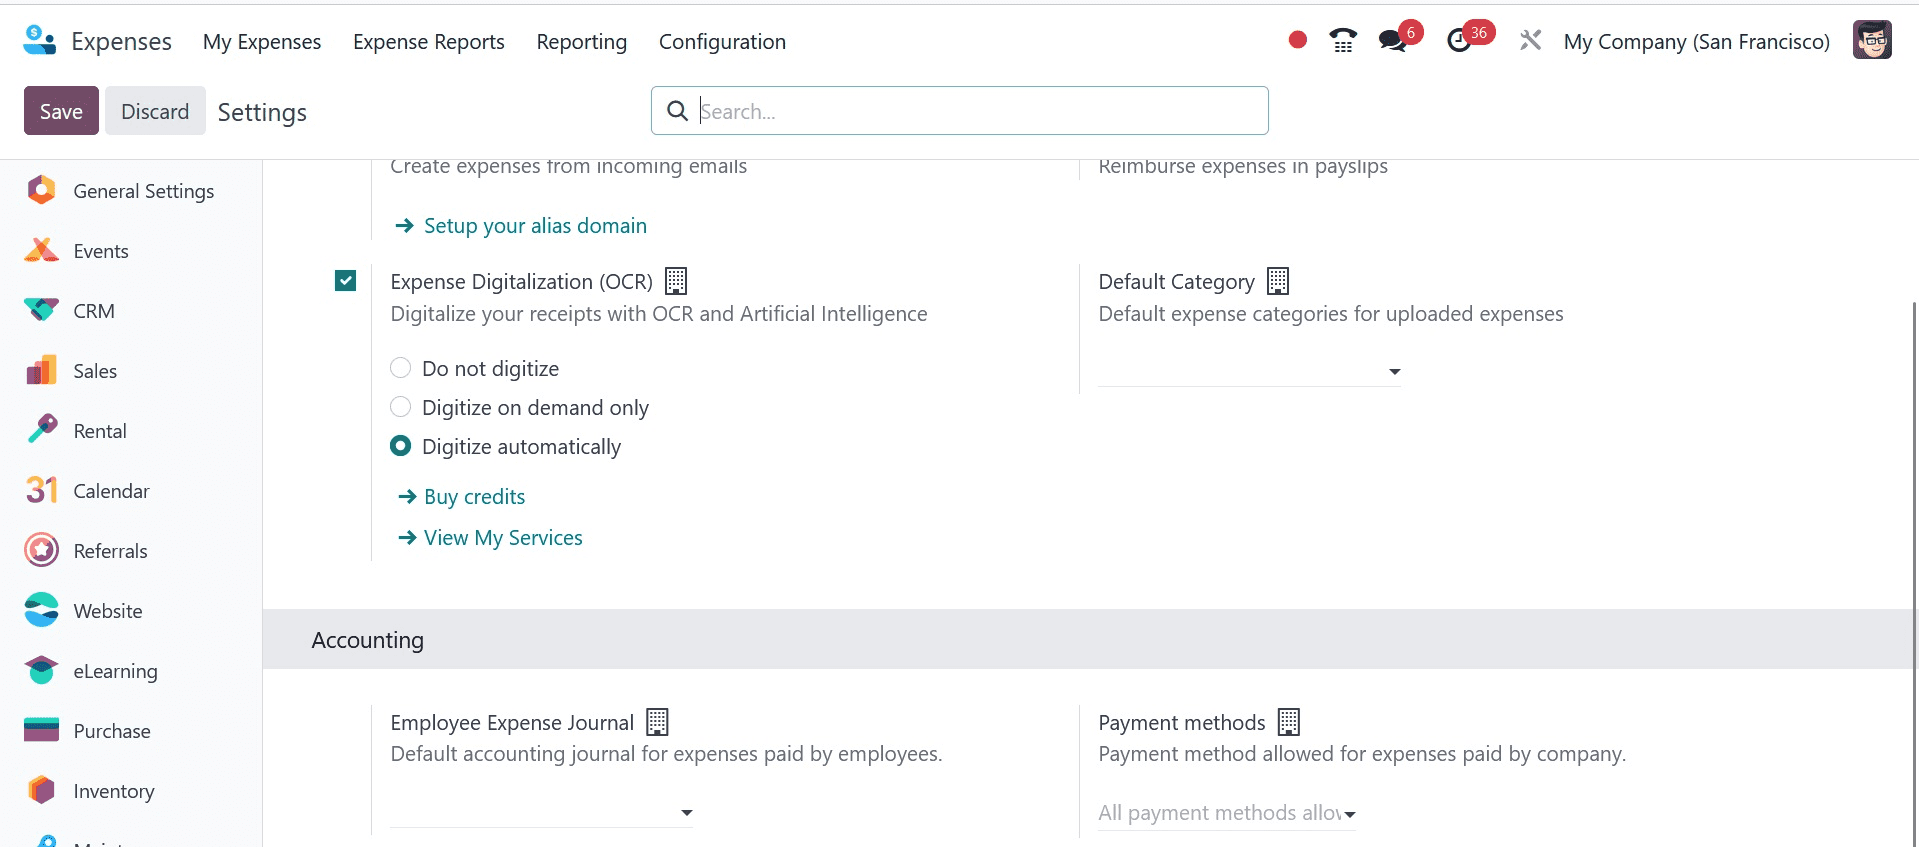
Every transaction that the business pays for is documented in a certain journal. Additionally, the Configuration settings contain the journal setting.
Configuration > Preferences > Business Expense Log > Conserve
Let's examine this circumstance. This is an expense that was made for Mitchell Admin, the employee. In this case, the expense category is "communication," denoting the sum that the business has paid its staff to communicate with clients. For this reason, the Paid By is set to Company in this instance. You can put other information there, such as Total and Paid by Company. The appropriate sale order number can be selected in the 'Customer to Re Invoice' column if the customer wishes to re-invoice for the amount.
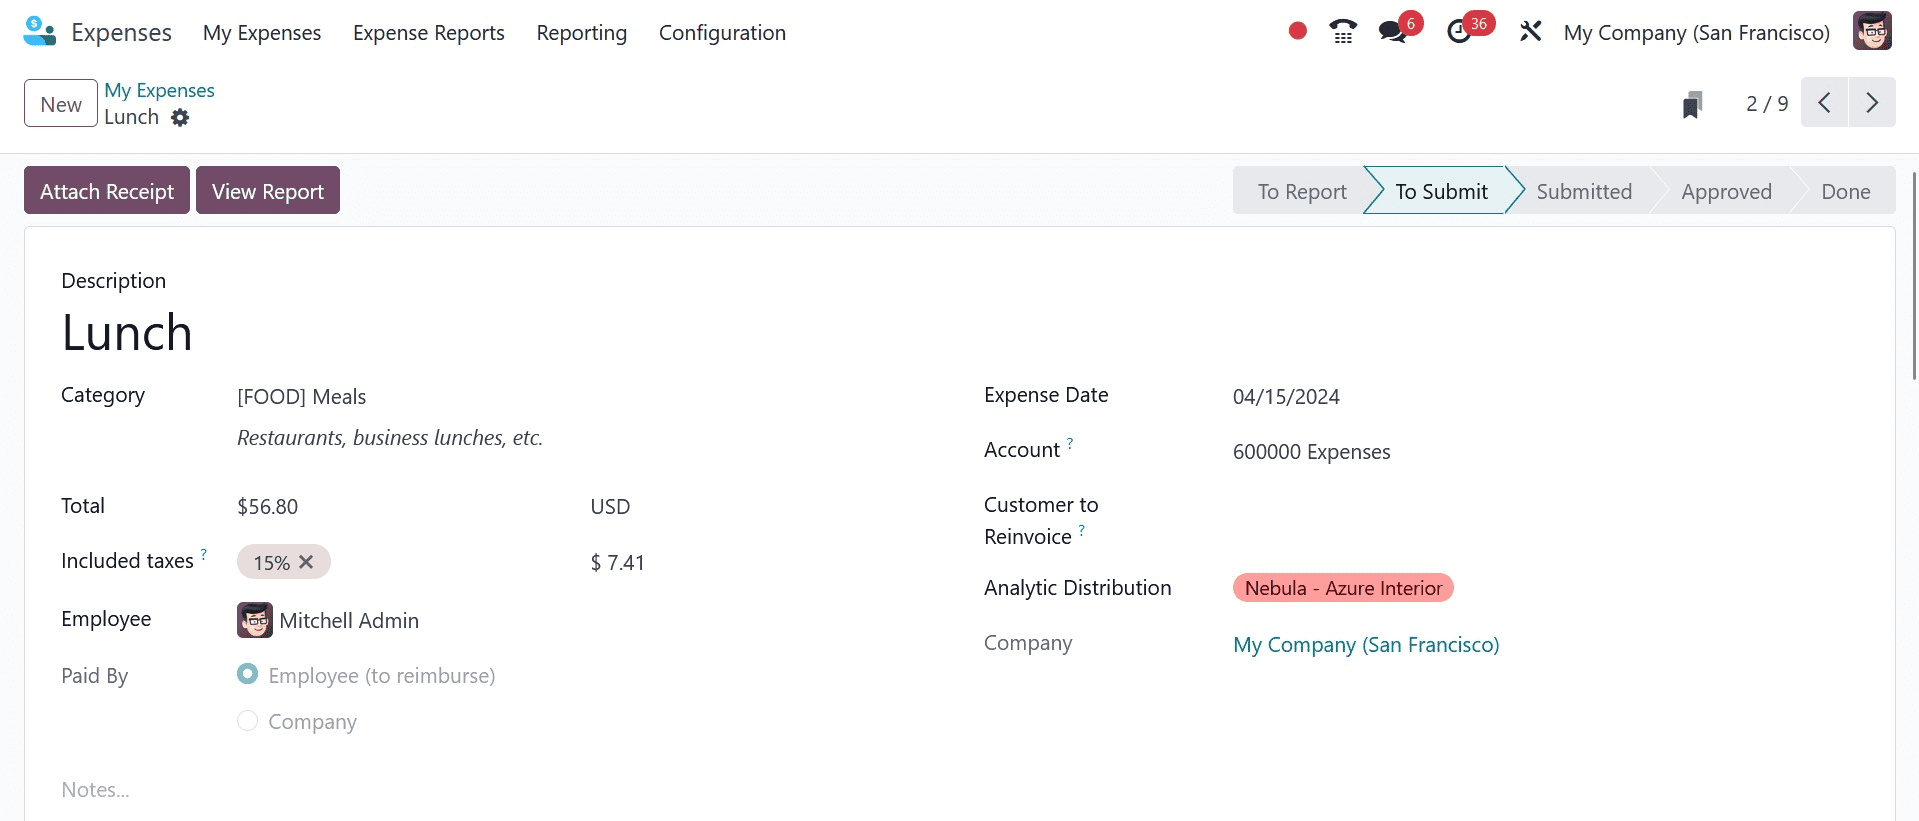
As previously stated, the Attach Receipt option can be used by the user to upload any kind of document. Next, press the "Create Report" button.
The Expense Report is generated here. You may view this by selecting the My Expense tab and then clicking on the My Expense Report menu.
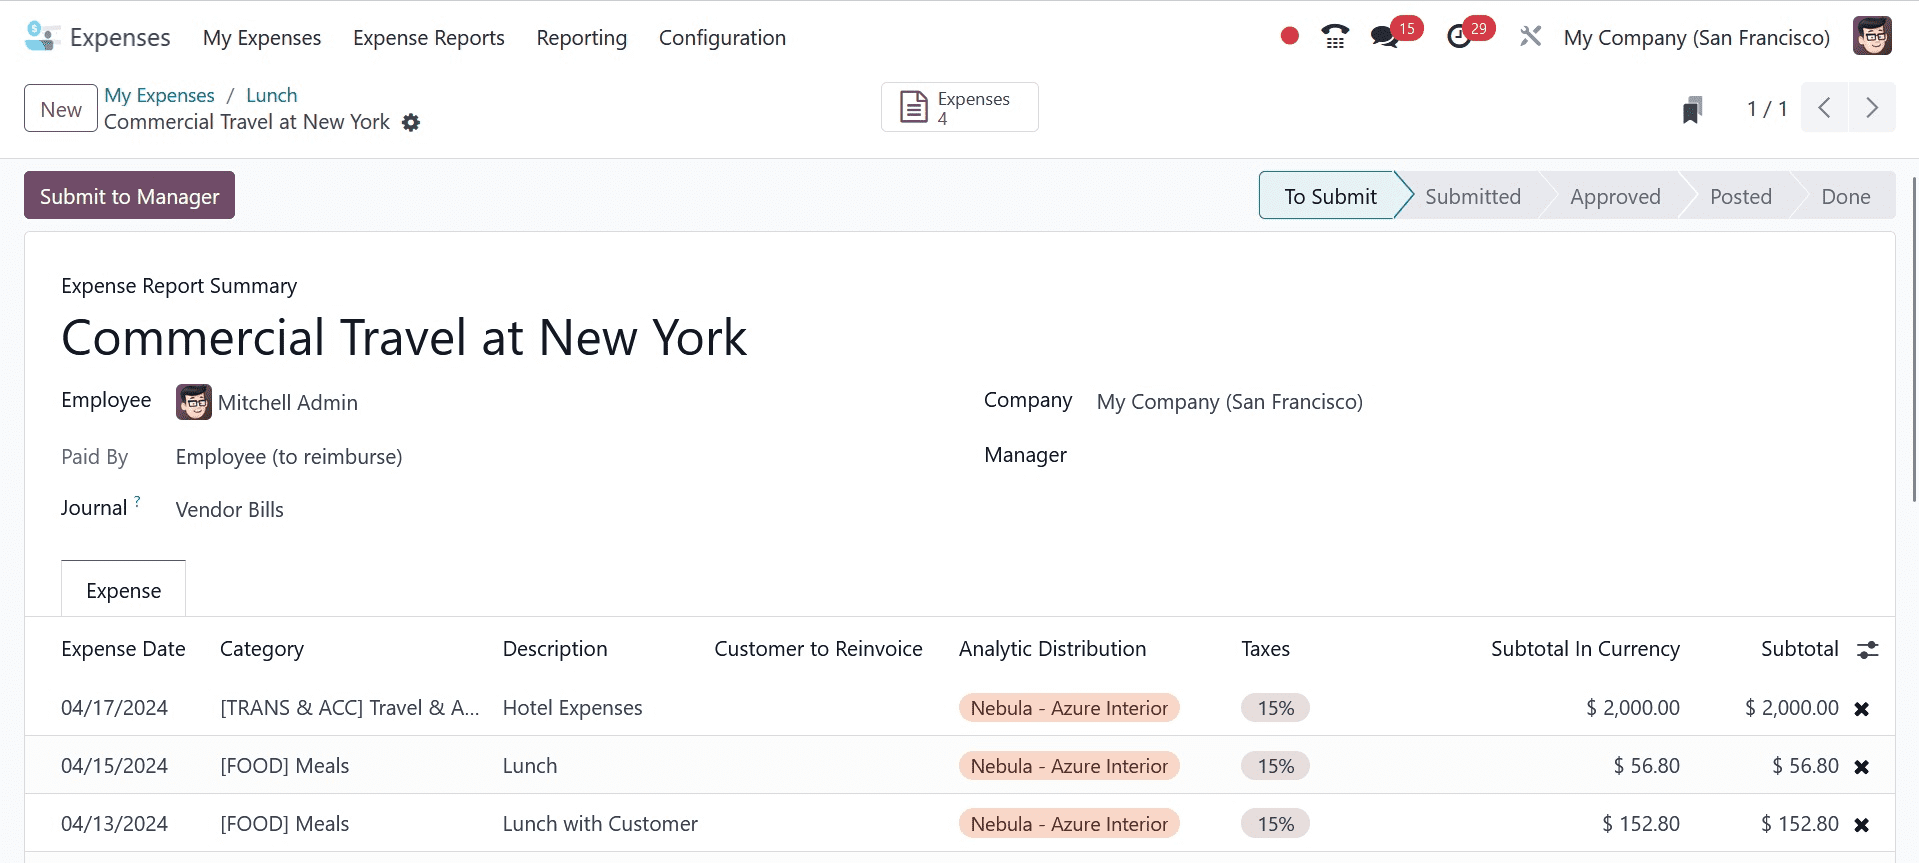
By selecting the "Submit To Manager" button, the expense report can be sent for the manager's approval.
A button labeled "Approved and Refuse" will then show up. The manager verified the expense report and decided whether to accept or reject it.
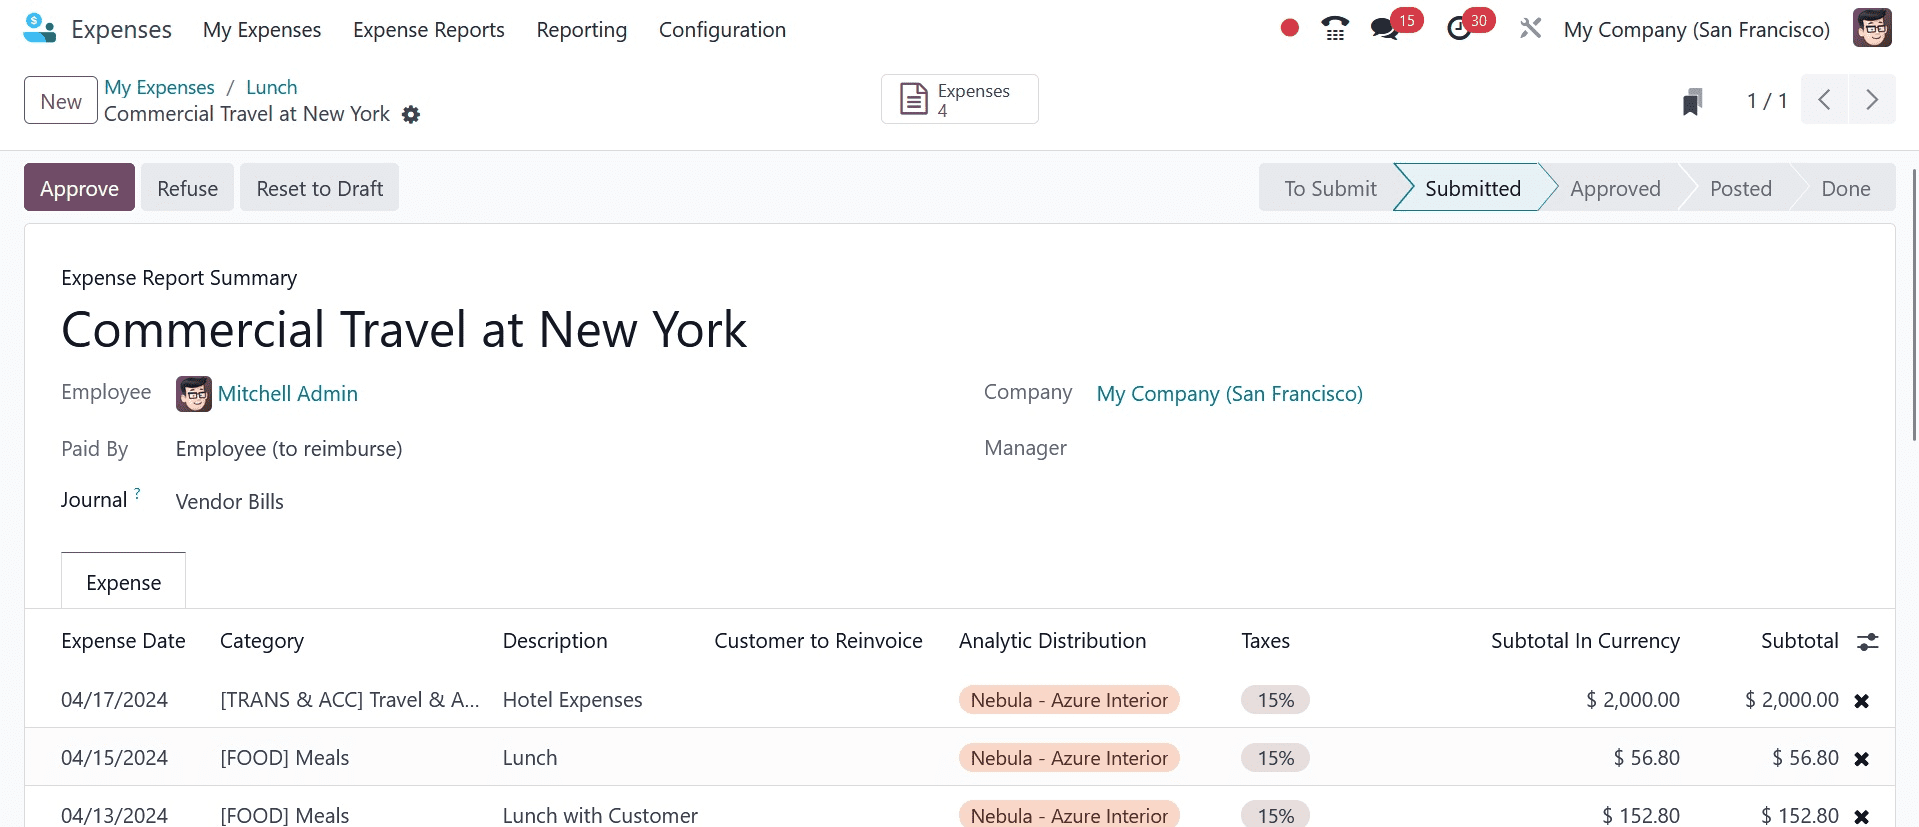
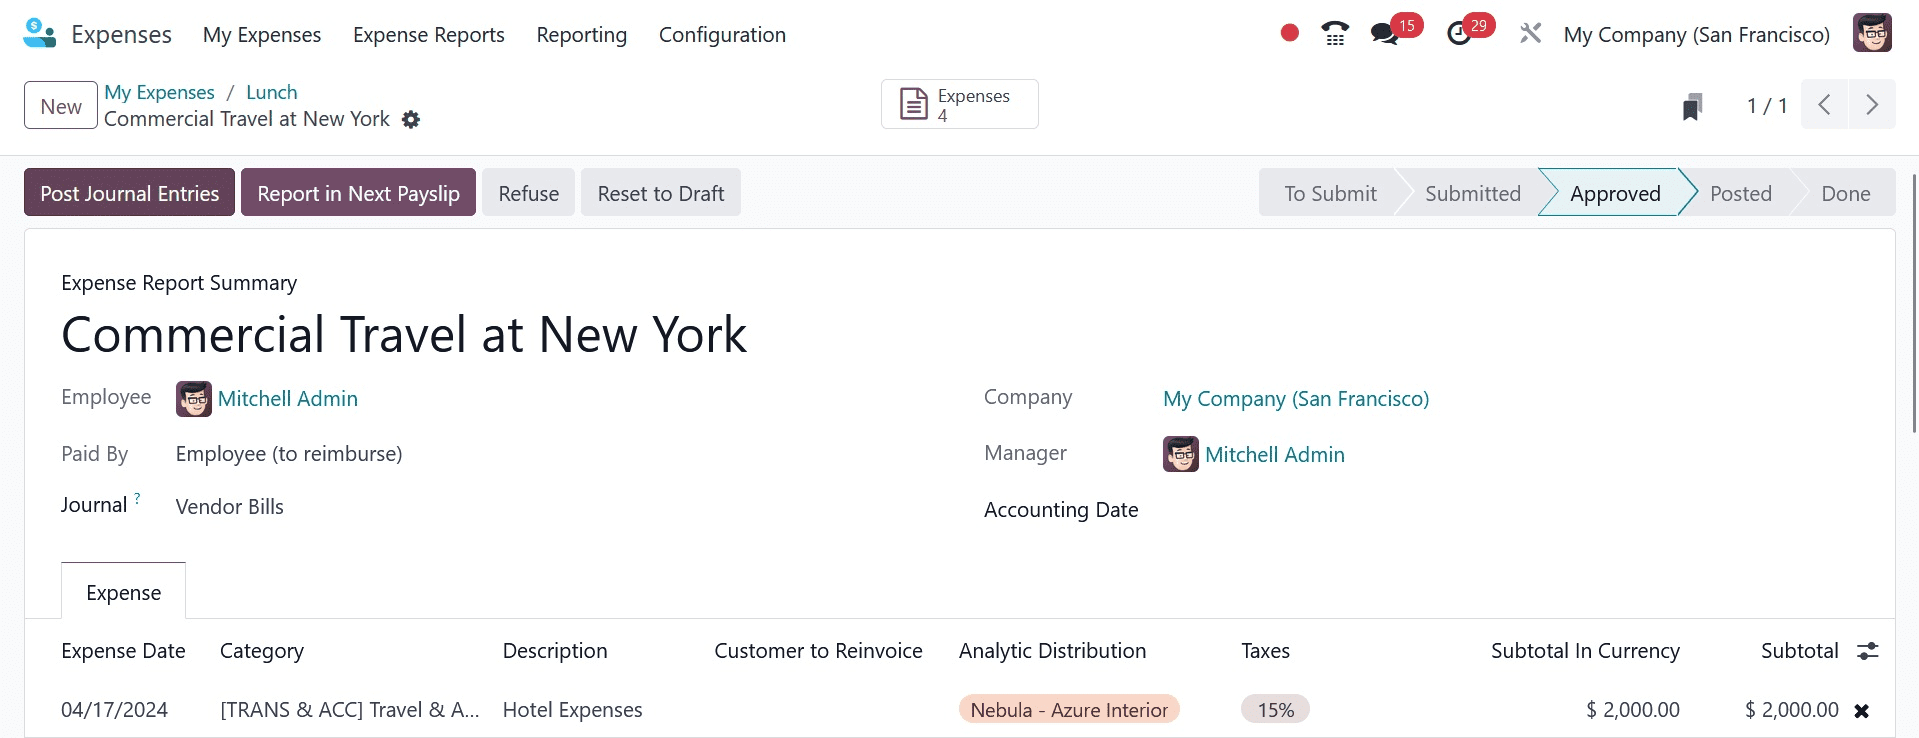
The report advances to the Approved stage and the user can submit the journal item to accounts if the manager clicks the Approve button.
The expense report then advanced to the Done stage, whereupon a ribbon paid will immediately show up. The Bank Journal—a comparable one that is chosen in the configuration settings—is displayed there.
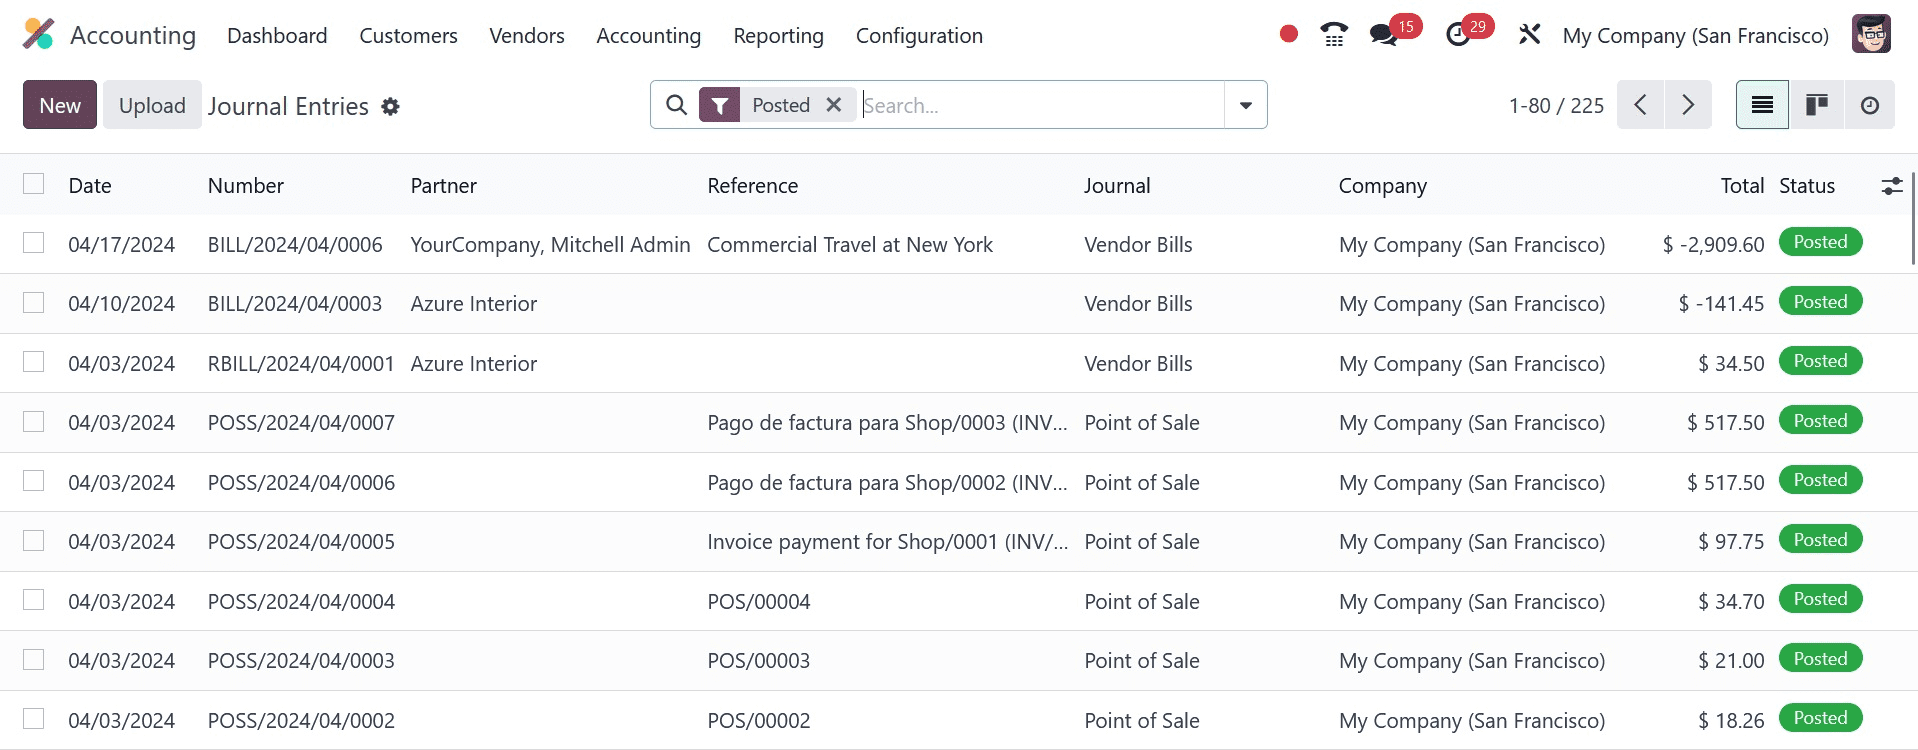
Let's examine the journal entry that the Accounting module produced. Select the Accounting tab and then Journal Entries. The generated journal entry is viewable in the Accounting module under the journal entries.
To see which Accounts are impacted, open the journal entry. Because of the increase in expenses, the expenditure account is debited in this instance. Because the liability is reduced, the Outstanding Payment Account is credited.
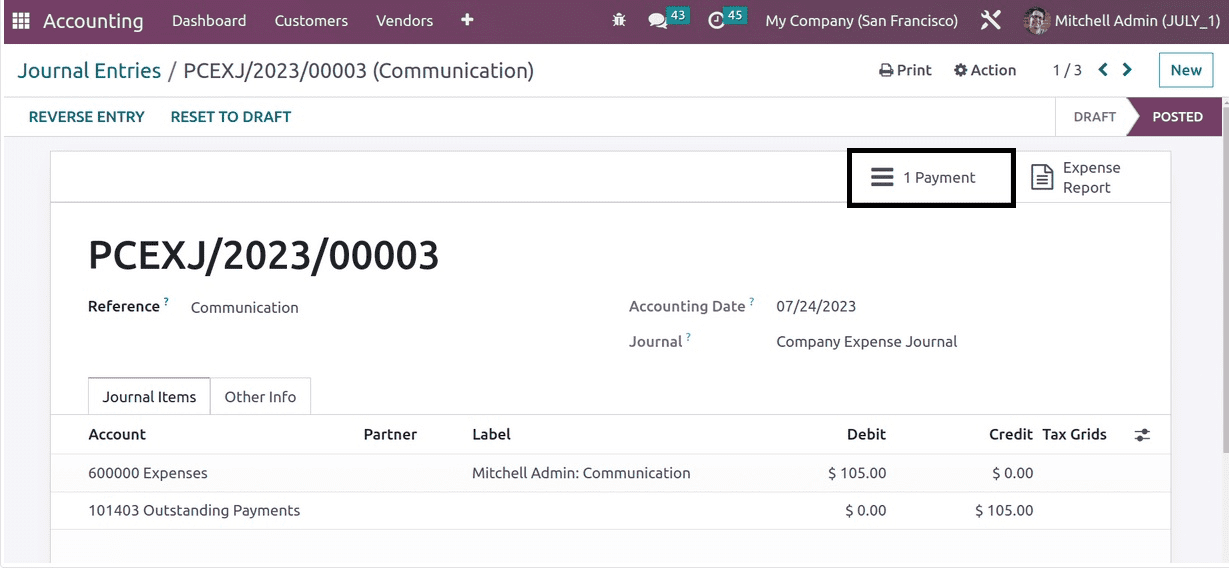
Payment is a smart tab that exists. Click on the smart tab. I made a payment on that amount of the charge.
Case 2: Employee-Paid
The employee must receive payment back for whatever expenses they have incurred. When an employee takes money to finish a task for a customer, the business reimburses the customer for the amount if the employee keeps the money. There are two ways to get a refund: either pay the employee the money straight back or put it in the following pay stub.
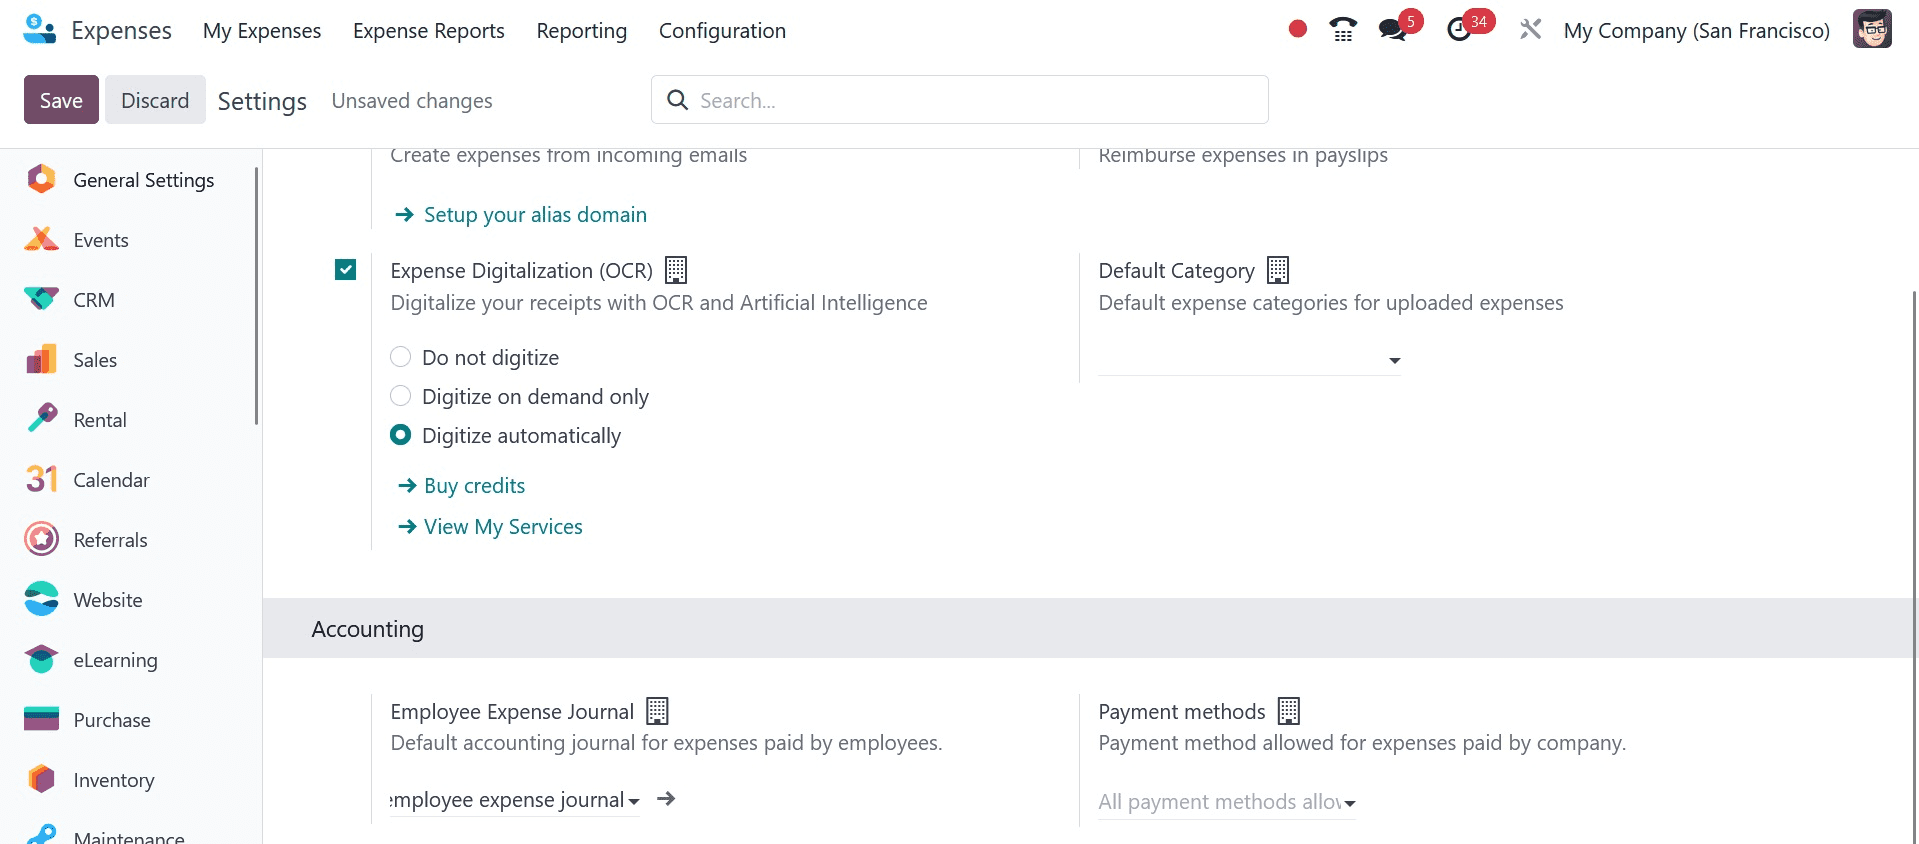
Let's examine the process for returning the money to the employee. To handle employee expenses, a different journal can be established. Click the Configuration tab and select Settings once more. Include the name of the journal and save it.
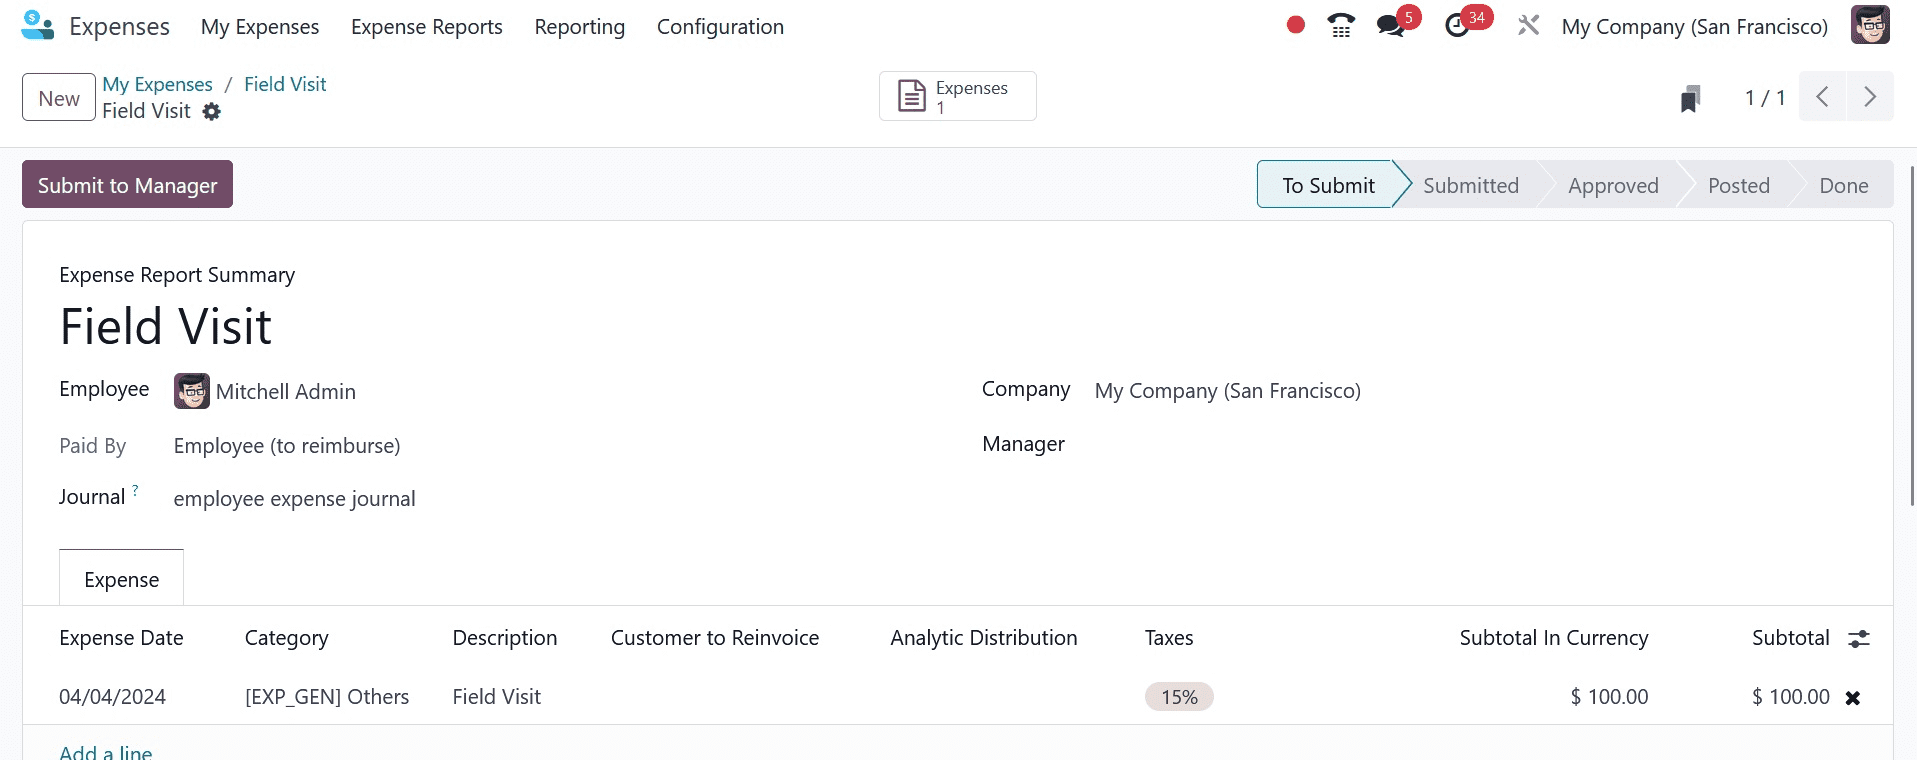
Make a fresh expense for Mitchel, the employee. This selects the previously defined Category. This indicates that the employee paid $750 to finish the field visit by hand. The employee must therefore receive reimbursement for this sum. Thus, a Field Visit was included in the description. It adds the sum based on the category. As previously stated, the submitted document now includes the Attach Receipt. Press the button labeled "Create Report."

After creating the report, it is submitted to the management. The manager will authorize the report following verification.
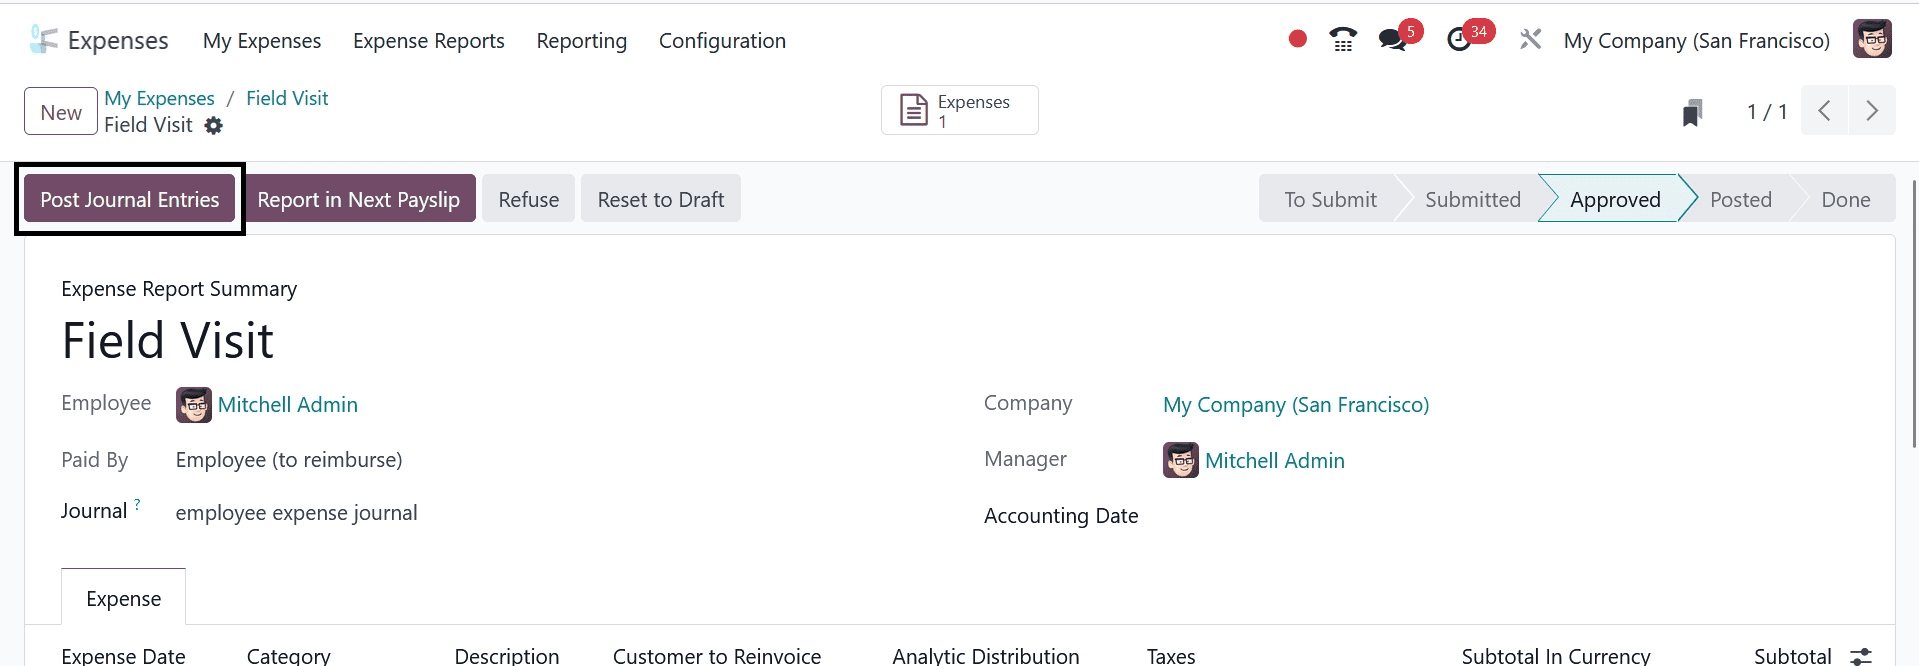
An authorized expense report's journal entries can be posted by the user.
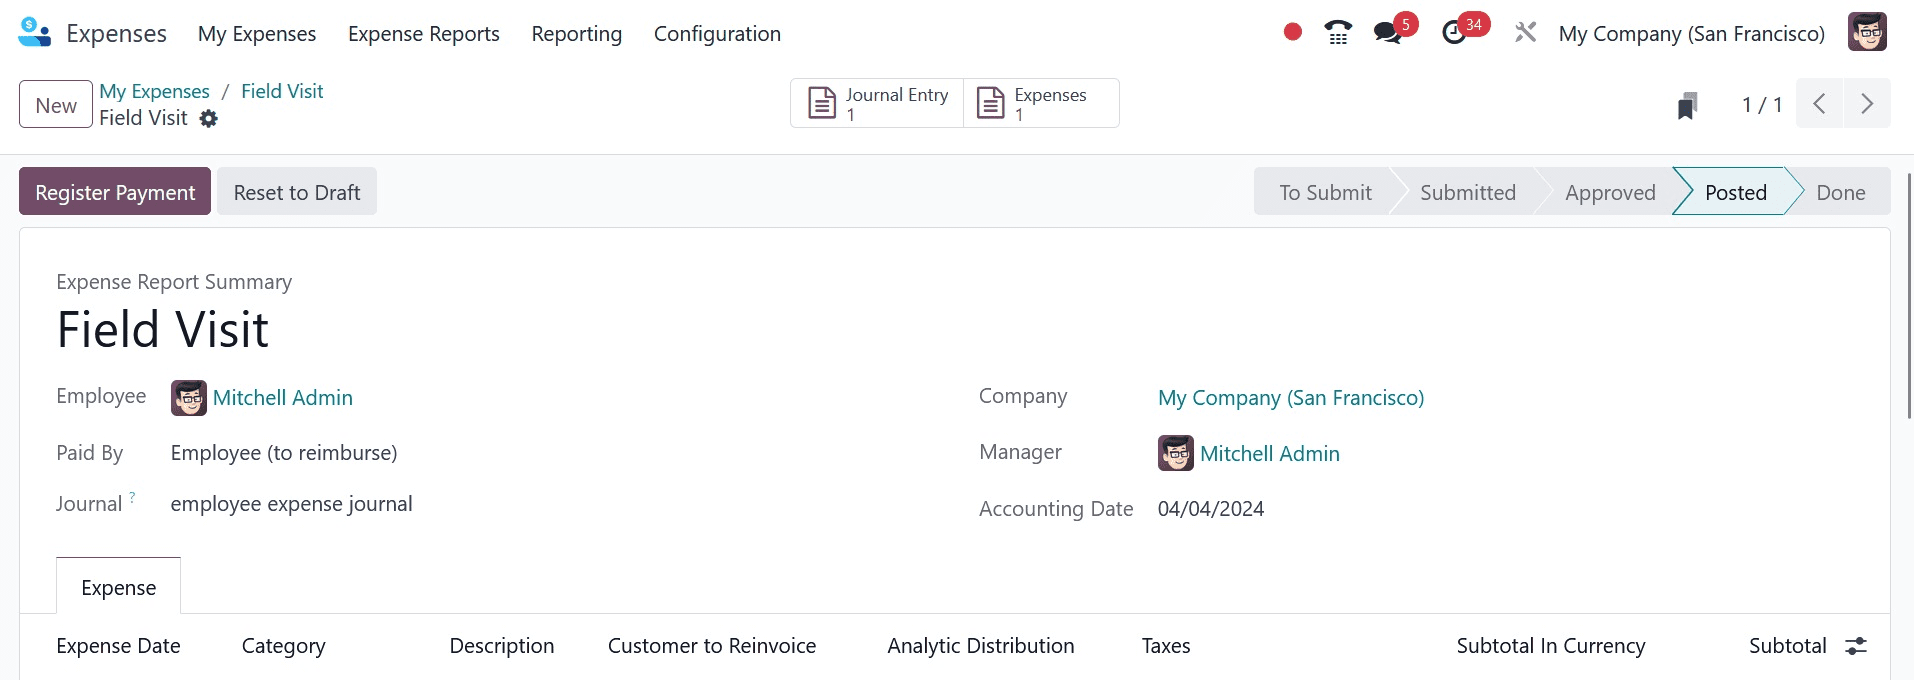
In this instance, the report went from the Done step straight to the Posted stage. Since the employee paid the sum, it is intended to be reimbursed to the employee. Thus, press the Register Payment icon.
There will be another pop-up window to register the payment. You can add a journal, the payment method, the amount, and the payment dates there. The memo is added with the expense description. Press the "Create Payment" button.
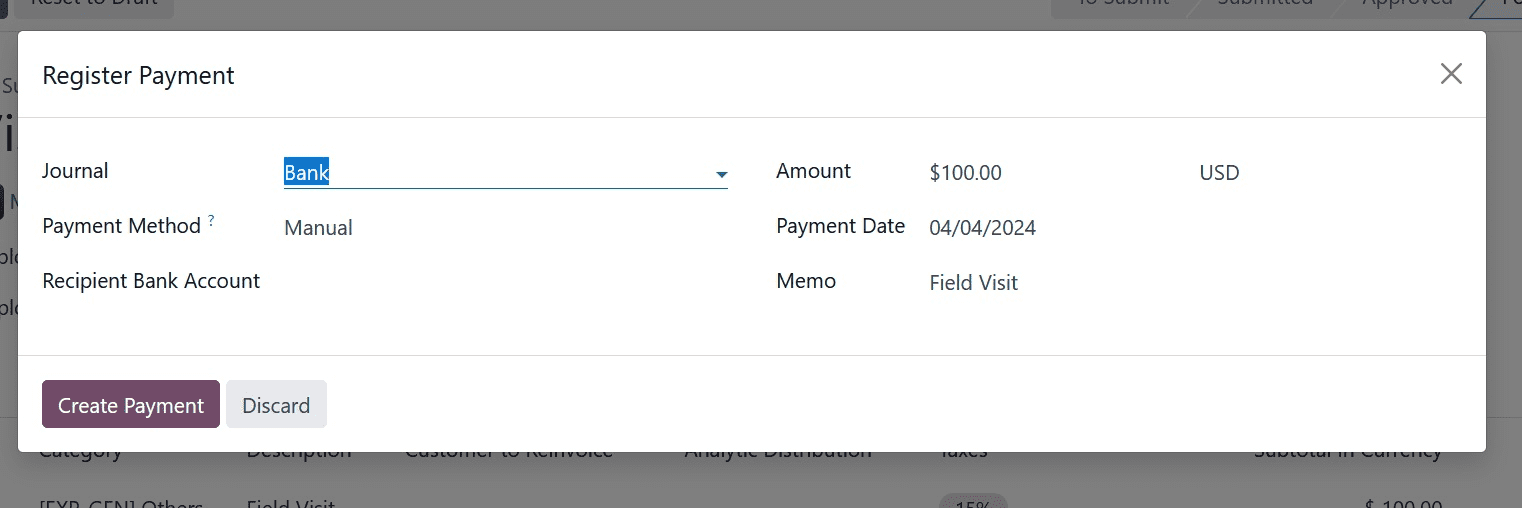
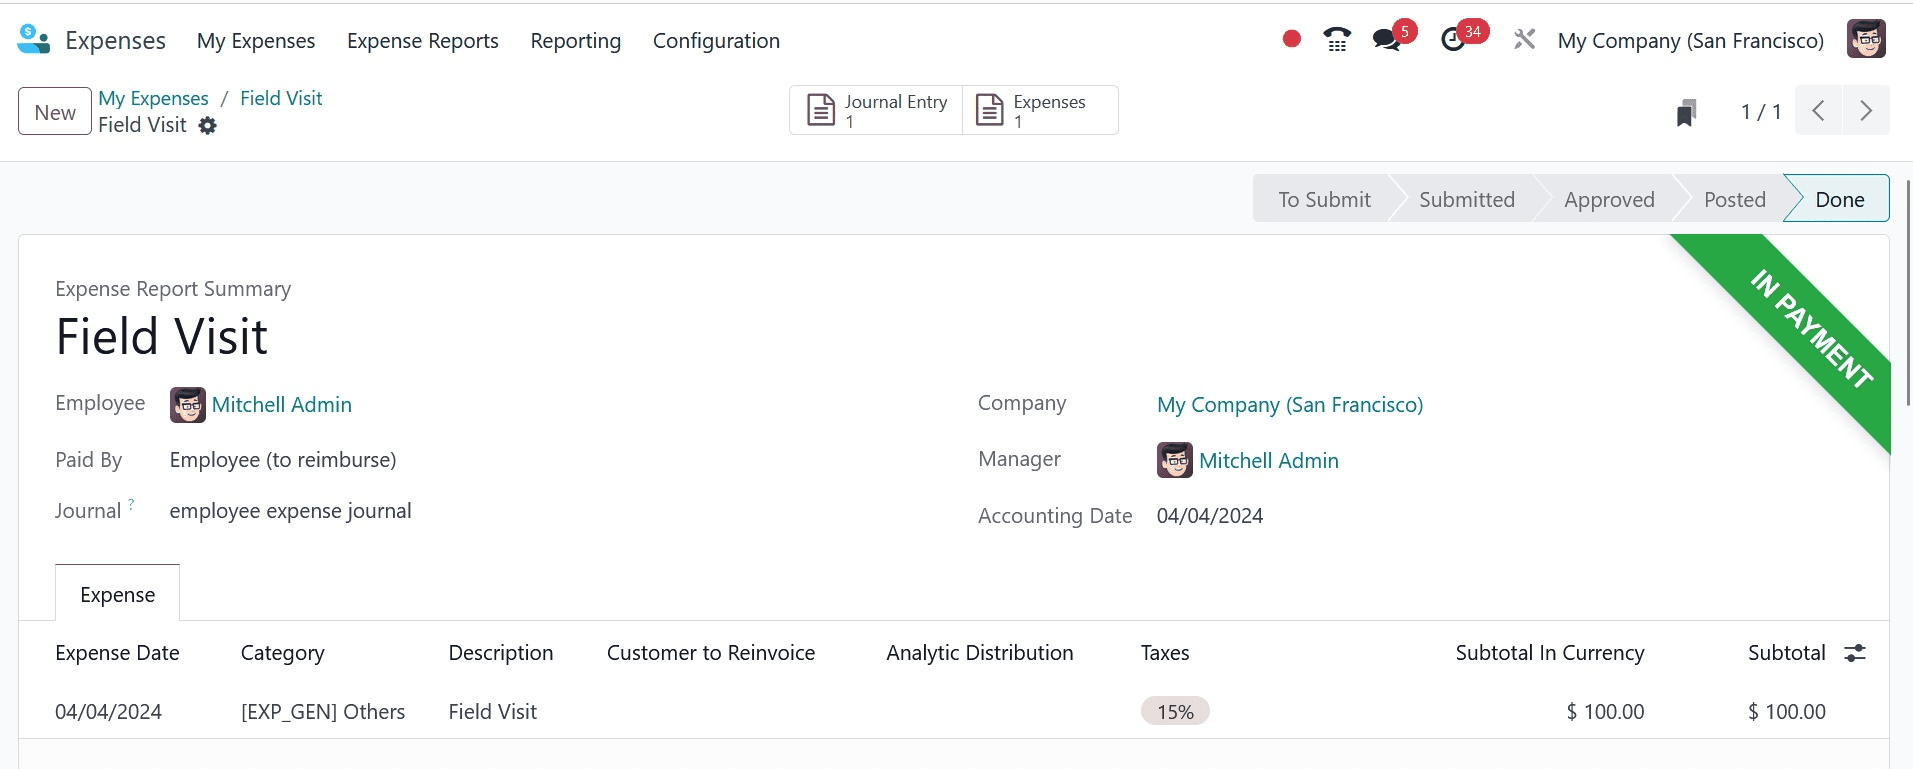
After that, the expense is transferred to the Done step, where a ribbon payment is made. There is the same journal that is described in Configuration, Settings.
Let's take another look at the Accounting module journal entry. Here, the amount is displayed as a negative value. because employees receive payment from the corporation for it. Let's get started.
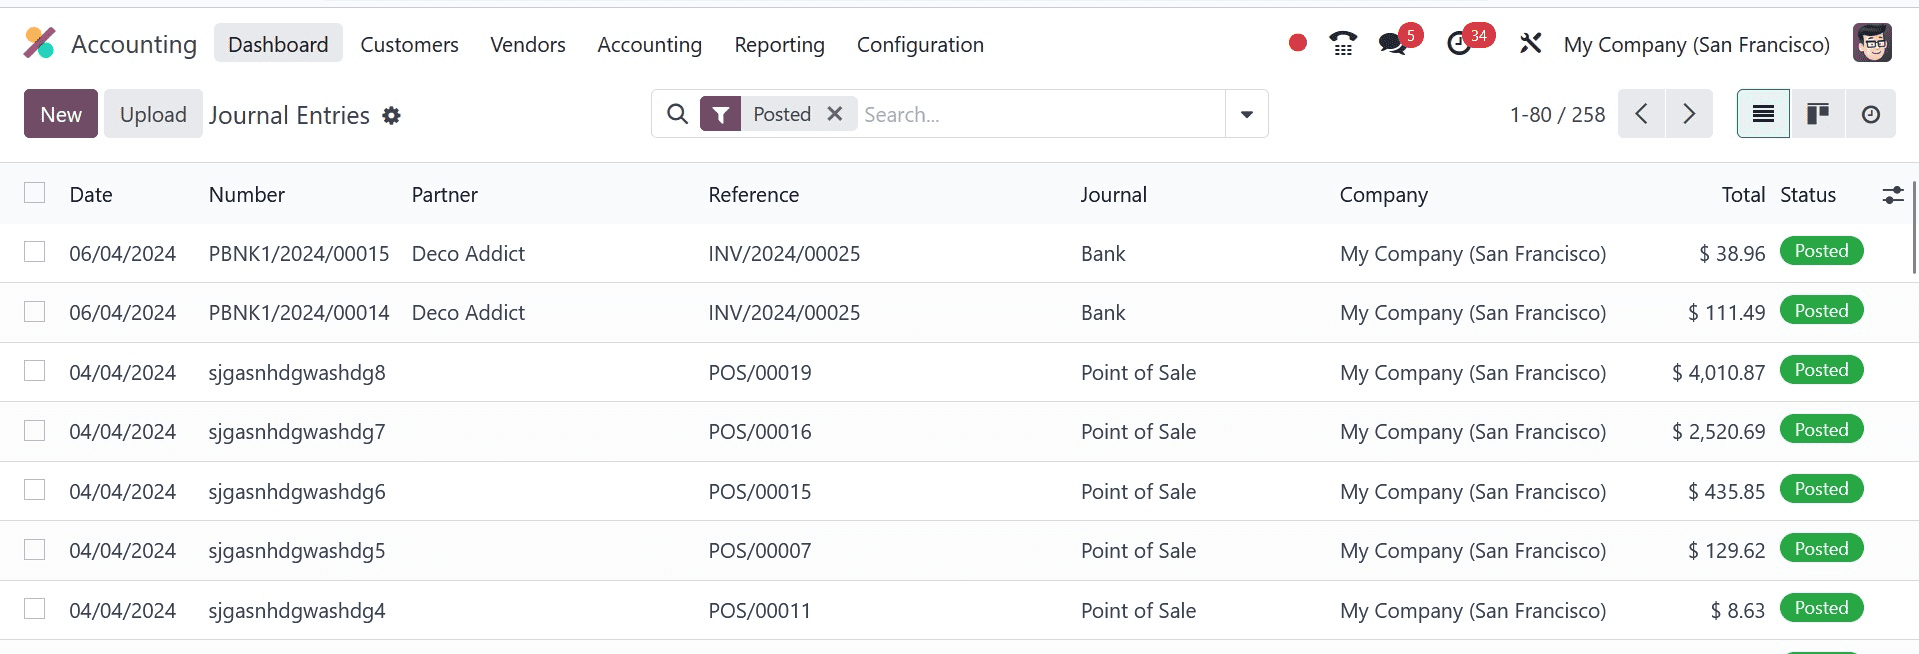
This is an expense to the worker. The Expense Account and Account Payable are impacted in this case, as the Journal entry tab demonstrates.
As previously stated, the employee may also receive reimbursement for the expense on their subsequent payslip. The Odoo Expense module makes it easier to manage expenditures effectively. This feature makes it easier to approve employee expenses and track spending accurately. If you want to know more about Odoo expense App, refer to our previous blog.