In Odoo, views are used to present data in various formats in the user interface. Among these, Map Views are a specialized type of view available in Odoo Enterprise. They help you display data on a geographic map, making the analysis of location-based information more convenient. Models that include location fields, such as partners or events, can seamlessly integrate map views.
This blog will walk you through the steps to create Map views in Odoo 18.
Map views are particularly useful for providing a visual representation of data tied to geographical locations. They allow users to engage with and understand data effortlessly. These views can be dynamically created using XML.
To display Map Views in Odoo Enterprise, you can use the Map widget. Below is an example of how to define a Map View in Odoo 18:
<record id="resistance_id" model="ir.actions.act_window">
   <field name="name">Resistance</field>
   <field name="type">ir.actions.act_window</field>
   <field name="res_model">resistance.fail.pass</field>
   <field name="view_mode">tree,form,map</field>
</record>
Steps to Create a Map View
Include Map View in the Window Action
First, ensure that the map view is included in the view_mode of the window action. In the example above, the map view has been added to the view_mode for the Resistance model.
Define the Map View
Next, create a record for the Map View. Here’s an example:
<record id="ress_map" model="ir.ui.view">
   <field name="name">resistance.fail.pass.map</field>
   <field name="model">resistance.fail.pass</field>
   <field name="arch" type="xml">
       <map res_partner="name" routing="true" hide_name="true">
           <field name="name" string="Customer"/>
       </map>
   </field>
</record>
In this example, the <map> tag is the primary element of the view. You can include the fields you want to display within this tag.
Key Properties of the Map View
The <map> tag supports several properties that help customize how data is displayed:
* res_partner
This property refers to a Many2one field from the res.partner model. In the example, the name field from the res.partner model is used to display partner names on the map.
* default_order
This property allows you to define the default sorting order of records in the map view. You can sort records in ascending or descending order based on one or more fields.
* routing
Setting routing="true" enables routing functionality, which displays the shortest path between two or more locations on the map. Odoo automatically calculates and renders the route based on the specified locations.
* hide_name
This property hides the name of the record displayed on the map.
* hide_title
Use this property to hide the title of the map view.
* hide_address
This property hides the address of the record displayed on the map.
* panel_title
This property allows you to customize the title of the panel displayed on the left side of the map view. It’s useful for providing additional context or information to the user.
Example Model for Map View
For this demonstration, let’s assume we have a Resistance model. The Map view for this model is defined as shown above. Here’s a visual representation of how the Map view might look:
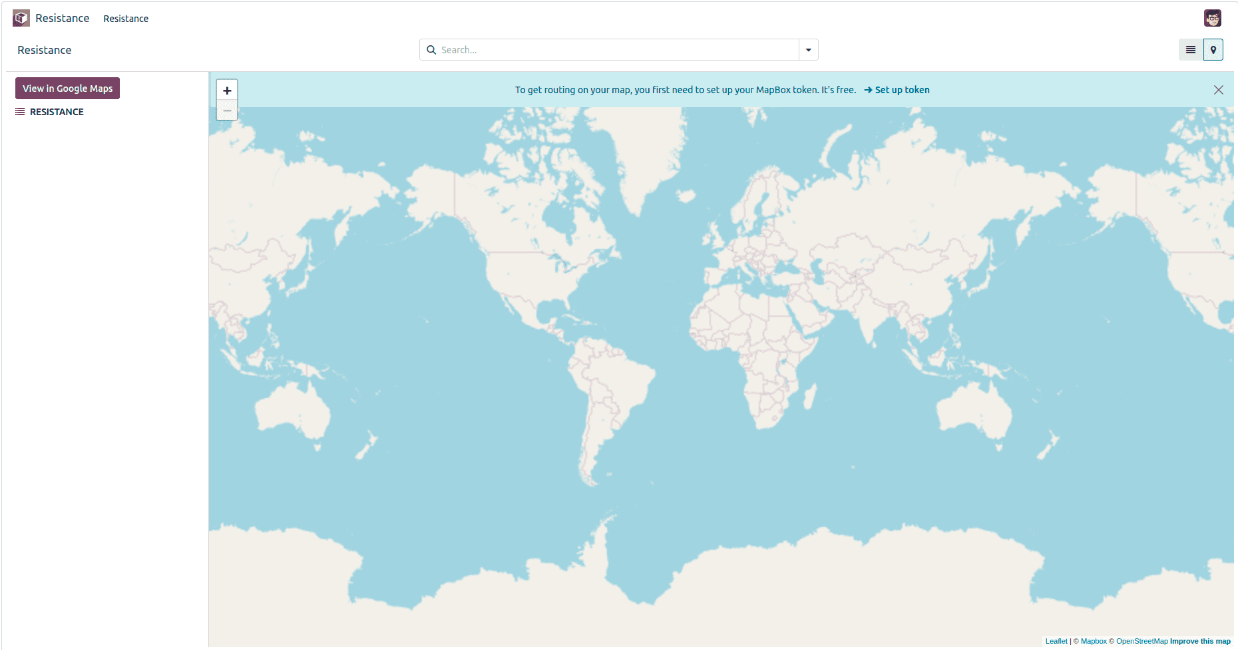
Map Views in Odoo 18 are a powerful tool for visualizing location-based data. By leveraging the properties of the <map> tag, you can create intuitive and interactive maps that enhance user experience. Whether you’re tracking partners, events, or any other location-based data, Map Views provide a clear and engaging way to present information.
This blog has covered the essential steps and properties needed to create Map Views in Odoo 18. With this knowledge, you can now implement Map Views in your custom modules and make the most of Odoo’s geographical data visualization capabilities.
To read more about how to Create Map Views in Odoo 17, refer to our blog, How to Create Map Views in Odoo 17.