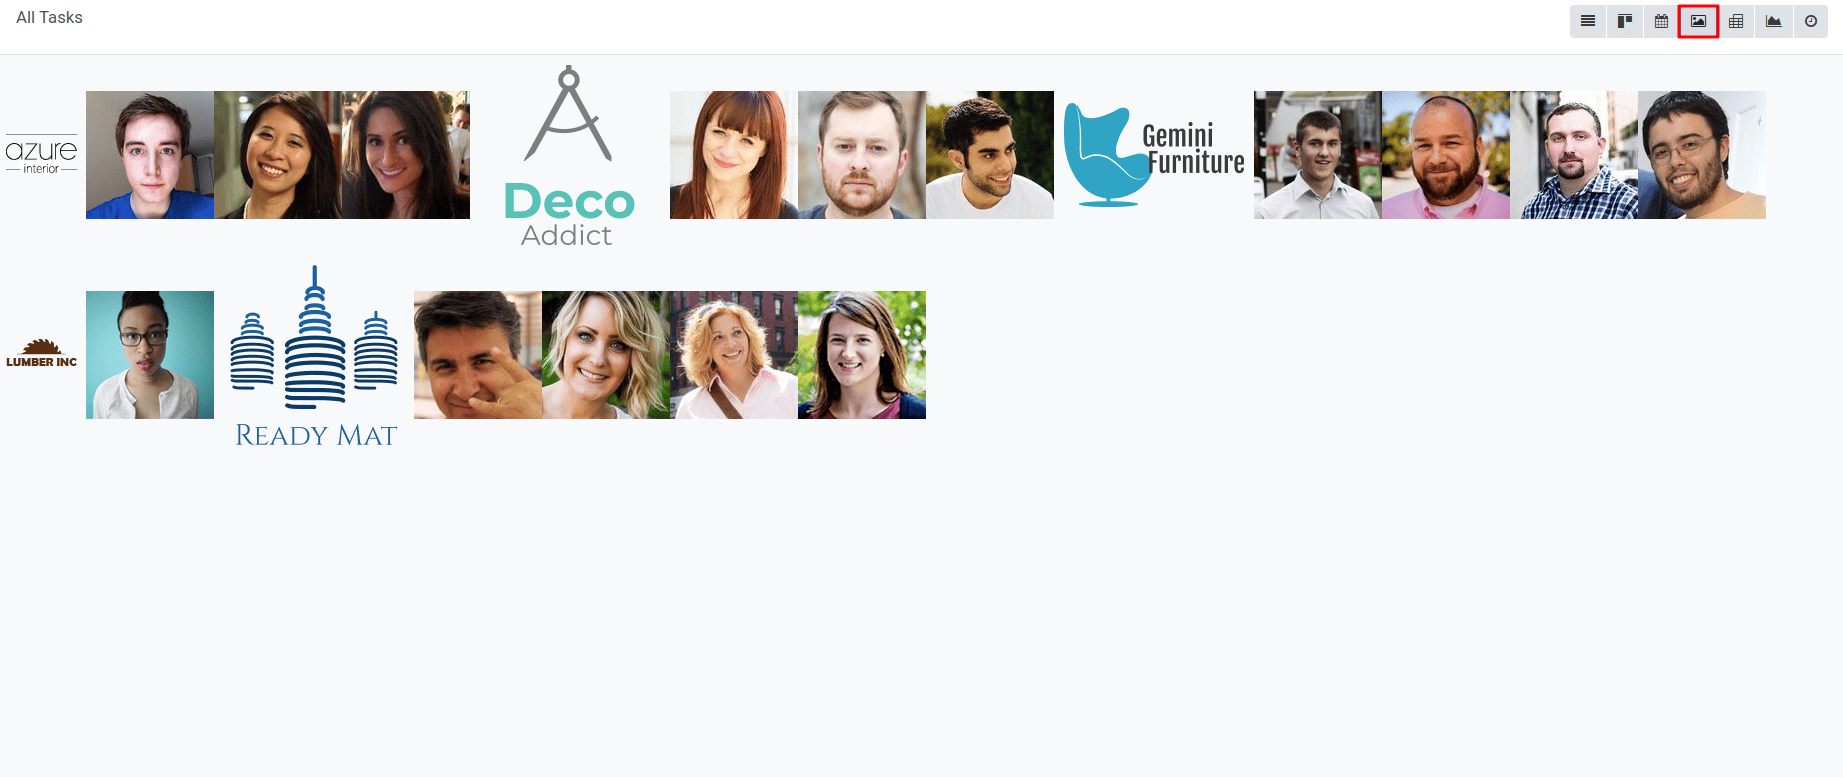
A view in Odoo is a structured representation of data that specifies how records should be shown and interacted with in the user interface.
Various forms, lists, kanbans, and other visualizations are represented by the various view types.
In this blog, we are going to discuss how to create a new gallery view completely from scratch.
Making a basic component-based JavaScript implementation is the first step.
1. Import the controller, make a view object, then register it in the view registry with the name gallery in gallery_view.js.
import { registry } from"@web/core/registry”;
 import { Controller } from"./my_controller”;
       export const myView = {
              type: "my_view";
              display_name: "My View";
              icon: "oi oi-view-list";
              multiRecord: true;
              Controller: MyController;
        };
registry.category("views").add("my_controller", myView);
2. Create a basic component in gallery_controller.js.
3. Include gallery in any action as one of the view types.
4. Our gallery view does not appear to be a typical view as of yet. To have the common features like other views, let's use the Layout component.
5. Add the Layout component to the GalleryController's component list by importing it.
6. To utilize Layout, update the template. A display prop is required.
Parse the Arch
An ArchParser that is unique to each view is typically used to parse an arch. It derives from an XMLParser class that is general.
export class MyCustomArchParser {
parse(xmlDoc) {
const myAttribute = xmlDoc.getAttribute("my_attribute")
return {
      myAttribute,
}
}
}
Create a separate file for the ArchParser class.
To read the image_field data, use it.
To add it to the props that the controller has received, update the gallery view code.
Load Data
Using webSearchRead from the ORM service lets us load some data.
const { length, records } = this.orm.webSearchRead(this.resModel, domain, {
   specification: {
        [this.fieldToFetch]: {},
        [this.secondFieldToFetch]: {},
    },
    context: {
        bin_size: true,
    }
})
1. The GalleryController should have a loadImages(domain) {...} method added. In order to retrieve entries matching the domain, it should make a webSearchRead request to the ORM service and utilize the imageField that was obtained in the props.
2. The image field will be base64 encoded if bin_size was not included in the call's context. To obtain the size of the picture field, make sure bin_size is included in the context. Later on, we will show the image.
3. To invoke that function in the onWillStart and onWillUpdateProps hooks, modify the setup code.
4. Change the template so that each image's id and size are shown inside the Layout component's default slot.
View Extension
1. In the gallery view file, import GalleryModel and GalleryRenderer.
2. Assign the Model and Renderer keys to GalleryModel and GalleryRenderer by adding them to the gallery view object. To the controller, pass the model and renderer as props.
3. Get them from the props and remove the hard coded import from the controller.
/** @odoo-module */
import { registry } from '@web/core/registry';
import { galleryView } from '@awesome_gallery/gallery_view';
import { GalleryRenderer } from '@awesome_gallery/gallery_renderer';
export class MyExtendedGalleryRenderer extends GalleryRenderer {
   static template = "my_module.MyExtendedGalleryRenderer";
   setup() {
      super.setup();
      console.log("my gallery renderer extension");
   }
}
registry.category("views").add("my_gallery", {
   ...galleryView,
   Renderer: MyExtendedGalleryRenderer,
});

Display Images
A controller exists that facilitates the retrieval of a picture from a record.
import { url } from "@web/core/utils/urls";
const url = url("/web/image", {
   model: resModel,
   id: image_id,
   field: imageField,
});
Optional ToolTip
Show the contents of the tooltip field when the mouse is hovered over. Whether the field is a char, number, or many2one field, it ought to function. You can insert a string into an HTML element's data-tooltip attribute to add a tooltip to it.
To add the customer as a tooltip field, update the customer gallery view arch.
<gallery image_field="some_field" tooltip_field="some_other_field"/>
You can see the new view type inside the view added.

In summary, the blog simplifies thesteps for adding a gallery view.
To read more about How to Create Pivot View in Odoo 17, refer to our blog How to Create Pivot View in Odoo 17.