Qweb is Odoo’s powerful templating engine, designed to easily convert XML data into HTML documents. Its feature set includes attribute-based customization, conditional logic, dynamic content insertion, and a range of report template options. This versatility makes Qweb ideal for crafting personalized, visually compelling reports, emails, and documents. From financial statements to invoices and complex business reports, Qweb streamlines the creation process, ensuring that each output is both clear and appealing.
In this guide, we will walk through creating a custom PDF report in Odoo 18 for the "hr.expense" model. This process involves building a Qweb template and setting up the corresponding report action, which will allow users to generate a PDF of expense details directly from the Odoo interface.
Step-by-Step Guide to Creating a Custom PDF Report in Odoo 18
* Module Structure:
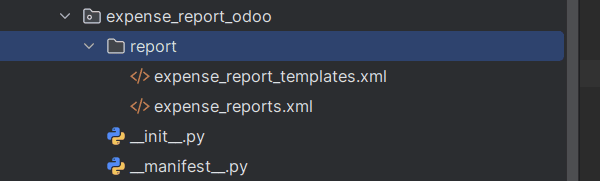
* Create the Report Action (XML file)
Inside your module's "report" directory, create an XML file for the report action. Let's name it expense_reports.xml. This file will define the report action that binds the report to the model. Below is an example of what the XML file might contain:
<?xml version="1.0" encoding="UTF-8"?>
<odoo>
    <!--    Report Function in Expense -->
    <record id="action_expense_request_report" model="ir.actions.report">
        <field name="name">Expense Report</field>
        <field name="model">hr.expense</field>
        <field name="report_type">qweb-pdf</field>
        <field name="report_name">expense_report_odoo.report_expense_report_details</field>
        <field name="report_file">expense_report_odoo.report_expense_report_details</field>
        <field name="binding_model_id" ref="hr_expense.model_hr_expense"/>
        <field name="binding_type">report</field>
    </record>
</odoo>
In this XML file, we define a report action using the following fields:
Important Fields When Creating Report Actions
1. Name (name):
The name of the report action is specified using the name field. It helps identify the report within the system. In our example, it’s set to "Expense Report".
2. Model (model):
This field defines the model that the report is associated with. The report retrieves data from this model. In our case, the model is "hr.expense", which means the report will display data from the hr expense model.
3. Report Type (report_type):
This specifies the type of report being generated. The available options are:
* qweb-pdf: For generating PDF reports using QWeb templates.
* qweb-html: For generating HTML reports using QWeb templates.
* qweb-text: For generating plain text reports using QWeb templates.
In our example, we’re generating a PDF report, so the report_type is set to "qweb-pdf".
4. Report Name (report_name):
This field specifies the internal name of the report template. It links the report action to the QWeb template that will be used to generate the output. In our case, the report name is "module_name.report_expense_report_details".
5. Report File (report_file):
The report_file defines the name of the QWeb template file used for the report. This file contains the XML structure for rendering the report. It’s set to "module_name.report_expense_report_details".
6. Binding Model ID (binding_model_id):
This is a reference to the model associated with the report action, linking it to other objects. Here, it references the hr expense model: "hr_expense.model_hr_expense".
7. Binding Type (binding_type):
This defines how the report is bound to the system. The two options are:
* action: Binds the report to a specific action.
* report: Binds the report directly to a record of the specified model.
In this example, we are binding the report as a report.
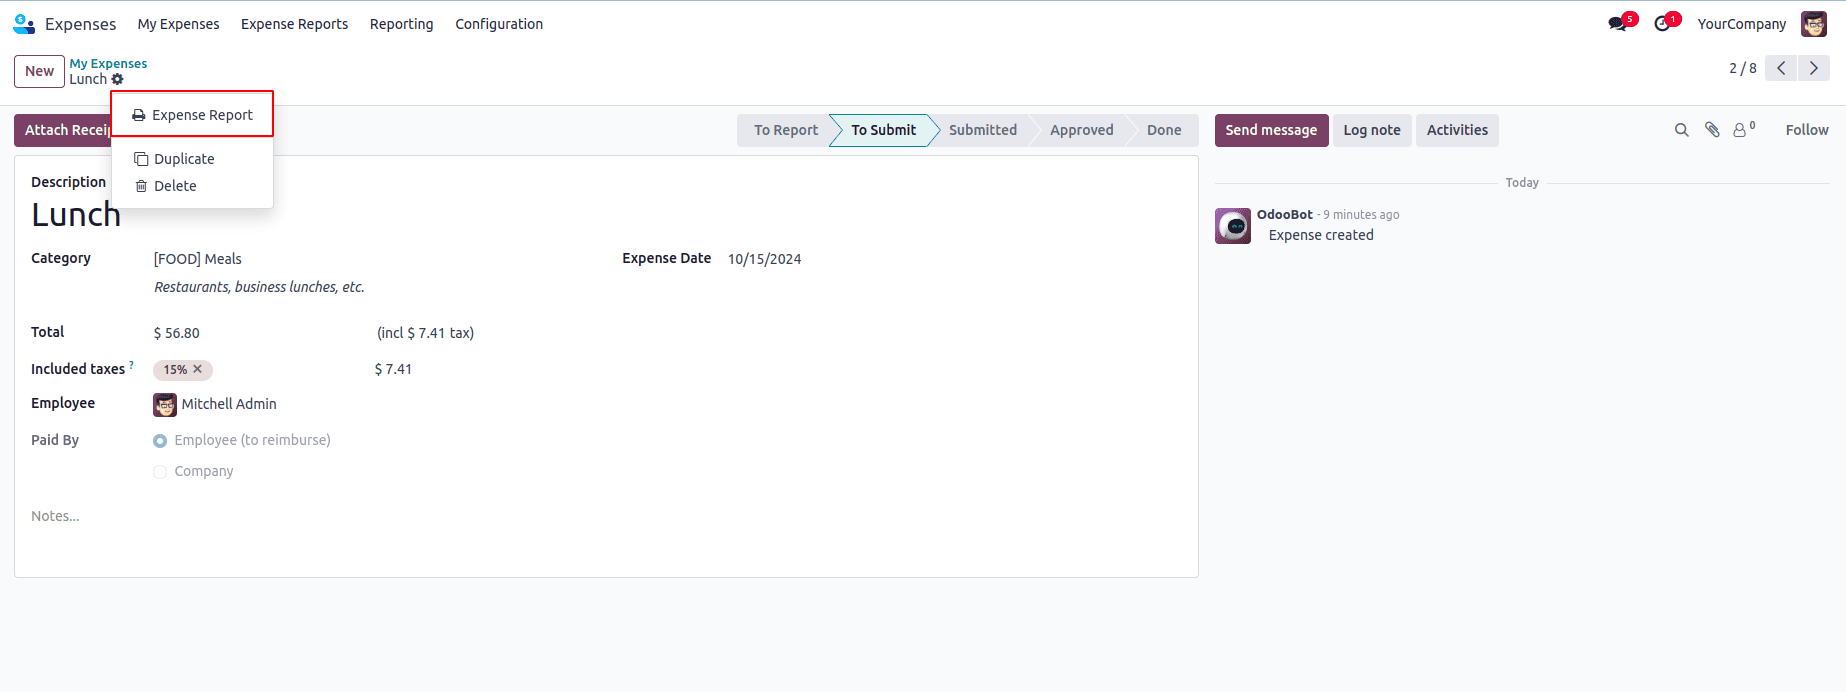
The report action will create a new entry under the "Print" menu of the associated model. In the case of the report action mentioned above, it will add a new report option within the "Print" menu for the hr.expense model, as demonstrated in the screenshot below.
Create the QWeb Template (XML file)
Next, we need to create the QWeb template, which defines the structure and layout of the PDF report. This file should be placed in the report directory and named expense_report_templates.xml. Below is an example of a simple QWeb template for the report:
<?xml version="1.0" encoding="UTF-8" ?>
<odoo>
    <!--    Report Template-->
    <template id="report_expense_report_details">
        <t t-call="web.html_container">
           <t t-foreach="docs" t-as="o">
                <t t-call="web.external_layout">
                    <div class="page">
                        <div class="oe_structure"/>
                        <h2>Expense Report</h2>
                        <br></br>
                        <p>
                            Name :
                            <span t-field="o.employee_id.name"/>
                        </p>
                    </div>
                </t>
            </t>
        </t>
    </template>
</odoo>
In this QWeb template file, we define a structure using the template ID, which matches the report_name specified in the report action XML. The t-foreach loop iterates through the list of records (docs) and generates a report page for each product. Inside the template, HTML tags and QWeb expressions are used to format and display the data as needed.
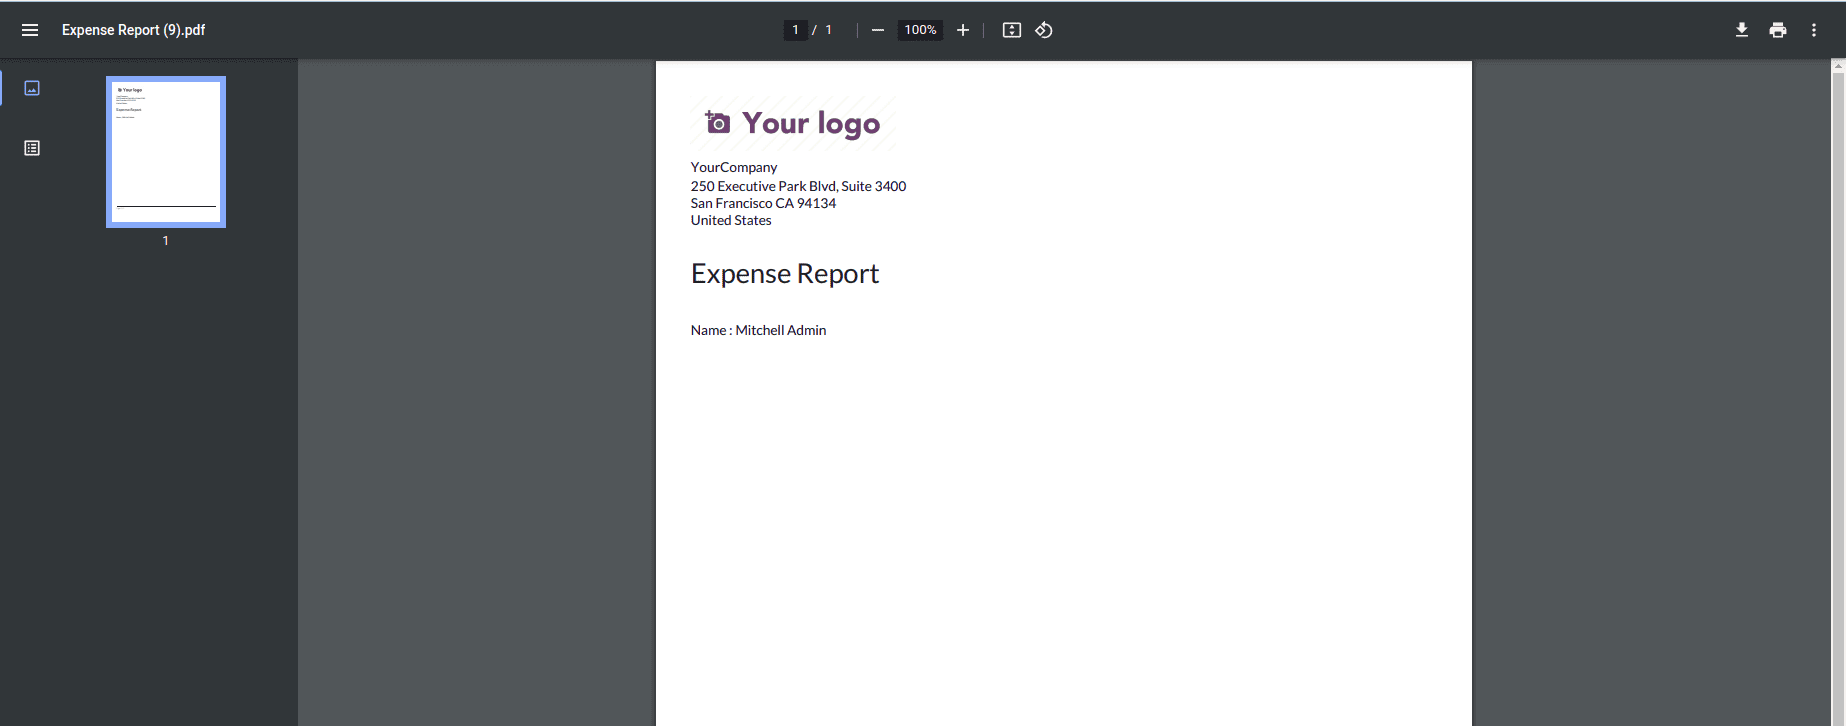
This basic template will generate a PDF report that includes the expense report details, as shown below.
Creating PDF reports in Odoo 18 using Qweb is a straightforward process that combines powerful templating capabilities with a simple XML configuration. By defining a report action and crafting a custom Qweb template, you can generate detailed and well-structured PDF documents tailored to your business needs. This guide provides a foundation to help you create personalized reports that seamlessly integrate into your Odoo workflows, improving data presentation and accessibility.
To read more about How to Create a PDF Report in Odoo 17?, refer to our blog How to Create a PDF Report in Odoo 17?