Subscription is a business tactic used almost in every business sector. This type of sales business provides a great bond with customers while giving new business insights.
Users can manage their customers, such as membership-based organizations like health clubs, insurance companies, landlords, cable operators, etc. can be managed with the aid of the Odoo Subscription Management module. Clients receive subscription-based services in exchange for a monthly price. The Odoo Subscription Management Module makes it simple for you to manage your subscribers.
The subscription module provides an easy way to handle recurring billing and subscriber management. While Odoo manages your subscriptions and recurring earnings, concentrate on your services and connections. Quickly provide faultless, automated contracts and invoices, manage payments with ease, and have taxes handled how you wish.
The application may be used as a marketing tactic to keep up client ties.
For instance, if a customer has a subscription to your business, there is a good chance that they will make more purchases.
Some features of the Subscription Module
Build strong and enduring relationships with your subscribers. Spend less time on menial tasks and more time on boosting sales. In one click, learn which metrics to consider. Users can easily log into the application without any login requirements or conditions. Users can give customers a user-friendly portal from which they can quickly gather all data and contract options. Users can set automatic payments as well as easy tools for automatic subscription management.
Using your company's total data to assess every area, the platform helps you anticipate your business, understand your development, and support the accomplishment of your company's goals.
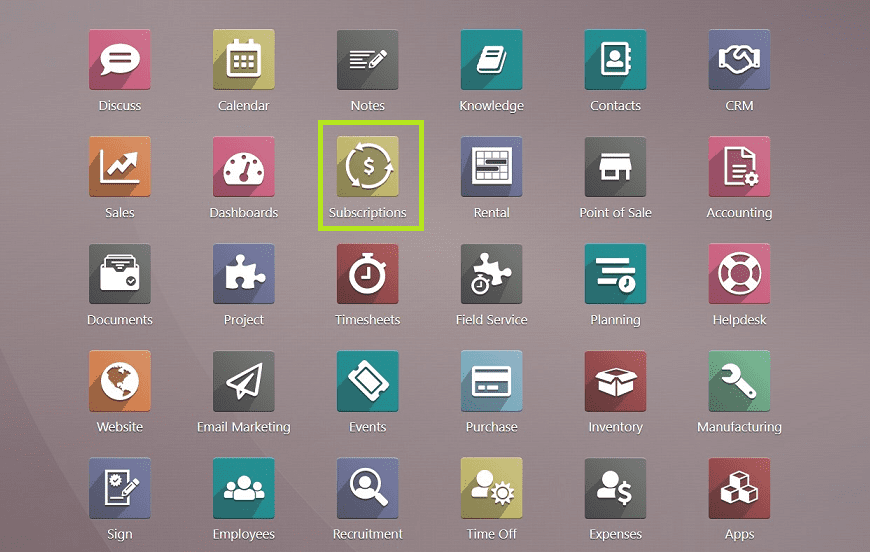
Creating a New subscription product in Odoo Subscription Module.
Users can create and manage everything related to their subscription products or services using the products menu available in the Odoo subscription module, as shown in the screenshot below.
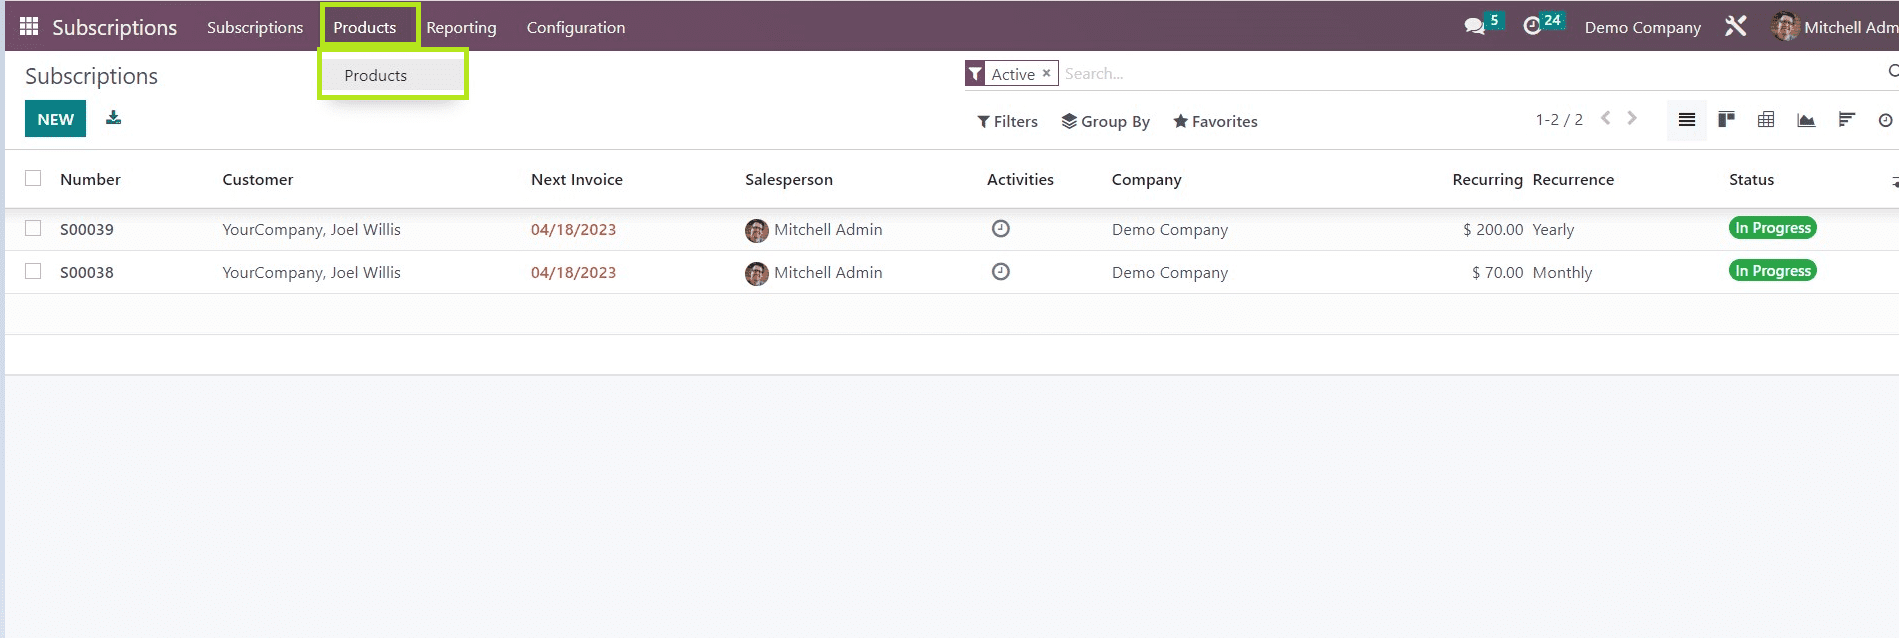
We can see the dashboard of already created subscriptions from the module’s homepage containing subscription number, customer details, next invoice date, salesperson details, activities, company details, recurring amount, recurrence, and status of the created subscription.
Products Menu
Users can create new products or services for subscription purposes using the products menu. we can see the dashboard view of various products that have already been created from the product's homepage, as depicted in the below screenshot.
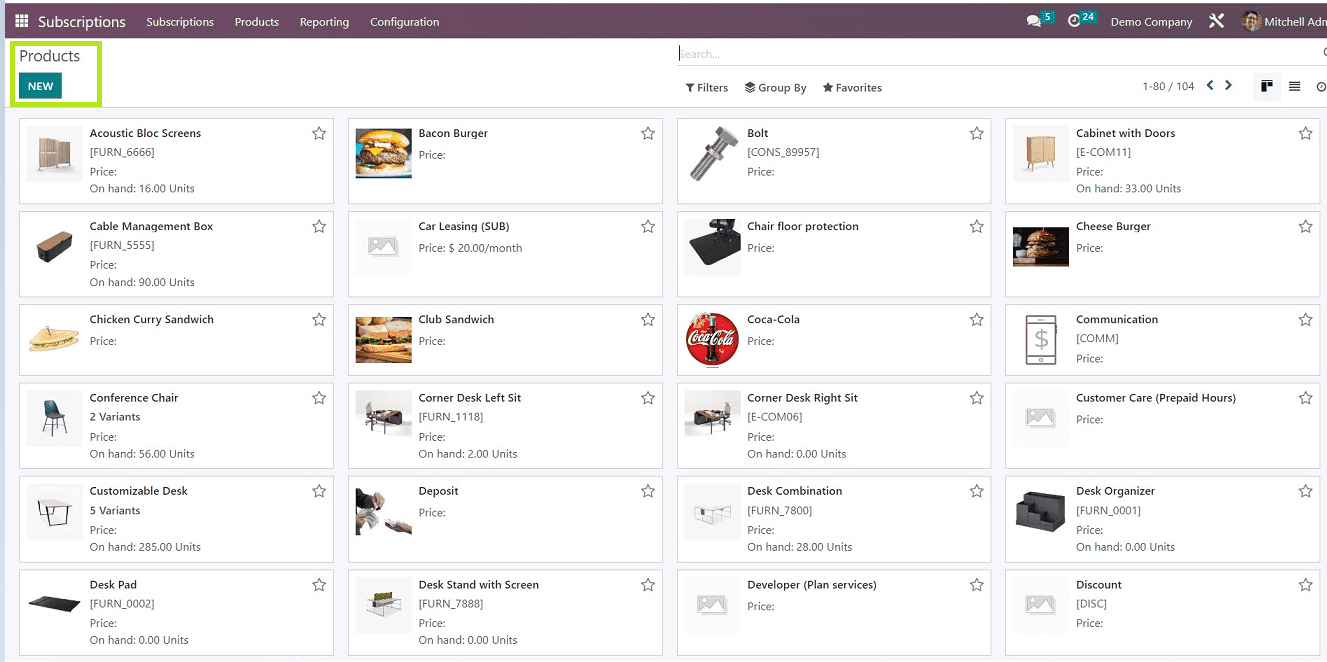
The page contains a list of products arranged in Kanban view. Users can manage their created products by just clicking on them to perform various functions as per the business requirements.
Click on the “New” button to create a new product or service that will open a form view, as we can see from the below screen capture.
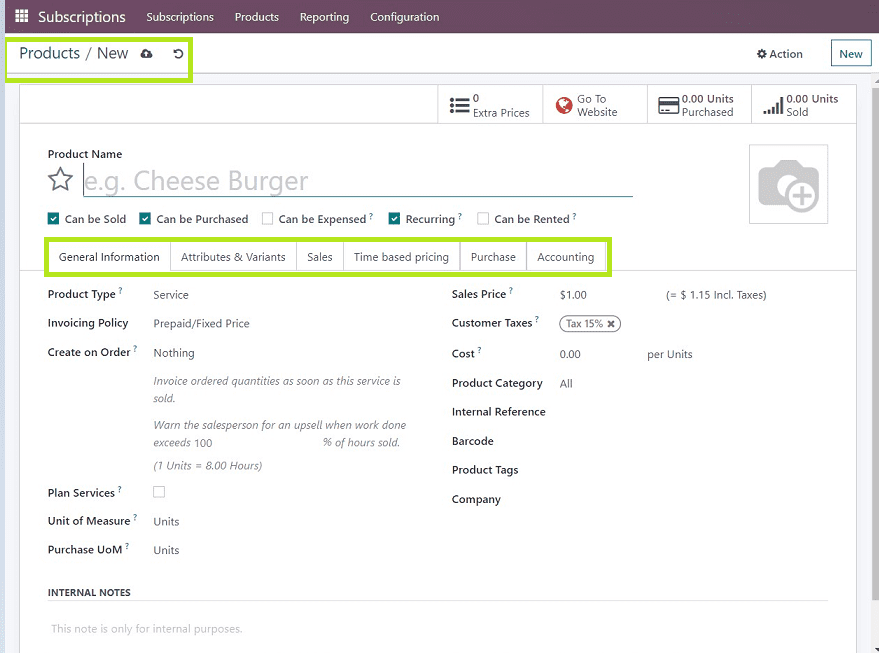
The product’s form view contains various fields to fill in and consists of six sections, such as
1. General Information
2. Attributes & Variants
3. Sales
4. Time-based Pricing
5. Purchase
6. Accounting
Users can provide their product name or service name in the “Product name” field and the purpose of the product, such as can be sold, can be rented, can be purchased, recurring, etc.
Let’s have a look at the form fields and their functions.
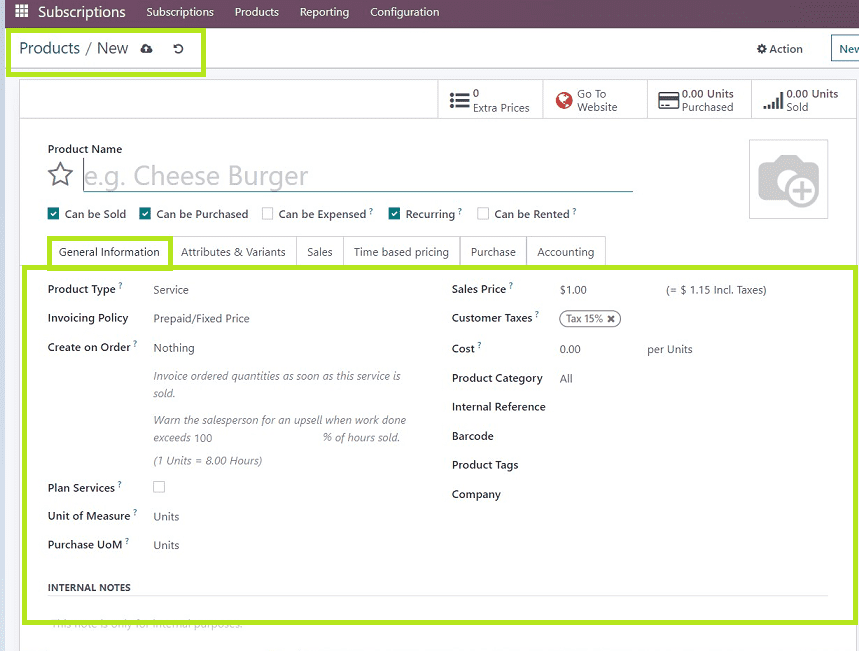
1. General Information
In this section, users have to fill in the details, such as the product type, such as consumable, service, or product.
There are also other fields, such as invoicing policy, create on order, plan services, a unit of measure, purchase unit of measure, sales price, customer taxes, cost, product category, internal reference, barcode, product tags, and company details as depicted in the below screenshot.
2. Attributes & Variants
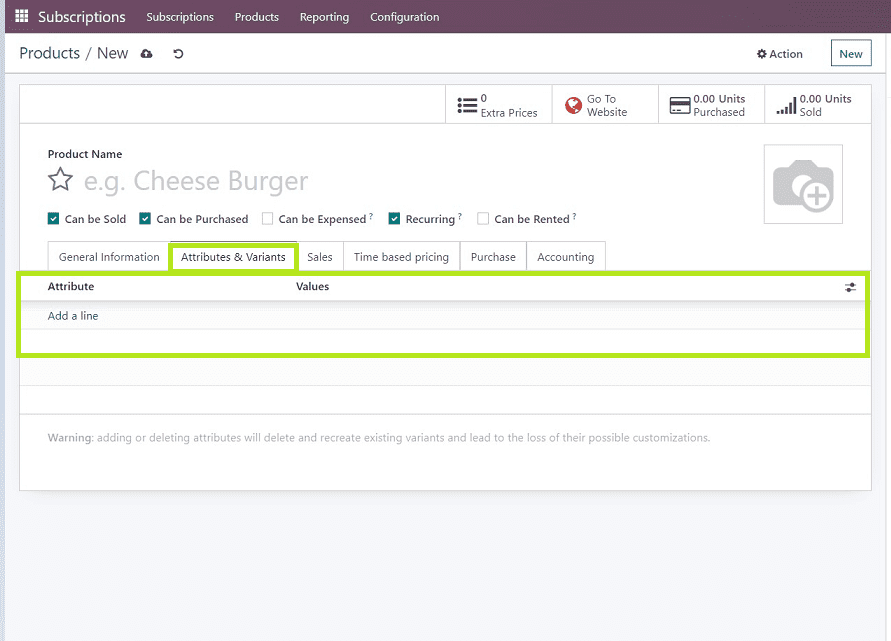
Users can also provide various attributes and variants of certain products and also provide values according to specific attributes. For example, users can add brand names, colors, sizes, patterns, fabrics, and so on in the attributes; in the variants section, they can give different brand names, sizes, colors, names of various fabrics, etc., It is also possible to give values according to certain variants, brand names, etc. it is a completely customizable option.
Use the “Add a line” section to provide the details as shown below.
3. Sales
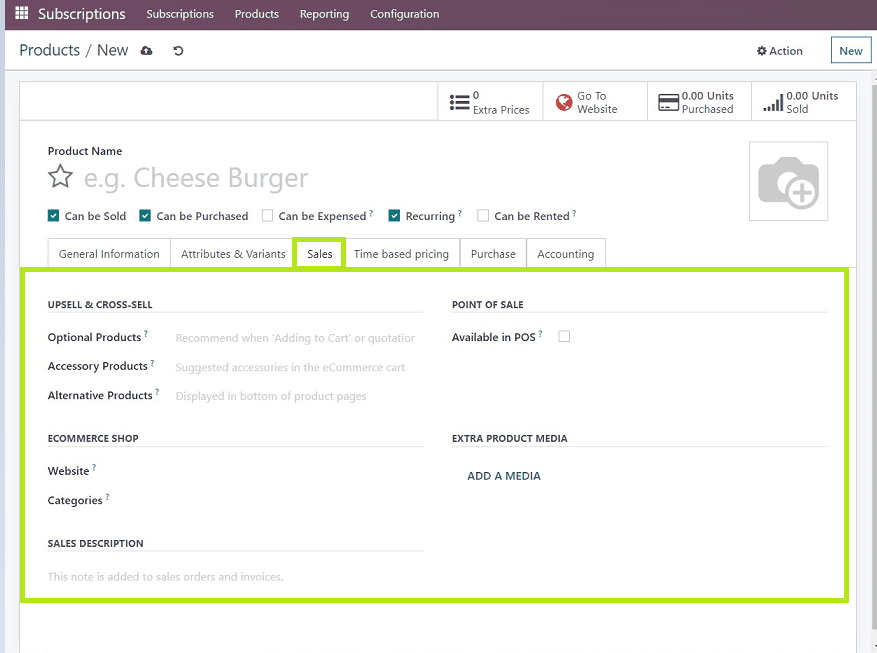
This section consists of various fields, such as
Upsell and cross-sell options like optional products, accessory products, and alternative products.
E-commerce shop - website details and category in which the product has to be shown on e-commerce websites.
Sales description - Any notes or description regarding the sale of the product.
Point of sale - view availability in POS by clicking on the check box provided.
Extra product media - Upload Product Media like photos and videos.
4. Time-based Pricing
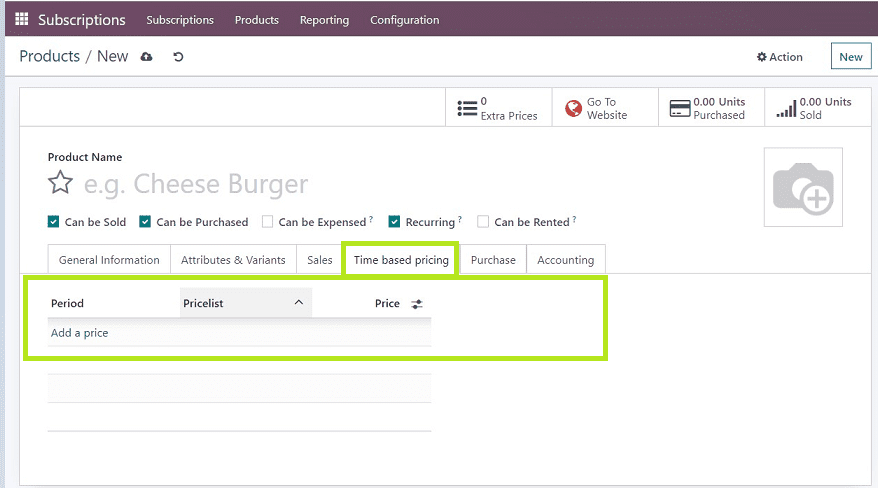
Users can add time-based pricing for particular products as per the business requirements, such as payment based on the used hours, days, weekly, quarterly, monthly, 2 weeks, yearly, etc. As we can see from the screenshot below, we can add a period and price for the selected period from the “Add a price” dropdown section provided in the application.
5. Purchase
This section contains the vendor details using the “Add a line” fields. We can select the vendor names from the dropdown provided in the respective field, and also users can create new vendor names.
Subcontract service - An RFQ will be made to purchase the product each time you sell it through a sales order.
Purchase description - Any description or notes regarding the purchase.
Vendor bill details can also be provided by the users, such as vendor taxes and control policy.

6. Accounting
The accounting section contains details about the income account, expense account, and price difference account.
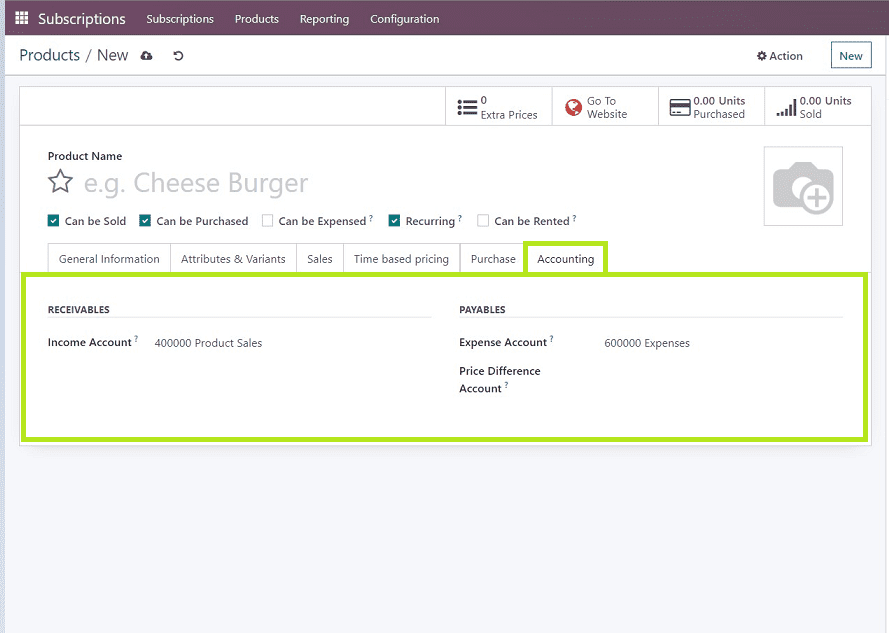
After filling in the details, save the details using the save button.
Here I am just creating a magazine as a new product that can be purchased and also sold through a subscription. We can provide the required data in the corresponding fields after that, save the details as shown in the below screen capture.
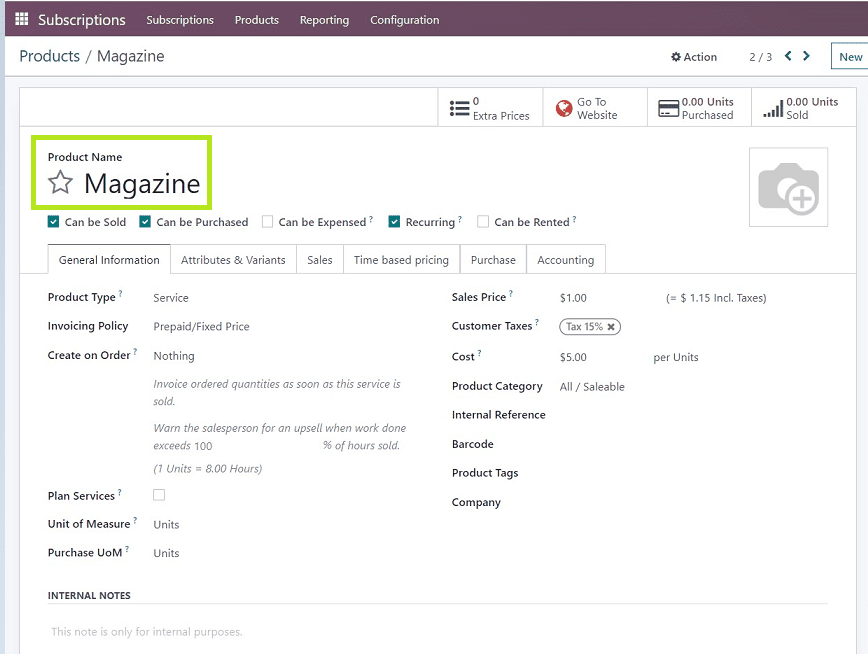
We can see our newly created product from the products homepage.
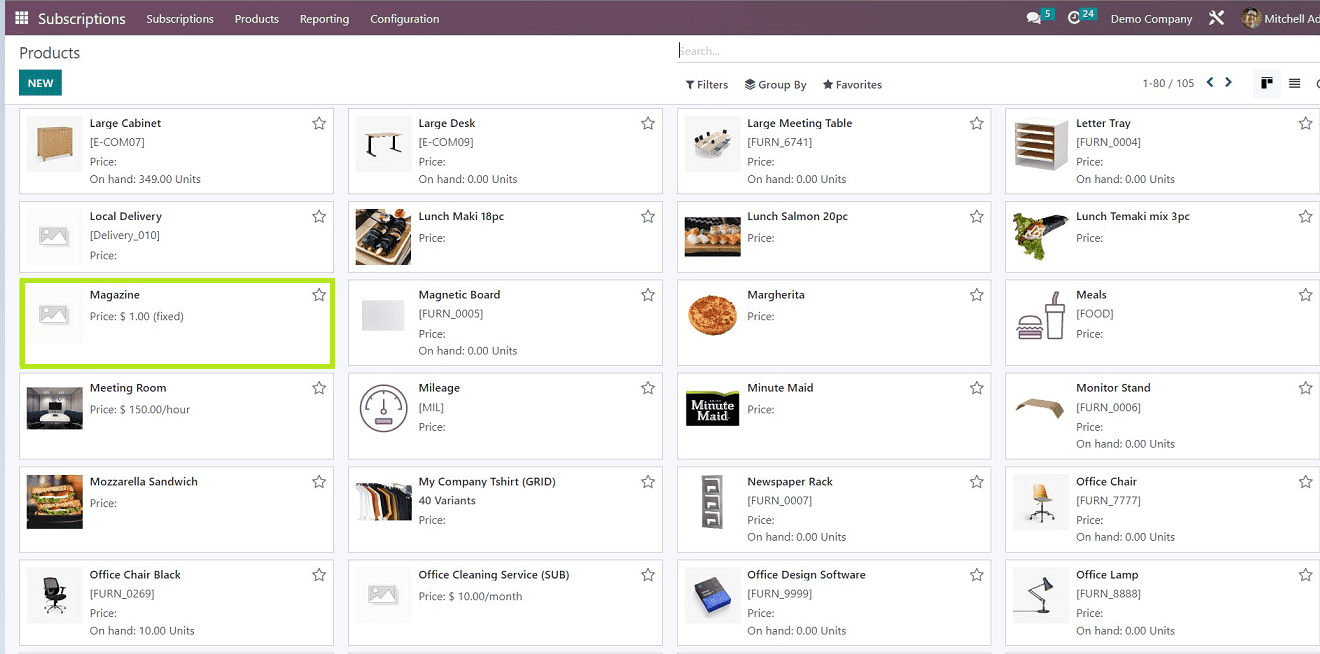
Users can manage every process of their newly created product just by clicking on the product’s kanban view, which will again open the form view.
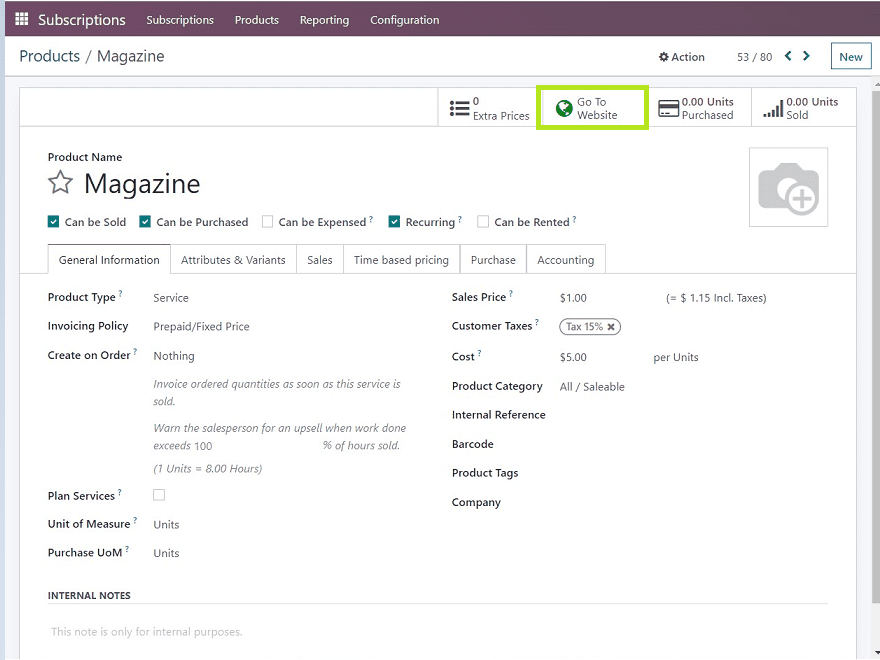
We can manage online publications, subscriptions, and customer portals using the “Go To Website” button, as we can see from the above picture, will lead us to a webpage where we can edit the webpage templates, shopping, blog, etc. depicted in the below screengrab.
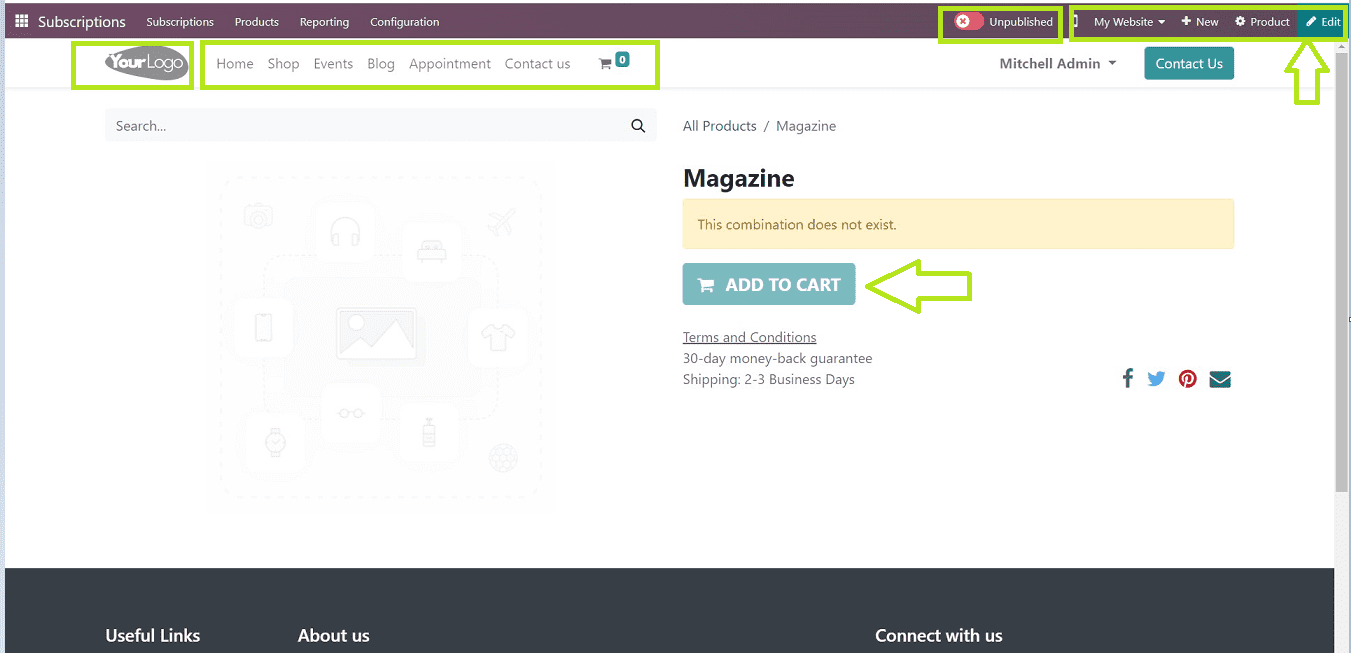
Users can edit their business logo by clicking on the “Your Logo” button. Edit and design the home menu, and shopping site, add events, display blogs, create registration portals for various appointments, and provide contact information for your company using the upper left menu available on the webpage.
We can publish the created product by pressing on the “Unpublished” button, so it will turn to the “Published” state. Also, it is possible to switch websites and get a mobile preview by clicking on the mobile icon provided in the upper right corner of the page.
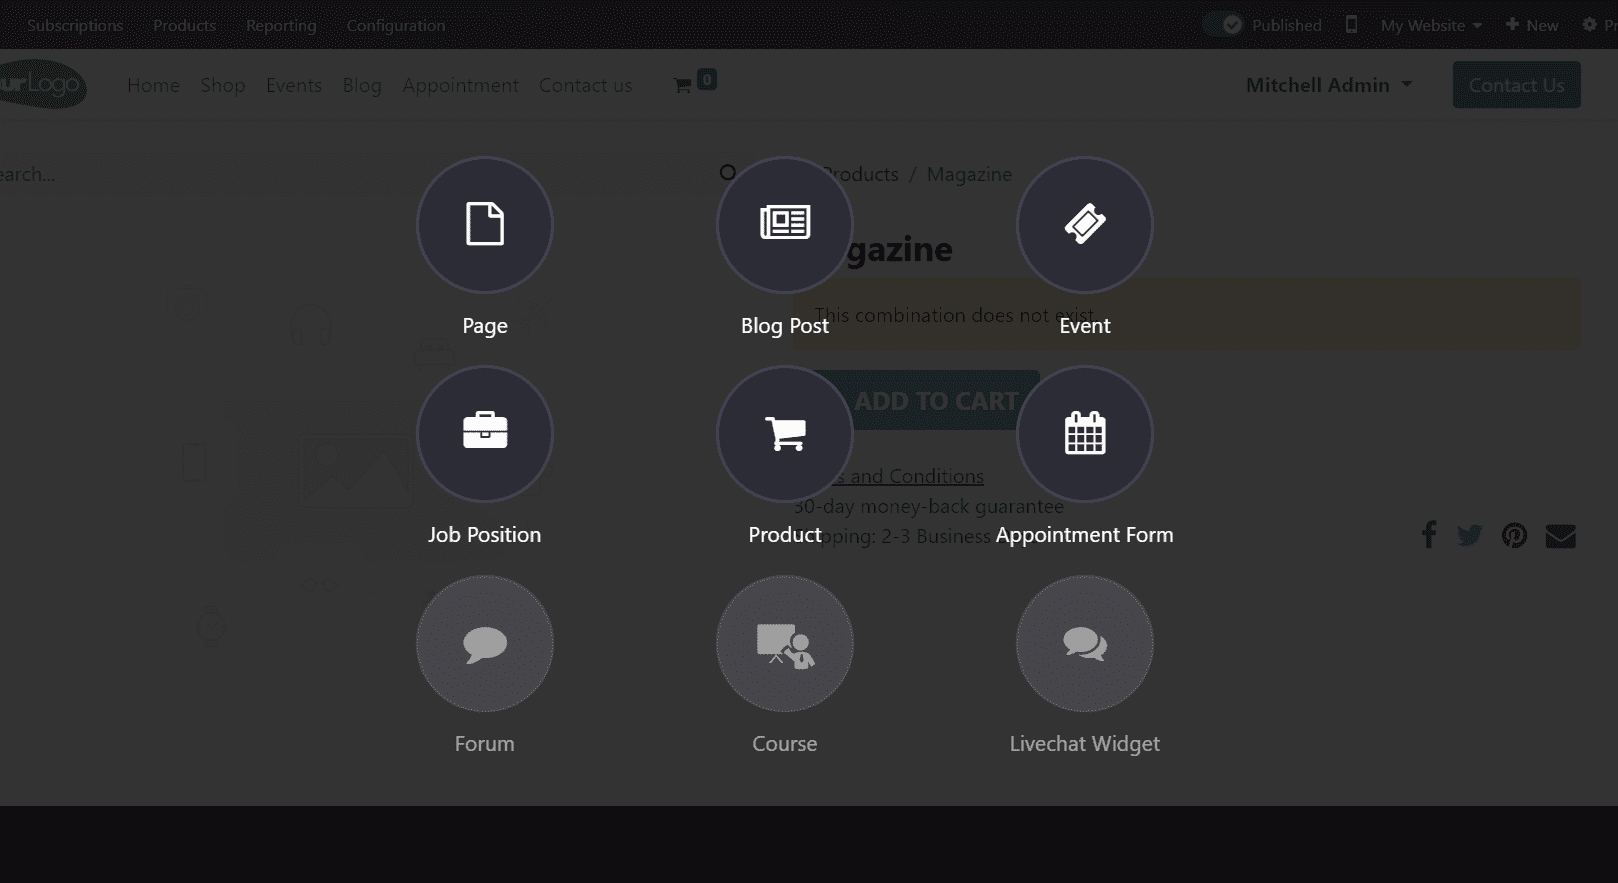
Using the “+ New” button, we can add a new page, create a new blog post, create a new event, add a new job position, add a new shopping product, and create a new appointment form using the templates as shown in the below screenie.
We can go back to the products from view using the “Products” button and edit customizable webpage templates using the “Edit” button.

In the Odoo 16 Subscription module platform, these are the processes involved in the creation of new subscription items. Users may simply adapt to this platform, even if they have no prior expertise because we all know that simplicity is a significant element of the Odoo ERP platform.
We hope that this blog has given you a better understanding of the subscription module software platform's capabilities and operations, as well as an overview of the new product creation process.