ERPpeek is a Python library that provides a simple and easy-to-use interface for interacting with ERP systems, such as Odoo. It can be used to perform a variety of tasks.
Here we are discussing how to create a database in Odoo using Python code.
So we need to download and install the latest release from PyPI using the following command.
pip install -U erppeek
Here, I am going to create a view of the website to receive the values from the user.
  <template id="website_subscribe" name="Subscribe">
    <t t-call="web.login_layout">
        <form class="oe_login_form" role="form" action="/pricing/database">
            <div class="mb-3 field-login">
                <label for="login" class="form-label">Email</label>
                <input type="text" placeholder="Email" name="login" t-att-value="login" id="login"
                       t-attf-class="form-control #{'form-control-sm' if form_small else ''}" required="required"
                       autofocus="autofocus" autocapitalize="off"/>
            </div>
            <div class="mb-3">
                <label for="password" class="form-label">Password</label>
                <input type="password" placeholder="Password" name="password" id="password"
                       t-attf-class="form-control #{'form-control-sm' if form_small else ''}" required="required"
                       autocomplete="current-password" t-att-autofocus="'autofocus' if login else None"
                       maxlength="4096"/>
            </div>
            <div class="mb-3">
                <label for="company_name" class="form-label">Company Name</label>
                <input type="text" placeholder="Company Name" name="company_name" id="company_name"
                       t-attf-class="form-control #{'form-control-sm' if form_small else ''}" required="required"
                       autofocus="autofocus" autocapitalize="off"/>
            </div>
            <div class="mb-3">
                <label for="db_name" class="form-label">Database Name</label>
                <input type="text" placeholder="Database Name" name="db_name" id="db_name"
                       t-attf-class="form-control #{'form-control-sm' if form_small else ''}" required="required"
                       autofocus="autofocus" autocapitalize="off"/>
            </div>
            <div class="mb-3">
                <label for="db_name" class="form-label">Domain</label>
                <input type="text" placeholder="Domain Name" name="domain" id="domain"
                       t-attf-class="form-control #{'form-control-sm' if form_small else ''}" required="required"
                       autofocus="autofocus" autocapitalize="off"/>
            </div>
            <div class="mb-3">
                <label for="phone" class="form-label">Phone</label>
                <input type="text" placeholder="Phone" name="phone" id="phone"
                       t-attf-class="form-control #{'form-control-sm' if form_small else ''}" required="required"
                       autofocus="autofocus" autocapitalize="off"/>
            </div>
            <div class="mb-3">
                <label for="lang" class="form-label">Language</label>
                <div class="col-md-8">
                    <select id="lang" name="lang" class="form-select" required="required" autocomplete="off"
                            style="width: 300px;">
                        <option t-foreach="langs" t-as="value" t-att-value="value">
                            <t t-esc="value[1]"/>
                        </option>
                    </select>
                </div>
            </div>
            <div t-attf-class="clearfix oe_login_buttons text-center gap-1 d-grid mb-1 {{'pt-2' if form_small else 'pt-3'}}">
                <button type="submit" class="btn btn-primary">Sign in</button>
            </div>
        </form>
    </t>
</template>
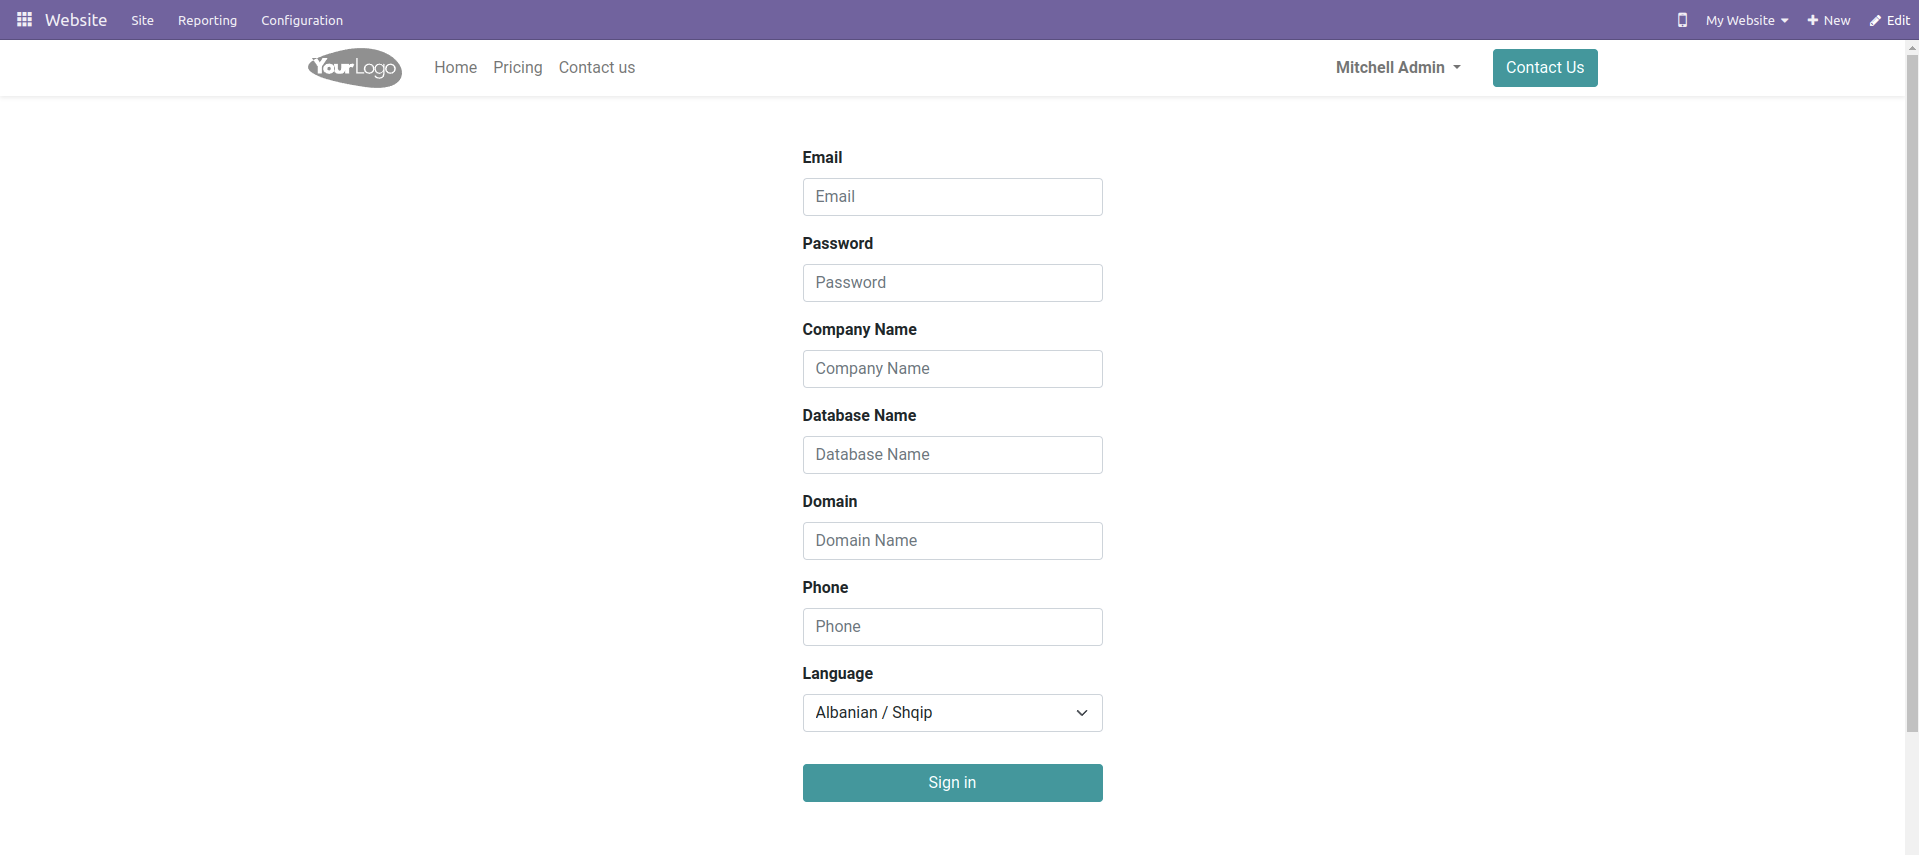
The above code will execute the following view.

We need to write code for creating databases in the form of submit action in the Python controller.
Before that, we need to import Erppeek into our file.
import erppeek
import odoo
from odoo import http
from odoo.http import request
After that, we need to write our code in the controller.
@http.route('/pricing/database', type='http', auth='user')
    def create_new_container_and_database(self, **kwargs):
        print(self, kwargs)
Then we need to get user-entered data.
DATABASE = kwargs.get('db_name')
SERVER = 'http://localhost:8016'
ADMIN_PASSWORD = 'cool'
client = erppeek.Client(server=SERVER)
DATABASE is the name of creating database.
SERVER is the server address
ADMIN_PASSWORD is the database user password
client is connecting the server with Erppeek
client.create_database(ADMIN_PASSWORD, DATABASE)
client = erppeek.Client(SERVER, DATABASE, 'admin', 'admin')
The above code will create the database locally.
The ‘admin’ is the default username and password of the database.
Users can log in using this password and user name.
If you want to install some apps while creating the database, you can do it using the following code.
client.install('sale')The above code will install the sales module automatically while creating the DB.
Client.upgrade(*modules)
Will upgrade the modules
Client.uninstall(*modules)
Will uninstall the module
You redirect to the login page with created database using the code below.
url = '/web/login?db=' + DATABASE
return request.redirect(url)