Efficiently managing your customer relationships and turning potential leads into actionable tickets is crucial for any successful business. With the latest release, Odoo 17 CRM empowers you to streamline this process, providing you with a comprehensive solution to nurture your leads and convert them into organized trackable tickets. In this blog, we will explore the powerful features and strategies that Odoo 17 CRM offers to help you optimize your lead conversion and ticket management, ultimately enhancing your customer service and driving business growth.
After you've created a lead in Odoo CRM, you can easily turn it into a ticket. This involves choosing the type of ticket, assigning it to a specific team, and linking it to a customer. Moreover, you can create tasks and initiate discussions within the forum by sharing important information from the lead. In the upcoming sections, the blog will explain the simple steps to convert your lead into a ticket using the Odoo 17 CRM module, making it easy for you to follow along and put it into practice.
Generating a Lead into a Ticket with Odoo 17 CRM
To create a ticket for your customers within the CRM application, the initial step is to generate a lead. Start by selecting the 'Leads' tab, which will open a new window for you. Within this window, the Kanban view displays individual lead details. Here, you can access vital information about the lead, such as the lead's name, contact details, tags, and priority, all conveniently displayed for you to review.
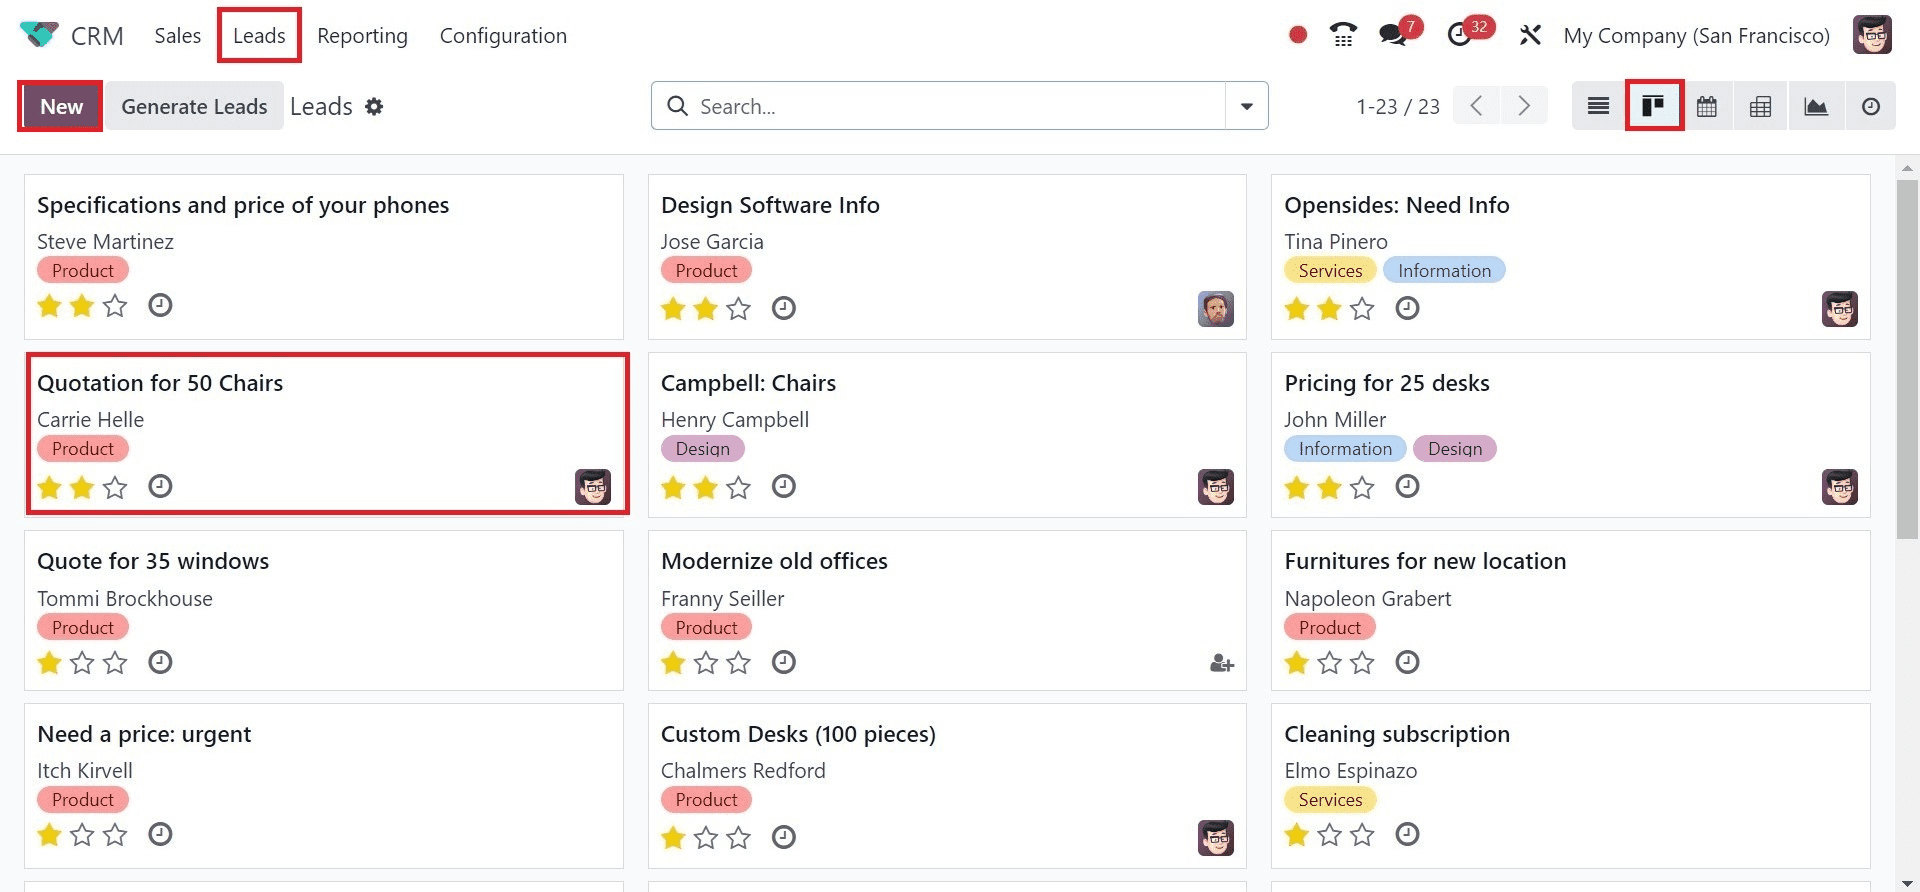
To initiate the processing of a new lead, simply click on the NEW icon located within the Leads window. This action will open a new window. Within this window, input the lead name, for instance, 'Branded Furniture,' and specify the probability as shown in the accompanying screenshot below.
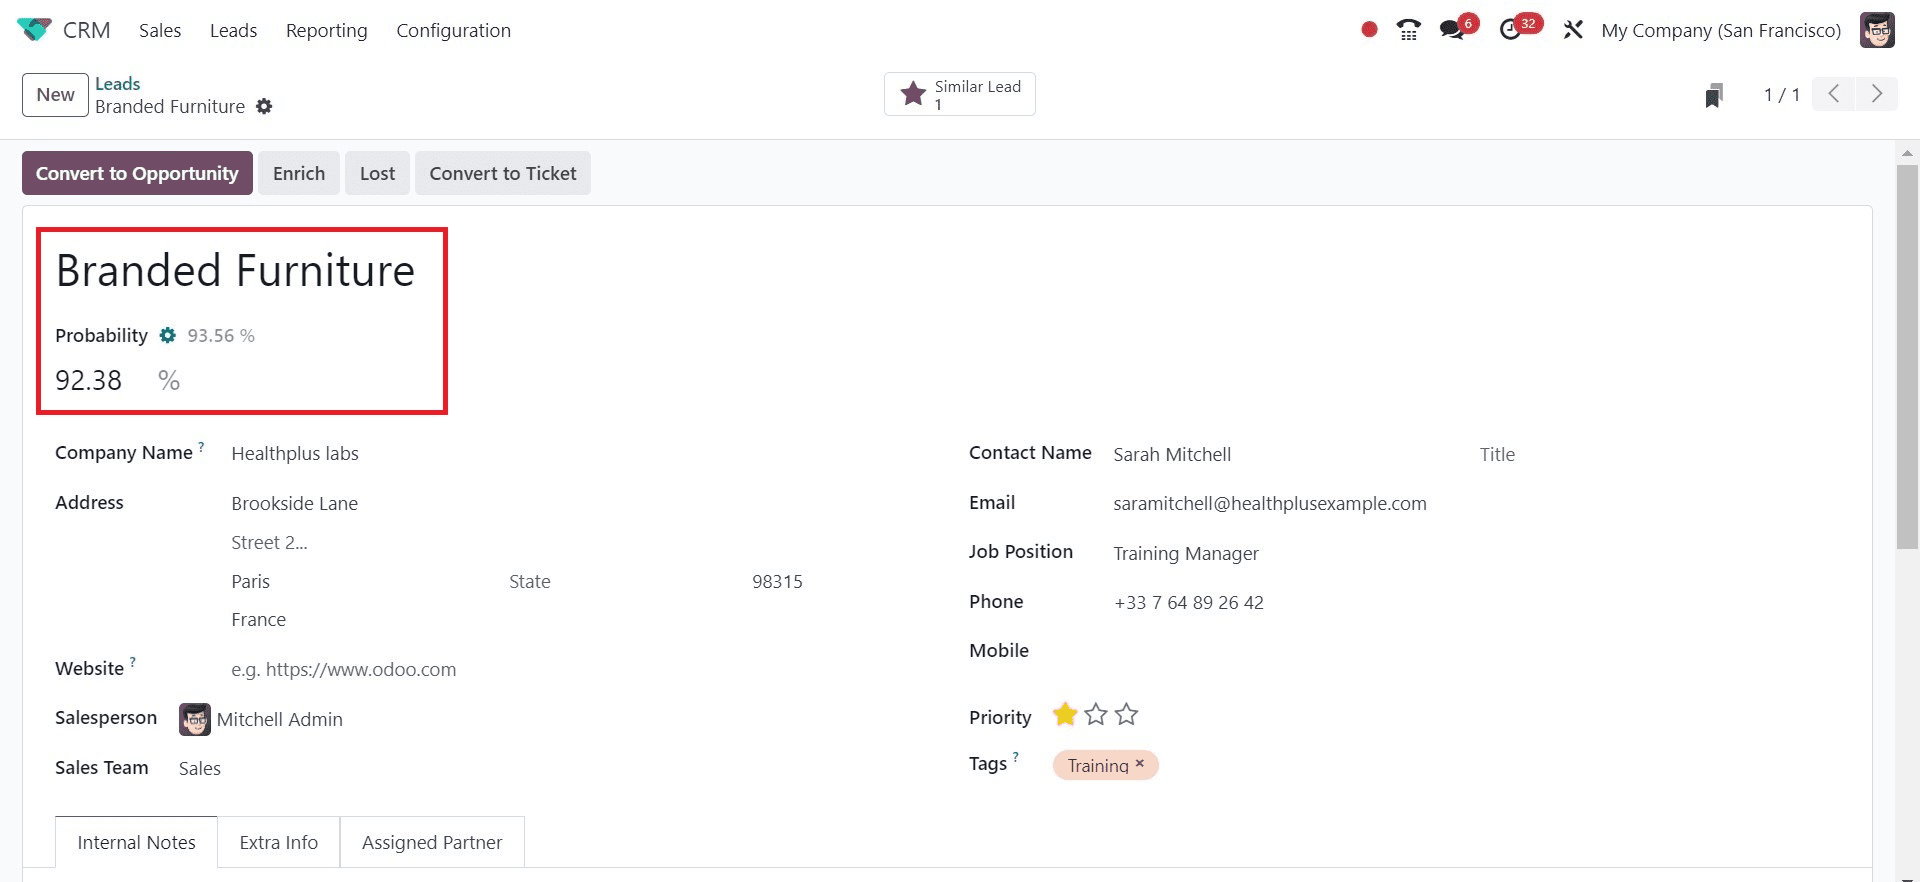
Once you've selected the customer, the partner's Company Name and Address will be automatically displayed for your convenience. Following this, proceed to set the Salesperson and Sales Team for your lead, as illustrated in the screenshot provided below.
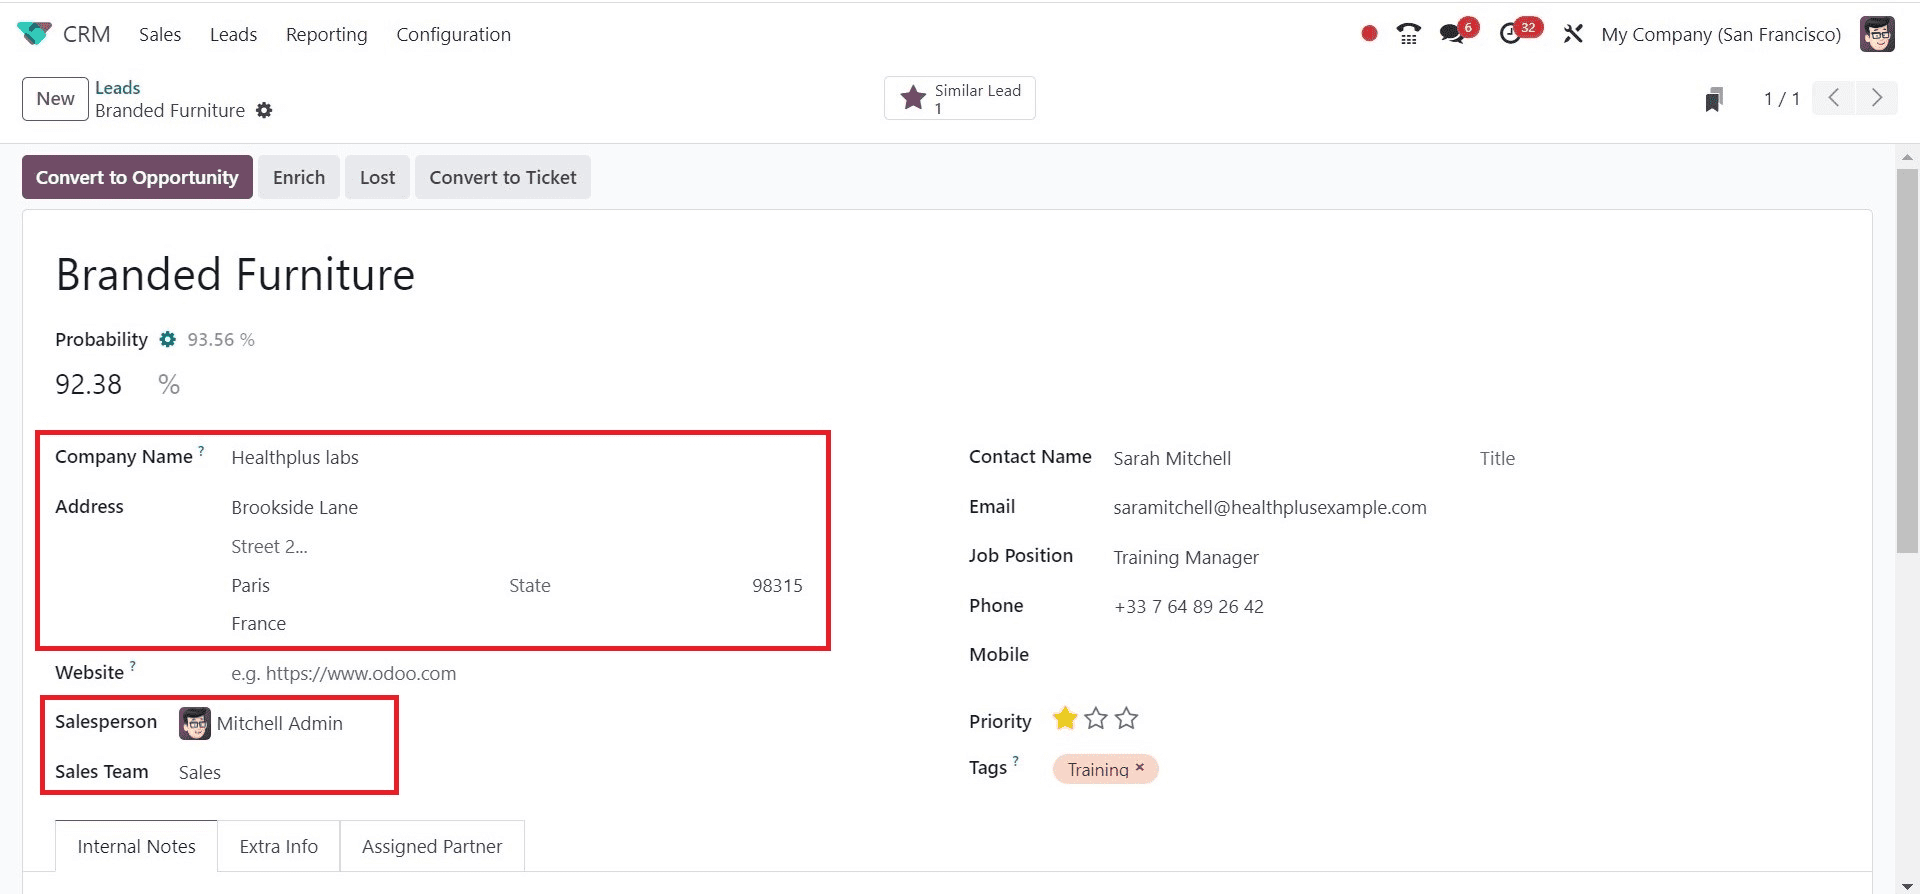
You can now enter the contact person's name into the 'Contact Name' field as an available option. Additionally, within the lead window, you can include the email, job position, and phone number of the contact person."
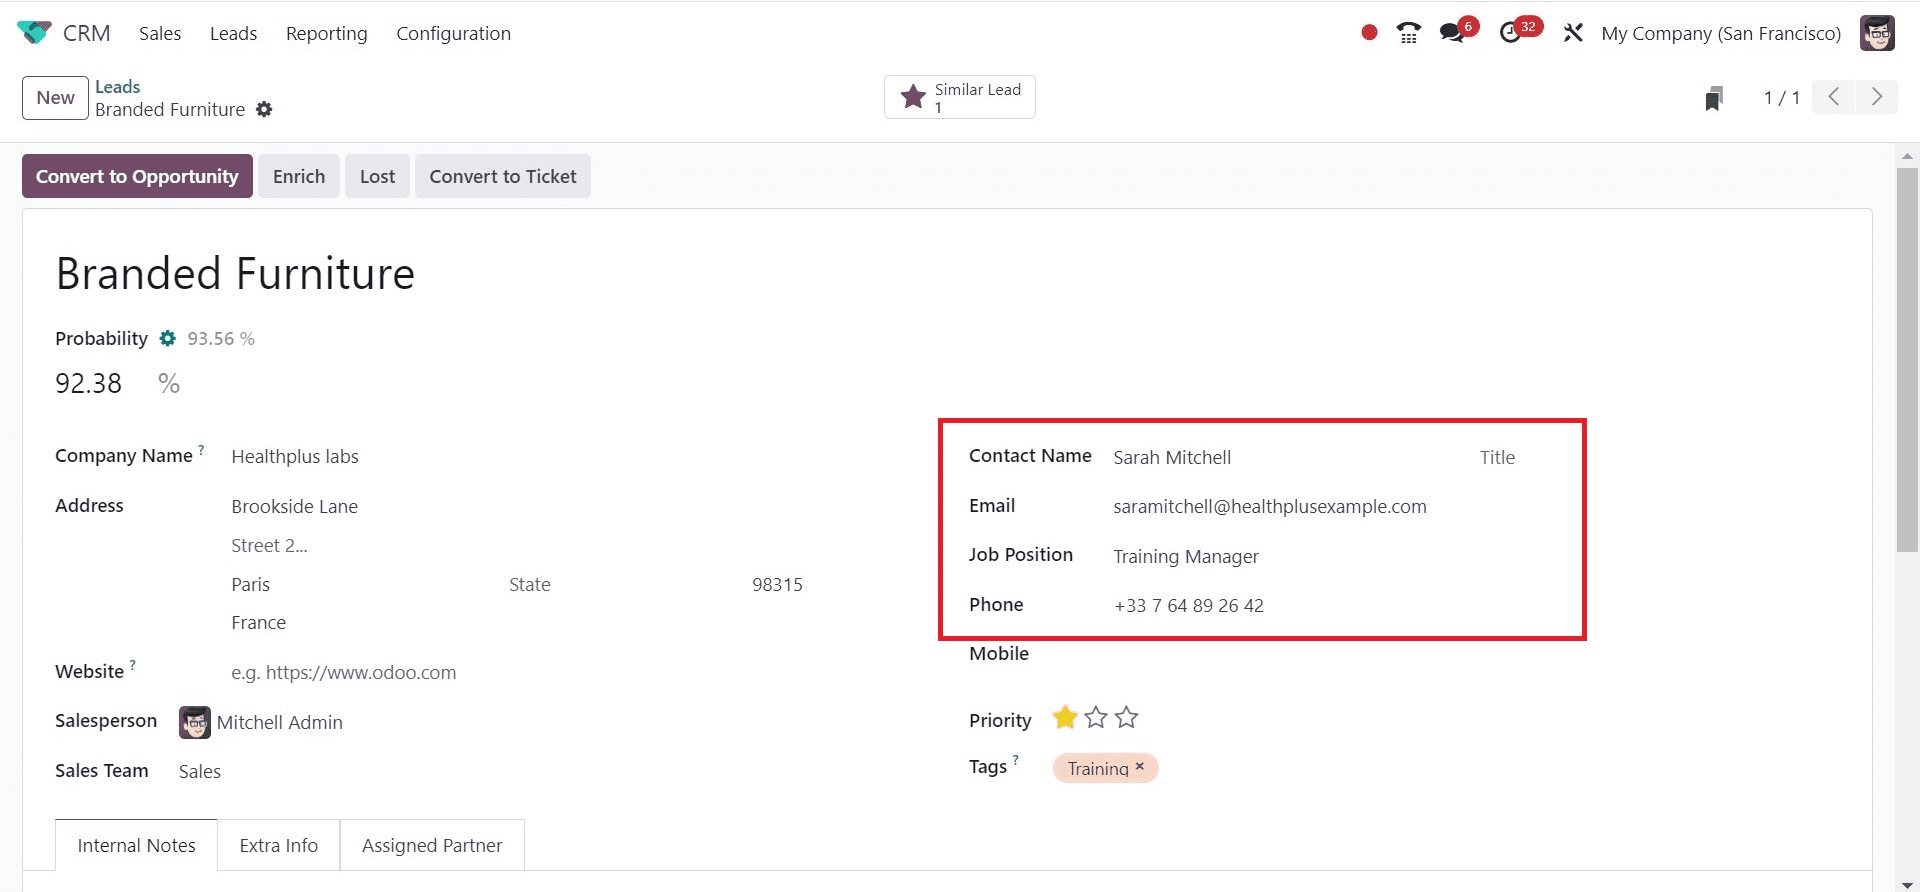
Once you've saved the data, you can easily access the leads related to the one you've just created by selecting the 'Similar Leads' smart button, as illustrated in the screenshot below.
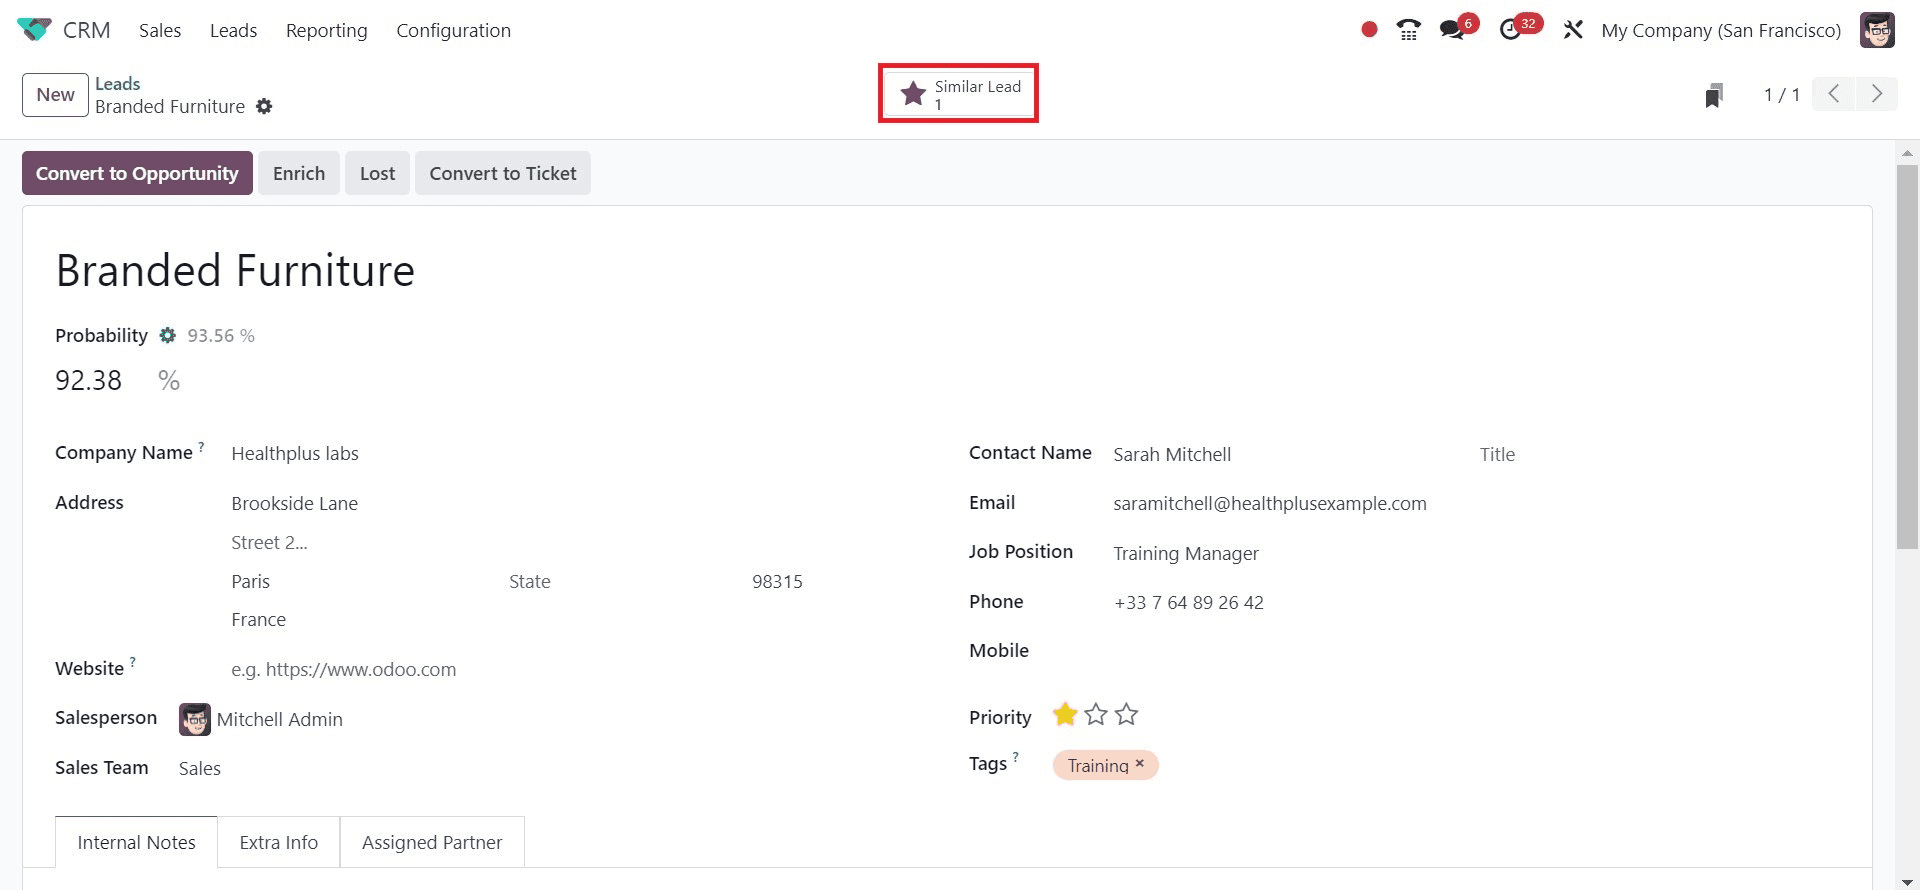
Now you have efficiently created a lead using the Odoo 17 CRM module
Transform a Lead into a Ticket within the Odoo 17 CRM.
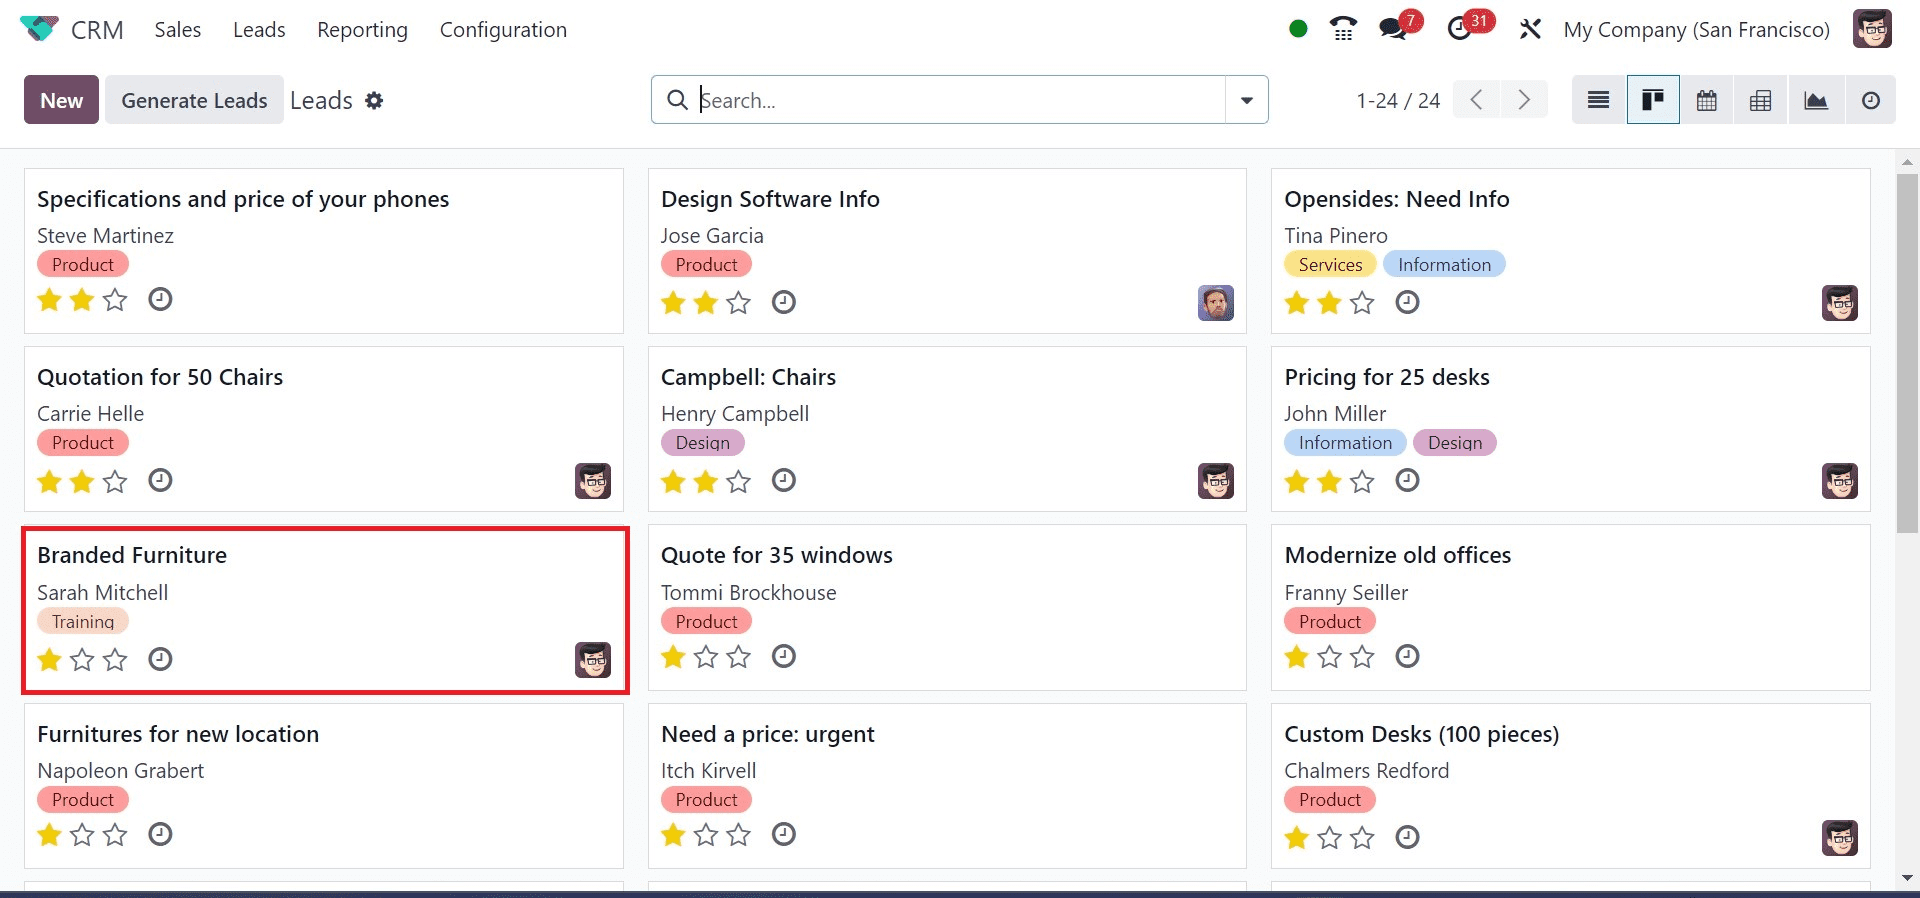
To convert your lead into a ticket in the Odoo 17 CRM, start by navigating to the 'Leads' tab on the CRM dashboard. Afterward, select the lead you've previously created, 'Branded Furniture,' from the Leads window, as shown in the screenshot below.
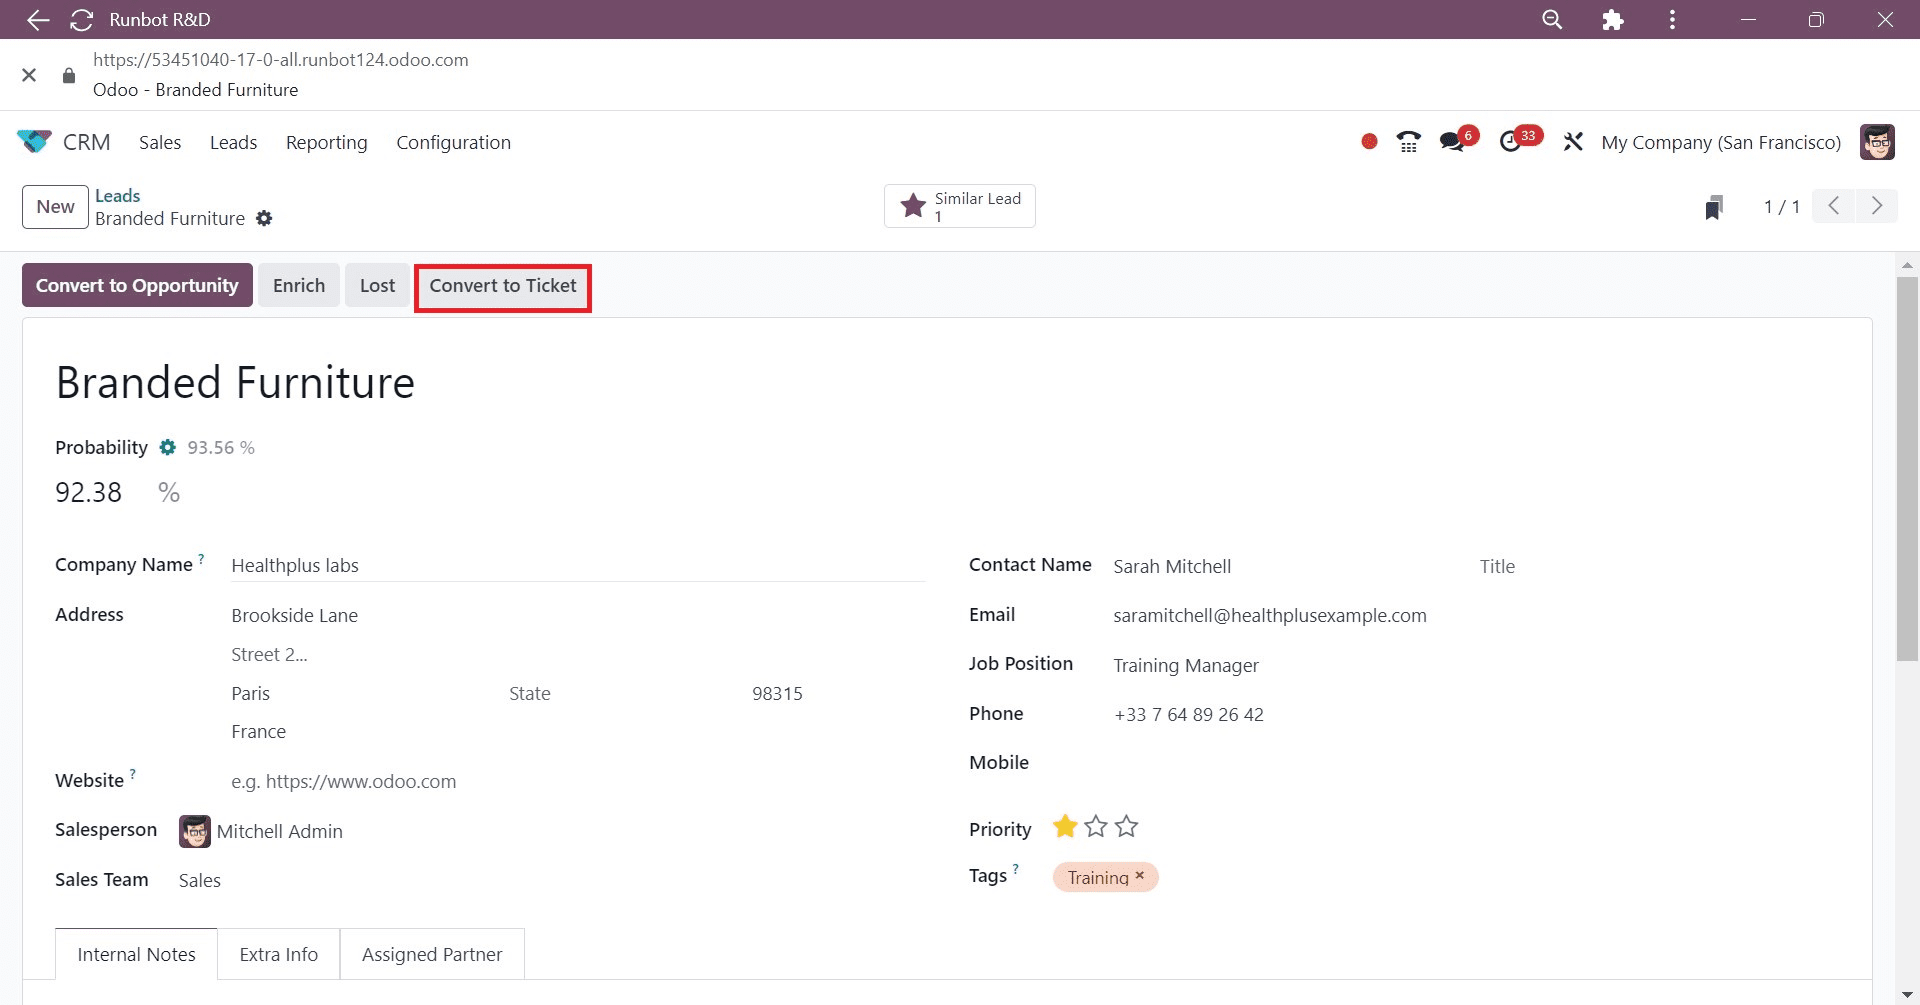
Inside the Lead window, simply click on the 'CONVERT TO TICKET' icon, as highlighted in the screenshot provided below.
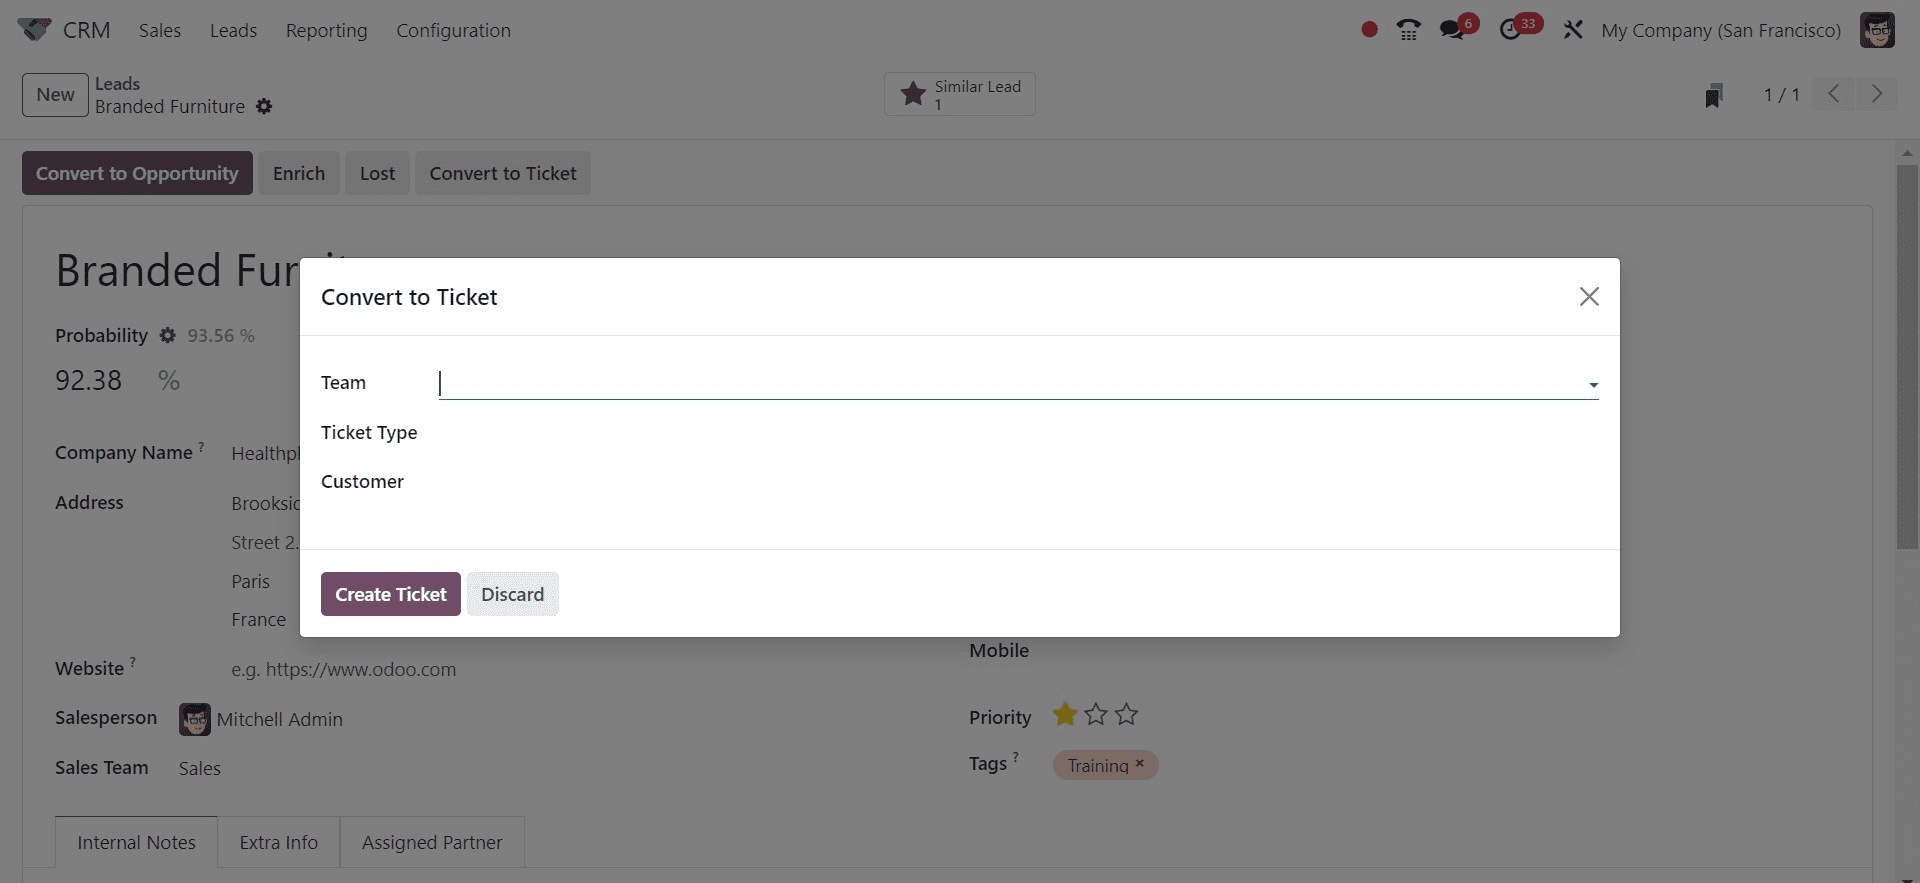
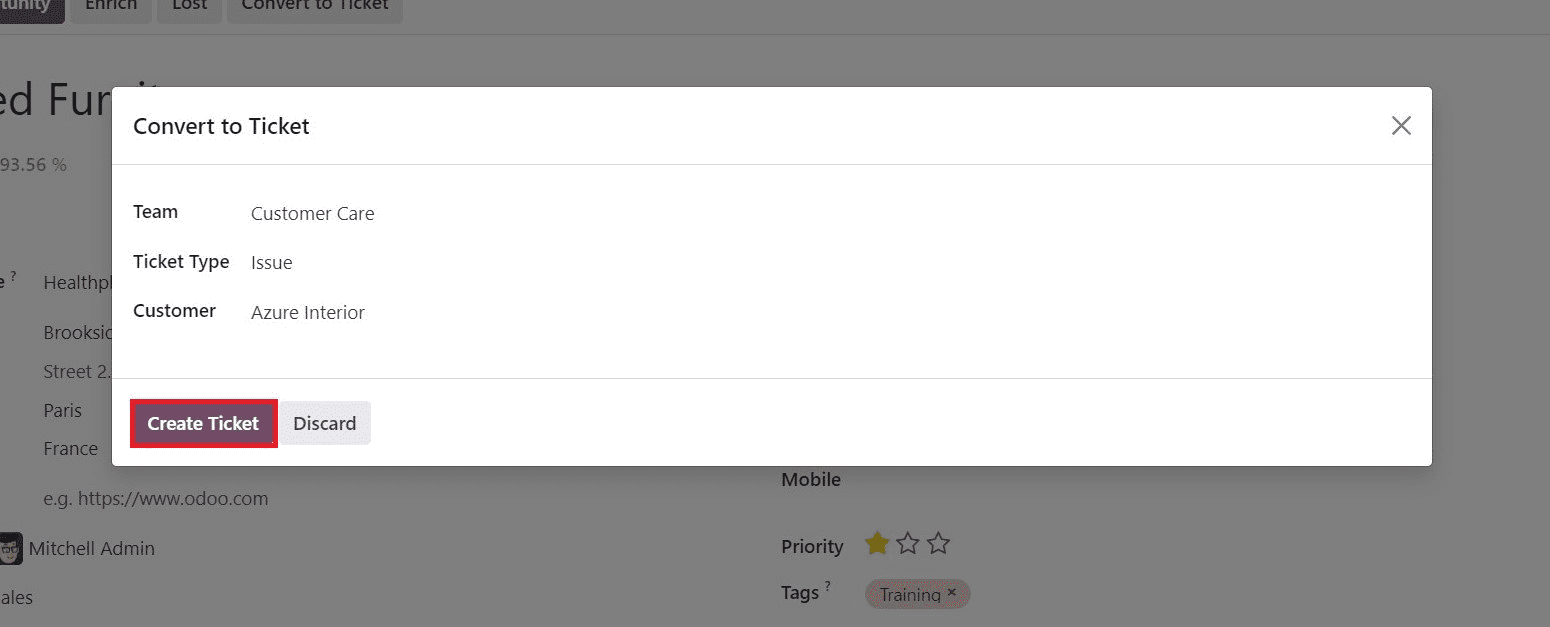
Upon clicking the 'CONVERT TO TICKET' icon, a new window titled 'Convert to Ticket' will be presented to the user. In this window, you can choose your team and select a Ticket Type. The available ticket types are categorized as 'Issue' and 'Question.' For this lead conversion, we have opted for the 'Issue' ticket type, as demonstrated in the screenshot provided below.
Following this, proceed to select your partner from the 'Customer' field within the 'Convert to Ticket' window. Once you've filled in all the required ticket details, just click the 'CREATE TICKET' button, as demonstrated in the screenshot below.
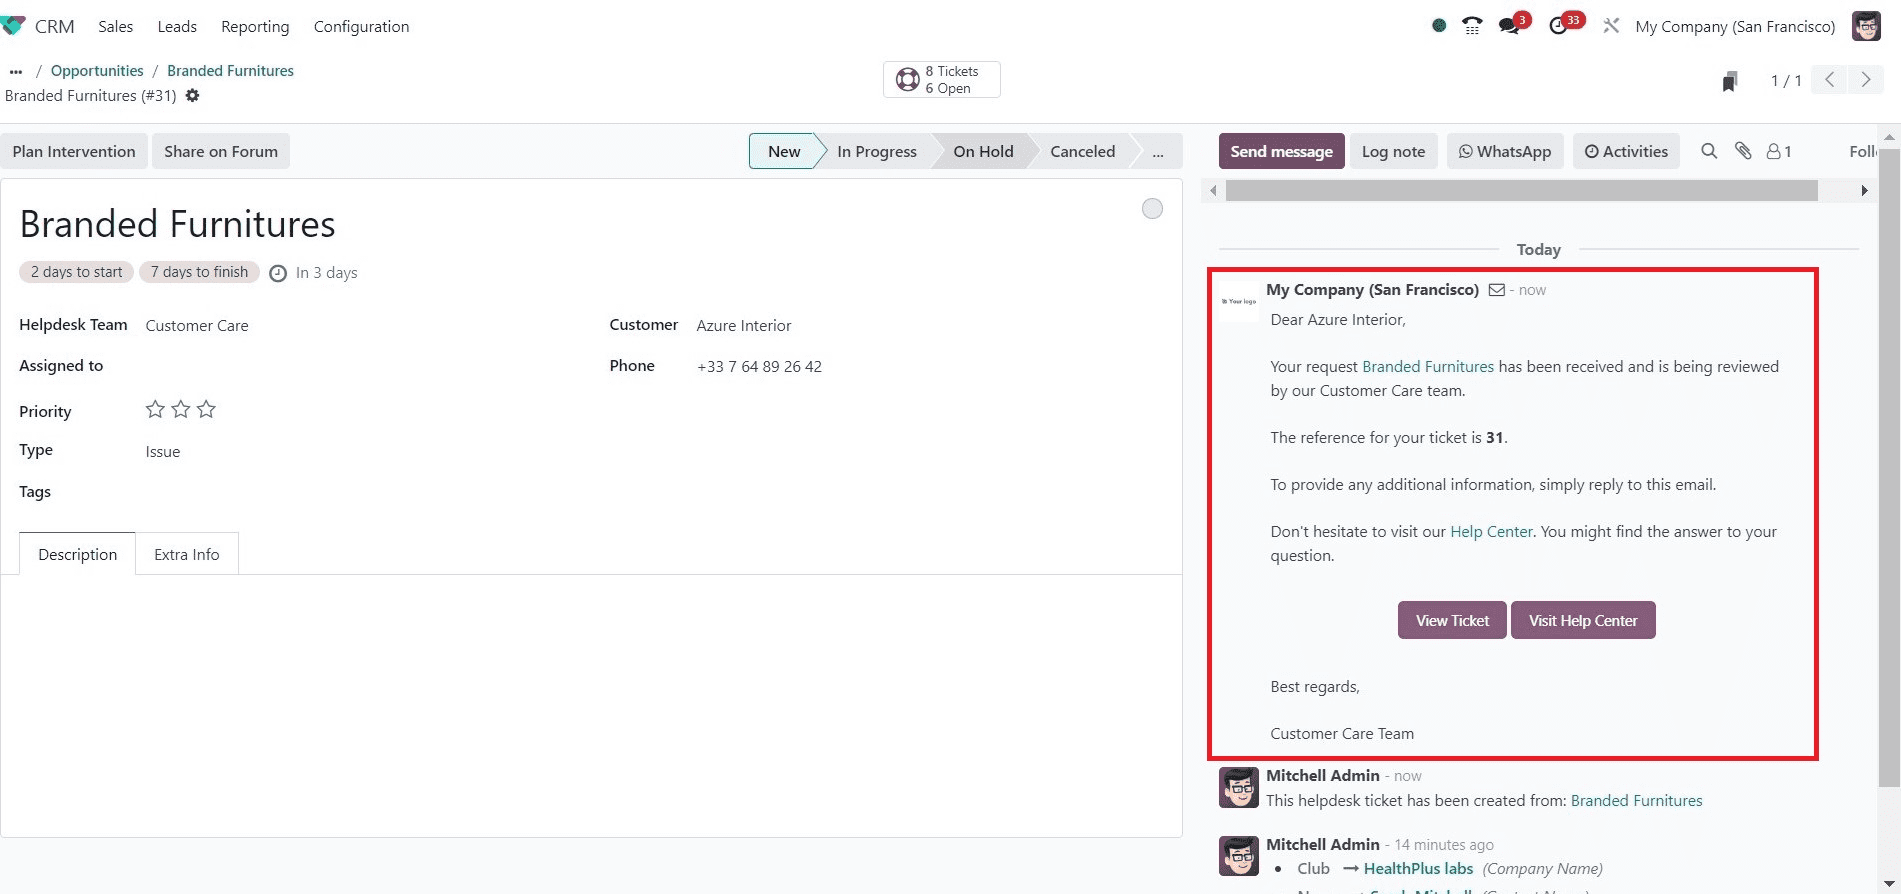
Consequently, a new ticket is successfully created. In the message section of the new window, the user will observe that a new ticket has been generated, and its reference number is 31.
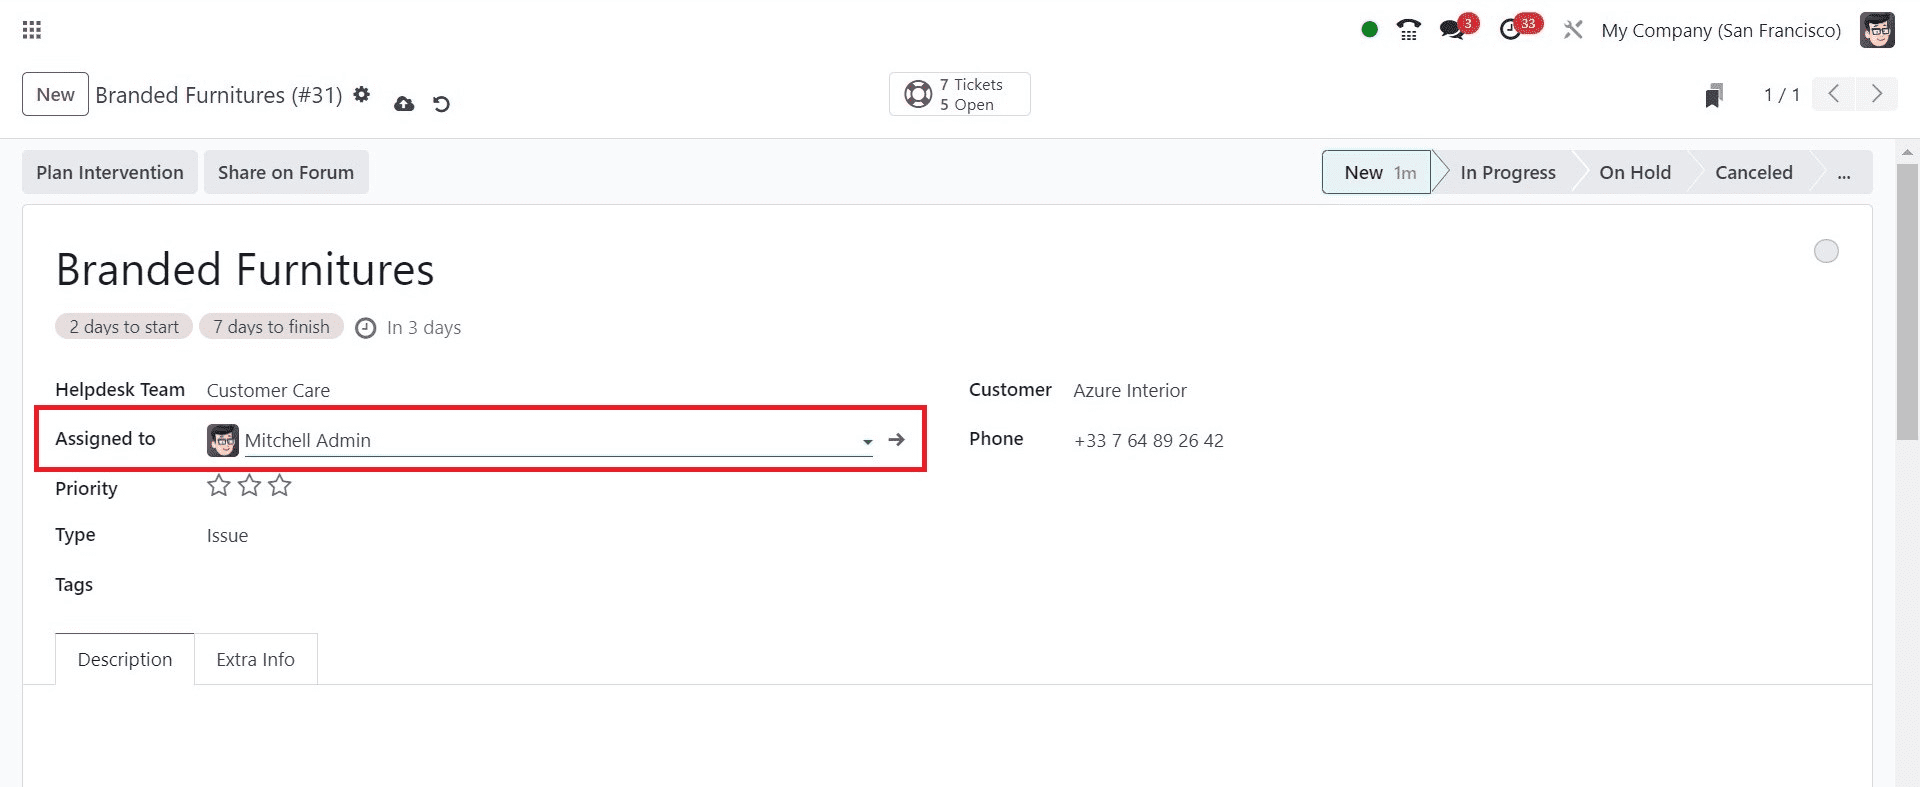
To select a user, navigate to the 'Assigned to' field and pick the desired user's name. Afterward, you can manually save the data, as illustrated in the screenshot provided below.
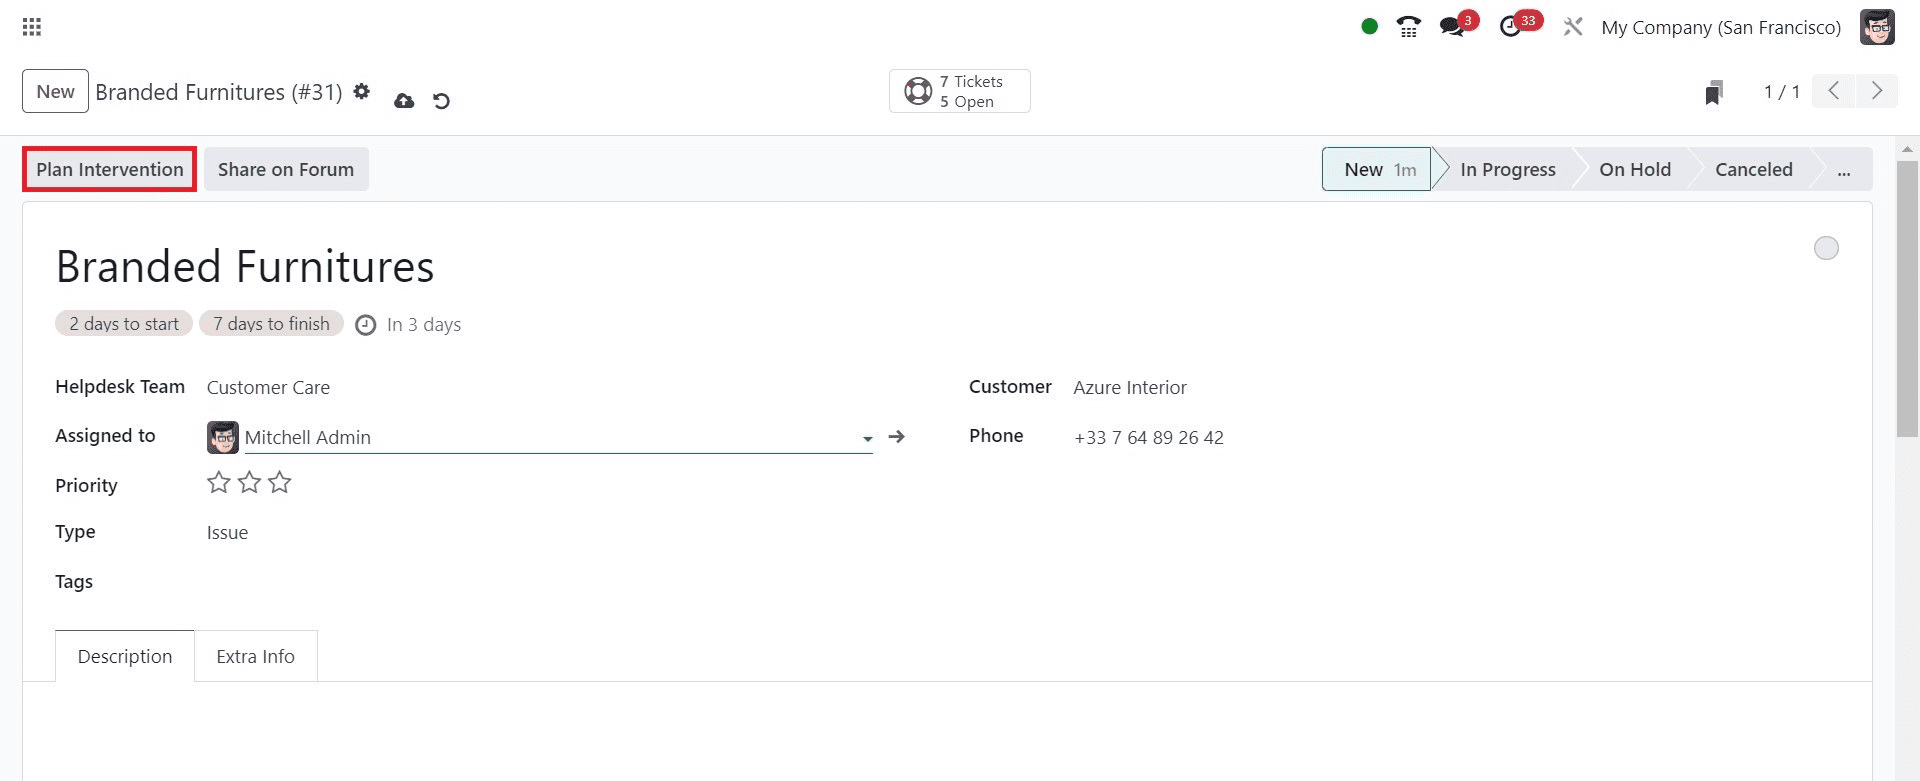
Users also have the choice to generate a task directly from the newly created ticket. To do so, simply click on the 'PLAN INTERVENTION' button within the 'Branded Furniture' window, as indicated in the screenshot below.
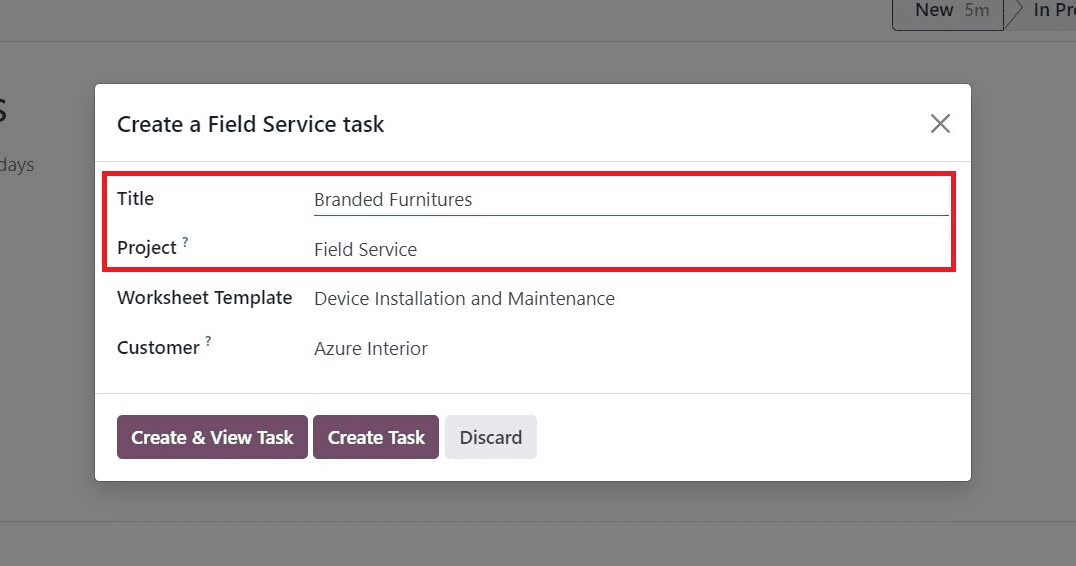
When you open the 'Create a Field Service task' window, proceed by entering the title and selecting the project within the 'Project' field. As demonstrated in the screenshot below, we have chosen the 'Field Service' project within the 'Project' field.
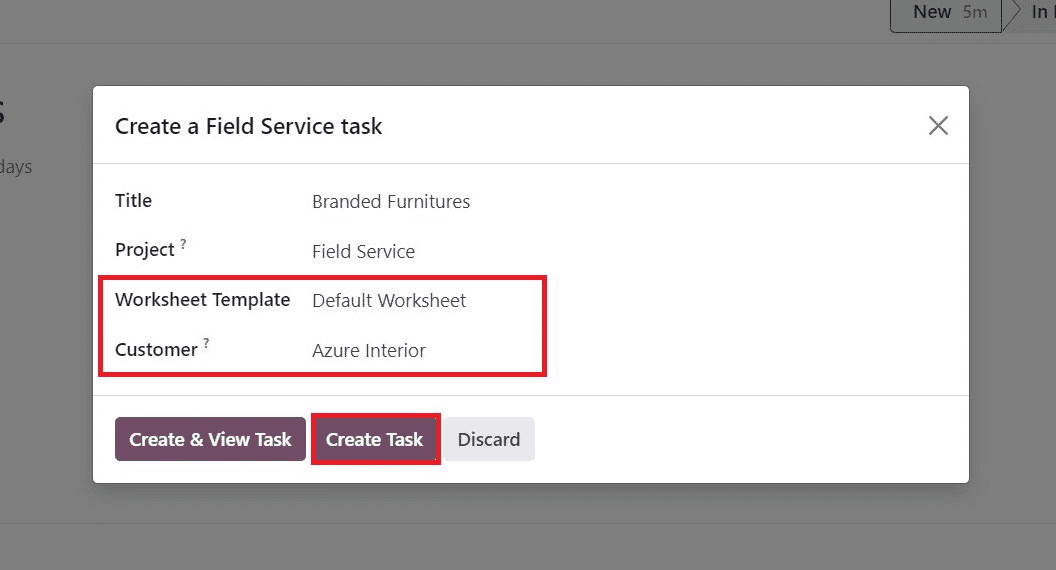
Following this, proceed to select a template from the 'Worksheet Template' field and choose the customer associated with your task in the 'Customer' field. After you've filled in all the essential information, just click the 'CREATE TASK' icon within the 'Create a Field Service task' window.
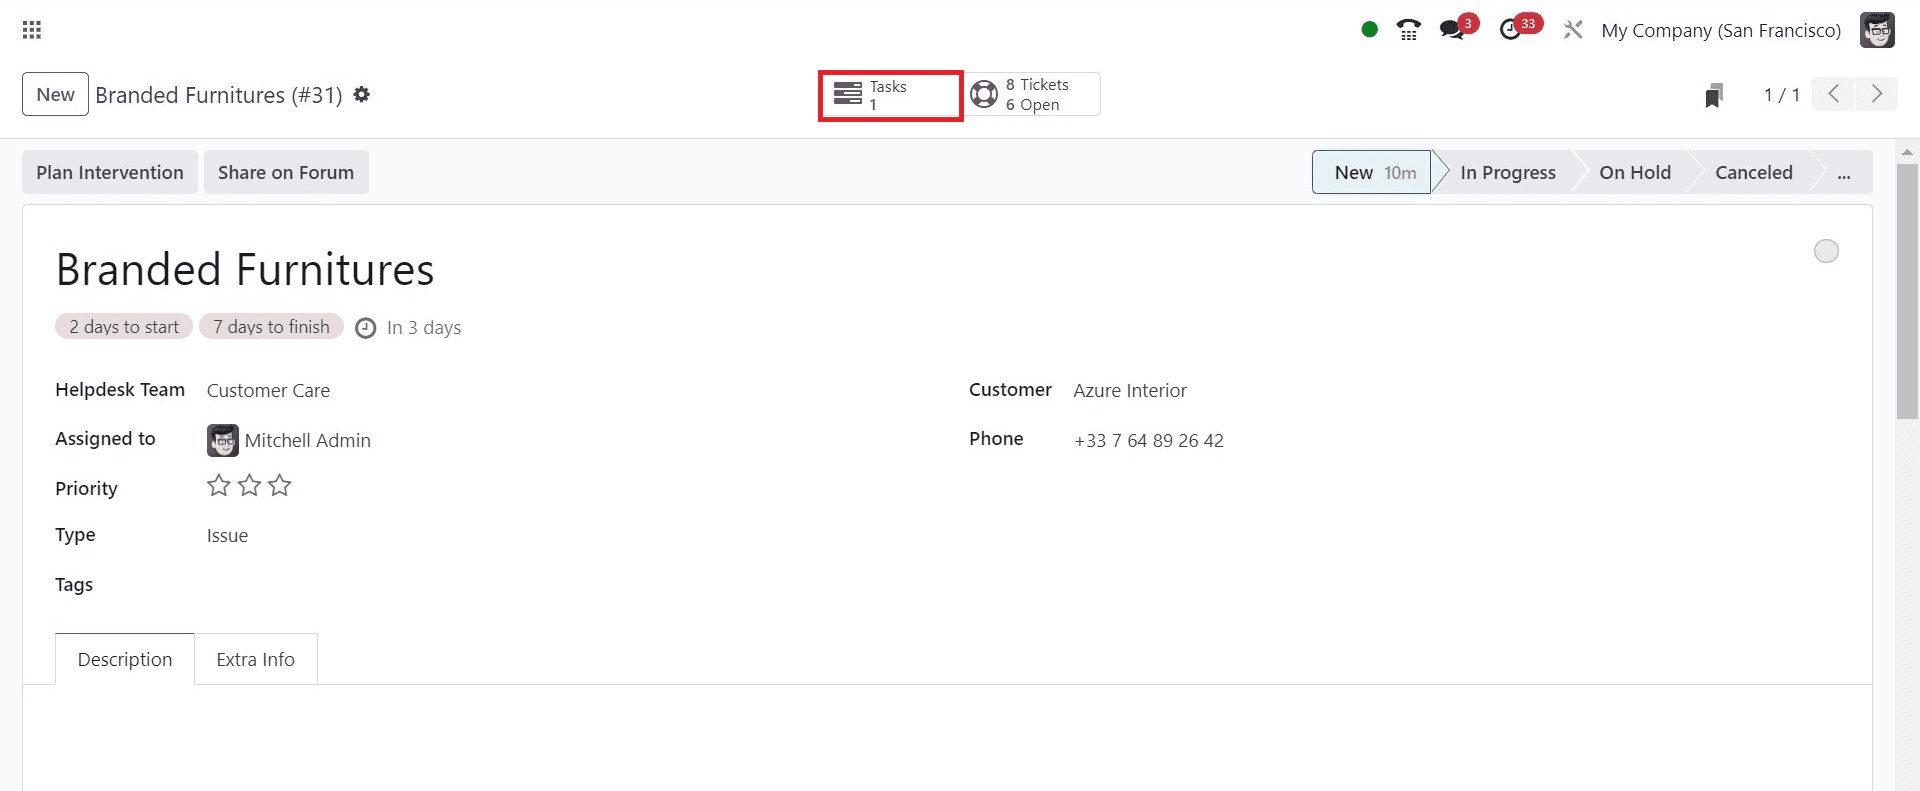
Within the 'Task' smart button, you can observe that a new task has been successfully created, as depicted in the screenshot below.
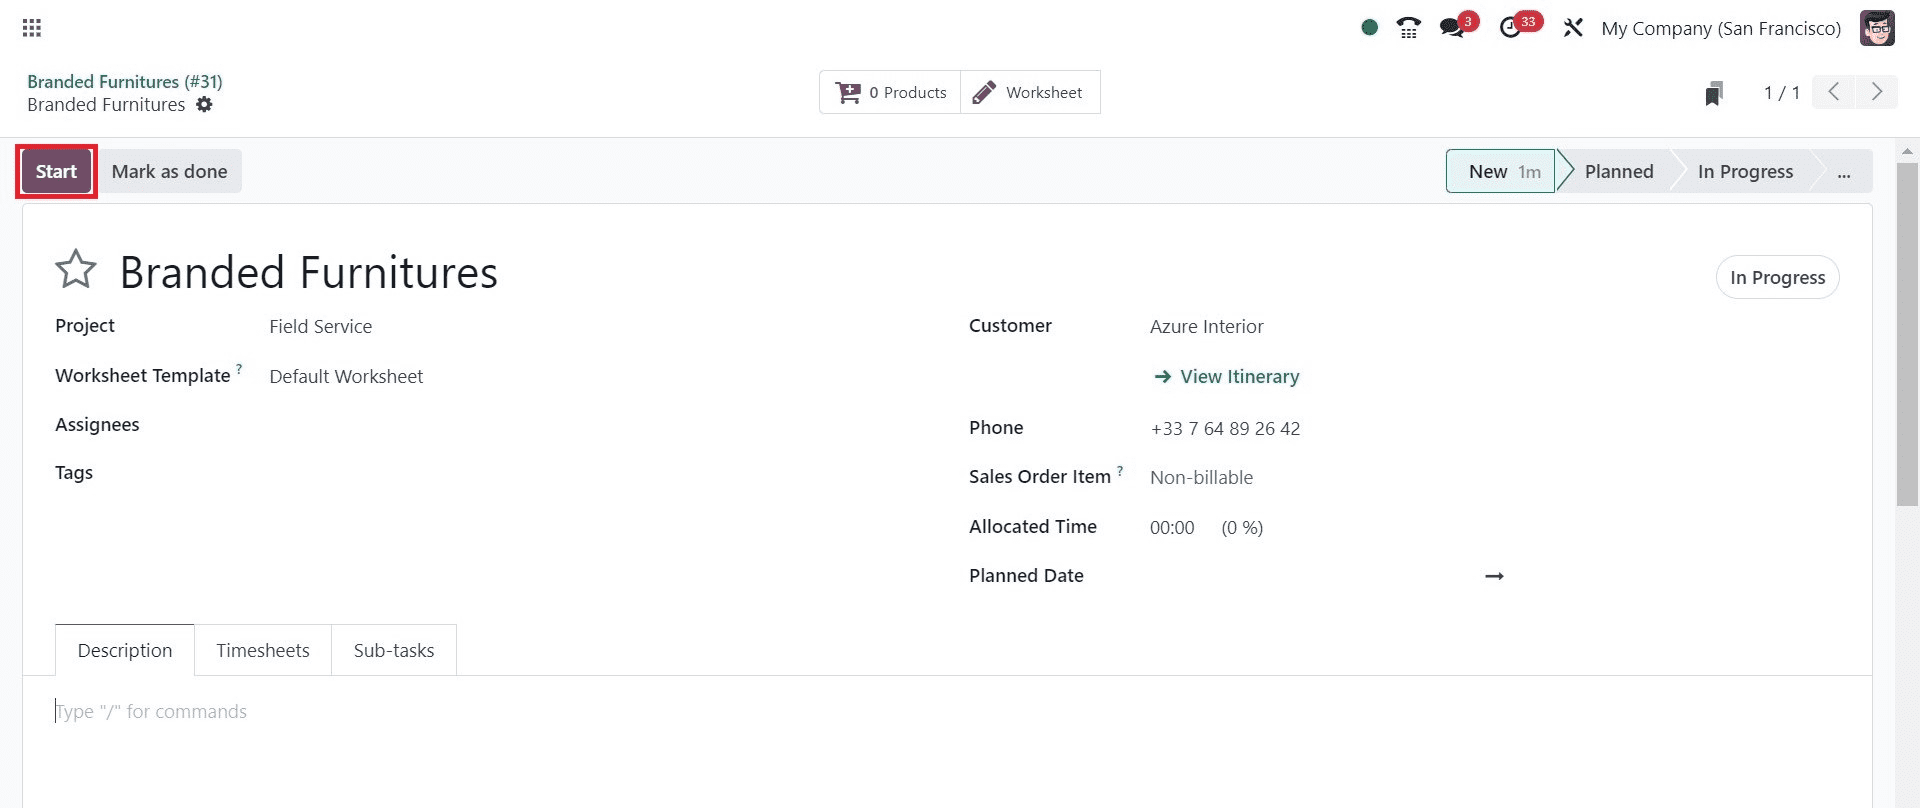
When you click on the 'TASKS' smart button, it will lead you to a new page. Here, you can track and record the time spent on a ticket within the 'Tasks' window. To indicate the start time of working on a ticket, just choose the 'START' icon within the 'Branded Furniture' window.
Upon clicking the 'START' button, you'll notice that the timer is active and running. You have the option to stop it at any time by clicking on the 'PAUSE' icon.
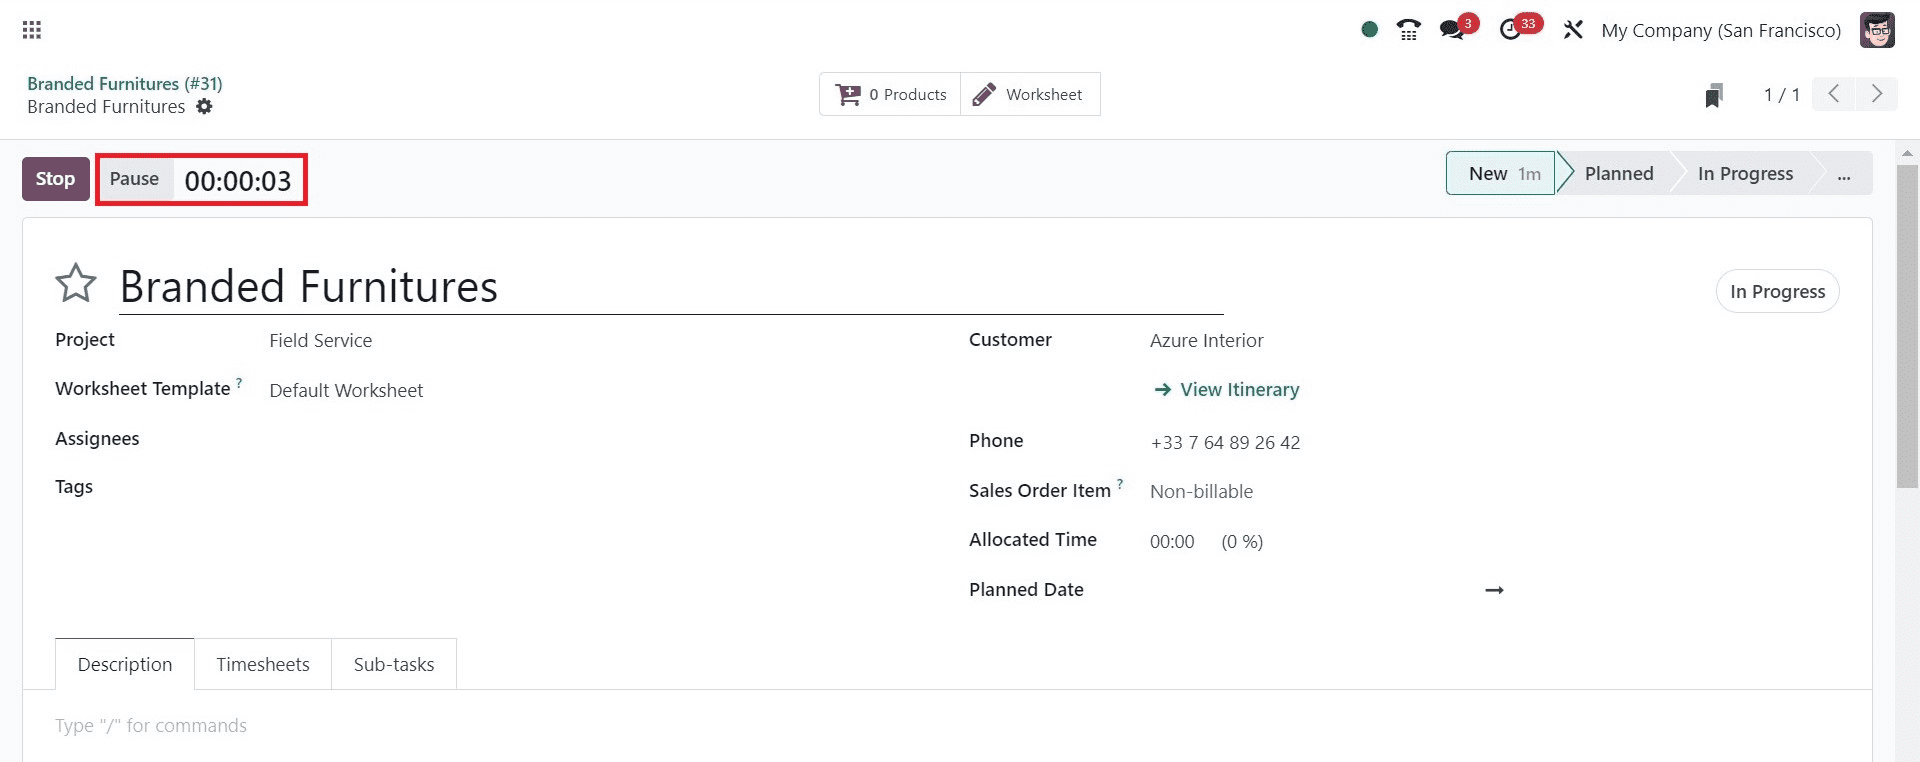
Once you've stopped the timer, you can determine the total time spent on a ticket by a user.
Now, let's explore how to share a ticket on a forum. You can accomplish this by clicking the 'SHARE ON FORUM' button.
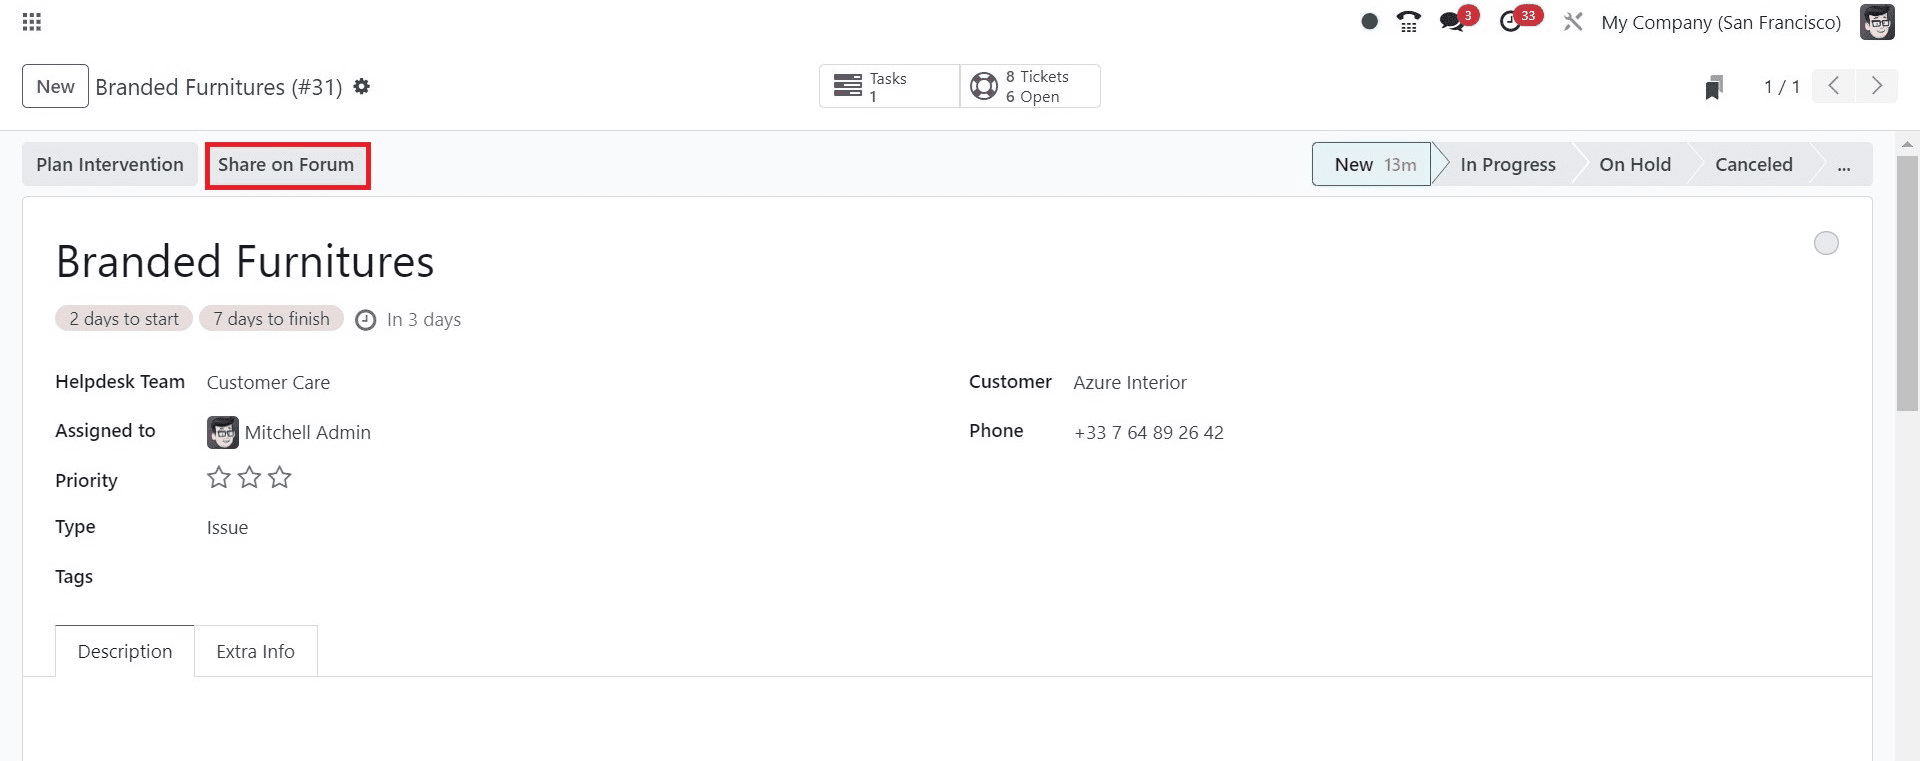
On the new page, choose the forum you want to share the ticket with and provide a title. Then, enter the relevant details about your forum in the 'Description' field. Once you've added the required tags for your forum, just click the 'CREATE POST' button, as displayed in the screenshot below.
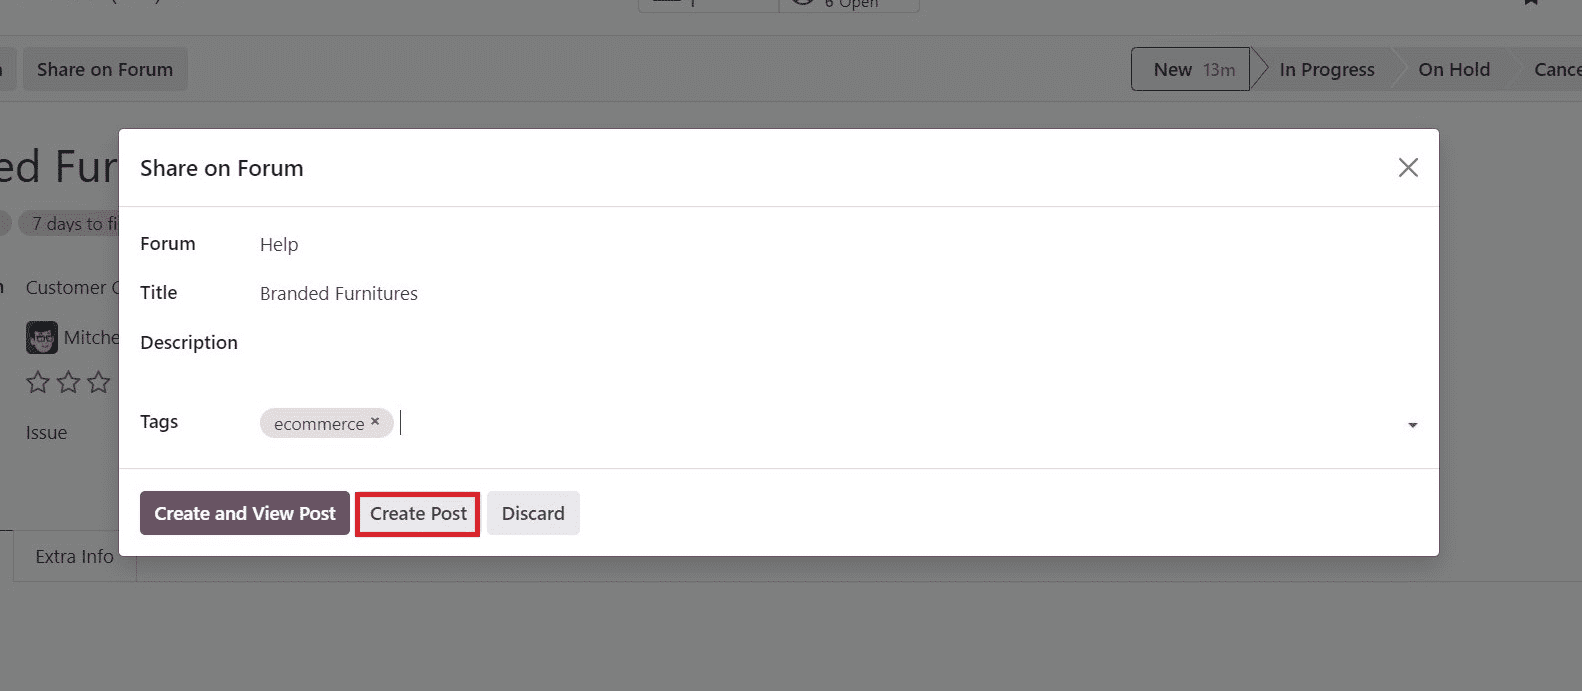
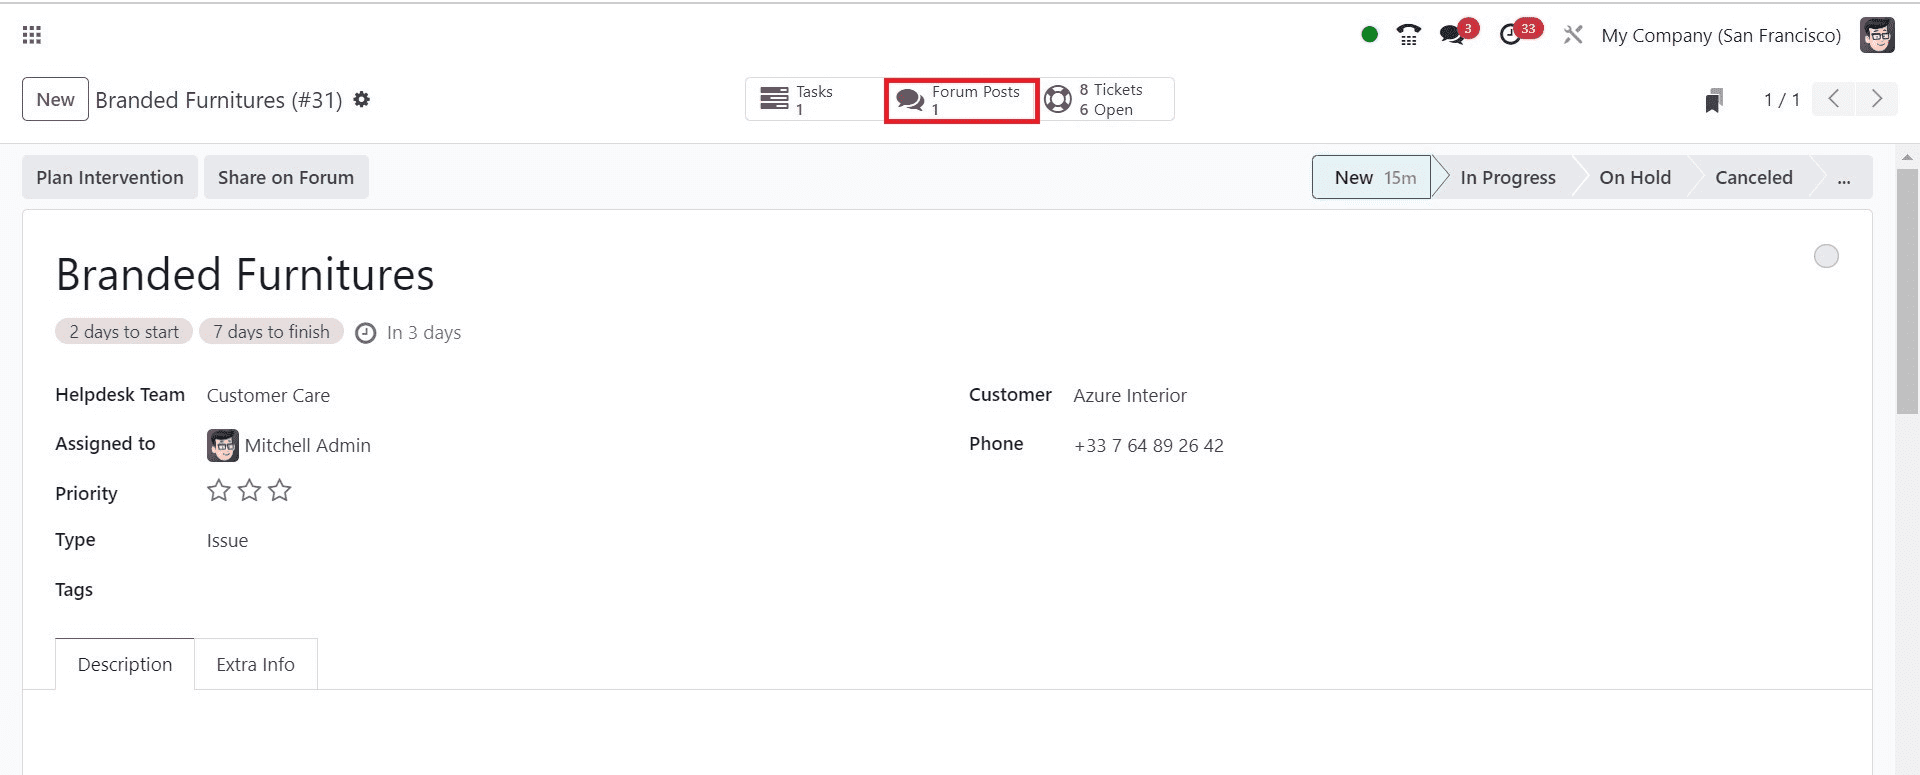
In this way, you can effortlessly create a forum post from a ticket in the lead. By doing so, you'll notice that one post has been successfully generated within the 'Forum Posts' smart button.
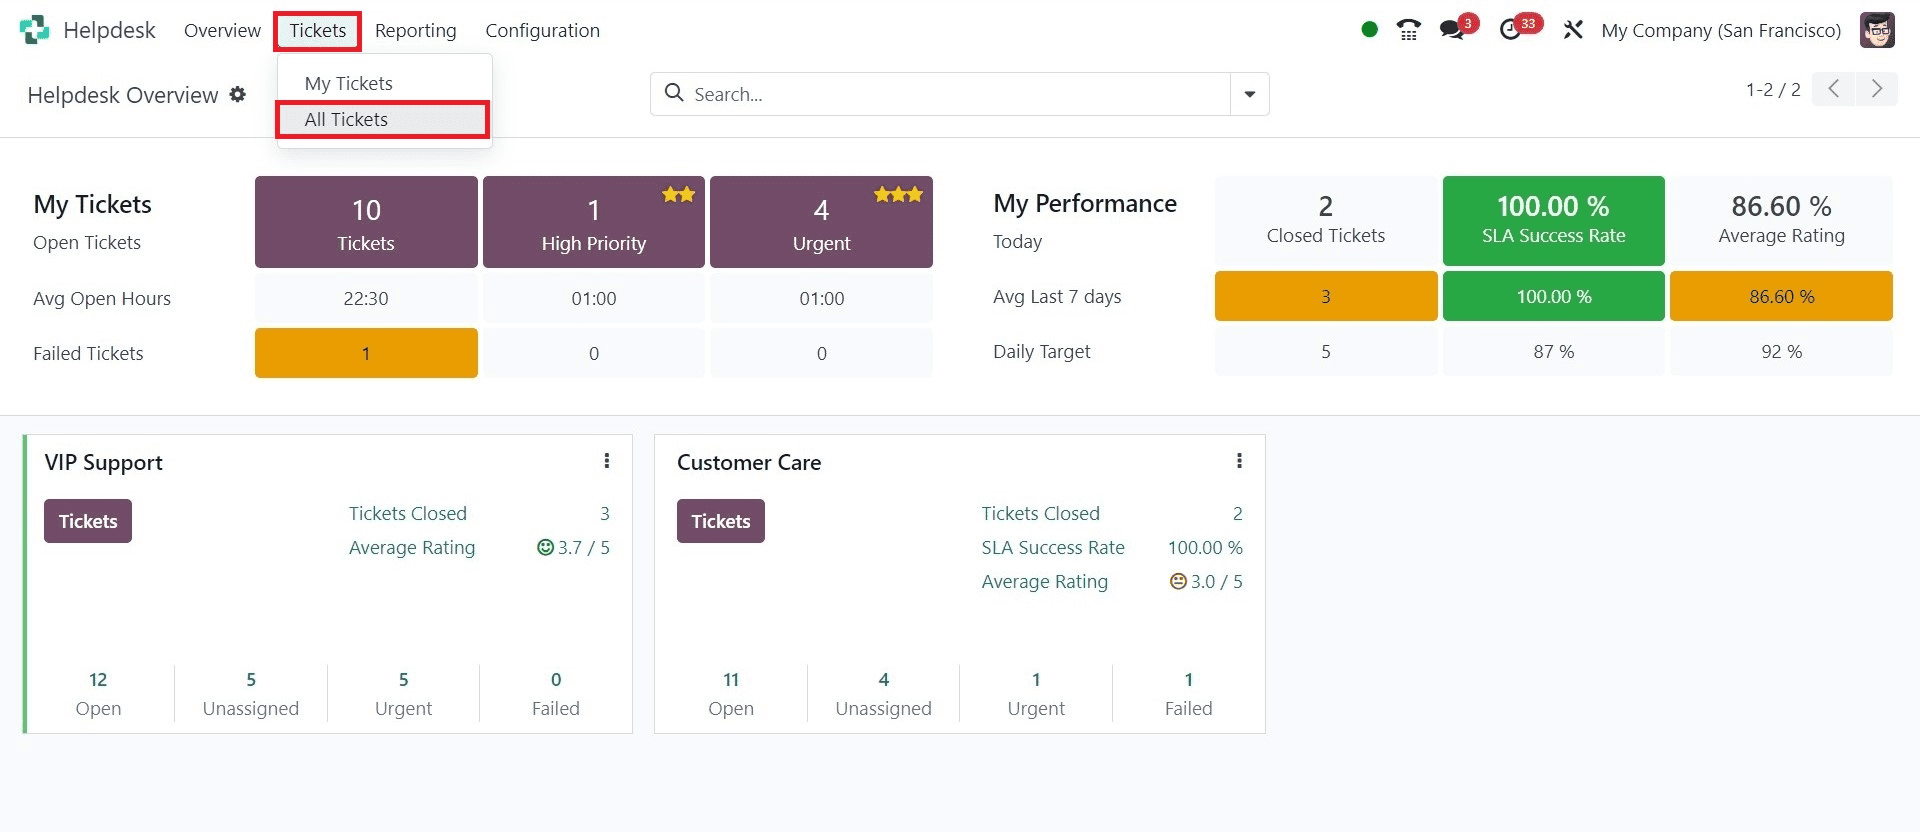
Furthermore, you can access the ticket you've created from the Odoo 17 Helpdesk Module. To do so, navigate to the Odoo 17 Helpdesk module and choose the 'All Tickets' menu within the 'Tickets' tab.
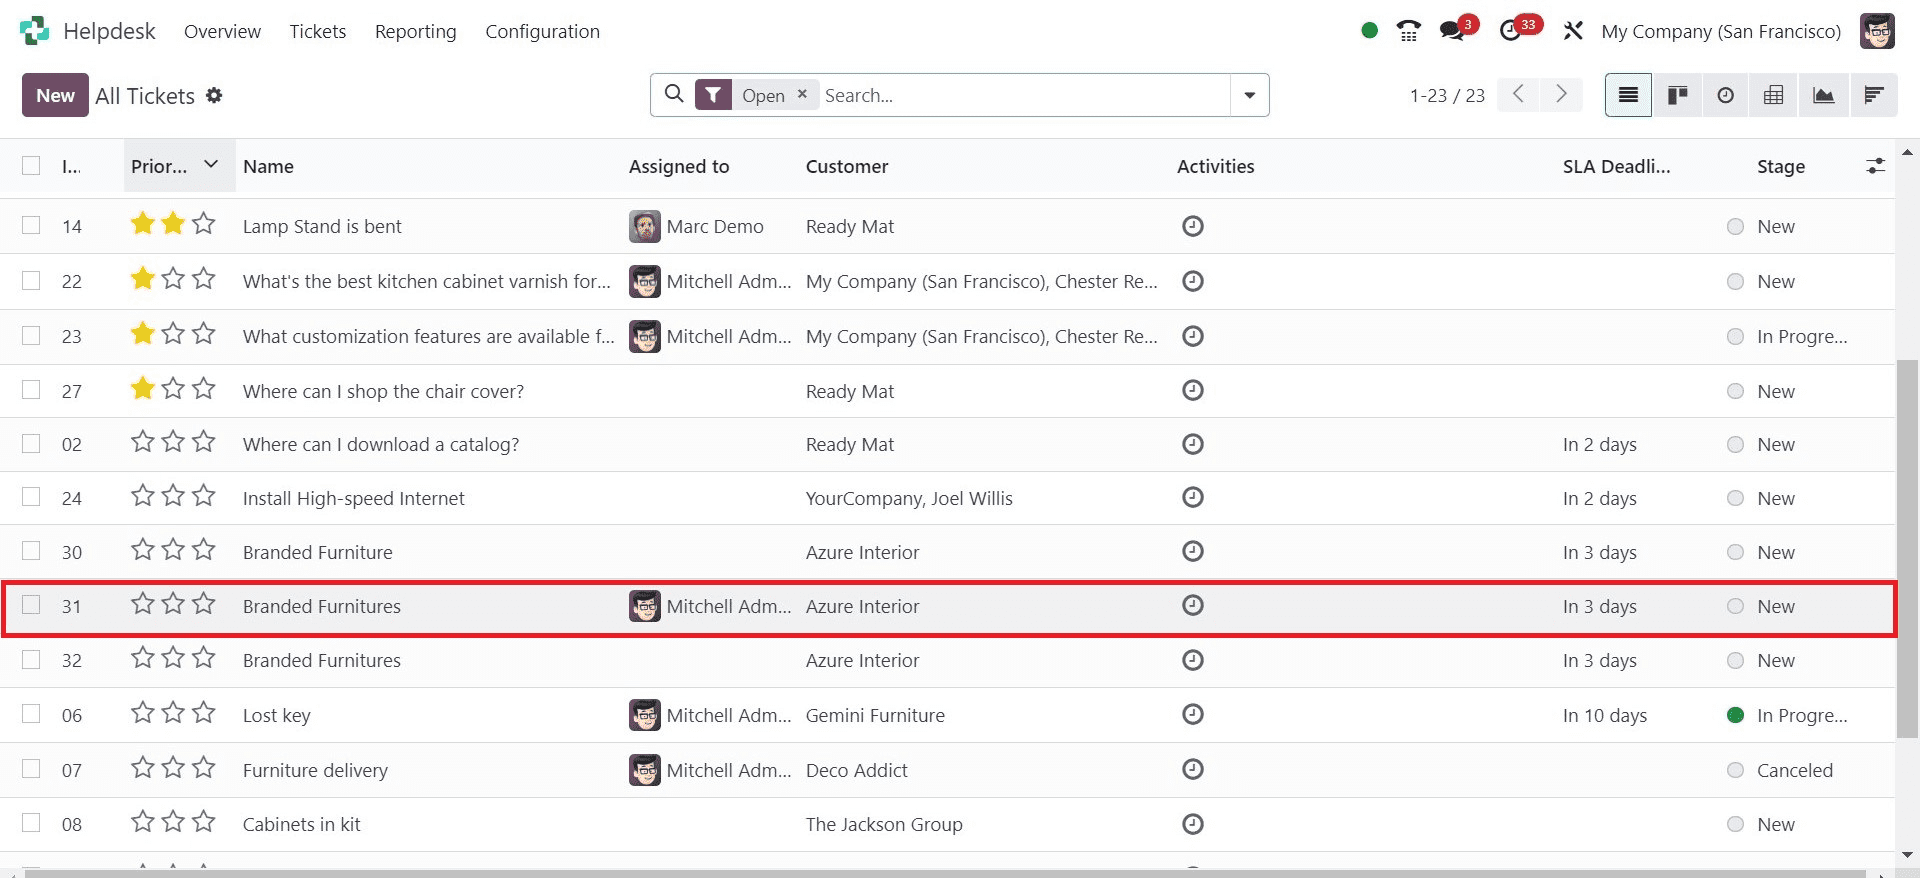
In the 'Tickets' window, you can easily locate the created ticket, 'Branded Furniture,' just as depicted in the screenshot below.
Creating tickets from leads is a straightforward process for businesses utilizing the Odoo 17 CRM module. This system allows for the seamless creation of tasks within tickets, enabling efficient time tracking. Furthermore, users can easily share these tickets on forums with the assistance of the Odoo 17 CRM application, simplifying communication and collaboration.