Customer relations are one of the most important issues of the company. Email is the best source for that. Additionally, phone calls, meetings, etc., are the way to communicate with company employees, suppliers, and customers. Odoo has some great features for sending emails and SMS. But by default, we can only display some basic information. We also cannot see the status of sent emails.
However, by installing the "Brevo Connector," we can monitor the accuracy of the sent message and track the status of the email. Also, after connecting to Odoo using this connector, Brevo will track details on emails that have been viewed, clicked, delivered, unsubscribed, etc.
In this blog, we will learn how to connect Brevo to Odoo.
First, let's start by registering a Brevo account and then configuring the webhook.
Open your web browser and visit the following URL to register a new account on the Brevo platform:
https://onboarding.brevo.com/account/register
The page that opens is as follows.
If you already have an existing Brevo platform account, you can skip this initial registration step.
Finally, we can configure the webhook. To do this, we can go to Settings at the bottom of the Transactional menu.
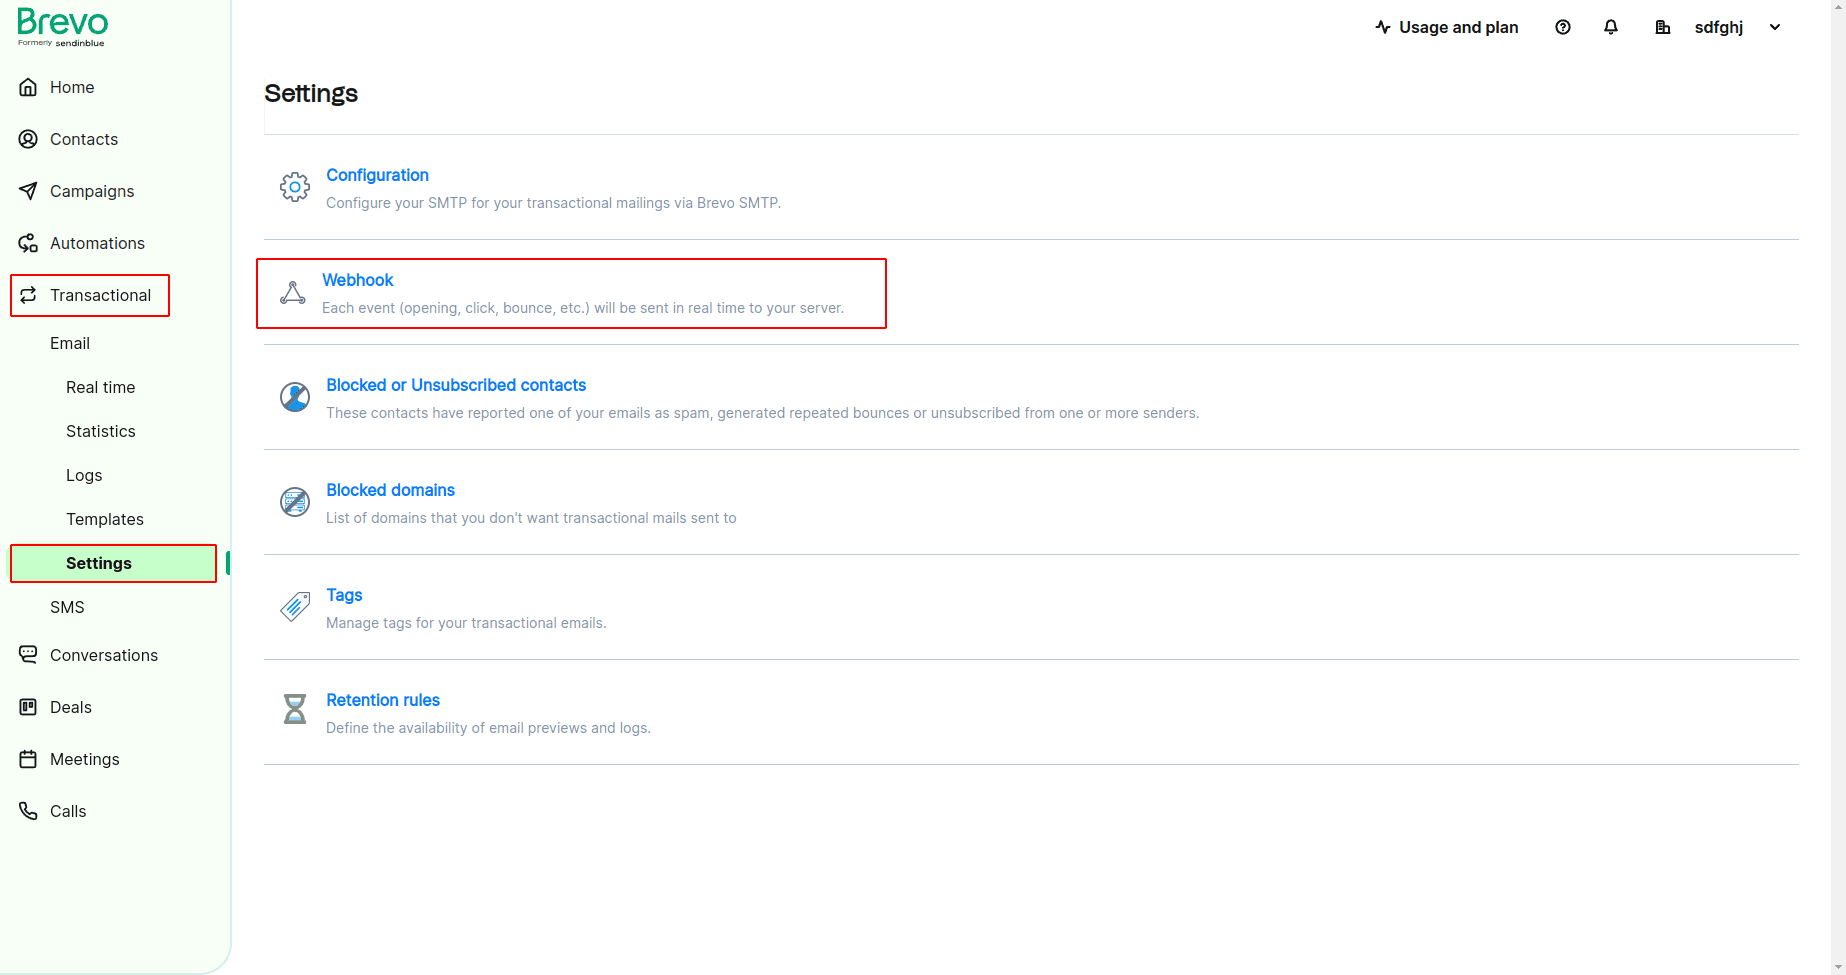
We have access to the page settings and webhook configuration options in the Transactional menu.
Now, we need to set the trigger and call the URL. The call URL has no content, but when the event occurs, the webhook automatically passes the data to the call URL, and we can access the data from Odoo.
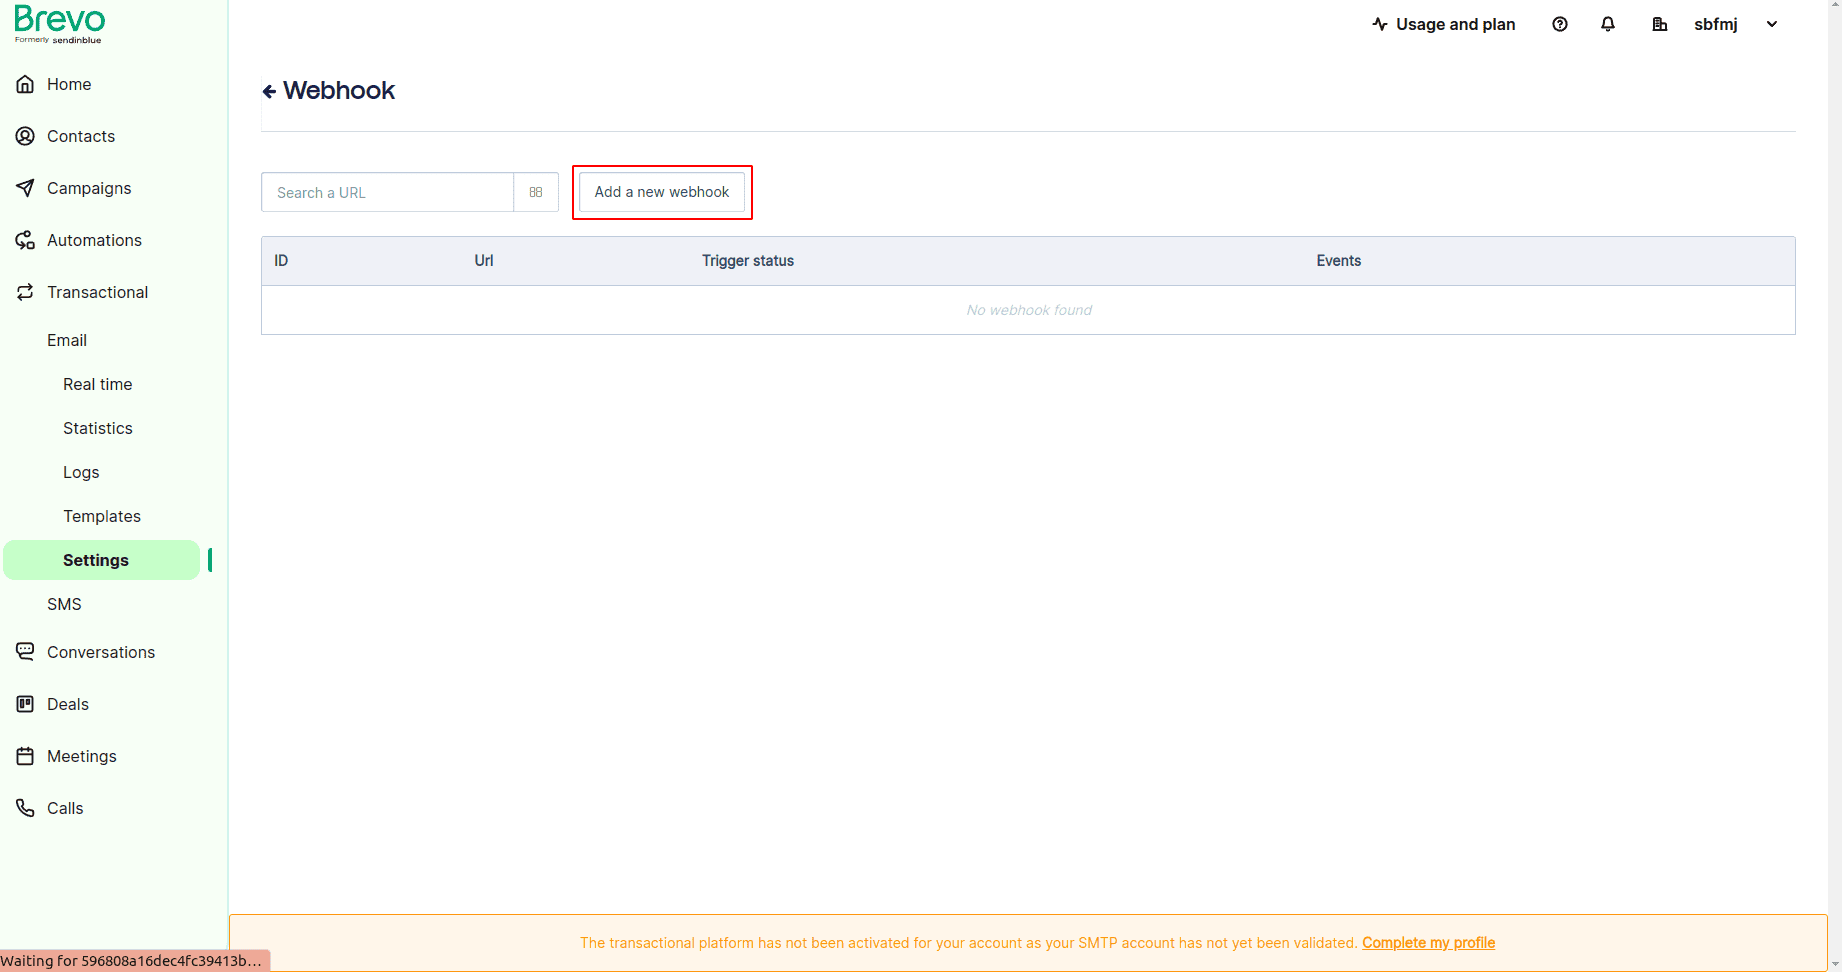
This window displays all created webhooks. Click the "Add New Webhook" button to create a new webhook. This will display a popup, as shown below.
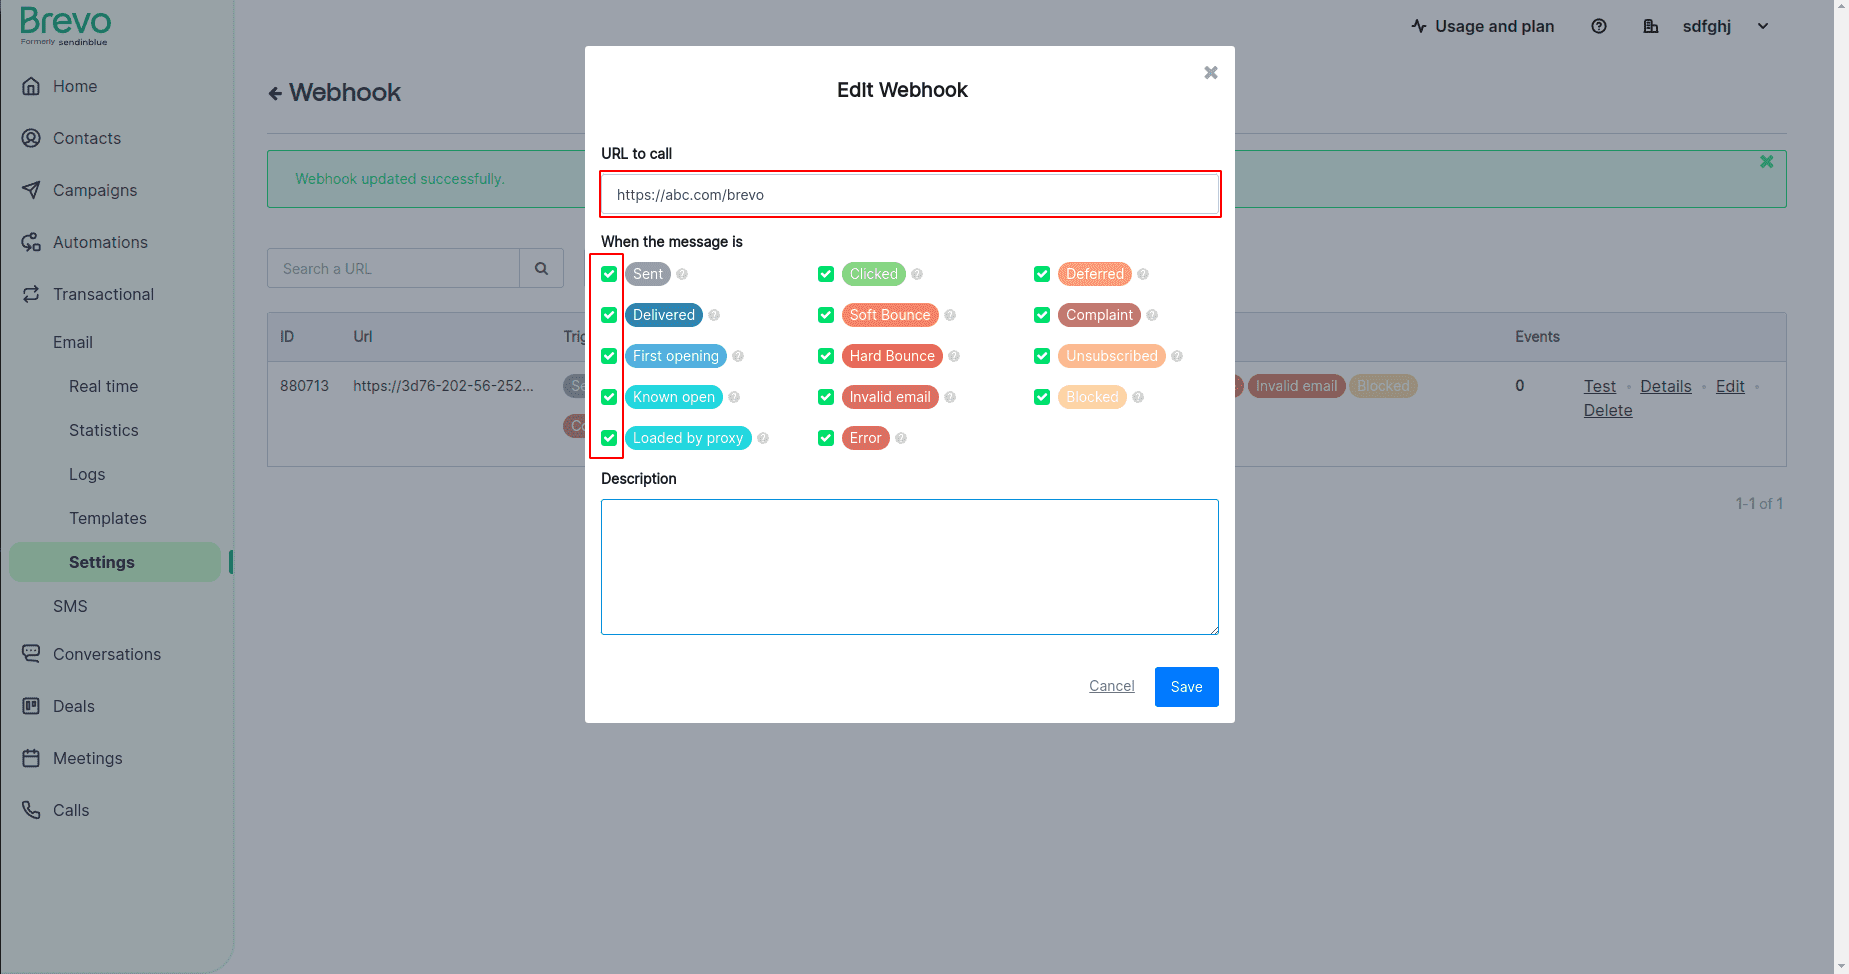
In this popup, we can set the call URL. To use the Brevo connector, we need to specify the URL "yourdomain.com/brevo" specified in this module. After entering the URL, we can mention events and select multiple events at once. Whenever an event occurs during this period, the Brevo platform will transfer data to the Odoo controller.
The connection created between Odoo and Brevo,
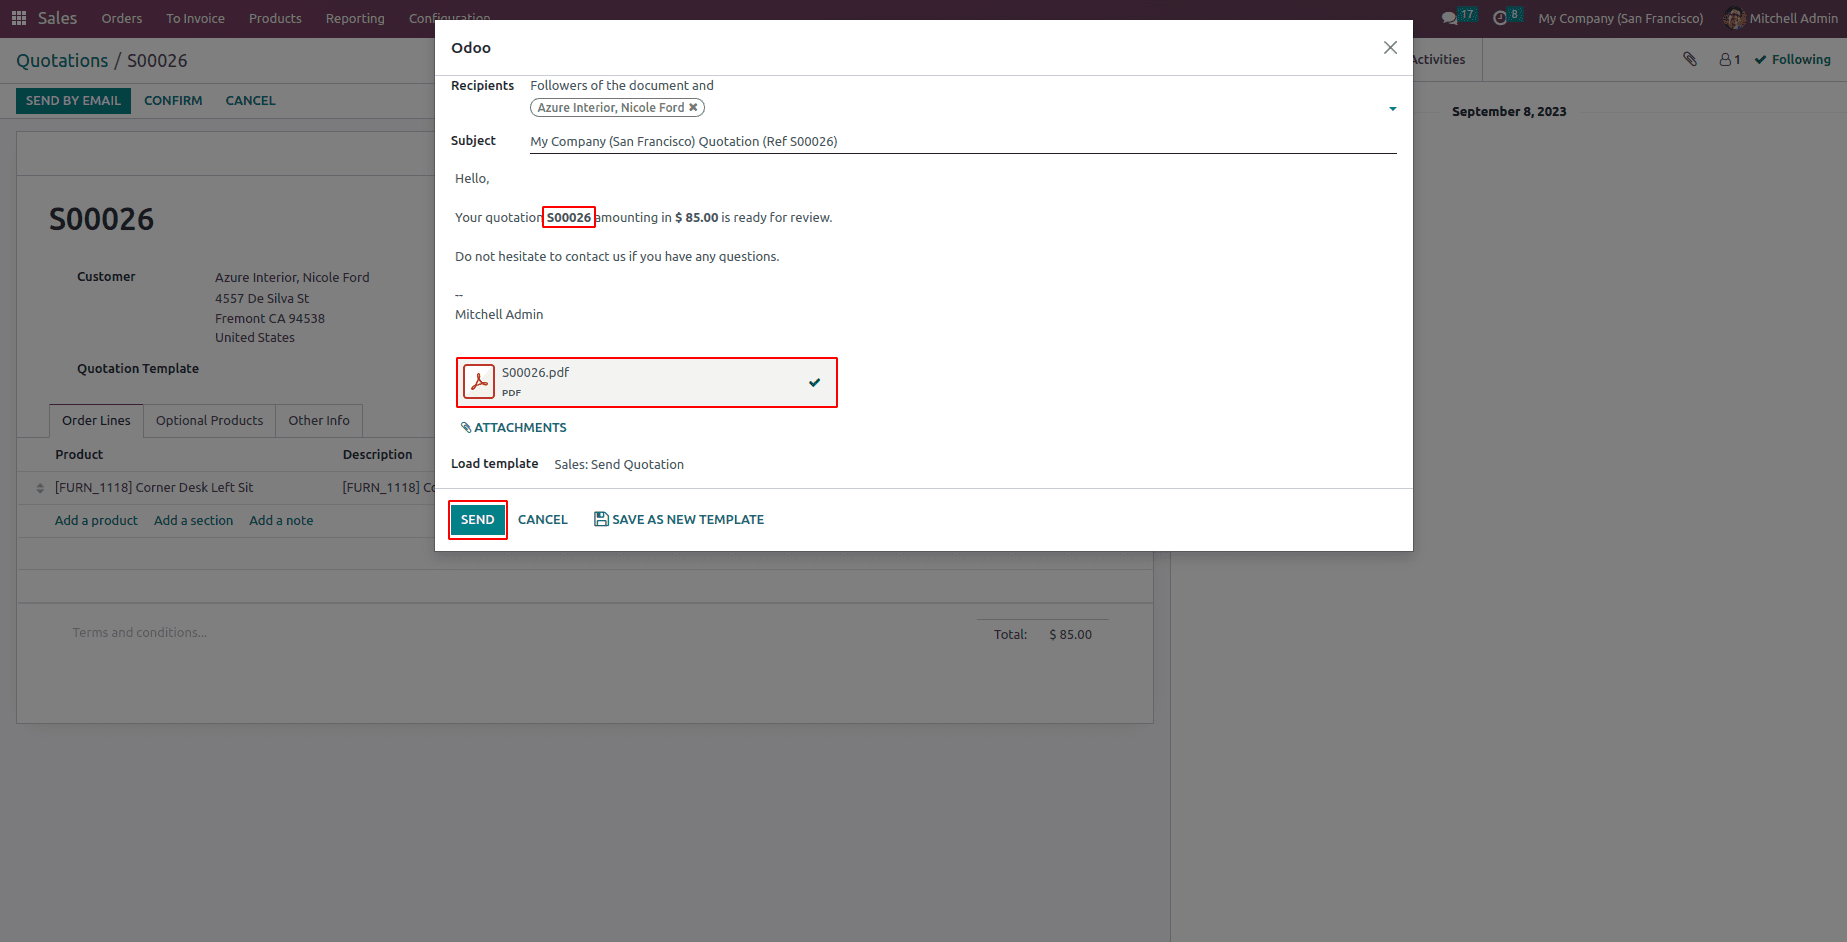
We can now send emails from sales
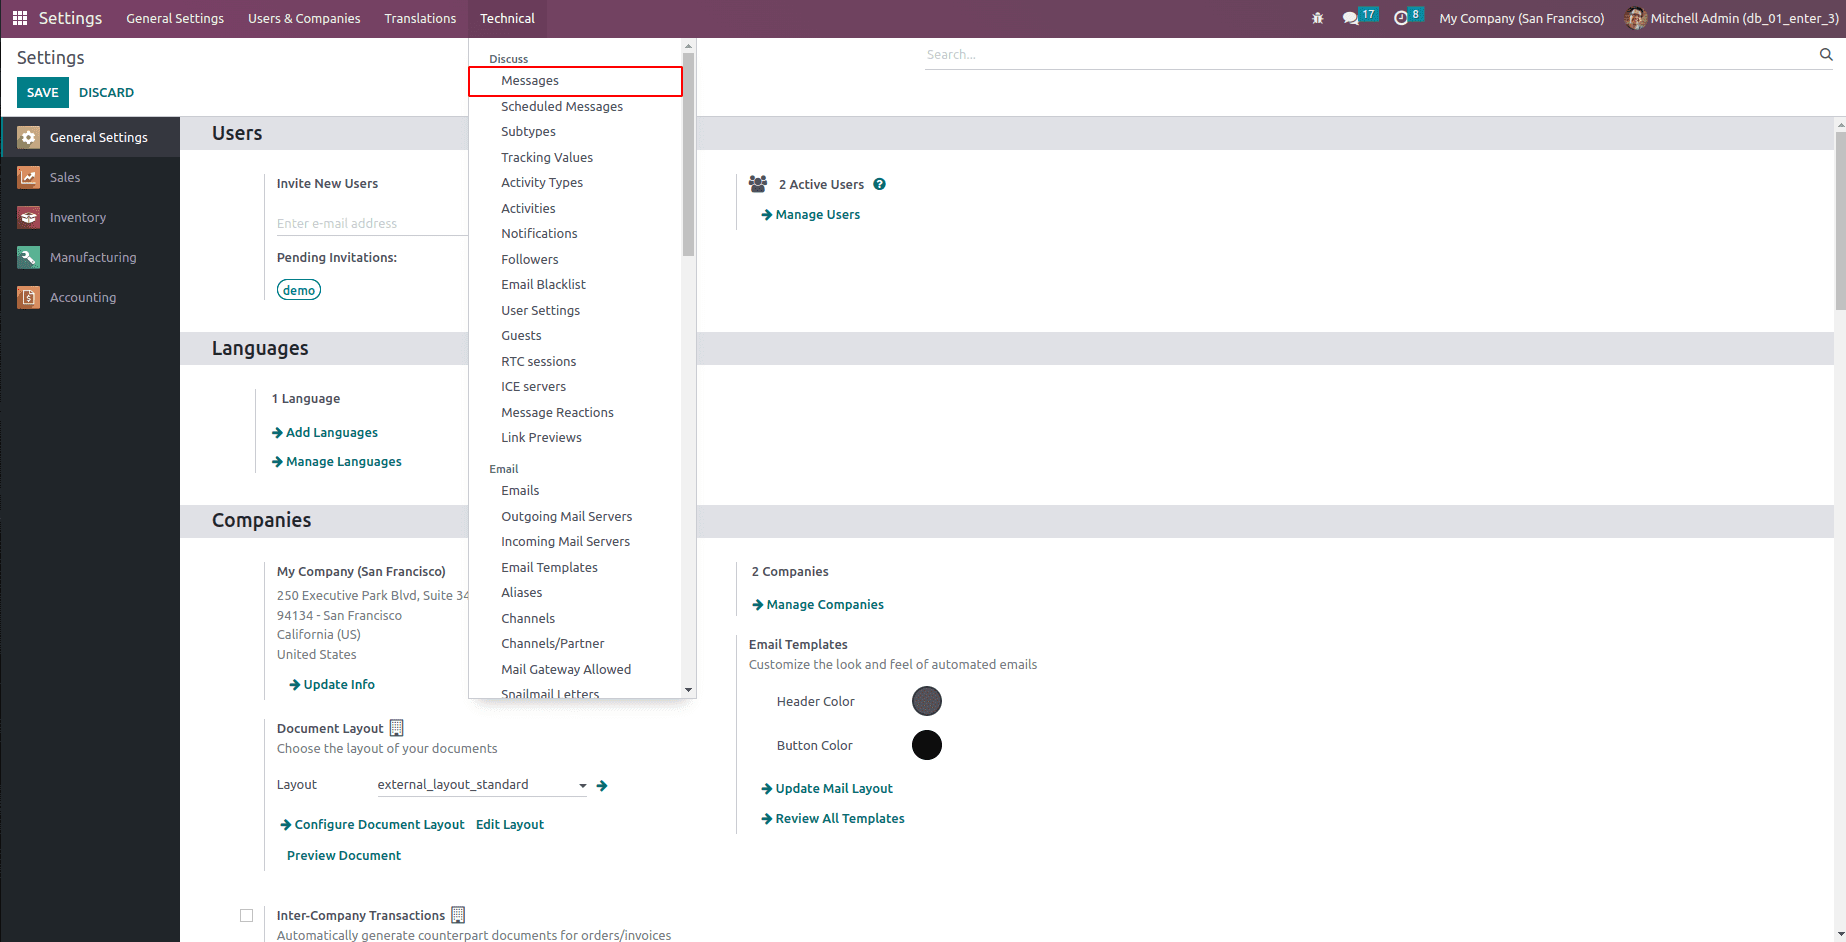
We can then check the message status from Settings -> Technical -> Messages.
This window shows all the messages we sent.
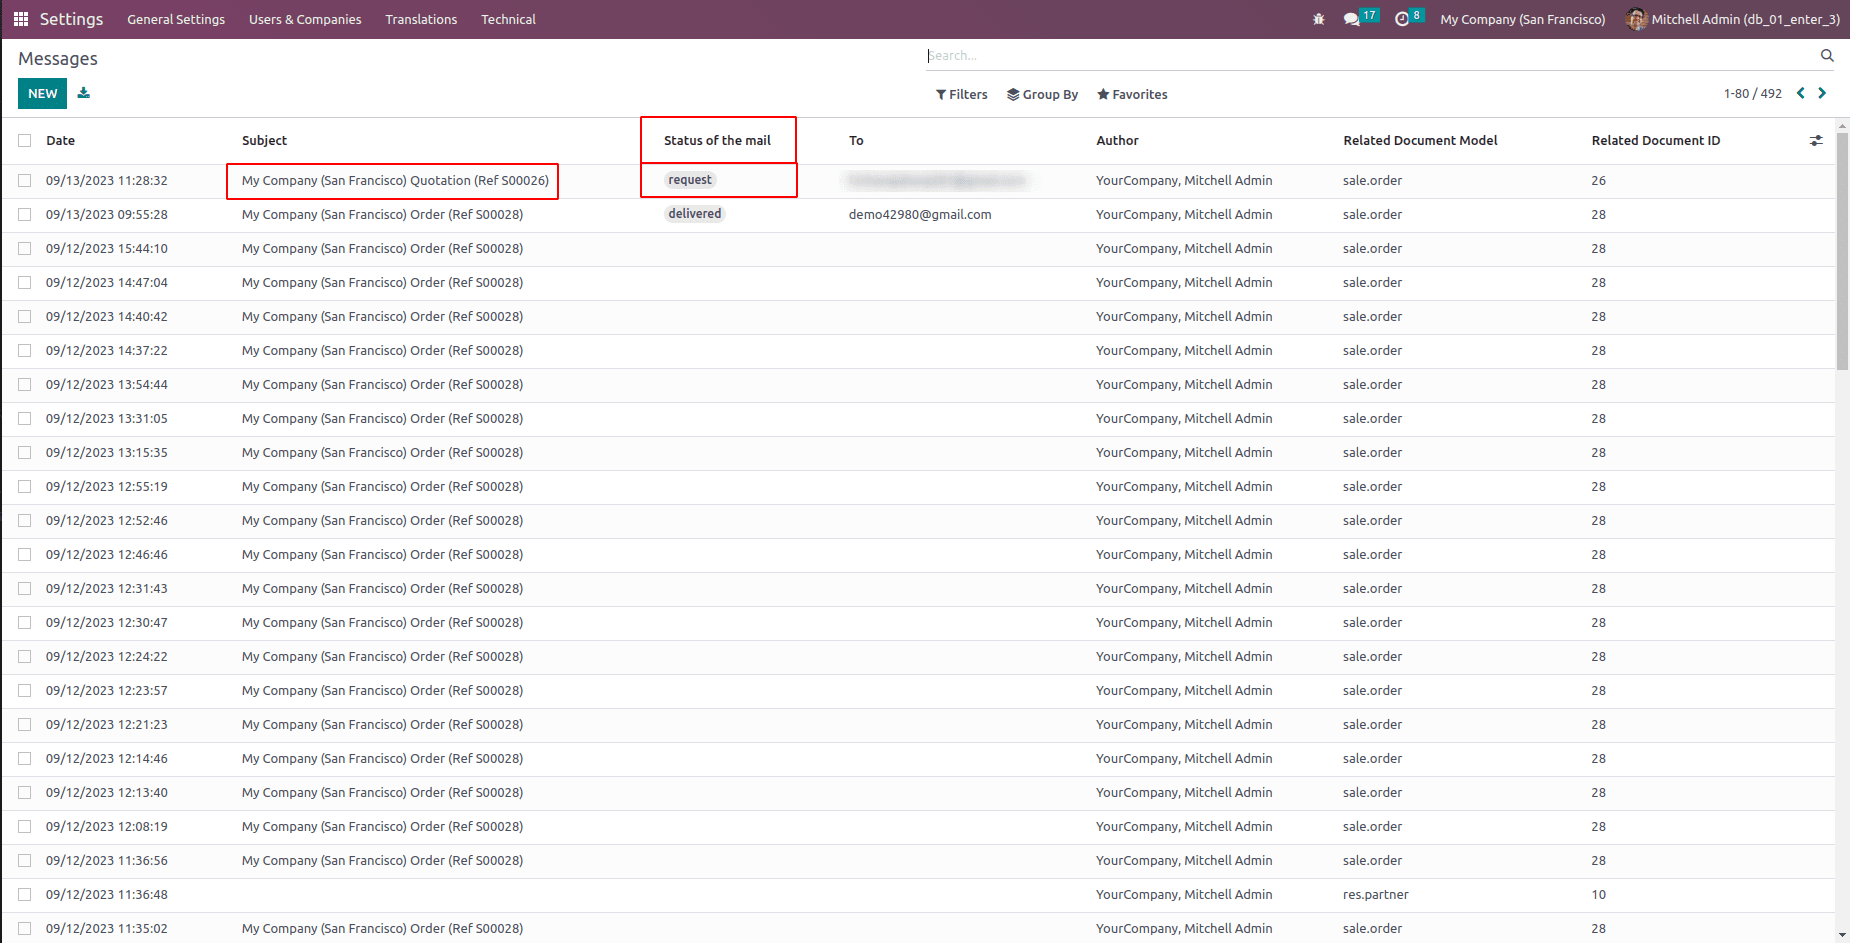
According to the emails we sent, we can see our recent emails and their status layer. The "To" field is used to identify the recipient's email ID.
So that's the whole job of the Brevo Connector module.