Odoo 17, a robust and feature-rich open-source ERP system, comes with powerful accounting capabilities. One crucial aspect of setting up your accounting in Odoo is adding the opening balance. The opening balance represents your company's initial financial position before starting to use the Odoo Accounting module. At the close of a financial year, it's important to turn the final amount of money for that year into the starting amount for the next financial year.
In Odoo, a software for managing business operations, they use journals and journal entries to handle and set up this starting amount for your financial activities in the new year. To do this, you make what's called an equity account to represent the current starting amount. Additionally, you create a journal entry to ensure that the account balances are transformed into the starting amounts for the new financial year. When making this new journal entry, it's crucial to set the date of the entry as the beginning of the new accounting period. This process helps keep your financial records organized and ready for the upcoming year.
In this blog, we'll walk you through the process of adding opening balances in Odoo 17 Accounting.
In Odoo, understanding the opening balance involves looking at the initial amount in an account, whether it's related to a bank, customer, or supplier. This starting amount is typically established at the commencement of a fiscal or accounting period. When setting up an account for your company within Odoo, assigning an opening balance is a crucial step. The opening balance can be positive or negative, depending on the credit or debit transactions that occurred in the preceding period. To gain insights into effectively managing the opening balance, let's delve into the processes outlined in the Odoo 17 Accounting module.
To commence the process, initiate the selection of the Accounting module from the main dashboard of Odoo 16. Ensure that the fiscal localization feature is activated within your database, a task easily accomplished through the Settings menu of the Accounting module.
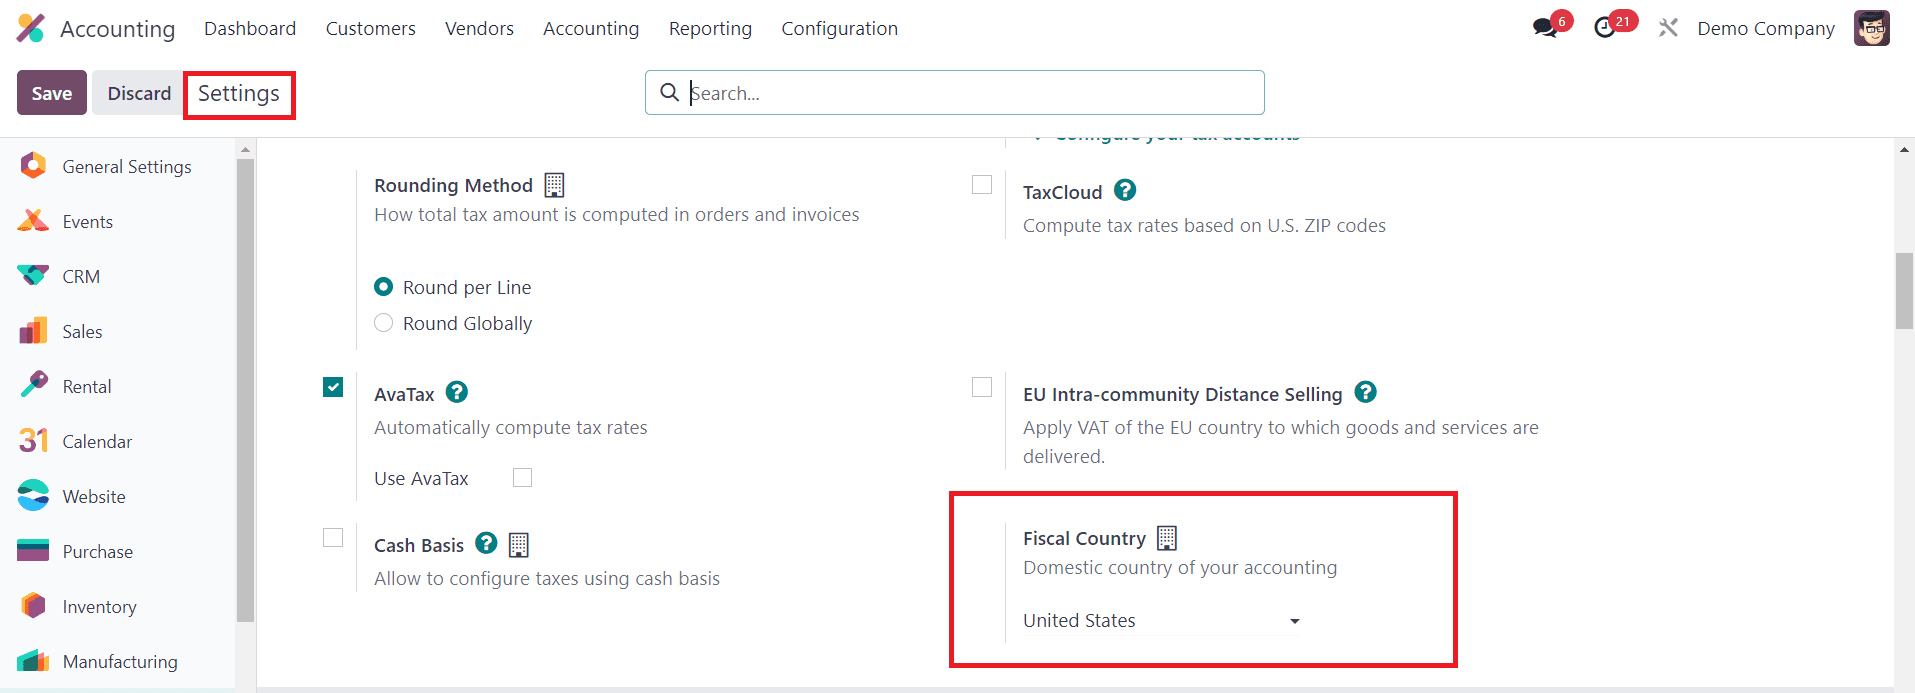
Within the Settings menu, you'll see the selected Fiscal Country, a crucial parameter indicating the country associated with all subsequent accounting operations and charts of accounts. This configuration ensures that all charts of accounts are exclusively affiliated with the designated country.
For those looking to streamline the establishment of the opening balance directly from the Settings menu, consider leveraging the "Review Manually" option found in the Account Import tab.
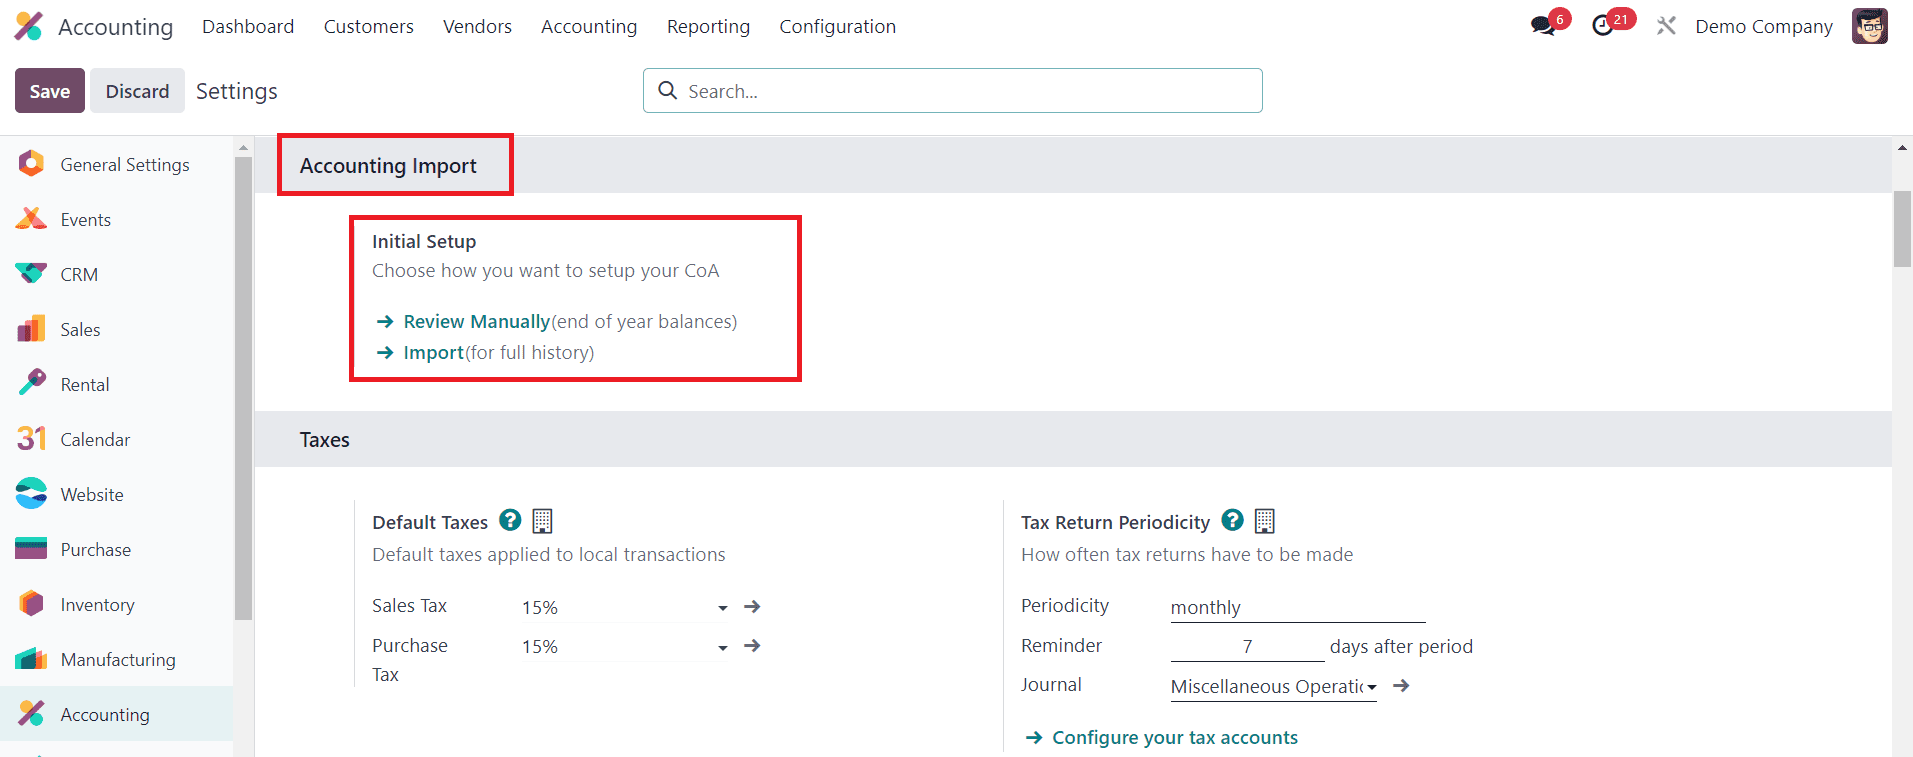
This strategic choice facilitates the accurate setup of year-end balances, seamlessly transitioning into the opening balance for the ensuing year.
The dashboard within the Accounting module presents an onboarding panel where you can set the opening balance for the upcoming year. To configure the opening debits and credits, navigate to the Chart of Accounts option.
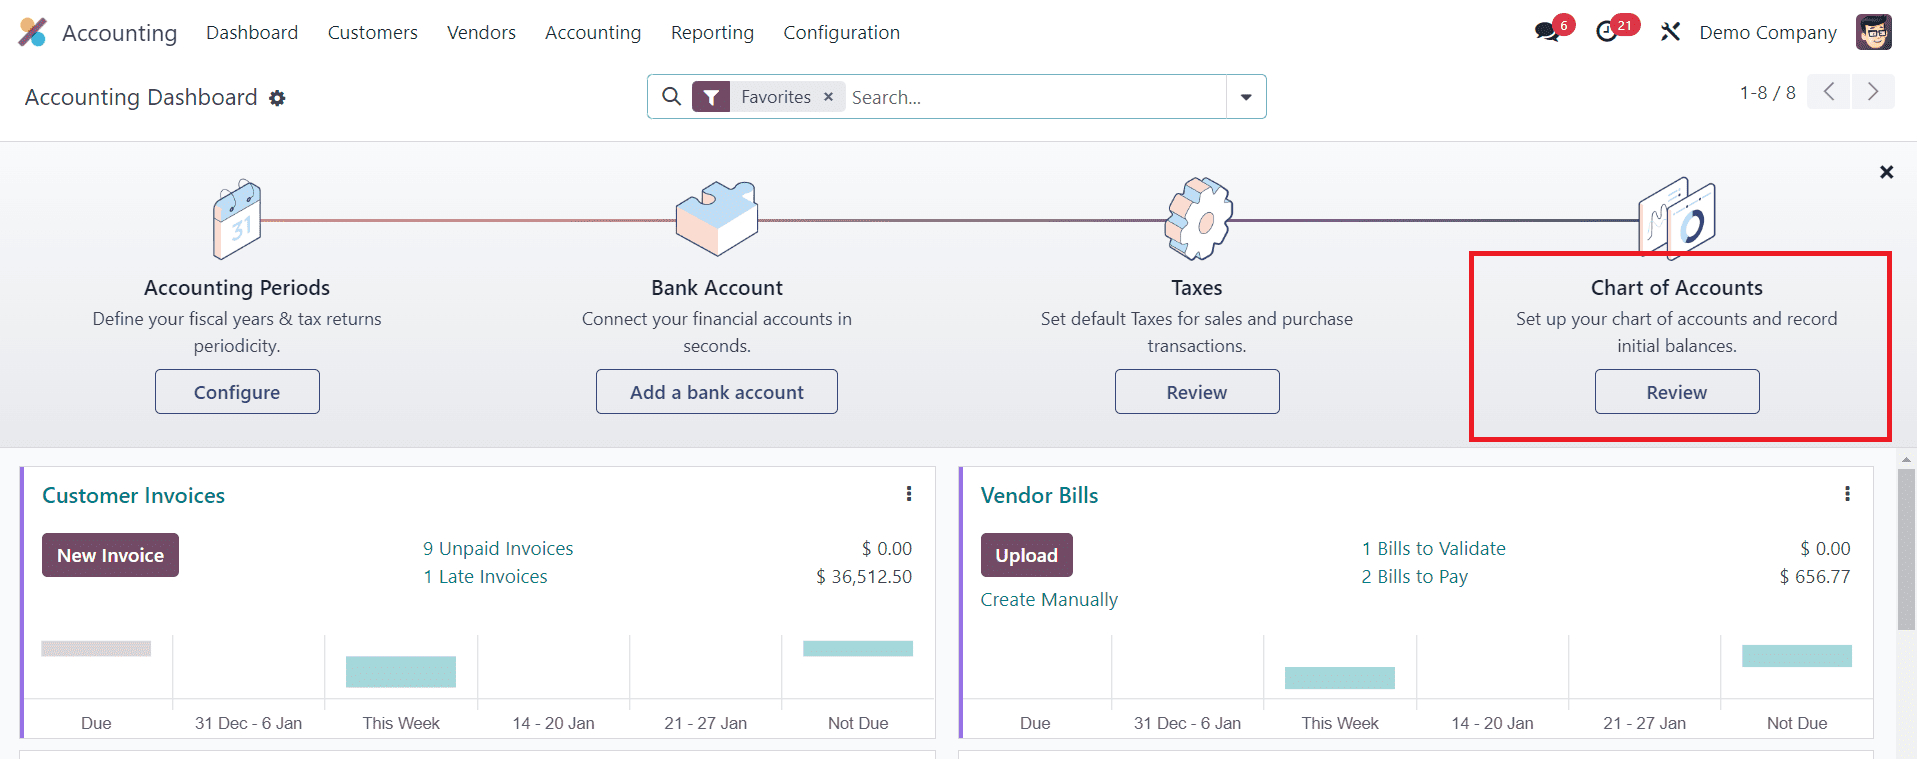
Clicking the "Review" button within this field opens a new window, revealing a comprehensive display of the chart of accounts configured within your database.
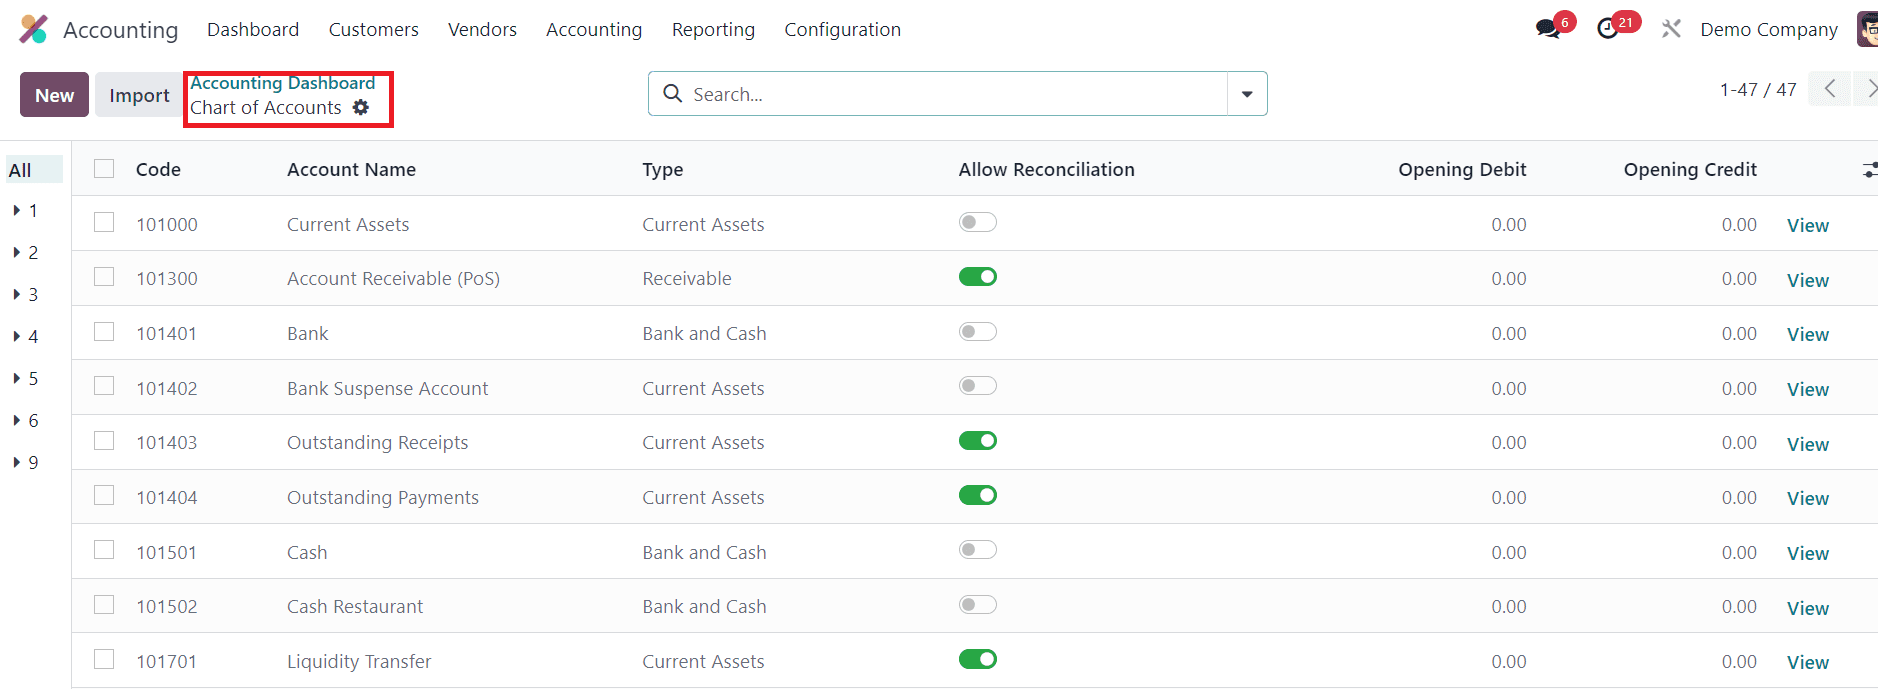
Initiating the creation of a new account and introducing an opening balance is facilitated by clicking the "New" button. Alternatively, the addition of an opening balance for existing accounts involves specifying debit or credit balances in the corresponding ledgers.

Upon clicking "New," a new line appears, allowing you to input specifics such as Code, Account Name, Type, Allow Reconciliation, Opening Debit, and Opening Credit. As an illustrative example, consider labeling the account "New Project" for the new accounting period and designating it as an expense type. Activate the Allow Reconciliation button and stipulate an Opening Debit, say $5000. Upon clicking the View button, a new window unveils the details of the newly created account.
Upon saving these details, proceed to establish the opening balance as credit or debit for other accounts within the Chart of Accounts. Upon the completion of this configuration, verify the results under the Journal Entries option in the Accounting menu.
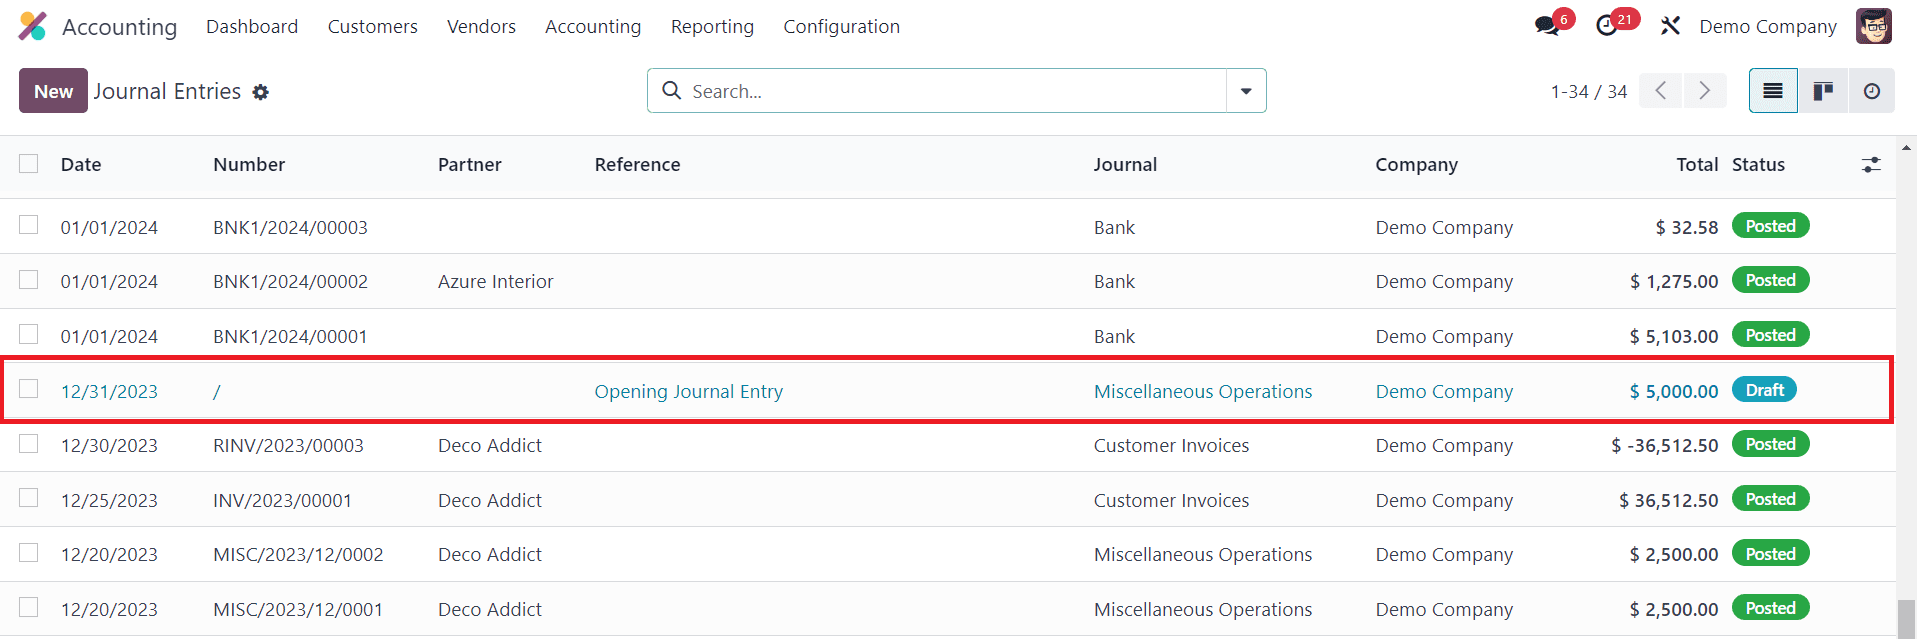
A detailed view of the newly generated journal entry, identified as "Opening Journal Entry," is presented. Examine the Journal Items added beneath this entry, ensuring that the debit and credit entries are equal.
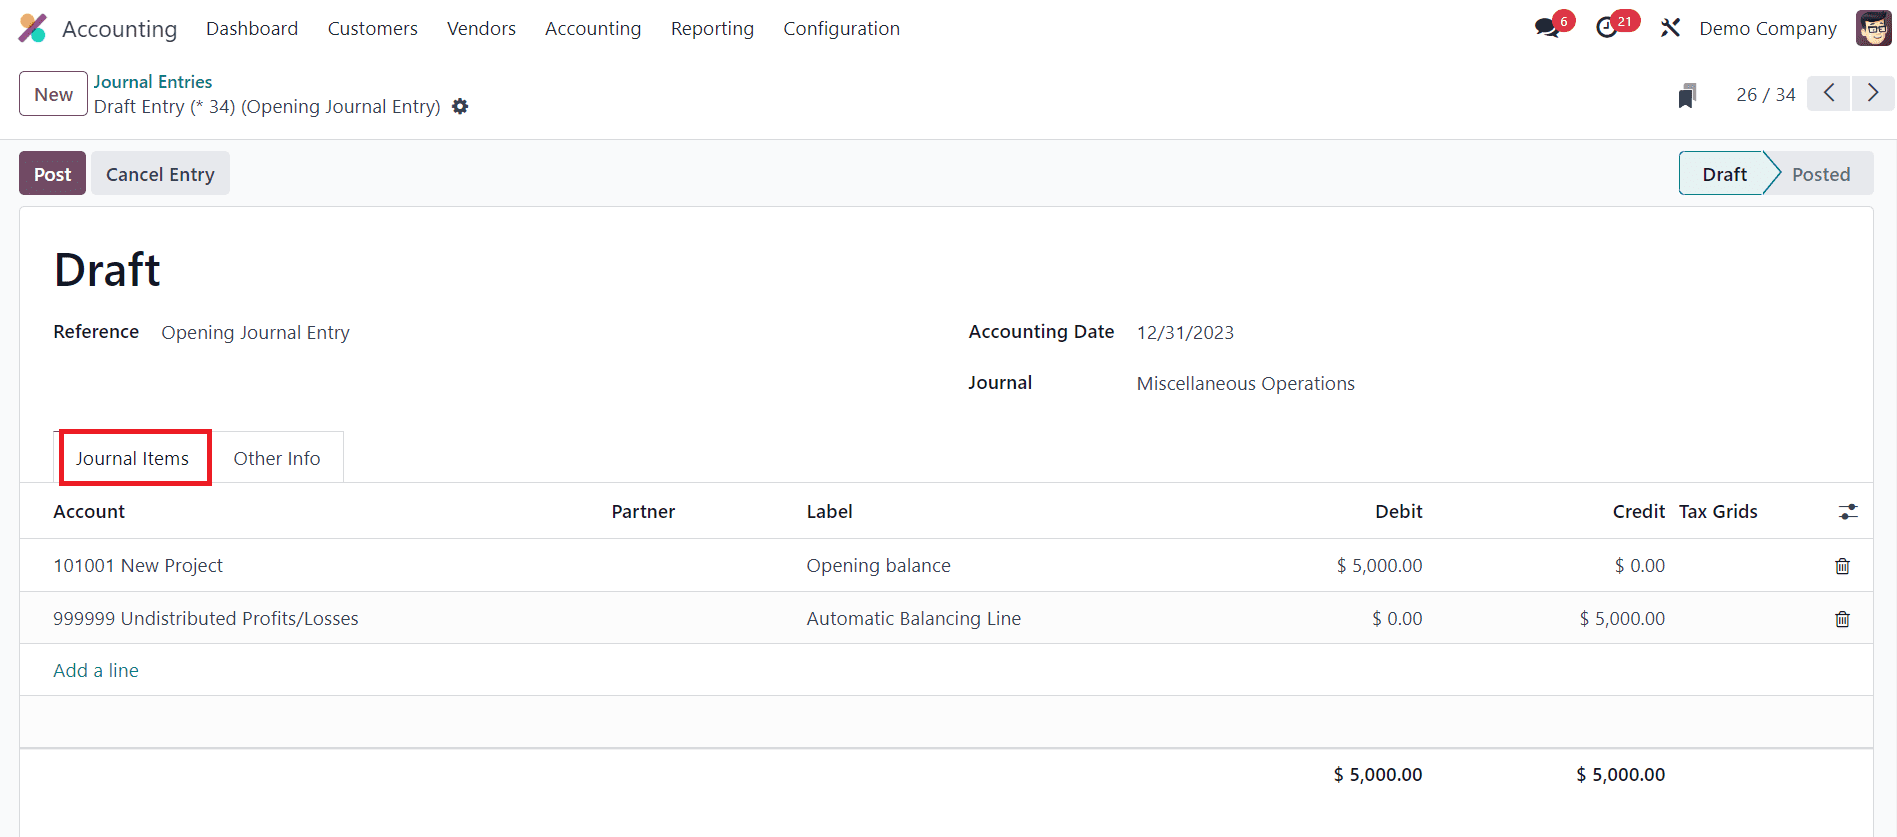
The balance being equal, execute the posting of this journal entry by clicking on the Post button, thus culminating in the successful creation of the opening balance.
Return to the Configuration menu, specifically selecting the Chart of Accounts option.
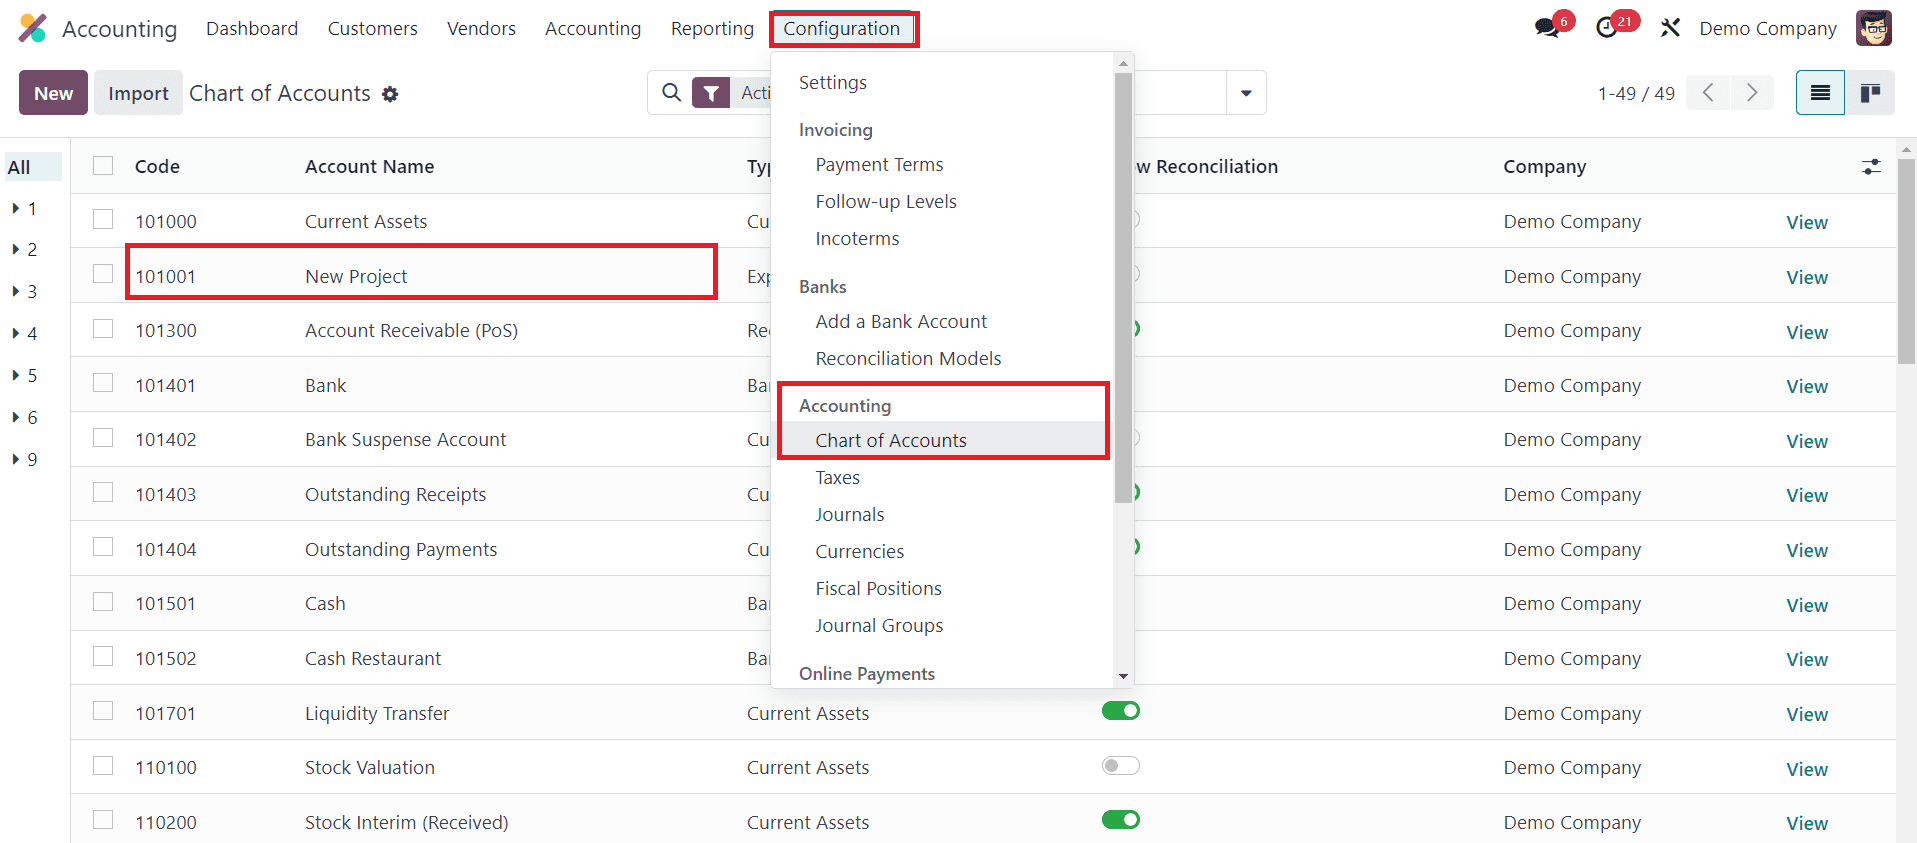
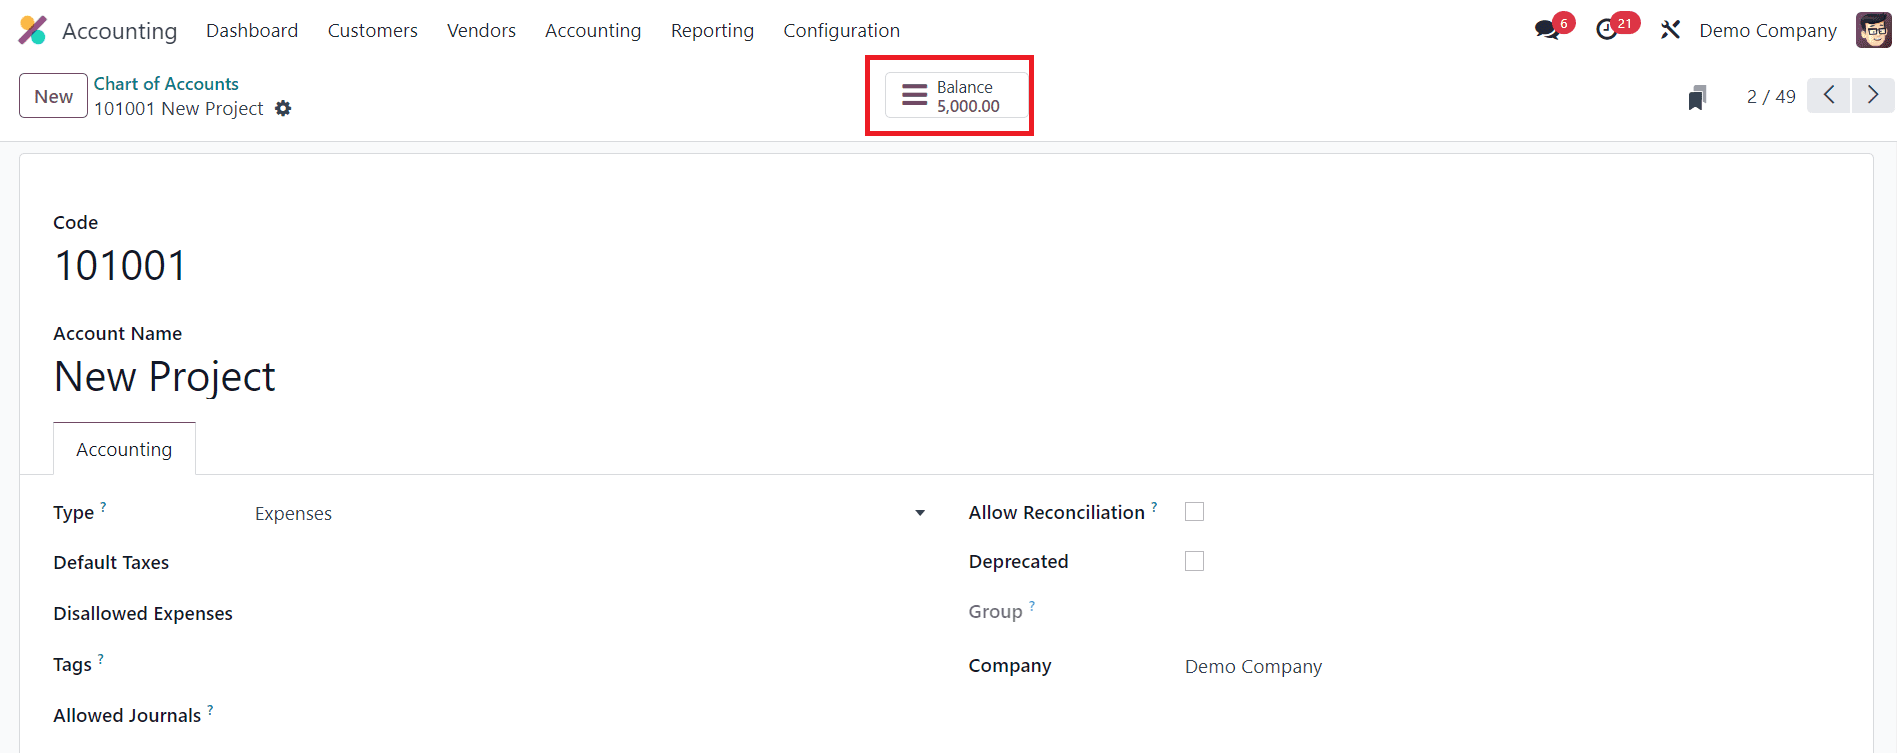
Here, choose a previously configured account to observe the manifested opening balance, now prominently displayed on the screen.
The option to manually create journal entries for opening balances is available within the Accounting module. Navigate to the Accounting menu and select the Journal Entries option.
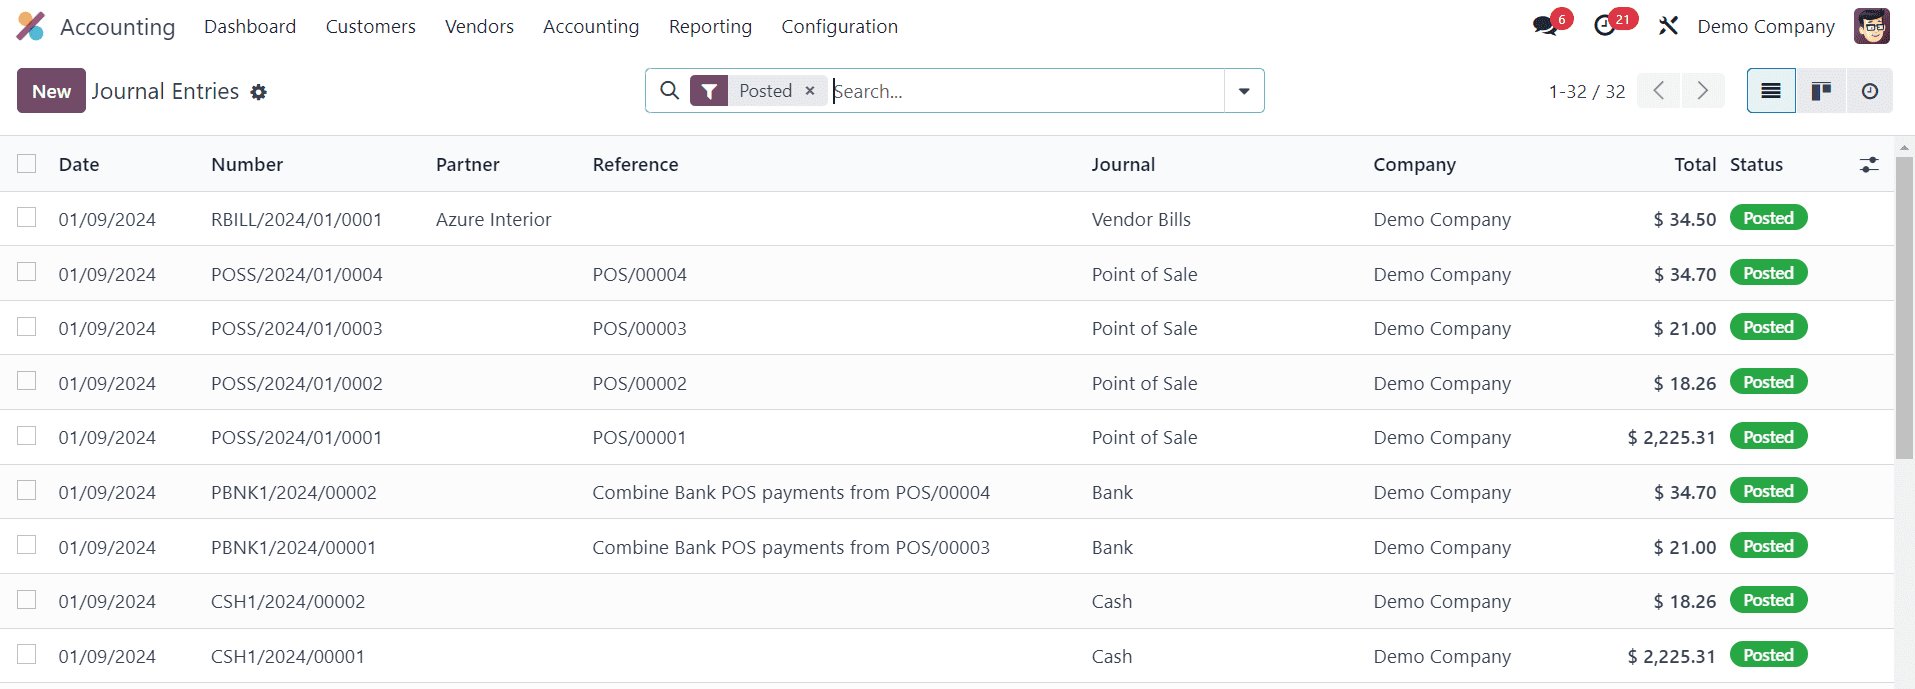
Clicking the "New" button initiates a new form view.
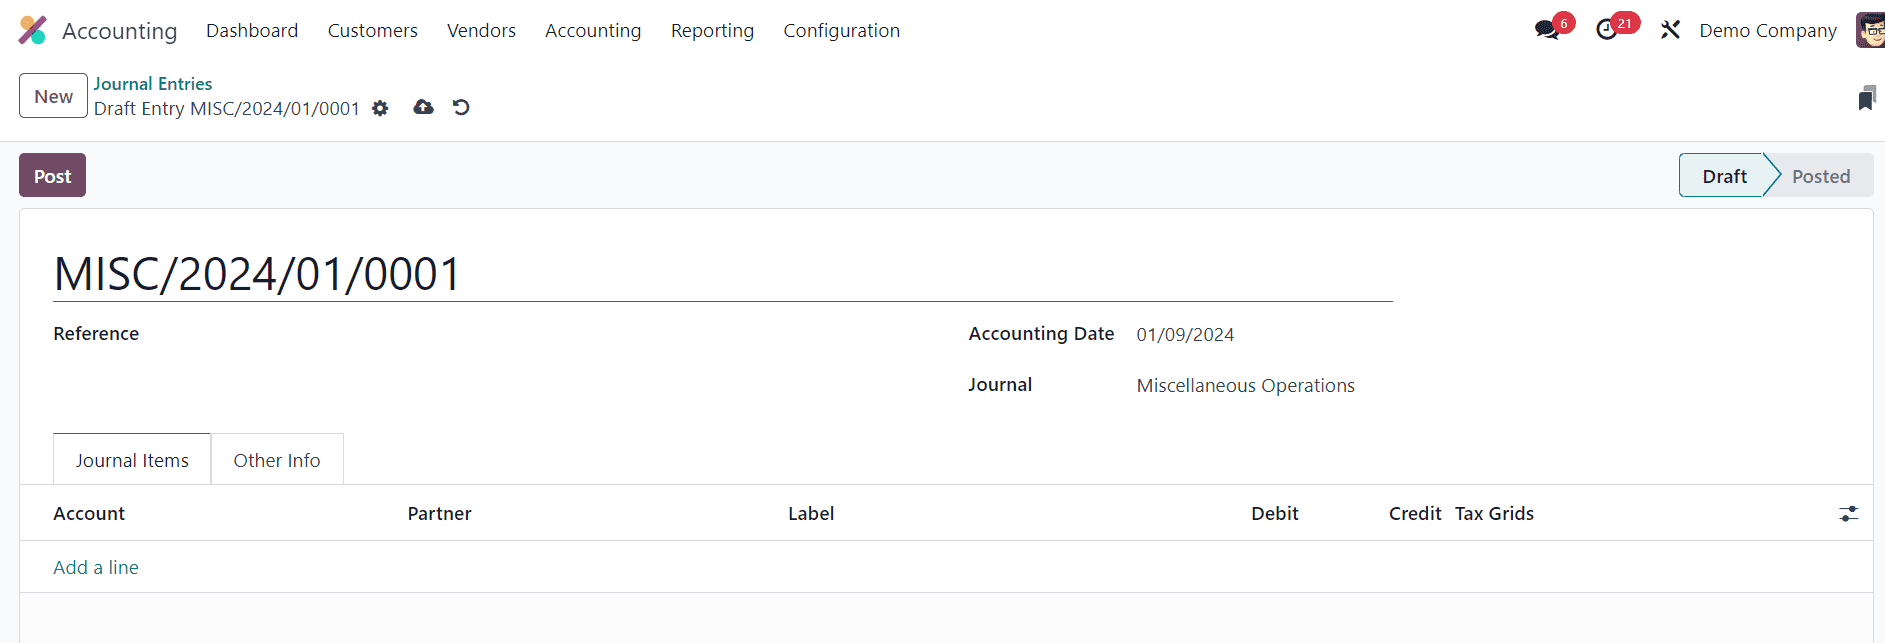
Within this form, specify the Reference as "Opening Balance" and input the Accounting Date and Journal details. Use the "Add a Line" button to incorporate accounts and designate opening debits or credits. Ensure the debit and credit lines are always equal, and proceed to post the journal entry.
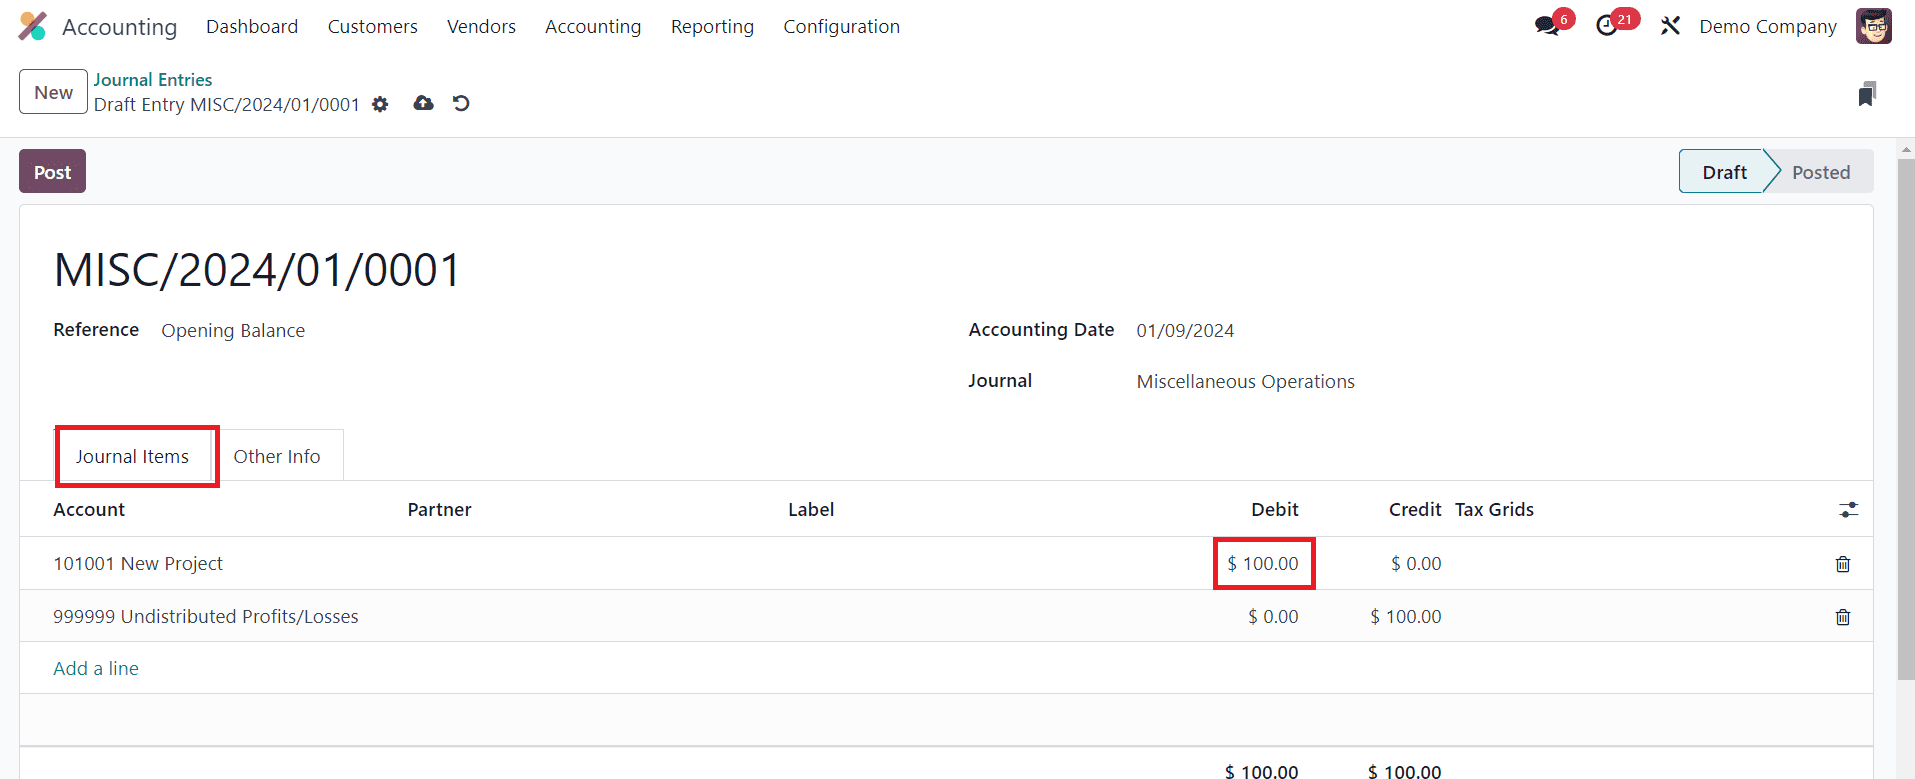
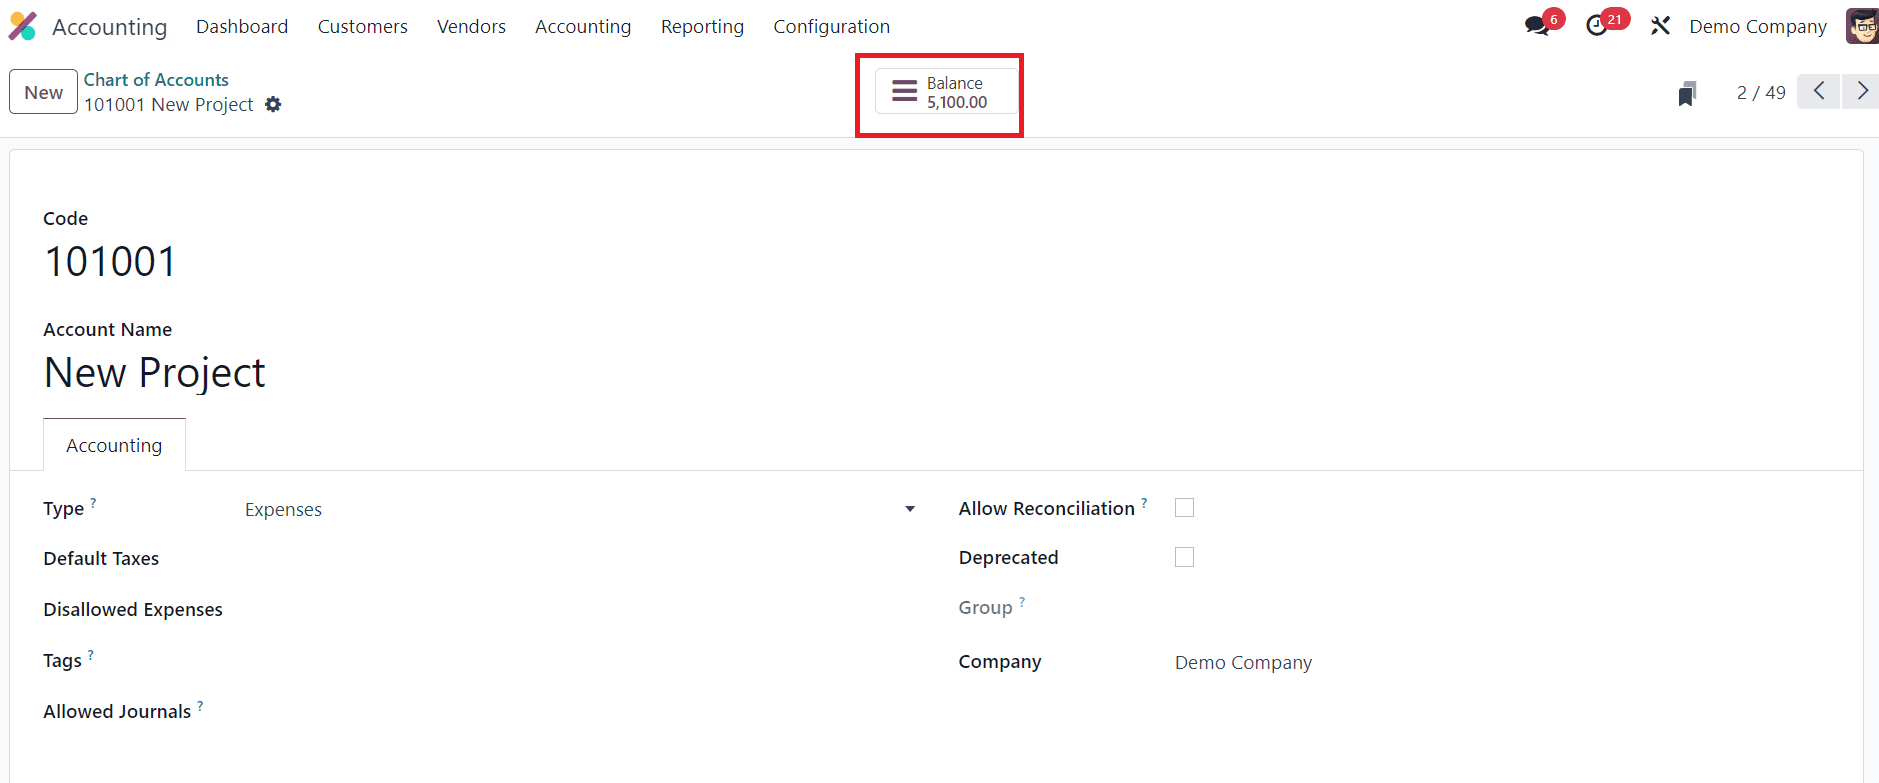
For instance, consider mentioning a debit amount of 100 for the New Project account. Post this journal and revisit the chart of accounts to witness the augmented amount by selecting the View button for the Current Assets account.
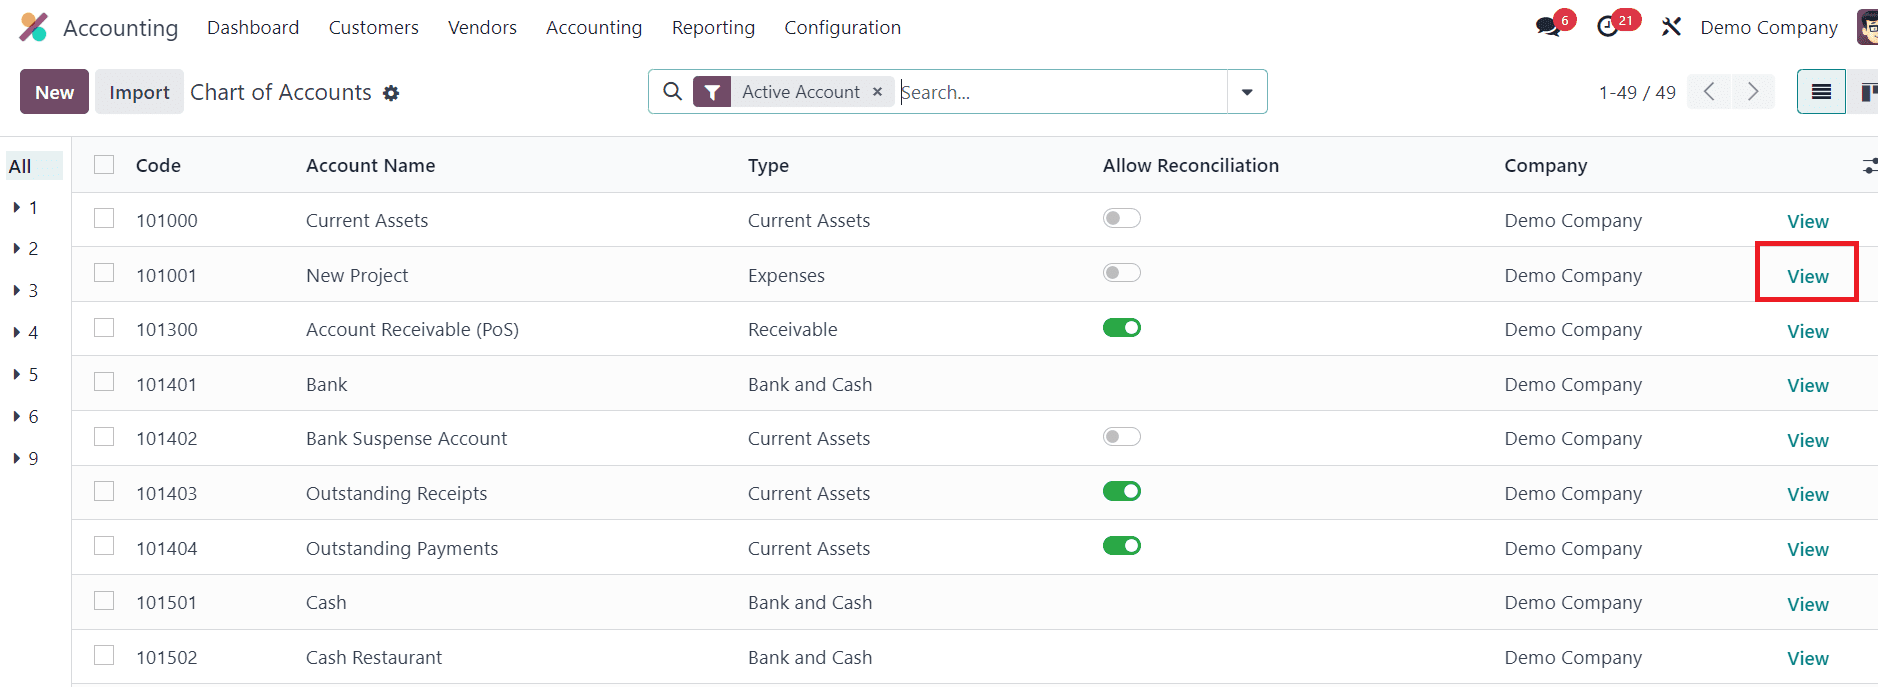
Here, you can observe that the opening balance in the account "New Project" has increased from 5000 to 5100.
Adding opening balances in Odoo 17 Accounting is a crucial step in setting up your financial records accurately. By following these steps, you can ensure that your initial financial position is correctly represented in Odoo, laying the foundation for effective accounting and financial management.