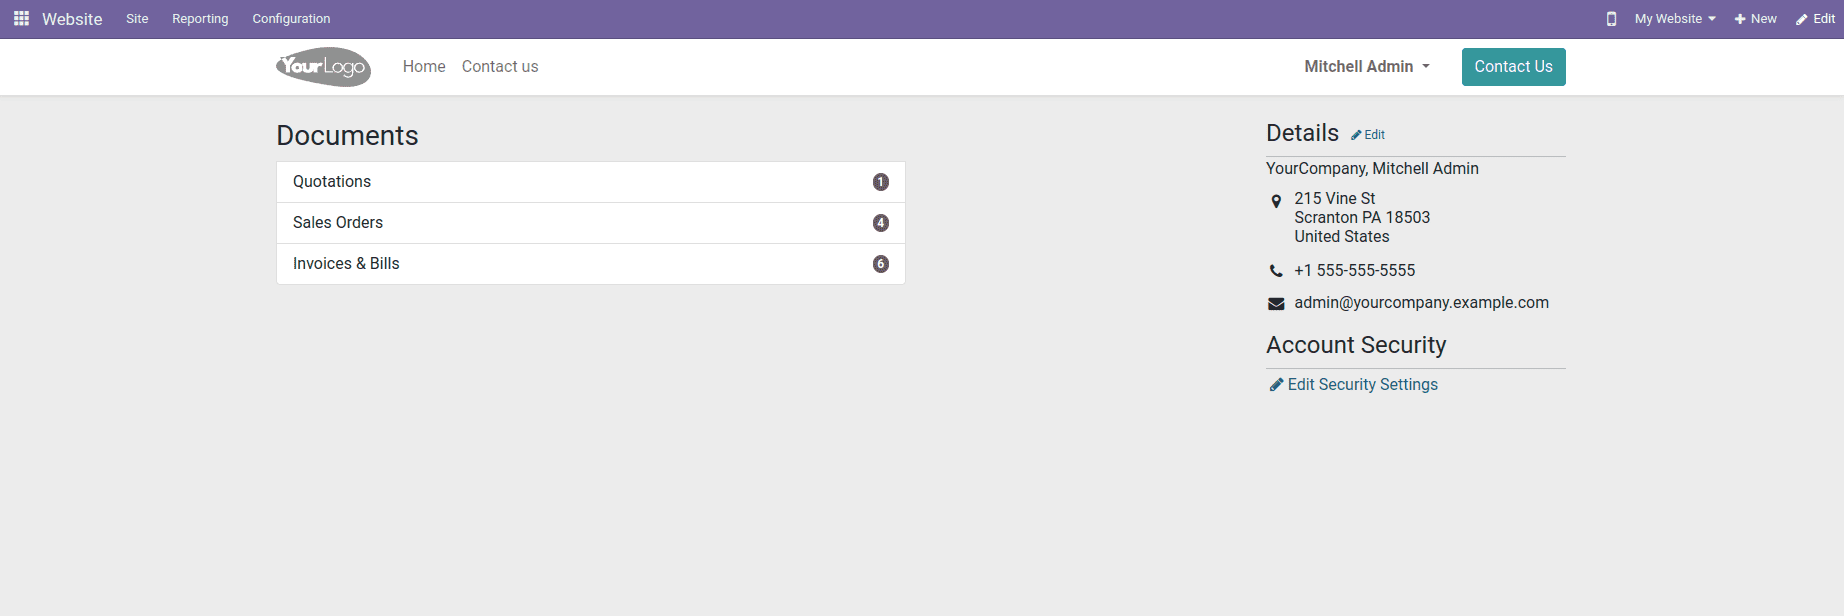
By selecting My Account in the Customer Portal, you can access your portal account and manage user documents, such as sale orders, purchase orders, and invoices.
The built-module menu for which the gateway has been developed offers a count of each action you do inside of it.

The records will be seen when we click on these custom menus.
Please refer to the blog if you want to build a custom menu for the website :
How to Add a Custom Menu in the Customer Portal of Odoo 16.
This blog post will explain how to add breadcrumbs to a custom menu and how to show records in it.
Create an XML template that shows records in the custom menu:
<template id="portal_my_payslips" name="My payslips">
    	<t t-call="portal.portal_layout">
        	<t t-if="payslip_ids" t-call="portal.portal_table">
            	<thead>
                	<tr class="active">
                    	<th>Employee</th>
                    	<th class="text-end">Payslip name</th>
                    	<th class="text-end">Valid from</th>
                    	<th class="text-end">Valid to</th>
                	</tr>
            	</thead>
            	<t t-foreach="payslip_ids" t-as="payslip">
                	<tr>
                    	<td>
                        	<t t-out="payslip.employee_id.name"/>
                    	</td>
                    	<td>
                        	<t t-out="payslip.name"/>
                    	</td>
                    	<td class="text-end">
                        	<span t-field="payslip.date_from"/>
                    	</td>
                    	<td class="text-end">
                        	<span t-field="payslip.date_to"/>
                    	</td>
                	</tr>
            	</t>
        	</t>
    	</t>
	</template>
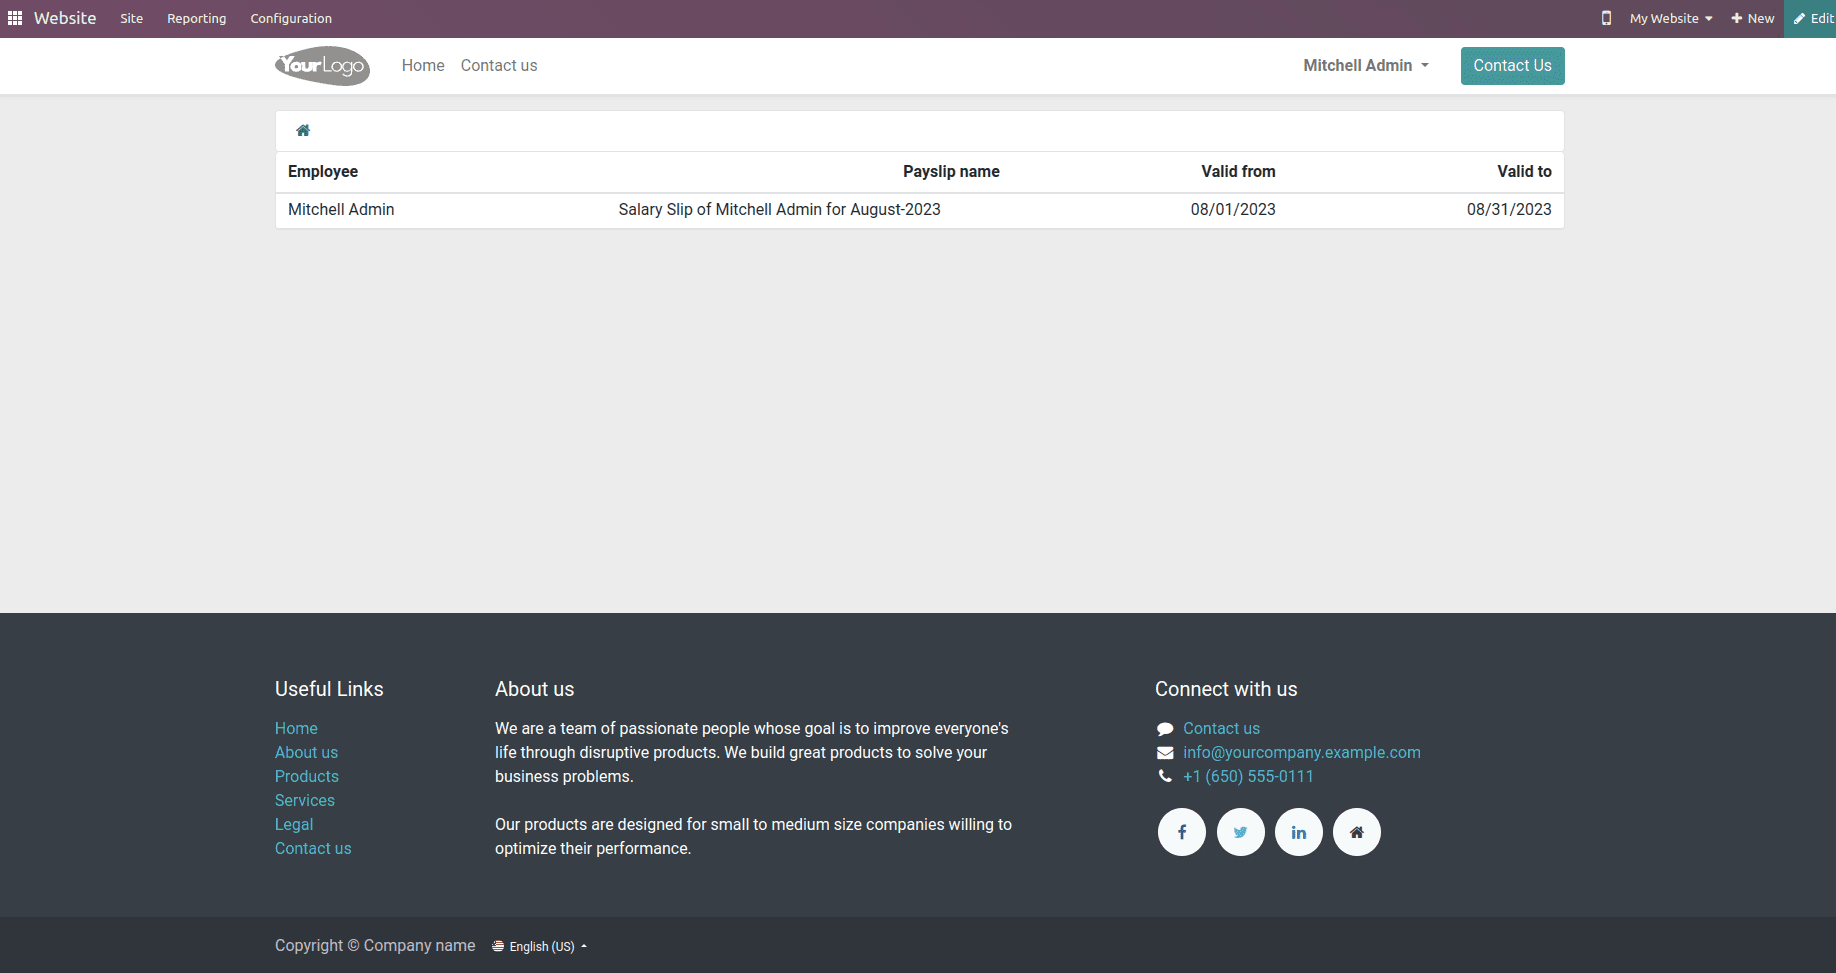
Now the page will appear like this

* Call some portal_searchbar template inside the portal_layout template and set the breadcrumbs_searchbar value to True as shown below.
<template id="portal_my_payslips" name="My payslips">
    	<t t-call="portal.portal_layout">
        	<t t-set="breadcrumbs_searchbar" t-value="True"/>
        	<t t-call="portal.portal_searchbar">
            	<t t-set="title">payslips</t>
        	</t>
        	<t t-if="payslip_ids" t-call="portal.portal_table">
            	<thead>
                	<tr class="active">
                    	<th>Employee</th>
                    	<th class="text-end">Payslip name</th>
                    	<th class="text-end">Valid from</th>
                    	<th class="text-end">Valid to</th>
                	</tr>
            	</thead>
            	<t t-foreach="payslip_ids" t-as="payslip">
                	<tr>
                    	<td>
                        	<t t-out="payslip.employee_id.name"/>
                    	</td>
                    	<td>
                        	<t t-out="payslip.name"/>
                    	</td>
                    	<td class="text-end">
                        	<span t-field="payslip.date_from"/>
                    	</td>
                    	<td class="text-end">
                        	<span t-field="payslip.date_to"/>
                    	</td>
                	</tr>
            	</t>
        	</t>
    	</t>
	</template>
* Now pass a page name for the current page through controller to specify each breadcrumbs for particular page.
@http.route(['/my/payslip'], type='http', auth="user", website=True)
      def portal_my_payslip(self, **kwargs):
    	payslip_ids = request.env['hr.payslip'].sudo().search(
        	[('employee_id.user_id', '=', request.env.user.id)])
    	return http.request.render('payslip_my_account.portal_my_payslips',
                               	{'payslip_ids': payslip_ids,
                                	'page_name':'payslips'})
* Now create a template for breadcrumbs specifying the page name by inheriting portal_breadcrumbs like this.
<template id="portal_my_home_menu_payslips"
          	name="Portal layout : payslip menu entries"
          	inherit_id="portal.portal_breadcrumbs" priority="60">
    	<xpath expr="//ol[hasclass('o_portal_submenu')]" position="inside">
        	<li t-if="page_name == 'payslips'"
            	class="breadcrumb-item active">
            	<span>Payslips</span>
        	</li>
    	</xpath>
	</template>
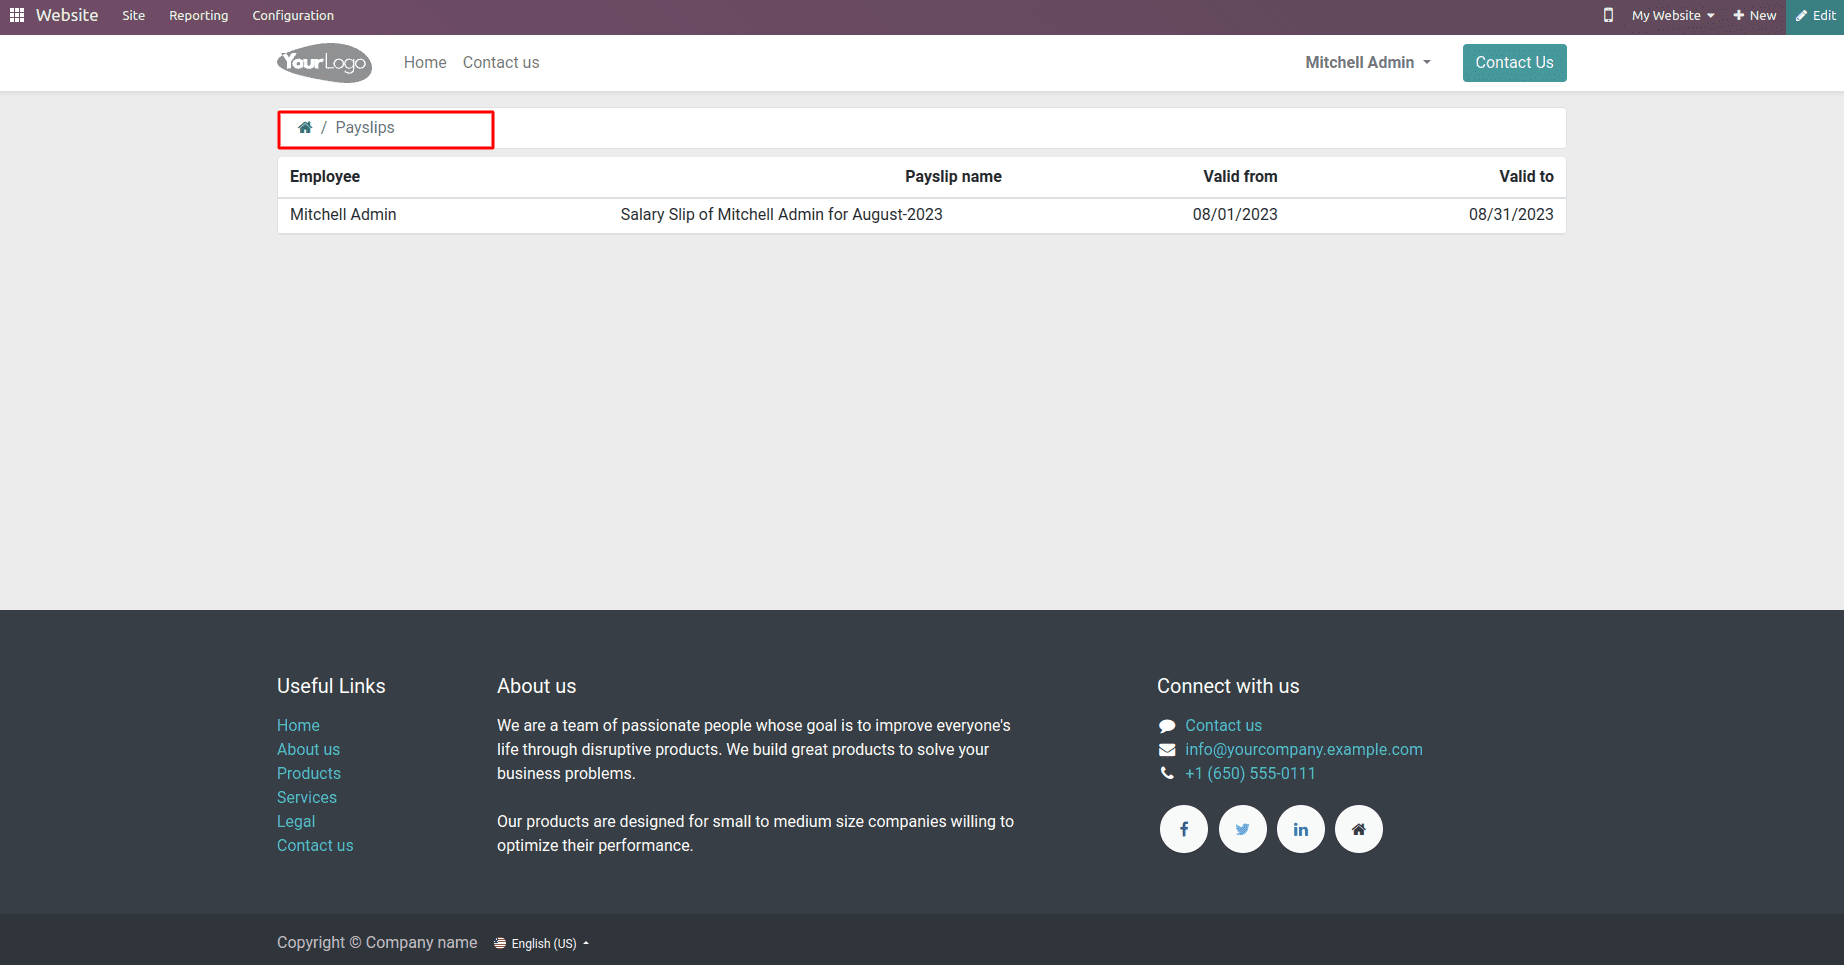
Now the page will have breadcrumbs like below.

If we want to redirect to some route, we can provide it using <a> tag like below.
<template id="portal_my_home_menu_payslips"
          	name="Portal layout : payslip menu entries"
          	inherit_id="portal.portal_breadcrumbs" priority="60">
    	<xpath expr="//ol[hasclass('o_portal_submenu')]" position="inside">
        	<li t-if="page_name == 'payslips'"
            	class="breadcrumb-item active">
            	<a t-attf-href="/my/payslip">
            	<span>Payslips</span>
            	</a>
        	</li>
    	</xpath>
	</template>
Like this, we can provide breadcrumbs for corresponding pages by passing the page name through a controller and calling the portal_searchbar template, setting breadcrumbs_searchbar as
True, and the inherit portal_breadcrumbs template and add breadcrumbs on the basis of page name.