Odoo 16 offers QR codes on invoices so that customers can easily scan the barcodes using their mobile banking applications and initiate payments instantly. This will fasten the payment procedures and reduce the chances of typing errors, which cause random payment issues. QR Codes are helpful in getting sufficient information about an invoice in a quick manner in an e-invoicing system. Here, there is no need to retrieve such details of particular invoices using external sources. You can improve the efficiency of payment management by adding QR Codes on invoices to get the data mentioned in respective invoices quickly and accurately.
Odoo never disappoints you in simplifying business operations in an effective manner. To enhance the performing capacity, Odoo introduced multiple advanced features that can be easily accessed in the respective modules. To operate the payment-related functions seamlessly, Odoo allows you to add payment QR- Codes on invoices. Sometimes, when we receive an invoice with wire transfer instructions, mistakes may happen like wrong account information or payment description. Introducing QR Codes to your invoices can help to prevent such errors. This will also save customers time. They can pay their bills in the blink of an eye.
Once you activate and configure the QR Code features into your Accounting module, Odoo permits you to add payment QR Codes to your invoices generated for the customers in the European countries where this feature is supported.
This blog will instruct you on how to add such QR Codes to your invoices using the Accounting module in Odoo.
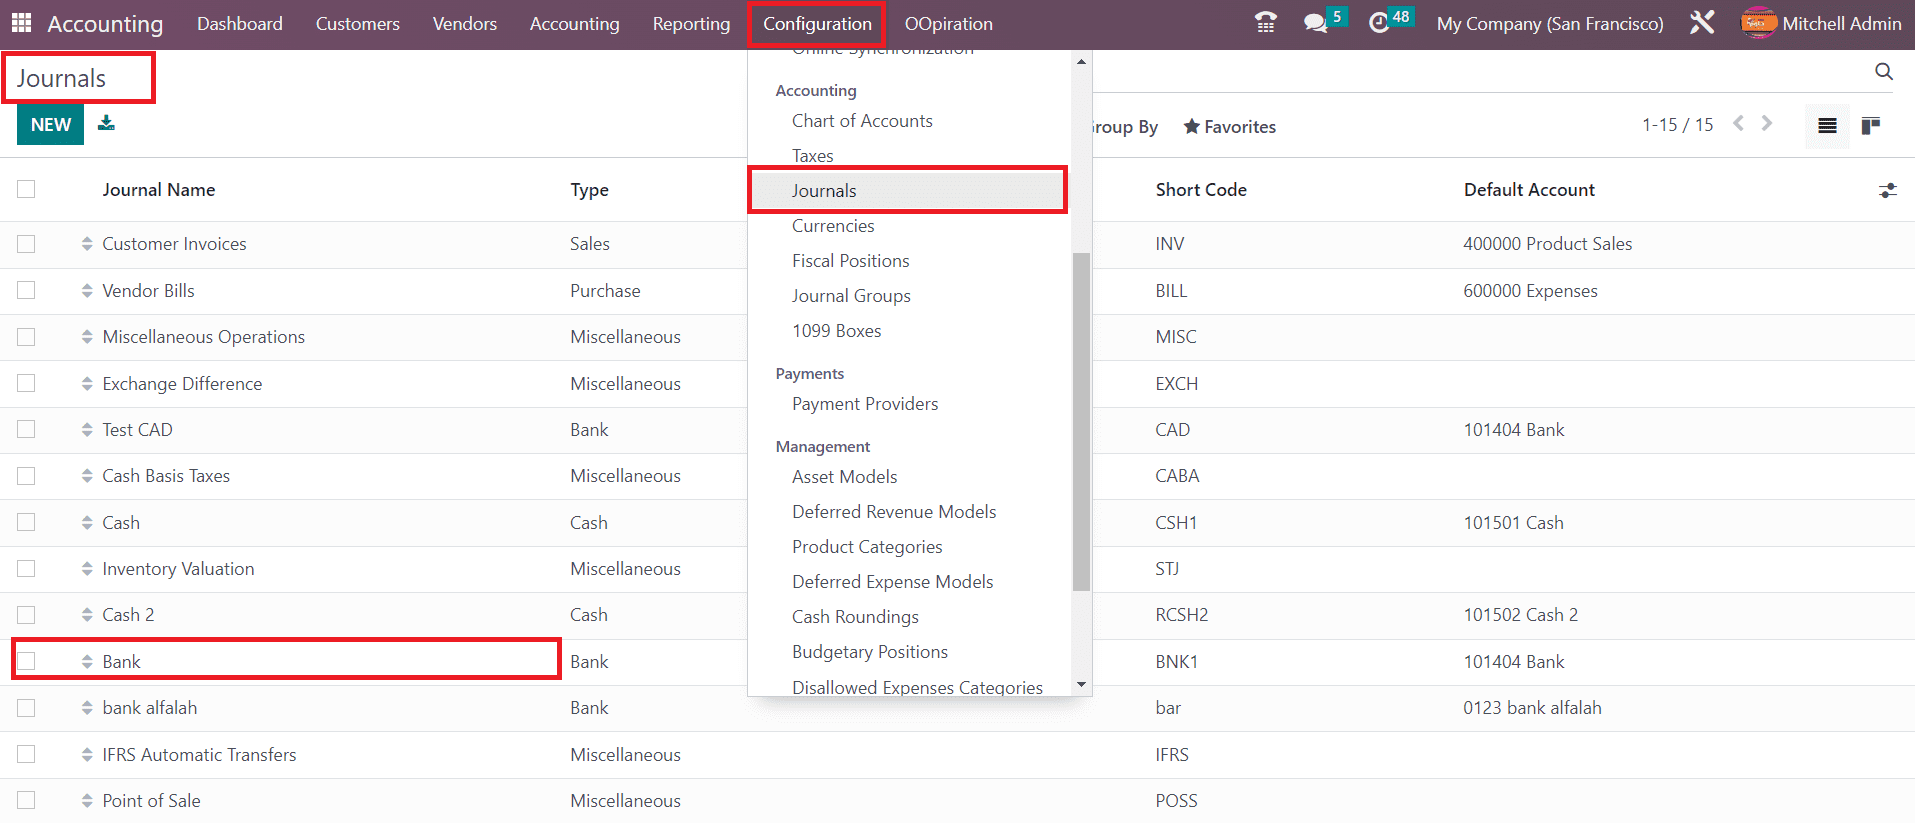
Before going to set up QR Codes, make sure that you have your bank account information configured properly. To do so, you can go to the Accounting module and select the Configuration menu. From this menu, you can select the Journal option and click on your bank journal as shown in the screenshot below.
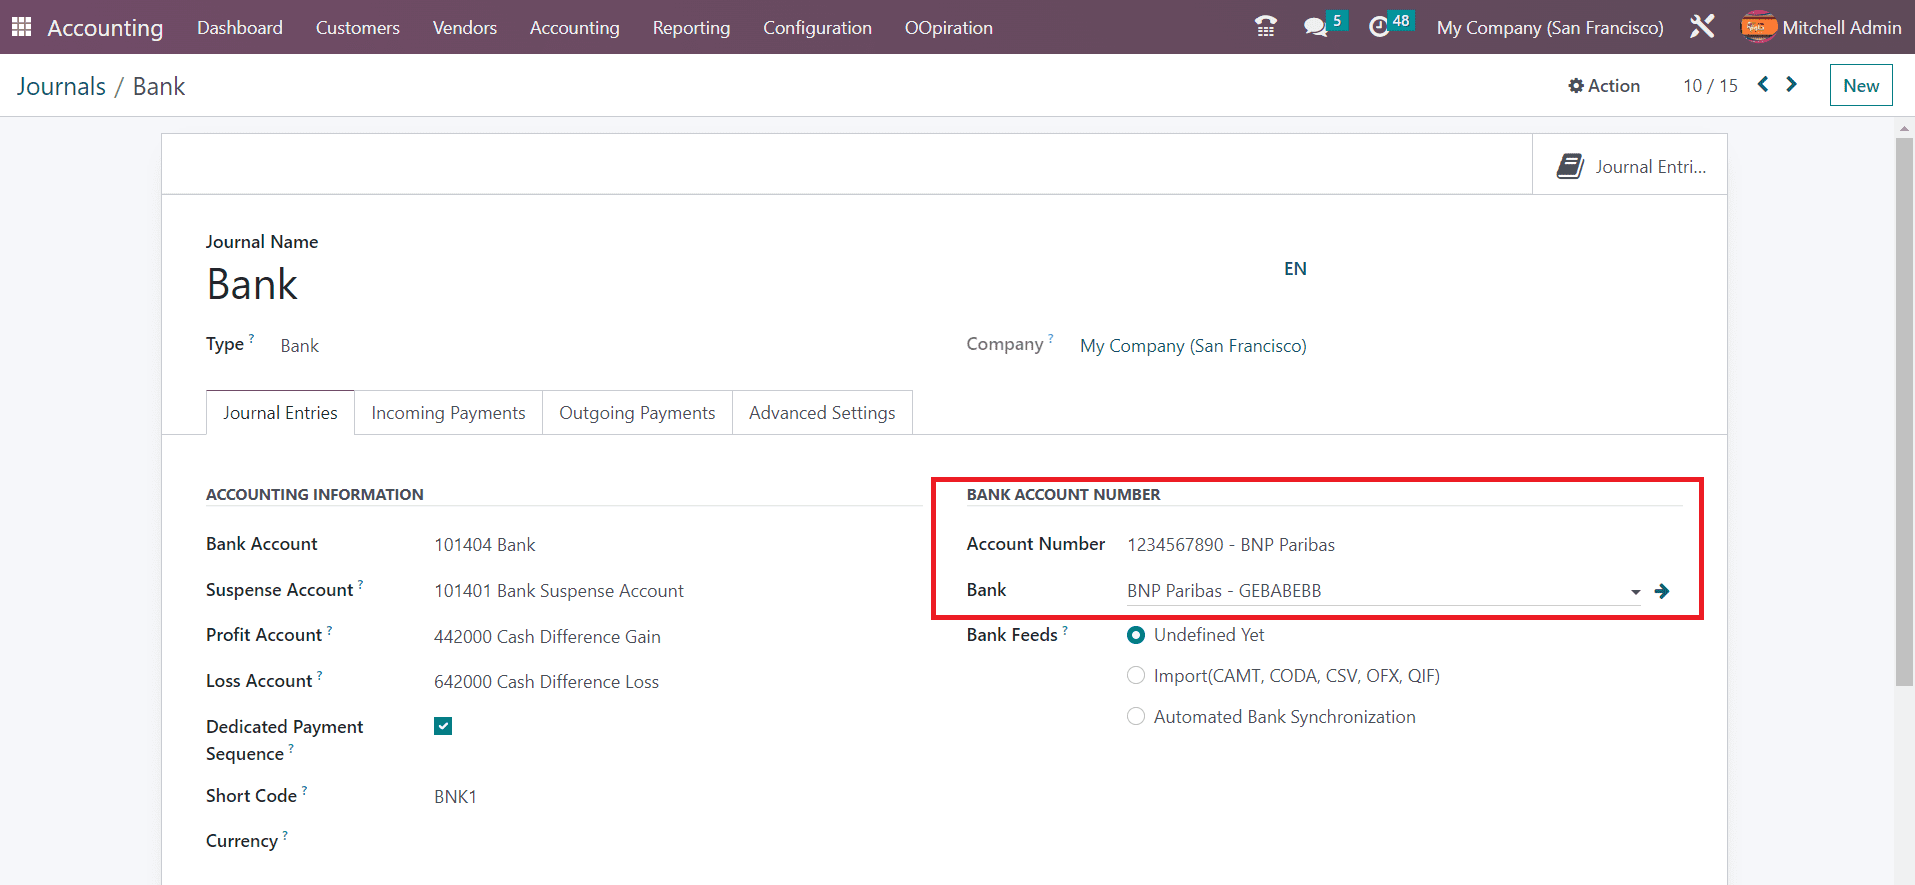
In your Bank journal, make sure to mention the Bank and Account Number in the specified fields.
Now, you can go ahead with the configuration of QR Codes in the Odoo 16 Accounting module. For this, you can select the Settings option from the Configuration menu. You will get the option to activate the QR Codes under the Customer Payments tab.

Don’t forget to click on the Save button to save the new changes. Now, let’s check how this works in Odoo. We can create a new invoice to check this action. Select the Invoice option available under the Customers menu in the Accounting module.
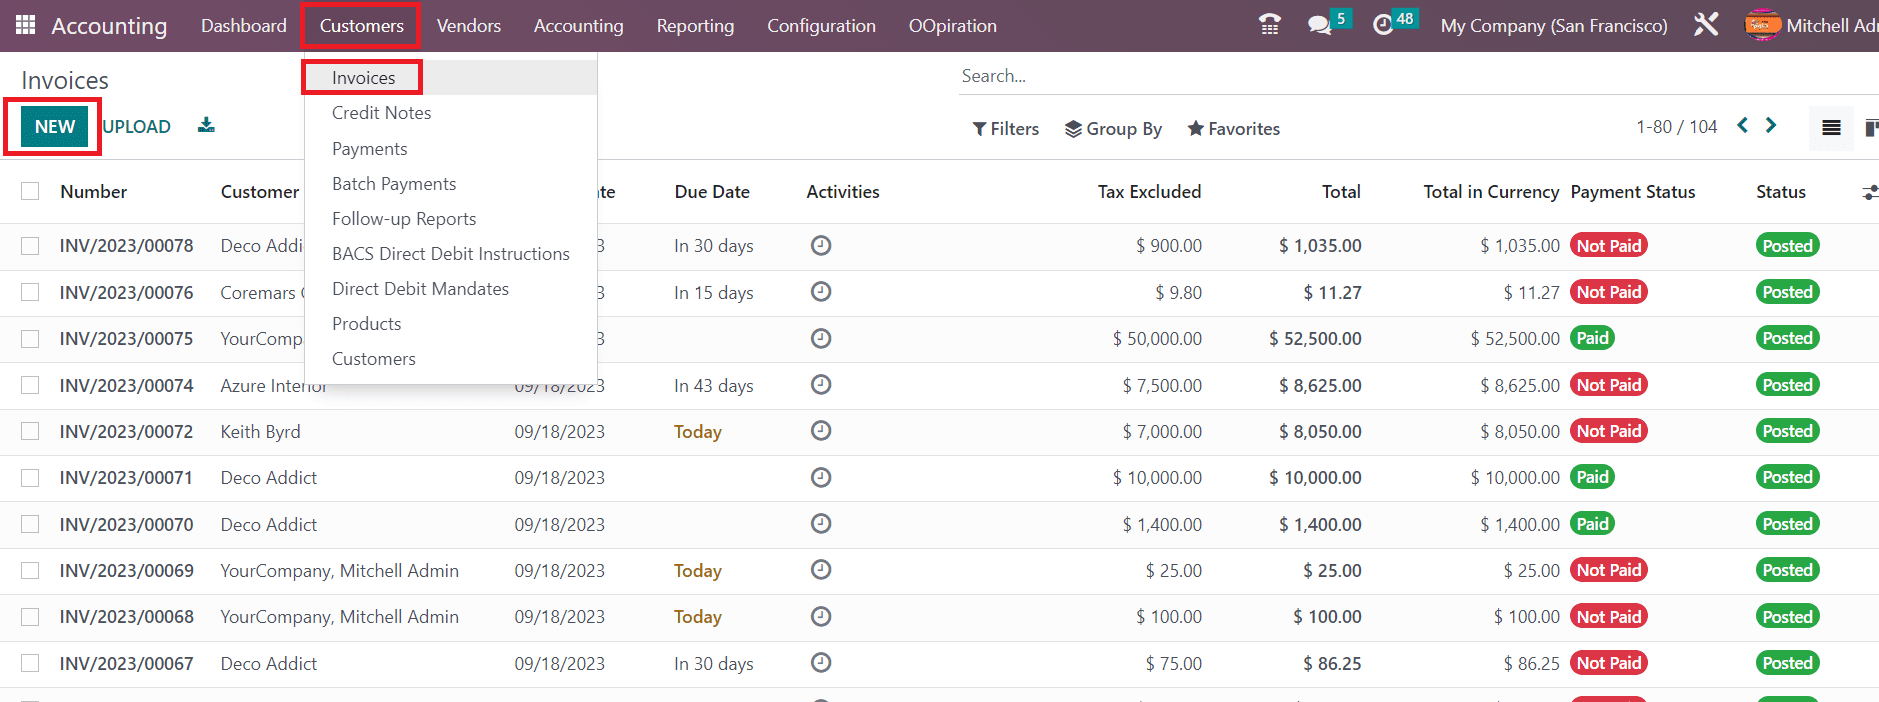
Click the New button to create a new invoice. In the corresponding fields, you can provide information related to the Customer, Delivery Address, Invoice Date, Payment Reference, Payment Terms, and Journal.
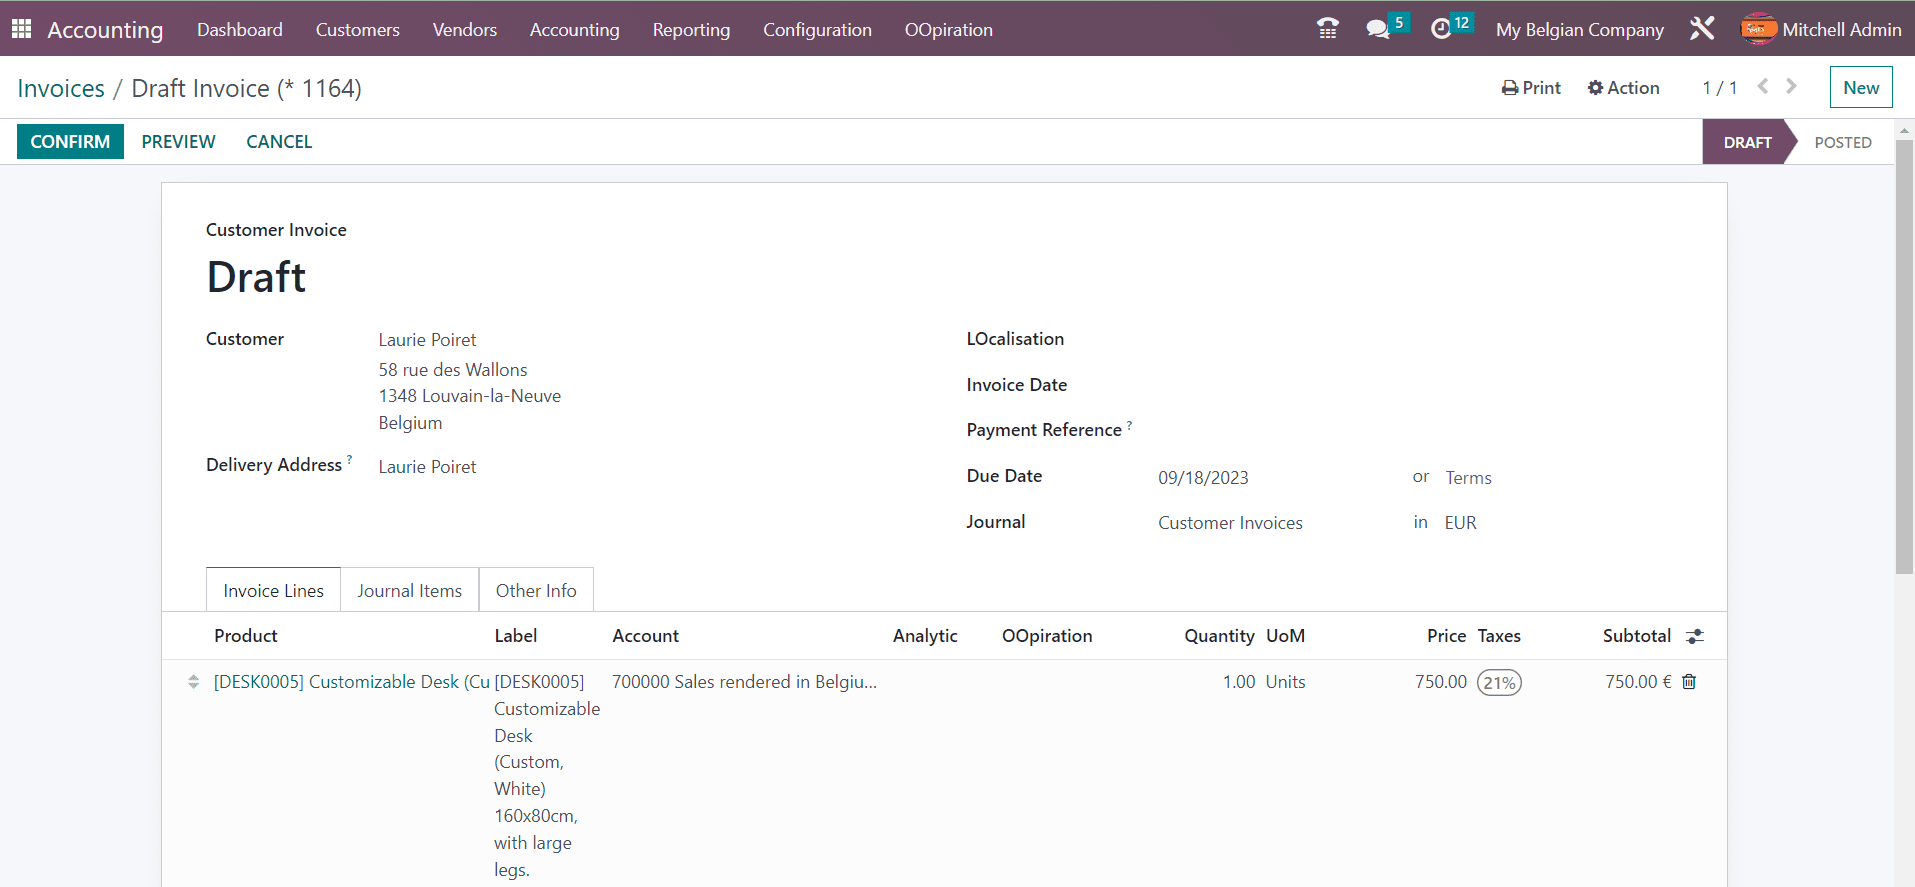
Use the Add a Line button available under the Invoice Lines tab to mention the product ordered by the customer.

In the Other Info tab, you can find the Payment QR-Code field, where you can specify the type of QR Code to be generated for the payment of this invoice when printing it. The first available and usable method will be used if you leave this field blank.
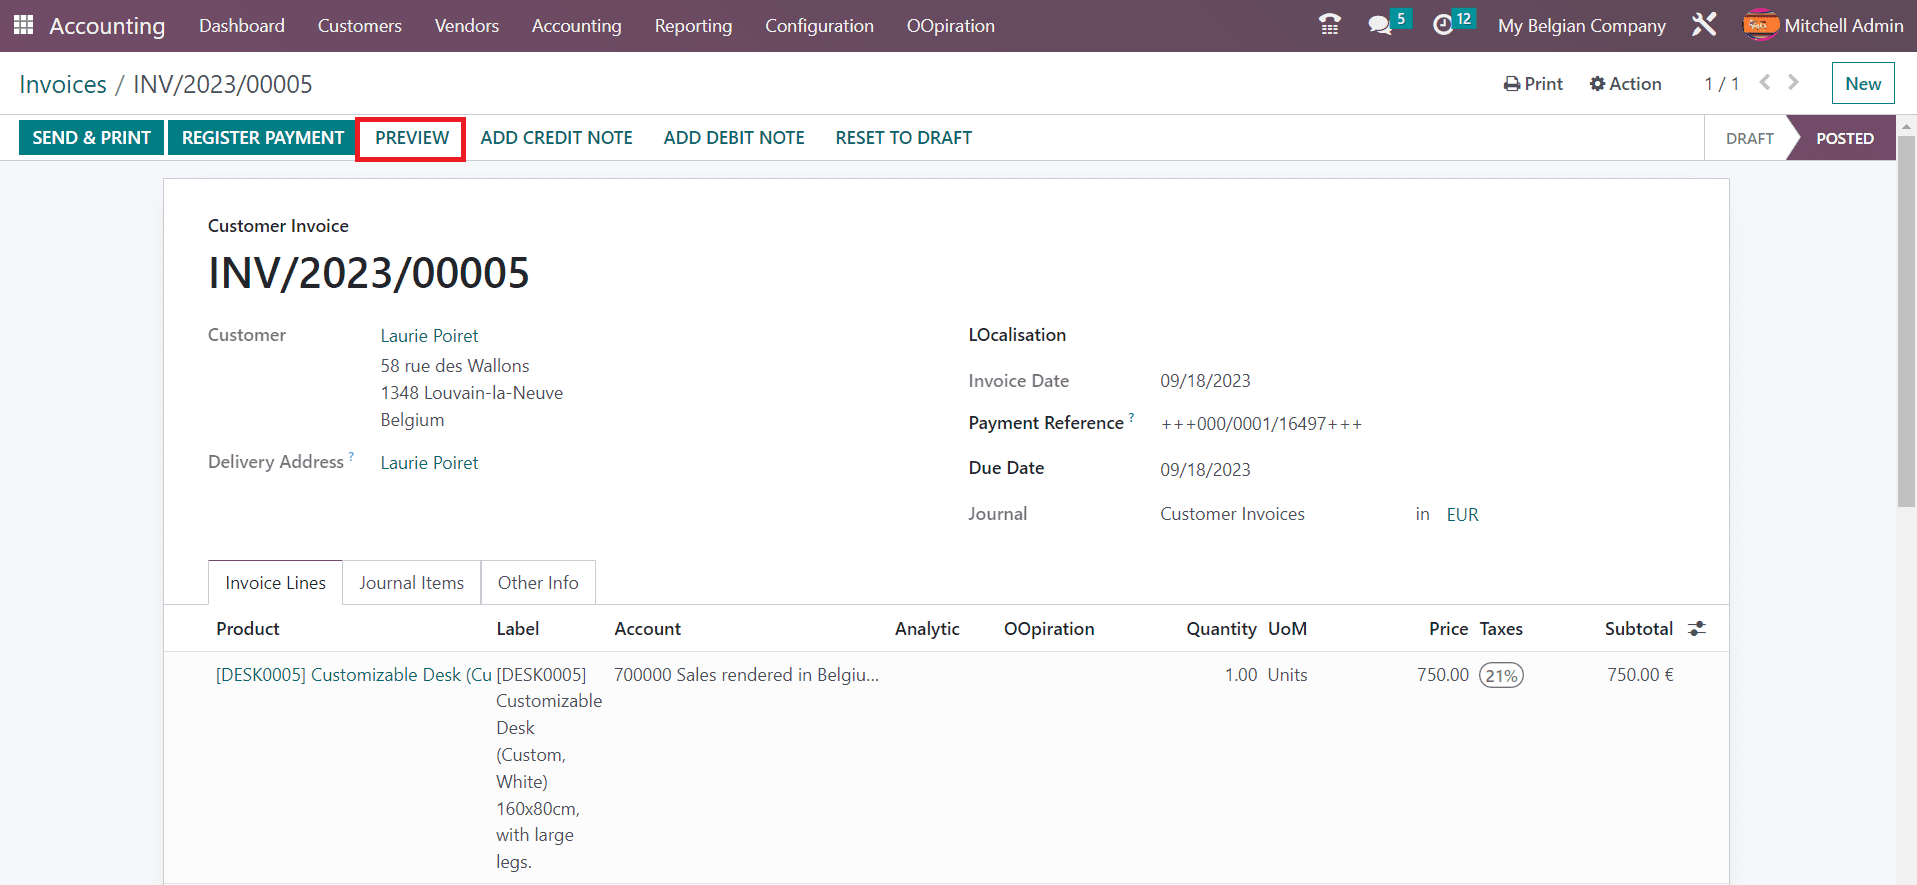
After adding details, use the Confirm button to confirm the new invoice. Now, you will get a Preview button that directs you to the customer’s view, which they will get from the customer portal.
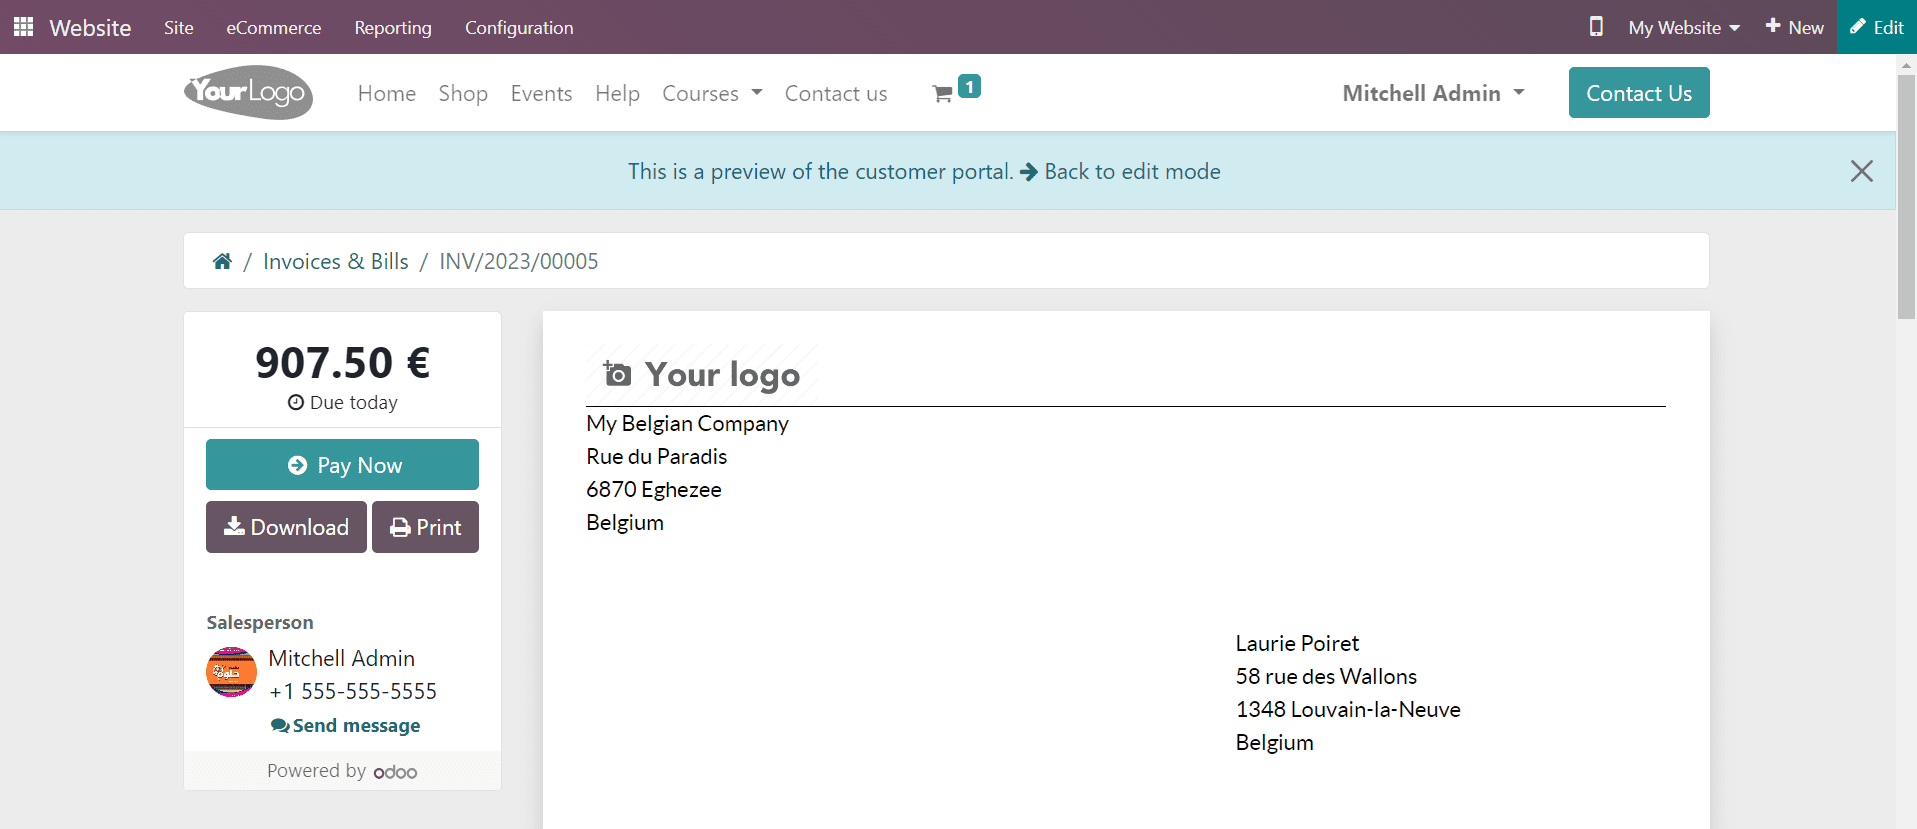
The customer preview is shown below.
When you scroll down, you can find a QR Code on the invoice which has been automatically generated by Odoo.
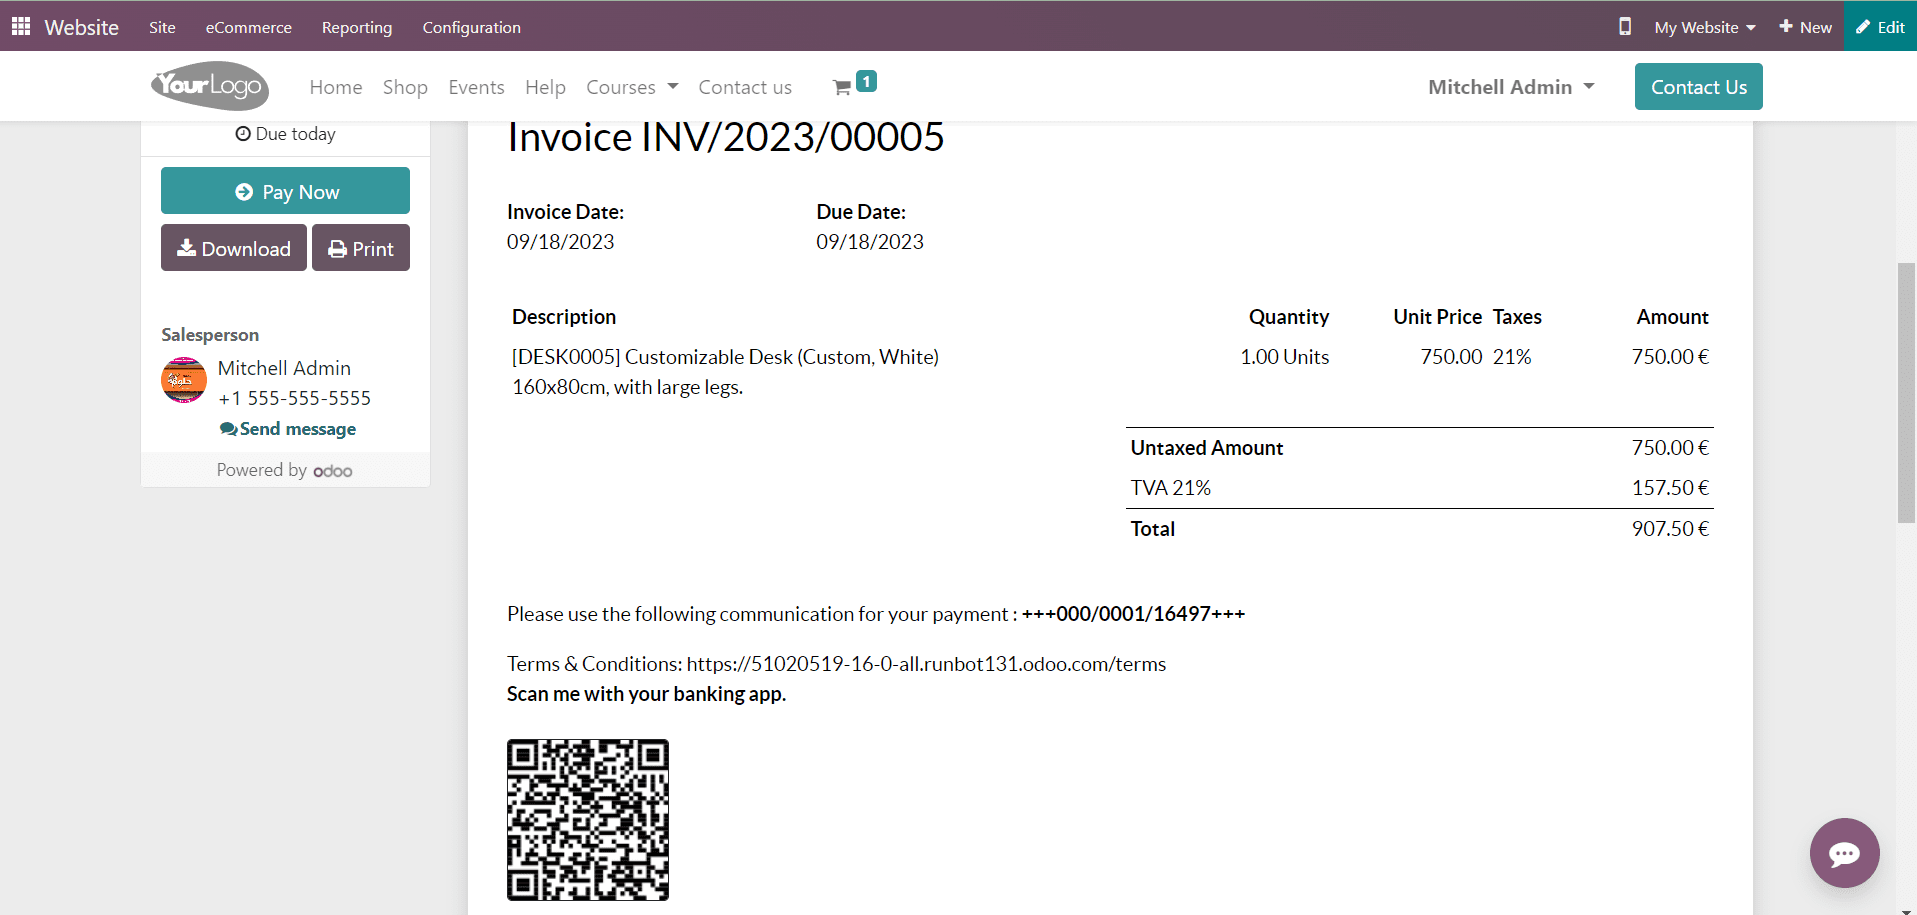
The customer can use any banking application to scan the QR Code and complete the payment. You will also get this QR Code when you take the print of the invoice using the Print option. Adding QR Codes on invoices is a very convenient method for both the company and the customer. It only takes a few steps for configuration to avail the benefits of the QR-codes in the Odoo 16 Accounting module.
To read more about generating QR code in Odoo 16, refer to our blog How to Generate QR Code in Odoo 16