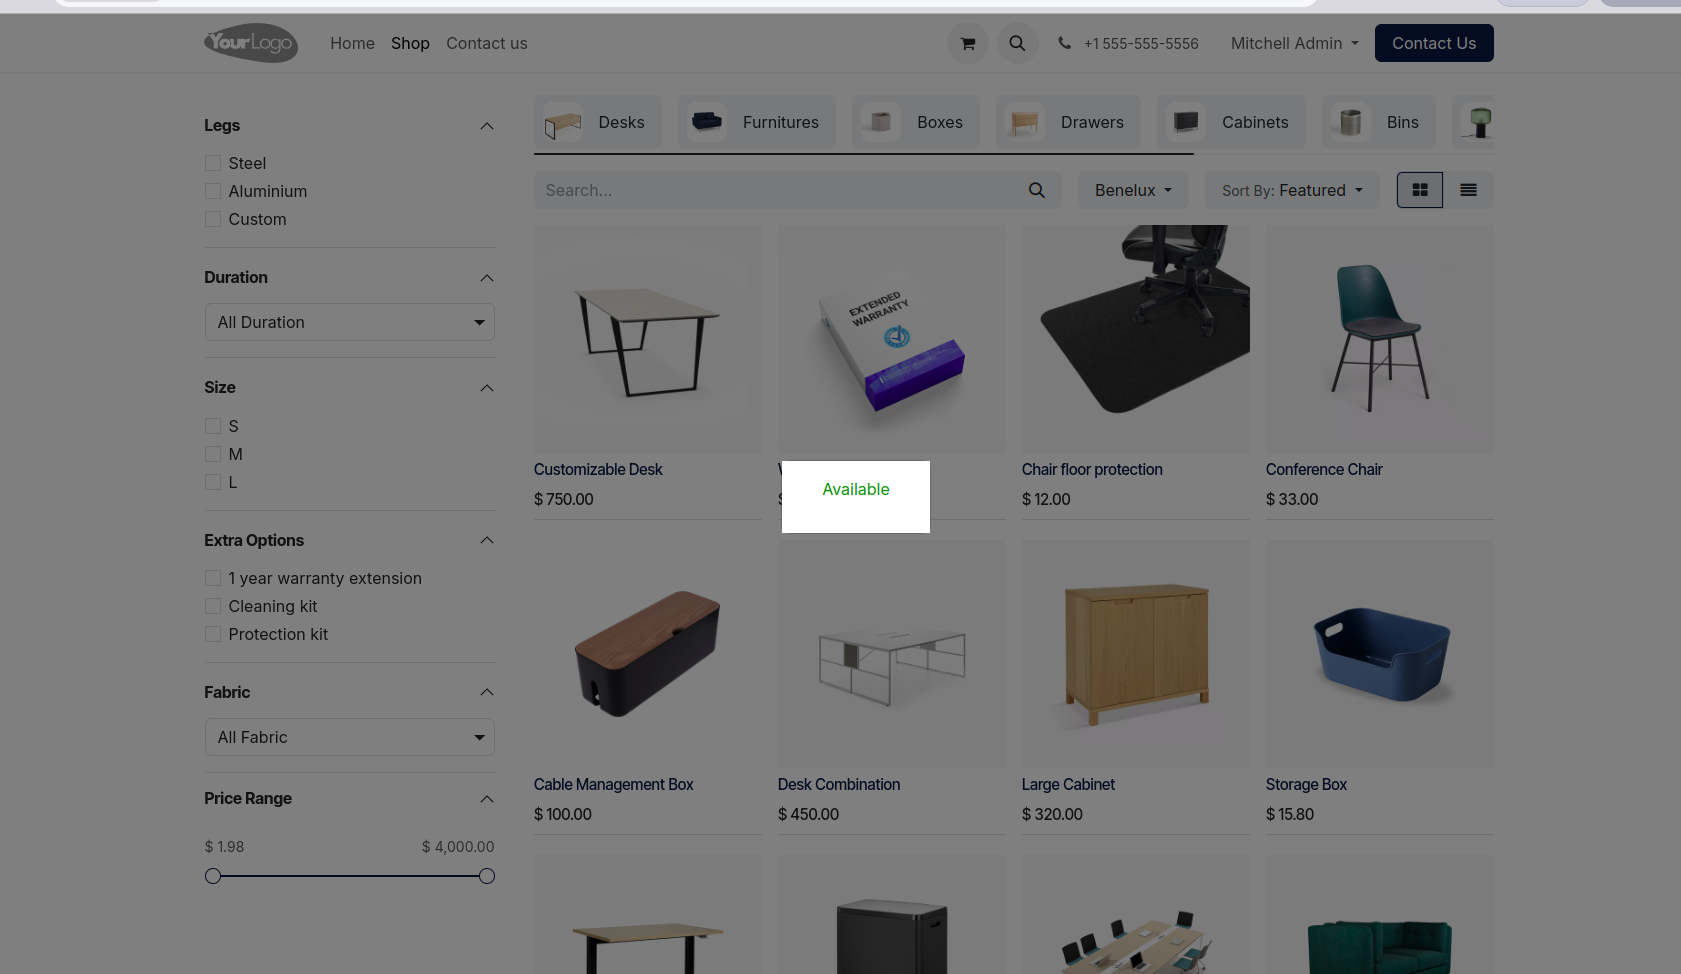
In Odoo 18, enhancing the user experience on your website is easier than ever, and one such improvement is adding a mouseover popup to display information about products. In this blog, we will walk you through a complete solution to implement a dynamic popup that shows stock availability when the user hovers over a product.
This feature will involve creating a Python controller to fetch stock data, writing JavaScript to handle the mouseover event, and designing an XML template to display the popup on the website.
First, we will need a Python controller that fetches the stock information for a product based on its ID. This controller will respond with the product's availability, which will then be shown in the popup when the user hovers over the product.
from odoo import http
from odoo.http import request
class MouseOver(http.Controller):
	@http.route('/product_info', auth='public', type='json')
	def get_product_stock(self, product_id=None):
    	if not product_id:
        	return {'error': 'No product ID provided'}
    	# Fetch the product based on product_id
    	product = request.env['product.template'].sudo().search([('id', '=',
      int(product_id))], limit=1)
    	if not product:
        	return {'error': 'Product not found'}
    	# Get stock availability information
    	stock = request.env['stock.quant'].sudo().search([
        	('product_id', '=', product.product_variant_id.id)
    	], limit=1)
    	# Determine if the product is in stock
    	is_available = stock and stock.quantity > 0
    	is_available = True if is_available else False
    	# Return availability status
    	return {'available': is_available
In this Python controller:
* The /product_info route is created to return stock information in JSON format.
* It searches for the product using its ID and retrieves its stock availability.
* If the product is available in stock, it returns {'available': True}, otherwise, it returns {'available': False}.
Next, we will write the JavaScript code that triggers the popup when the user hovers over a product. The JavaScript code will communicate with the backend to fetch the stock data and then update the content of the popup.
/** @odoo-module */
import PublicWidget from "@web/legacy/js/public/public_widget";
import { rpc } from "@web/core/network/rpc";
console.log("Initializing Mouseover Popup Widget");
export const DateTimePickerWidget = PublicWidget.Widget.extend({
	selector: "#wrapwrap",
	events: {
    	'mouseover .product-info-a': 'initProductInfo',
	},
	initProductInfo: function(ev) {
    	ev.preventDefault();
    	const element = ev.currentTarget;
    	const product_id = $(element).data("id");
    	console.log("Fetching stock info for Product ID:", product_id);
    	rpc('/product_info', { product_id: product_id })
        	.then(function(response) {
            	// Update modal content based on response
            	const modalBody = $("#modal-content-placeholder");
            	if (response.available) {
                	modalBody.html("<p style='color: green; font-size:
                  16px;'>Available</p>");
            	} else {
                	modalBody.html("<p style='color: red; font-size:
                  16px;'>No Stock</p>");
            	}
            	// Show the modal
            	$("#product_info_model").modal("show");
        	})
        	.catch(function(error) {
            	console.error("Error fetching product info:", error);
            	$("#modal-content-placeholder").html("<p style='color:
                  red; font-size: 16px;'>Error fetching product info</p>");
            	$("#product_info_model").modal("show");
        	});
	},
});
PublicWidget.registry.DateTimePickerWidget = DateTimePickerWidget;
In the JavaScript code:
* We use the mouseover event to trigger the initProductInfo function when the user hovers over a product.
* The rpc call communicates with the /product_info route to fetch the stock availability.
* The modal content is updated based on the response from the server, displaying either "Available" in green or "No Stock" in red.
First, we can add a custom product info button
<!-- Insert the product info modal -->
	<template id="info_button_popup" inherit_id="web.frontend_layout">
    	<xpath expr="//div[@id='wrapwrap']/main" position="before">
        	<t t-call="web_mouse_over.product_info_popup"/>
    	</xpath>
	</template>
	<!-- Modal for displaying stock availability -->
	<template id="product_info_popup">
    	<div class="modal fade" id="product_info_model" tabindex="-1">
        	<div class="modal-dialog custom-modal-width
                modal-dialog-centered">
                <div class="modal-content">
                	<div class="modal-body" style="background-color: white;">
                  <!-- Placeholder for dynamically updated stock info --->
                    	<div id="modal-content-placeholder"
                         style="text-align: center;"></div>
                	</div> </div>
        	</div></div>
            </template>
This XML template does the following:
* It customizes the product display by adding a new button with the class .product-info-a. This button is attached to each product and will trigger the mouseover event.
* The modal is defined in the product_info_popup template. It has a placeholder for the stock status (modal-content-placeholder) that will be dynamically updated by the JavaScript code.
By following these steps, you can easily add a mouseover popup feature to display stock availability on your Odoo 18 website.

This implementation uses Python for backend logic, JavaScript for front-end interactions, and XML for Odoo template customizations. The result is an enhanced user experience, providing customers with real-time product availability information directly on the website.
This feature can be expanded further by adding more details to the popup, such as price, description, or custom messages based on product attributes.