The Odoo website offers a lot of options for adding popups. Popups display data that must be shown or saved. It is easy to add to a button link, and its actions may be controlled with a modal under the data-toggle and data-target properties, as seen below.
<a role="button" class="btn btn-secondary" data-toggle="modal"
                   id='myPopup' data-target="#mypopup" href="#">
                   <t>My Popup</t>
               </a>
The element enclosing the popup content that you wish to show has this id, "myPopup."
As you can see, we've made use of the modal component from Bootstrap. We can learn a few things about it.
A popup window or dialogue box that appears on top of the document or current page is known as the modal component, sometimes known as a plugin. In the sample above, we've utilized two data properties to open the modal window. The id of the modal parent division and the id given in the data-target property have to match. The div element with class name.modal-dialog can have its modal size changed by applying the appropriate classes (e.g.,.modal-sm for small modals and.modal-lg for big modals). When you click outside or the background of the modal, it instantly closes.
We can now talk about the popup that appears when the selected element is mouseoverd and how web controllers and jsonRpc calls are used to generate its data template.
I've added a button to the website product button list, as shown below, for demonstrations.
<template id="product_info_shop" inherit_id="website_sale.products_item"
         customize_show="True" name="OUT OF STOCK">
   <xpath expr="//div[hasclass('o_wsale_product_btn')]" position="inside">
       <a title="OUT OF STOCK" class="btn btn-secondary product-info-a"
          t-att-data-id="'%s' % product.id">
           <span style="color: red;"
                 class="fa fas fa-ban mr-2"/>
       </a>
   </xpath>
</template>
I have inherited the website_sale.products_item template in this case, and I have added the custom button to the div element with class name 'o_wsale_product_btn' by utilizing the necessary xpaths.
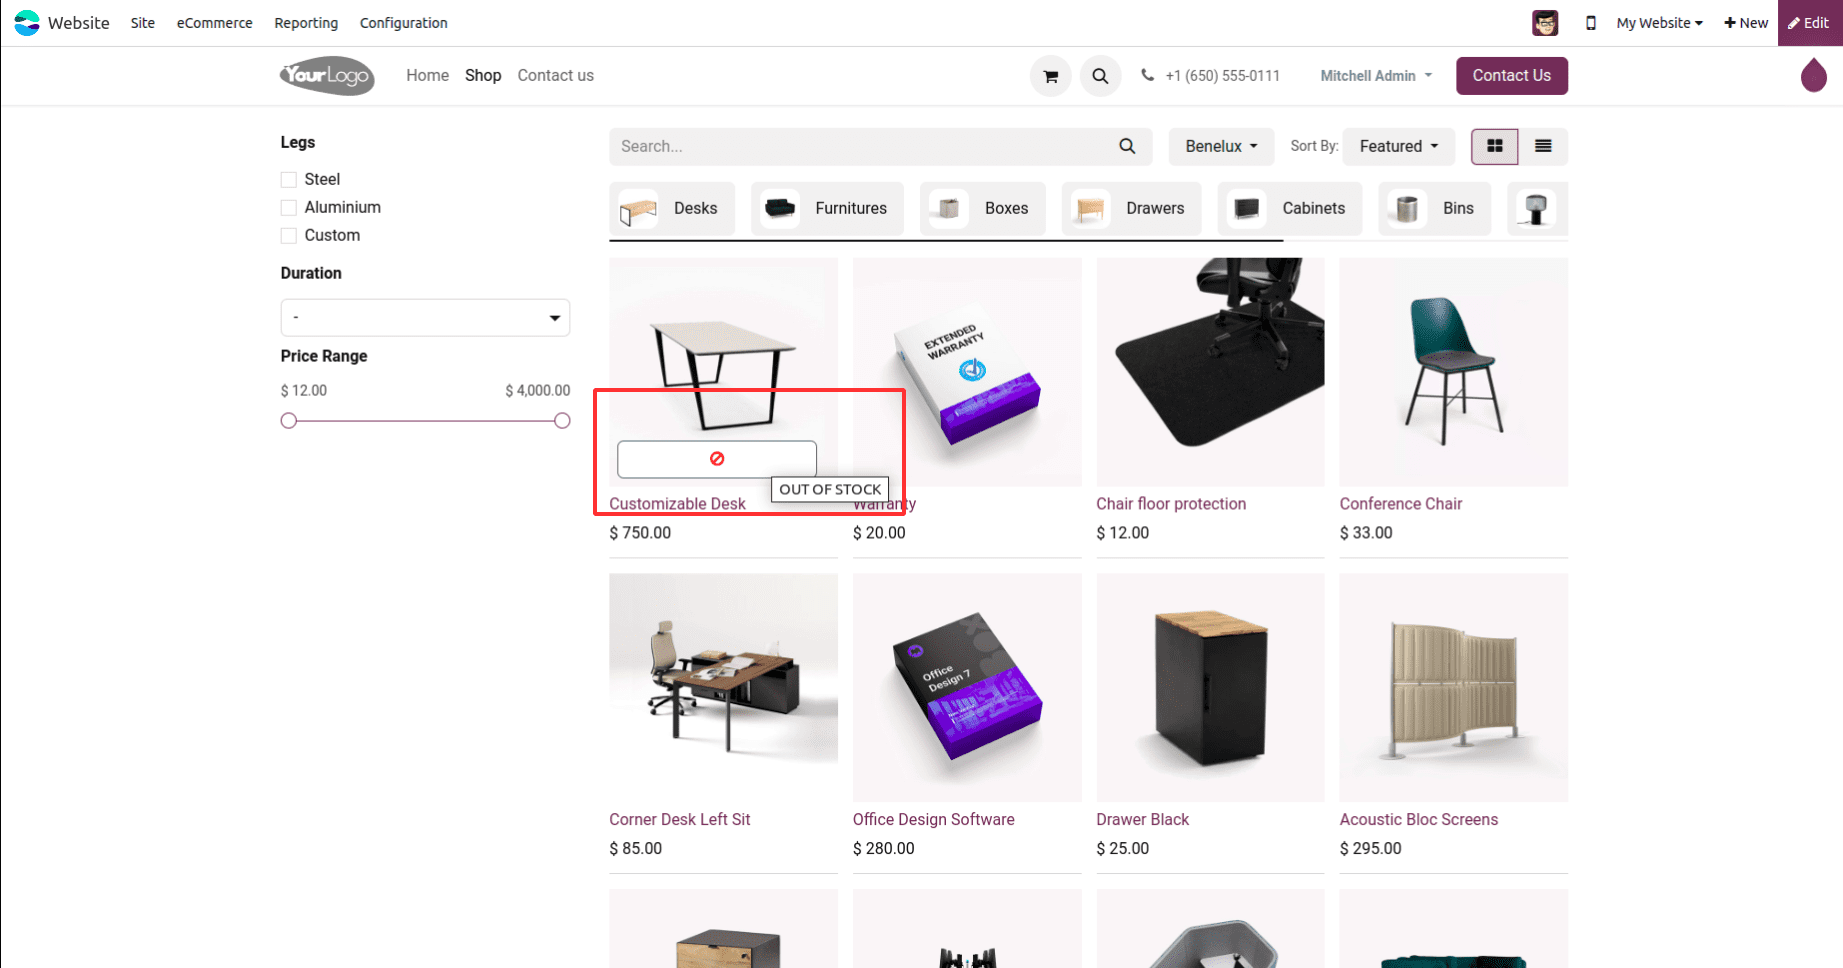
Here, I've used a mouse-over popup for the items on the website. When we just hover over the products, it displays the ban sign if the products are out of stock.
Also, the bootstrap model elements have been specified as follows in the website view:
<template id="info_button_popup" inherit_id="web.frontend_layout">
   <xpath expr="//div[@id='wrapwrap']/main" position="before">
       <t t-call="top_selling_product_in_category.product_info_popup"/>
   </xpath>
</template>
<template id="product_info_popup">
   <div class="modal fade" id="product_info_model" tabindex='-1'>
       <div class="modal-dialog modal-lg modal-dialog-centered">
           <div class="modal-content">
               <div class="modal-body" style="background-color: white;width: 200px"/>
           </div>
       </div>
   </div>
</template>
Here is an example of js code for defining the hover event, js selector, and ajax request using a jsonRpc call to the necessary web controller.
odoo.define('top_selling_product_in_category.product_info', function(require) {
    'use strict';
    var sAnimations = require('website.content.snippets.animation');
    var publicWidget = require('web.public.widget');
    var ajax = require('web.ajax');
    var WebsiteSale = publicWidget.registry.WebsiteSale;
    var core = require('web.core');
    var QWeb = core.qweb;
    var Dialog = require('web.Dialog');
    var _t = core._t;
    publicWidget.registry.ProductInfo = publicWidget.Widget.extend({
        selector: "#wrapwrap",
        events: {
            'mouseover .product-info-a': 'initProductInfo',
        },
        initProductInfo: function(ev) {
            ev.preventDefault()
            self = this;
            var element = ev.currentTarget;
            var product_id = $(element).attr('data-id');
            ajax.jsonRpc('/product_info', 'call', {
                'product_id': product_id
            }).then(function(data) {
                $("#product_info_model .modal-body").html(data);
                $("#product_info_model").modal({
                    keyboard: true
                });
            });

        },

    });
});
This is an example of the mouseover popup on the Odoo website, together with sample code for the front-end view, and JavaScript function.
To read more about How to Configure Products in Odoo 17 Website, refer to our blog How to Configure Products in Odoo 17 Website.