Action buttons are essential elements in Odoo that let users start particular workflows or actions connected to a given form view. These buttons improve user efficiency and streamline operations when they are placed strategically throughout the user interface. They can be programmed to carry out various functions, including document creation, information updating, and process initiation.
They are important because they give users a clear and simple way to communicate with the system. These buttons act as entry points to features that are hidden behind menus or settings. Customization is becoming more and more necessary as Odoo develops to satisfy certain business needs. Users may now add buttons to action buttons in all form views in Odoo 17 thanks to a robust functionality that gives them even more flexibility and control.
Adding a Custom Button to the Action Menu in Odoo
In this guide, we'll walk through the process of adding a custom button to the action menu in Odoo. This custom button will trigger the creation of a sale order through a wizard. Creating a button for the action button in all form views is a pretty simple process. Initially, the files in the format listed below must be created.
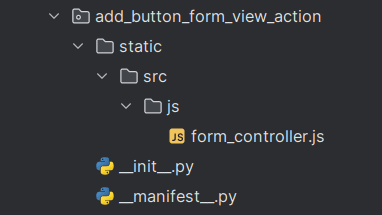
Then add a manifest file as below: Then add the manifest as follows,
{
   'name': "Action Button View",
   'version': '17.0.1.0.0',
   'category': 'Extra Tools',
   'summary': 'Add button action button form view',
   'description': """Add button to Form view's action button""",
   'depends': ['base'],
   'assets': {
           'web.assets_backend': [
               'add_button_form_view_action/static/src/js/form_controller.js',
           ],
    },
   'installable': True,
   'auto_install': False,
   'application': False,
}
Here you can add the js file which is used to patch the form controller on the “web.assets_backend” assets.
1. Import Necessary Modules
First, we need to import the required modules from Odoo's JavaScript framework, as shown below.
/** @odoo-module **/
import { FormController } from '@web/views/form/form_controller';
import { patch } from "@web/core/utils/patch";
2. Patch the FormController Class
We will patch the FormController class to add our custom menu item to the action button. Patching is a way to extend or modify the behavior of existing classes without altering the original source code.
/**
patch the FormController class to add new menu in action button
*/
patch(FormController.prototype, {
    /** Super the getStaticActionMenuItems(function that creates archive,
        unarchive, duplicate, delete menus in action button **/
   getStaticActionMenuItems() {
       const { activeActions } = this.archInfo;
       let val = super.getStaticActionMenuItems()
3. Add Custom Menu Item
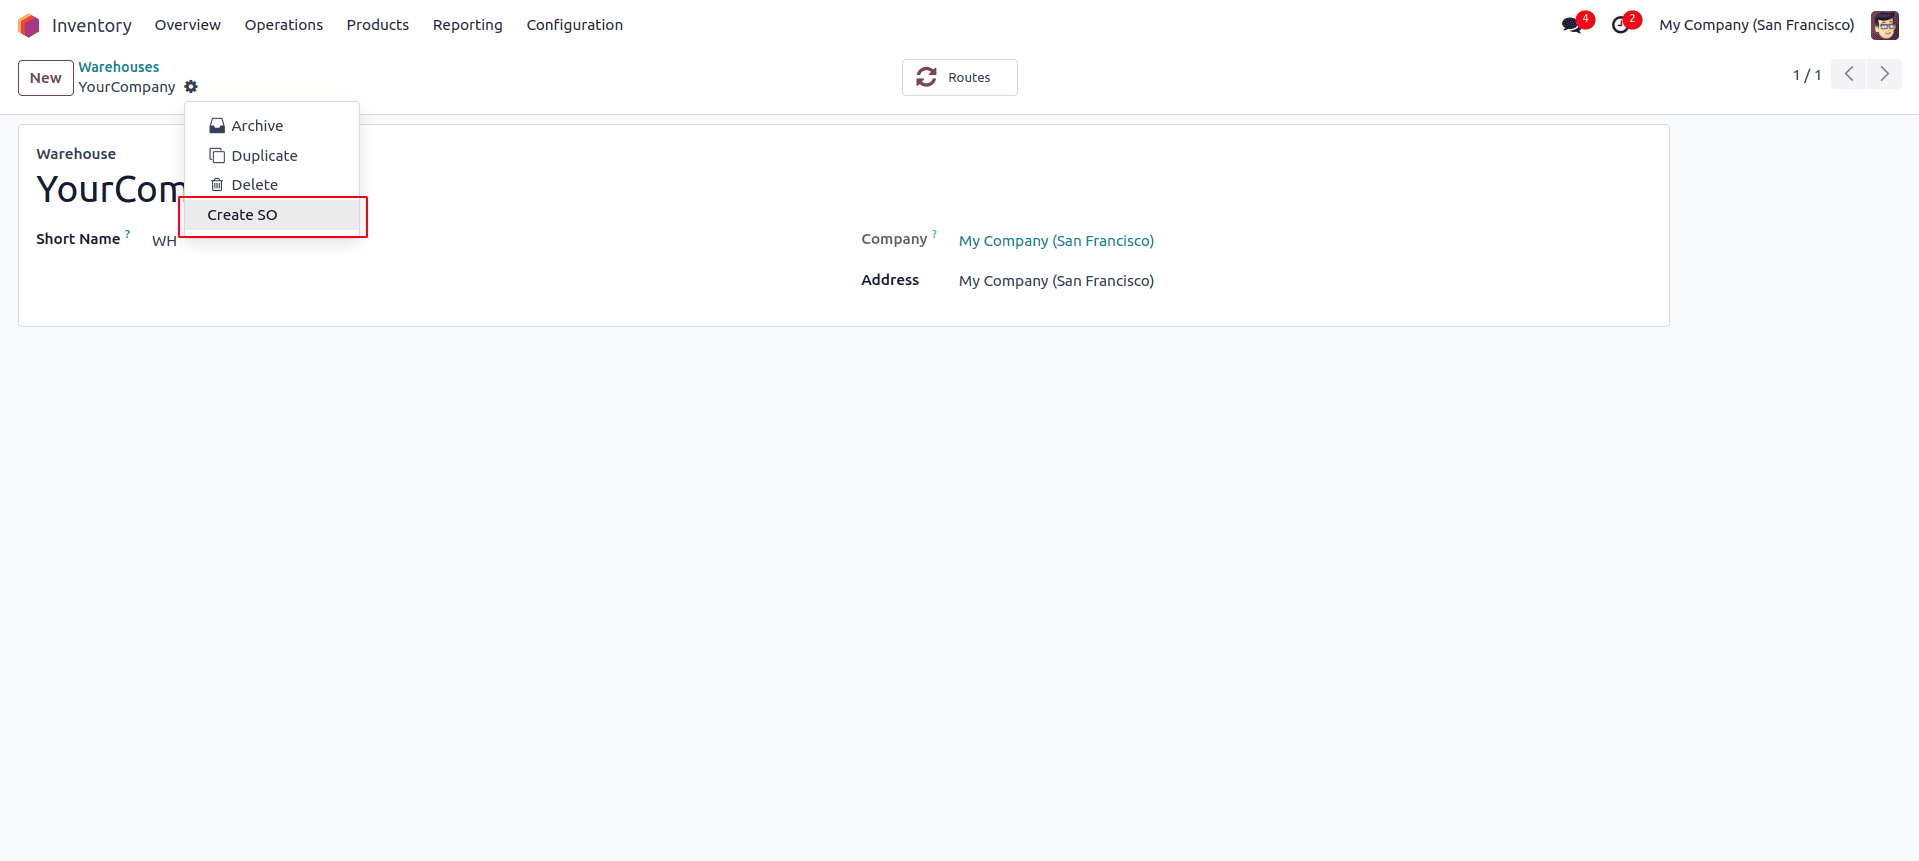
We add our custom menu item to the existing action menu items. In this case, we add an item with the key sale_order, which will show up as "Create SO" in the action menu.
      val['sale_order'] = {
               sequence: 50,
               description: "Create SO",
               callback: () => {
                   this.env.services.action.doAction({
                       type: 'ir.actions.act_window',
                       name: 'Create Sale order',
                       res_model: "sale.order",
                       target: 'new',
                       views: [[false, 'form']],
                   });
               },
               skipSave: true,
           }
       return val
   },
});
How it Works
* Menu Item Addition: The val['sale_order'] block defines the new menu item. The sequence property determines the order in which this item appears in the action menu.
* Description: The description property defines the text displayed for a menu item in the action menu. This helps users understand the purpose of each item, enhancing navigation and usability. Setting an appropriate description improves the overall user experience.
* Callback Function: A callback function with a doAction method is described in the text. Typically, callback functions are carried out in reaction to particular events. Here the wizard that directs the formation of a sales order is opened primarily by the doAction method. This is a crucial stage since it starts the interaction with the user that will gather the data needed to create the sales order.
* Skip Save: The skipSave property set to true ensures that the current record is not automatically saved when this menu item is clicked.
The action button is shown in the image below.
On clicking, it throws a wizard, as shown below:
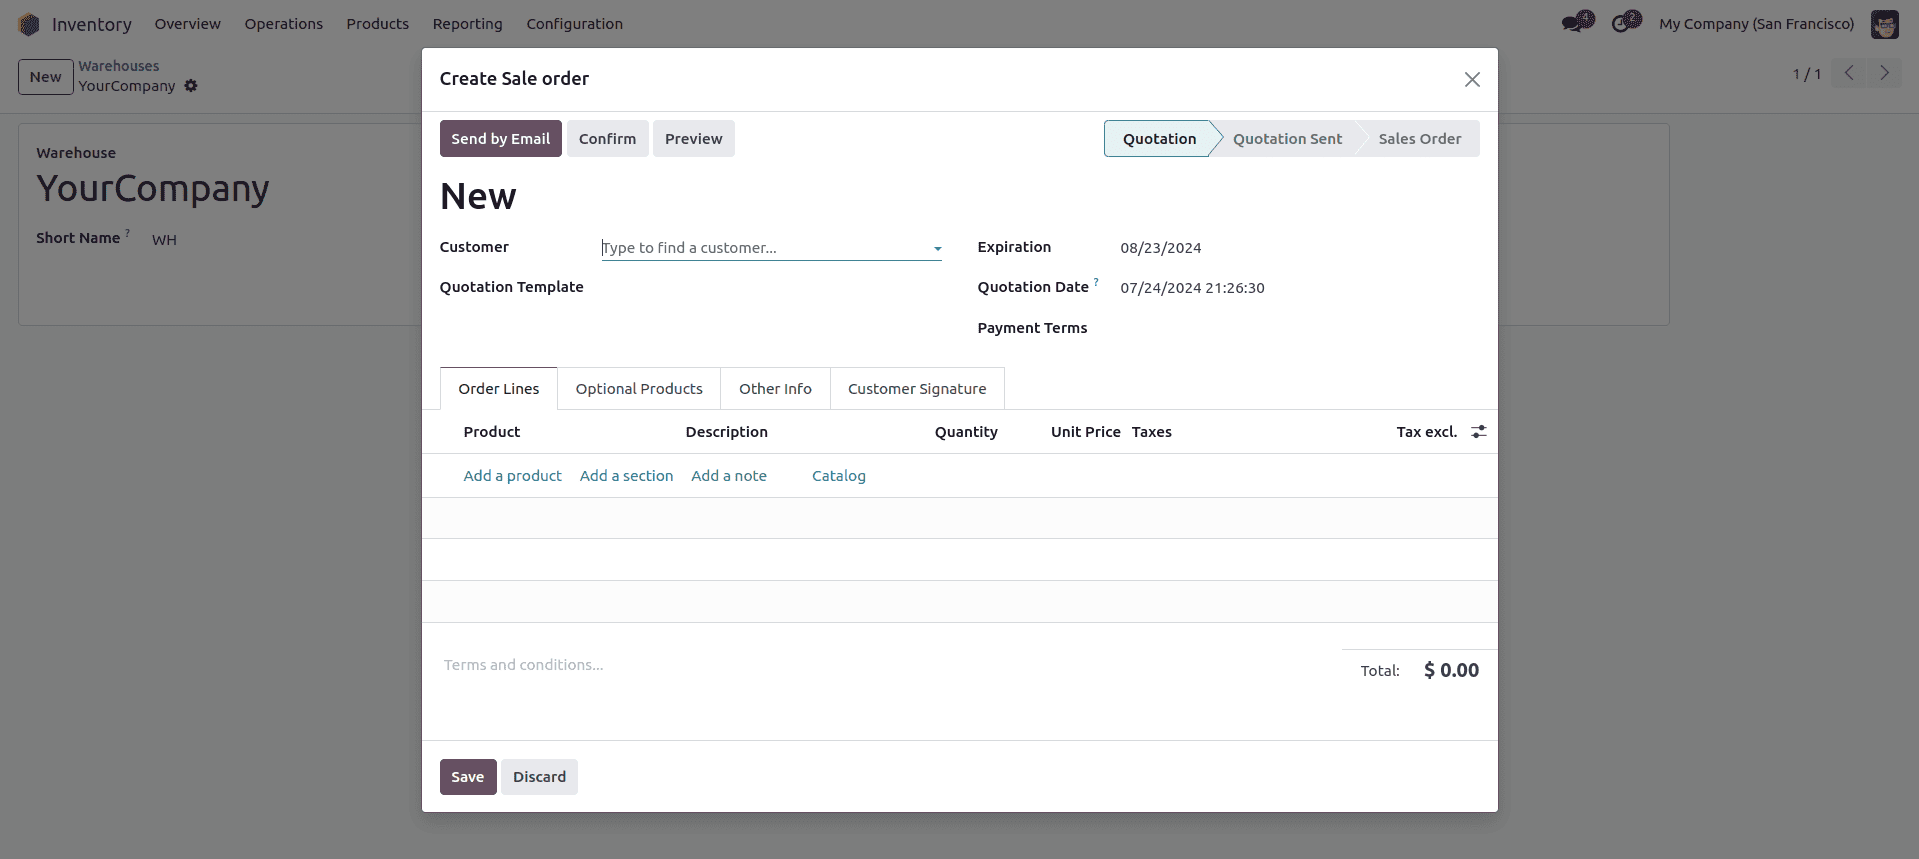
To put it briefly, the approach outlined entails modifying the Odoo FormController to add a new button to the form view. When this button, "Create Sale Order," is hit, a callback function opens a wizard. After that, the wizard walks the user through each step required to make a sales order. In software development, this kind of customization is commonplace to fit the functionality and user interface to particular business needs.
To read more about How to Add a Button Inside Action Menu in Odoo 17, refer to our blog How to Add a Button Inside Action Menu in Odoo 17.