Currently, under the Odoo enterprise edition, the individuals are able to seamlessly manage the customer payment follow-up via accounting module. However, under the Odoo community edition, the customer follow-up management plans aren’t feasible. In this blog, I'm going through a module named “Customer Payment Follow-up” which implements a new feature in Odoo community edition to solve this follow-up deficiency.
There are many benefits the individuals can acquire through customer payment follow-up plans. Benefits include further going into the credit collection processes, providing options for automating every step to get paid via triggering them at the right time and so on.
You might be wondering how? These steps include mailing customer statements, sending regular letter (with the Docs-away integration), creating a task for performing these operations manually, and so on. To know more about this, refer our blog customer payment follow-up management in odoo
It is essential for your business to collect payments when they are overdue. Customer Follow-up helps you to send appropriate reminders to customers whose payments are late. The application will generate mail for each customer who got with unpaid invoices. One can view the unpaid invoices in the partner form. And thereby easily print it as a letter or send a mail to the customer enclosing the invoice details. Both letter/email can be triggered from the page itself. For automatically sending emails to customers, one can configure follow-up levels and can set a separate mail for each level and print out an invoice list with total due amount details of each customers using the send overdue option. The app can be effectively used for invoice follow-up needs.
Now let’s see how to manage customer payment follow-ups in Odoo12.
First, you need to install Customer Follow-up module.

Then go to Invoicing -> Configuration -> Management -> Follow-up Levels in order to configure levels in follow-up.
Send an Email: send an email to the customer using the provided text.
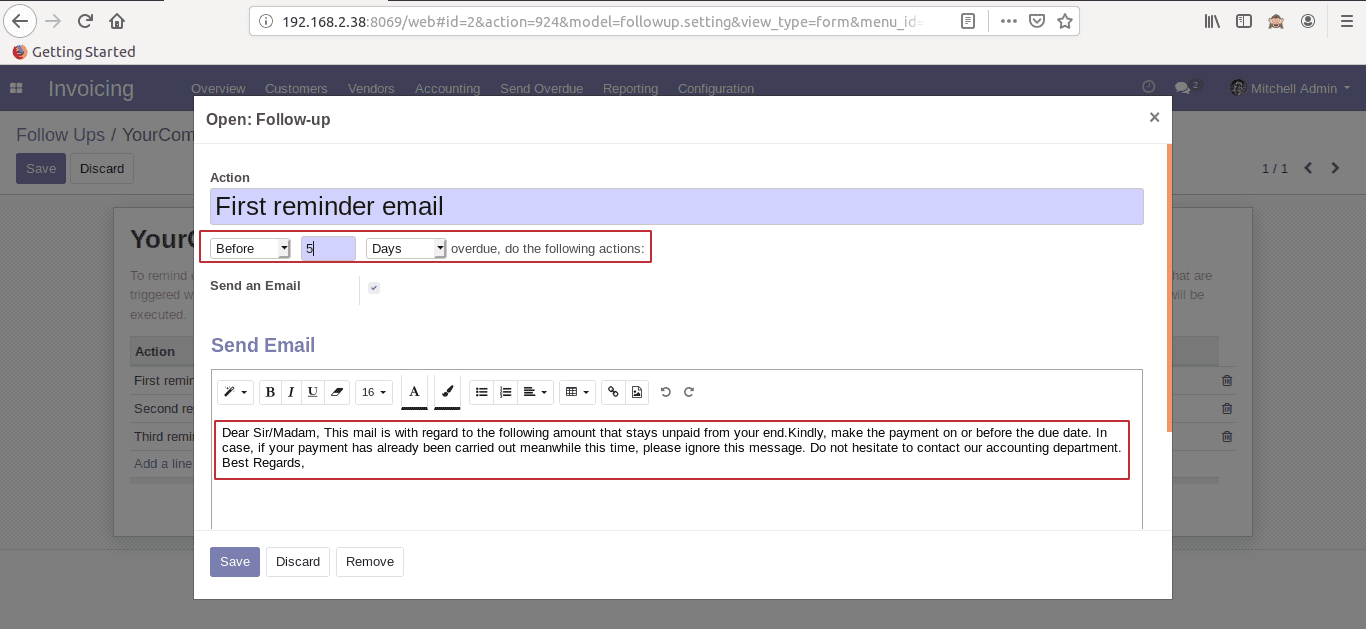
You can set reminder emails (days/hours after/before the due date when an email has to be sent). Also set separate mail for each level.
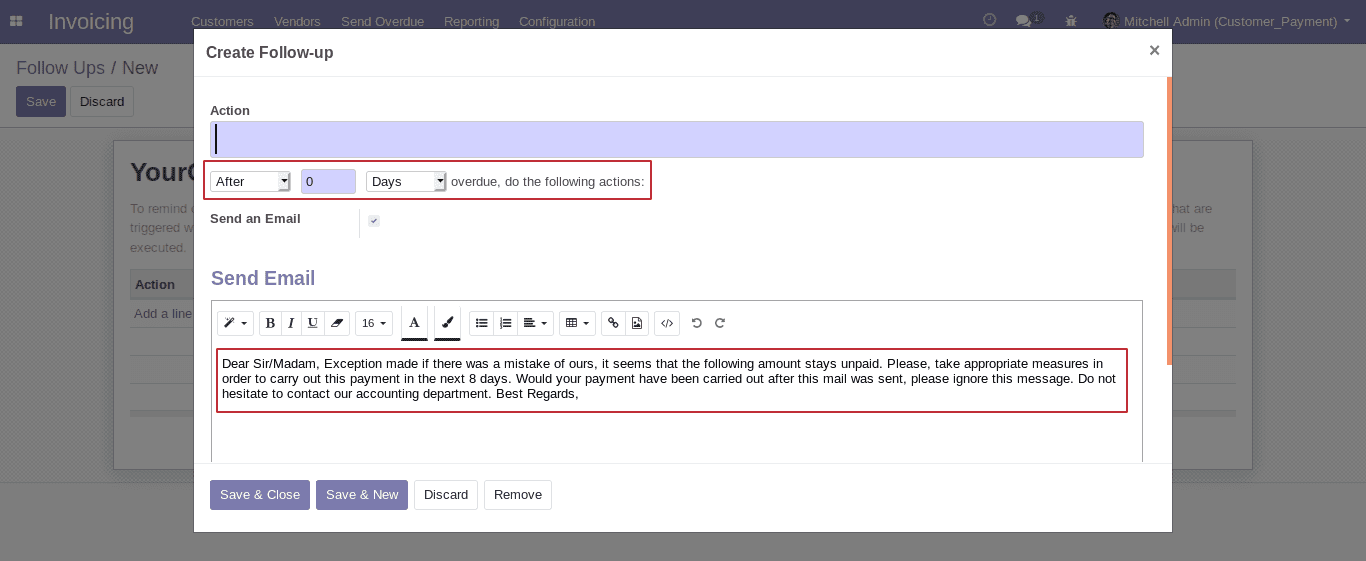
If we select After/Before option, the description in the email template changes automatically or else you can edit the content before sending it.
There are another two options that are available, Days and Hours.
Days: Schedule email for days after/before the due date.
Hours: Schedule email for hours after/before the due date.
After, configure the Follow-ups levels, you can see a window like below,
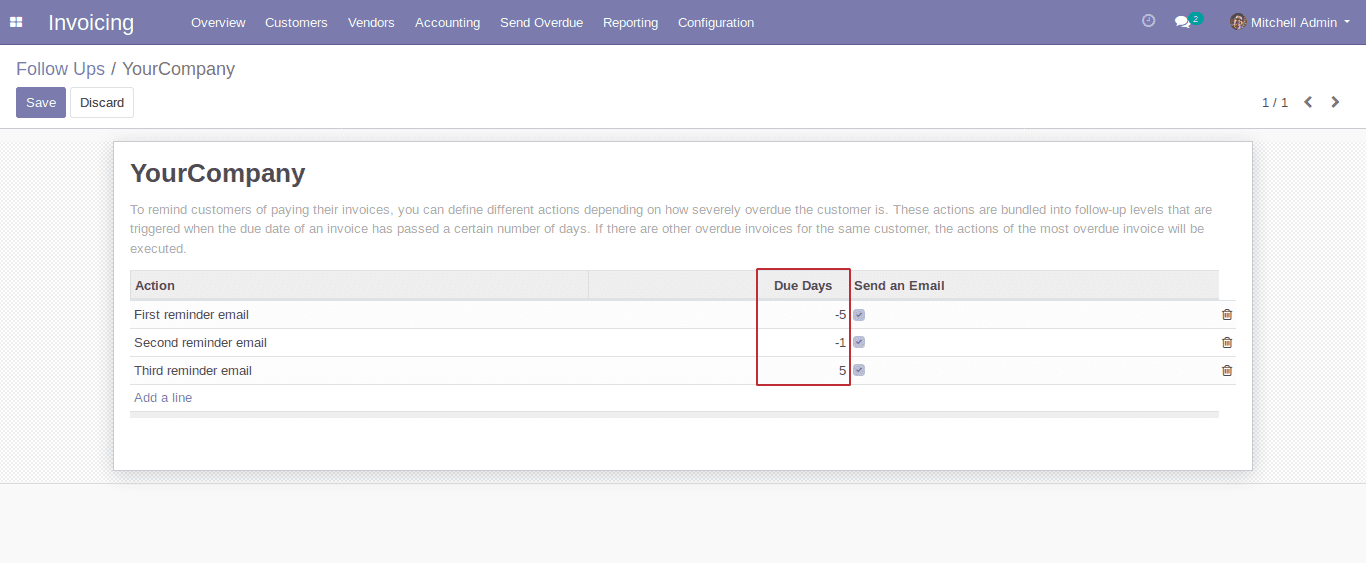
In the Due Days column, the minus sign indicates that these level set for before due dates emails and others for after due dates emails.
Then go to Invoicing -> Customer -> Customers -> Follow-Ups tab in order to see the unpaid invoices of the customer.
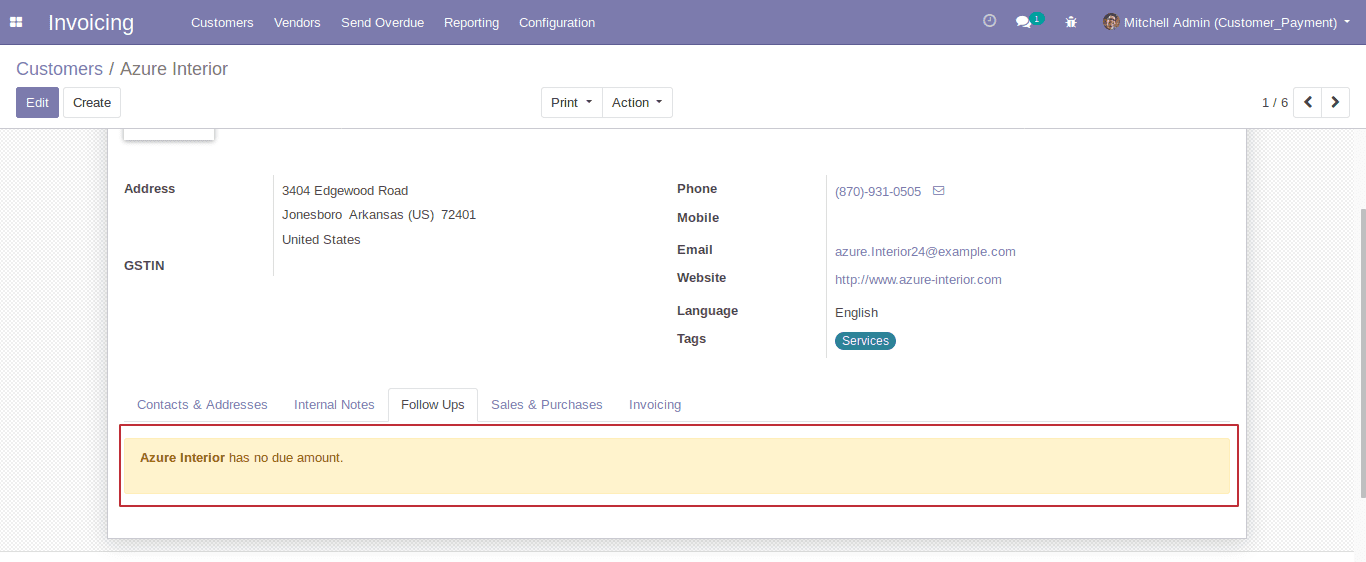
If there are no unpaid invoices, the tab shows like below,
And if there are any unpaid invoices, the tab becomes like below,
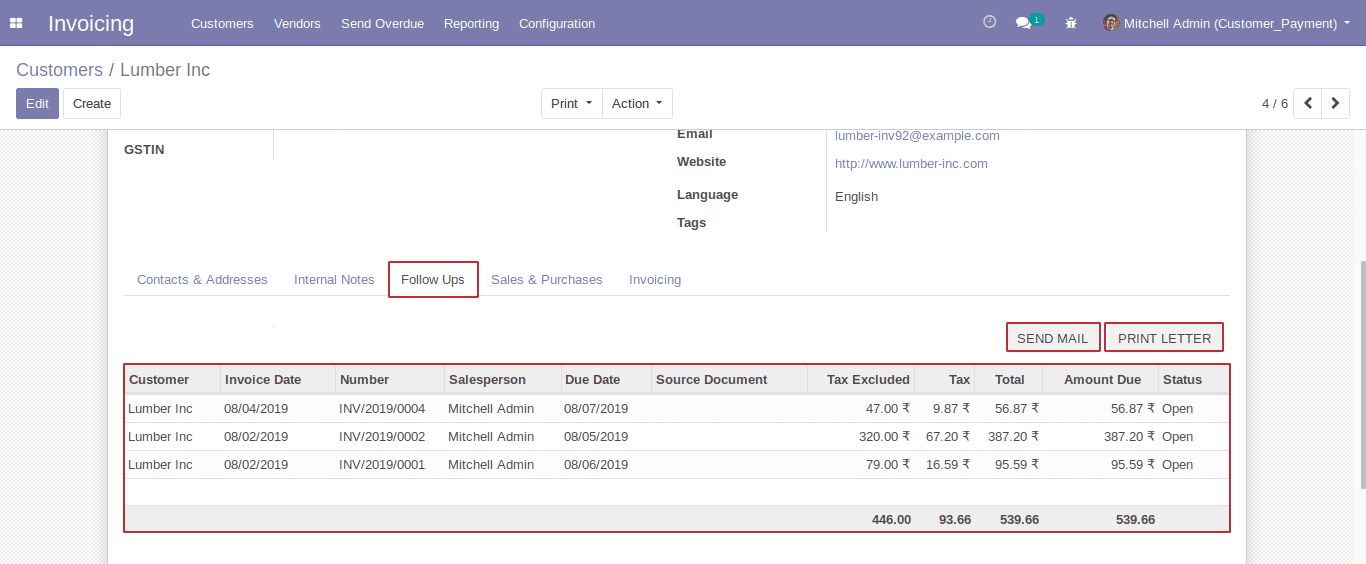
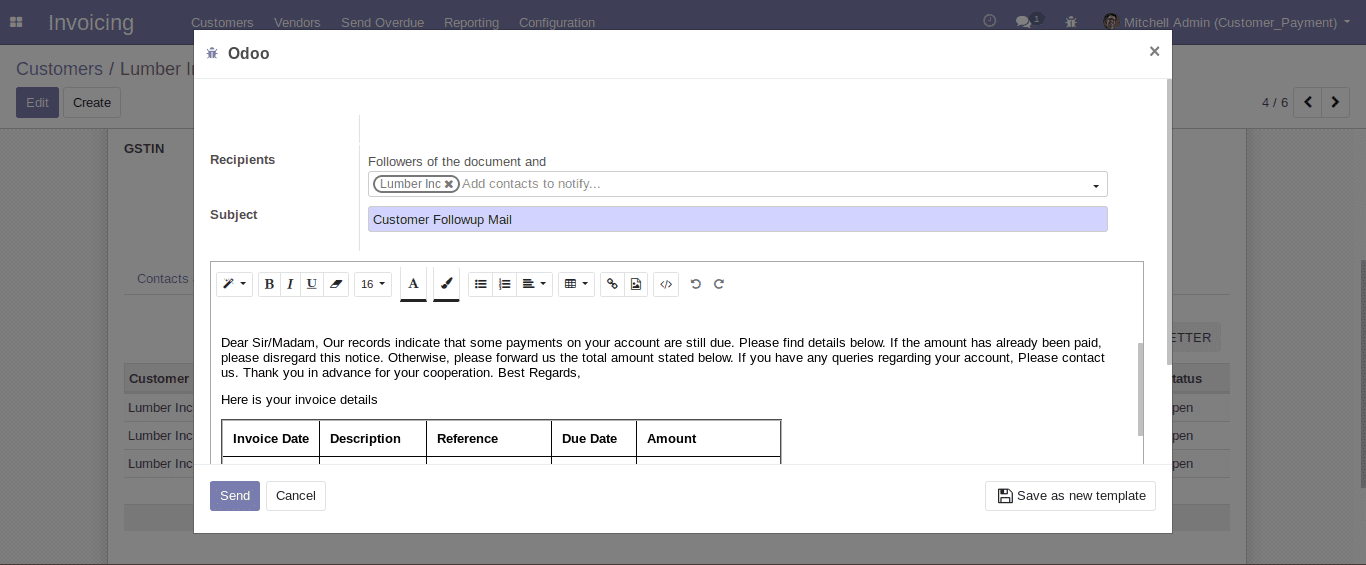
You can see the automatic actions taken for the customer and can send a reminder mail seeking immediate payment by clicking on the SEND MAIL button.
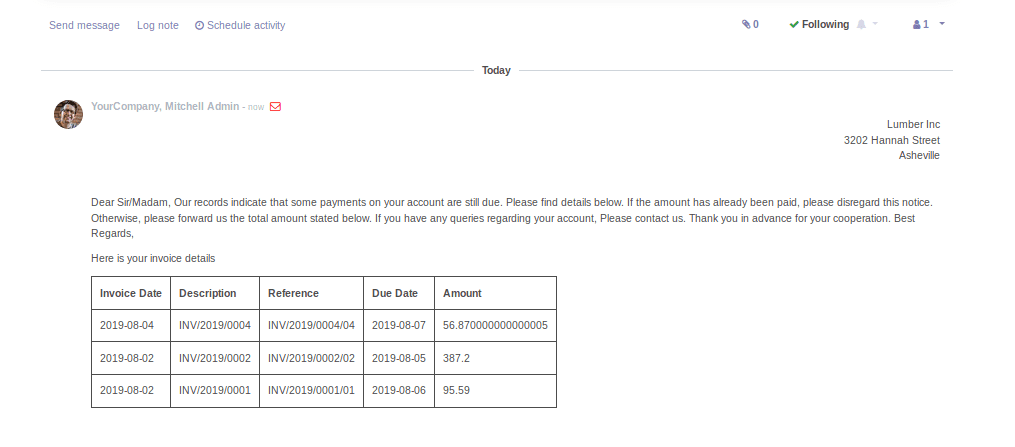
After sending an email, you can see the sent email from the customer form like below,
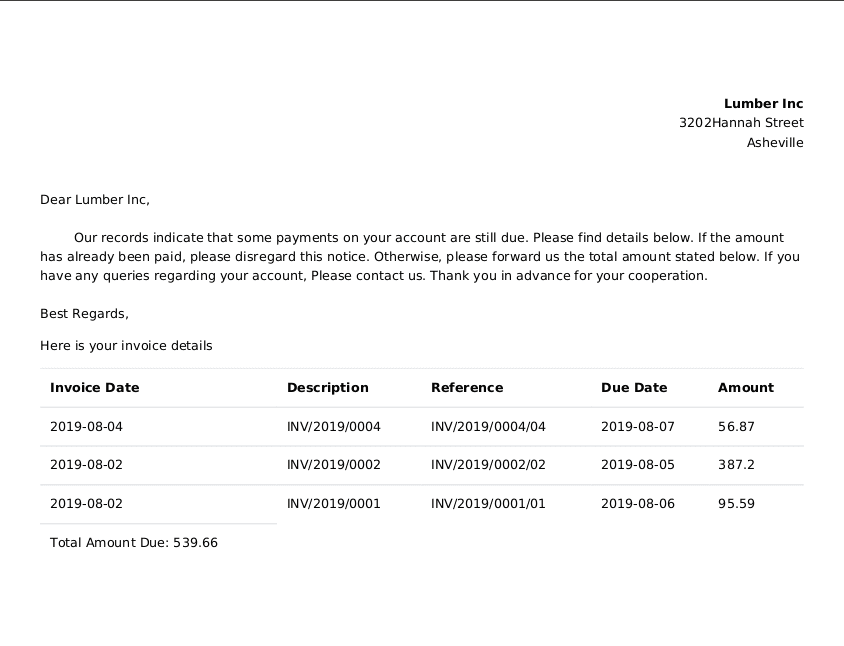
Or get a print out of the unpaid invoice details by using the PRINT LETTER button.
After that go to Invoicing -> Send Overdue in order to send emails to customers with unpaid invoices based on follow-up levels.
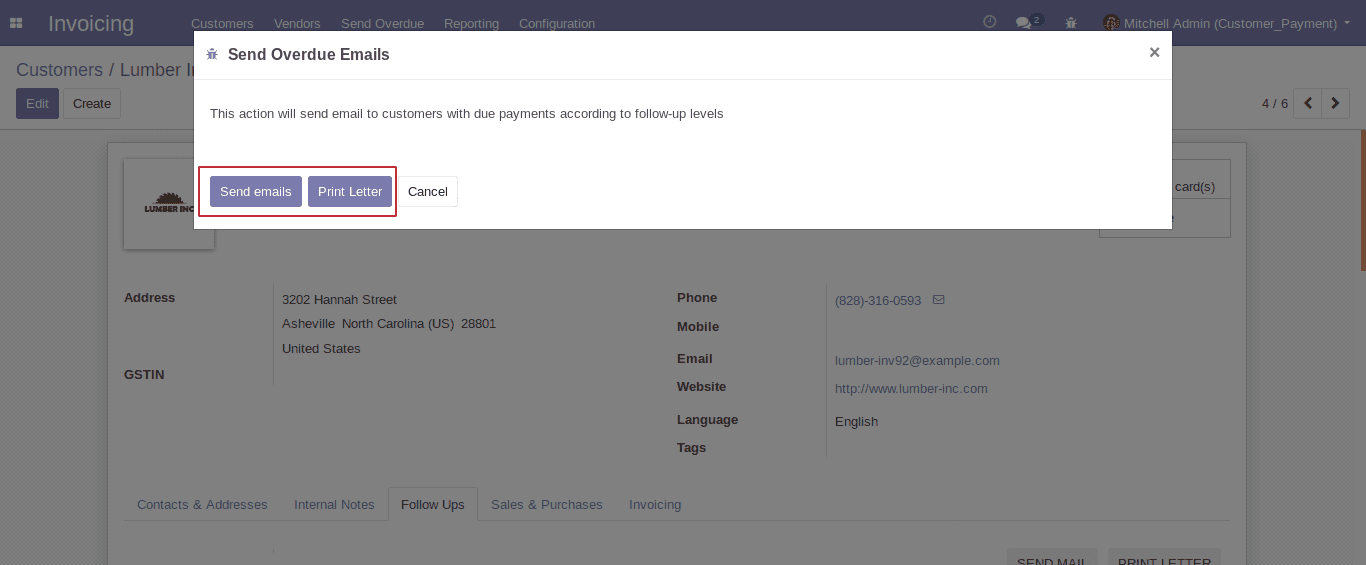
There are two options, one for sending an email and another for printing invoice list of customers who have due amounts.
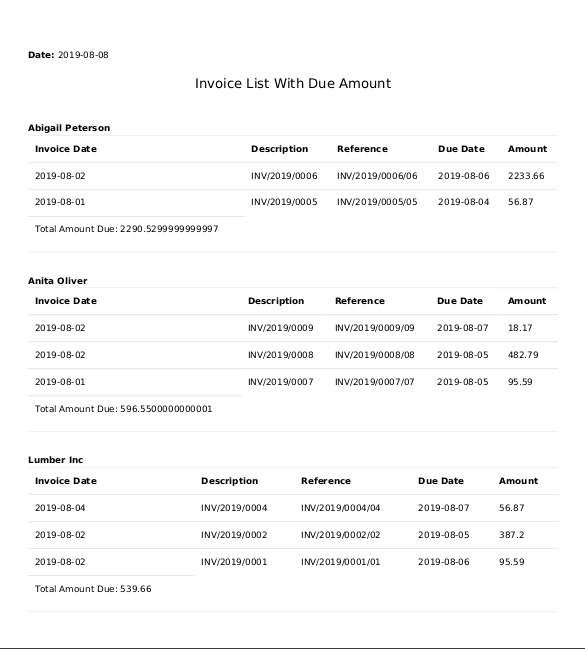
Click on the Print Letter button.
Then you can print out the due amount invoice list of each customer like below,
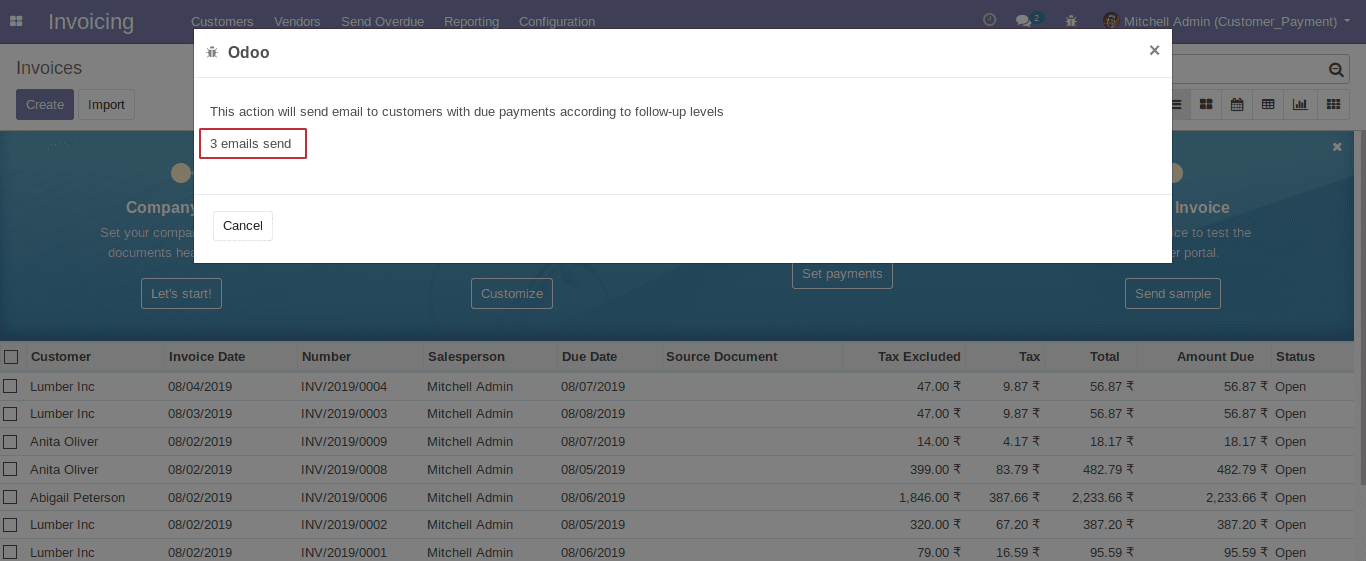
Click on Send emails button.
Then you can see the number of customers to whom emails are sent.
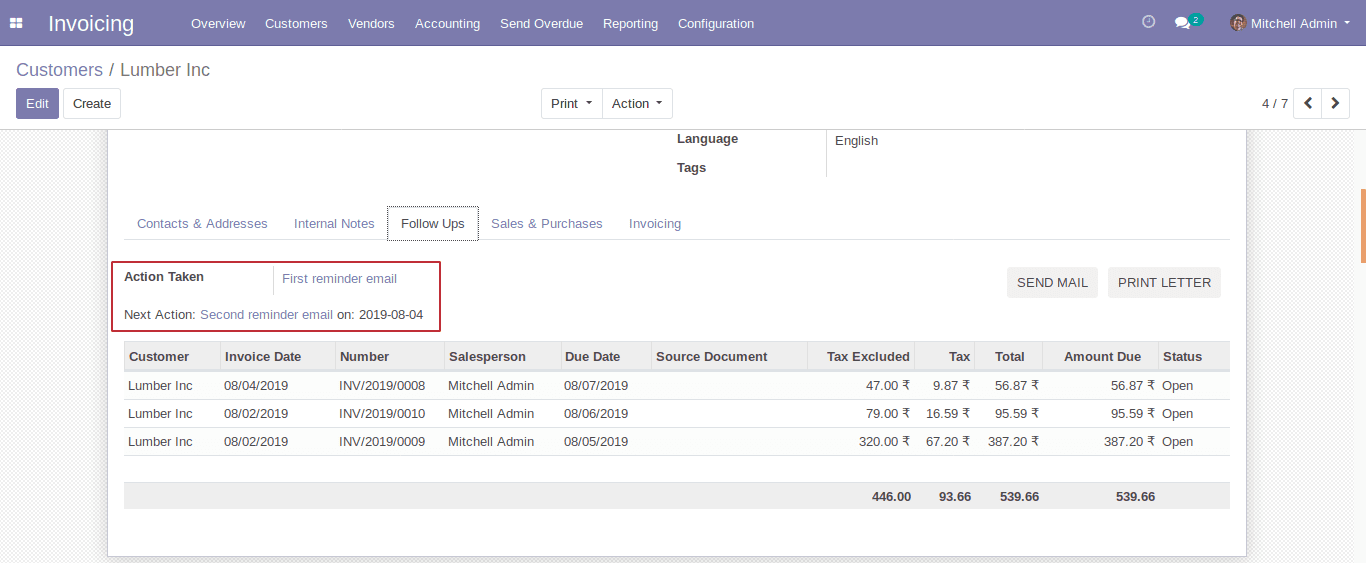
Under the contacts page, you can see the last action based on the follow-up level, also the next action and the date of the next action.
This is all about the Customer Follow-ups in Odoo12.