Odoo provides with a Website Builder feature to build our own custom website meeting your specific business requirements. However, to this, one can also easily add the snippets by drag and drop option making the odoo application all more user-friendly and adaptive. Based on our business scenario we may need to add some more features other than the default options that we have.No worries, here we are going to discuss how we can create our own custom snippets and use them on our websites.
Let's Start!
Here we are going to make this simple snippet as shown below.

In this snippet, we have an option to add a title, some description and also a provision to give a link to another page by clicking on the contact us button.
Step 1: Snippet Content
Create content for our snippet. So, create an XML file and add this code to the file.
<template id="custom_para_with_a_redirect" name="My Custom Snippet">
        <section>
            <div class="container">
                <div class="row">
                    <div class="col-md-6 col-md-offset-3 mb16 mt16">
                        <p class="text-center">
                            <b>A Small Subtitle</b>
                        </p>
                        <p class="text-center">
                            Choose a vibrant image and write an inspiring paragraph
                            about it. It does not have to be long enough, but it should
                            reinforce your image.
                        </p>
                        <p class="text-center">
                            <a href="/contactus">Contact us</a>
                        </p>
                    </div>
                </div>
            </div>
        </section>
    </template>
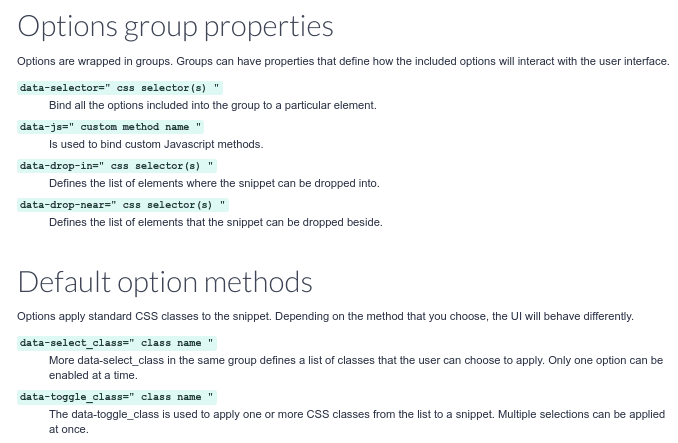
If you want to add any style you can add CSS files accordingly. Try to use Bootstrap[1] default classes in your snippets so that the user can make them resizable and it helps to display content more neatly when we enable the mobile view.
Step 2
The next step is to add our custom snippet to our website editor bar. The website editor bar contains many tabs, for example:
> Snippet structure
> Content
> Feature
> Effect

You can choose the appropriate xpath expression related to your requirements.
Here I am adding the snippet to the Structure tab which contains the main structure of the editor.
<template id="adding_new_snippet_to_website_snippetsr" inherit_id="website.snippets" name="Place into building blocks bar">
        <xpath expr="//div[@id='snippet_structure']" position="inside">
            <div class="o_panel_body">
                 <t t-snippet="module_name.custom_para_with_a_redirect"
      t-thumbnail="/module_name/static/images/custom_para_with_a_redirect.png"/>
            </div>
        </xpath>
    </template>
At the t-thumbnail, you can add the icon for the snippet(provide the path of the image)
Step 3: Snippet options
Snippet options enable the user to modify the appearance of the snippets. You can add custom options also.

<template id="custom_para_with_a_redirect_options" name="Snippet Custom Options"
              inherit_id="website.snippet_options">
      <xpath expr="//div[@data-js='background']" position="before">
        <div data-selector=".custom_para_with_a_redirect_options">
          <li class="dropdown-submenu">
            <a href="#">Custom Option</a>
            <ul class="dropdown-menu">
                      <!-- Options list -->
            </ul>
          </li>
        </div>
      </xpath>
     </template>
Step 4
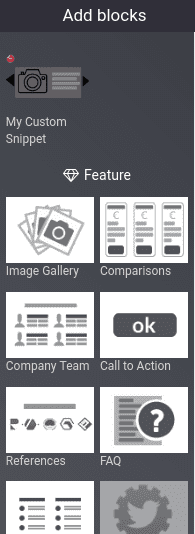
After the installation when you open the website editor you can see the custom snippet there.

This is how you can create a custom snippet of your own. Thanks!
Reference
[1] Bootstrap is an open-source templating framework for CSS styling. It helps the developers and web designers to make their design more responsive and stylish by using predefined classes and other layouts. To know more about Bootstrap Basics refer to our previously published blog.