In Customer Relationship Management opportunity management is the key to success. We can create an opportunity once we start a sale deal discussion with a customer. The stage changes when our discussion progresses and we can say we have won the opportunity when the customer engages in a deal with our firm.
In this blog, we can discuss the creation of opportunity, the creation of opportunity stage, and different stages of opportunity.
Create Opportunity.
It is simple and easy for the user to manage and create opportunities with a pipeline.
Let us do it effortlessly using the Create Button
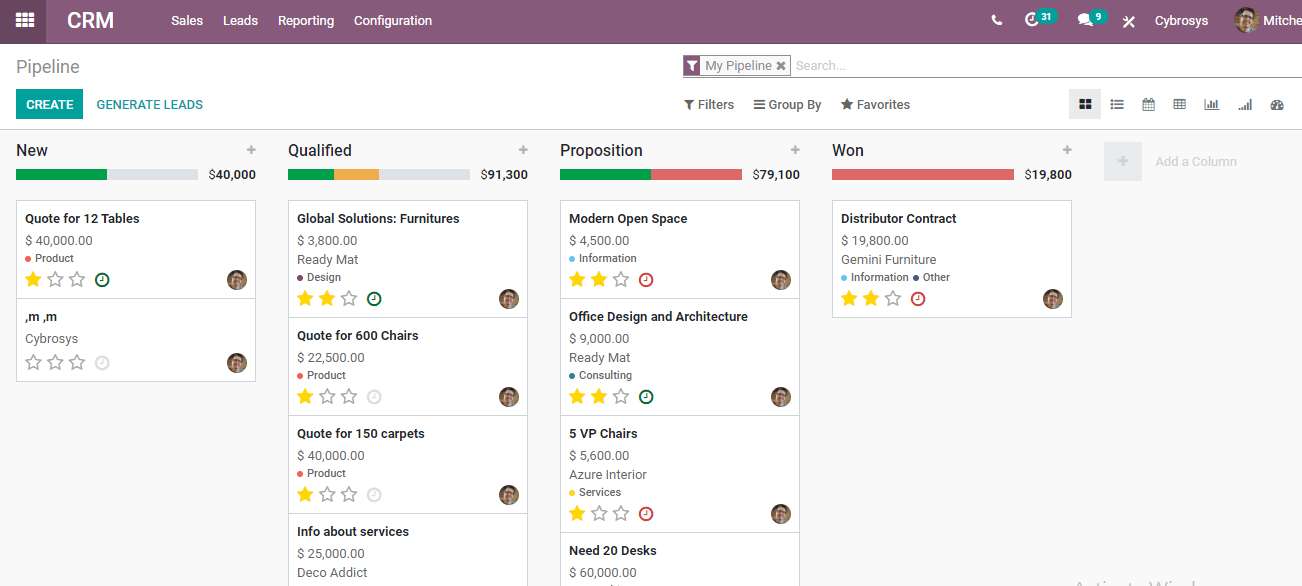
Let's see what we get
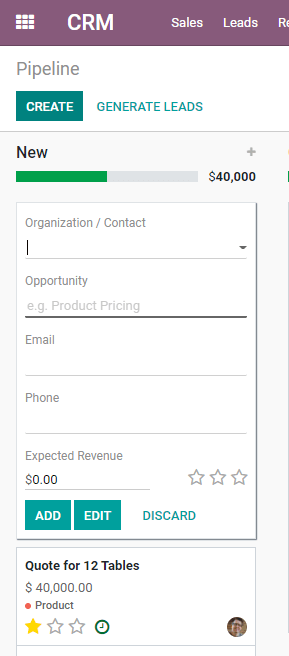
In the above form, we can add the company name of the customer as the organization or contact.
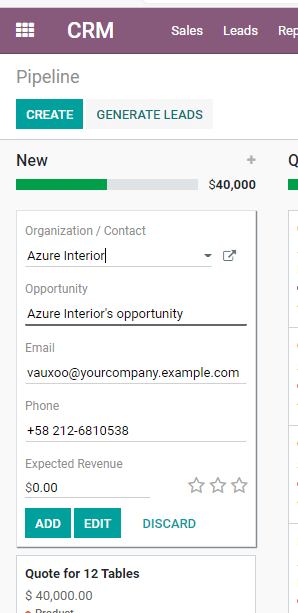
A new customer can either be created or selected from an existing list of customers. I have chosen an existing customer, ie, Azure Interior for this purpose.
As we have selected an existing customer here, the details have been updated automatically. But if we decide to create a new one, we have to add contact details.
Our next activity should be the inclusion of the expected revenue
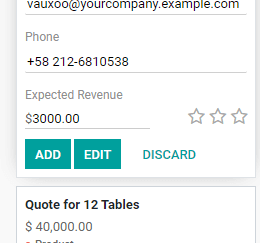
The revenue that is expected to be generated once the opportunity is won can be entered here. I have added $ 3000 as the expected revenue.
Next, we have to set the priority.
This can be done by selecting the stars on the right-hand side of the expected revenue.
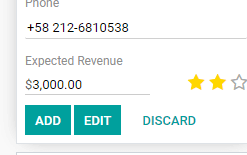
I have selected two stars as I consider it as an opportunity with high priority. We can select all three stars if the opportunity is of the highest priority. For low priority, we can select only one star.
We set priority so that our effort and plan can be managed accordingly.
A sales or marketing team can work hard on opportunities with high or highest priorities.
The highest priority means the company never wants to lose the opportunity.
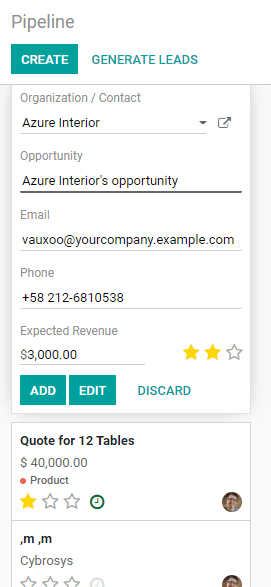
In the above image, the line for opportunity is given in bold as it is mandatory. We can skip other details if we either do not possess such information or we do not want to give the details.
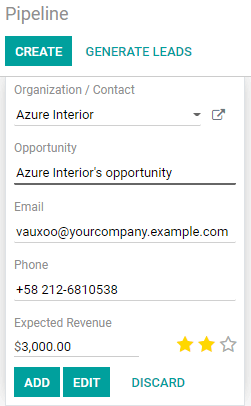
After completing the form we can add the opportunity to the list of new opportunities by using the Add button. We can also use the discard button to discard the opportunity.
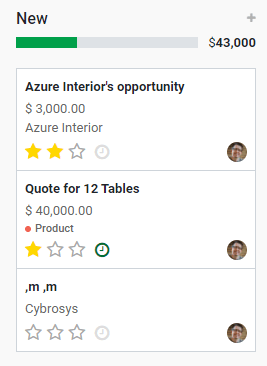
The newly created opportunity can be viewed in the new list.
Opportunity Stages
There are different stages of opportunity management. The stages are
Qualified, Proposition, and Won
Qualified
An opportunity gets qualified when we hold discussions with the customer. The customer may show interest in involving business with our company. At this stage, we can move the opportunity to the Qualified stage.
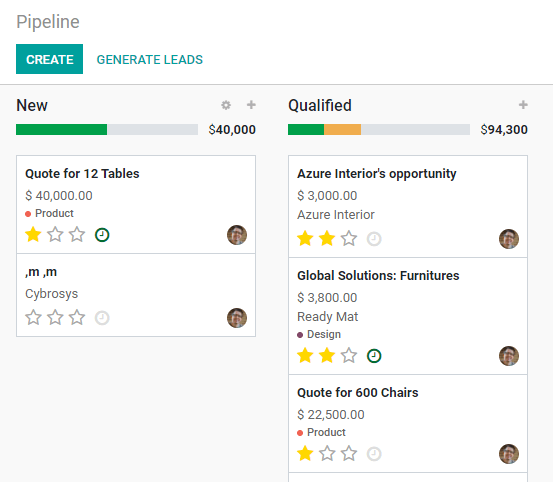
This can be done by dragging the opportunity from the New to the Qualified.
Another change we can see here is the change in the assimilated revenue for the stage. Earlier, the expected revenue for the opportunities in New List was $ 43000. Now it has reduced to $ 40000. At the same time, the revenue for the qualified stage which was $ 91300 earlier has changed to $ 94300.
If we want we can move the opportunity from the qualified stage back to the New.

Then the assimilated revenue changes again.
I am dragging back the opportunity to the Qualified stage
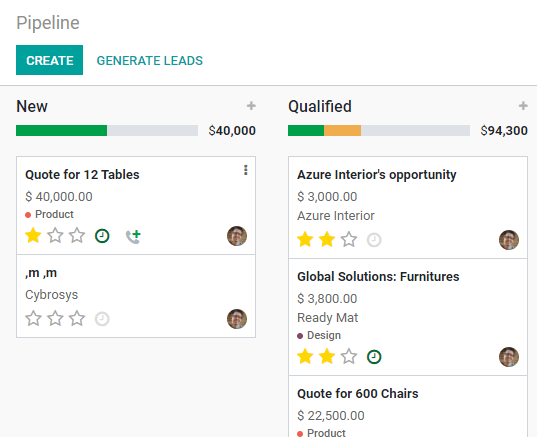
Now let us see what we can do to the opportunity at this stage.
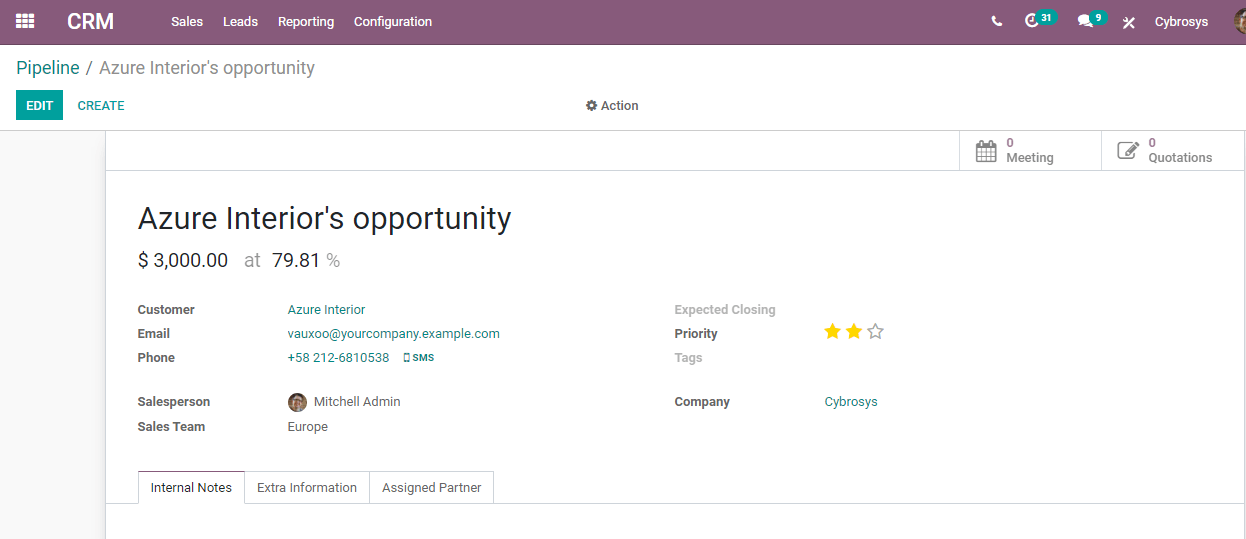
We can add much more extra information here by editing the document.
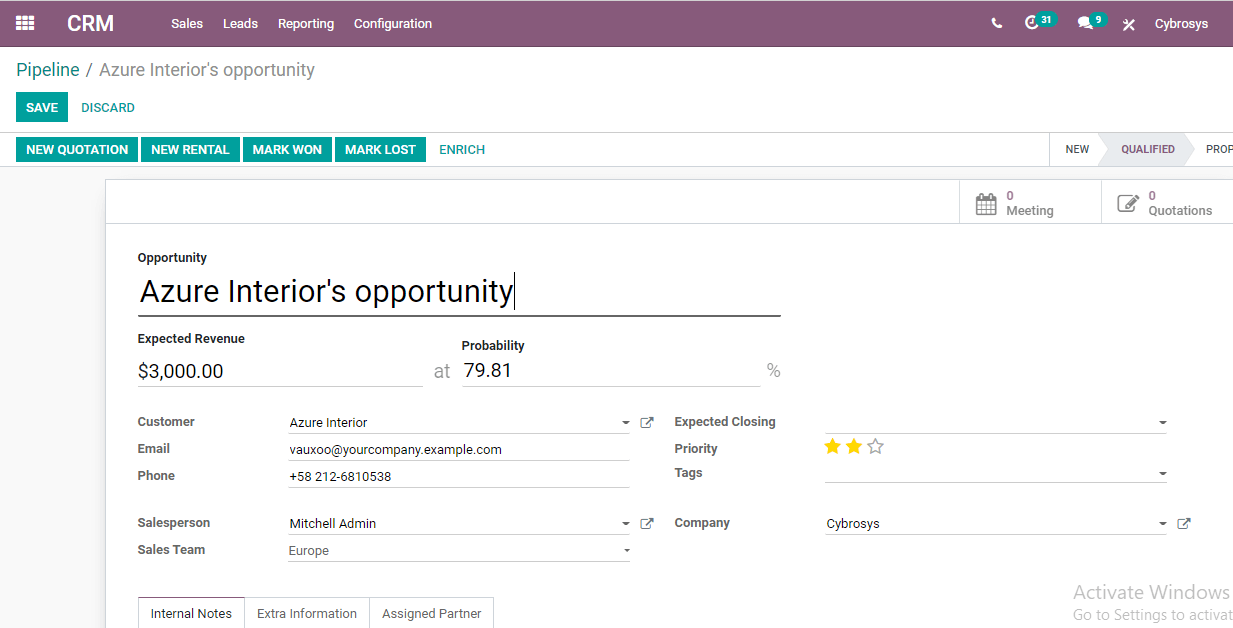
We can change the expected revenue or set the probability of getting that expected revenue here.
Usually, Odoo calculates the probability based on past data. However, we can change the probability if we are sure of any change in the probability. But it will always be better to stick to the probability set by Odoo.

I have converted the probability from 79.81 to 90.81 percent.
We can also update the email ID or phone number and manage the salesperson here. Suppose, a salesperson who has been handling the opportunity had to go on emergency leave, we can add a new salesperson here.
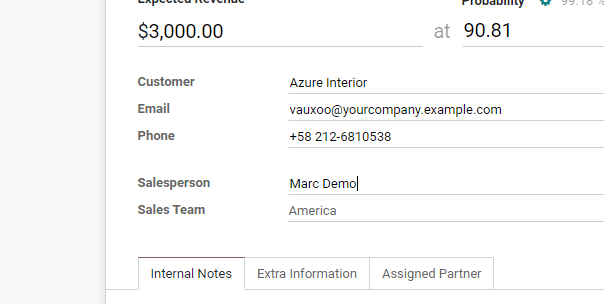
Here, I have replaced Mitchell Admin with Marc Demo. The sales team changes automatically if the person belongs to a different team.
Now let us check other features.
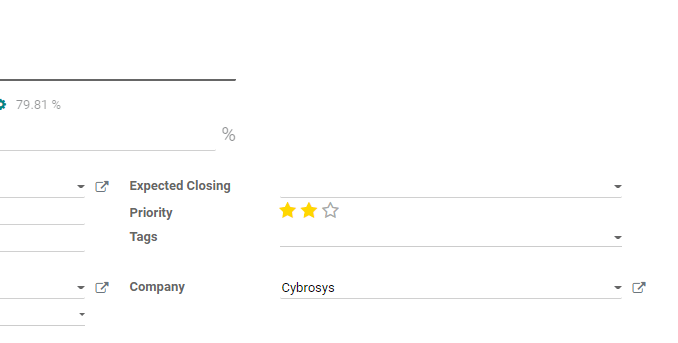
Here we can select the expected closing if want to set a date or we can leave it as such.
Priority can be changed at this stage.
Tags can be added to highlight some specifications of the opportunity or the method of communication between the customer and the sales team.

I have added a product as a tag here. We can also change the highlight color of the tag.
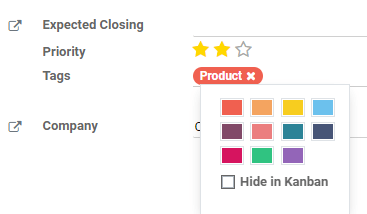
We can also enable the Hide in Kanban option if we do not want the tag to be viewed in the Kanban view.

We can use these tabs to add more information to the opportunity.
Internal notes allow us to add some information for our future reference.
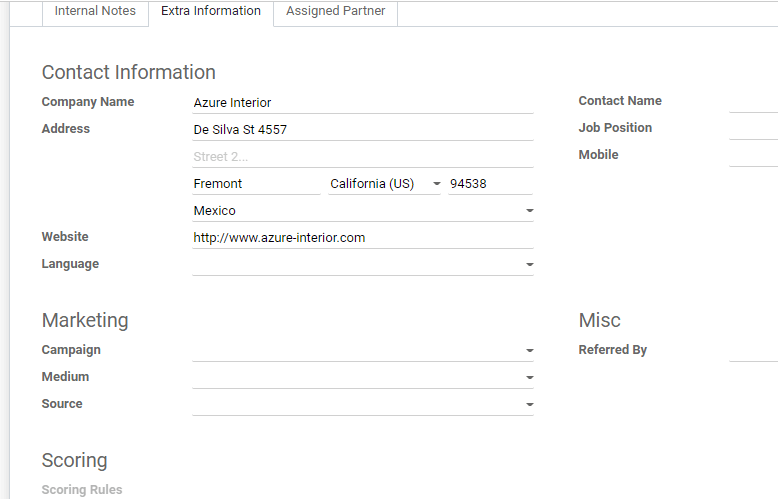
Using the extra information tab we can update contact by adding address, website, language, and other info.
Marketing, scoring, and miscellaneous information can be updated here.
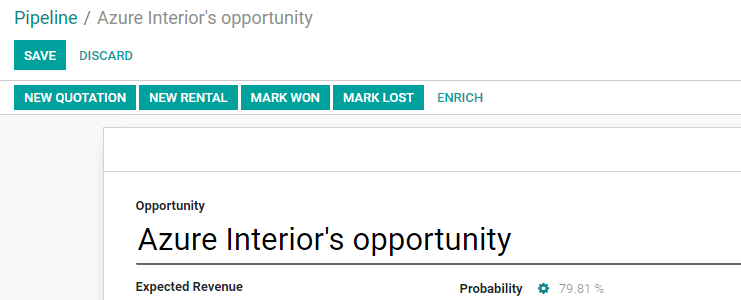
Now we can save the changes
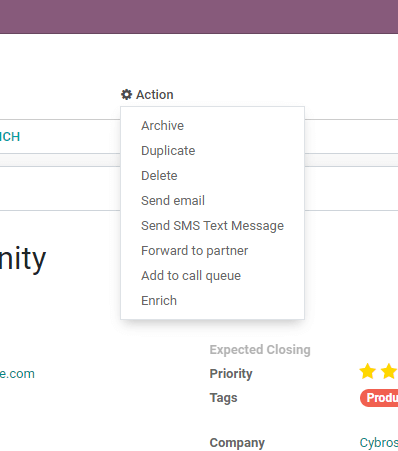
The action tab gives us the option to archive, duplicate, delete or send an email. We can also send text messages or forward this to a partner.
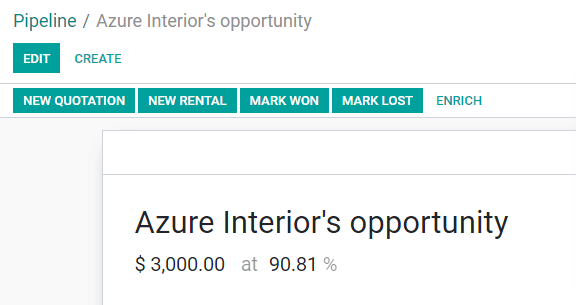
Another highlight here is that we can create a new quotation from the CRM module and need not move to the Sales module to create a quotation. I hope an explanation is not necessary here. After sending a quotation we can move our opportunity to the Proposition Stage.
Proposition Stage

Here, on the top right, we can view the stages of the opportunity.
We can find that the opportunity is now in the qualified stage.
As we have created and sent the quotation we can now change the stage to the proposition. This can be done at this page itself or at the pipeline.
Here, we have to simply click on the Proposition to change the stage.
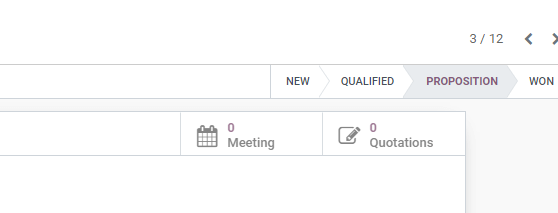
The process can be completed from the pipeline by dragging and dropping the opportunity from qualified to the proposition.
Create a new Stage
If we want to create a new stage, we can do that also suppose a customer is interested in seeing our quotation and increases the number of orders. Then we can create a new proposition, ie the 2nd proposition.
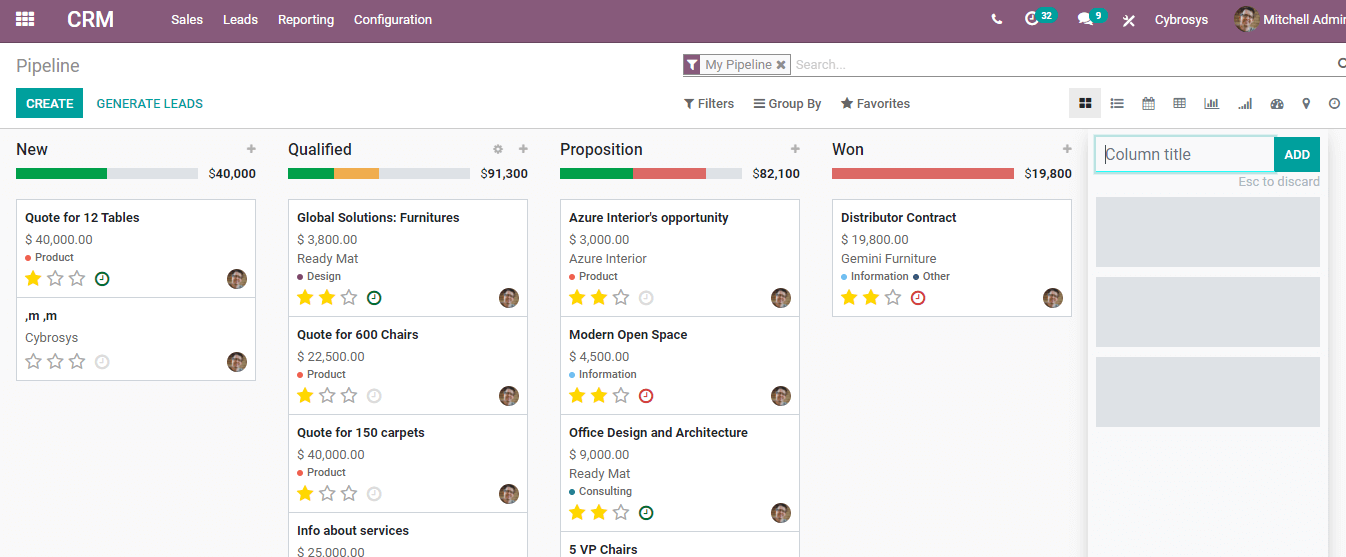
We can create a new stage by adding a new column
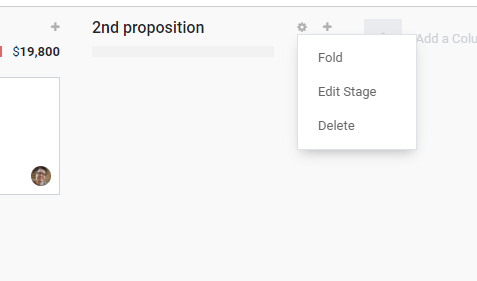
After adding the column we can edit the stage.
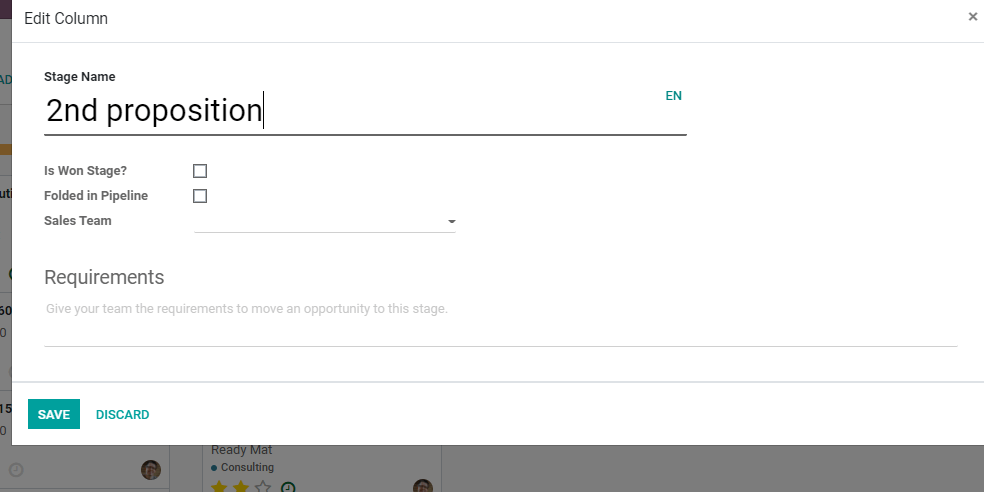
This can be used to make the necessary settings for the newly created stage.
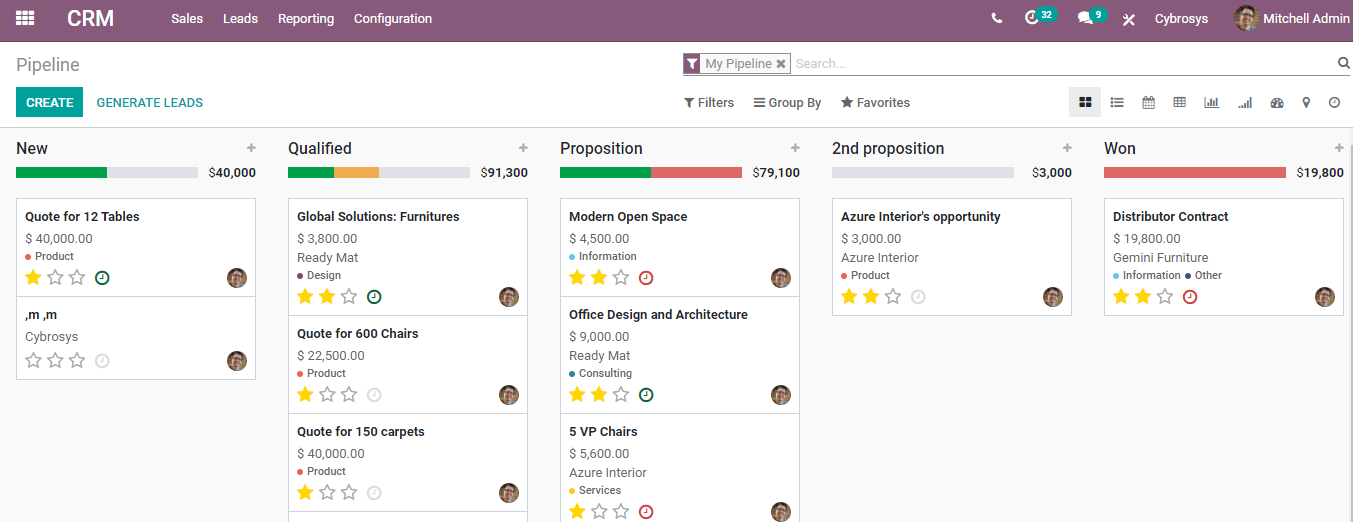
We can then move the stage to the required position.

The change attracted the opportunity page as well.
Won or lost
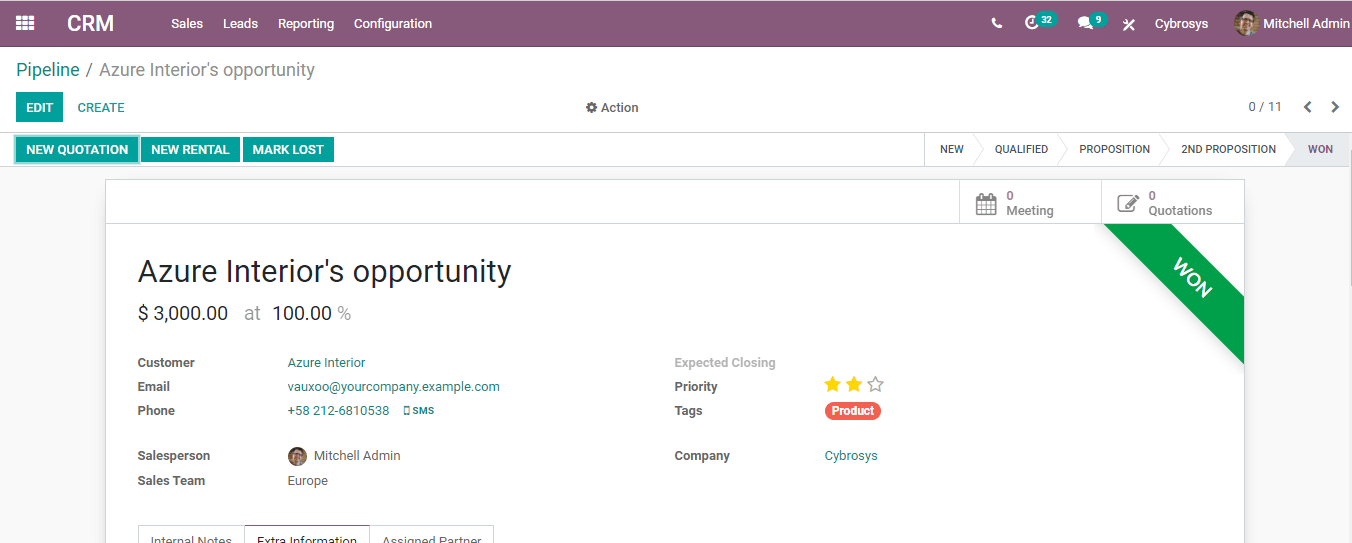
The final stage is the won or lost stage. As the name indicates, won or lost is decided by whether the client has approved the quotation and initiated a business deal with your company.
This is how we create and manage opportunities using Odoo 14 CRM.