Managing employee expenses can be a hectic task. It is a highly time-consuming process, and the chances of getting error-filled data are high. Clean cut data is necessary for calculating employee expenses. The odoo 15 Expense module is a tool for efficient employee expenses management with advanced features and tools.
This blog will give you a detailed overview of the Odoo 15 Expenses module.
Expense reporting and management
We have to go through an example to know the module up close.
Mitchell is the company administrator, who had a meeting with a new client. The meeting was accompanied by lunch. As the lunch was unpredicted, Mitchell had to spend the money on behalf of his company. After the meeting, Mitchell has to request the company to pay him the amount he spent on the client for the company. This is where the Expense module plays its role. Mitchell can go to his personalized Expense dashboard below to report the Expense.

Mitchell can overview all of his dashboard expense reports, as shown in the image given above. All of his Expenses reports with their current status will be shown in the dashboard. By clicking on the CREATE button, Mitchell can create a new Expense Report. A configuration page for creating the expense report will open up, as shown in the image given below.
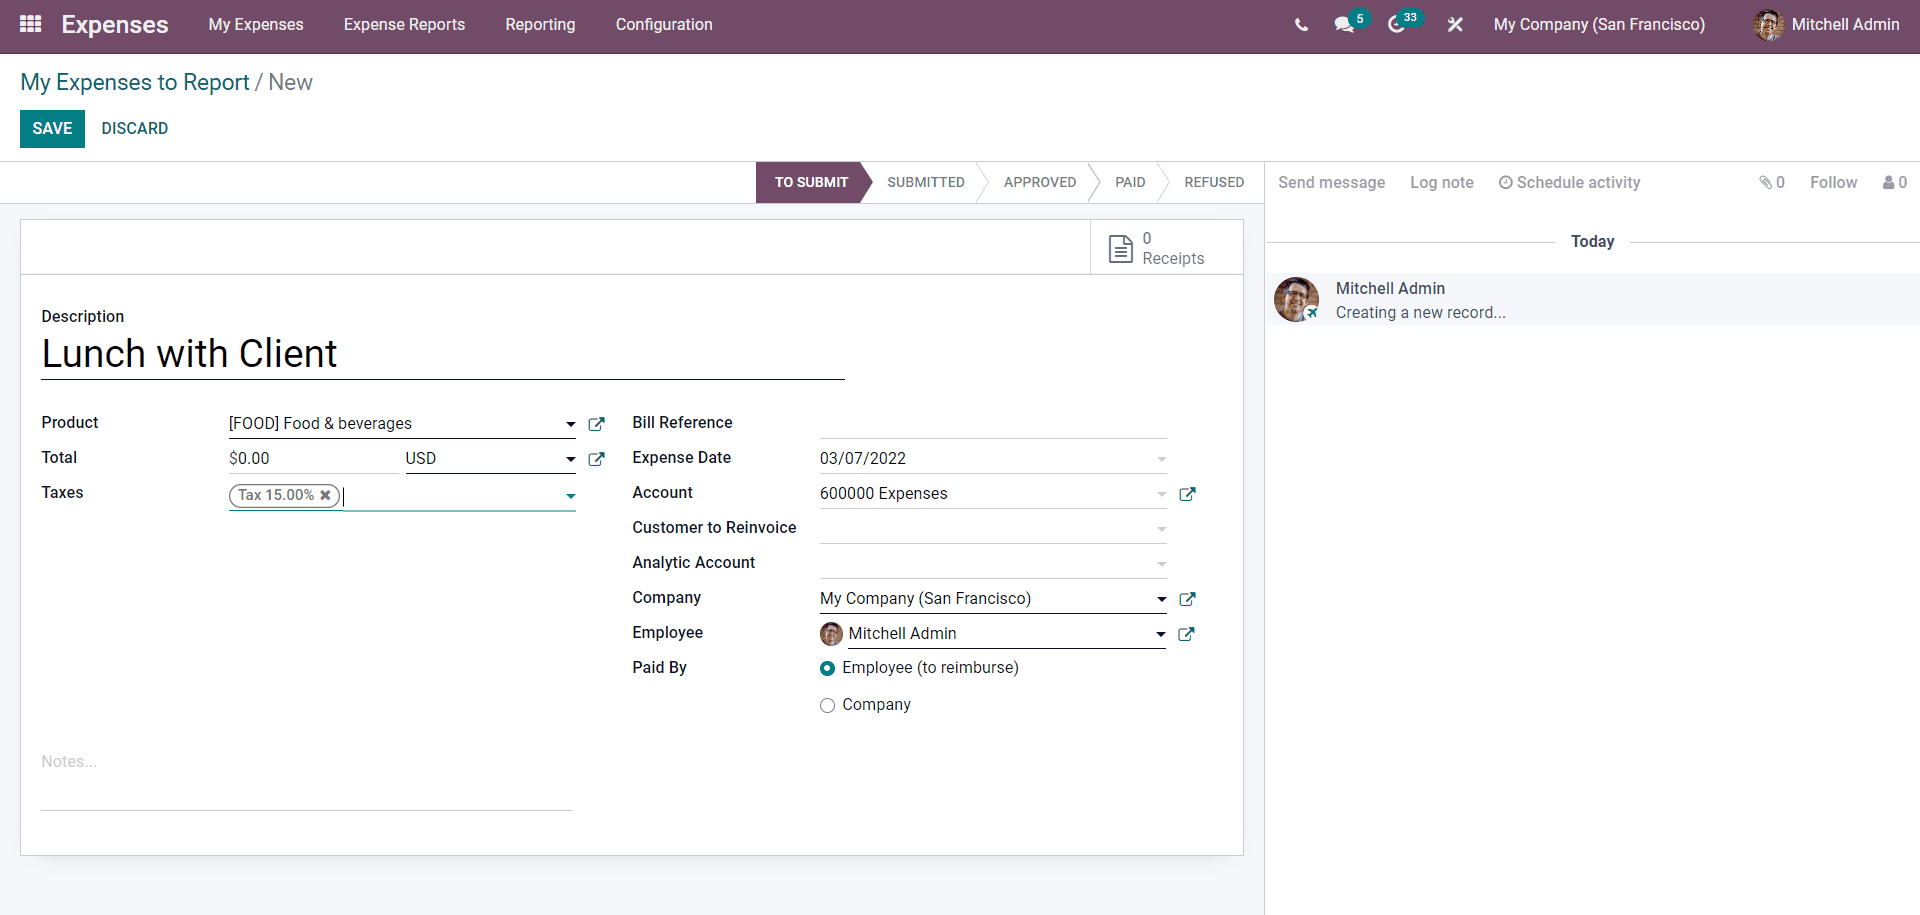
As shown above, Mitchell has entered all of the information on the page. Here you can note that Mitchell has described the reason for Expense in the description field as Lunch with Client. In the Product section of the configuration page, Mitchell chose Food and Beverages as the expense category. Employees who are at the administrative level can create and manage categories. Mitchell can enter the total amount and the tax from the respective fields.
Mitchell can type in a reference for the bill in the Bill reference field and choose the expense date from the Expense Reference field. He can also select the account to post the expense from the Account field. Choosing the Analytic account, Company, Employee and, Paid by and Mitchell can finalise the process by clicking the SAVE button.
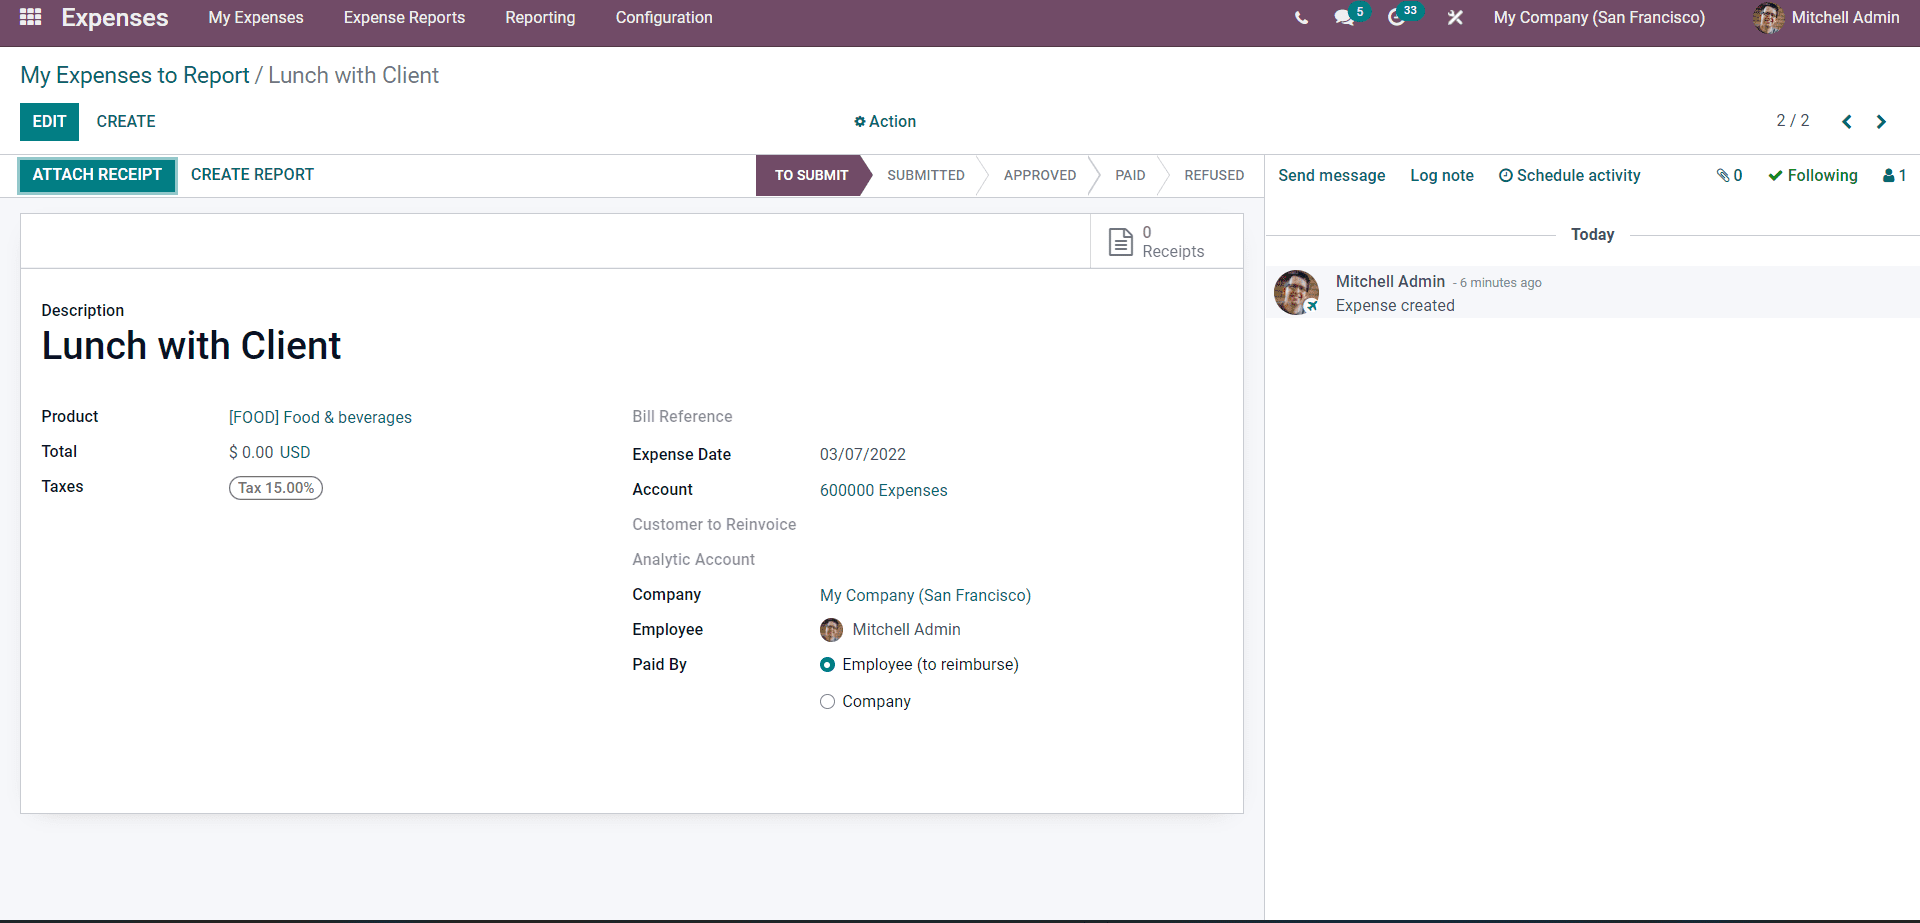
Mitchell has the option to attach a receipt by clicking on the ATTACH RECEIPT as support or proof for the expense report. Clicking on the CREATE REPORT button will let Mitchell move on to the next step of the process, as shown in the image given below.
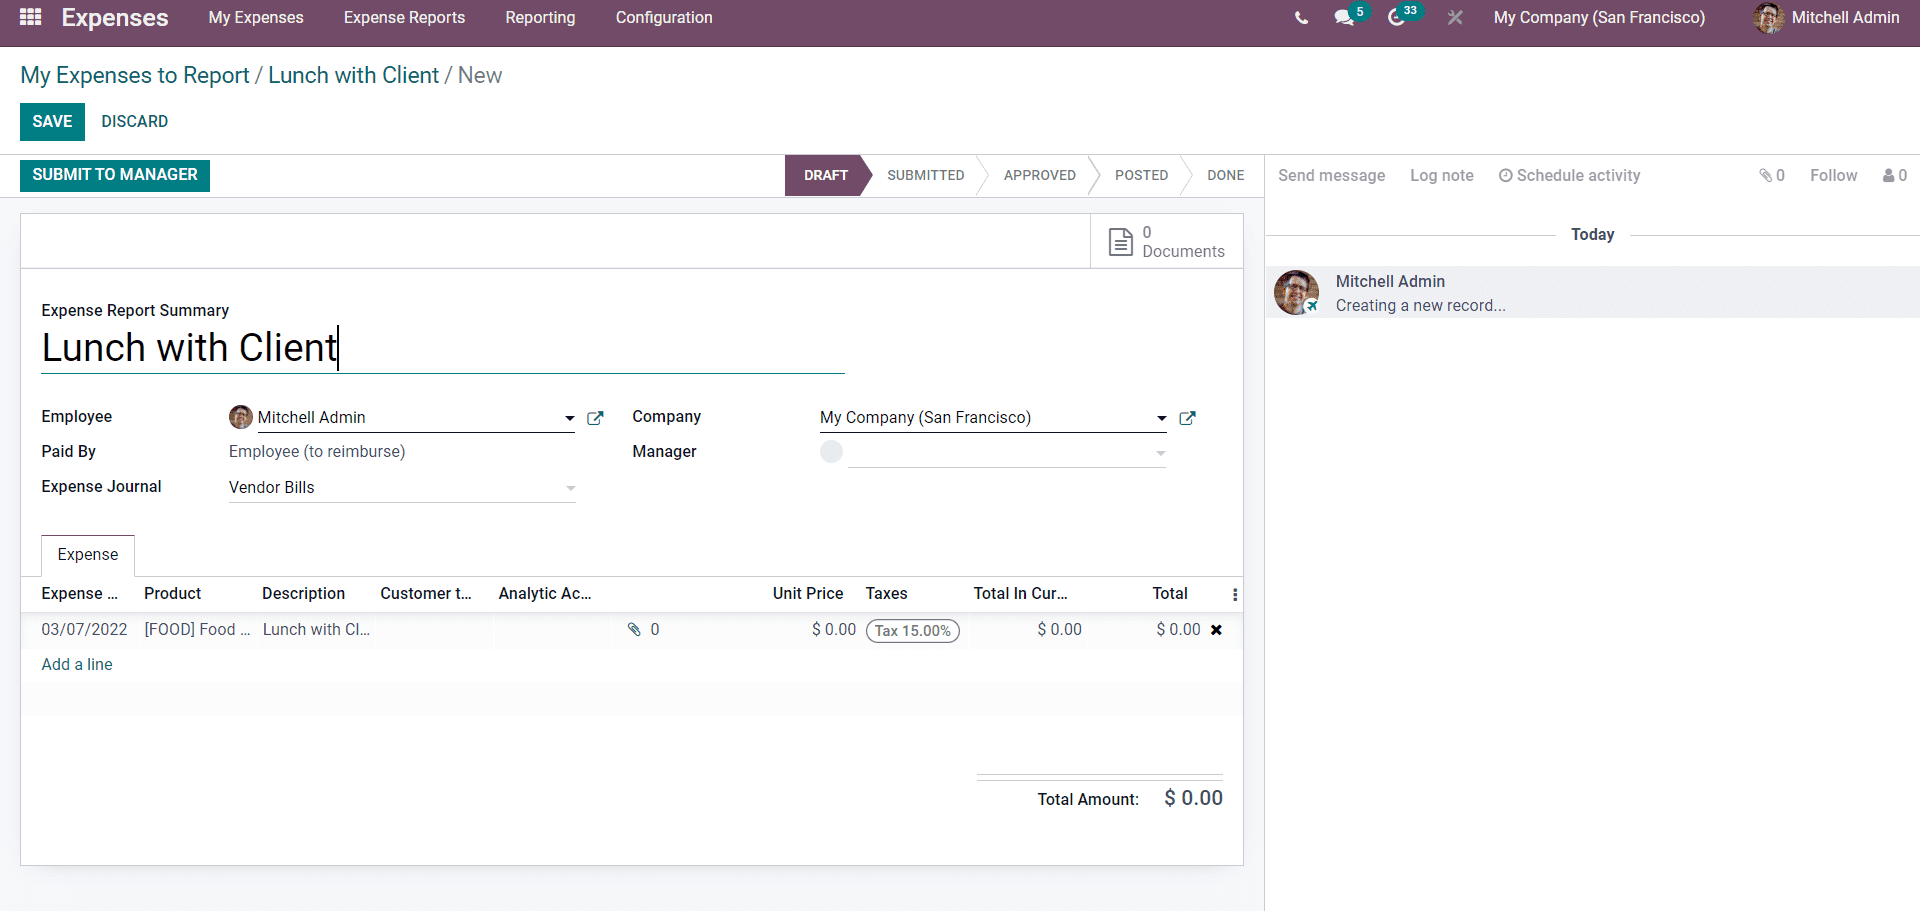
Mitchell can go through the configurations on the expense report before sending it to the manager. Mitchell can click on the SUBMIT TO MANAGER button, to send the report to the manager.
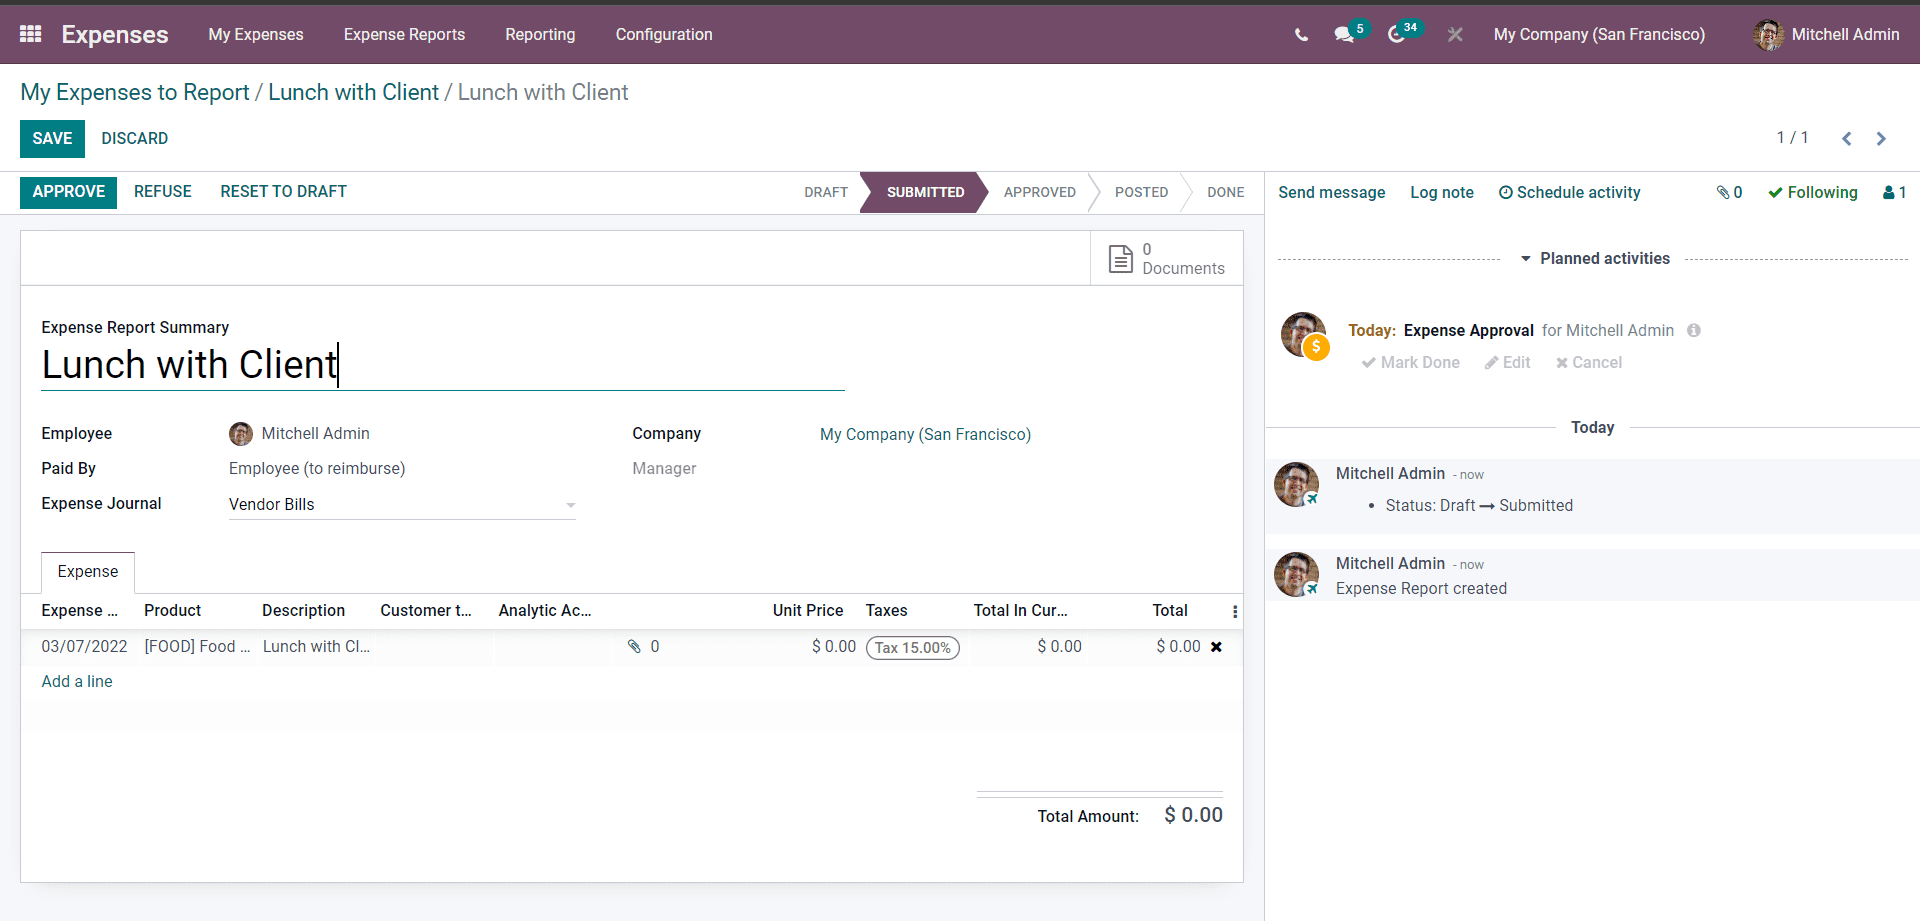
The manager can Approve, Refuse or Reset to Draft the expense report by clicking on the concerning buttons as shown in the image given above. The manager can edit the amount, and almost all of the configuration details suit the company's standards and allow the expense to the employee instantly.
Mitchel can manage and have a complete overview of all of his created expense reports from the module's dashboard by clicking on All my expenses under the My Expenses tab. The All my expenses page of Mitchell, is shown below.
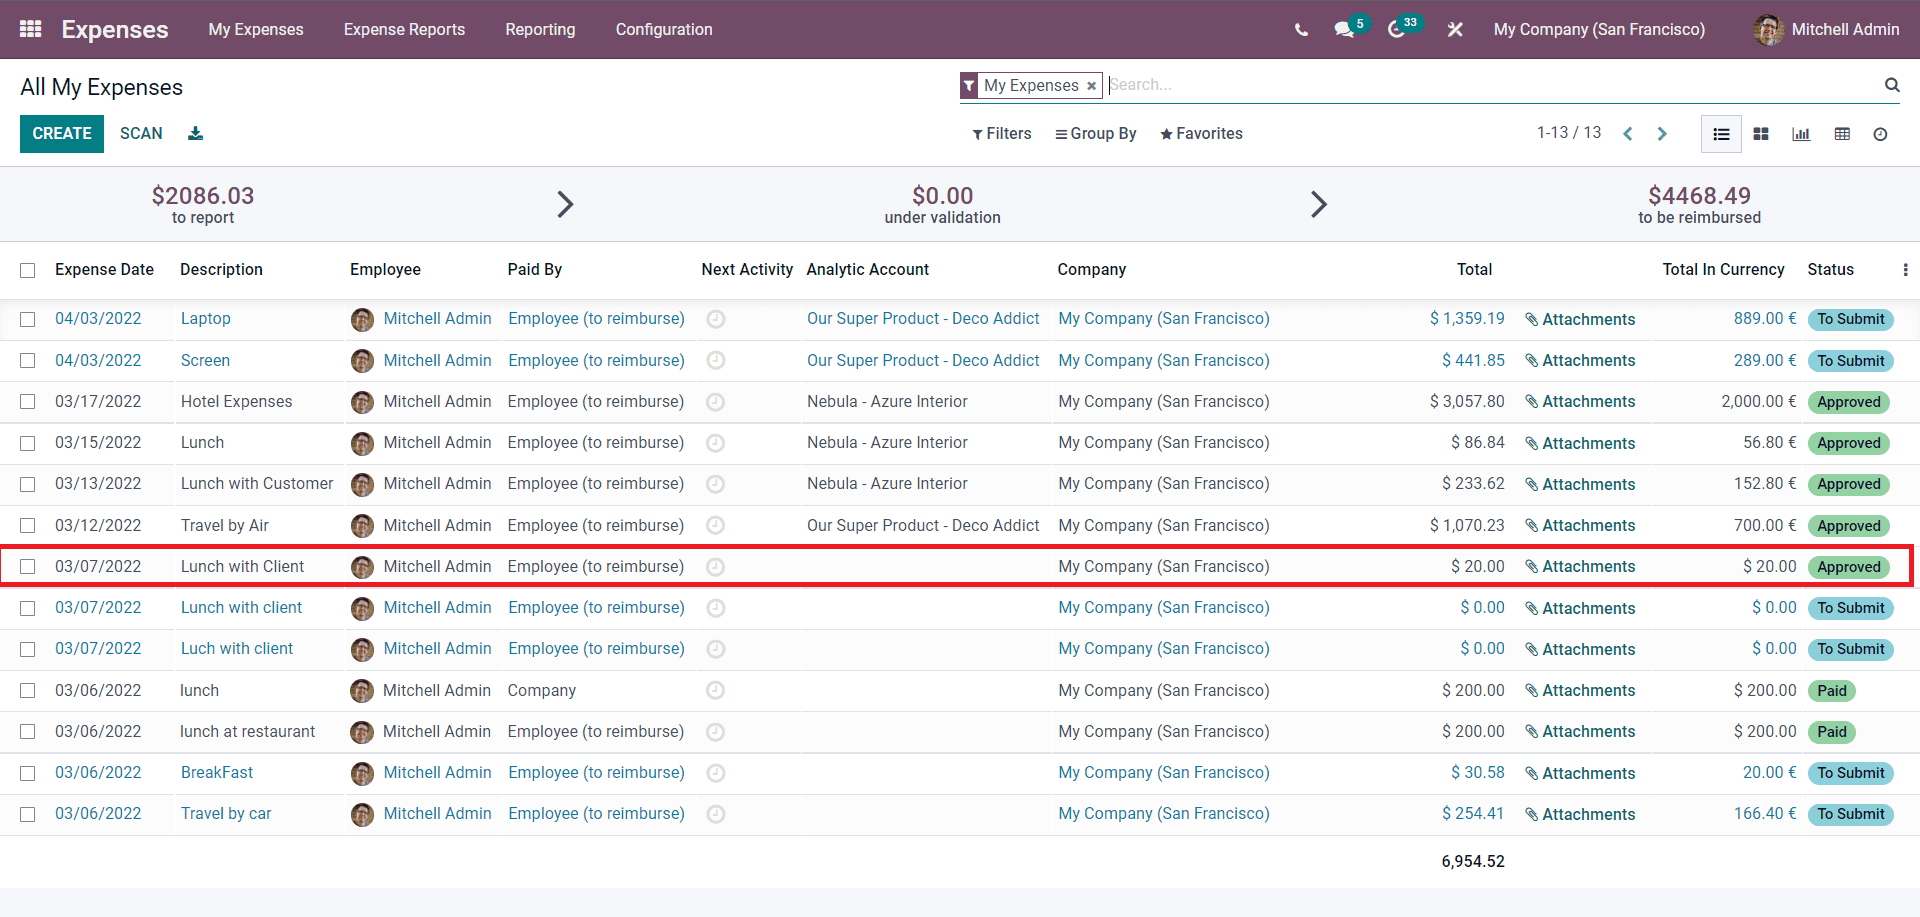
Here you can note that Mitchel's newly created Expense report is displayed. Similarly, all of the Expense reports that Mitchell created will be displayed on this page with their status. The total amount adding up the Expenses will also be displayed for easy management and analysis.
Mitchell can click on any expense reports to view their current status or have a complete overview of the selected report. Note that Mitchell is the company administrator, which allows him to Approve the Expenses reports of his employees. Managers and administrators can manage expenses reports submitted by the employees from the Expense Report tab of the Expenses module. There are four options under the Expense Report tab, Reports to approve, Reports to Post, Reports to pay and All reports.
Reports to approve
The Reports to approve features of the Expense module will allow the managers and administrators to have the complete list of all of the Employee reports waiting for approval, as shown in the image given below.

Mitchell as the admin of the company can choose from the list of employee requests to overview and manage them.
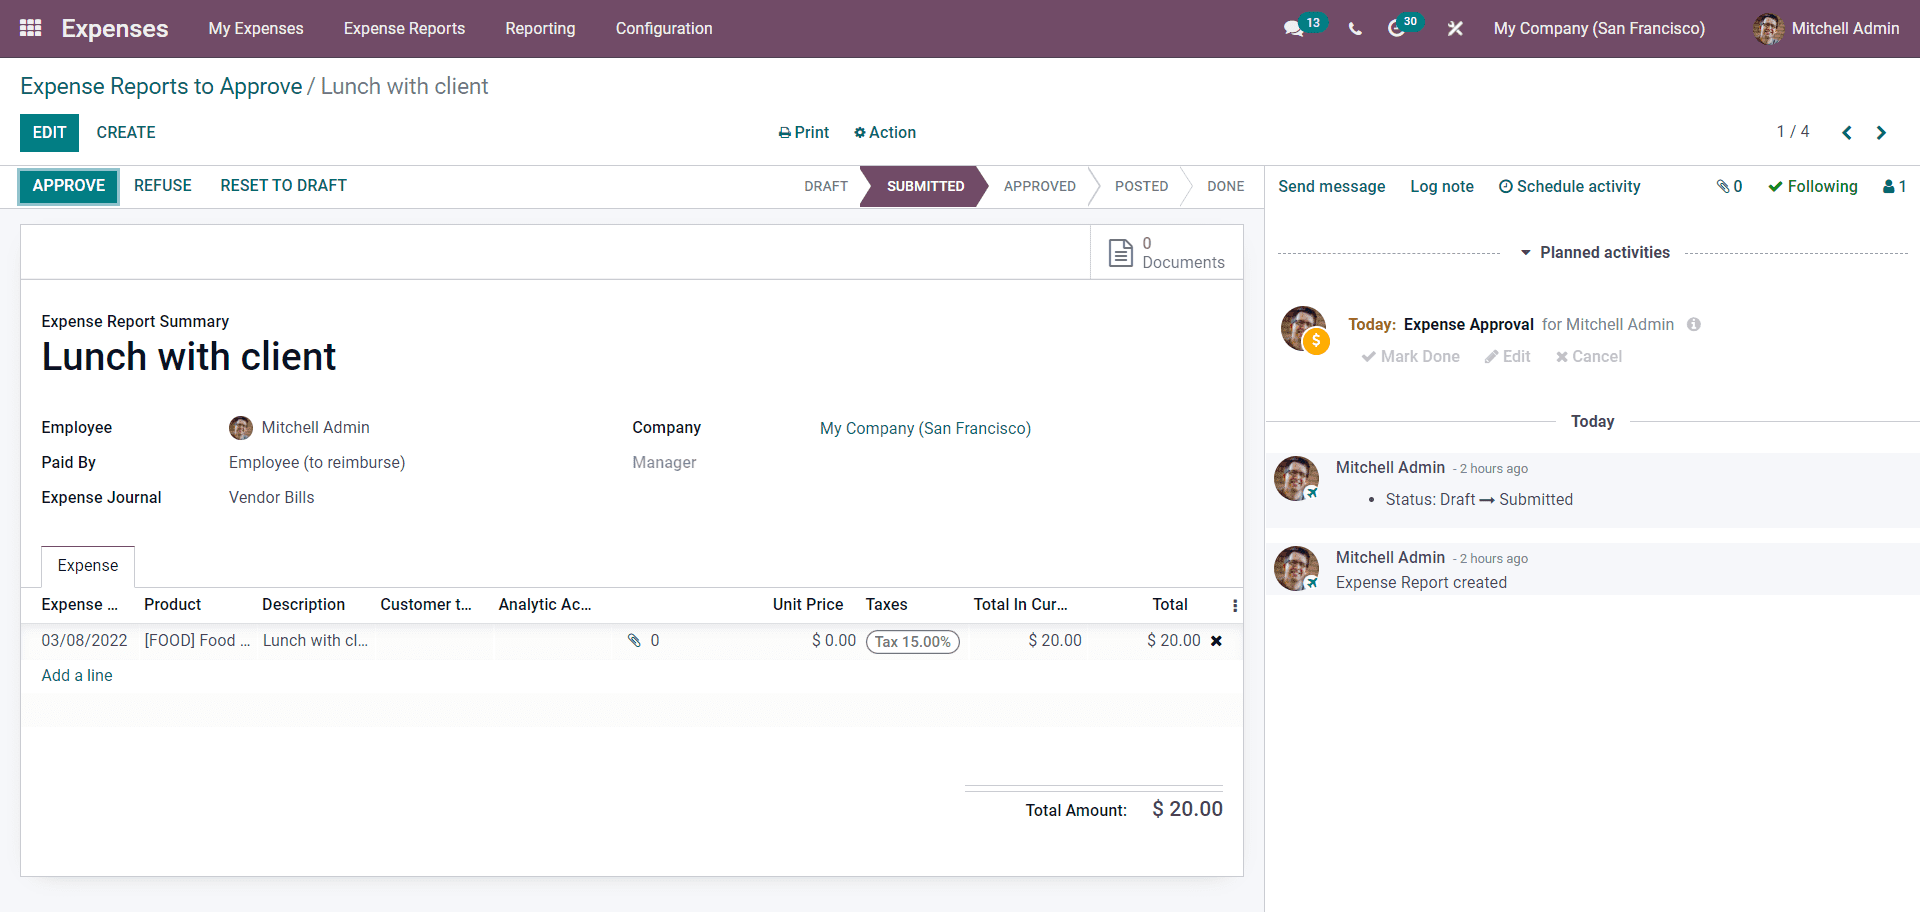
Mitchell can edit and manage the created Expense reports from the page as shown in the image given above. Clicking on the APPROVE button or REFUSE button will allow Mitchell to approve or reject the Expense report. Mitchel has approved the Expense report above, which will take him to the next step in the process, as shown in the image below.
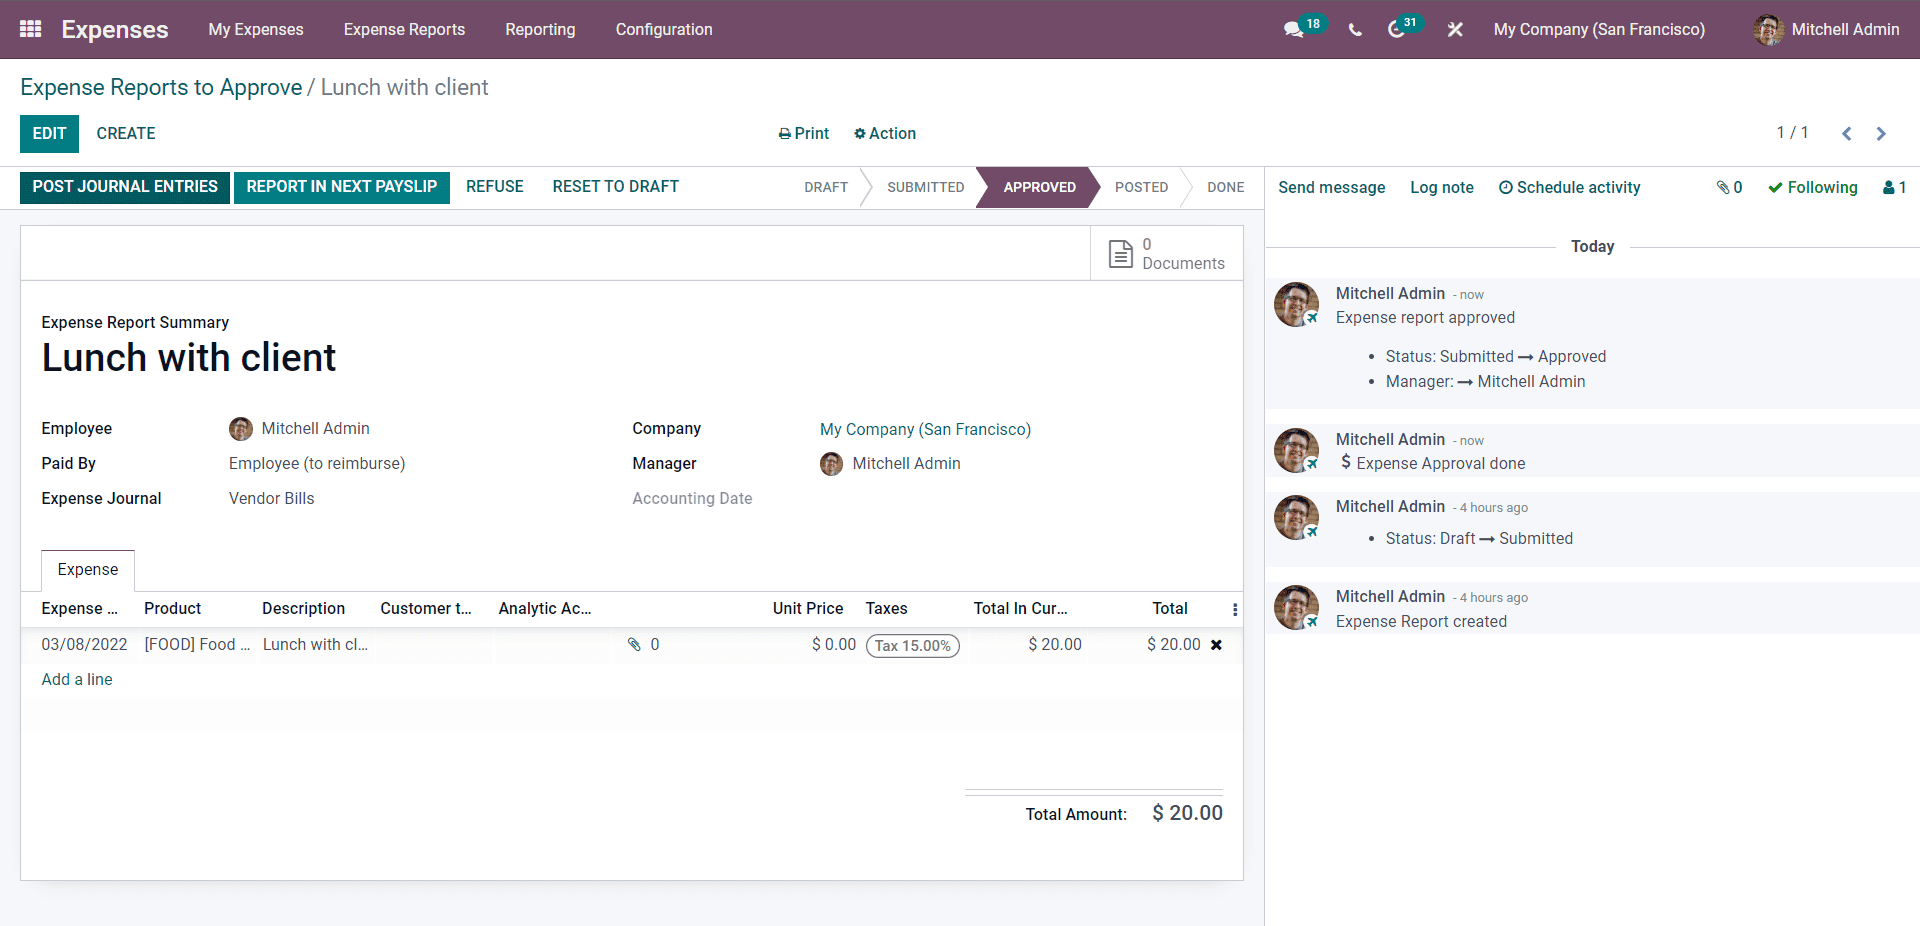
The image above shows that Mitchell has two buttons named POST JOURNAL ENTRIES and REPORT IN NEXT PAYSLIP. Mitchell as the administrator, can choose between the two options to approve the payment to the employee. Mitchel can directly enter the expense to the journal entry or apply it to the next payslip of the employee. Even at this stage of the process, Mitchell can still reject the Expense report by clicking on the REFUSE button.
Reports to Post
As the options suggested, Reports to approve includes all of the reports that are waiting to be posted, as shown in the image given below.

Mitchell can choose from the list to post the report.
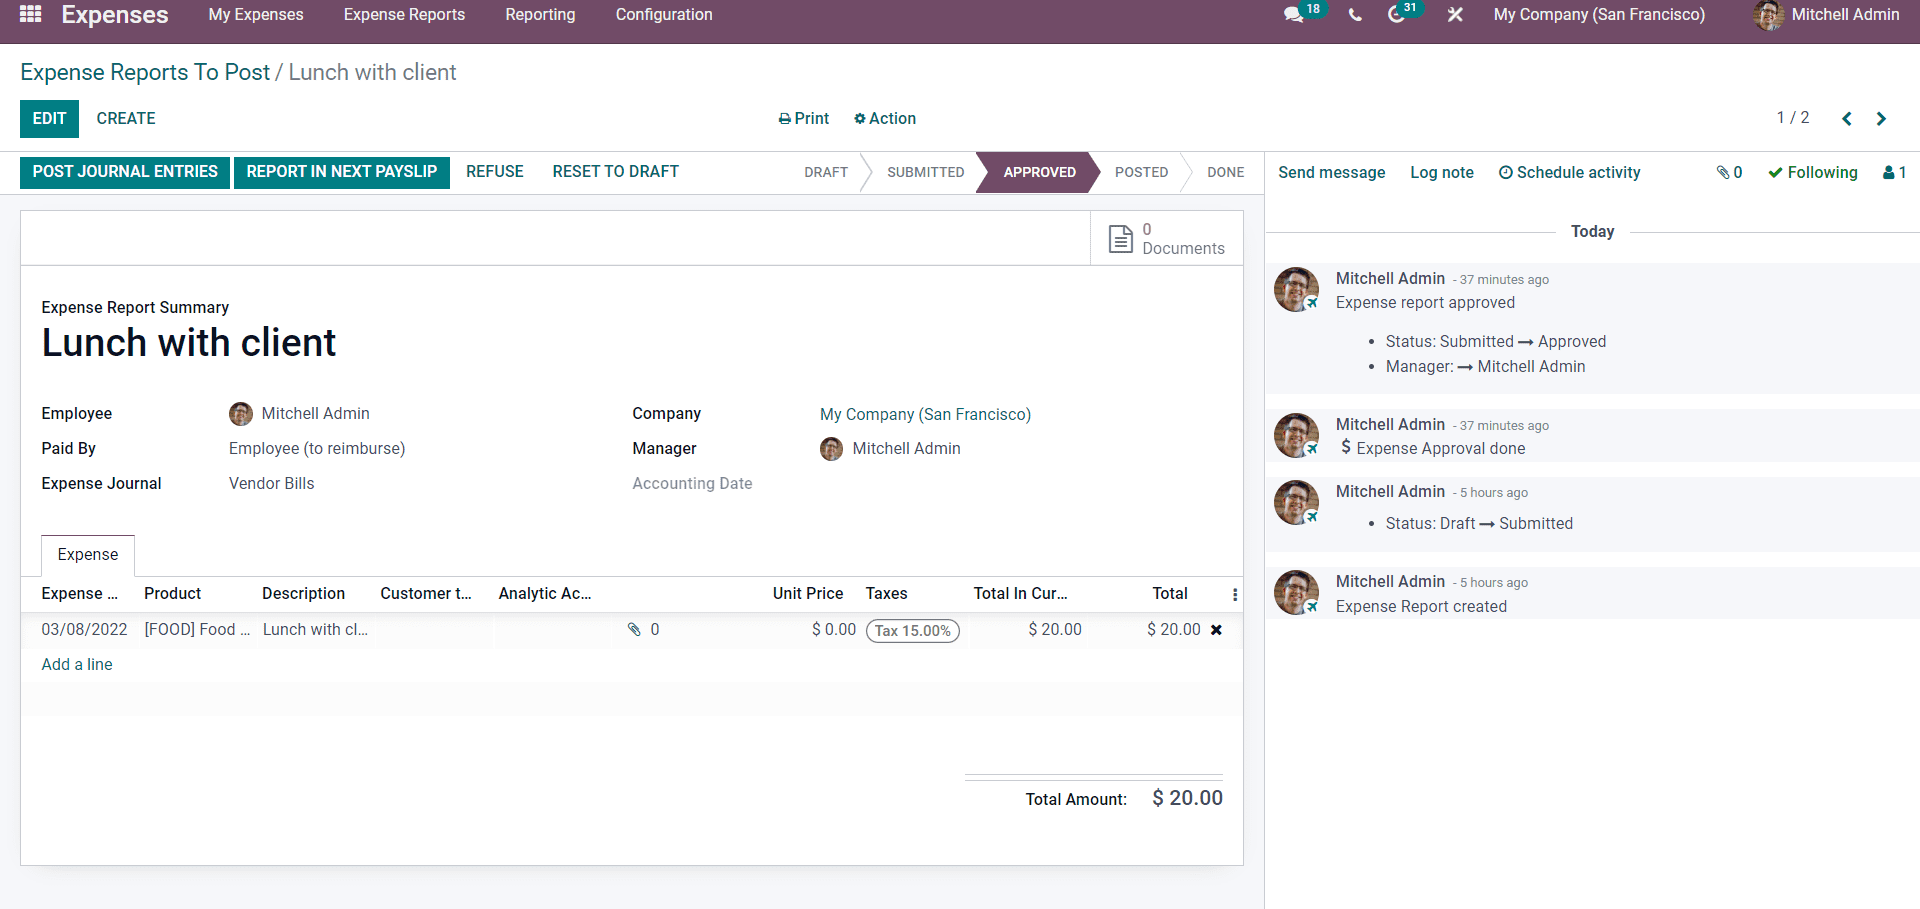
Again Mitchell can choose to pay or refuse the expense from this page.
All Reports
All of the Expense reports of the employees will be listed on this page for Mitchell as the administrator to overview as shown in the image given below.

Mitchell can choose from the list to manage and update the expense reports. Mitchell can easily manage all of the employee reports from this page. And if he wants, he can instantly create a new Expense report by clicking on the CREATE button.
Expense analysis
Expense Analysis plays a considerable role in improving the efficiency of the whole Expenses management process. The Expense module of Odoo has dedicated space for Expense analysis to make the process easy and efficient. But before knowing about the Expenses view, it is imperative to understand how to create and manage Expenses reports with the Expenses module.
The Odoo 15 Expense module has a Reporting tab reserved for Expense analysis, as shown in the image below.
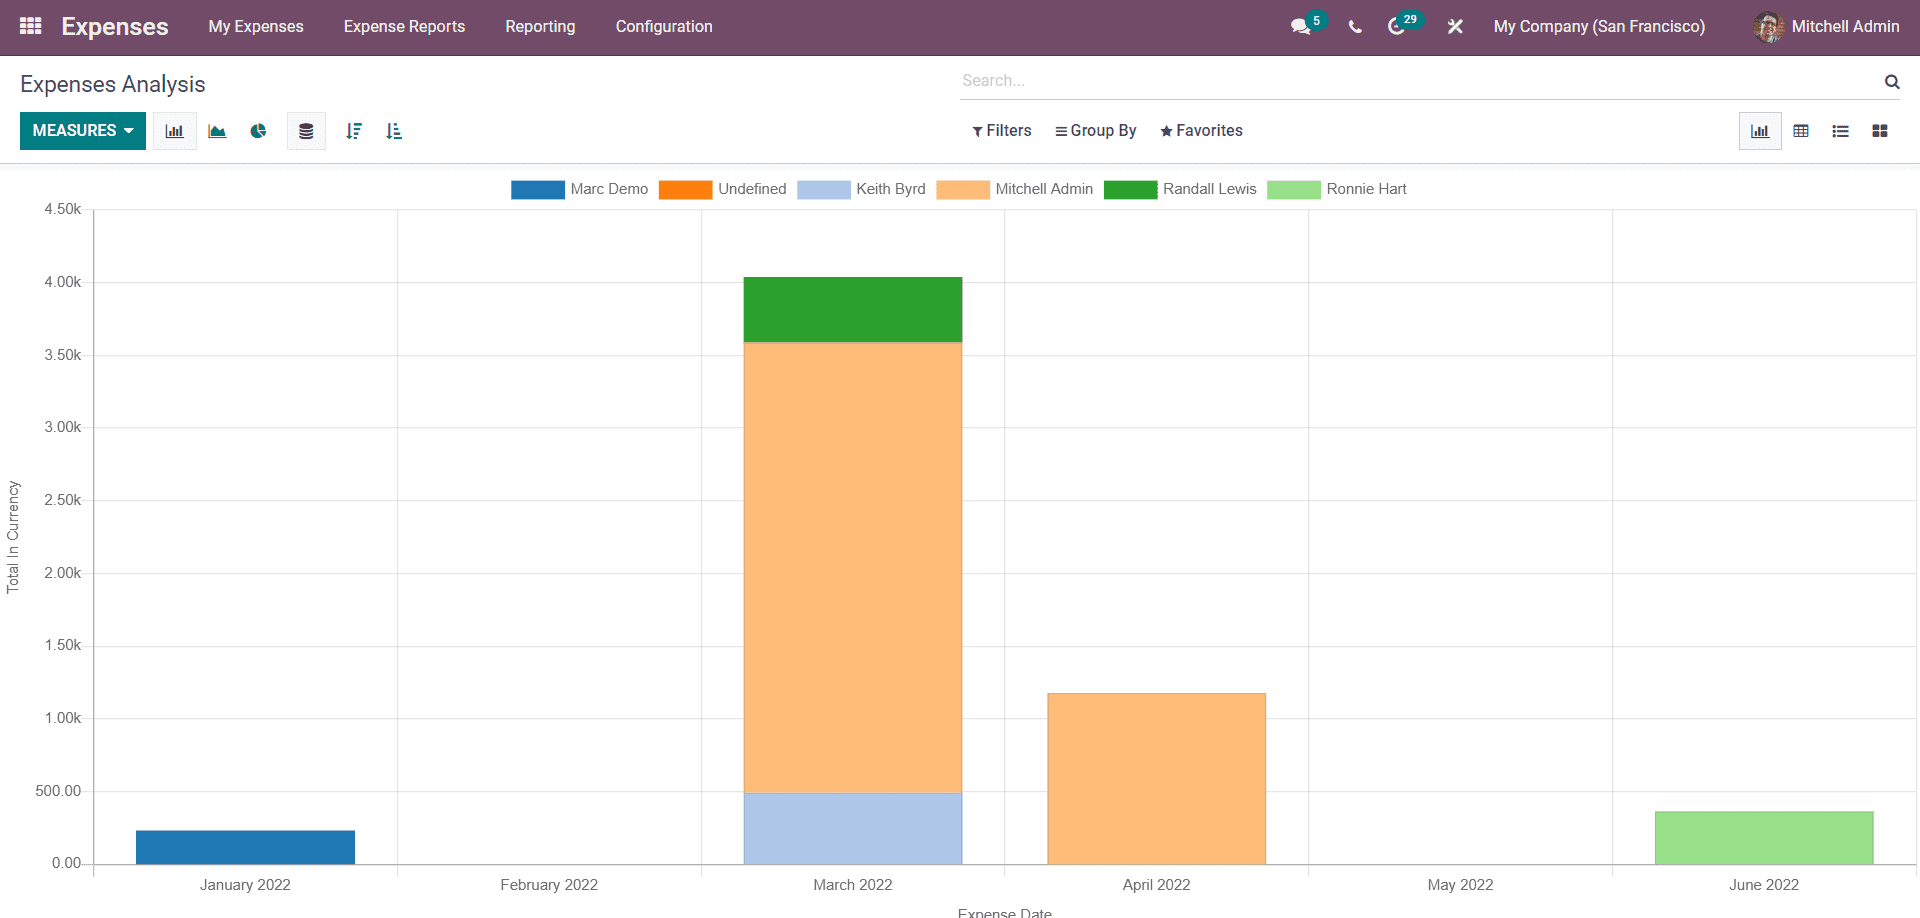
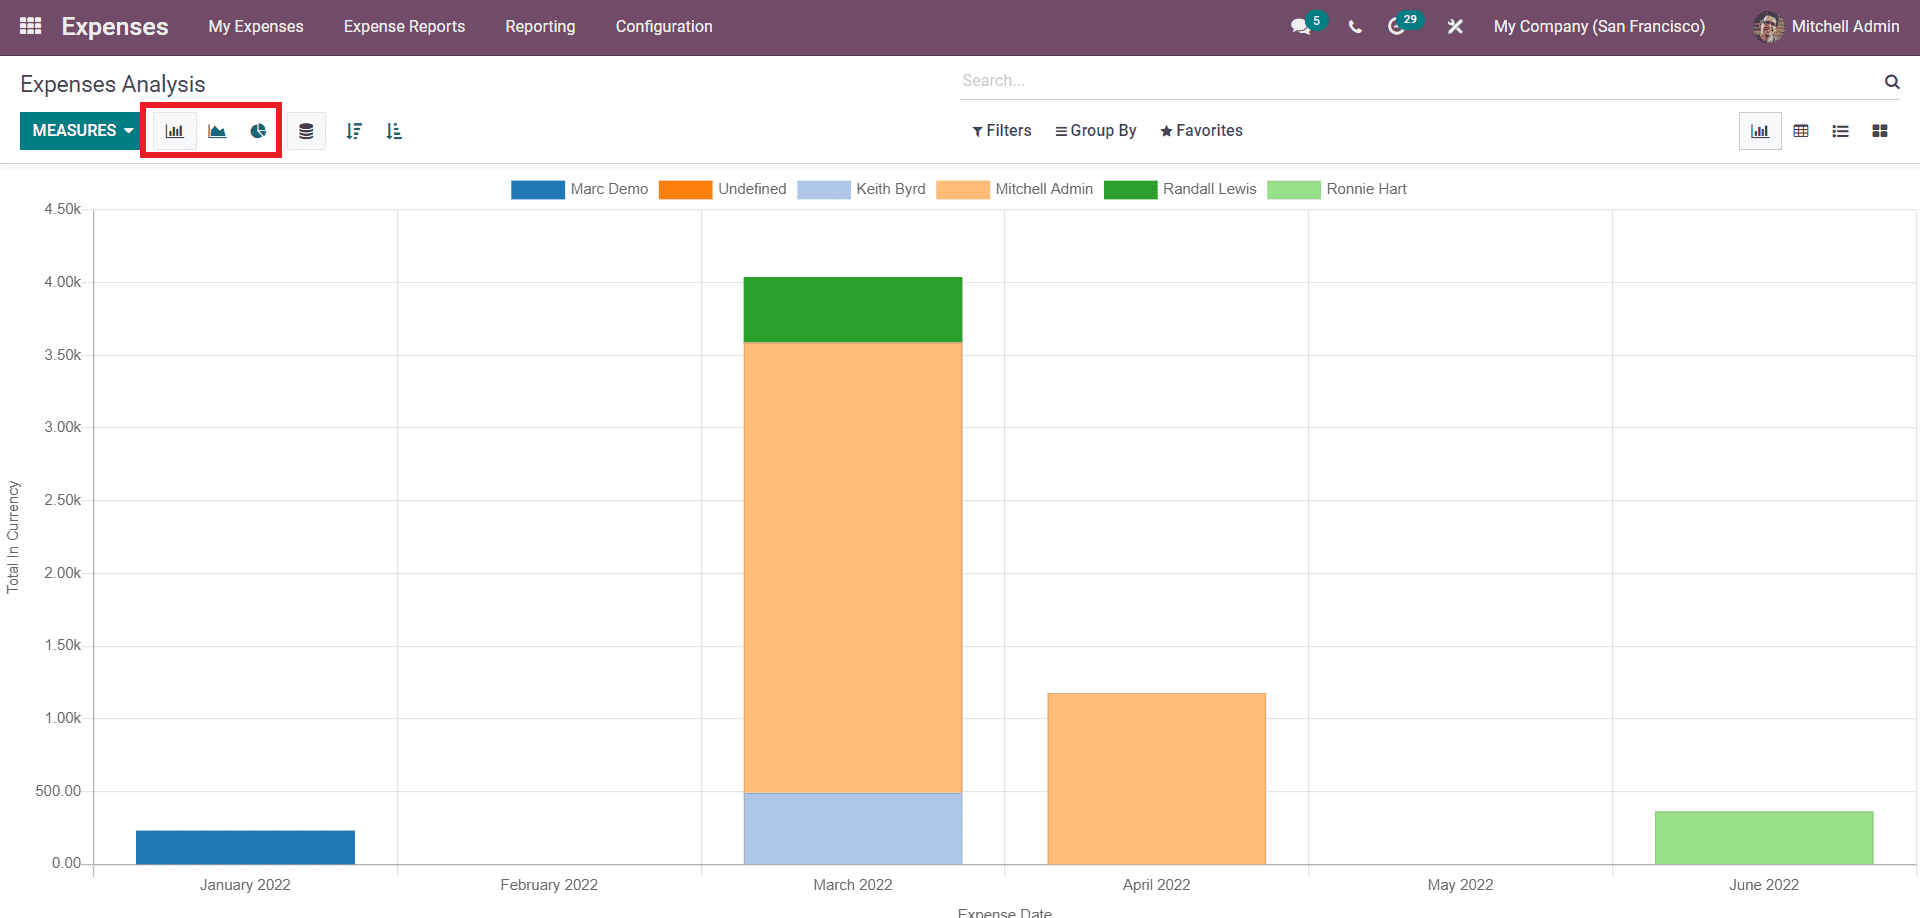
This is the Expense analysis page of the Expenses module. All of the Expenses will be shown on this page. There are multiple viewing options for analyzing the data. The viewing options to choose from includes Bar Chart, Line chart and, Expense chart. The viewing options can be selected by clicking on their respective buttons.
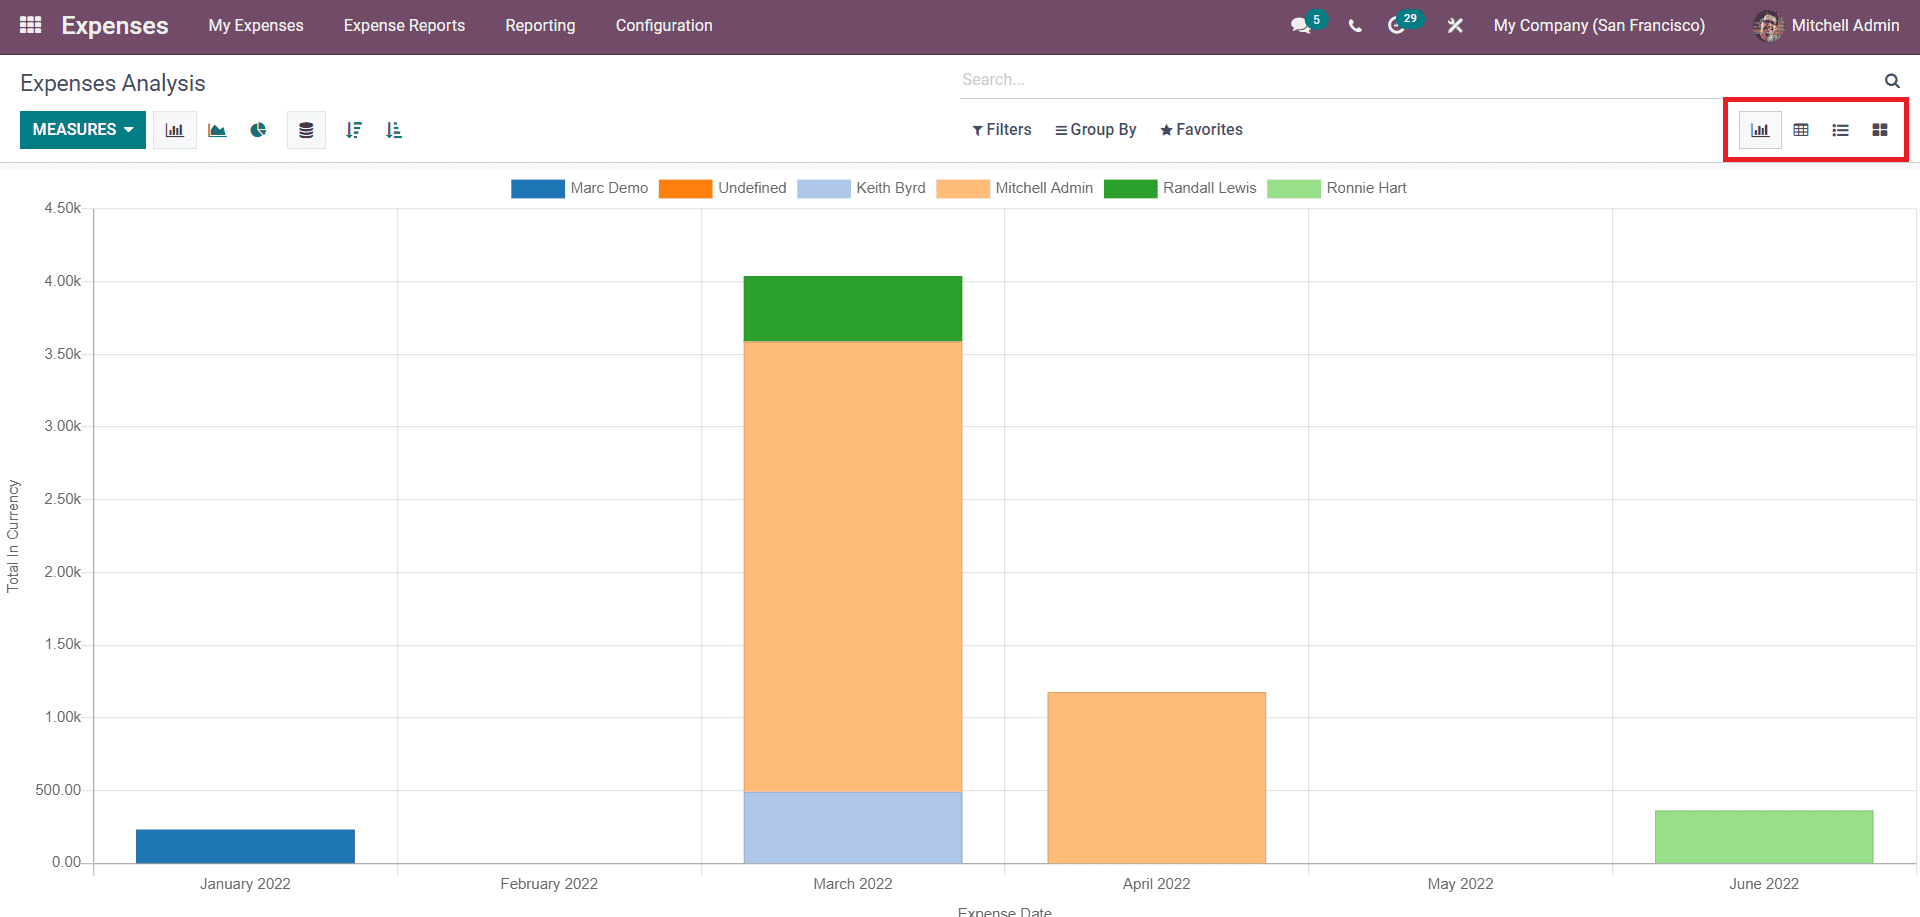
In addition to the various chart views, various data display options which include Graph, Pivot, List and Kanban are also given as highlighted in the image shown below.
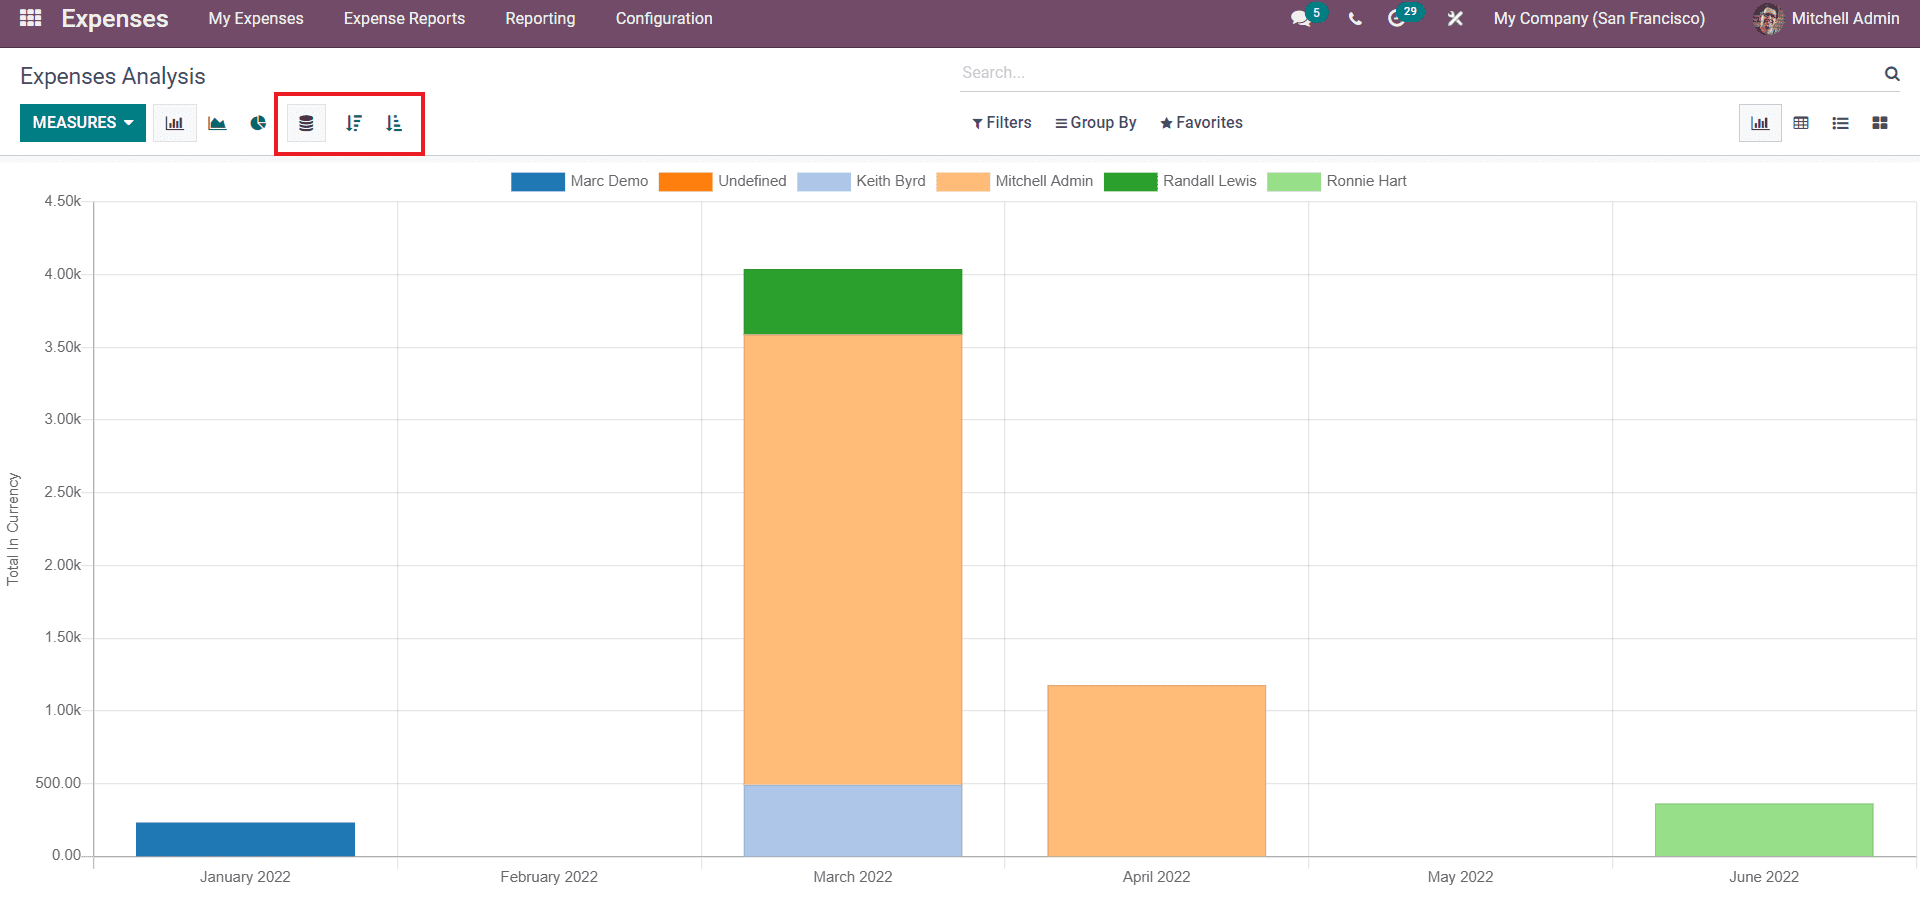
Proper arrangement of data is necessary for easy analysis. There are three other options to stack and order the data and the graph. The options include Stack, Descending or Ascending as marked in the image given below.
The MEASURES button can be used to change the measures or the scales of the data to have a detailed overview of the entire data at a single glance. The chart representation of the data makes it easy to analyze and put up presentations on all of the data explicitly. Expense analysis can be carried out at any time to maintain proper data clarity and data management.
The Odoo 15 Expenses module is equipped with the most advanced tools for maximum efficiency. The expense module is one of the highly integrated modules of Odoo for ensuring maximum user-friendliness. The personalized user interface of the module will make it easy for the managers and the employees to use and interact.