In this blog, we are going to discuss how to customize an existing view type in Odoo 14. For example, if we want to customize or extend the kanban view type with some extra features we can use this method. There are mainly 3 steps for customizing an existing view type, they are:
> Extending the view type (includes extending controllers/renderers and/or models)
> In the view registry, registering the view extended
> Finally, using the extended view in the view type arch.
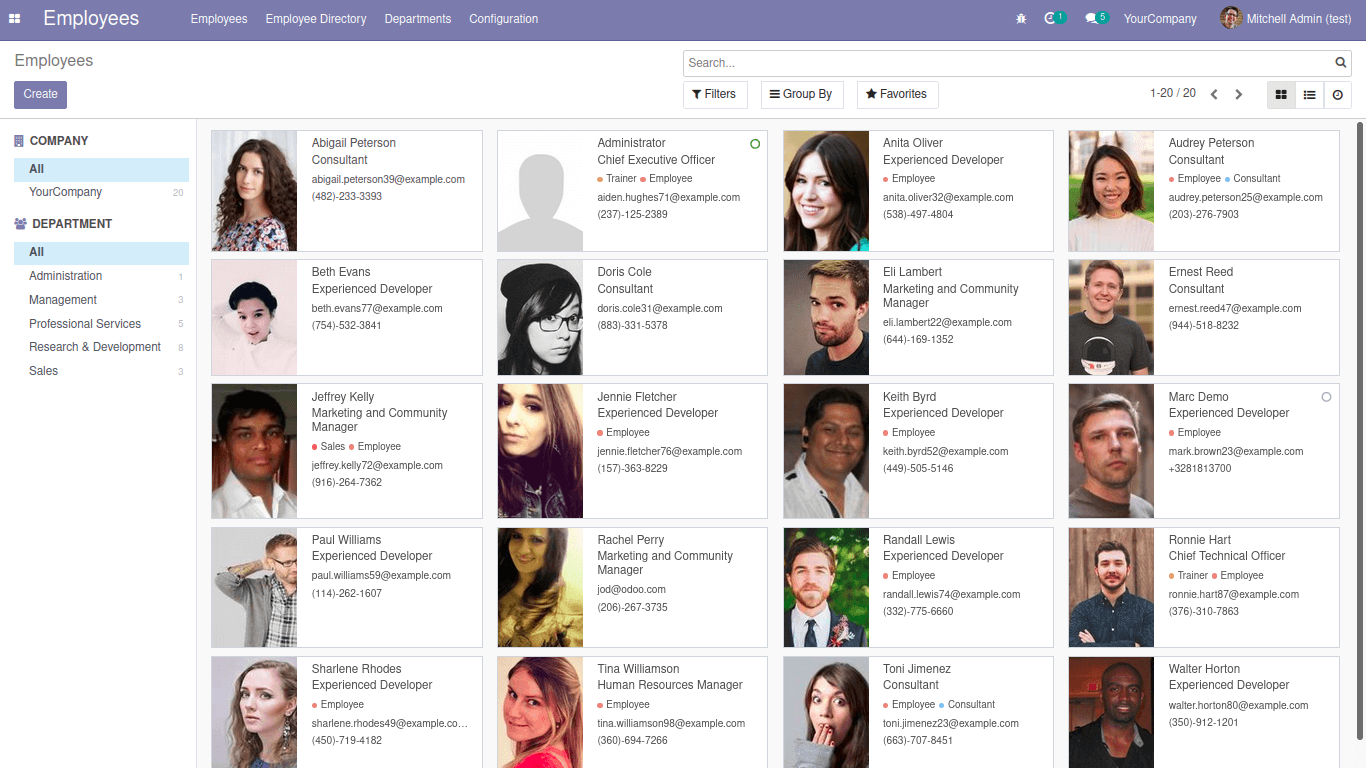
We can discuss the methods in detail using an example from the employees module itself. The image below shows the basic kanban view, we can extend it by adding a ChatMixin in the kanban view. The JS for view type is split into 4: View, Controller, Renderer, Model.
First of all we can look to create function of ChatMixin
// CHAT MIXIN
var ChatMixin = {
   /**
    * @override
    */
   _render: function () {
       var self = this;
       return this._super.apply(this, arguments).then(function () {
           var $chat_button = self.$el.find('.o_employee_chat_btn');
           $chat_button.off('click').on('click', self._onOpenChat.bind(self));
       });
   },
   destroy: function () {
       if (this.$el) {
           this.$el.find('.o_employee_chat_btn').off('click');
       }
       return this._super();
   },
   _onOpenChat: function (ev) {
       ev.preventDefault();
       ev.stopImmediatePropagation();
       const env = Component.env;
       env.messaging.openChat({ employeeId: this.state.data.id });
       return true;
   },
};
We are overriding the function here,
 var $chat_button = self.$el.find('.o_employee_chat_btn');
           $chat_button.off('click').on('click', self._onOpenChat.bind(self));
Here the chat button is defined and on clicking it opens the chat of the specific employee.
Now we have created a ChatMixin function, the next is to extend the kanban view. As we have discussed above, the first step is to configure the view type. Here it shows a simple example of extending the kanban view.
// USAGE OF CHAT MIXIN IN KANBAN VIEWS
   var EmployeeKanbanRecord = KanbanRecord.extend(ChatMixin);
   var EmployeeKanbanRenderer = KanbanRenderer.extend({
       config: Object.assign({}, KanbanRenderer.prototype.config, {
           KanbanRecord: EmployeeKanbanRecord,
       }),
   });
   var EmployeeKanbanView = KanbanView.extend({
       config: _.extend({}, KanbanView.prototype.config, {
           Controller: KanbanController,
           Renderer: EmployeeKanbanRenderer
       }),
   });
Here we are extending the KanbanRecord and it is used for fetching some meta-information. Furthermore, we have added the ChatMixin function to the KanbanRecord as KanbanRecord.extend(ChatMixin);
In the next step we are overriding the KanbanRenderer and the Renderer is used for displaying the data in the user interface. At last we are extending the KanbanView by specifying the Controller and Renderer we extended.
After extending the KanbanView, we need to move to second step as we have discussed above, that is adding a view to the extended view registry, which is done as follows:
var viewRegistry = require('web.view_registry');
viewRegistry.add('hr_employee_kanban', EmployeeKanbanView);
We are informing the viewname to the web client and mapping between the actual class.
In the view registry we have now added our extended kanban view “hr_employee_kanban”. By adding the view to the view registry it's simple to call the extended viewtype in the xml file as shown in the below step.
The final step for extending the viewtype is adding our new class “hr_employee_kanban” in ir.ui.view, so that we can use it. The step is adding the class to the actual view of the kanban is depicted below:
<record id="hr_kanban_view_employees" model="ir.ui.view">
  <field name="name">hr.employee.kanban</field>
  <field name="model">hr.employee</field>
  <field name="priority">10</field>
  <field name="arch" type="xml">
      <kanban class=”o_hr_employee_kanban” js_class="hr_employee_kanban" sample="1">
By calling the js_class=”hr_employee_kanban” so that the specific ir.ui.view will be using our new class and we have added class=”o_hr_employee_kanban” which adds HTML classes to the root HTML element of the kanban view.
“js_class” attribute is to call js functions as js_class=' ' in the view type as shown above. By doing this, we have extended our kanban view from the usual kanban view. Additionally, by adding the js_class now the chat button will appear in the kanban view of the employee and we can add like this inside the view in the xml file
<a title="Chat" icon="fa-comments" href="#" class="ml8 o_employee_chat_btn" role="button"><i class="fa fa-comments"/></a>

From the example we can understand the configuration aspects. Similarly we can extend Form view, Tree view and all the views in Odoo, by using this method and also creation of new viewtype is also possible in Odoo.