New automation rules can be added using Automation. By clicking on Automation, the user can create new rules to execute automations. Click the New button to add new automation rules.
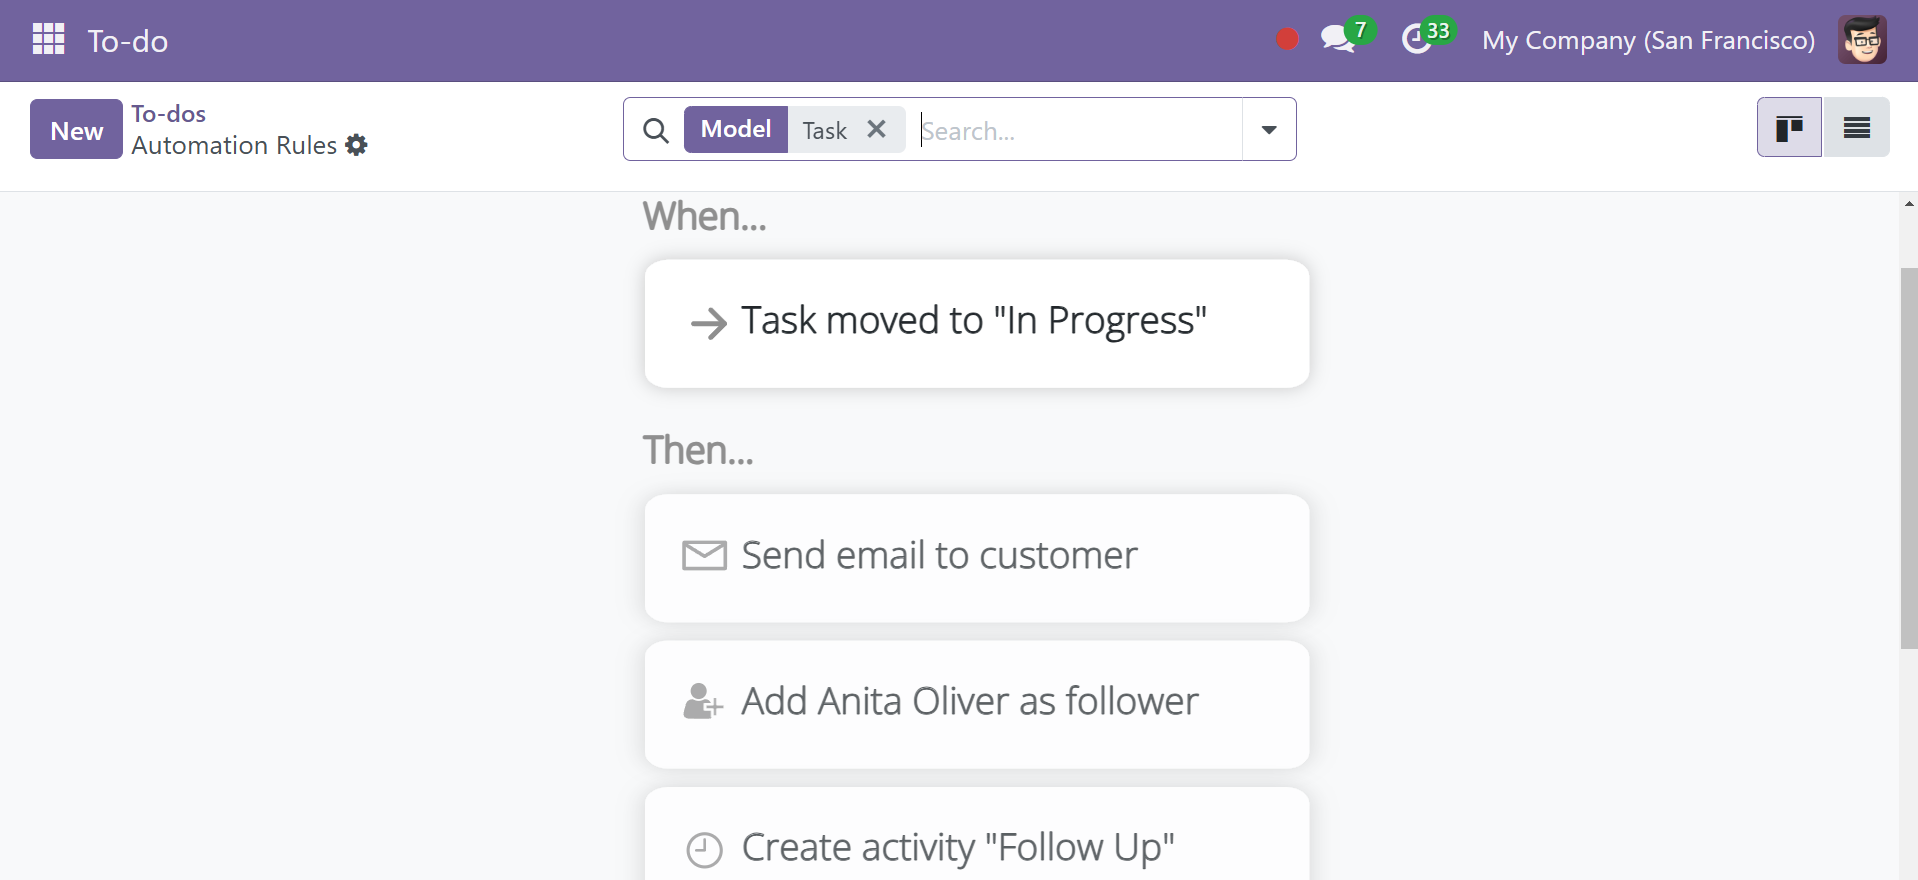
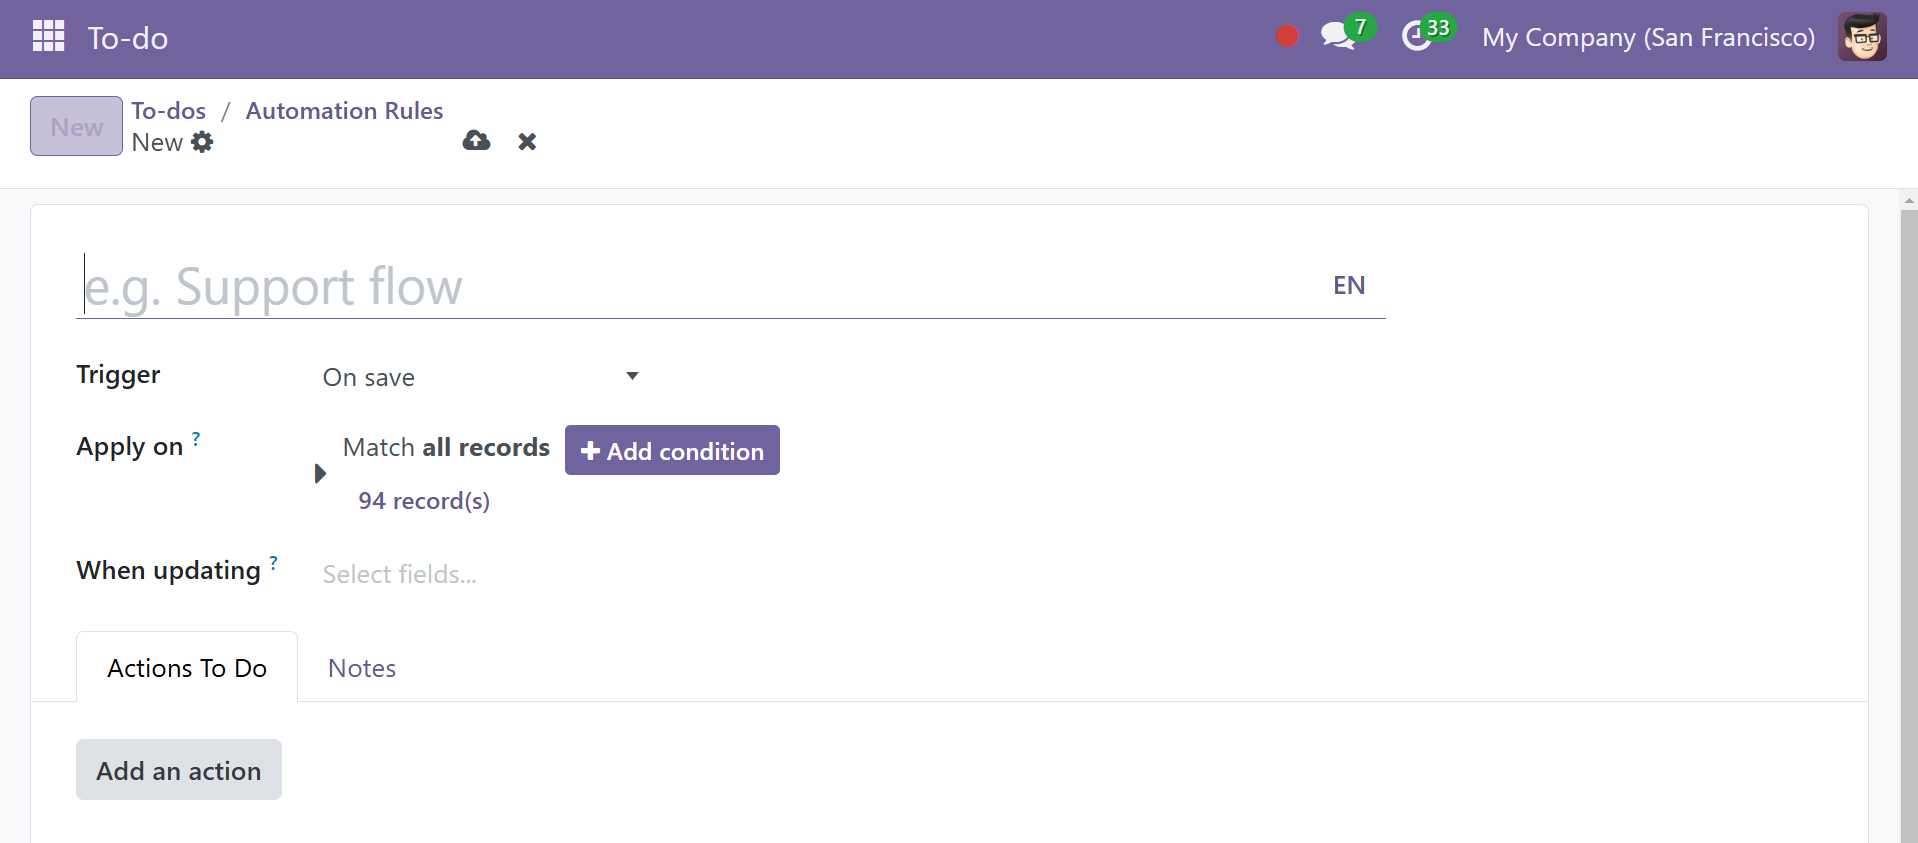
First, include the Automation rule's name. Next, specify the model that the automation rule works on and put the required trigger conditions in the Trigger box. Next, create a condition for the field during updating and apply a filter to the field prior to altering the domain. The Actions To Do tab then contains the required action.
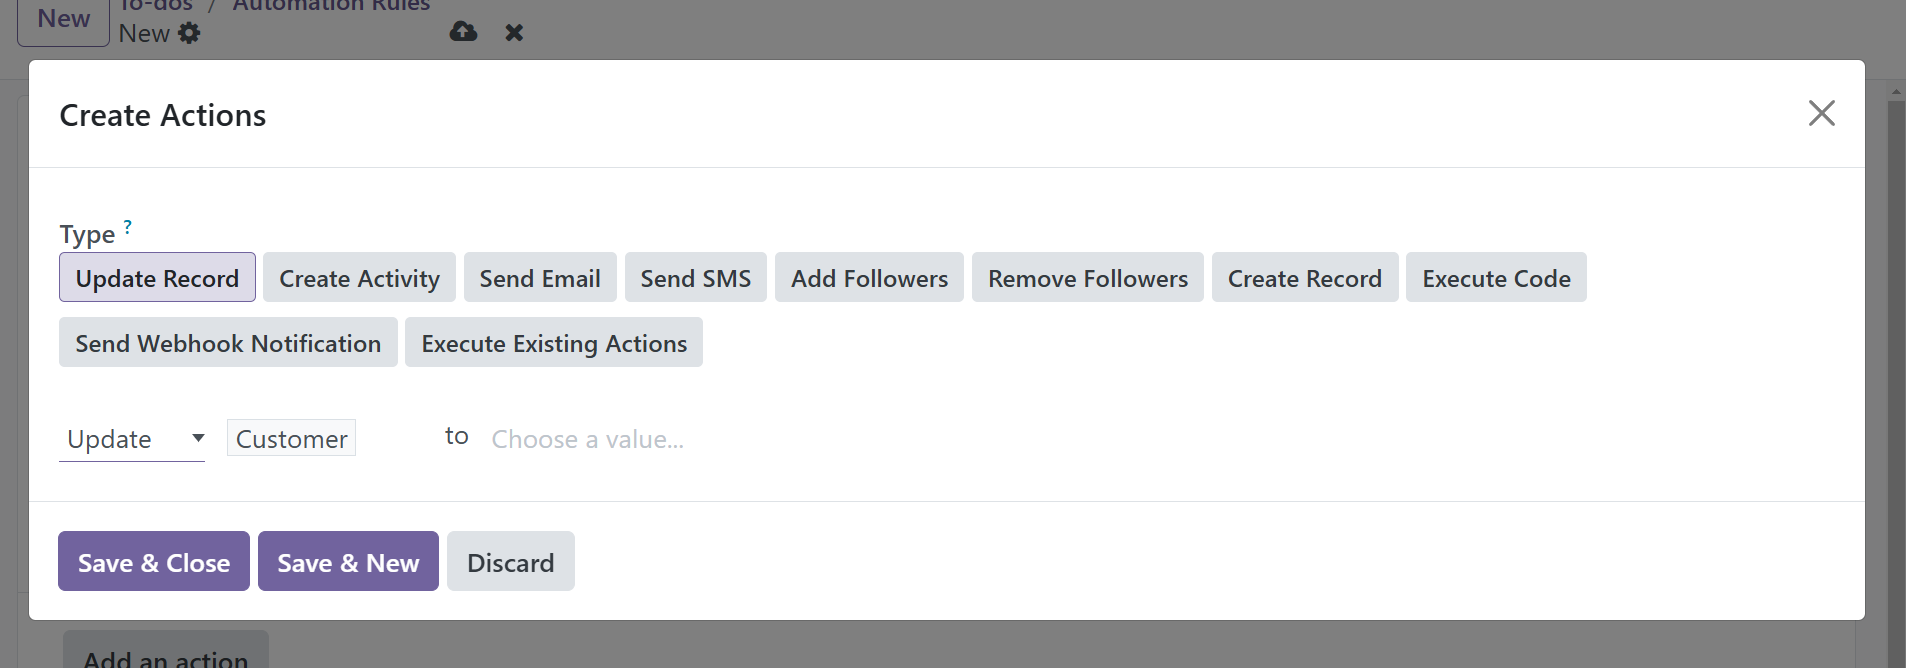
After choosing the action type, choose the Save & Close option to complete the process. As an alternative, you can add a new action and save the current one by using the Save & New button.
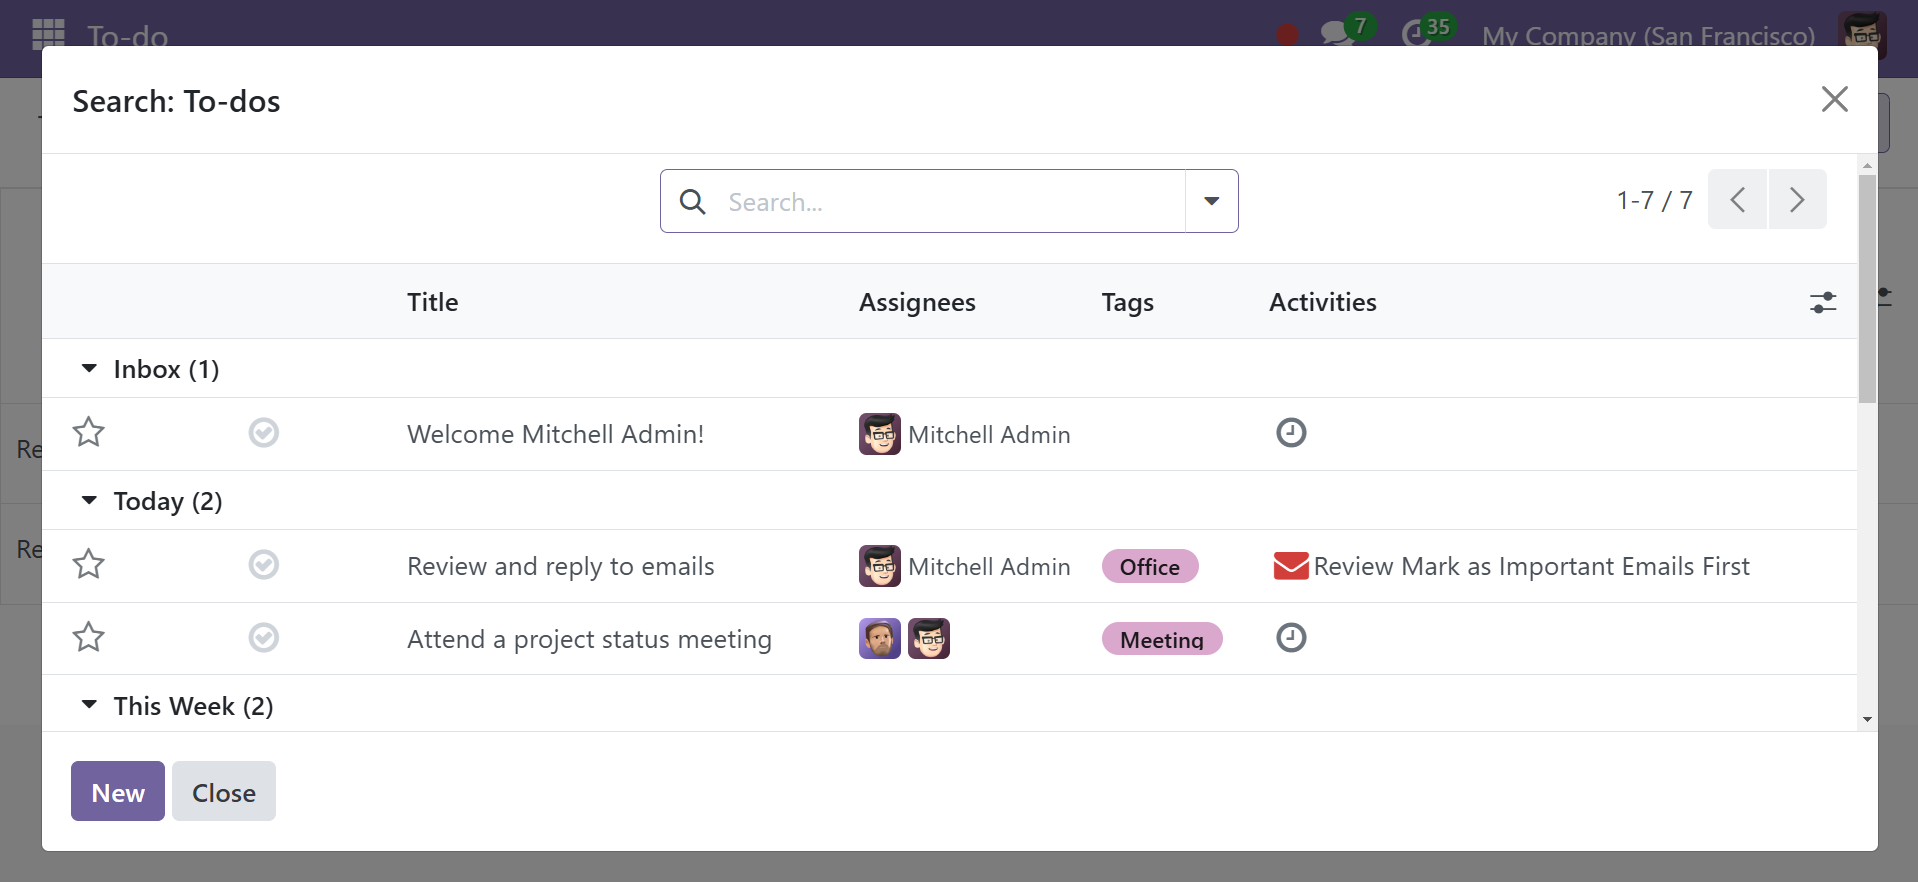
In addition to this Kanban view, you can now view these notes in a List view, as shown below.
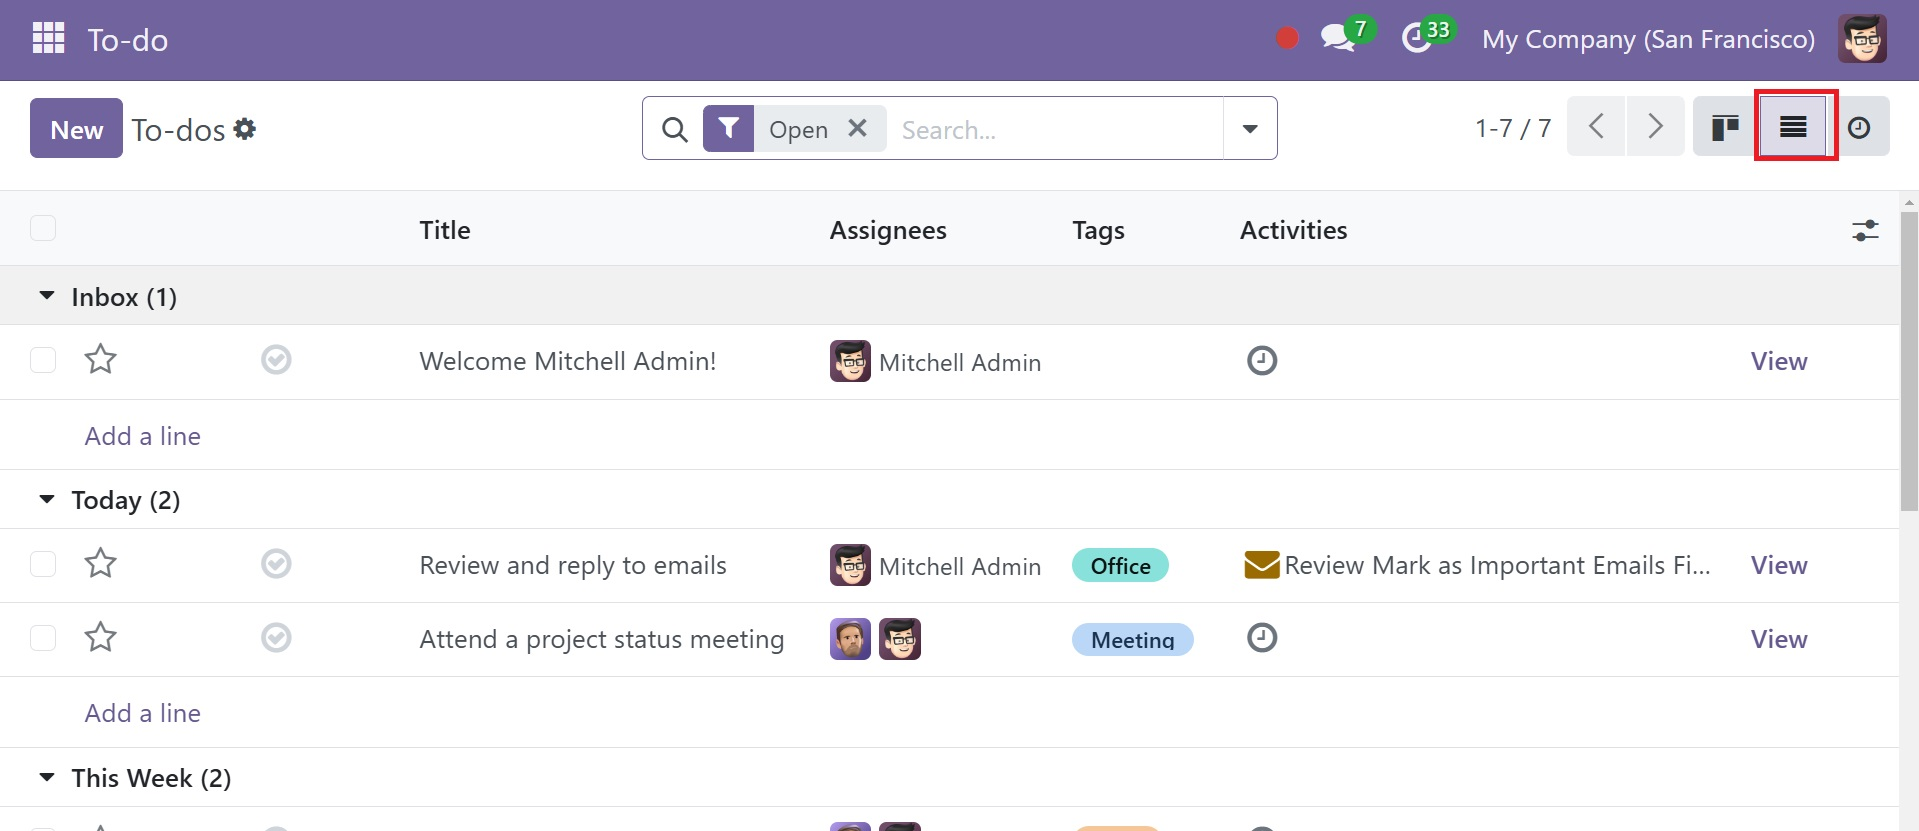
Here, you have the title, assignees, tags, and activity options, as in the above image. You can also use the New button to add a new note to this list.
There is the activity view of the page as well, as in the image below.
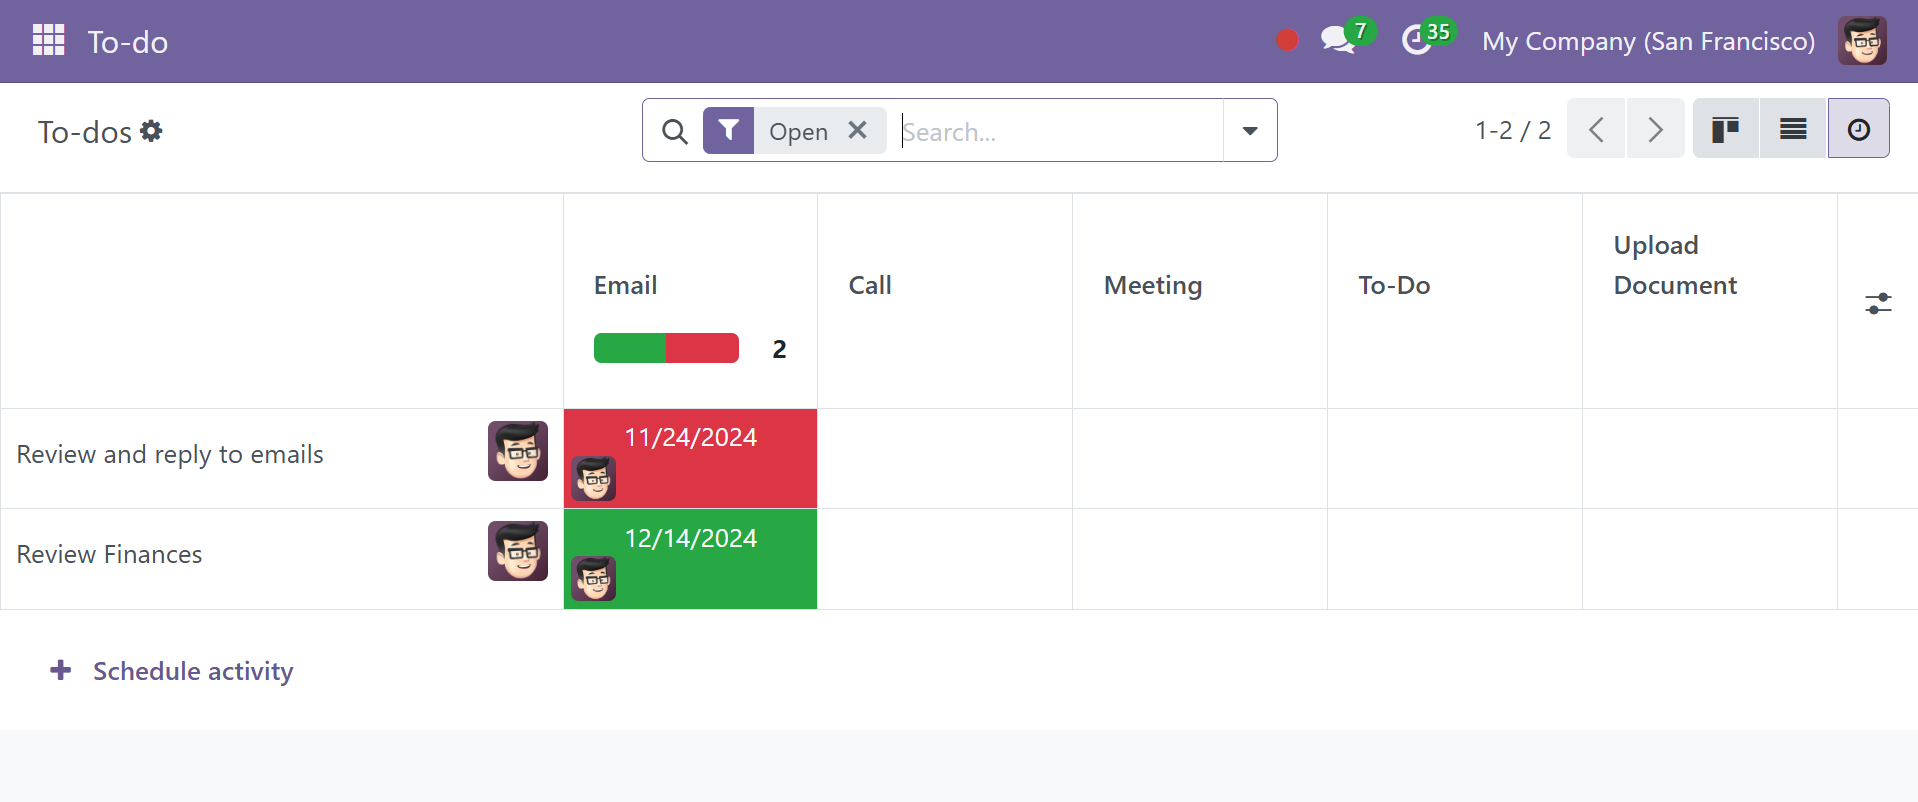
The columns in this view list every activity that is offered, and the horizontal entries show each individual record.
Activities that show up as orange are due today, those that show up as red are past due, and those that show up as green have a future due date.
Each column's color bars show the number of activities scheduled for a certain activity category and represent records for that type.
A number representing the total number of scheduled activities will show up in the box if a record has multiple activity types booked.
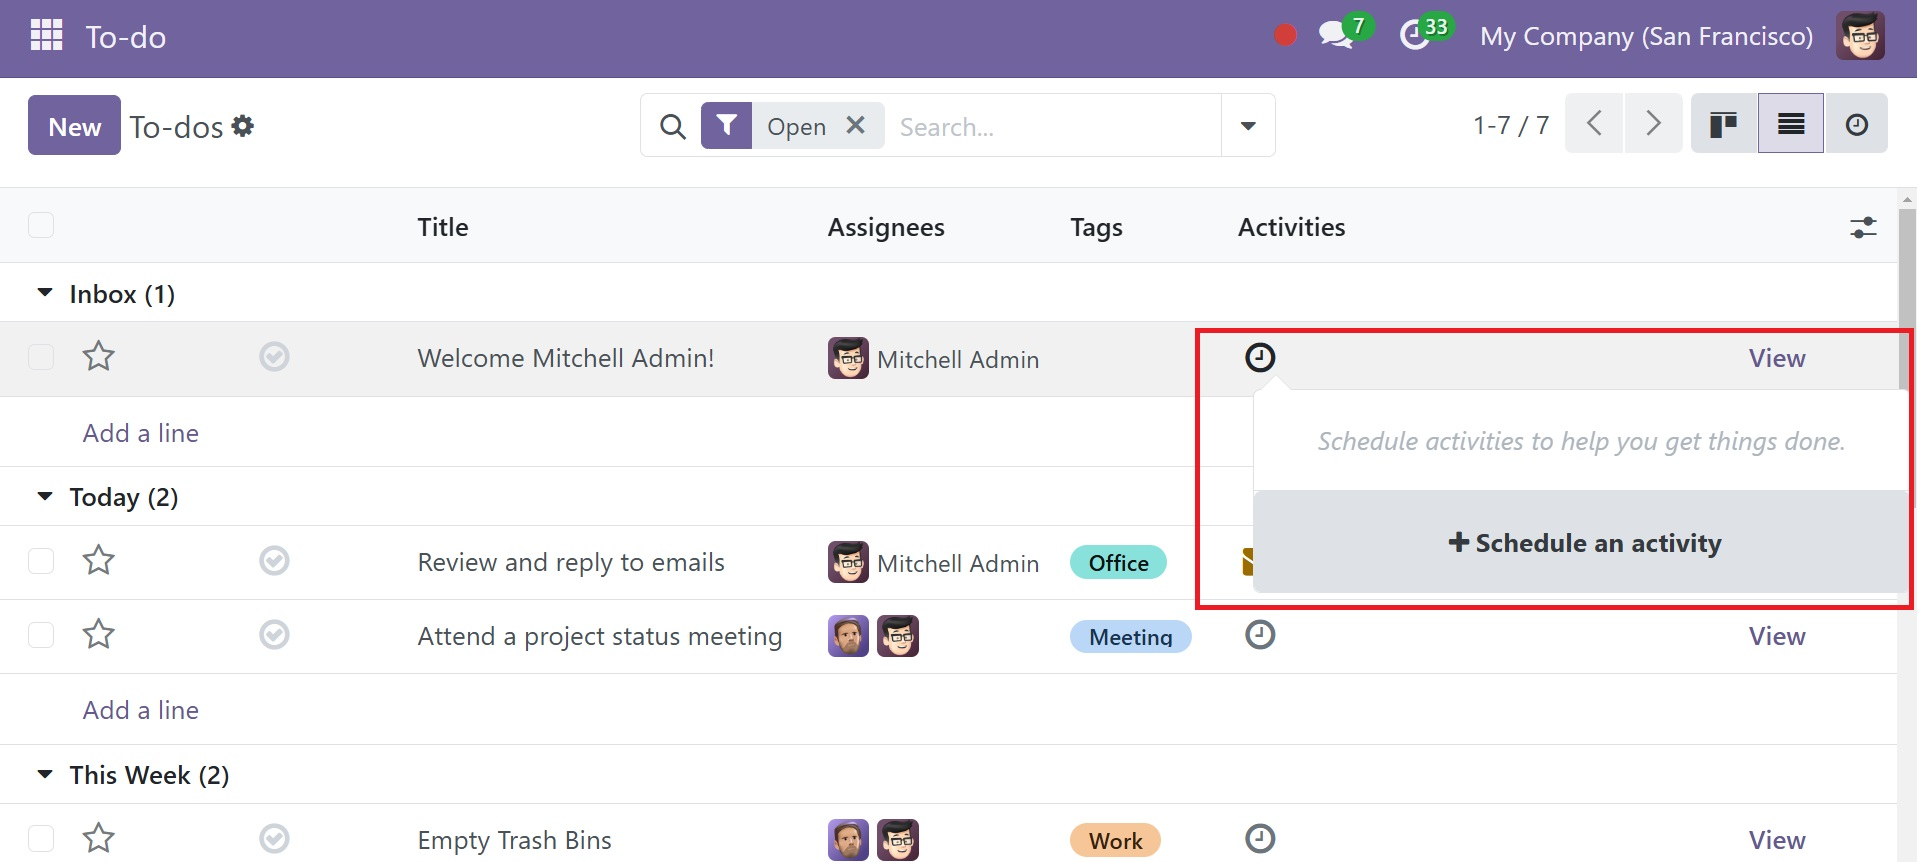
Hover your cursor over the field that corresponds to a record to arrange an activity. After selecting the "+" icon, complete the Schedule Activity form.

On selecting the icon, as marked in the image above, you will get a pop-up window, as in the image below.
Here, it is very easy to add a new activity accordingly.
From the main window, easily schedule various tasks in this To do Module. One can plan a variety of programs, such as those for calls, emails, appointments, to-do lists, and many more categories. Use this feature by clicking on the clock icon in the top right corner of the page, as seen below.
A screen like the one above with the option to schedule an activity shows when you click on the clock icon, as shown in the above image. On the page, you can complete a variety of tasks, such as calling, meeting, uploading documents, creating to-do lists, and sending reminders. By selecting the Schedule Activity option, you can begin a new activity.
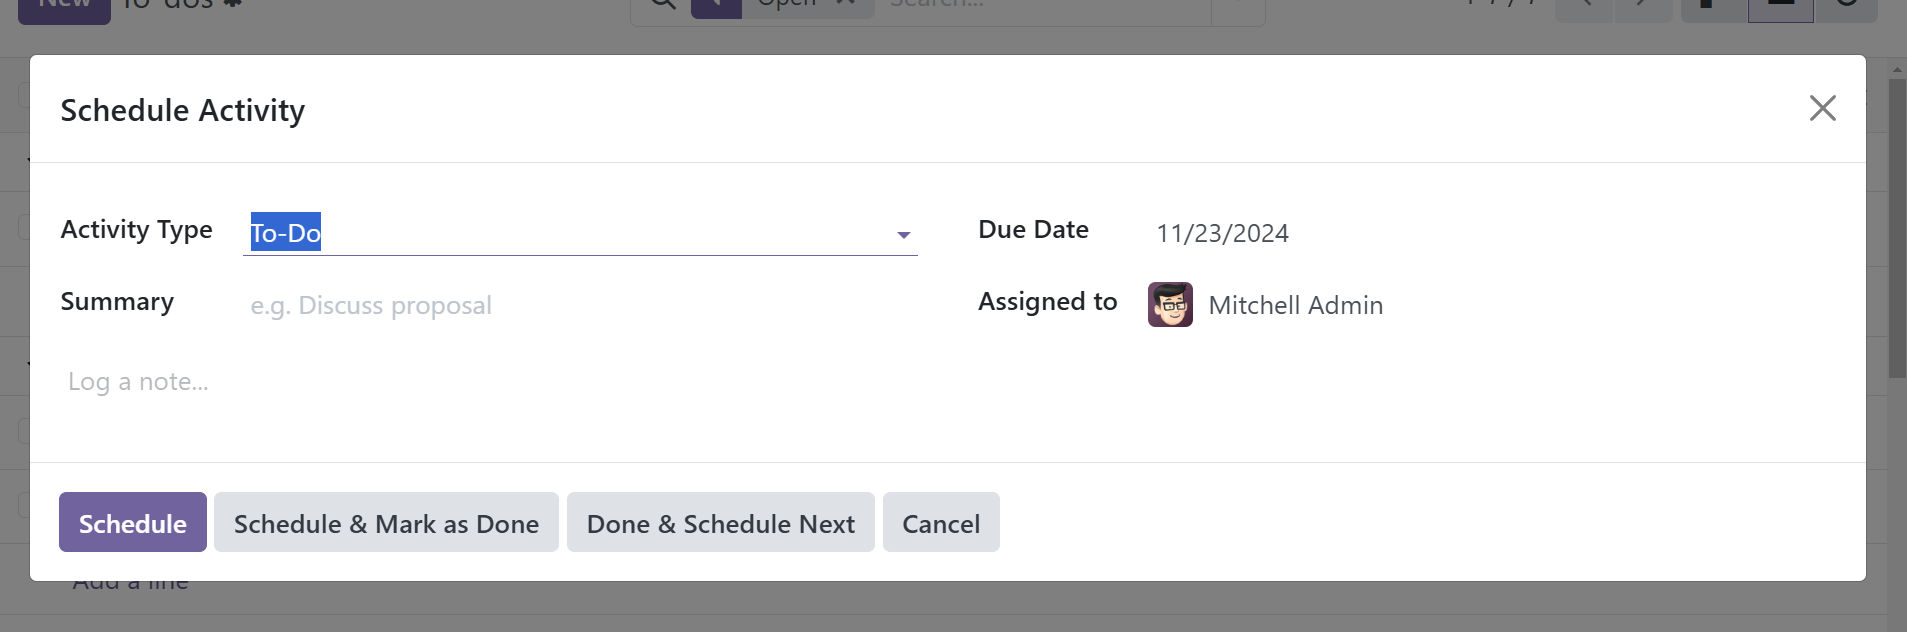
You can select the type of activity from a drop-down menu on the page where you create planned activities. In the designated box, you can also include a synopsis of the activity. You can now define the date and the task's recipient using the due date option. You can give their duties by choosing the Meeting activity type, which will display the page's calendar view.
Click the New button to make notes, as seen in the image. There is also a search box for finding information based on the contents of notes. This home page has a number of note-related categories, such as Inbox, Today, This Week, and This Month To-Do List, in that order.
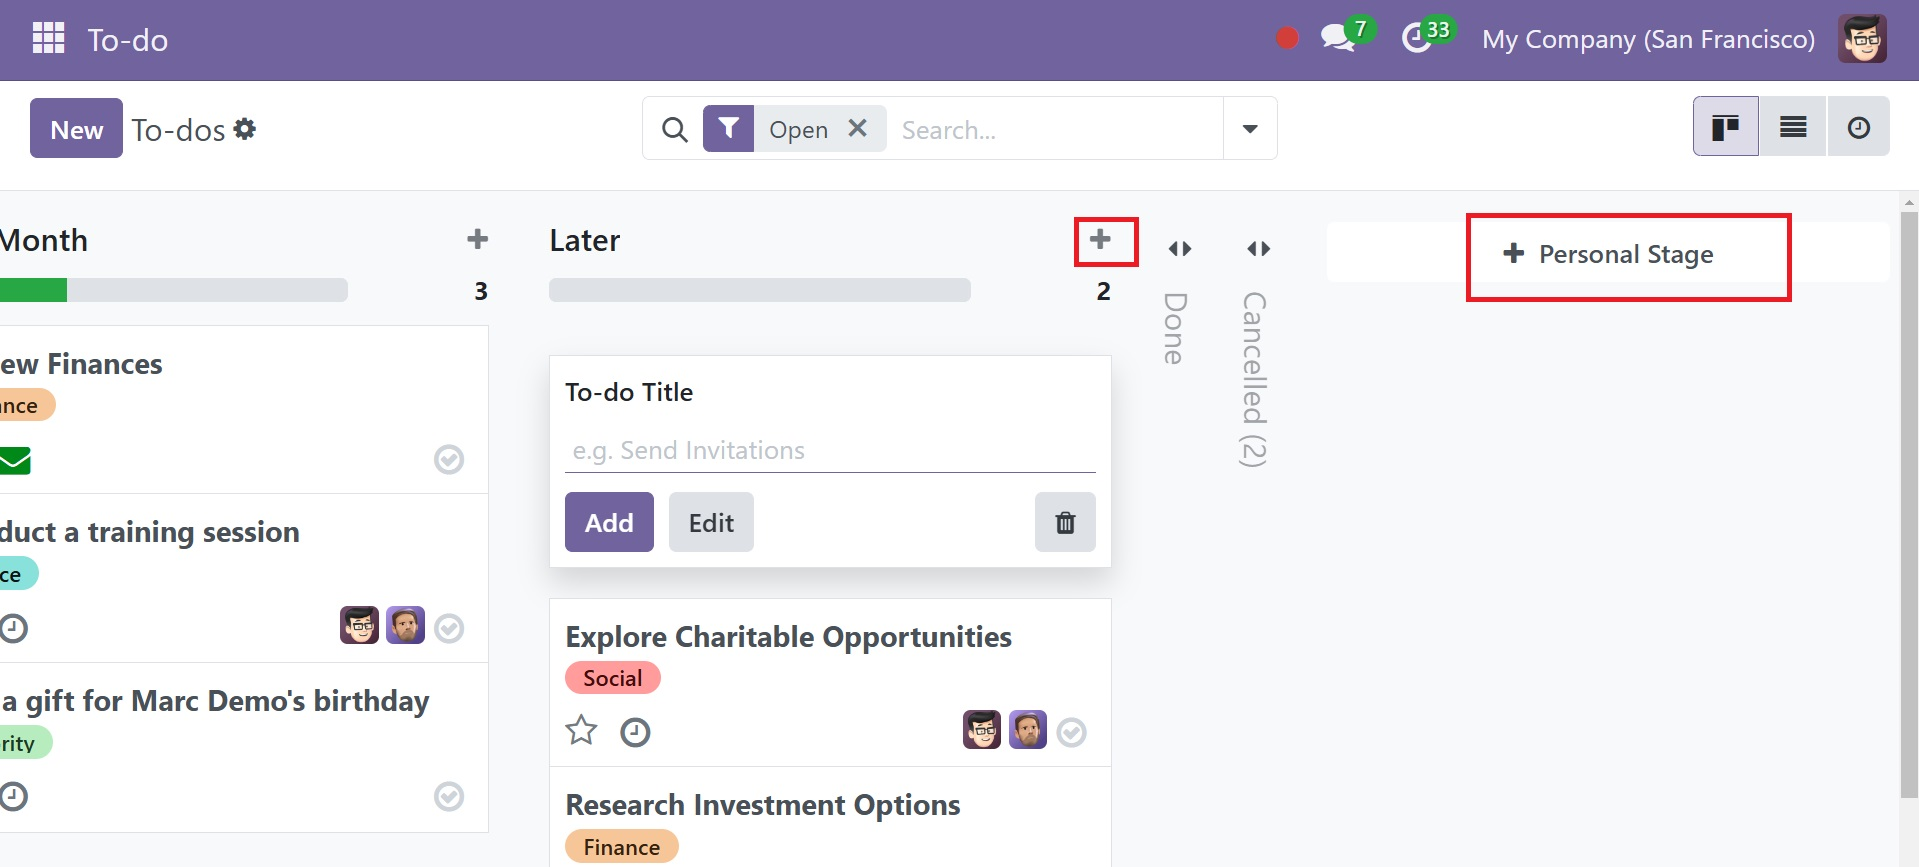
The Stage option allows you to add further stages for the matching notes. The plus icon allows you to rapidly add more stages and makes it simple to add new notes for particular categories.
Using the plus icon will reveal a new field beneath the particular category we select, allowing you to add the to do's title. With the help of the Add button, you can rapidly save your newly created notes and add them to the existing note list. By using the Edit button, as shown below, you can make the required changes to the notes.
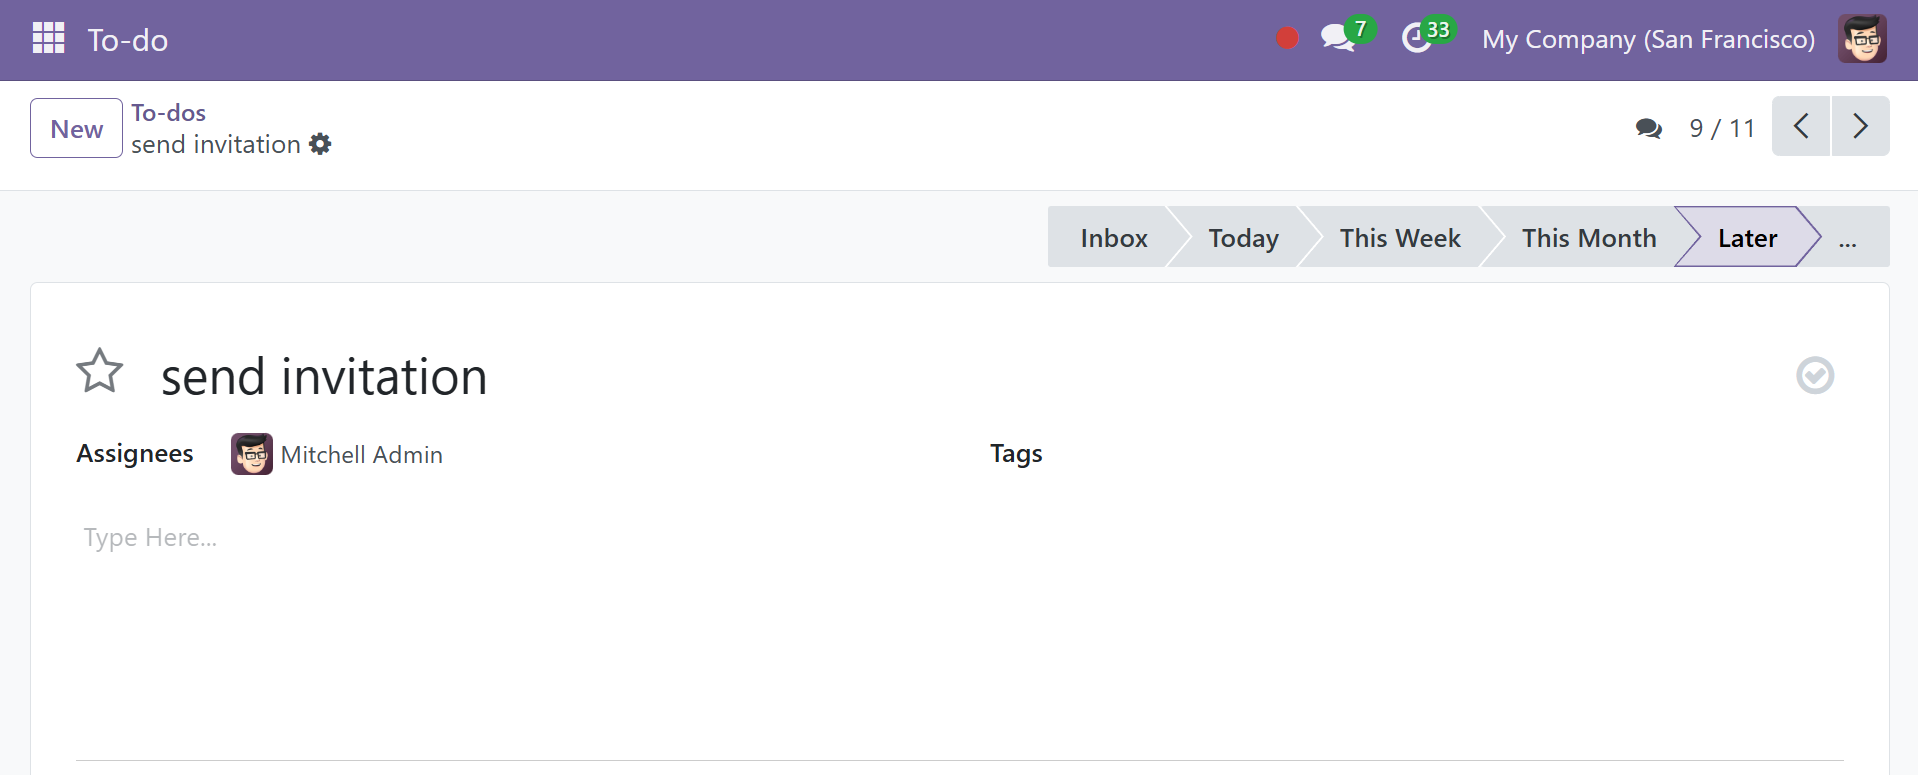
Select a note from the main page, it's possible to alter each note separately if needed. Use the Tags option to add additional tags to the notes. The Tags option allows you to enter specific tags. If necessary, you can even receive multiple tags. Tags will act as a label or identifier that will help you keep tasks and various procedures separate and make it simple for everyone to access and comprehend records.
Navigational components like buttons and links can be placed under the contents section. If necessary, you can include images and videos in the article. It is possible for the notes to be debated and updated to the status of meeting minutes.
The stage can remain beneath the notes stage itself if the notes are configured to be notes. The stage can be added under the To Do option if the notes are a list of tasks that must be completed.
You can also add content from the chatgpt, as in the screenshot below.
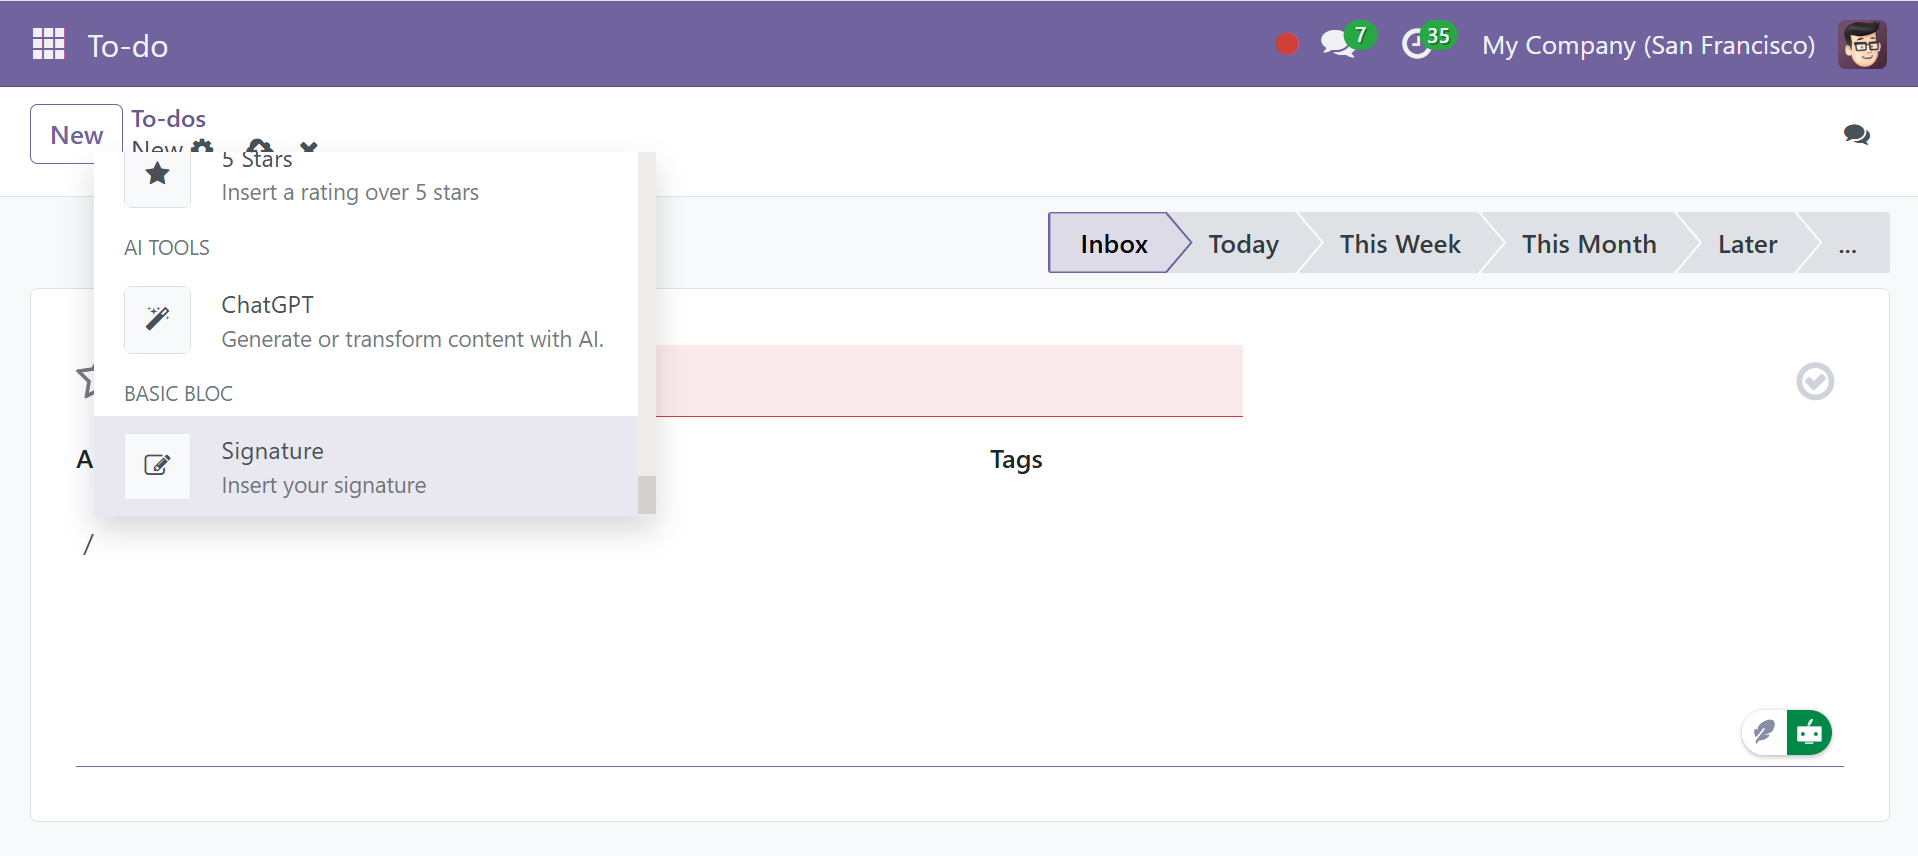
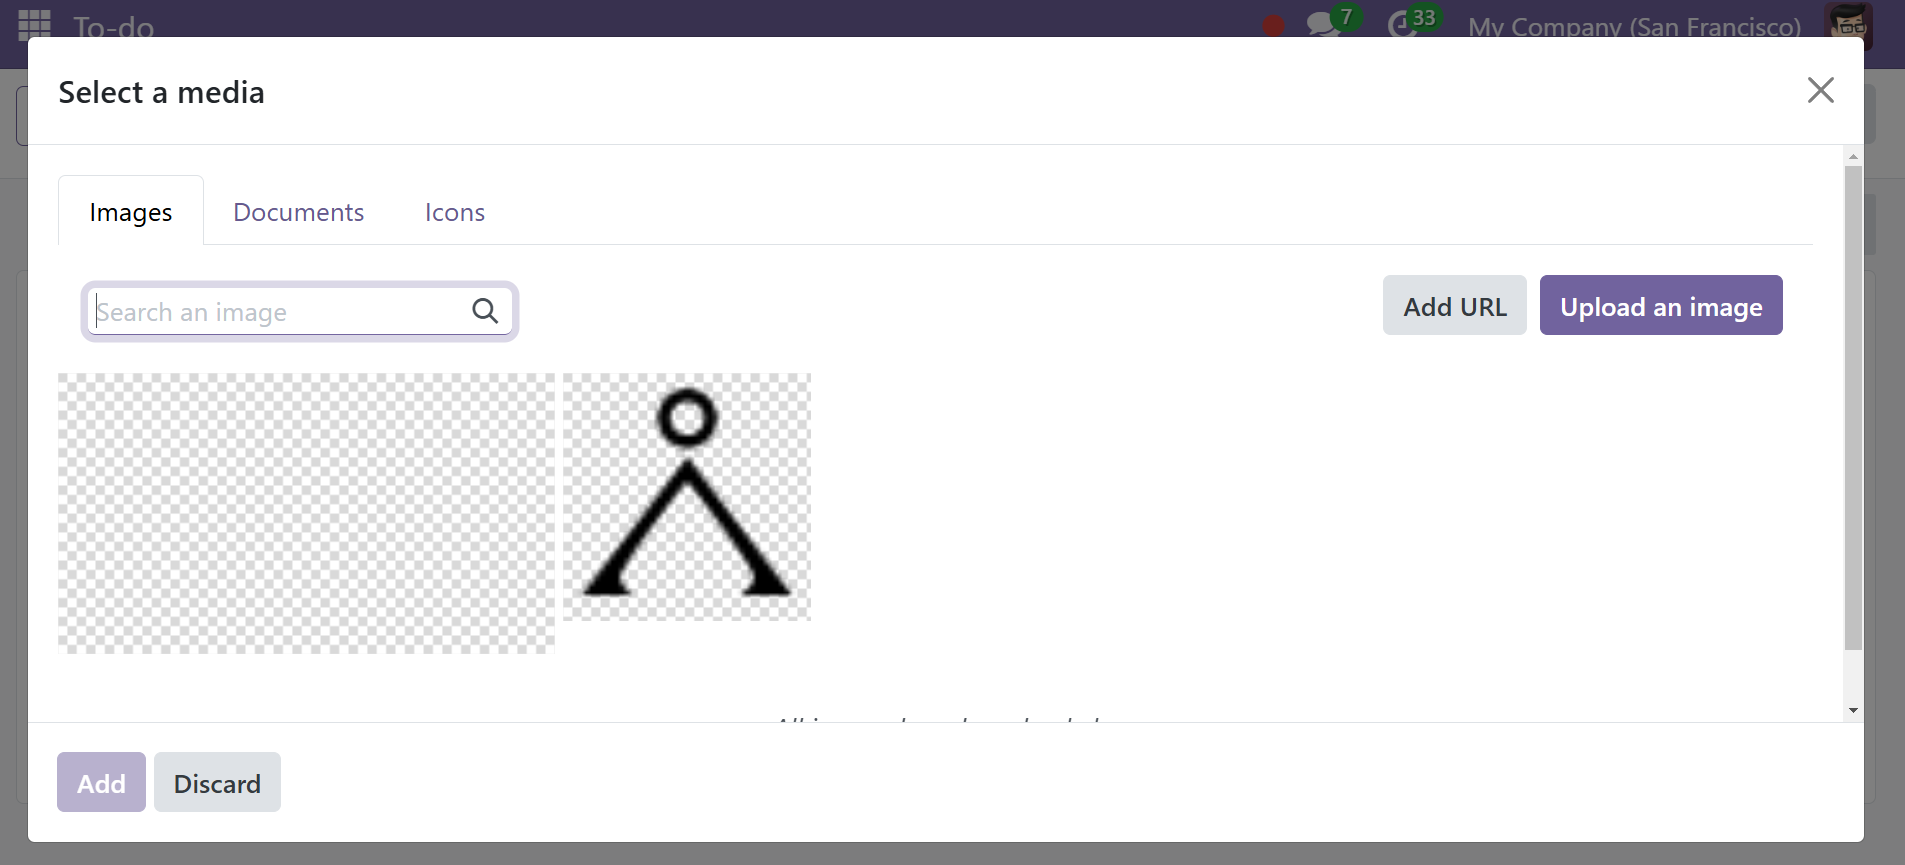
The media option, which lets you upload images and articles, is accessible here. As seen in the screenshot below, the button creation window will open when you click the button to add a button.
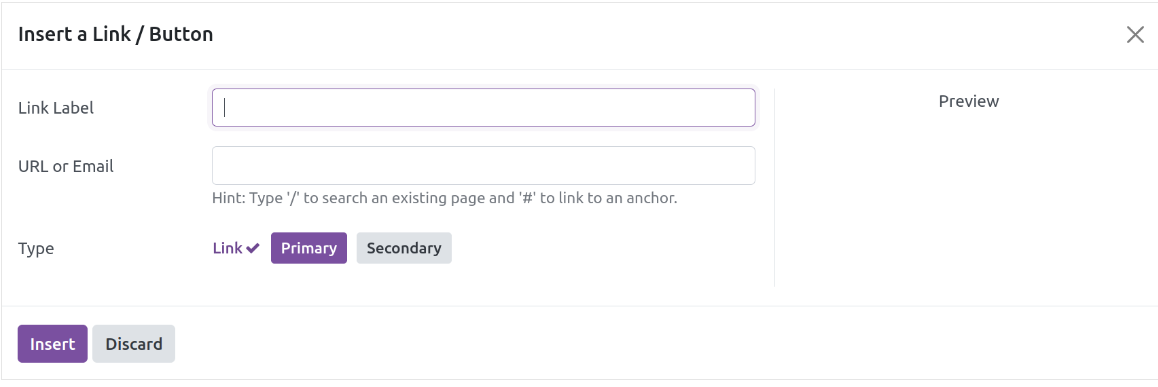
If you choose to include a link, a new pop-up window will open. You can input the URL or email address on this screen along with the link label. You can designate the link as primary or secondary, depending on the kind of button. Using the options provided, you can select Style and Size. Finally, select the Save icon.
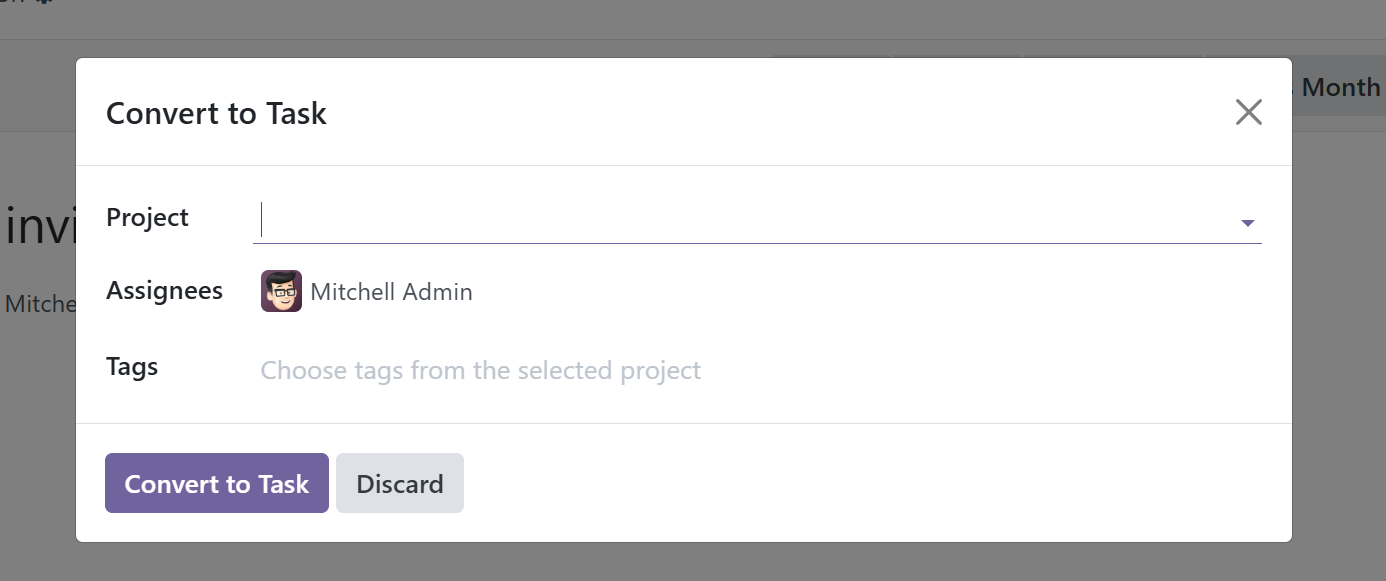
Making a note into a task is now possible. The ‘Convert to Task’ button is now located next to the Action button.
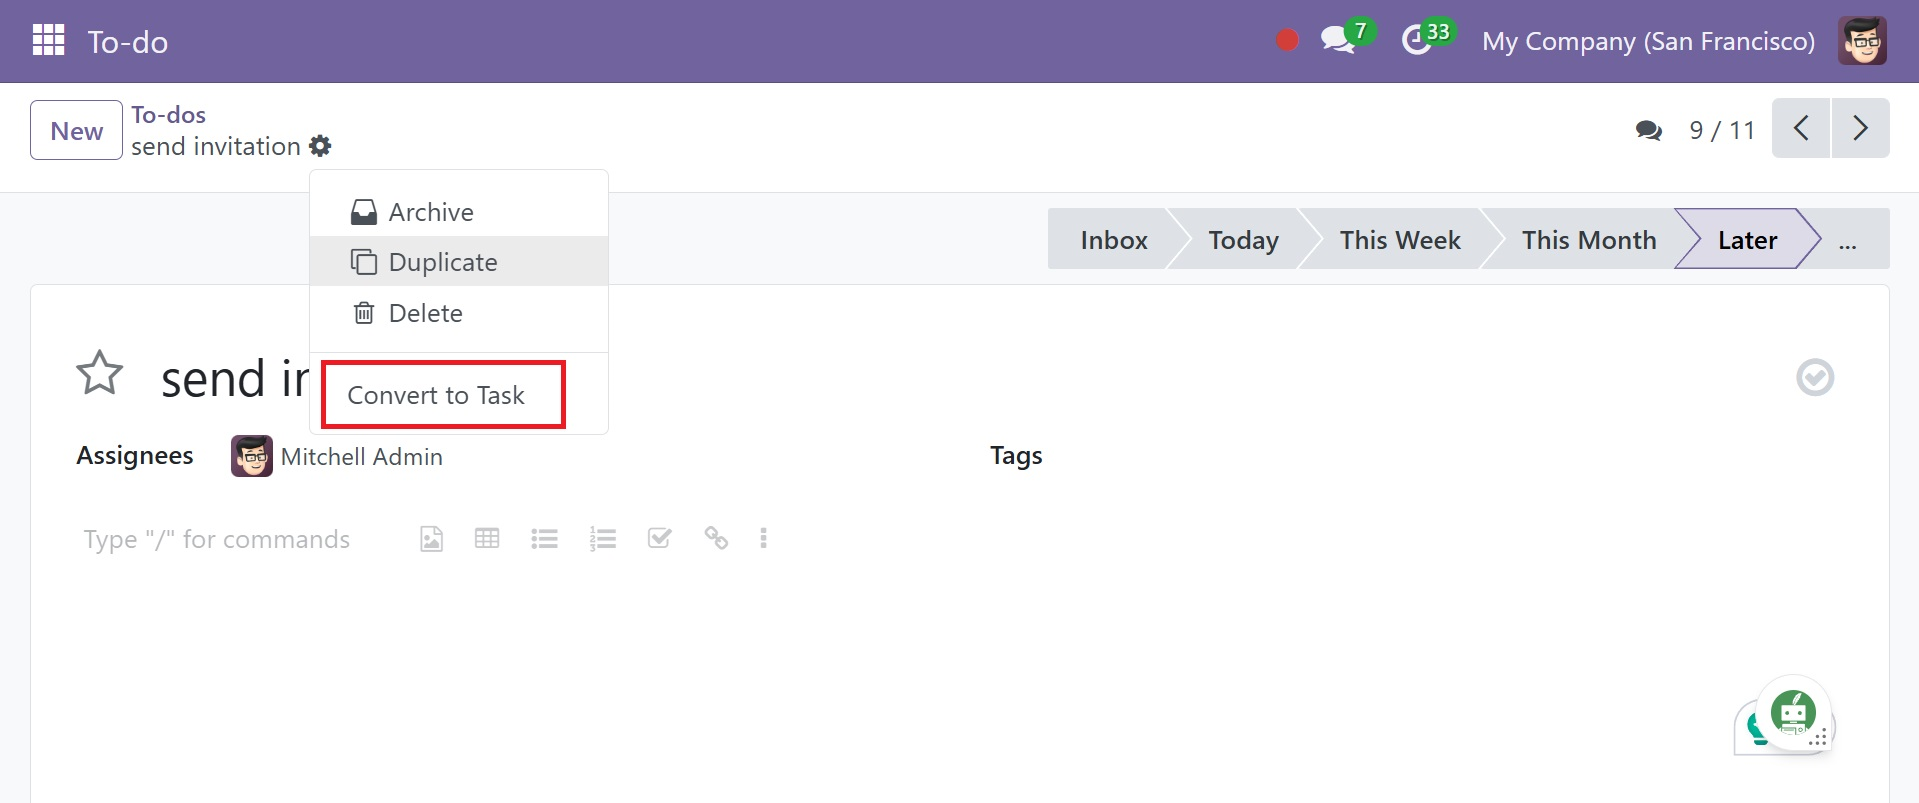
You can select the project in the little popup window that displays when you click the button. The user can then select the project for which the task is intended. To convert the note into a task, click the Convert to Task button after entering the assignee and tag.
To guarantee that they have the ability to edit and make modifications in accordance with the organization's policies, you may also share these notes with external users in the Odoo ERP. These are the main functions provided by the Odoo18 ERP Software's To Do Module.