Under the Management menu, HR managers can oversee personnel allocations and absences through the Allocation and Time Off submenus. The All-Time Off section provides a complete list of all accrued leave across the organization, including employee names, leave methods, descriptions, dates, and statuses. Managers can approve or deny leave requests directly from this interface using the ‘Validate,’ or ‘Refuse’ buttons respectively.
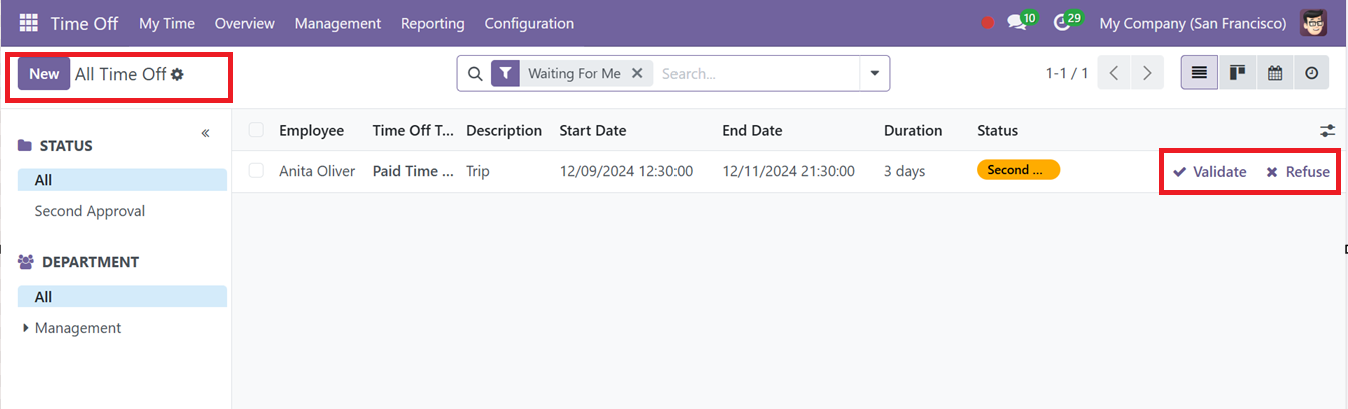
Filters for DEPARTMENT and STATUS on the left side of the window further simplify easy navigation. You can also utilize the advanced search bar options to effectively Filter, Group and mark Favorite data for effective data management.
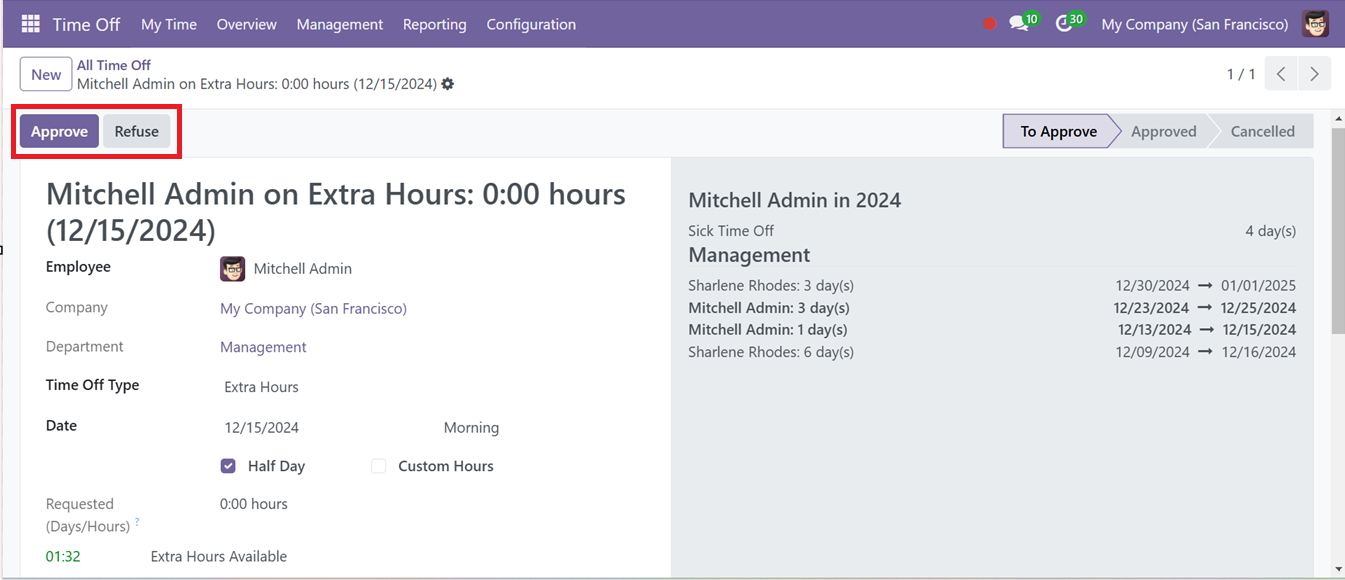
To add new leave requests, users can click the ‘New’ button and select a method (By Employee, Company, Department, or Employee Tag), input dates and types, and optionally check Half Day for half-day leave requests. Managers can validate or reject requests using the Approve or Refuse buttons.
Similarly, the Allocation menu section displays all leave allocations per employee, with details such as Employee, Time Off Type, Description, Allocation Type, Amount and Status.
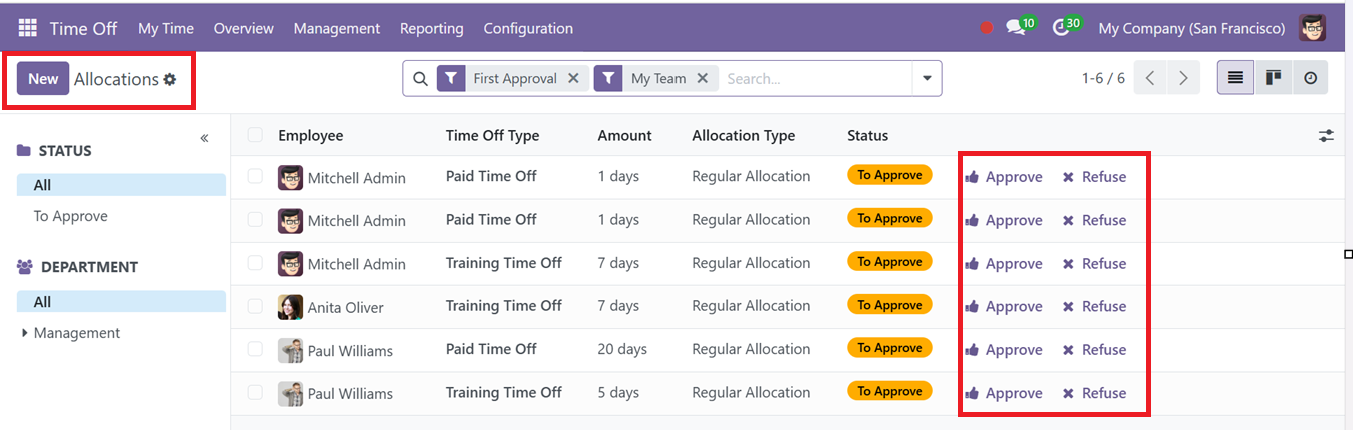
You can sort out the allocations based on their Status and Department using the STATUS and DEPARTMENT categories. Managers can validate or deny allocations using the ‘Approve’ and ‘Refuse’ buttons provided on each allocation column. Also, create new ones by clicking New and completing a form with relevant information.
Accrual Allocations
The module includes tools for setting up accrual plans, enabling employees to accumulate leave over time based on specific rules. Milestones can be defined to automatically grant leave allocations after a certain period, such as monthly or yearly. Carry-over options ensure that unused leave can be transferred to subsequent periods
So, after opening a new Allocation request form, fill in the details including Time Off Type, Allocation Type, Accrual Plan, and Start and End Dates and Allocation period. If an employee needs extra time off beyond their current allowance, they can choose the “Allocation Type” as an Accrual Allocation request.
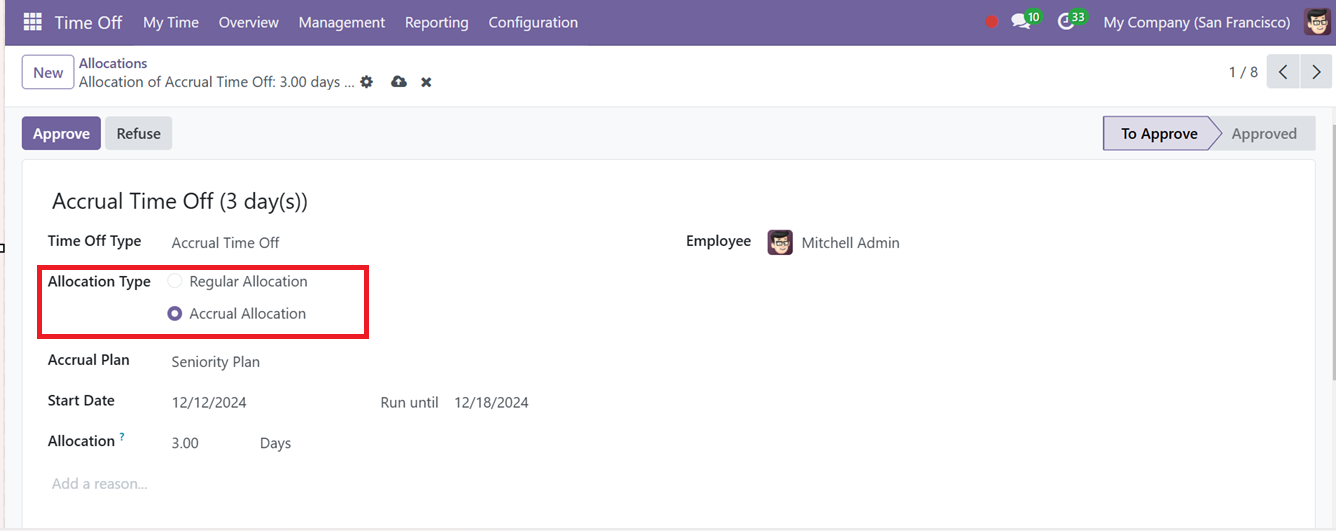
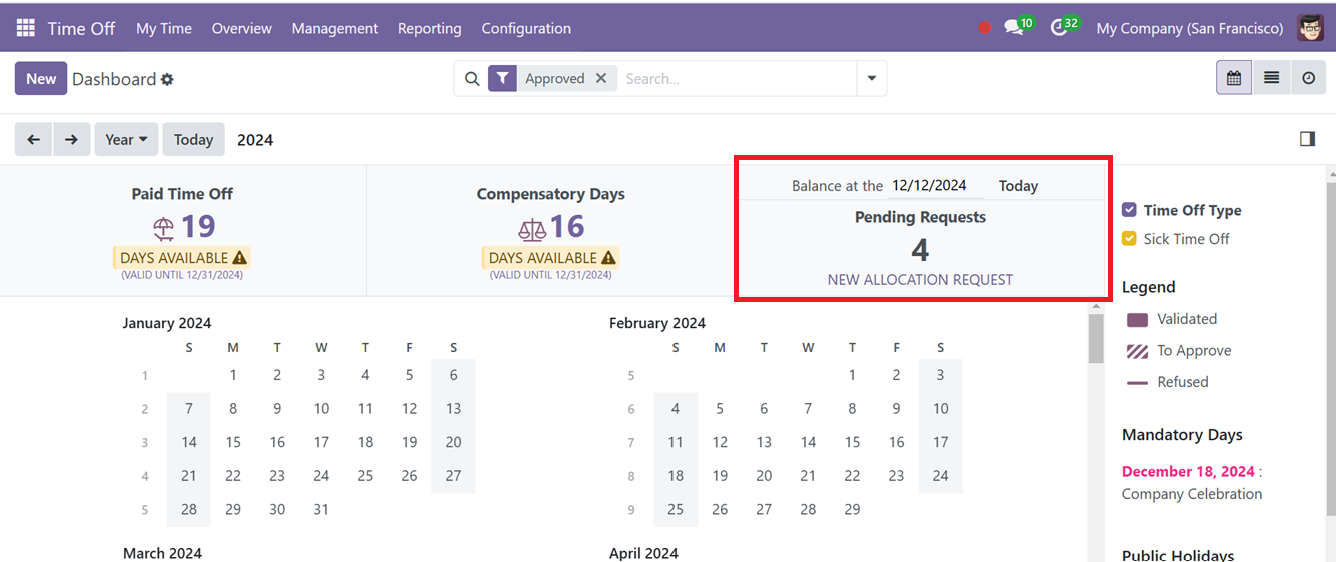
You can also provide the reason for this time off request inside the text area provided in the form view. After editing and saving the data, the allocation is still undergoing approval. So, it will be under the ‘To Approve’ stage. When you hit the ‘Approve’ button, the Allocation step transitions to the Approve stage. This approved accrual plan can be viewed inside the Time Off Dashboard window.
The balance that is still outstanding will be displayed on the dashboard alongside the leave allowance from the prior year. A date may now be added to the “Balance at the” column to confirm the employee's future leave allocation.
Pending allocations from previous years are also visible on the dashboard along with any negative balances when employees exceed their allotted leave. For example, if an employee takes 10 days of leave when only 5 are available, the dashboard shows a negative balance of -5 days.