The first step in initiating a sales relationship with a customer is creating a quote. A quotation serves as a detailed proposal outlining the services or products offered, their pricing, delivery information, payment terms, and more. It is essential to provide all the relevant details that meet the customer's needs. Once the customer reviews and approves the quote, it can be converted into a sales order.
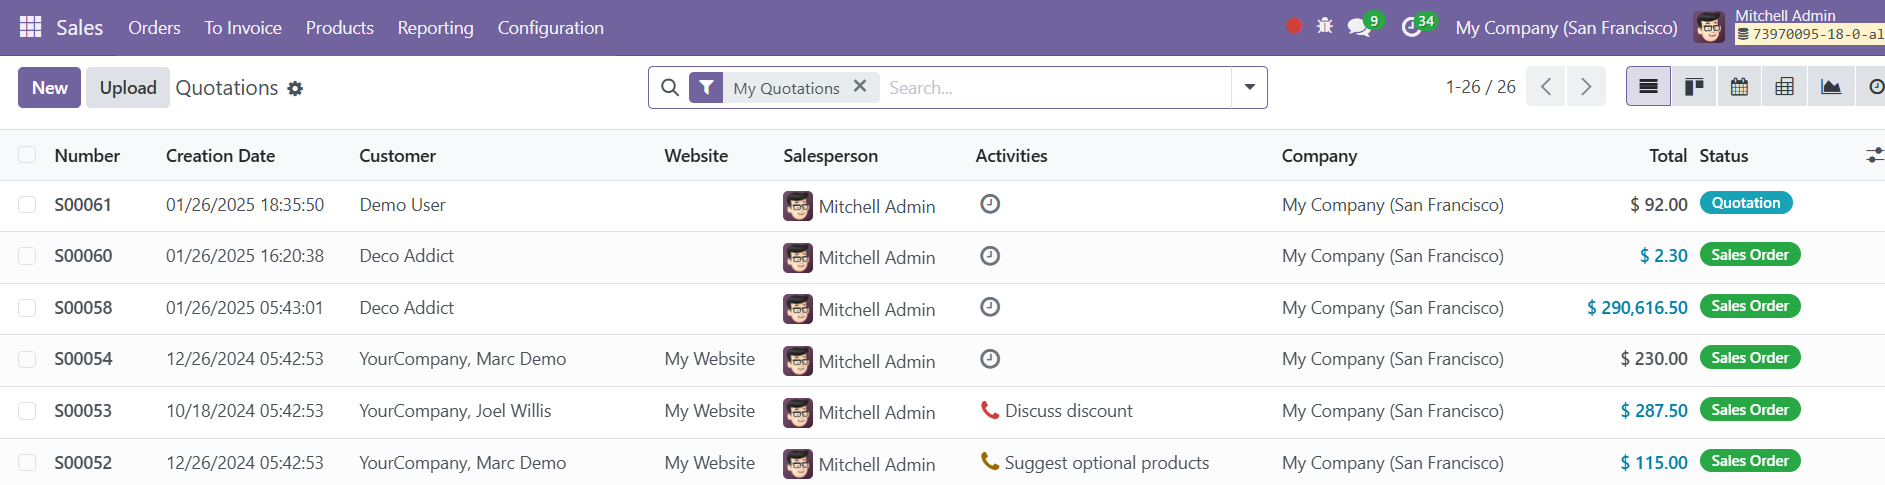
In Odoo, the Quotations view displays a list of previously created quotes, with essential information such as Quote Number, Creation Date, Customer, Salesperson, Activities, Company, Total Amount, and Status. In addition to the list view, users can access other views such as graph, calendar, kanban, and pivot views. Various filters allow you to sort quotations by salesperson, customer, or order date.
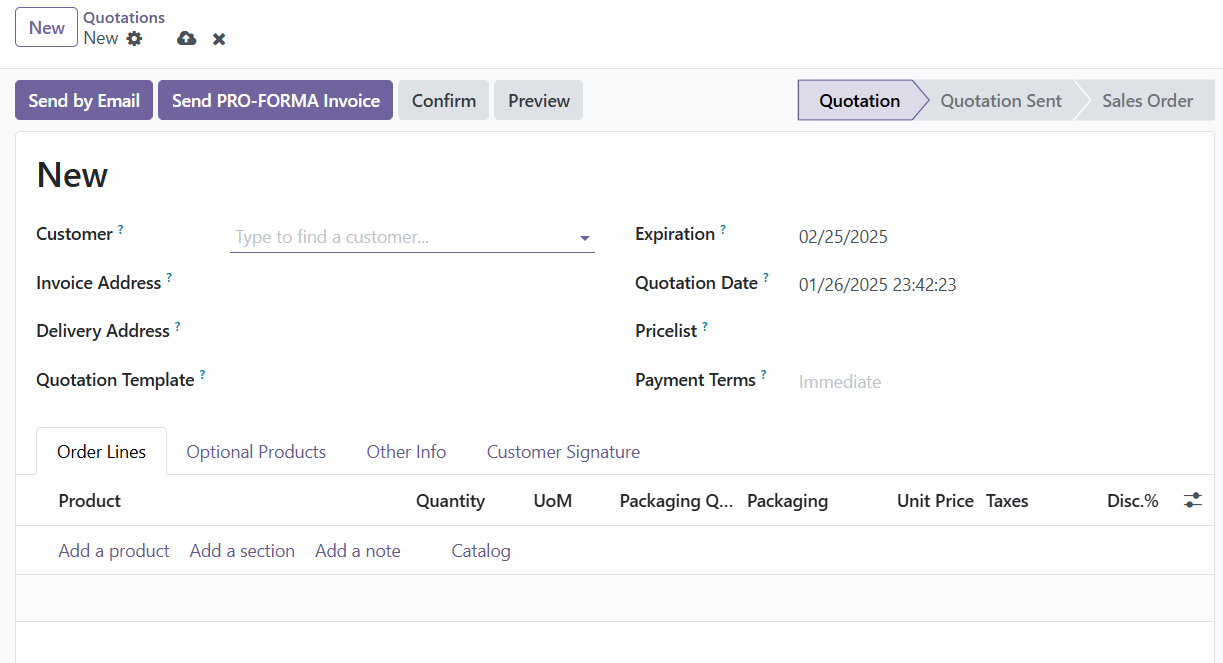
To create a new quotation, simply click the New button. After selecting a customer, the system will automatically populate fields such as Invoice Address, Delivery Address, Pricelist, and Payment Terms based on pre-configured settings. If these are not automatically filled, you can manually enter the required details. If desired, you can choose a Quotation Template from the drop-down field to apply to the quotation. Quotation templates in Odoo allow you to apply pre-defined formats and settings that streamline the creation process. When you select a template, some additional fields may appear based on the specific template chosen. The expiration date for the quotation is shown under the Expiration field. You can also set the pricelist and payment terms as applicable for the quotation.
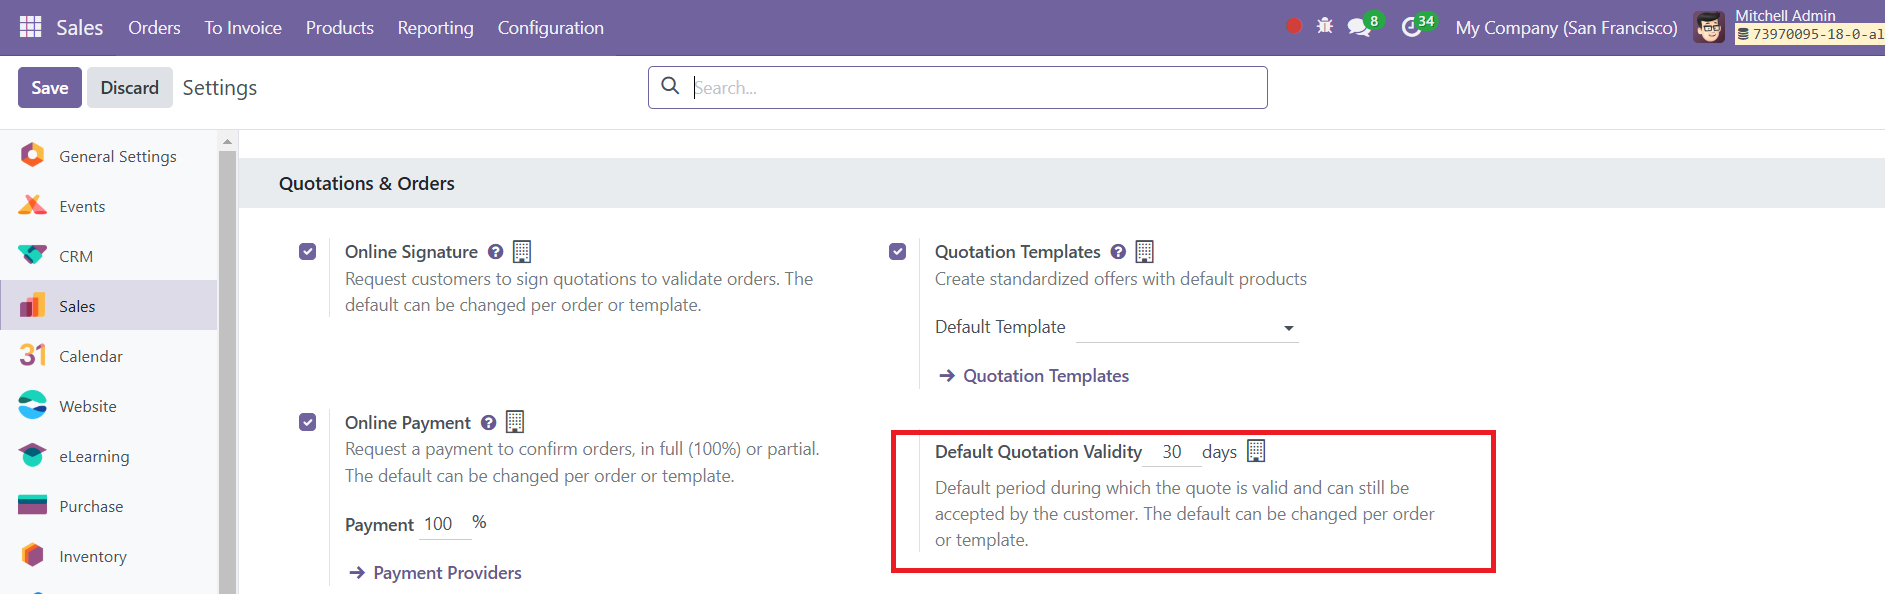
The Settings menu within the Sales module allows for customization of default quotation validity. When you create a new quotation, the expiration date will be automatically filled based on the validity settings configured in the system.
Within the quotation creation window, the Order Line section allows you to add products according to the customer's requirements.
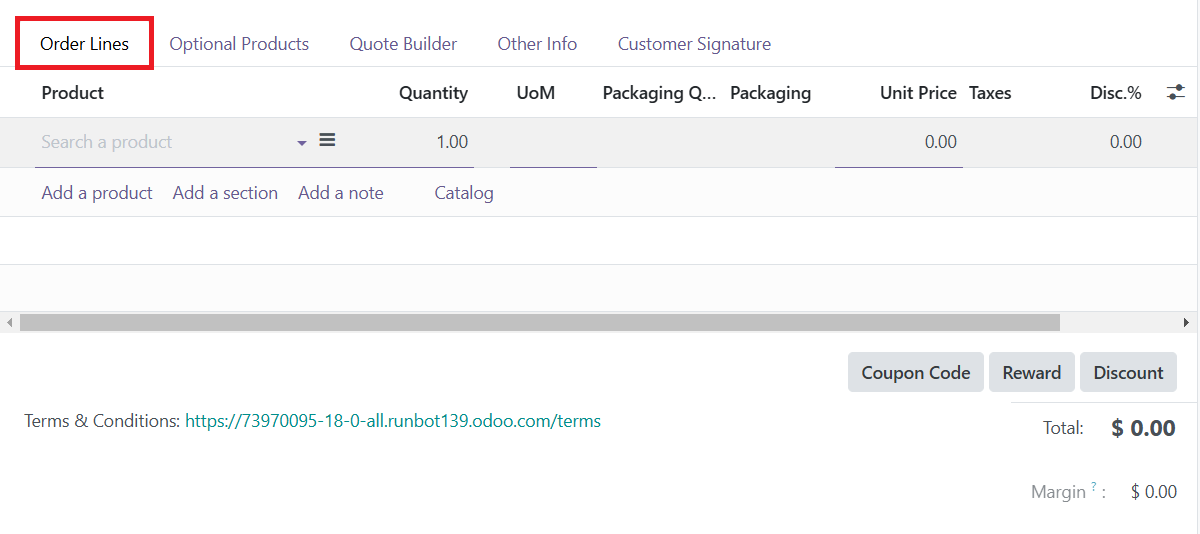
You can add items one by one by clicking the Add a Line button. Multiple options are available in the order line section, such as adding products, sections, notes, and catalog items. The Catalog option, a recent addition, provides a comprehensive list of all products categorized accordingly, allowing easy selection from a variety of options.

Products added to the sales order can be grouped into sections by using the Add Section button, which enables better organization of the items.

For each product, details such as Unit Price, Taxes, Discount, Product Description, Quantity, and Subtotal will be displayed. The total cost will also be calculated as products are added to the quotation. Below the product lines, you can click on buttons to apply options such as Coupon Code, Promotions, Discount, and Add Shipping.
To provide additional savings, promotions and coupons can be applied directly in the order line. Additionally, you can specify Terms & Conditions for the quotation. If there are optional products, these can be added to the Optional Products tab by selecting the Add a Line button.
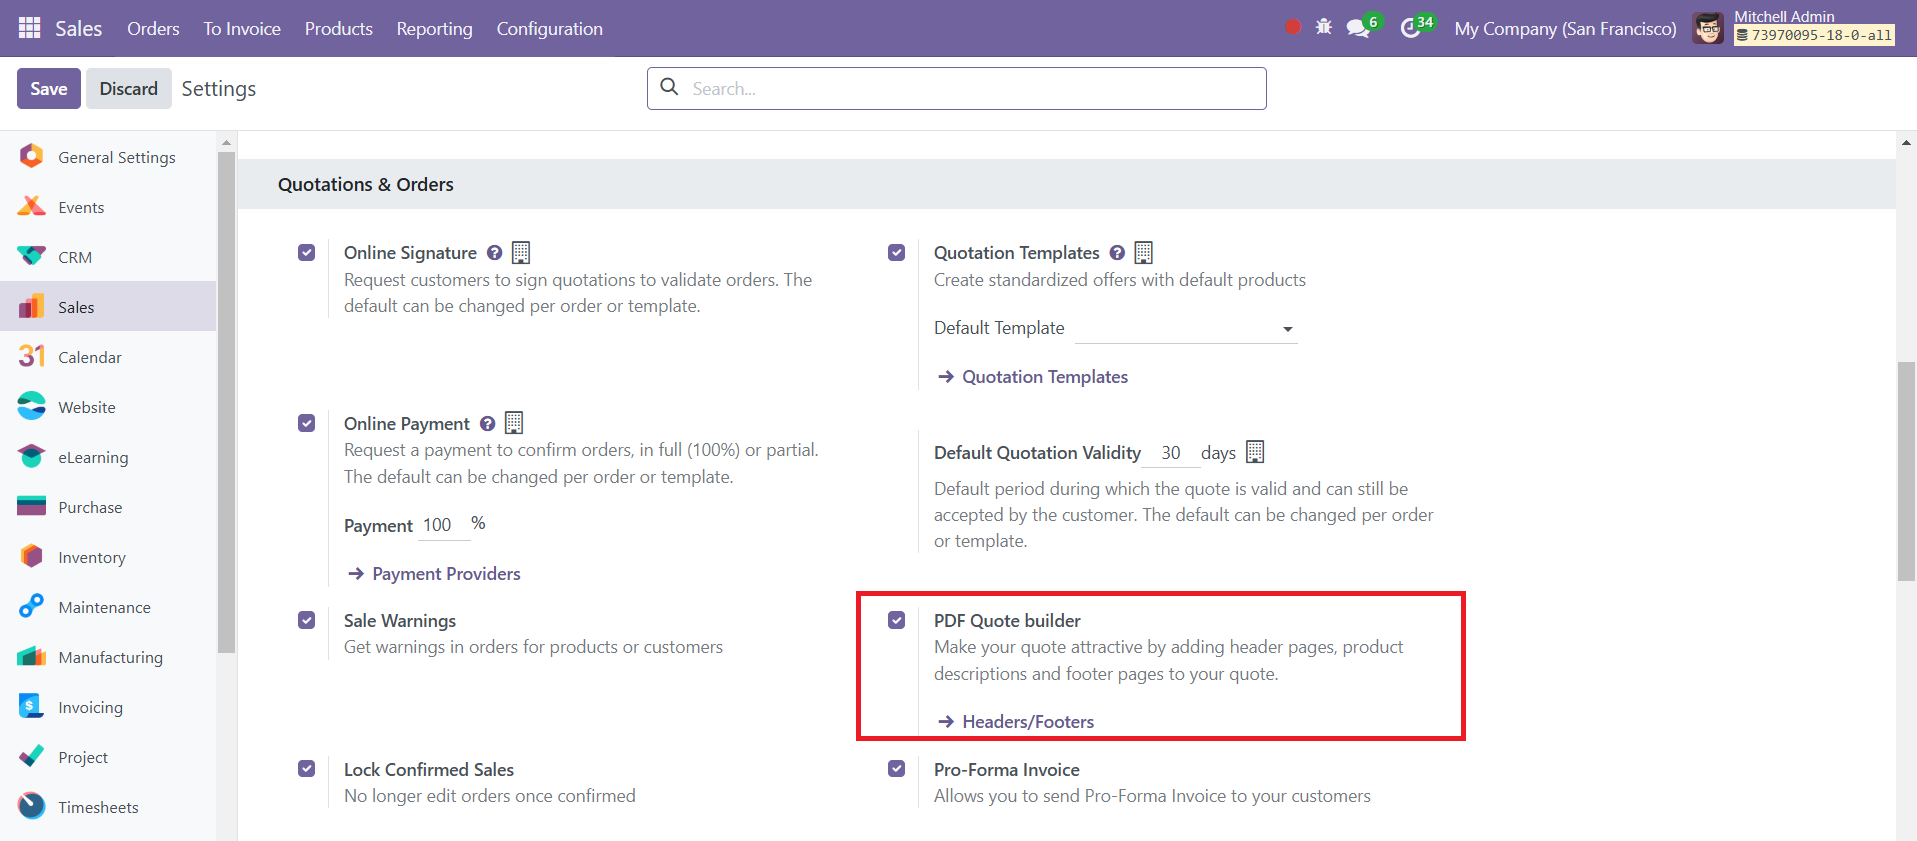
The PDF Quote Builder allows you to enhance the visual appeal of your quotation by adding header pages, detailed product descriptions, and footer pages. With this feature, you can customize the layout of your quote to make it more professional and aligned with your branding.
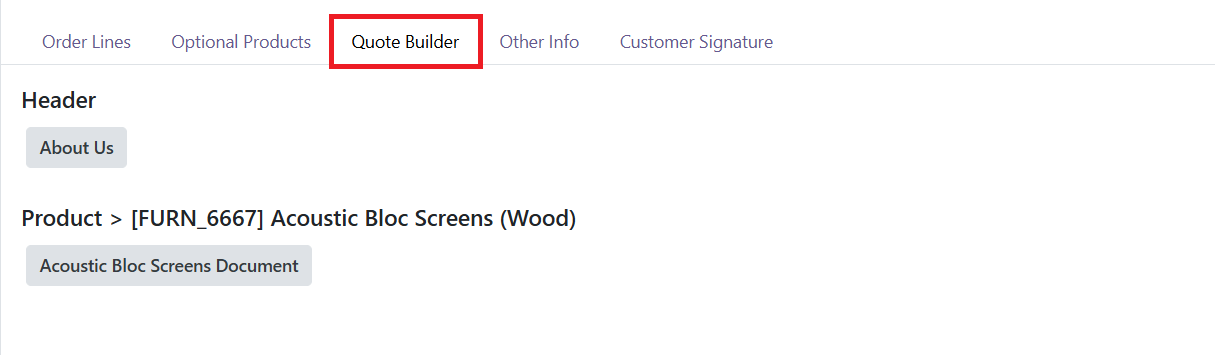
It can be managed under the Quote Builder tab.
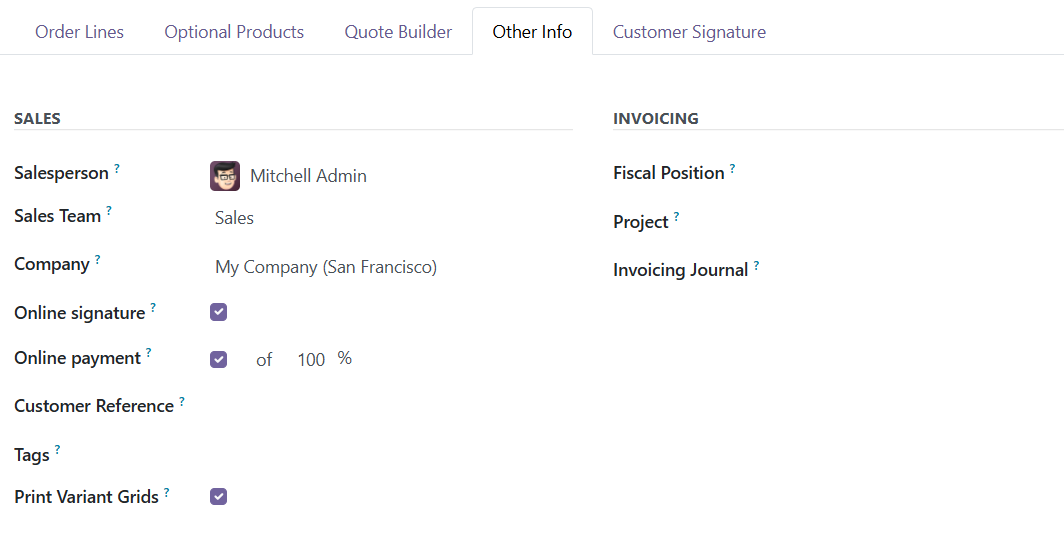
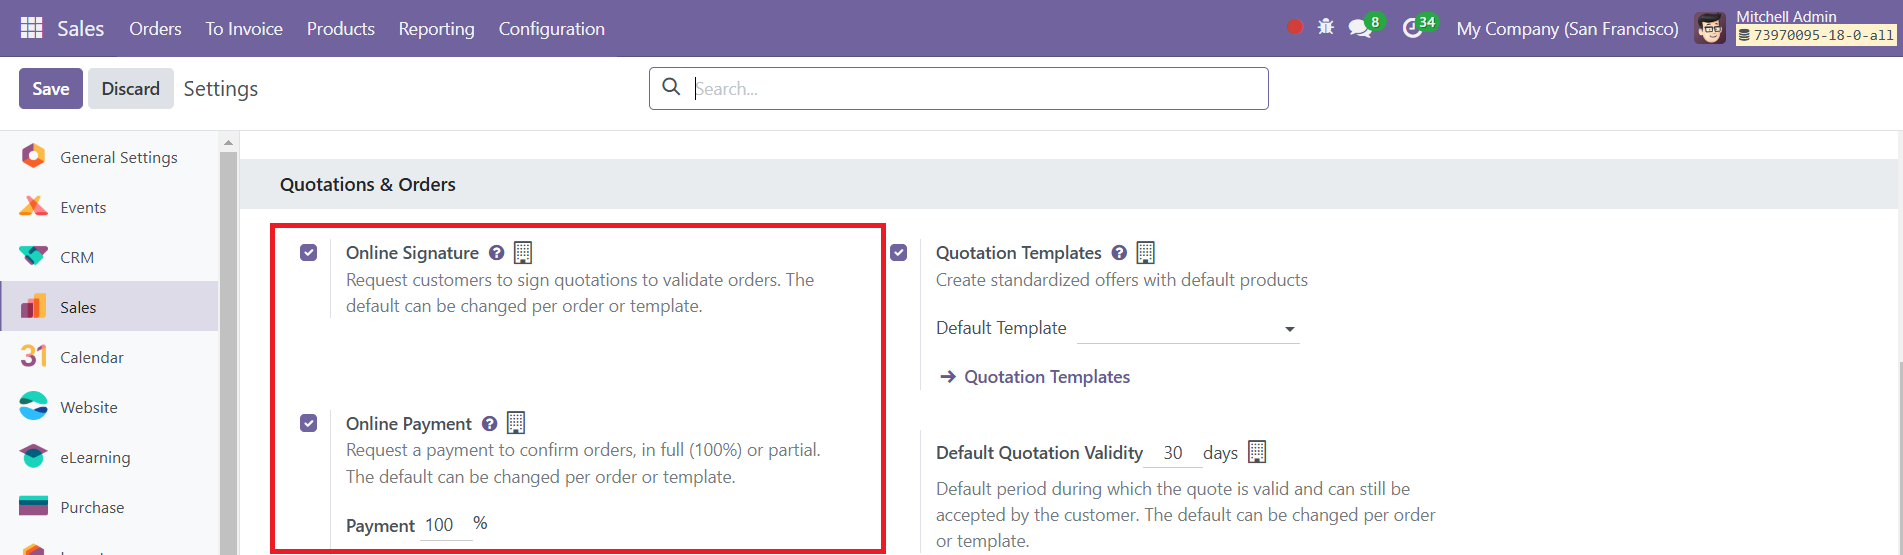
Under the Other Information tab, you can designate a Salesperson and Sales Team to handle the quote. You can also enable Online Signature and Online Payment options for easy confirmation and payment by the customer. These features allow for seamless customer interaction, providing the ability to sign and pay online. Additionally, the Fiscal Position can be configured for specific customers, adjusting taxes and accounts as needed.
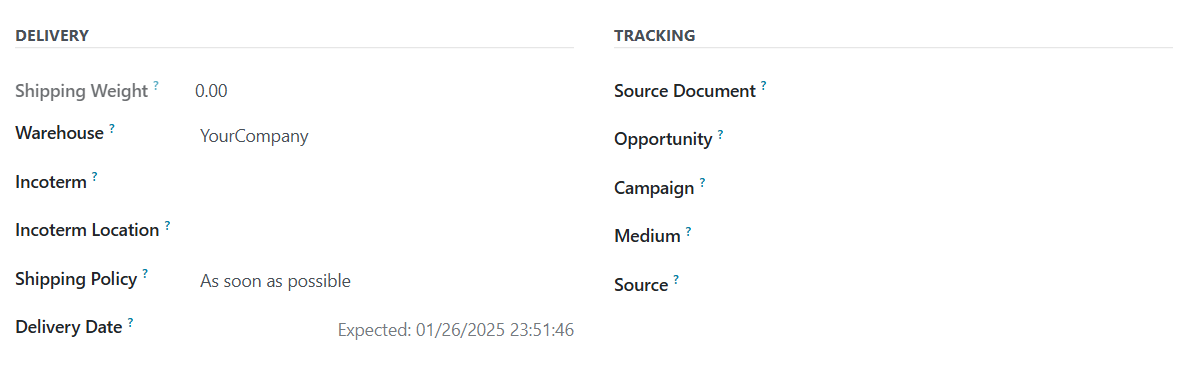
In the Invoicing, mention the Project and Invoicing Journal. You can provide additional delivery details, such as Shipping Weight, Warehouse, Incoterms, Incoterm Location, Shipping Policy, and Delivery Date under the Delivery session. You can also track the quotation's progress by linking it to specific activities, opportunities, or campaigns.
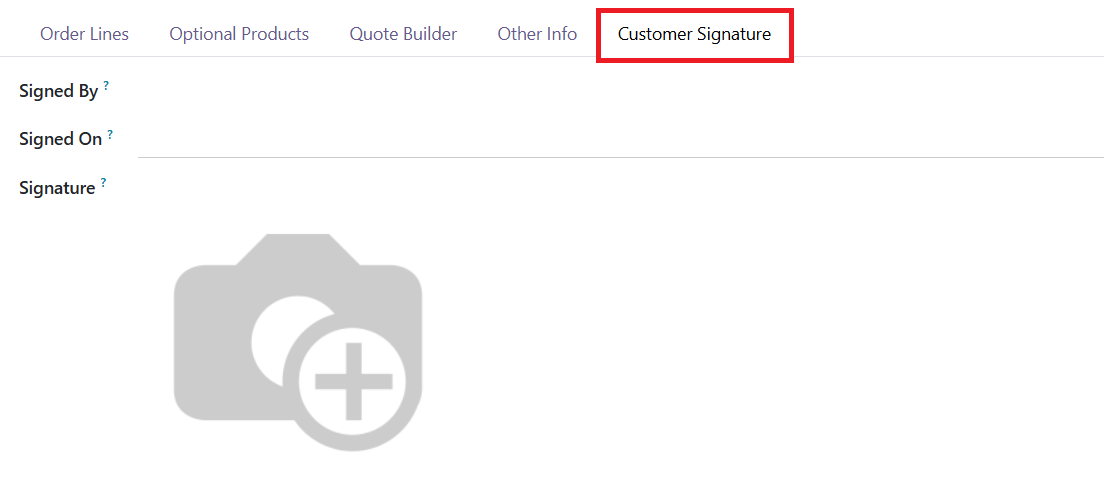
Once the customer reviews the quote and signs it, the quotation will show under the Customer Signature tab with the signed details. If the Online Signature and Online Payment options are enabled, customers can sign and pay directly through the portal.
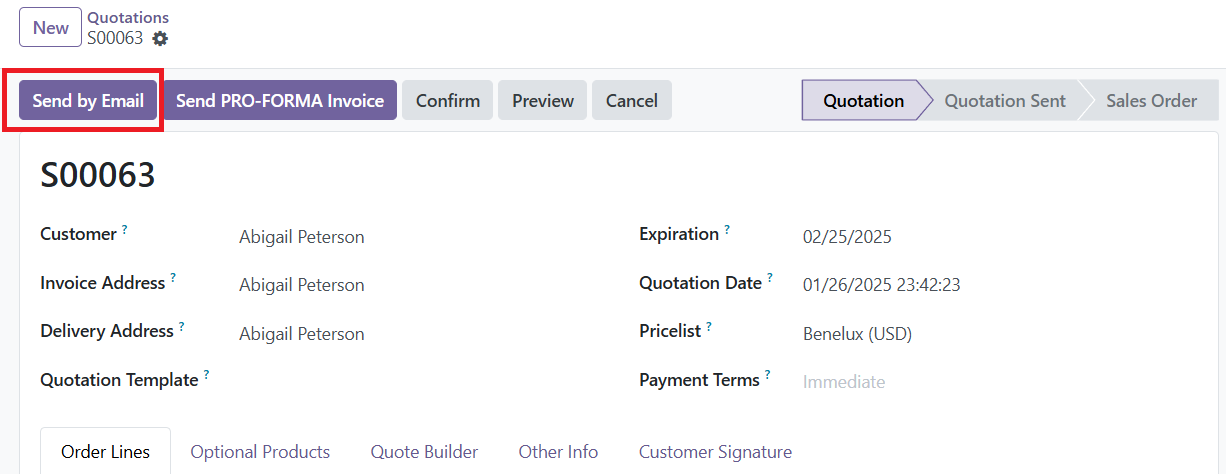
The quotation can be sent to the customer via email by clicking the Send By Email button.
A pop-up will appear to configure the document layout as shown in the image below.
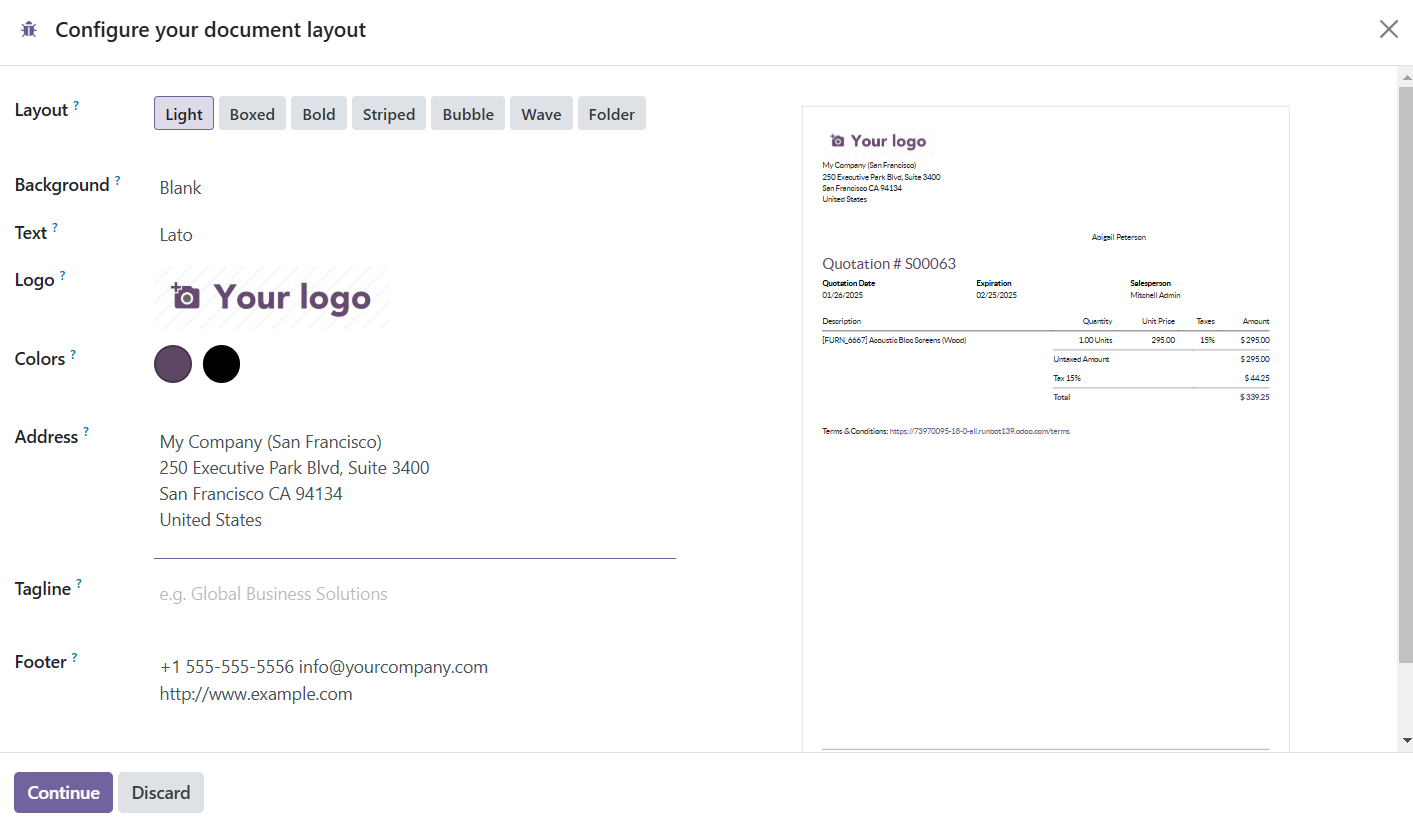
Click the Continue button.

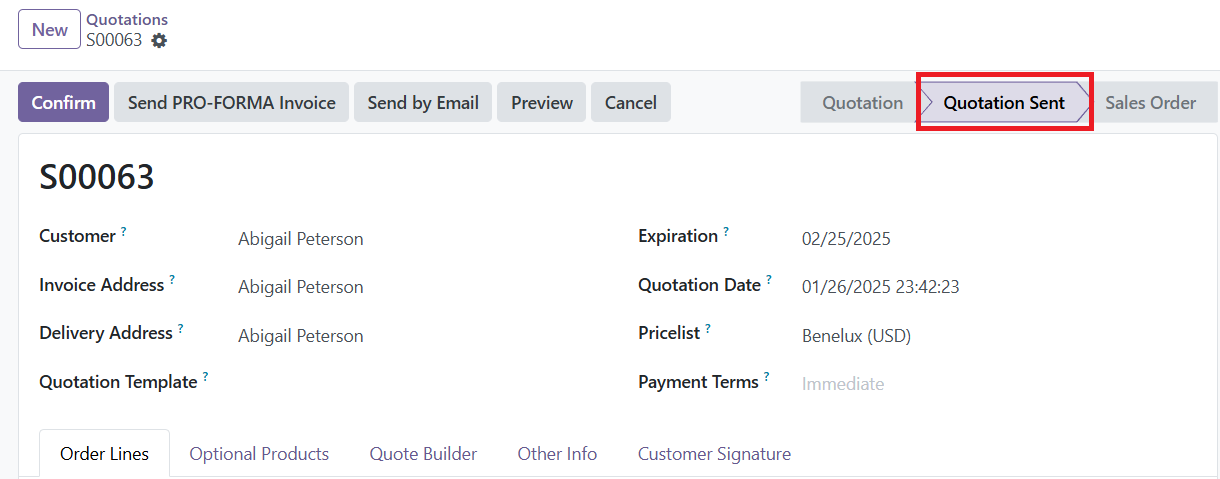
The email will include the quotation details as an attachment, and the status of the quotation will change to Quotation Sent once it has been emailed.

If the customer is satisfied, they can proceed with the Sign & Pay option to confirm the quotation.
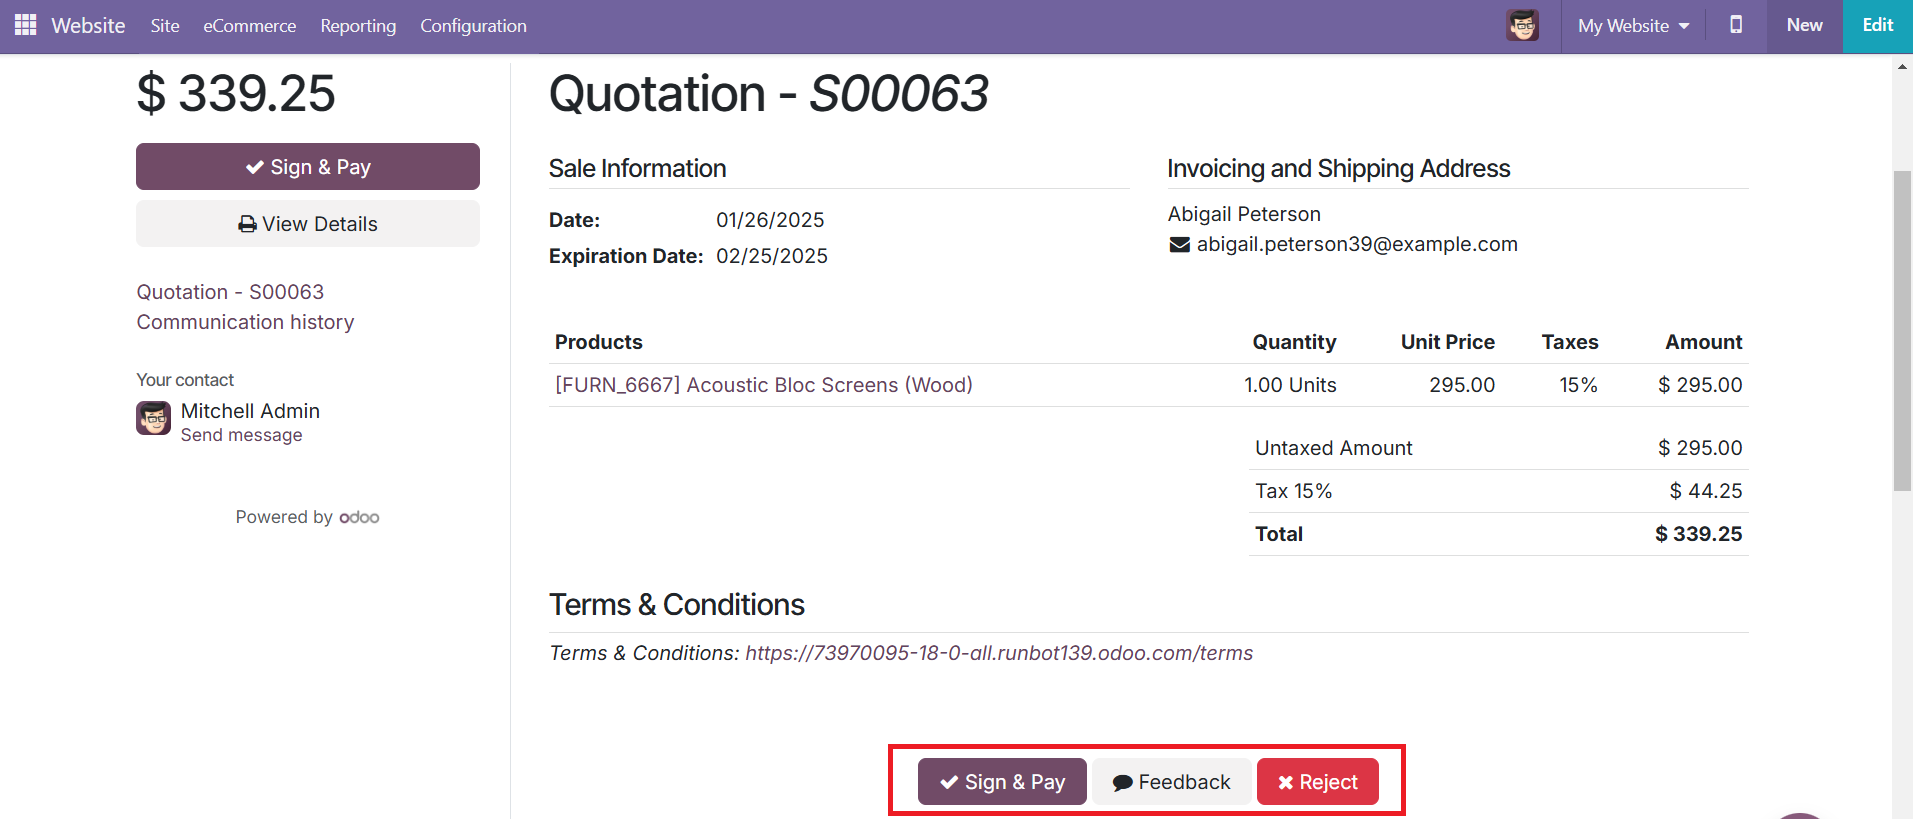
If they are not satisfied, they can click the Reject option.
Once all the necessary fields and tabs are configured, you can send the quotation to the customer for confirmation. Upon confirmation, the quotation will be converted into an official sales order.
At the top of the form, several buttons are available:
● Send by Email: Clicking this opens a pop-up window where the customer’s name and email address appear in the Recipients field, with the quotation (and reference ID) in the Subject field, and a default message in the email body. This message can be edited if needed. A PDF copy of the quotation is also attached. When ready, click Send to email the quotation to the customer for their review and confirmation.

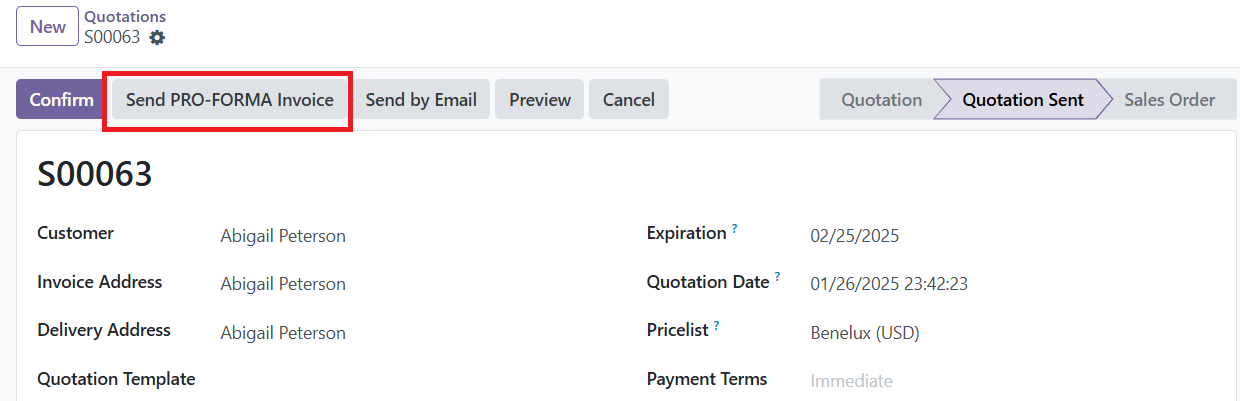
● Send PRO-FORMA Invoice: This button appears only if the Pro-Forma Invoice setting is enabled.
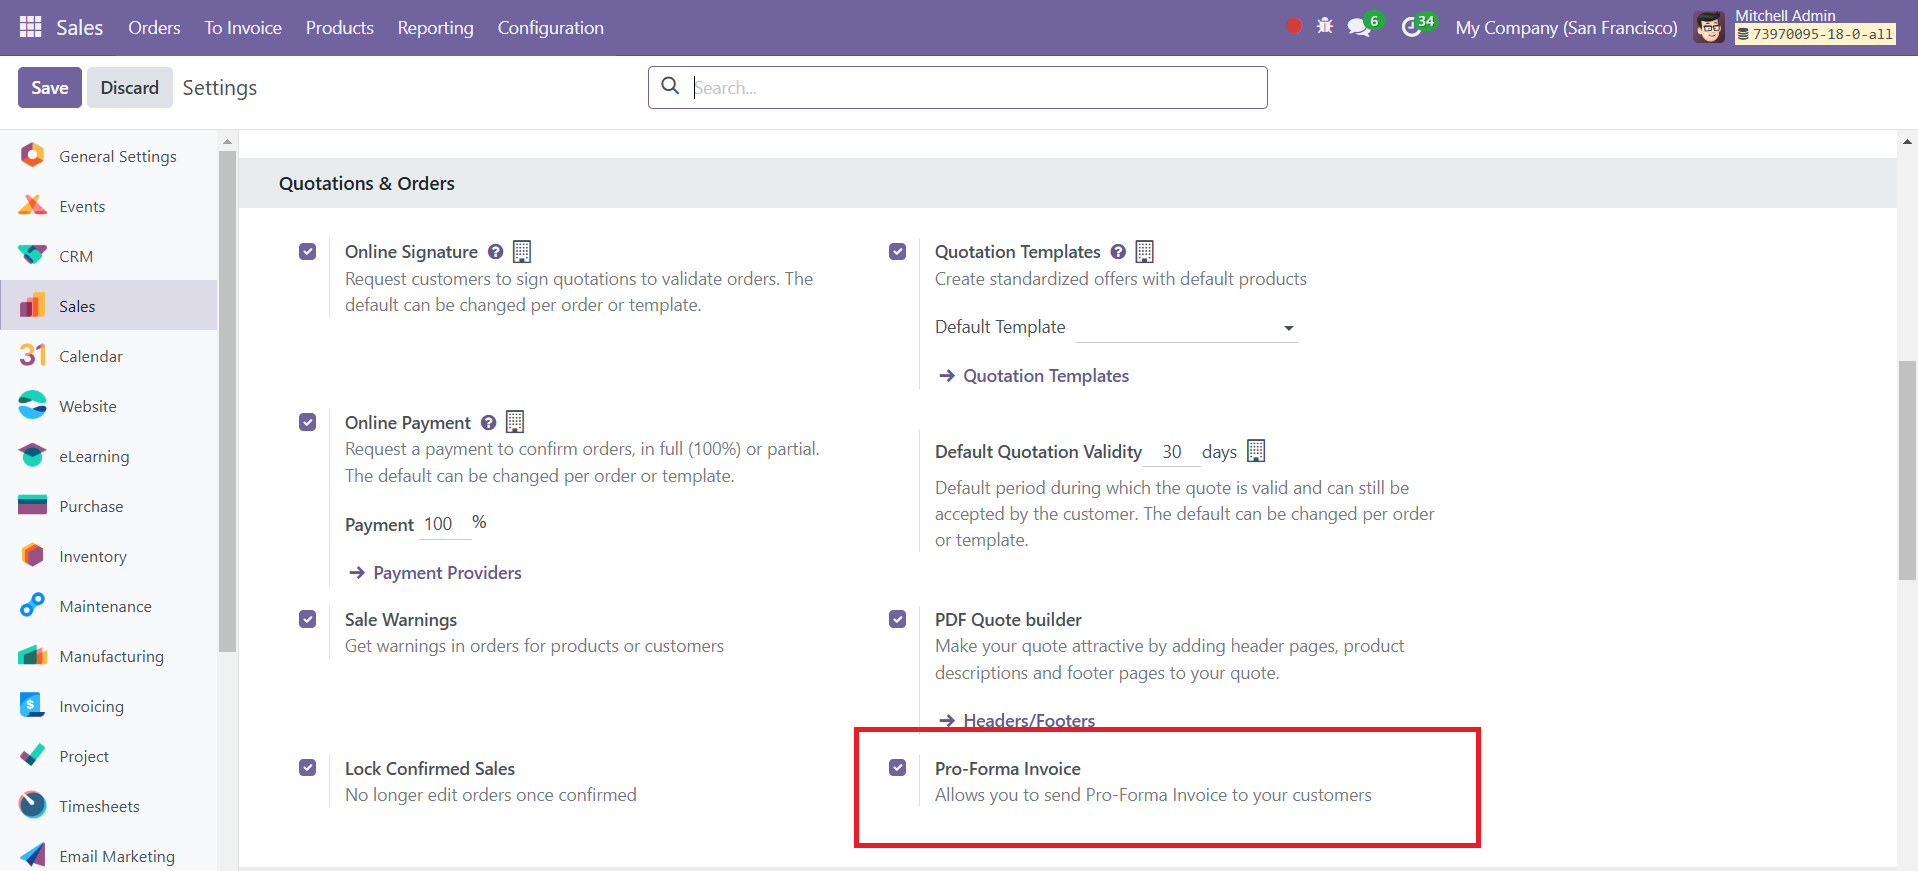
Pro-forma invoices are typically used as preliminary invoices alongside a quotation or during the importation process for customs purposes. Unlike a regular invoice, a pro-forma invoice is not a request or demand for payment. Instead, it serves as an estimate or a preview of the final invoice, outlining the products or services being provided, along with their costs, before the actual transaction takes place.
When clicked, a similar pop-up window appears with the customer’s name and email address in the Recipients field, the Proforma invoice (and reference ID) in the Subject field, and a brief message in the body of the email, which can also be modified.
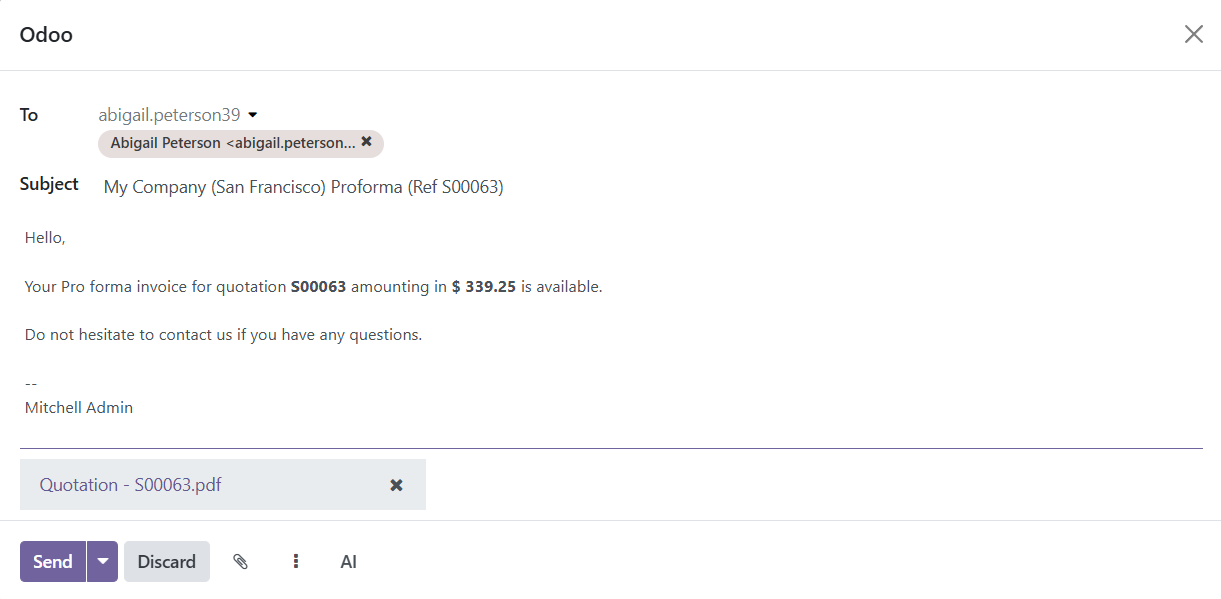
A PDF copy of the quotation is attached. Once ready, click Send to email the Pro-Forma invoice to the customer for review and confirmation.

● Confirm: Clicking this will confirm the quotation and change its status to Sales Order.
● Preview: Clicking this shows a preview of the quotation as the customer would see it when they log into their customer portal.
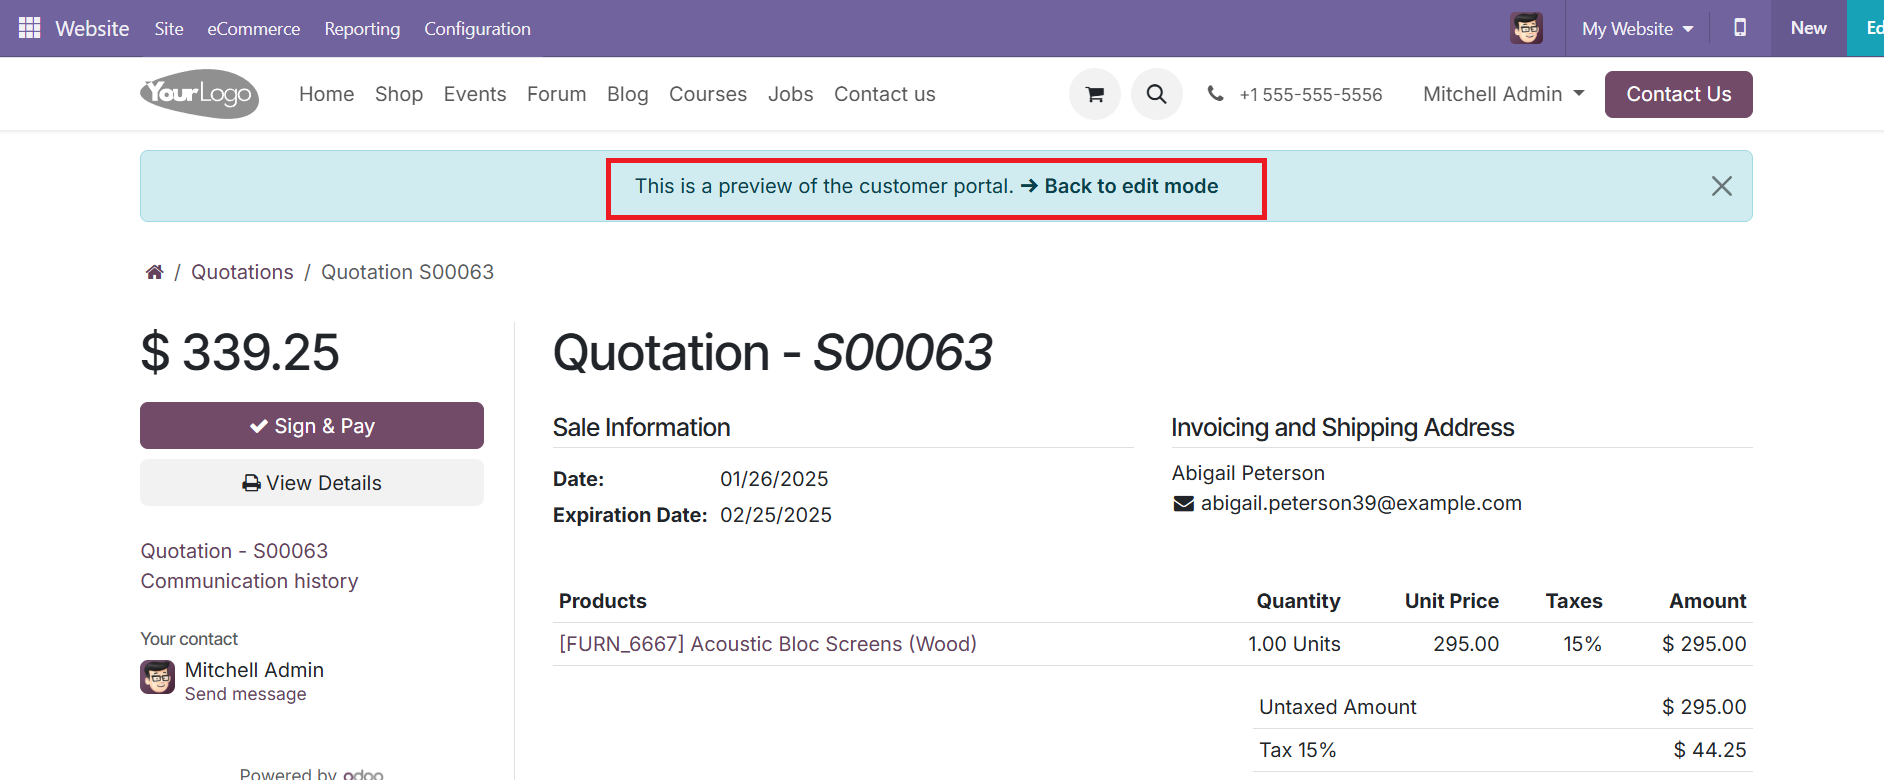
To return to the quotation form, click the Back to edit mode link at the top of the preview page.
● Cancel: Clicking this will cancel the quotation.
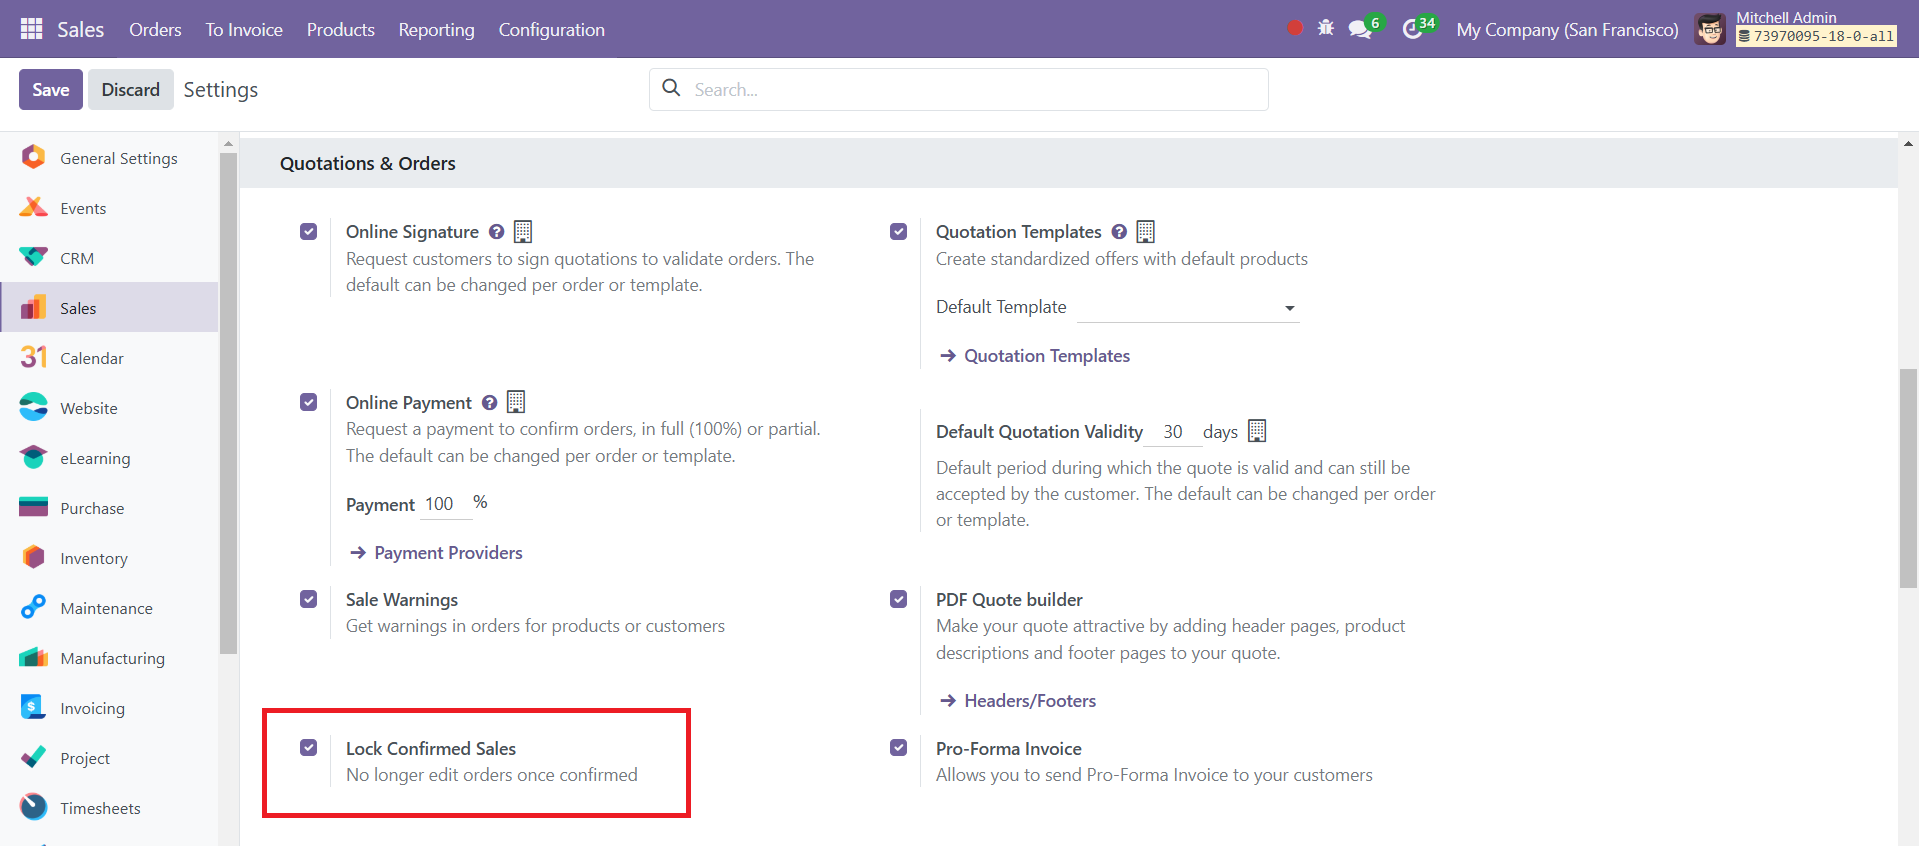
If the "Lock Confirmed Sales" setting is enabled, the sales order will become Locked, and this will be indicated on the sales order form.
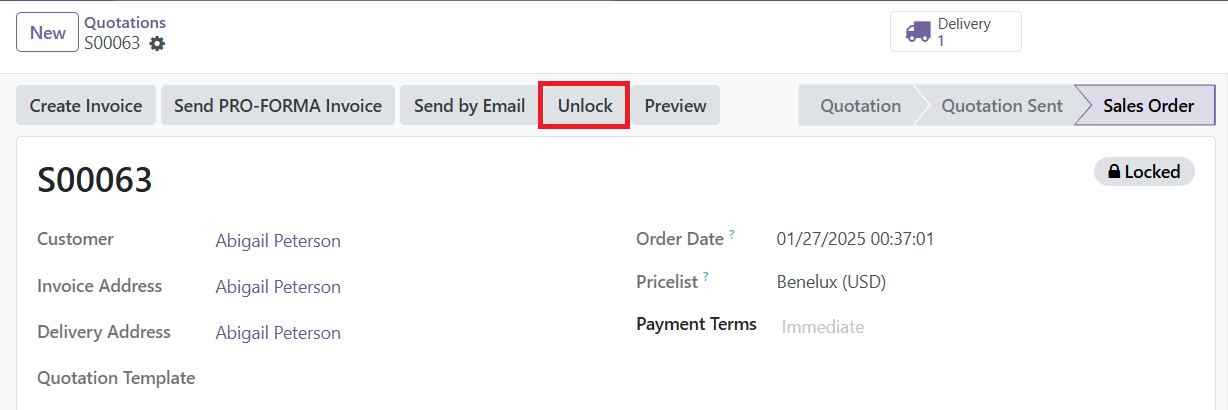
Once confirmed, the quotation becomes a sales order, and it is now ready to be invoiced and paid for.