Once the sales order has been confirmed in Odoo 18, the next step is to generate the invoice. There are two different invoicing policies that can be configured in the Odoo Sales module settings, allowing businesses to choose the invoicing method that aligns with their specific needs and policies.
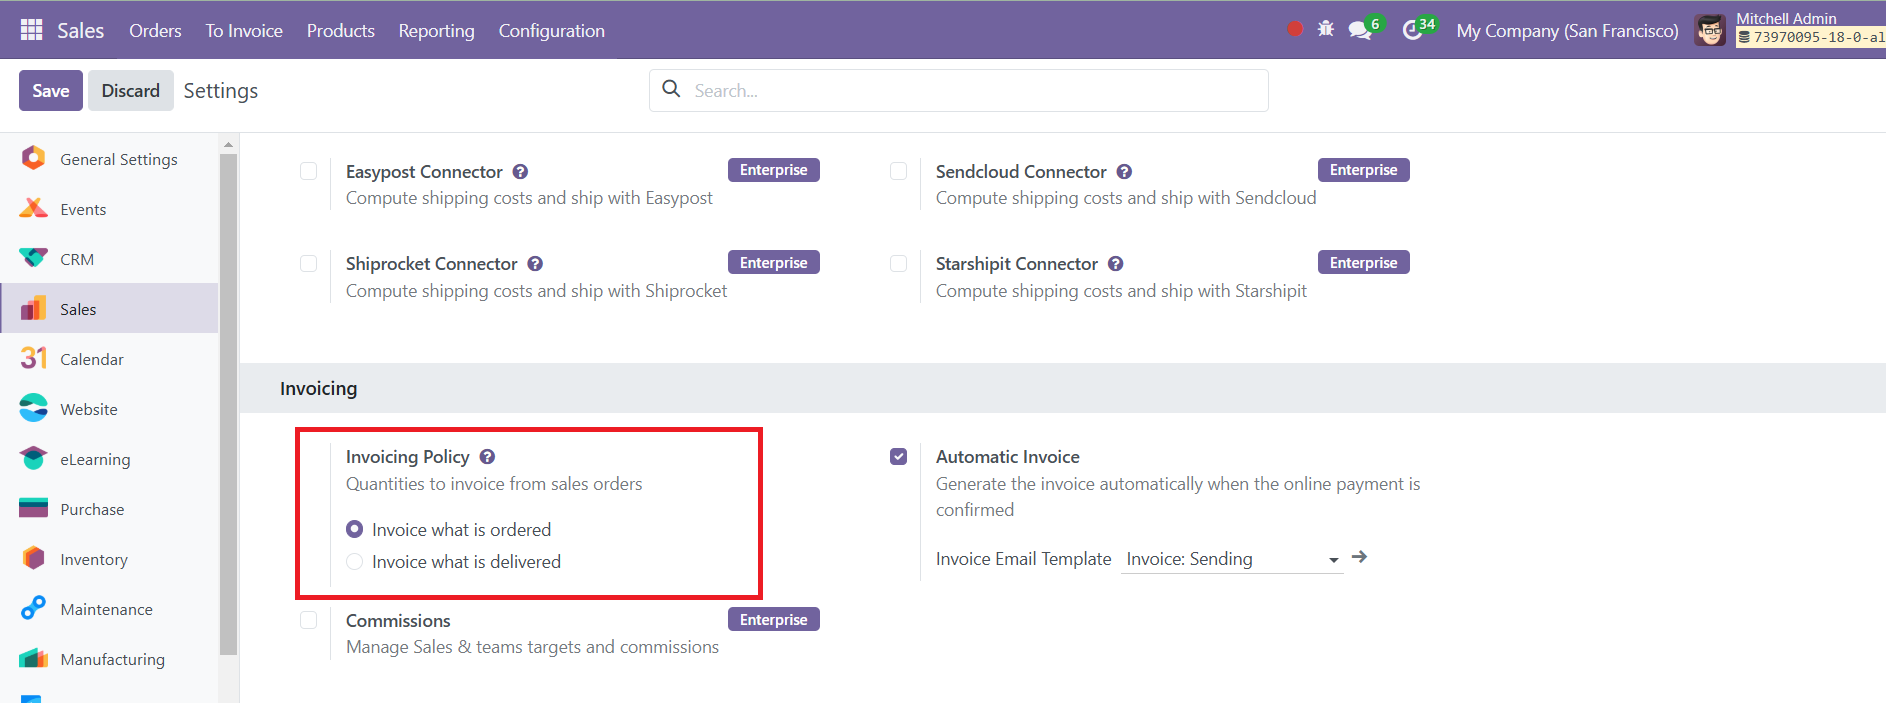
The default invoicing rule is the "Invoice what is ordered" rule, which generates an invoice as soon as the sales order is confirmed. This is the most common invoicing method, where the customer is invoiced for the entire order quantity at the time of order confirmation.
On the other hand, the "Invoice what is delivered" rule invoices customers after the delivery is completed. This rule is particularly useful for businesses dealing with materials, liquids, or food in large quantities, where the actual delivered quantity might slightly differ from the ordered quantity. In such cases, invoicing based on the delivered amount ensures accuracy and avoids discrepancies. Here, we are generating an invoice for the delivered quantity. In this case, you must confirm the delivery before generating a new invoice.
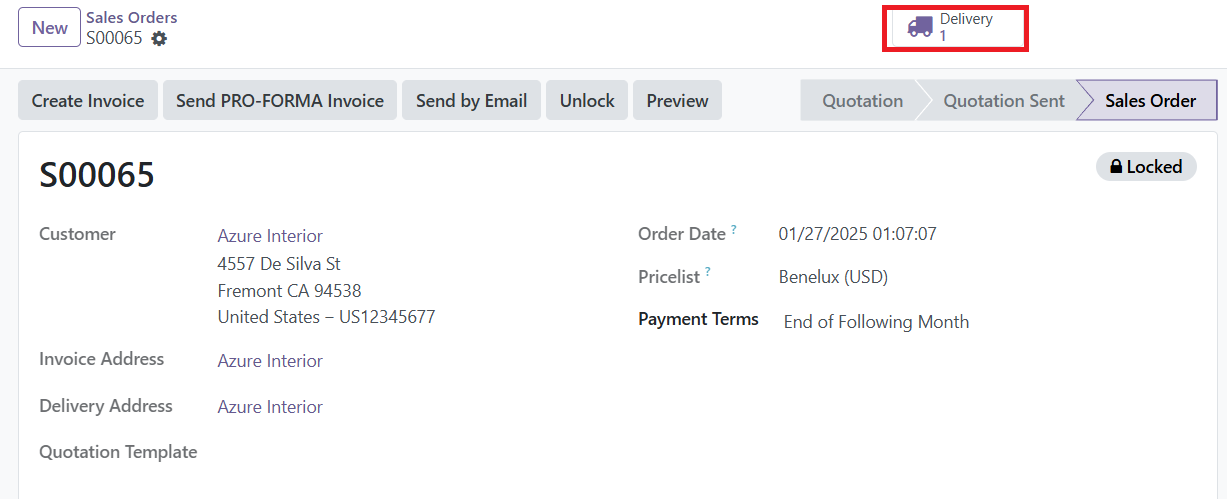
After confirming the sales order, Validate the delivery.
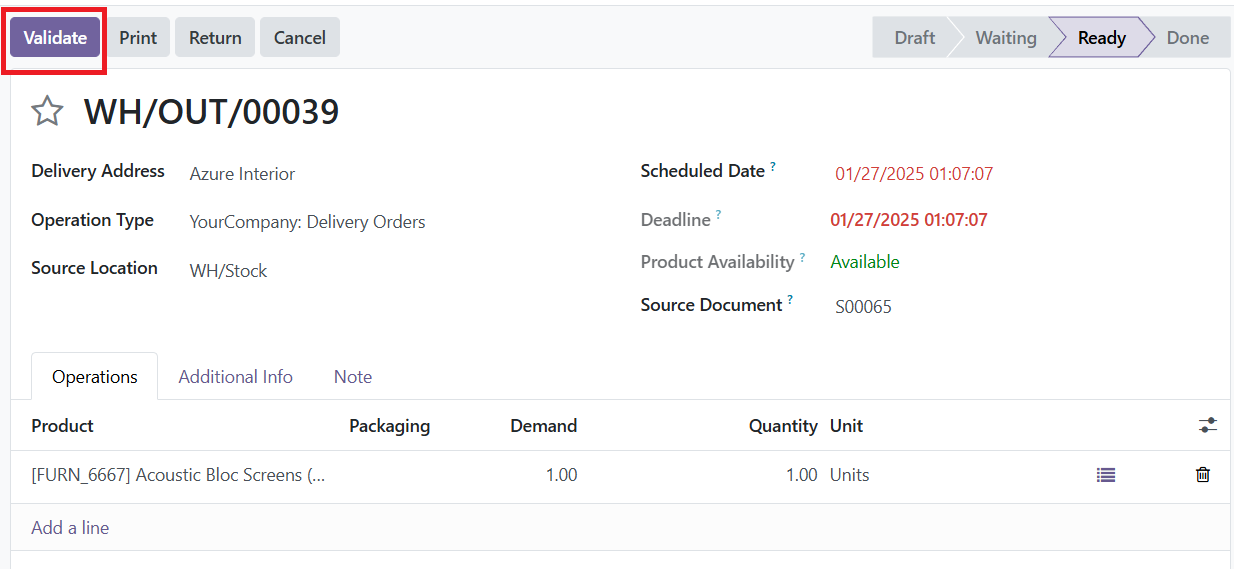
As soon as you validate the delivery, the delivered quantity will be available in the Order Line.
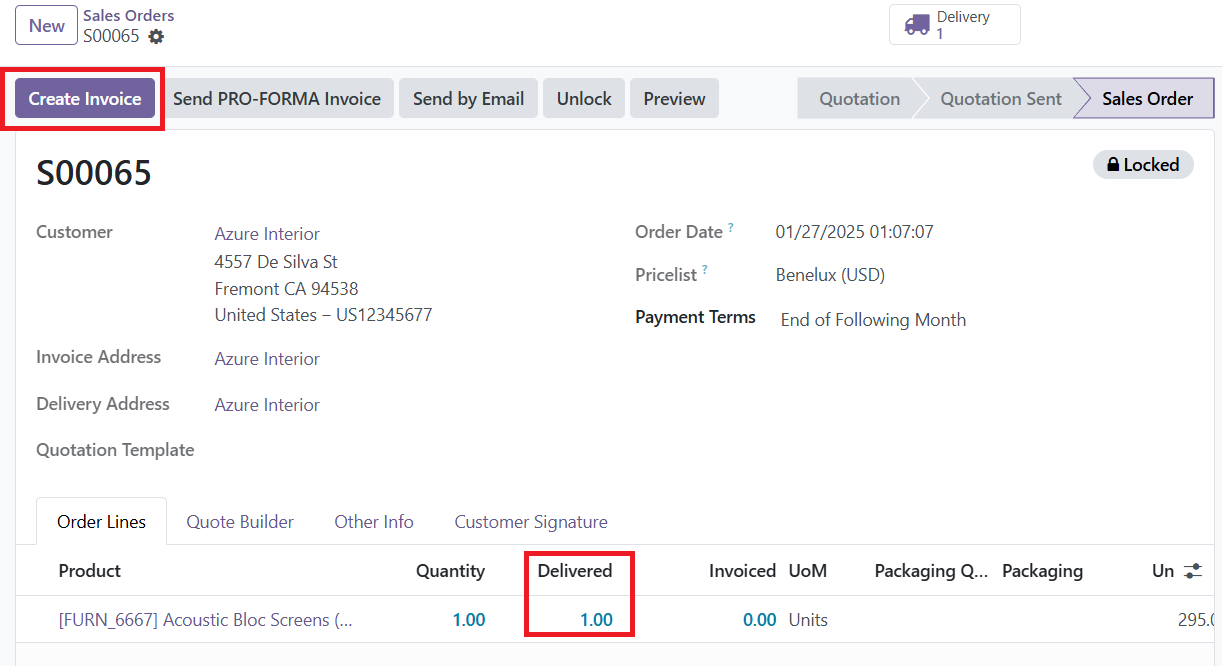
Click the "Create Invoice" button. When clicked, a pop-up window will allow you to select the type of invoice you want to create: a percentage-based down payment, a fixed-amount down payment, or a regular invoice for the full amount.
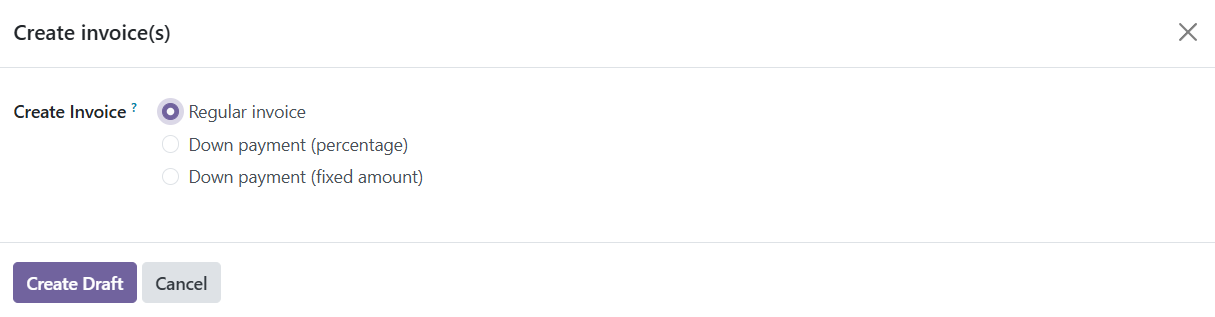
Once you choose the appropriate option, click the "Create Draft" button to proceed. This generates a draft invoice, which you can review before confirming it. If everything looks good, you can confirm the invoice.
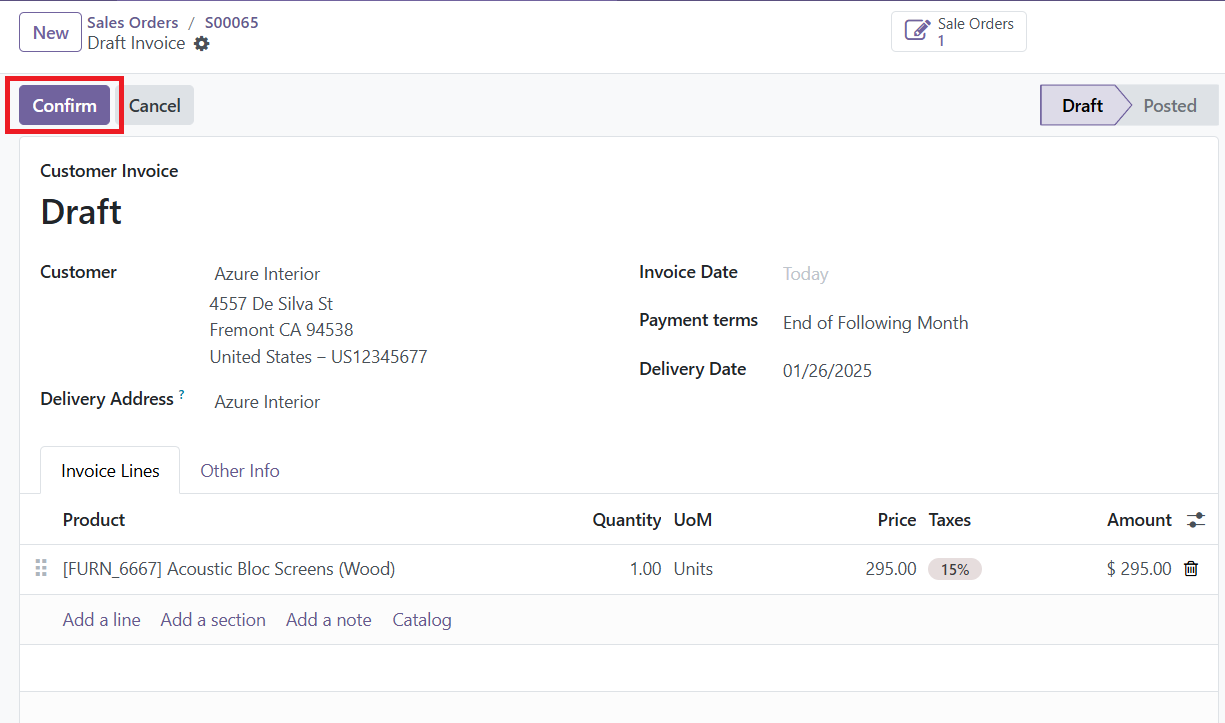
Once confirmed, the system provides an option to register the payment.
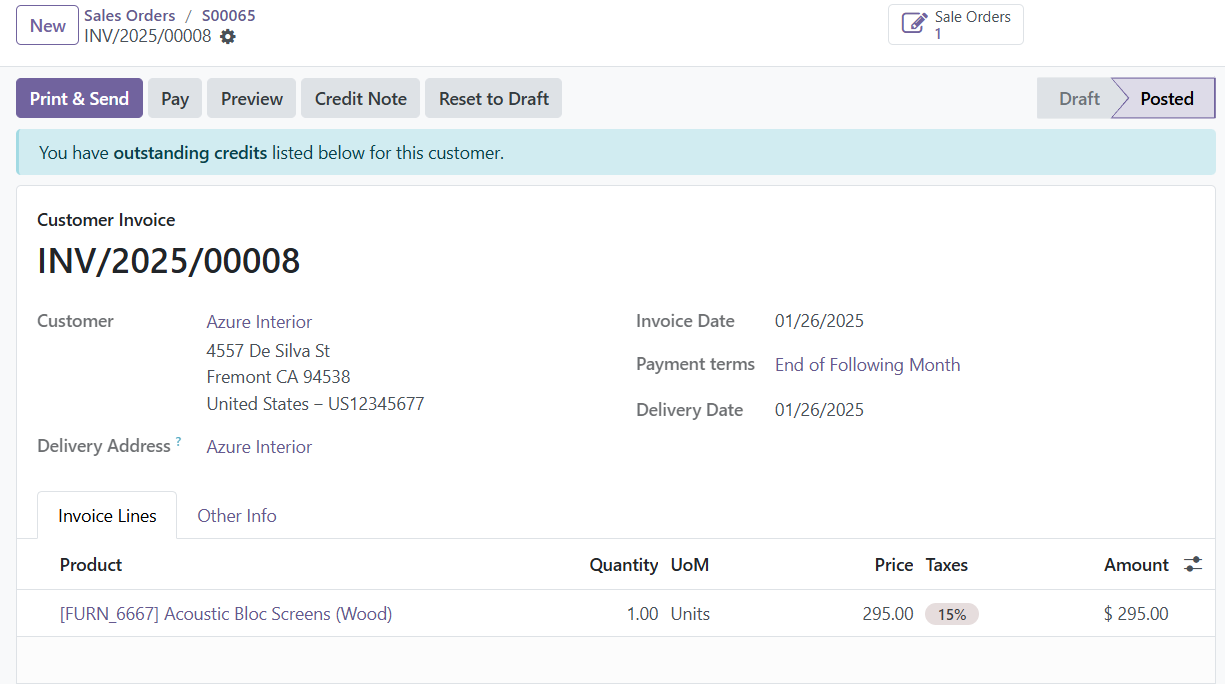
Clicking the Pay button opens a window where you can enter the payment details, including the amount, payment date, memo, journal, payment method, and recipient bank account.
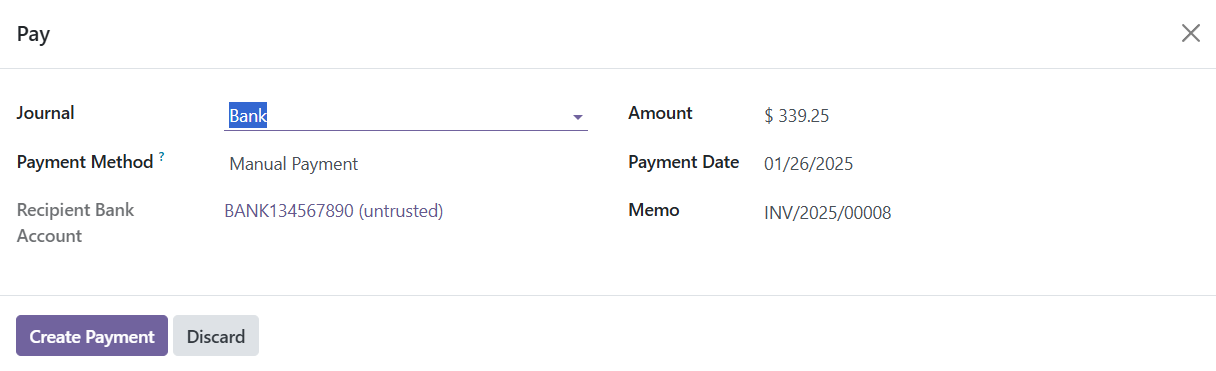
After entering the payment information, click Create Payment to record the transaction. Upon successful payment registration, the invoice will be marked as Paid.
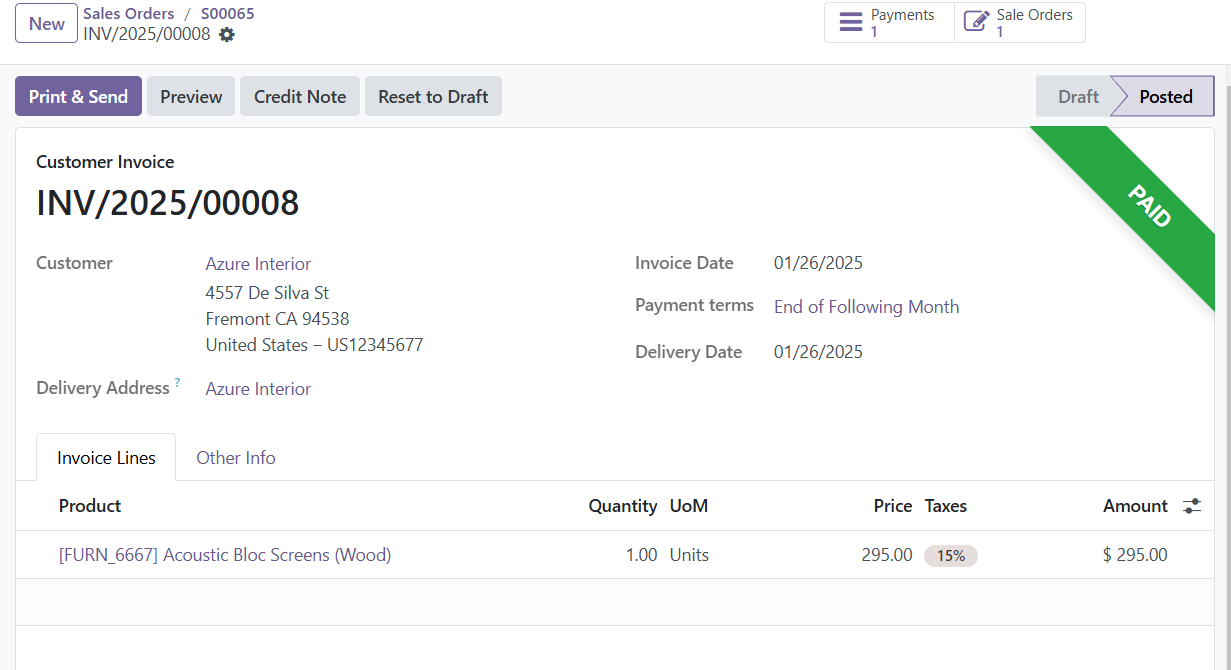
Finally, you can send the finalized invoice to the customer using the "Send & Print" option.
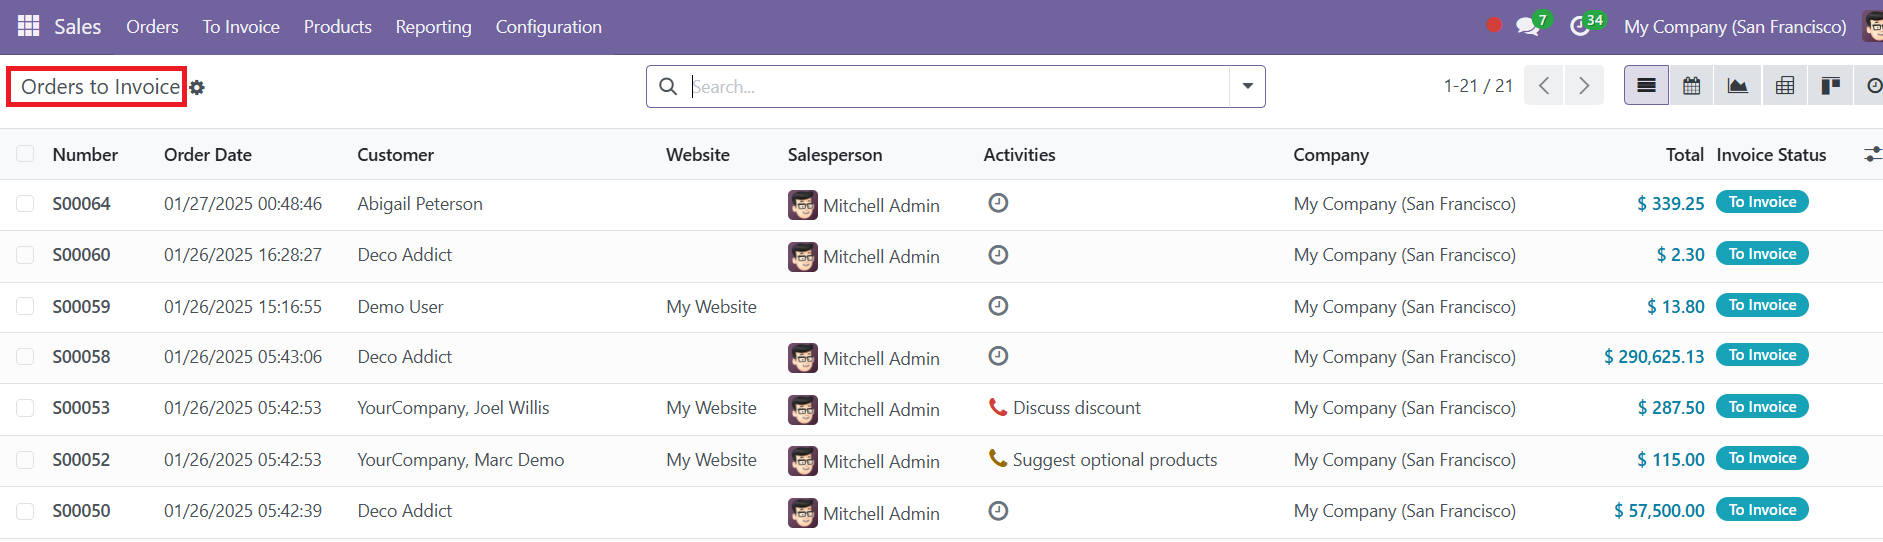
In the "To Invoice" menu, you can also view orders pending invoices under the "Orders To Invoice" section. If the delivered quantity exceeds the invoiced amount, the order will appear under the "Orders To Upsell" option. Here, you need to create an additional invoice for the excess quantity, and Odoo will automatically generate a sales order for this extra amount.
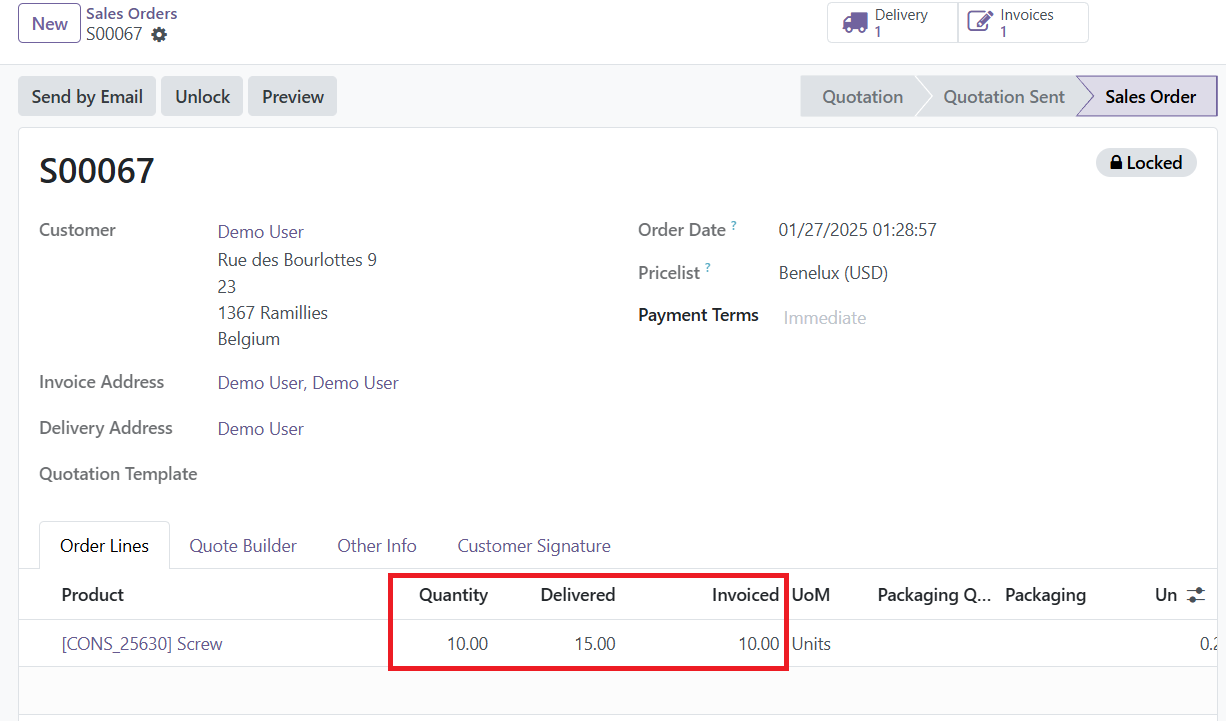
For instance, if the ordered quantity of a product is 10, but the delivered quantity is 15, the sales order will be moved to the "Orders to Upsell" section. This ensures that any excess delivery beyond the invoiced amount is accounted for, allowing businesses to create an additional invoice for the surplus quantity sent to the customer.

To remove a sales order from the "Orders to Upsell" menu, you can edit the order and change the ordered quantity to 15.
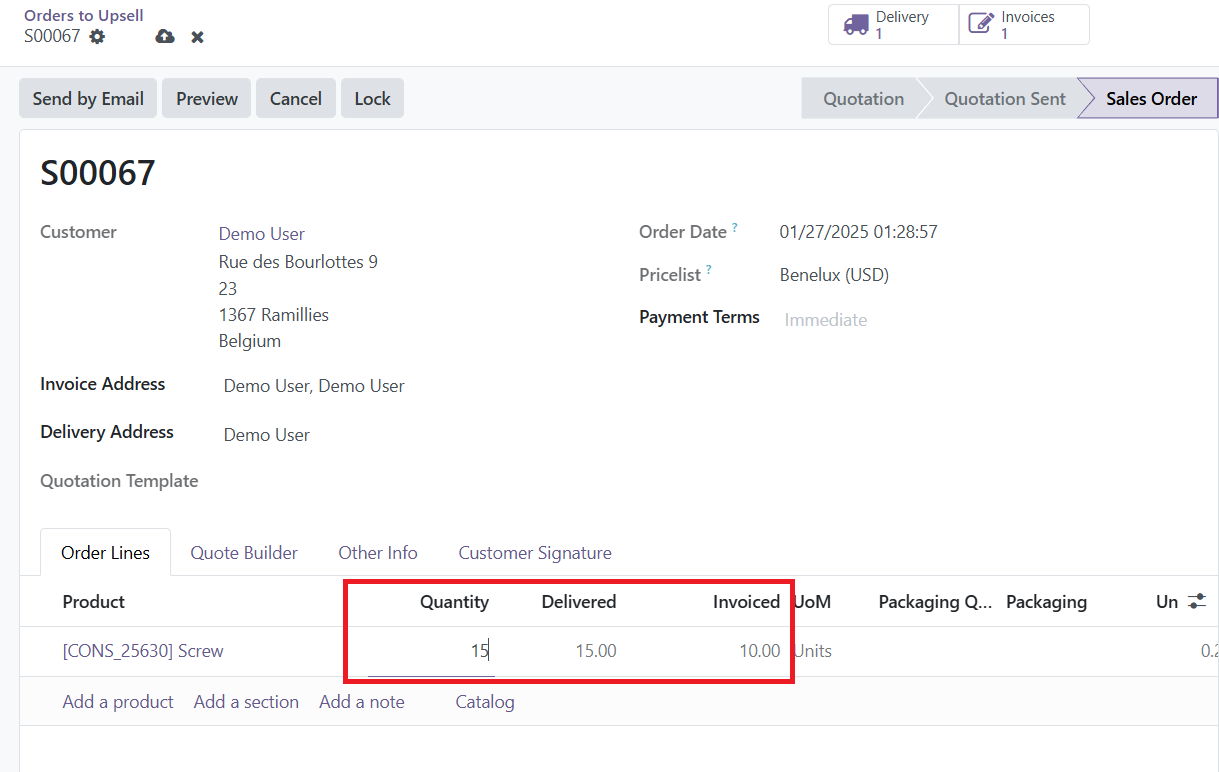
After making this adjustment, create another invoice.

When you generate this new invoice, the invoiced quantity will automatically reflect the remaining quantity, which in this case will be 5 (since the initial ordered quantity was 15 and 10 units had already been invoiced).
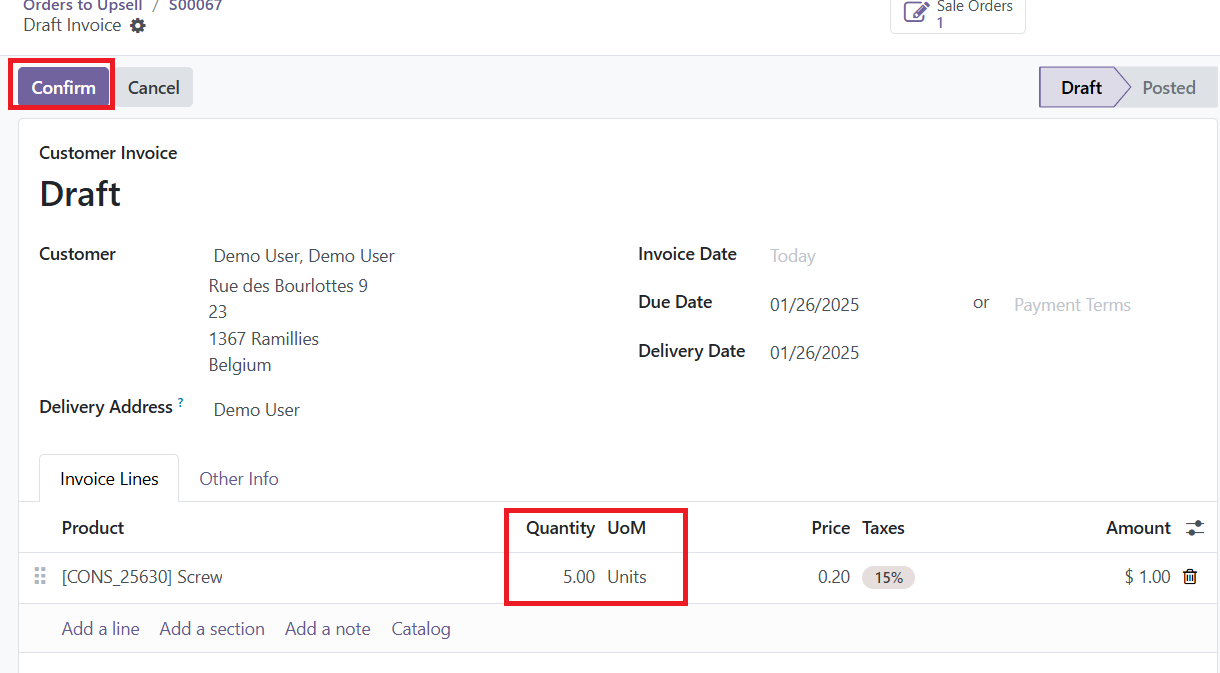
Once you click the "Confirm" button to create the invoice for the remaining 5 units, the sales order will move from the "Orders to Upsell" menu back to the regular "Sales Orders" menu.
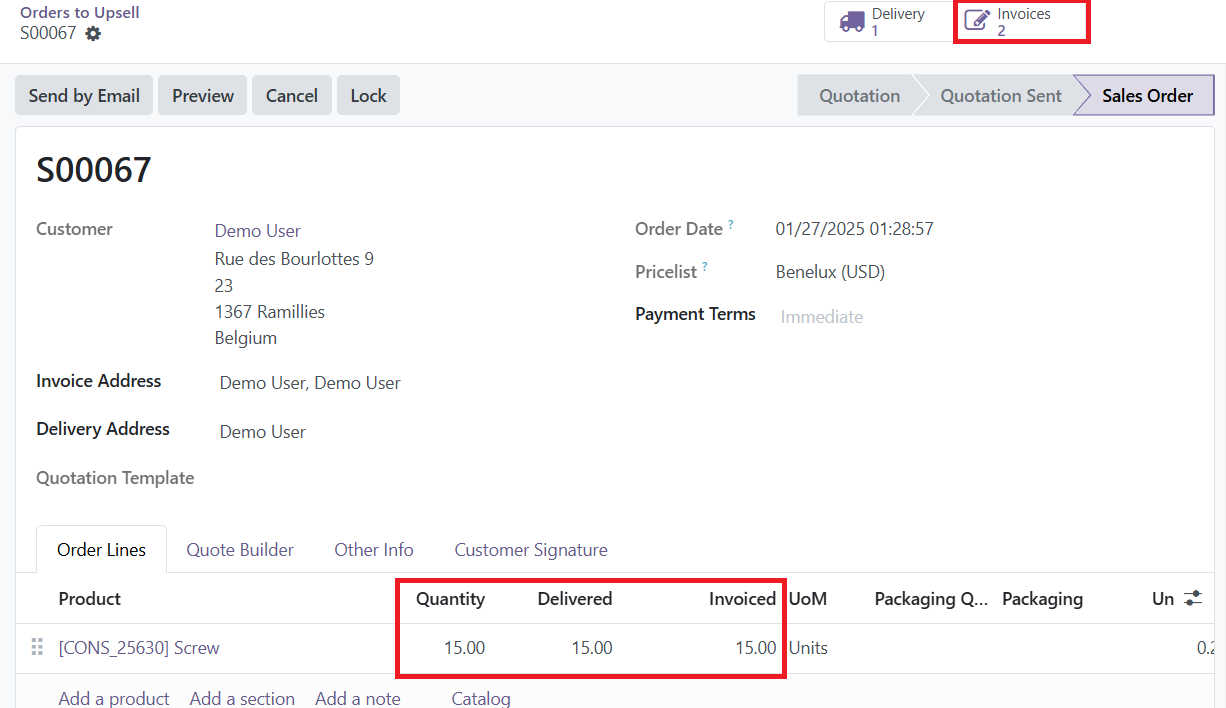
You will now see two invoices created for the same sales order.

Both invoices will have the status "Not Paid," indicating that neither of them has been paid yet.