Whether you’re handling bulk orders or working with a wide variety of products, Odoo allows you to set up vendors for each product and enables clients to purchase from their preferred supplier. This capability simplifies vendor management and helps users make data-driven decisions when it comes to ordering goods. Odoo 18's intuitive and versatile user interface has significantly streamlined the process of managing vendor details. By keeping a comprehensive directory of vendors, organizations can easily reference vendor-specific information, including pricing and delivery timelines, allowing for more efficient purchasing processes.
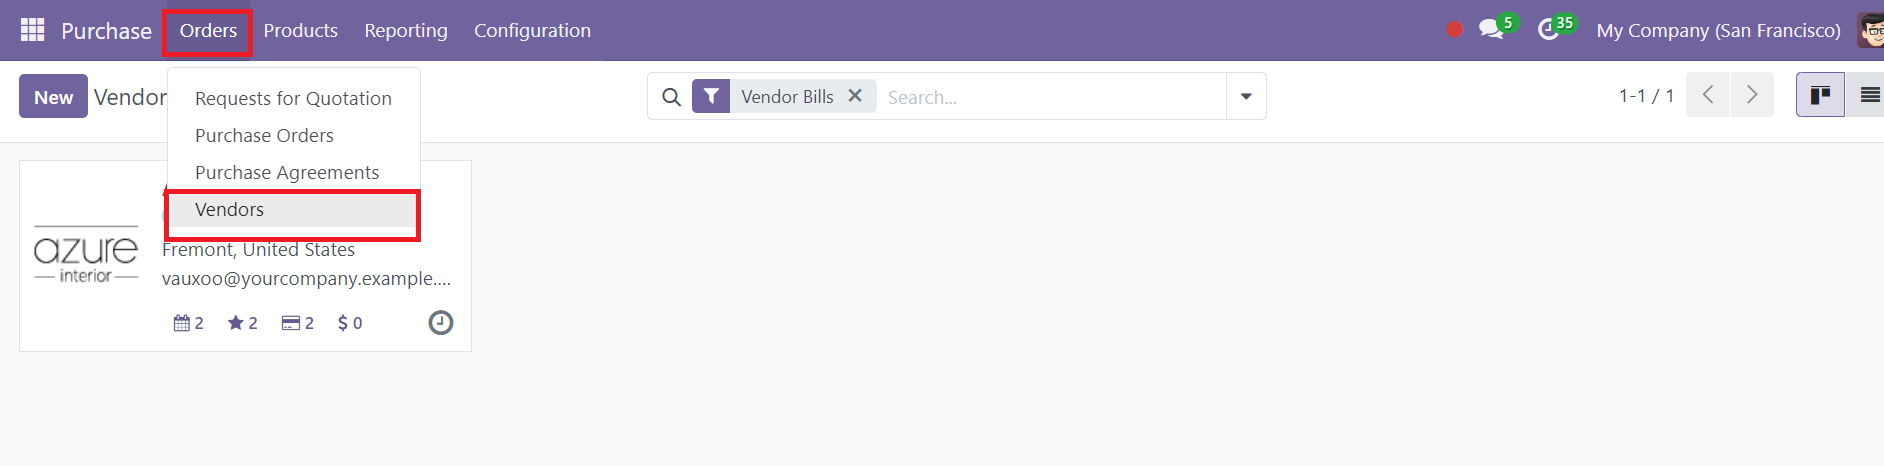
To access vendor details, navigate to the Orders tab in the Odoo Purchase module and select Vendors from the dropdown menu. This will display the Kanban view, which serves as the default interface for vendor management. The Kanban view presents a clean, organized layout of all vendors added to the module, making it simple to view basic vendor information at a glance.
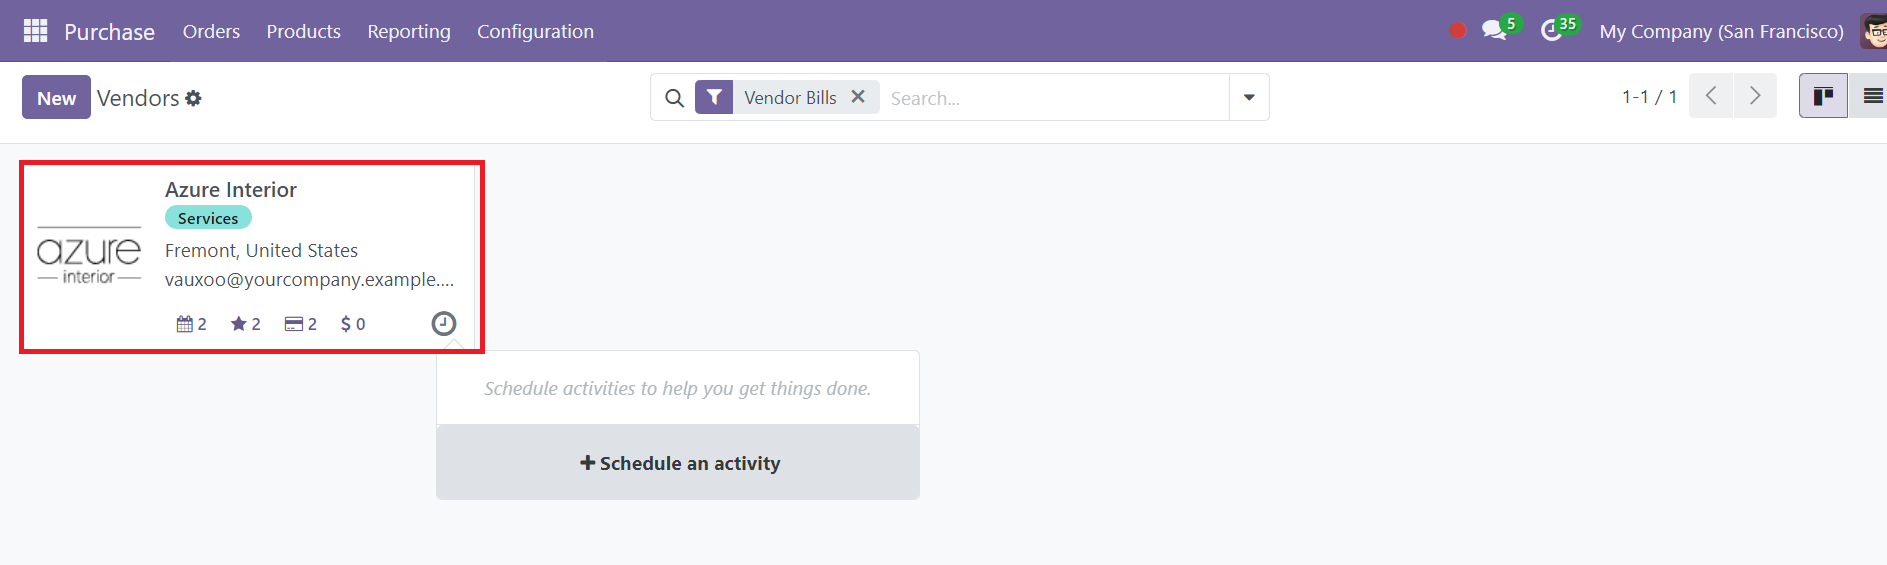
Key information shown includes:
● Vendor Name
● Tags (for categorizing vendors)
● Email Address
● Communication Address
Additionally, icons for managing activities such as Meetings, Opportunities, and Purchase Orders linked to each vendor are provided. This feature enhances your ability to monitor vendor performance and facilitates the scheduling of future activities.
The vendor management system in Odoo 18 also allows you to schedule activities with vendors. Using the Clock icon, users can set up reminders for upcoming tasks, whether it's a follow-up meeting or renewing a vendor contract. These activities are directly tied to the vendor’s profile, ensuring that no critical interactions are missed.
For those who prefer a more detailed view of vendor information, Odoo’s List view can be customized to display a variety of columns. These include:
● Name
● Phone Number
● Email Address
● Salesperson in charge
● Activities
● City
● Country
● Company
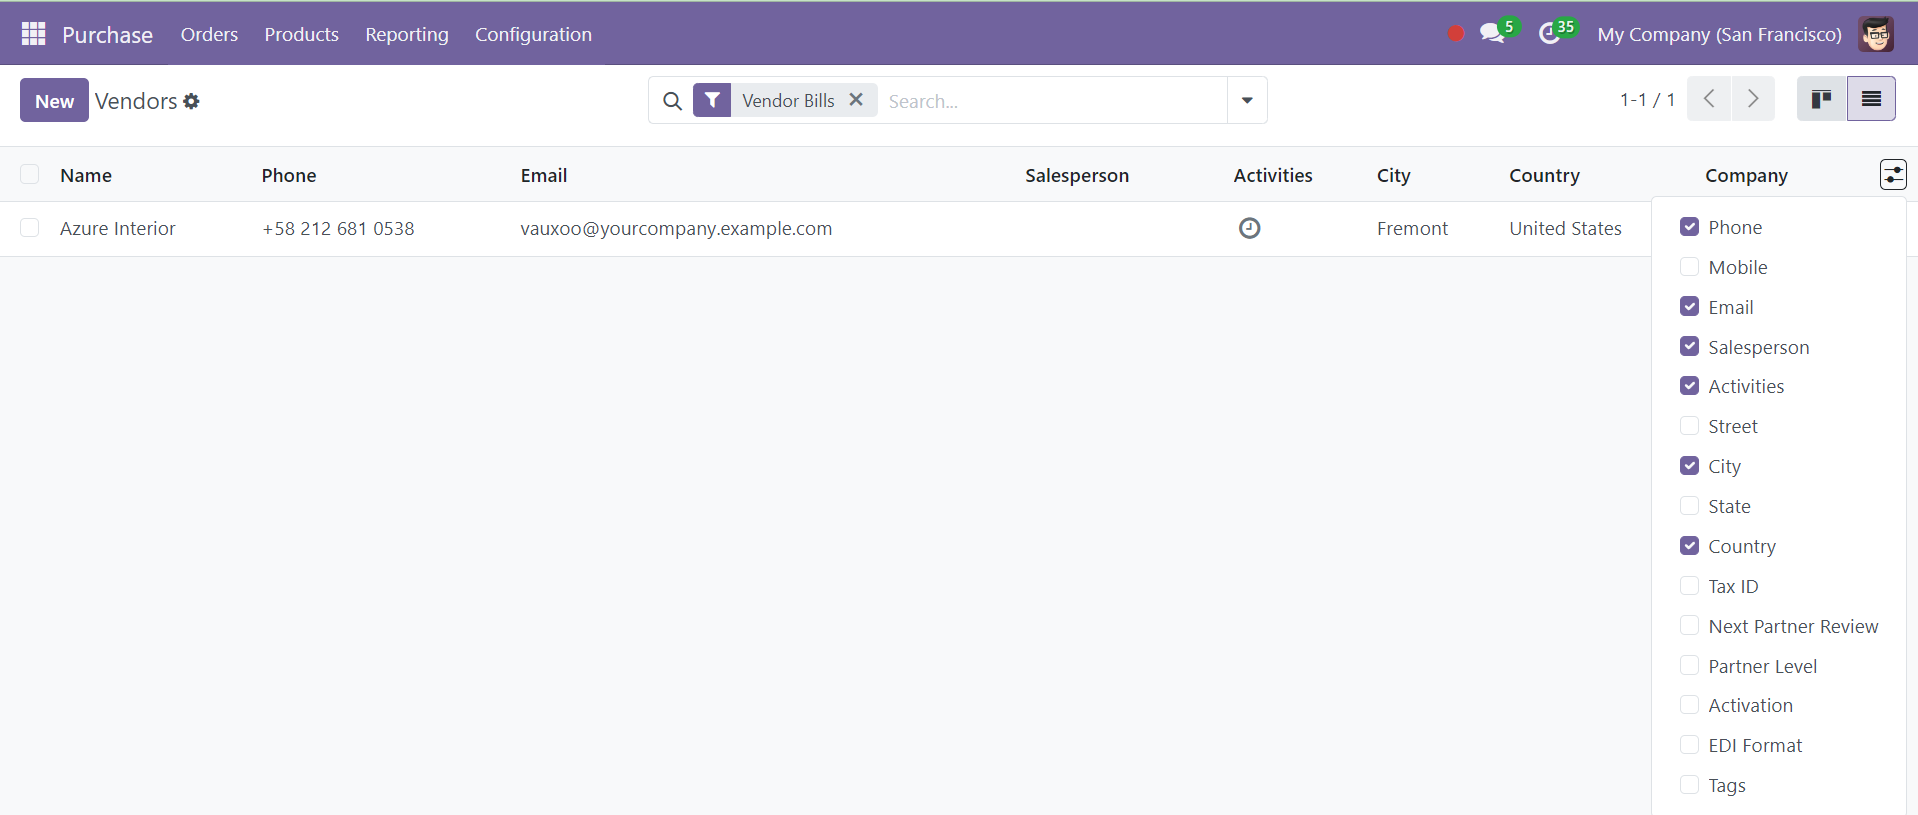
To further enhance vendor management, users can enable additional parameters from the advanced toolbar, which will expand the List view to include:
● State
● Street
● Tax ID
● EIN (Employer Identification Number)
● Partner Level
● Activation status
● Tags
● Next Partner Review date
● Mobile
This flexibility in viewing vendor data makes it easier to track vendor performance, filter based on specific attributes, and ensure that all relevant vendor information is available when needed.
Adding a new vendor to the system is a straightforward process in Odoo 18. By clicking the New button, users are redirected to a new platform where they can configure the vendor's details. The vendor configuration closely mirrors the customer configuration process found in Odoo’s Sales module, making the setup process familiar for users who handle both sales and purchases.
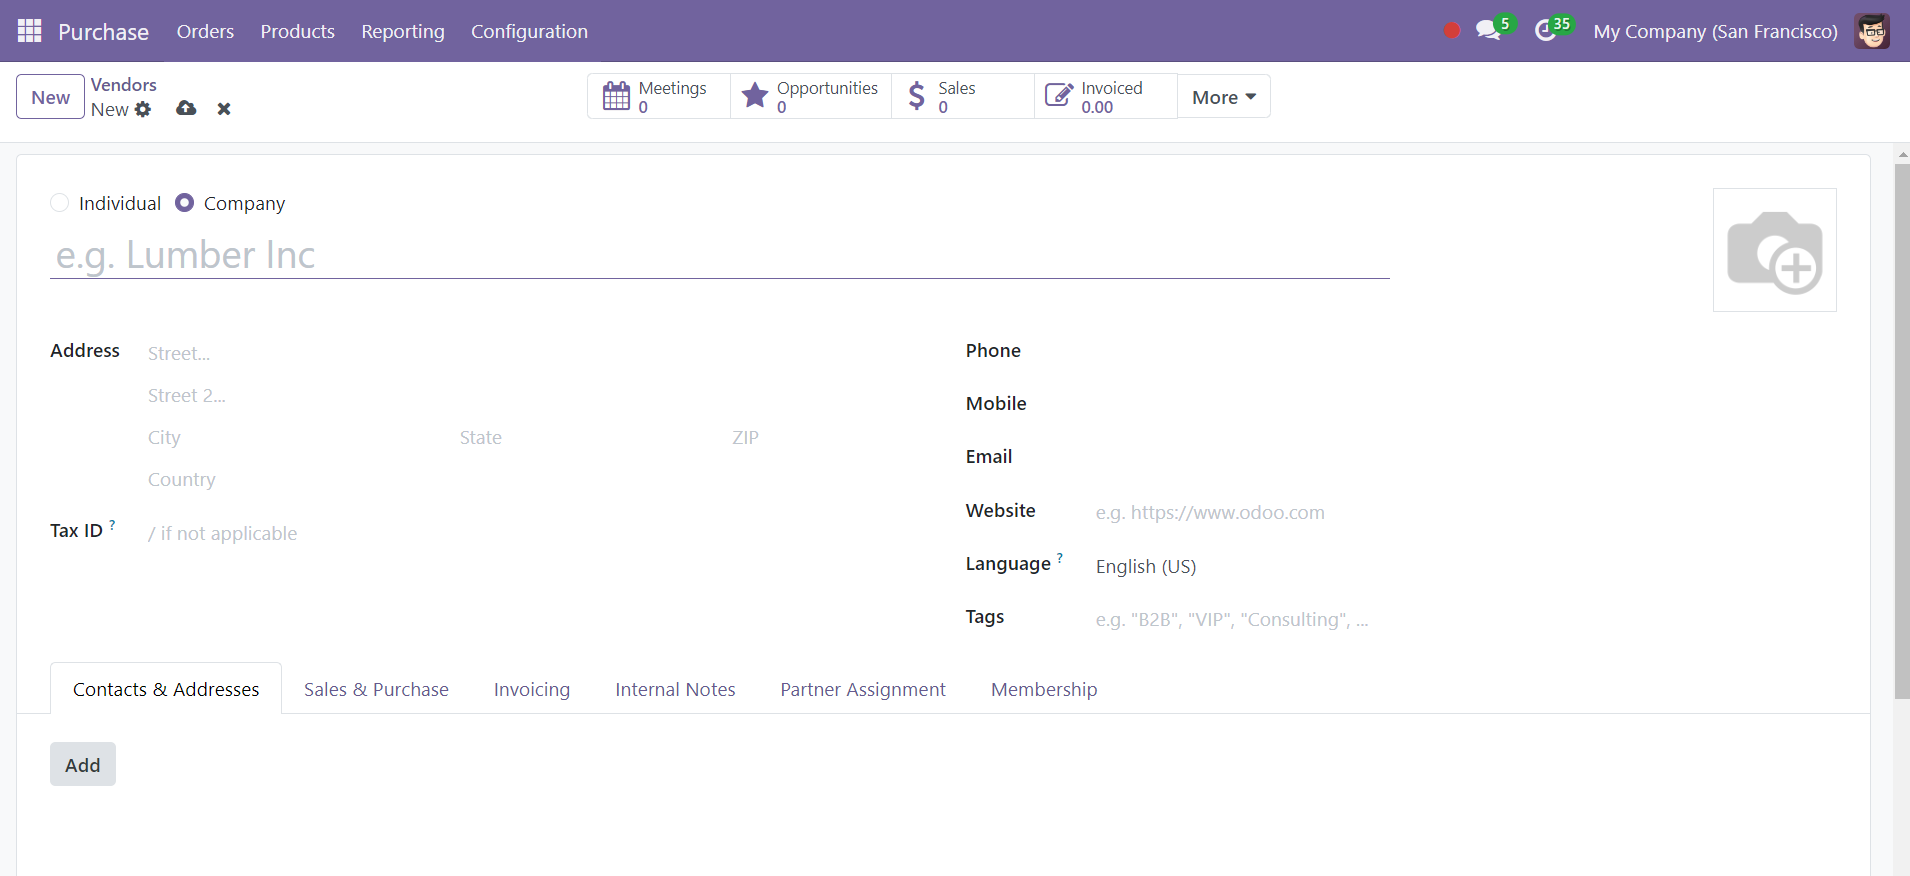
To configure a new vendor, users can fill out the following tabs:
1. Partner Assignment
2. Contact & Addresses
3. Sales & Purchases
4. Invoicing
5. Internal Notes
6. Membership
With features like detailed vendor profiles, activity scheduling, and customizable views, the Odoo Purchase module allows users to monitor and manage their vendor relationships with ease. By simplifying the configuration process and linking vendor data to purchase orders, Odoo helps businesses optimize their purchasing workflows and enhance overall productivity. In the Odoo 18 Purchase module, you can manage the Vendor Price List once the Vendors have been set up.