To create a project in Odoo 18, follow the steps outlined below, starting with selecting the "New" symbol.
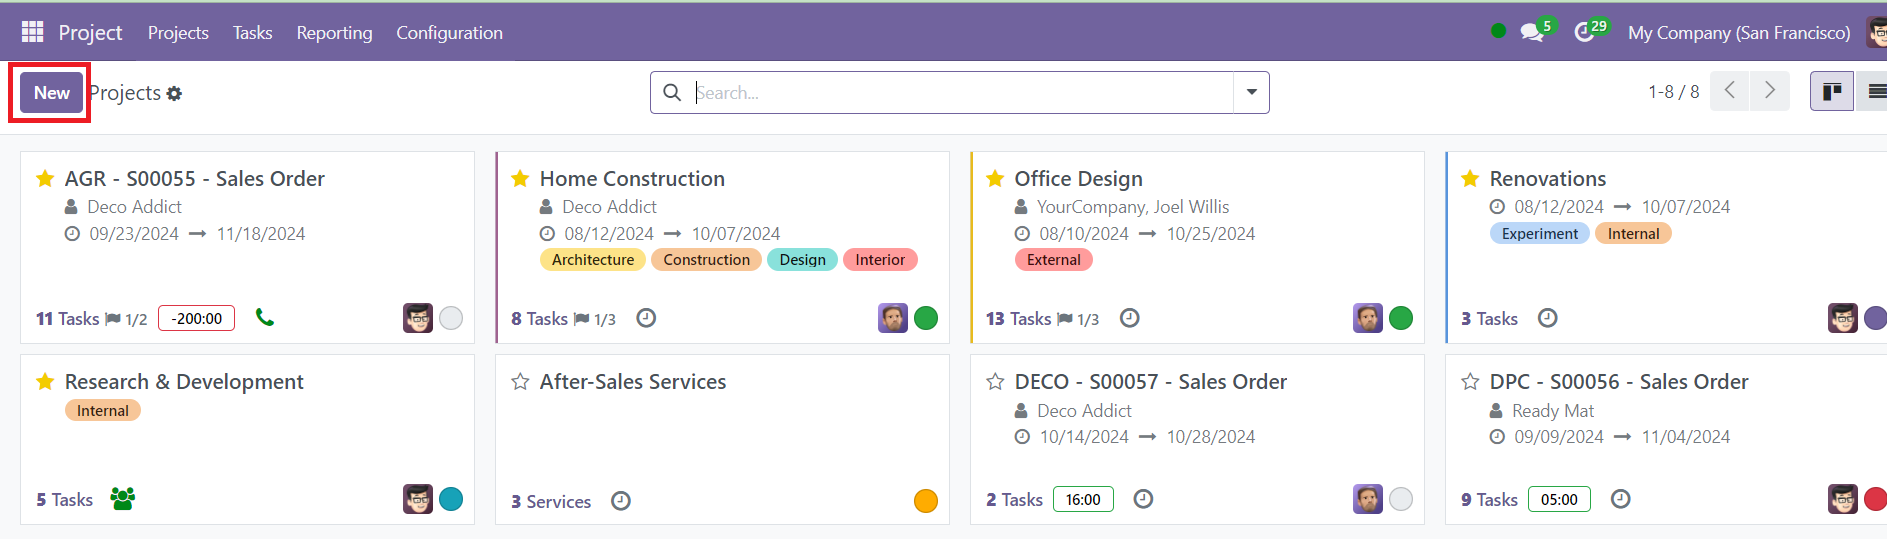
When you click on the "New" button, as shown in the screenshot, you will be directed to the project creation page. This page allows you to set up all the necessary configurations for your project.
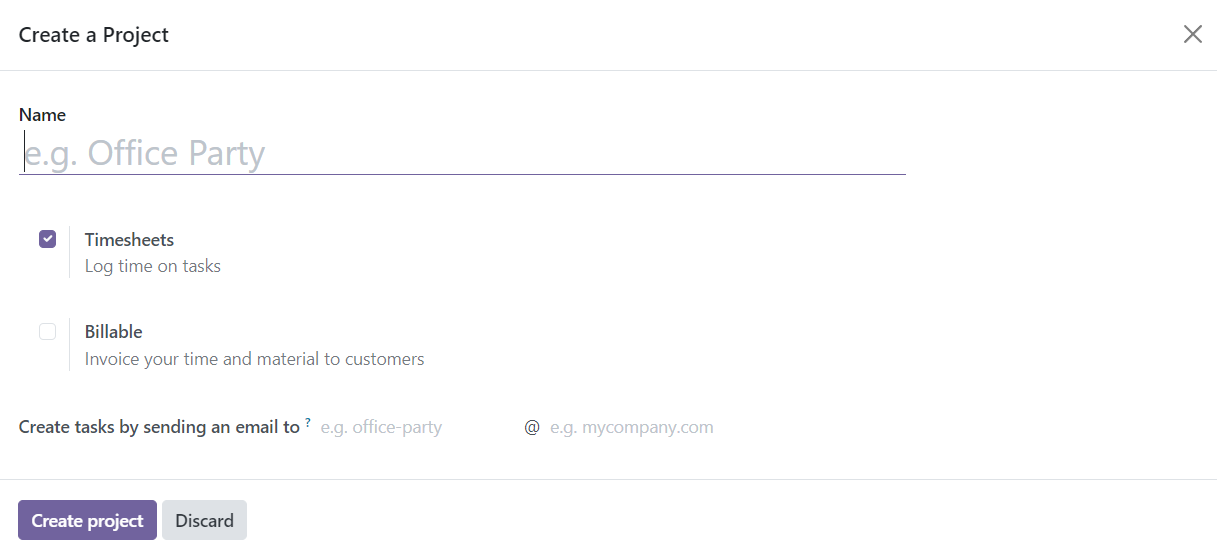
On this project creation page, you will see various options, including a Billable field that enables you to invoice time and materials used on the project directly. When you activate the Timesheet option below, the project will be automatically linked to timesheet tracking, allowing for precise recording of hours worked. Once all the necessary details have been filled in, click on Create Project. After creating the project, a new page will appear where you can easily add tasks to your newly created project. The screenshot provided illustrates the new page layout.
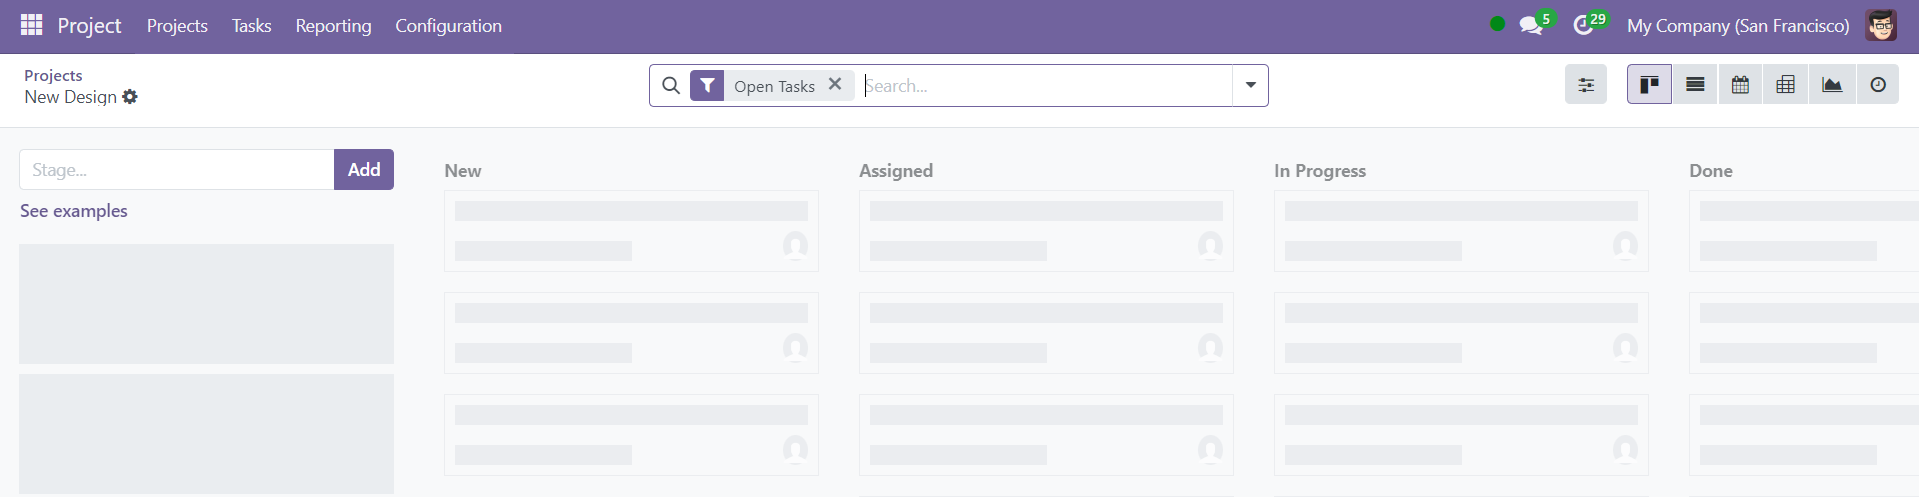
On this page, you will find several options, such as placing tasks in designated stages or columns. To add a new column to the list, enter the column title in the appropriate field and click on the Add icon.
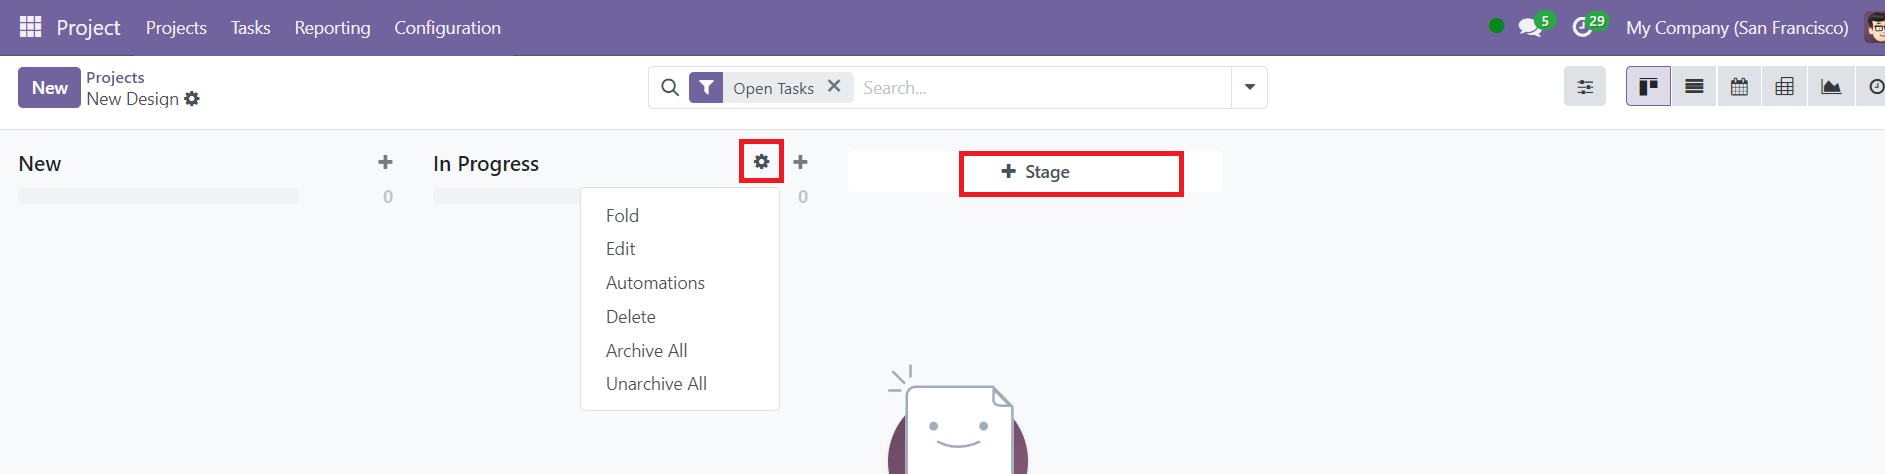
Each newly added stage comes with three vertical dots located in the top right corner, which provide access to a small settings menu. This menu includes options like Fold, Edit Stage, Automation, Delete, Archive All, and Unarchive All. These options offer flexibility in managing stages based on the project's requirements.
You can also add new tasks by clicking the + icon. Upon selecting this option, you will be prompted to enter the task title and assign employees to the task.
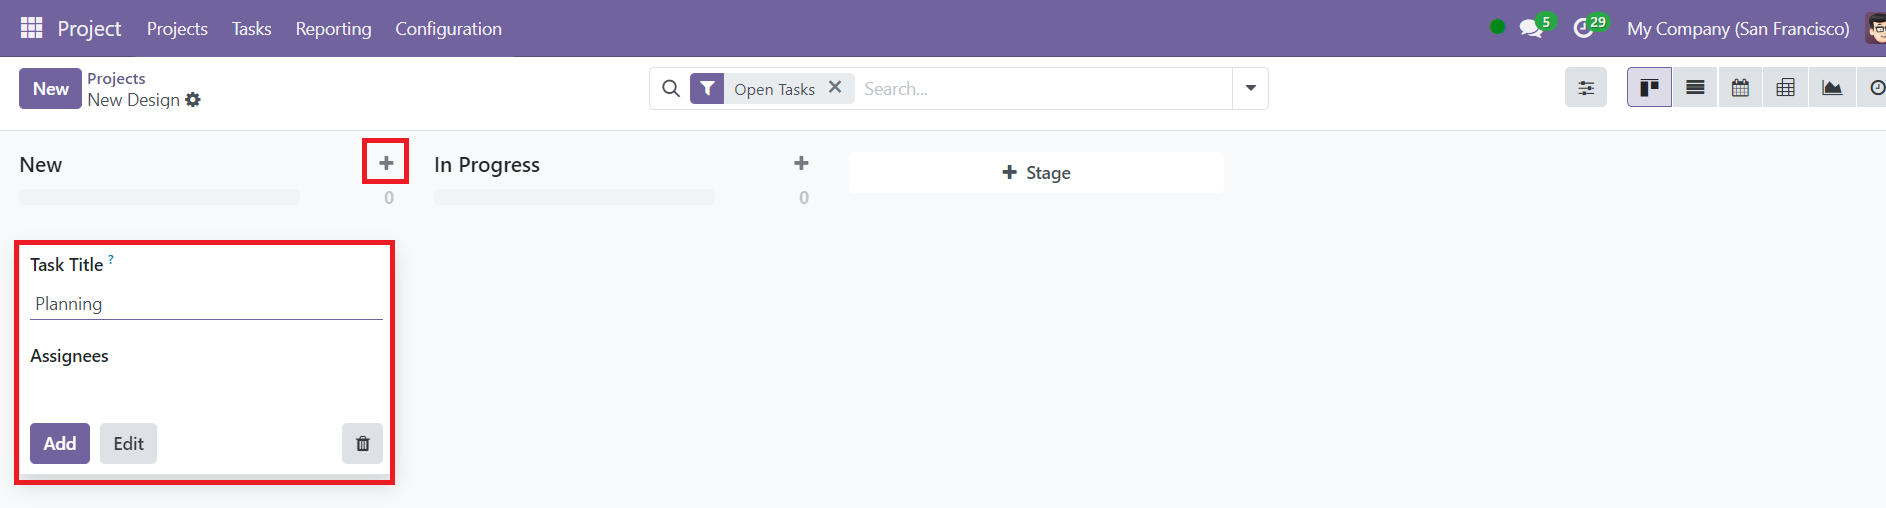
As mentioned earlier, this section allows you to input task details and make any necessary adjustments.
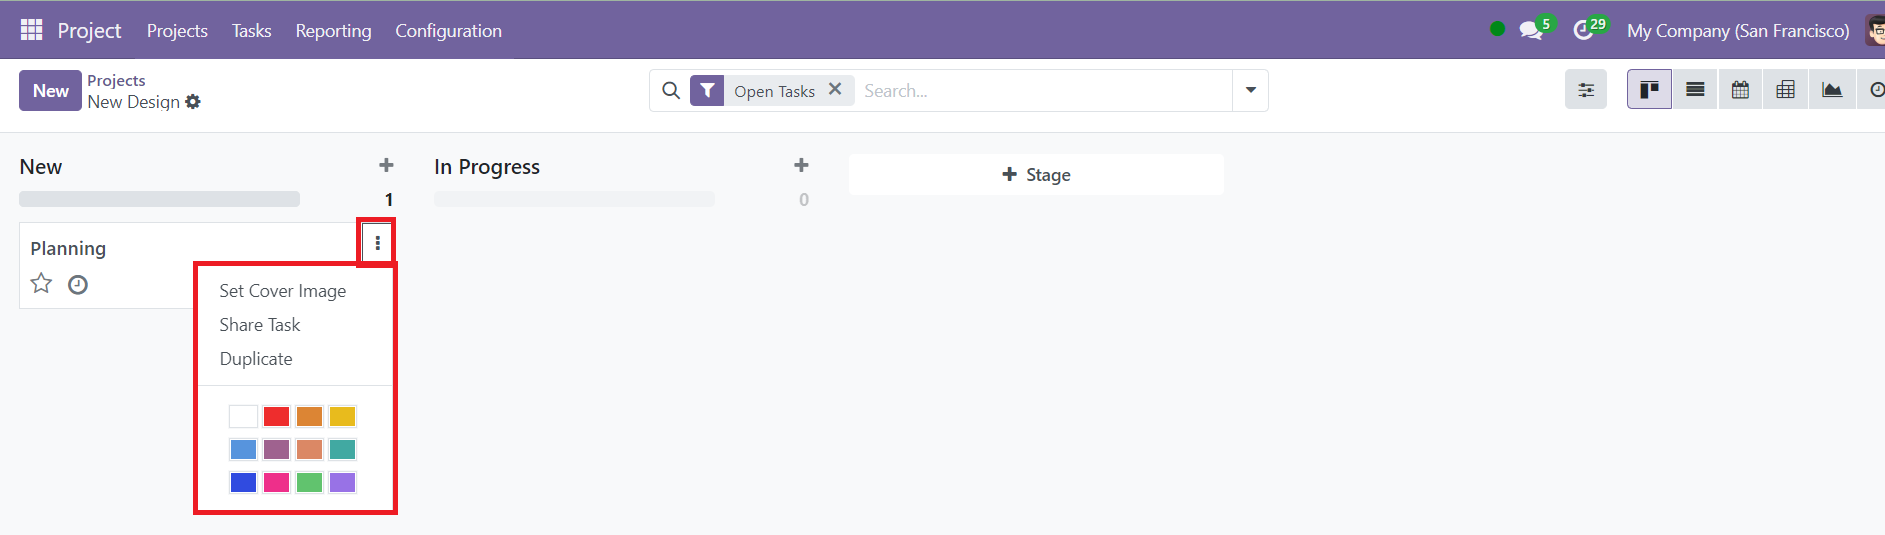
The three vertical dots on each task provide additional functionality, such as Share Task, Duplicate, and Set Cover Image. This customization enhances the visual organization of your tasks. For example, clicking on the Set Cover Image option will open a box where you can upload and apply a new cover image to the task, as shown in the screenshot.

If you need to modify a task after it has been created, click on the task to make changes. You will see the editing page, which allows you to update key details such as task name, project name, list of assignees, milestones, and task deadlines.
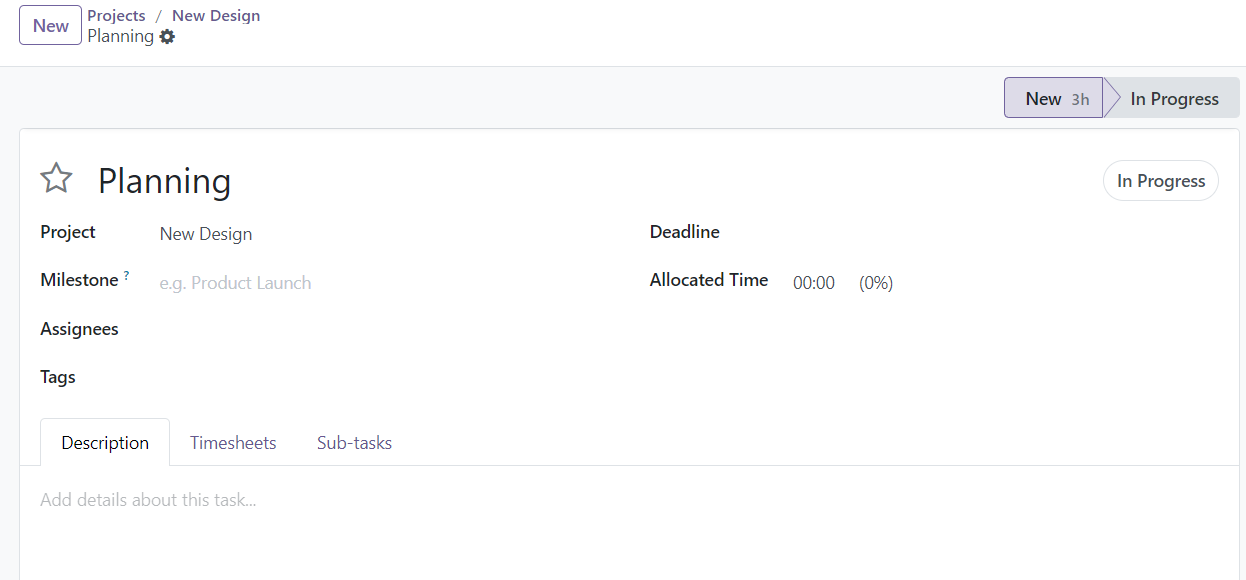
You can also add Tags and set Allocated Time if necessary. If you are working on a project with billable tasks, Odoo allows you to create sales orders for customer invoicing. You can track the time spent on a task and automatically link it to the invoicing process.
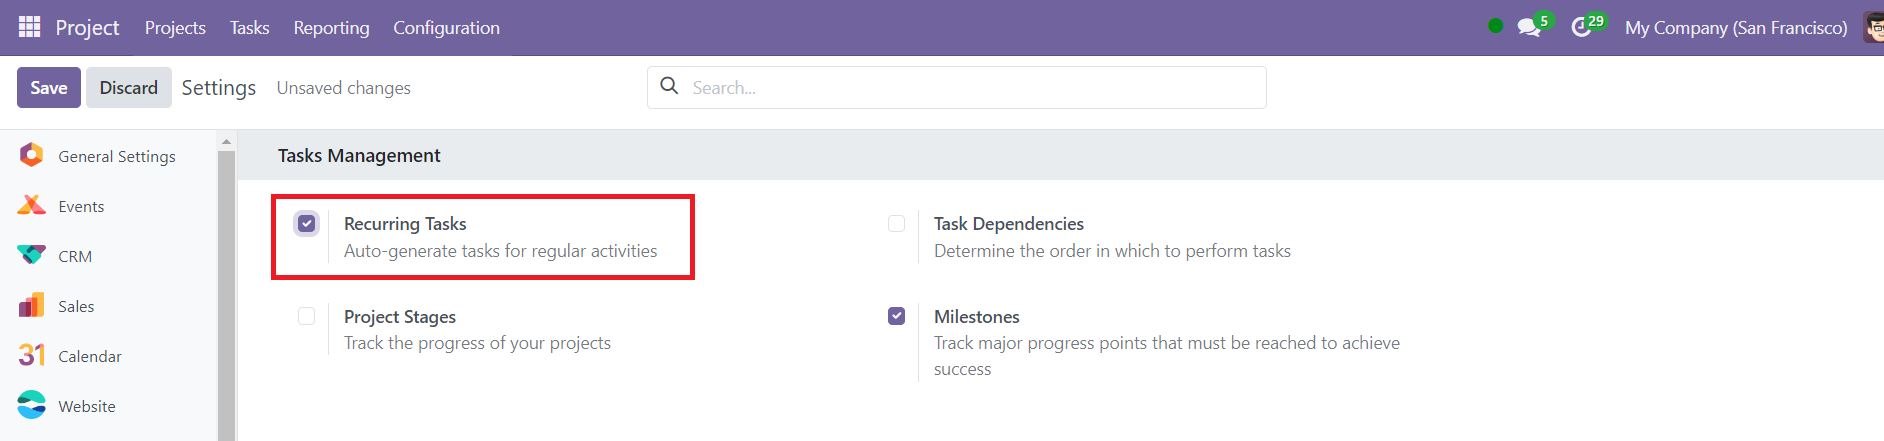
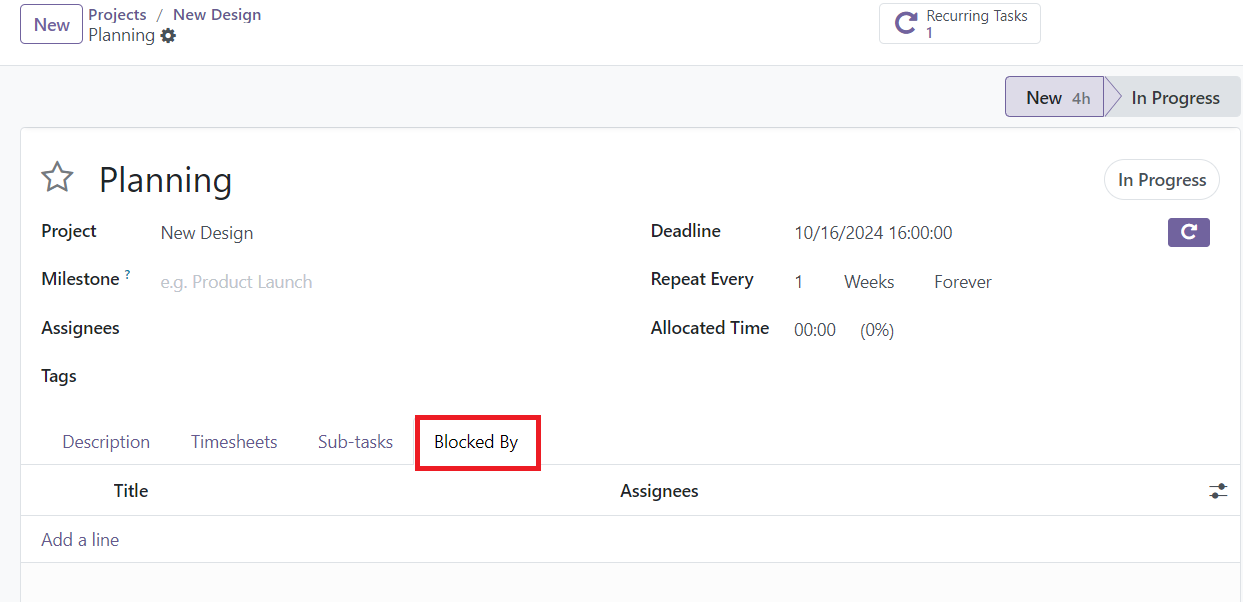
For tasks that repeat over specific intervals, Odoo 18 offers the Recurring Task feature. This feature can be enabled from the Configuration Settings and allows tasks to be repeated automatically at predetermined intervals.
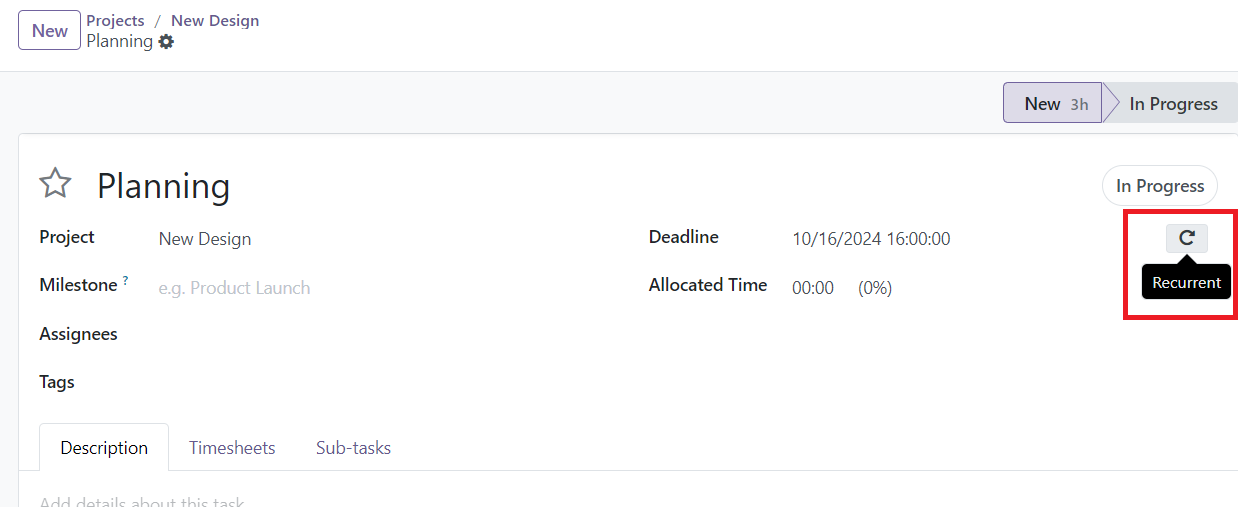
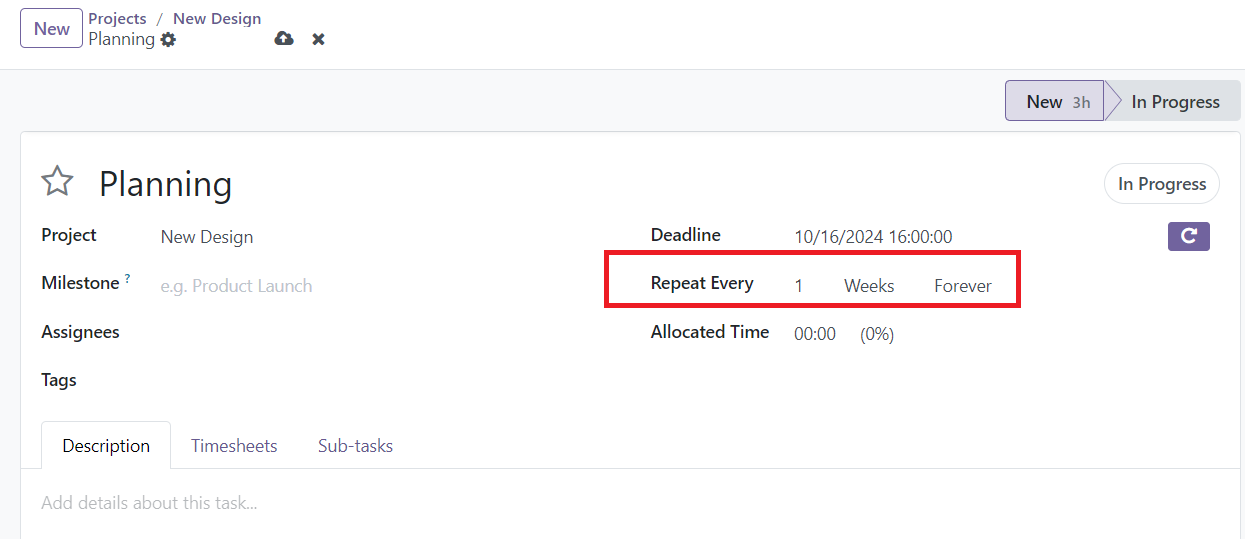
After setting a deadline for the task, you can click the Recurrent button next to the deadline field. A new field called Repeat Every will appear, where you can specify the repeat interval.
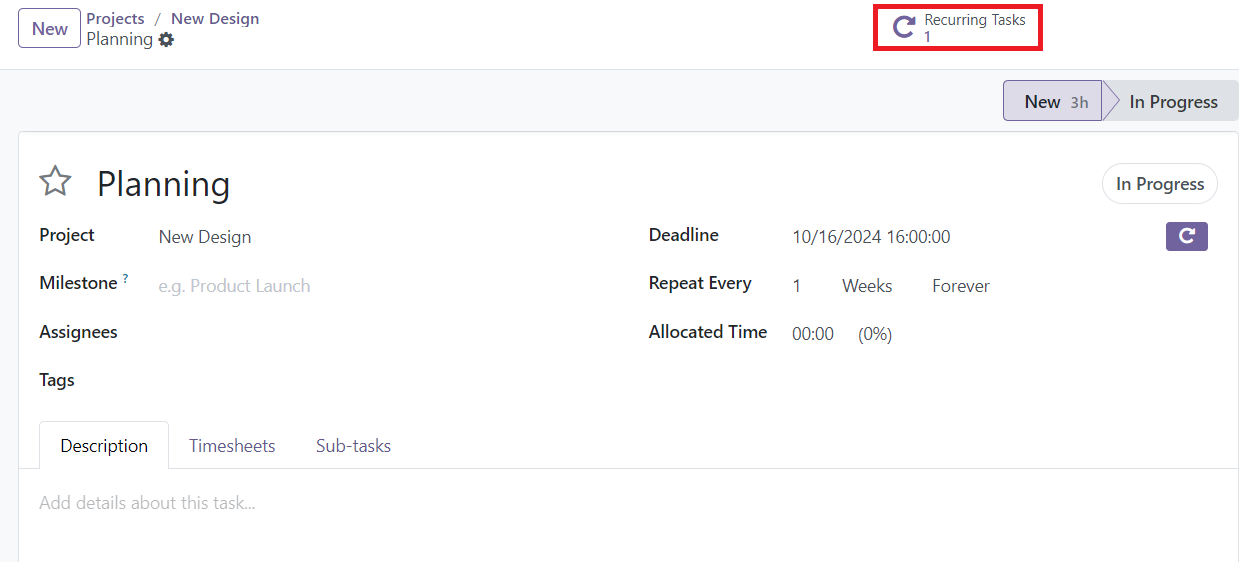
Odoo also provides tools to track the dates associated with task recurrence, ensuring that the task will continue even after the current instance is marked as completed.
The Timesheet tab, located next to the description tab, is another useful feature. It helps track the hours worked on a task.
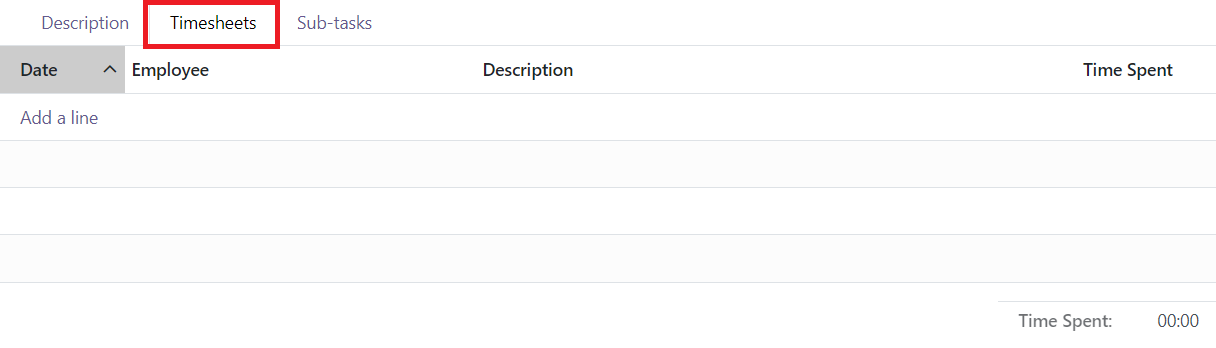
When filling out the timesheet, you will need to enter the date, employee name, task description, and hours worked. The Add a Line option allows you to record time entries for each task, ensuring proper time tracking.
Additionally, Odoo 18 allows you to manage complex projects by breaking down tasks into subtasks. The Sub-task tab enables you to divide larger tasks into smaller milestones, improving project management.
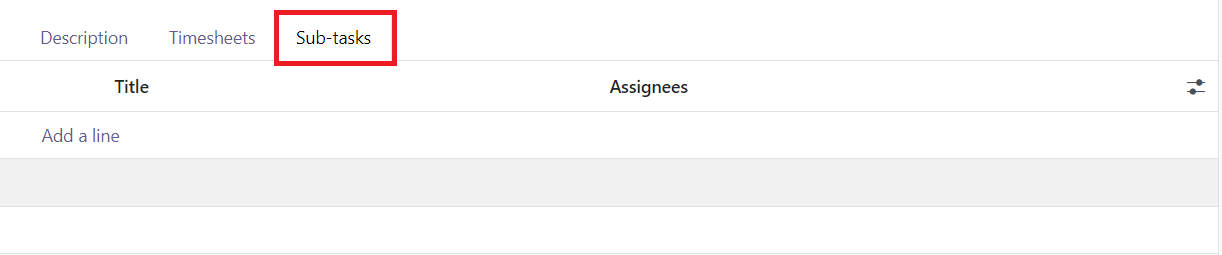
You can add details such as the subtask title and assignees. Once the primary task is saved, you can view and manage the newly created subtasks.
For projects that require task dependencies, Odoo 18 provides a feature under the Settings option within the Configuration menu.
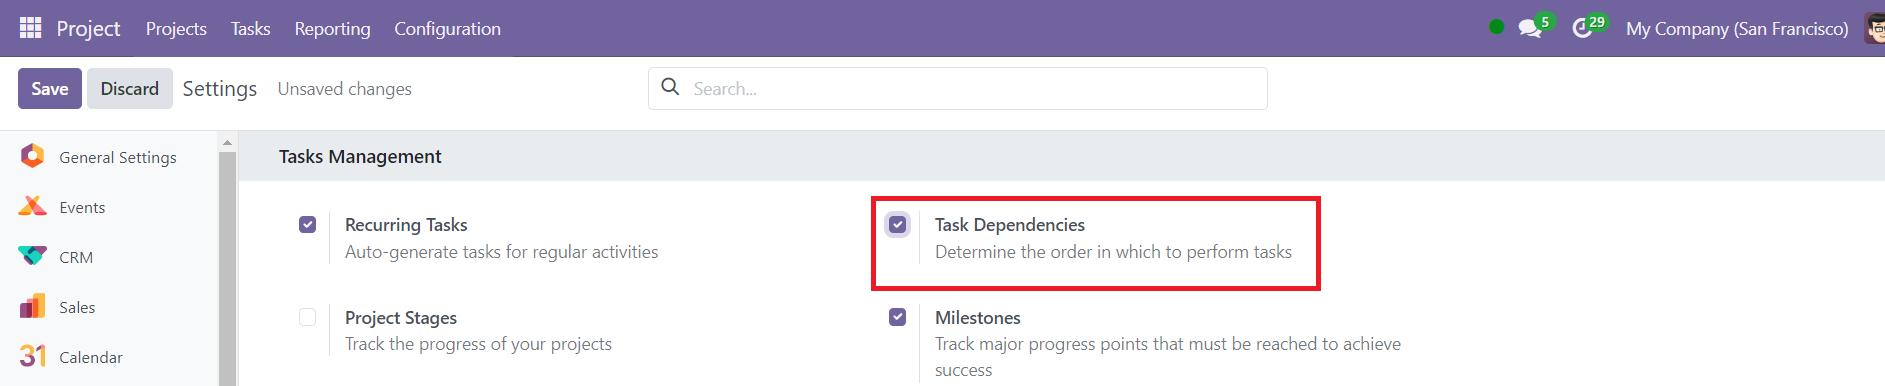
By enabling the Task Dependencies option, you can define the order in which tasks must be completed. When this option is activated, a Blocked by tab will appear on the task creation page, where you can specify which tasks must be completed before others can start.
After saving, specific tabs like Sub-task will become visible, allowing you to manage and monitor the task's progress.
In order to manage the configuration of a project separately, you will get the Project option under the Configuration menu of the Project module. Let’s take a look at this option in detail.
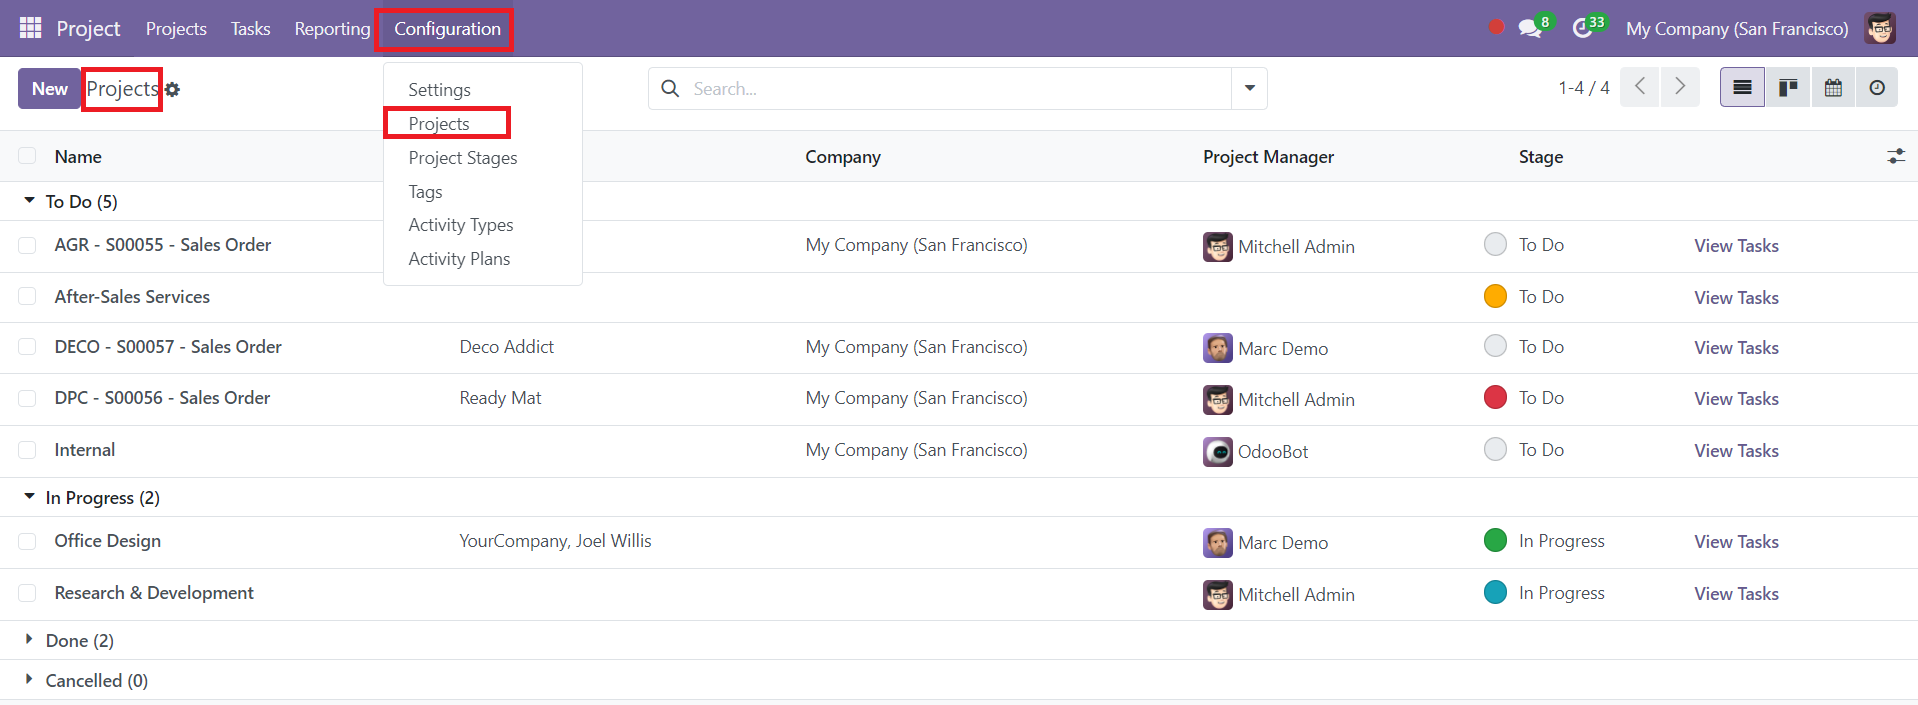
Select the Project option from the menu. This opens the project dashboard, where you'll see a list of existing projects, along with details such as project name, client, company, project manager, and the current project stage. If you want to view the tasks associated with a particular project, simply click the View Task button. Odoo 18 also provides several tools like Group By, Favorites, and Filters to help organize and manage your projects more effectively.
When creating a new project, click the New button on the left side of the project page. This will take you to a project creation form where you can fill in essential fields like the project name, task names, customer, relevant tags, company, project manager, planned dates, and the number of hours allocated for the project.
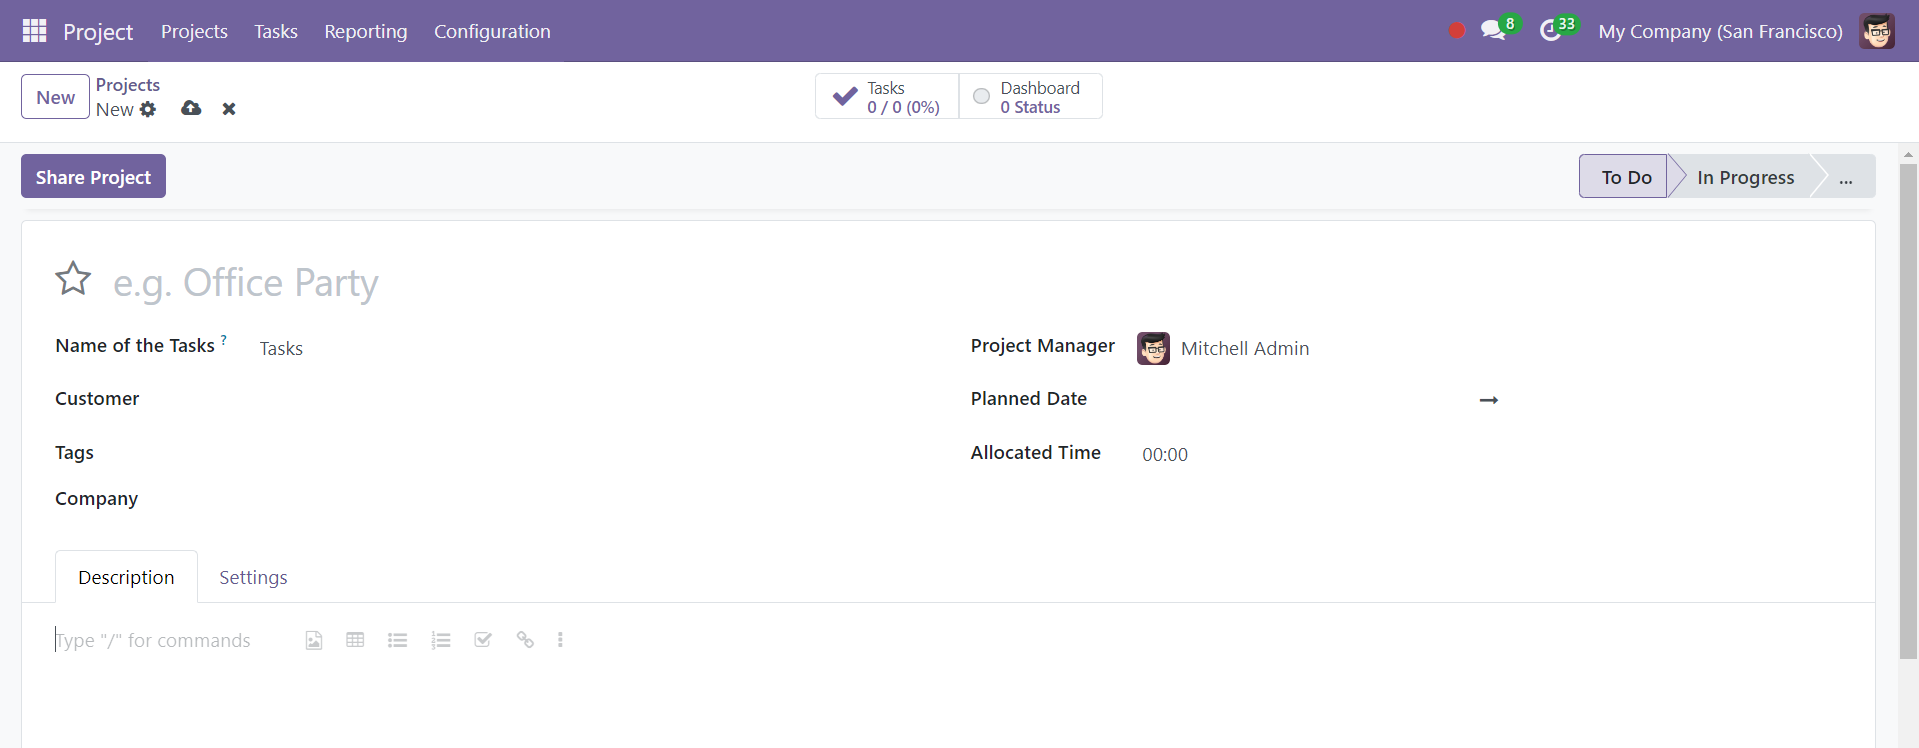
Below these fields, you will find two tabs: Settings and Description. The Description tab allows you to provide a detailed overview of the project, including specific instructions and links to relevant documents. In the Settings tab, you can configure advanced settings such as project visibility, task management options, time tracking, and invoicing.
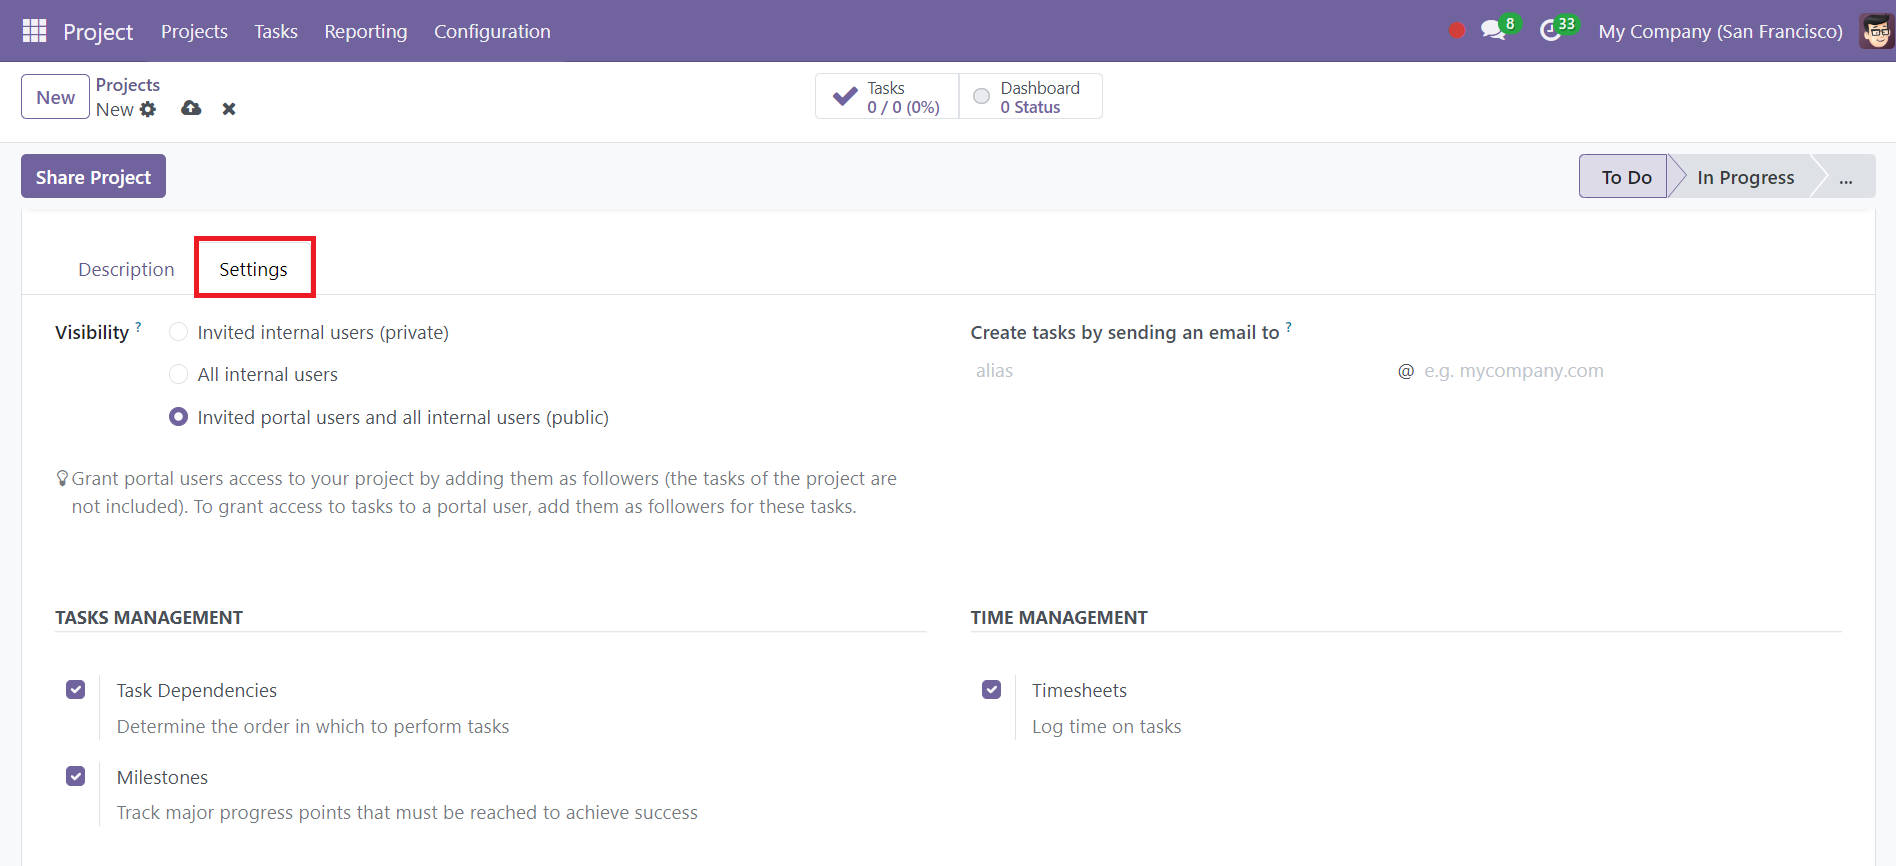
In the Settings tab, you have several important options to customize your project. You can control the project’s visibility by selecting Invited Internal Users, All Internal Users, or Invited Portal Users and All Internal Users. This allows you to restrict or grant access to specific users, and you can also add relevant users as Followers to keep them updated on project progress. Under the Task Management section, you can enable Task Dependencies to ensure tasks are completed in a specific order and activate the Milestones feature to track significant project achievements. Additionally, the Time Management section allows you to enable Timesheets for logging time spent on tasks, ensuring accurate reporting.
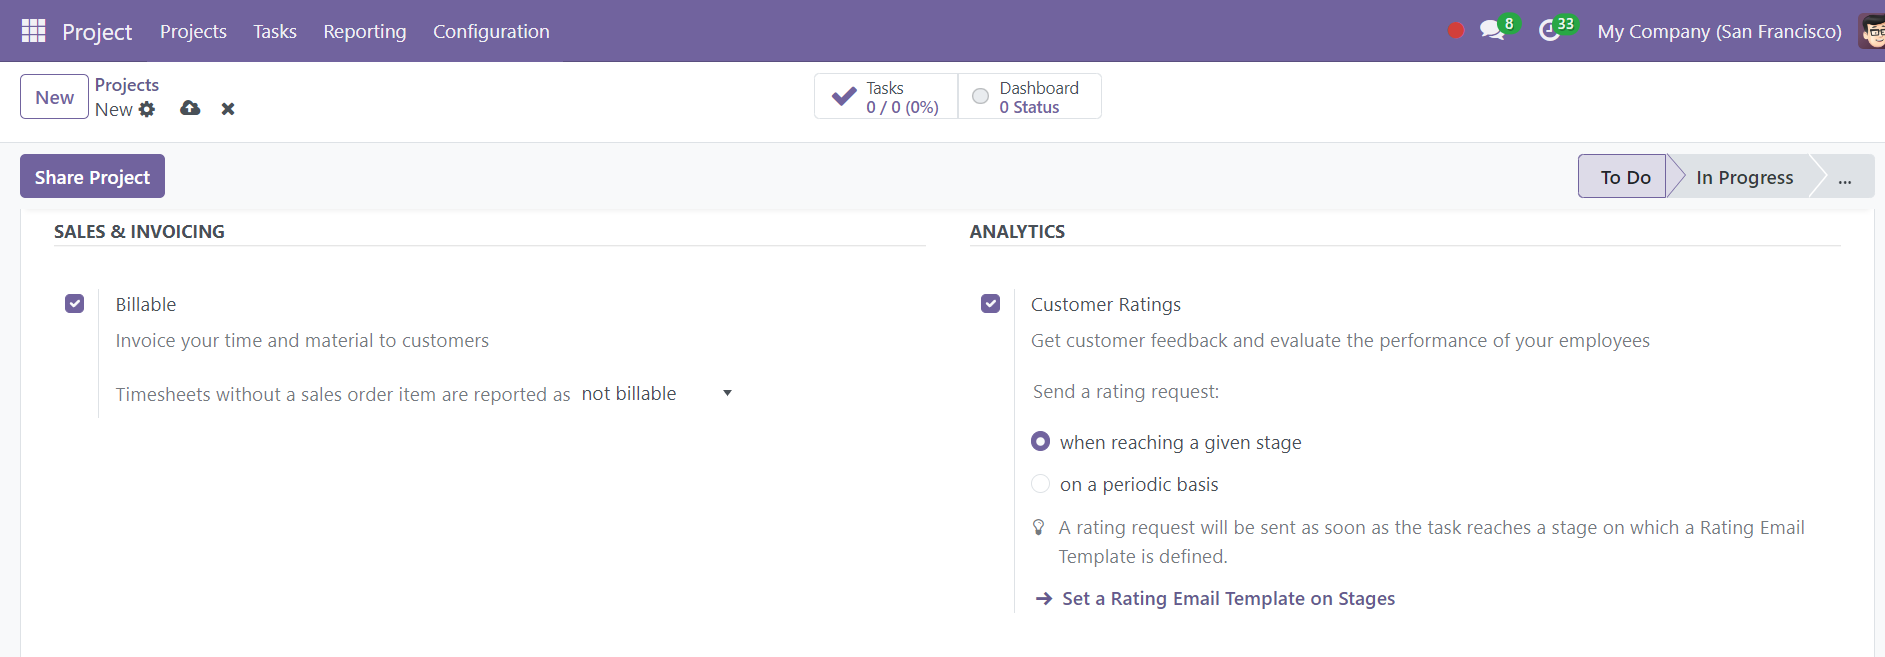
For billing and invoicing, the Sales & Invoicing section allows you to activate the Billable option, which lets you charge clients for time and materials used. You can also enable the Customer Ratings option under the Analytics section to gather client feedback on task performance. This feature allows you to set up rating requests, which can be triggered periodically or when certain milestones are achieved.
After configuring the project settings, click the Save button to finalize the project. Once saved, an additional option Share Project will appear, allowing you to control how others interact with the project.
When you click on the Share Project button, a pop-up window will appear as shown above. Here, you can select the Access Mode as Edit, Read, or Edit with limited access. Share Read-Only prevents others from making changes, while Share Editable allows external collaborators to contribute to the project. By following these steps, you can efficiently create, manage, and customize projects in Odoo 18, ensuring smooth workflows, accurate time tracking, and enhanced client satisfaction.