The Configuration menu contains three configuration options, including the common Settings, Equipment Categories, and Maintenance Teams.
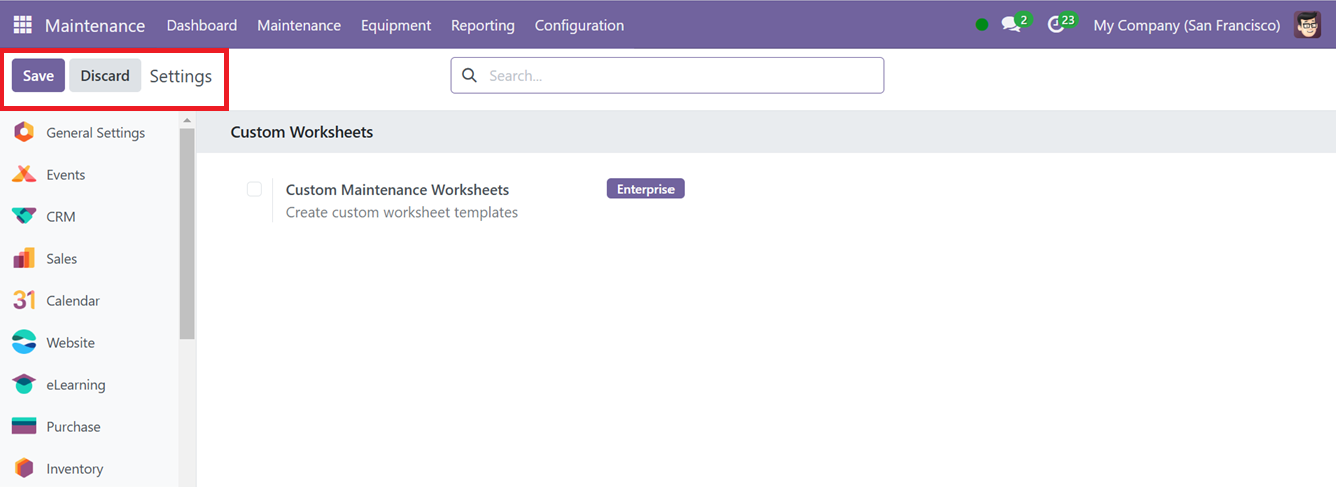
Settings
We can enable or disable the ‘Custom Maintenance Worksheet’ option. This option is useful for creating customized worksheet templates. The feature is only available in the enterprise edition and cannot be utilized in the Odoo community version.
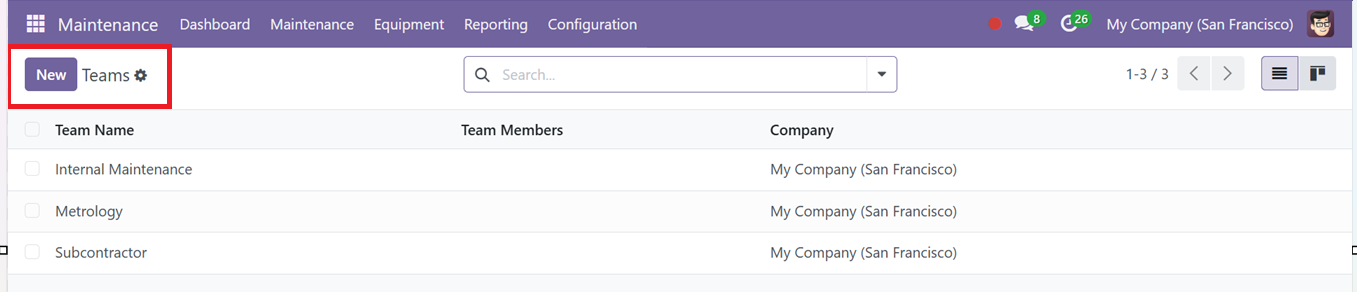
Maintenance Teams
The next step in optimizing the maintenance process is configuring maintenance teams. Odoo 18 allows you to create maintenance teams suited to your specific needs through the "Configuration" menu. By selecting "Maintenance Teams" from the dropdown, you can view all existing teams or create new ones by clicking the "New" button.
Creating a new team in Odoo 18 is straightforward. You will be presented with a form where you can input team details such as the "Team Name," "Team Members," and "Company Details,” as illustrated in the screenshot below.
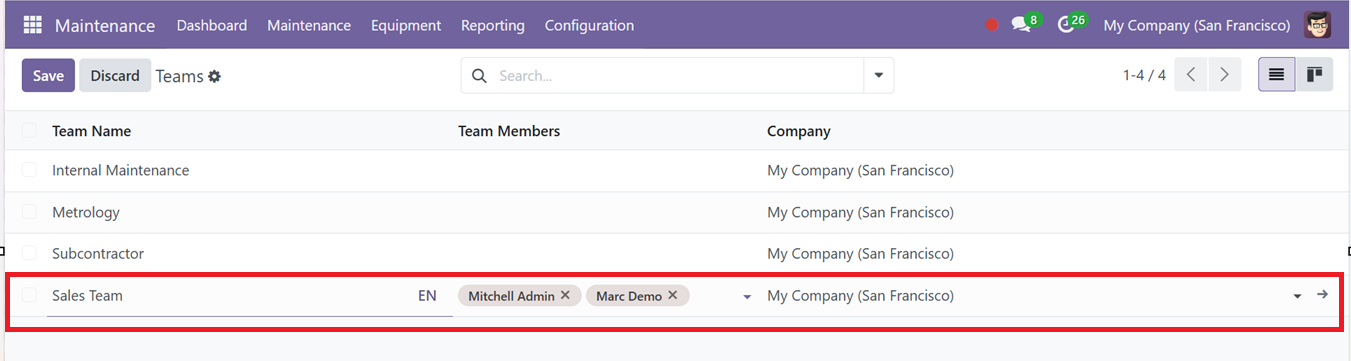
Once the team information is complete, simply click the "Save" button. Additional teams can be created in the same manner, depending on the organization's requirements.
Equipment Categories
Each piece of equipment can be classified into multiple categories based on its function or other relevant criteria. To manage and update these equipment categories, you can navigate to the "Equipment Categories" option within the "Configuration" menu in Odoo 18.
This window allows you to add new categories or edit existing ones as needed. Each category is assigned to a responsible person or team, ensuring that the right personnel are managing the relevant equipment. In Odoo 18, equipment categories are organized in a dashboard view, displaying essential details like "Category Name," "Responsible Person," and "Company,” as illustrated in the screenshot below.

To add new categories, you simply click the "New" button on the equipment page, which will open the category configuration form. Here, you can enter essential information such as the category name, the person responsible for overseeing it, the associated company, and any relevant comments, as shown in the screenshot below.

After filling in the details, you can save the configuration for future use.