Vendors
Vendor details must be included in the product's information. Odoo 18 Lunch provides a setting under the Configuration menu for that.
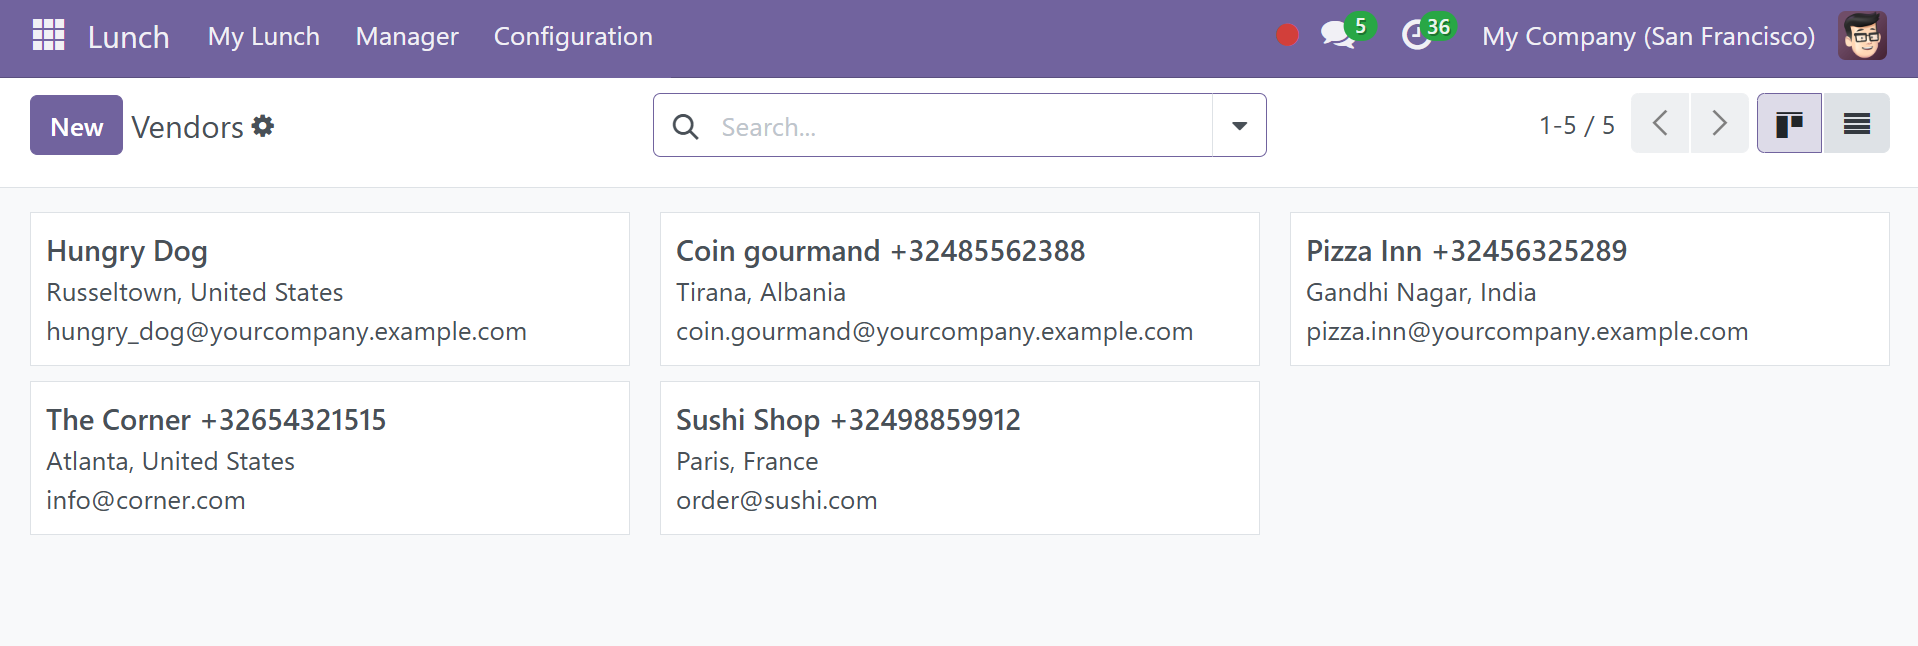
In the window, the details of any merchant that is offered can be seen. The page can also be seen in Kanban and List views. The vendor's name, phone number, address, and email address make up their information. To begin a new one, use the New button.
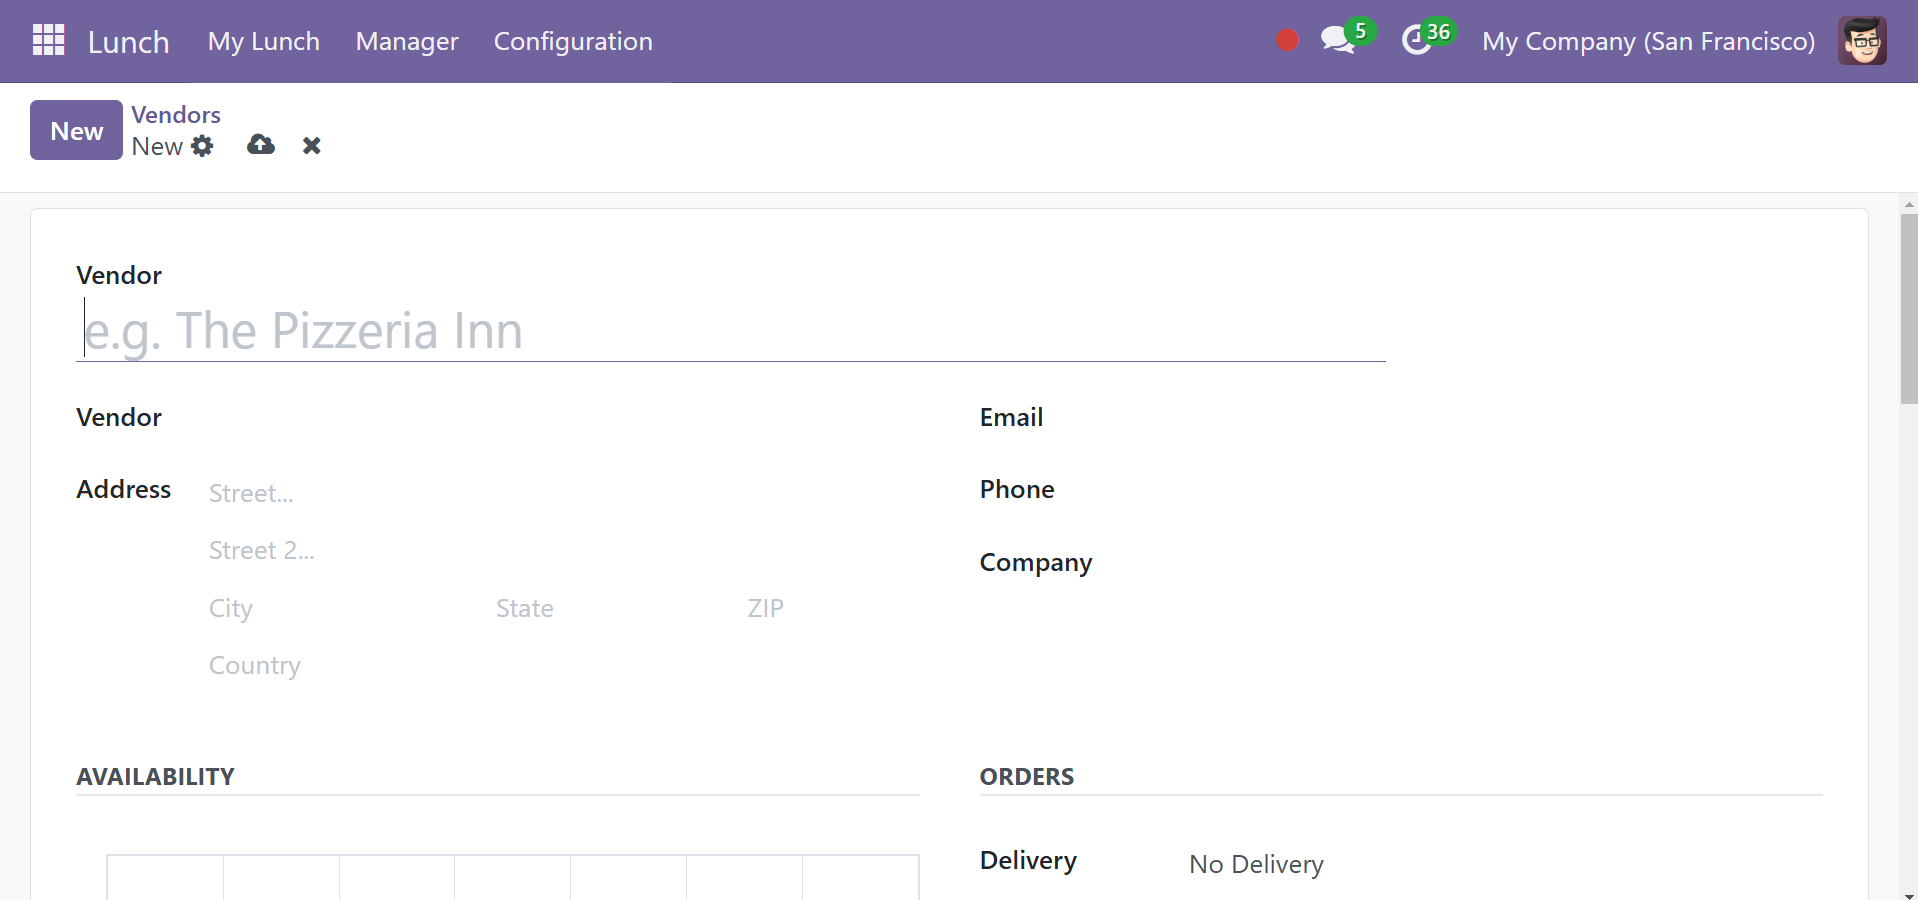
The vendor's name must be entered on this page. In the designated box, you can also provide the company name, address, phone number, and email.
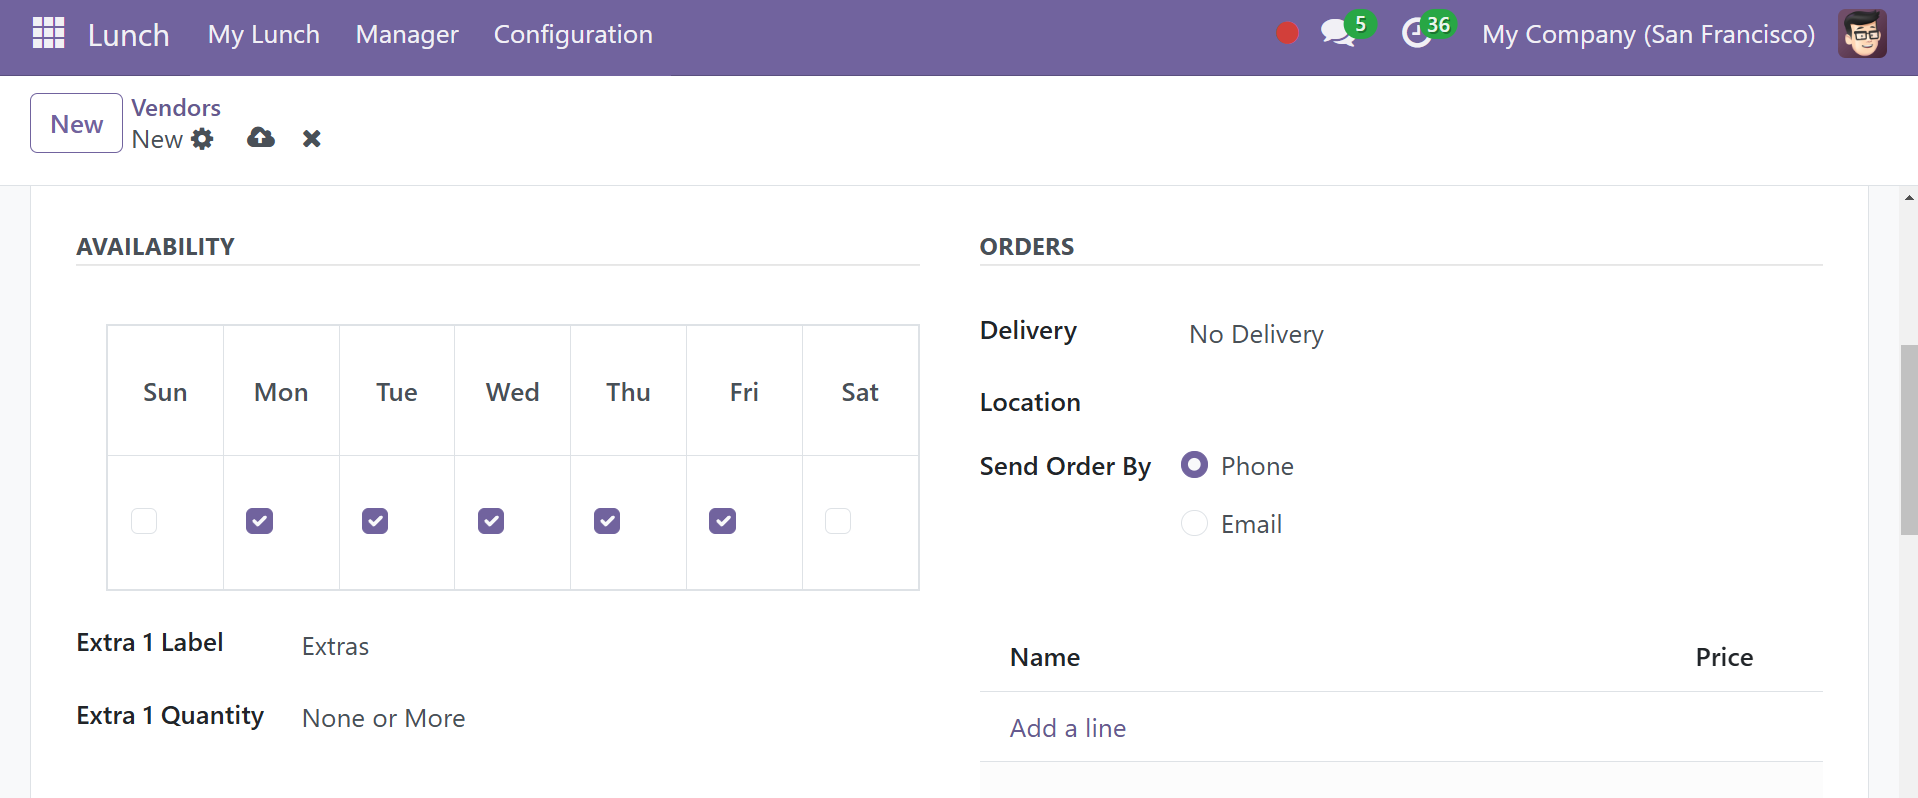
The vendor's available day could be noted in the AVAILABILITY Tab. You can choose the Delivery option in the ORDERS Tab to have the food delivered along with the destination. The order is to be sent to the phone number or email address you specify.
Optional extras, commonly known as add-ons, may appear while placing an order in the Lunch app. These can be set up whichever best fits the products being sold.
Three categories, or additional item kinds, are by default supported by Odoo. By default, the first category (or kind) of add-ons is called Extras, followed by Beverages, and finally,There is an extras option as well. For each of the three more sections that are accessible, enter the following data:
Additional Label: the type of additional here, like "toppings." You may think of this as a category.
Extra Quantity: decide how to choose the extras. The choices are:
● None or More: If the user does not needed to make a selection, choose None or More.
● One or More: choose this option to make the user choose at least one option.
● Only One: choose this option to force the user to choose just one option.
Location
A business may have several branches and offices. For the caterer to deliver meals on time, orders must mention the lunch location.
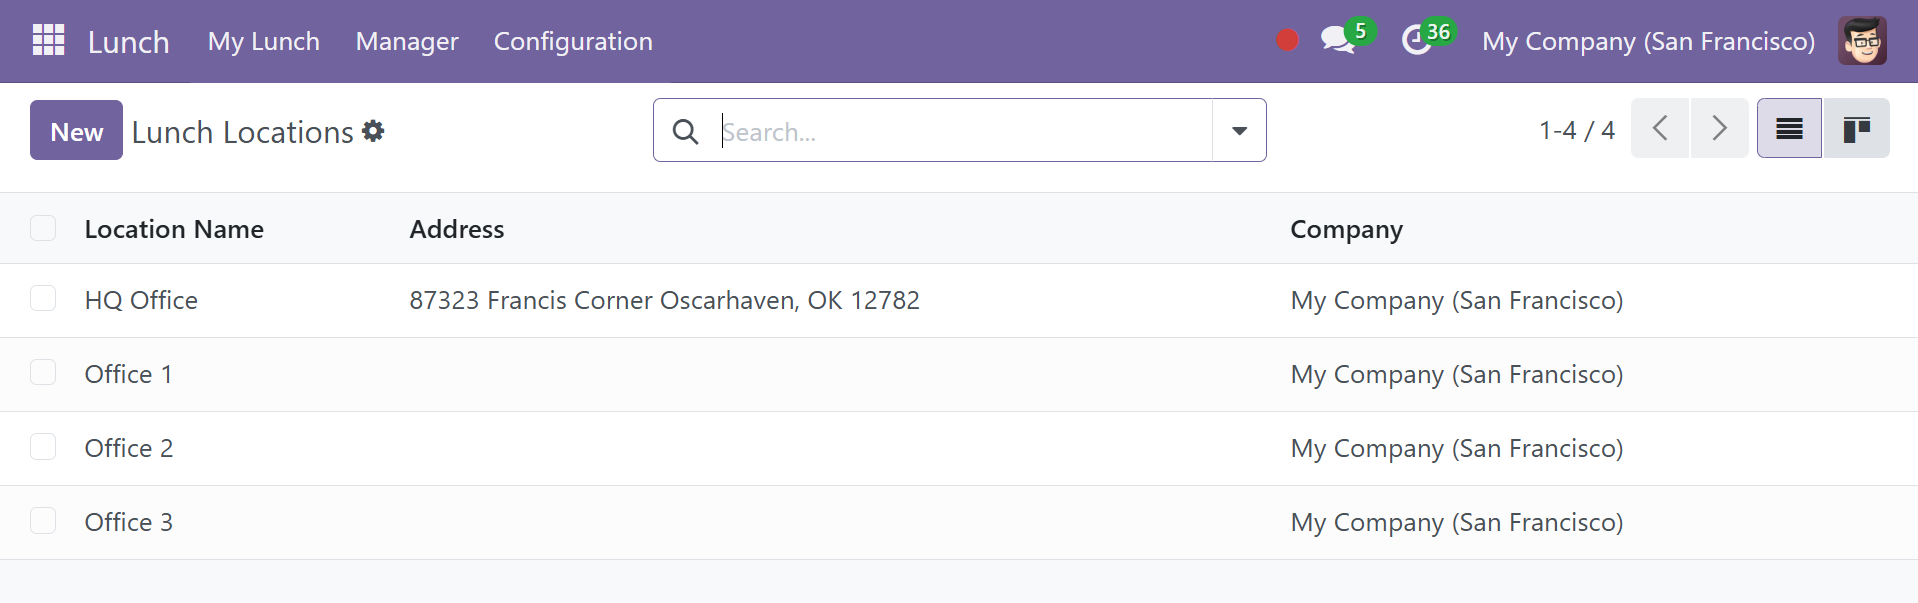
Here, under the Configuration menu of the Lunch module, there will be the Location option. The list will display the name of the company, address, and location. By selecting the New option, the details of the new lunch location can be entered.
A new line will appear after the list of sites that are available. You can enter the details of the lunch location here, in the relevant sections. Save the address.
Products
It is easy to add new food items to the Odoo 18 Lunch Module. Choose the Configuration Menu and search for the Products option below to accomplish that.
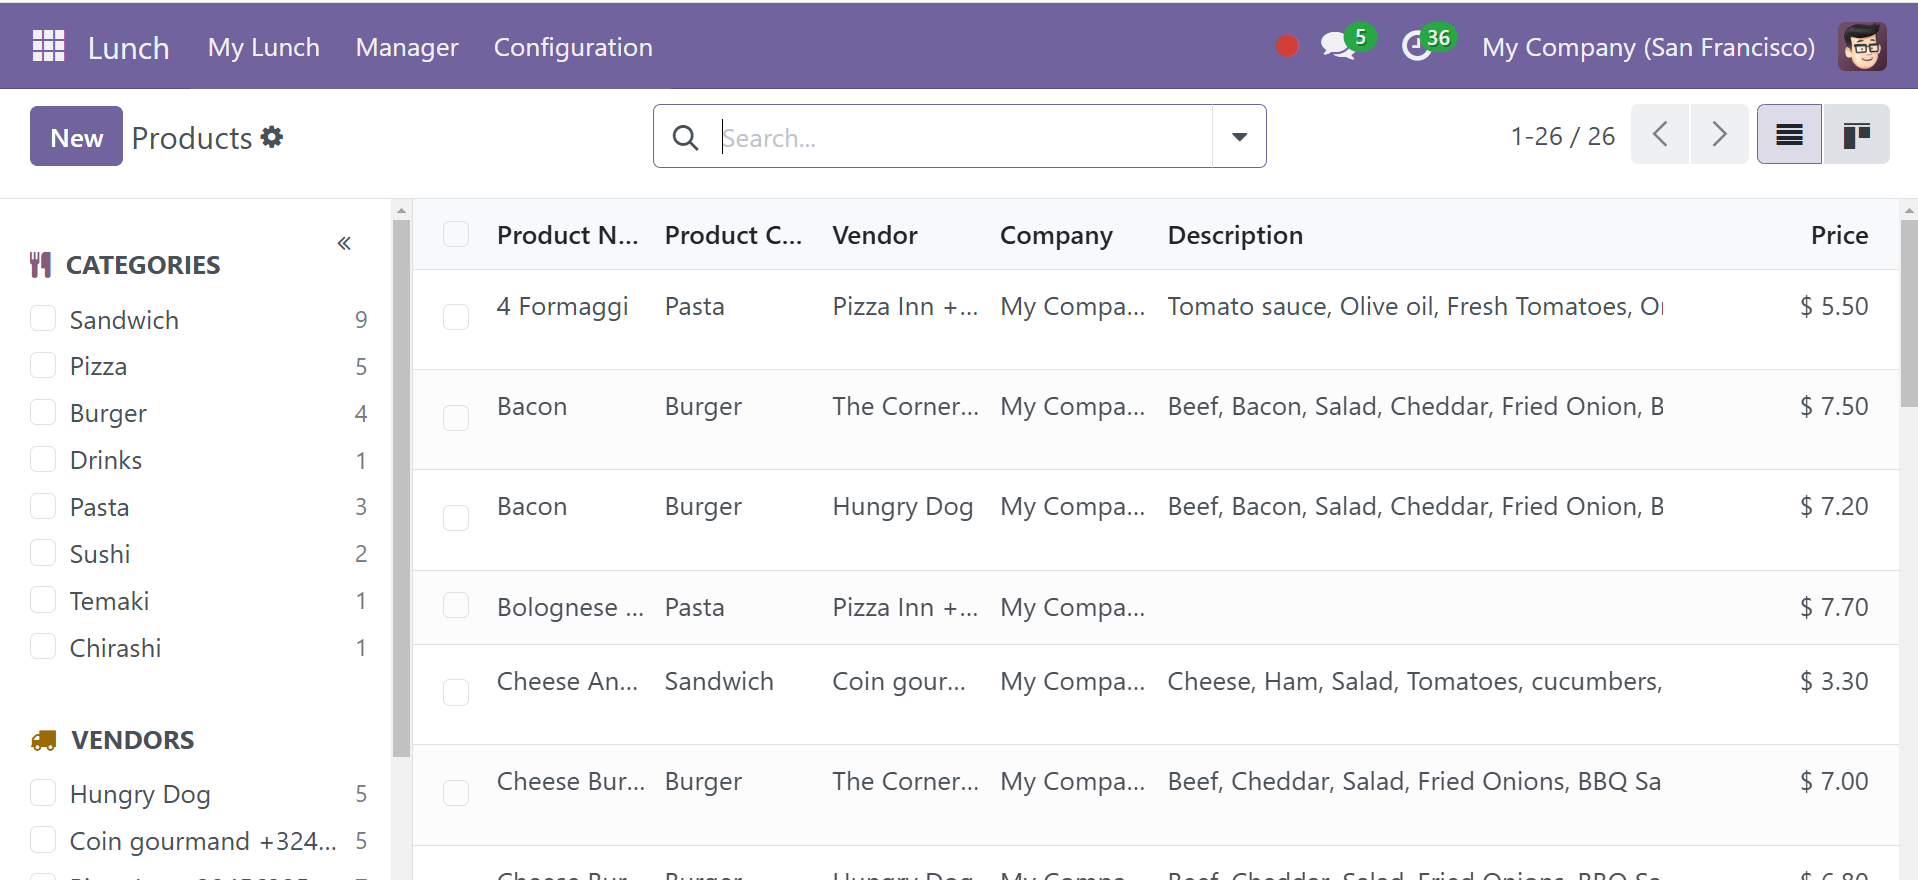
This is a list of every product that has been produced. On the left side of the page, there are categories and Vendors. Another display option is the Kanban view. You may find the product name, category, vendor, company, product description, and price in the provided list. Using the Edit icon, you may select any product on the list to make more adjustments. Click the New button to start creating a new product.
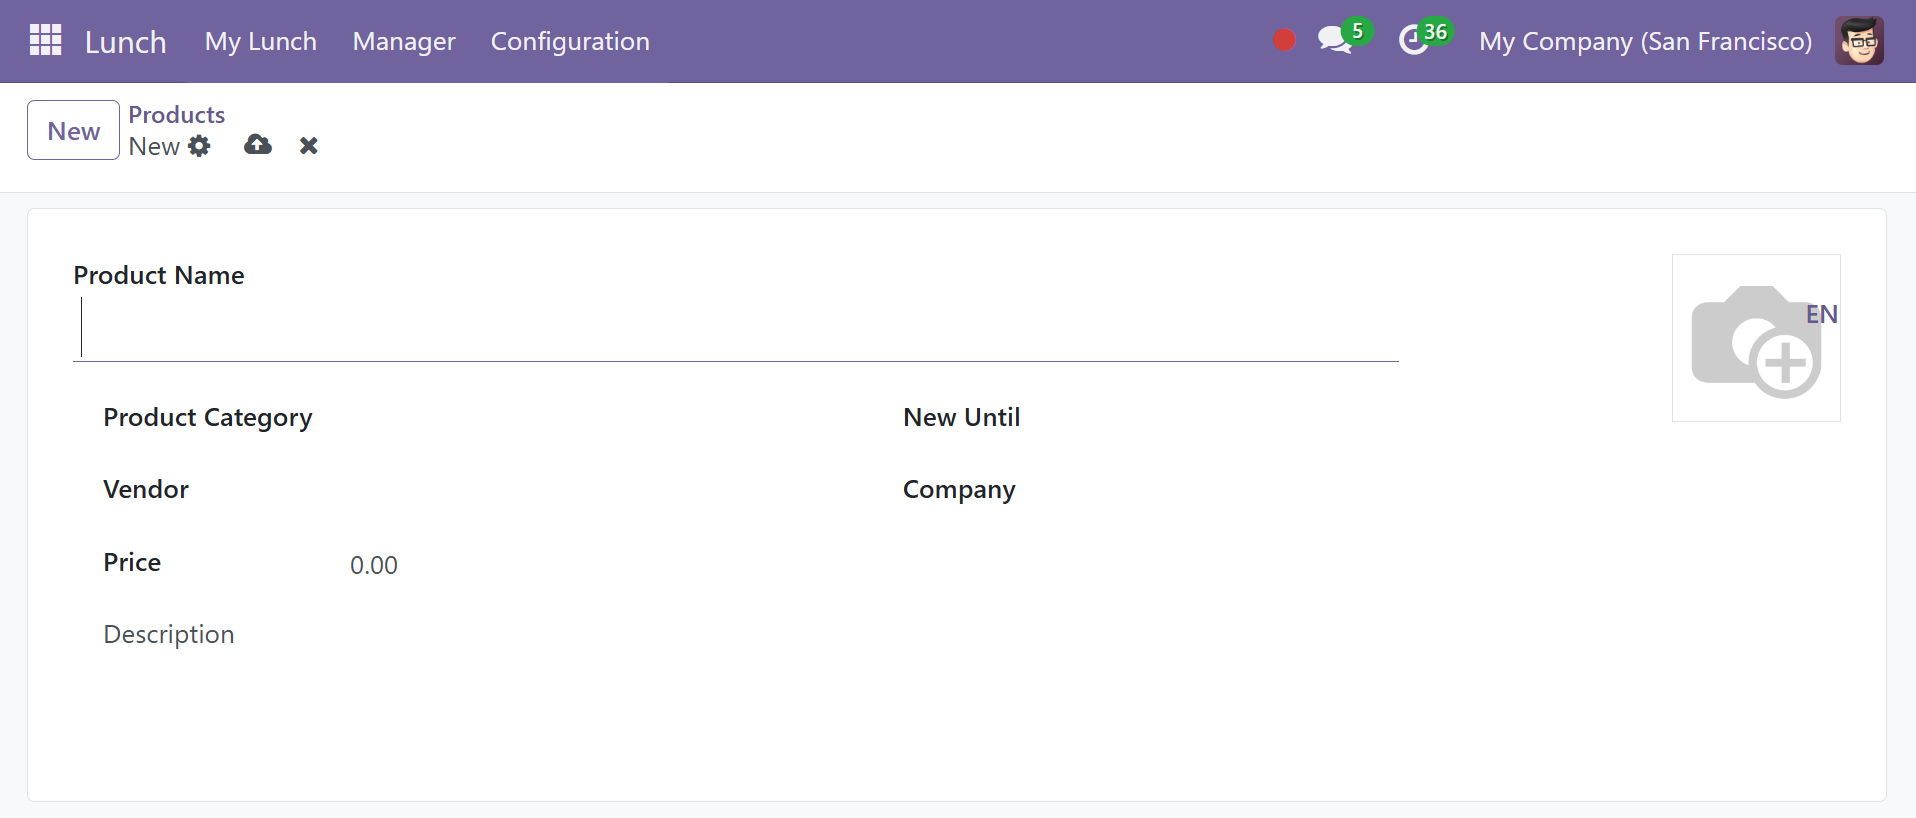
This page allows you to enter the product name, select the product category and vendor from the list provided, enter the product type's price in the appropriate field, enter the product's expiration date in the New Until field, include the firm name, add additional product details beneath the description, add product photos in the appropriate area, and finally "Save" it.
Product Category
Let's now see how to use the Odoo Lunch Module to add a new product category. The Product Category option in the Configuration menu can be seen.
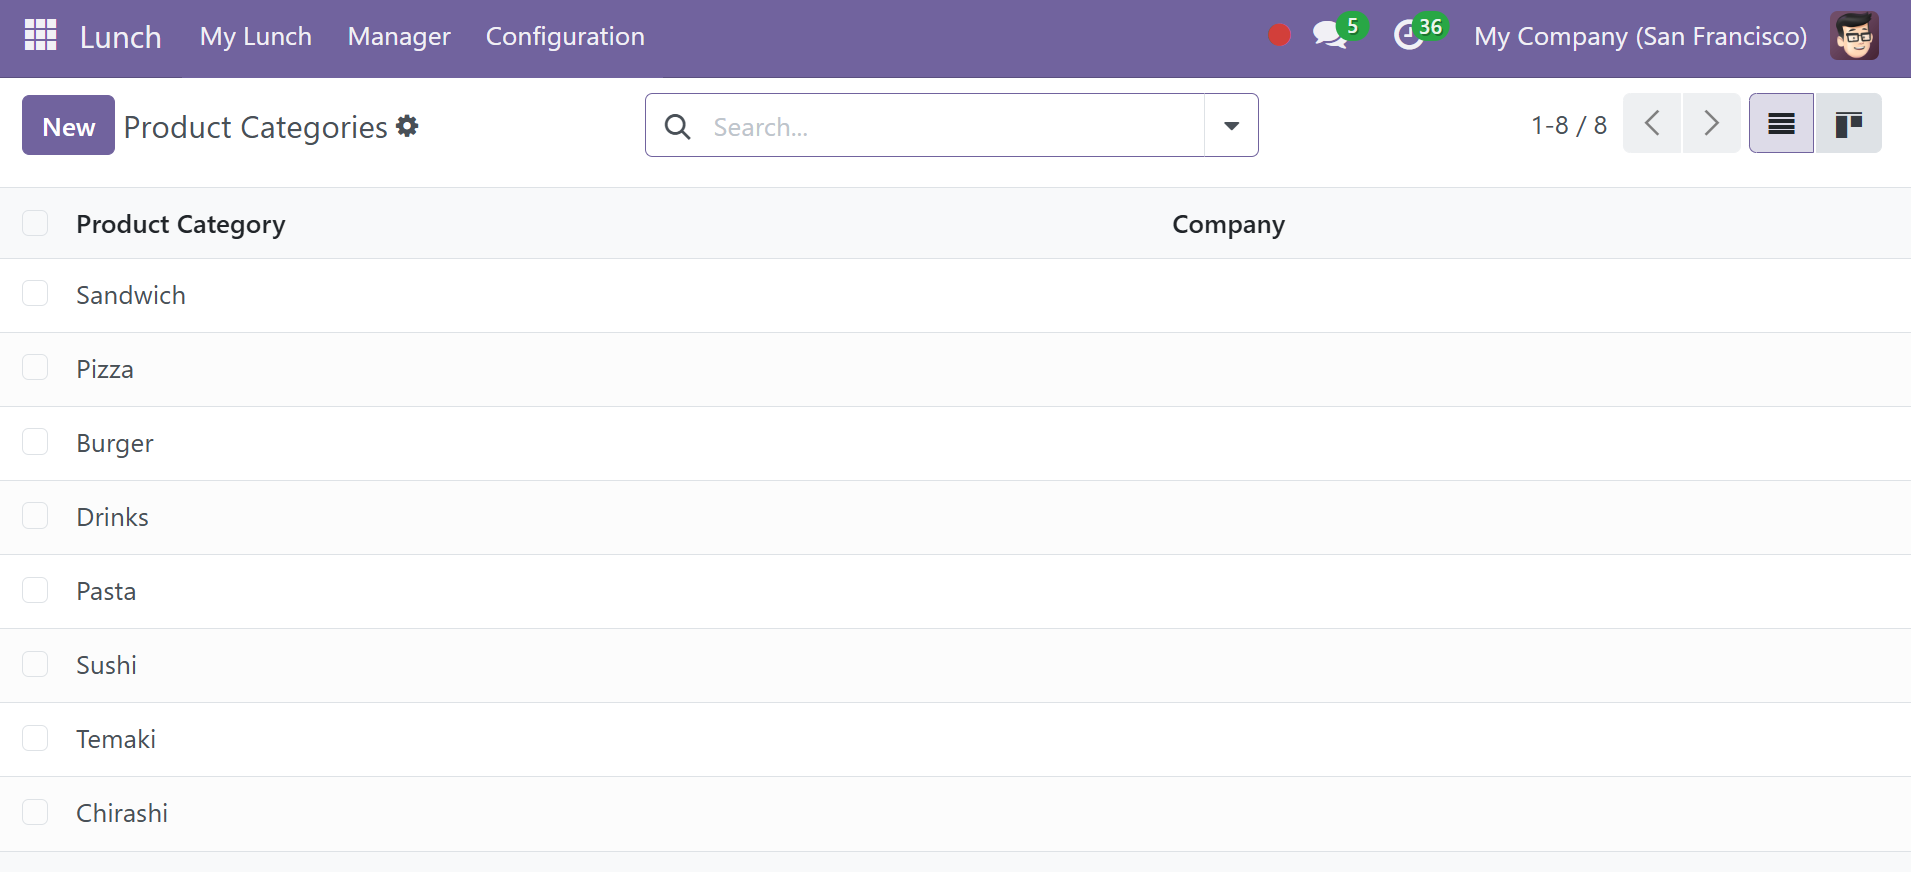
This page displays a list of product categories that have already been developed. To create a similar kind, click the New button as seen in the above figure. It is necessary to enter the necessary information in the creation box.
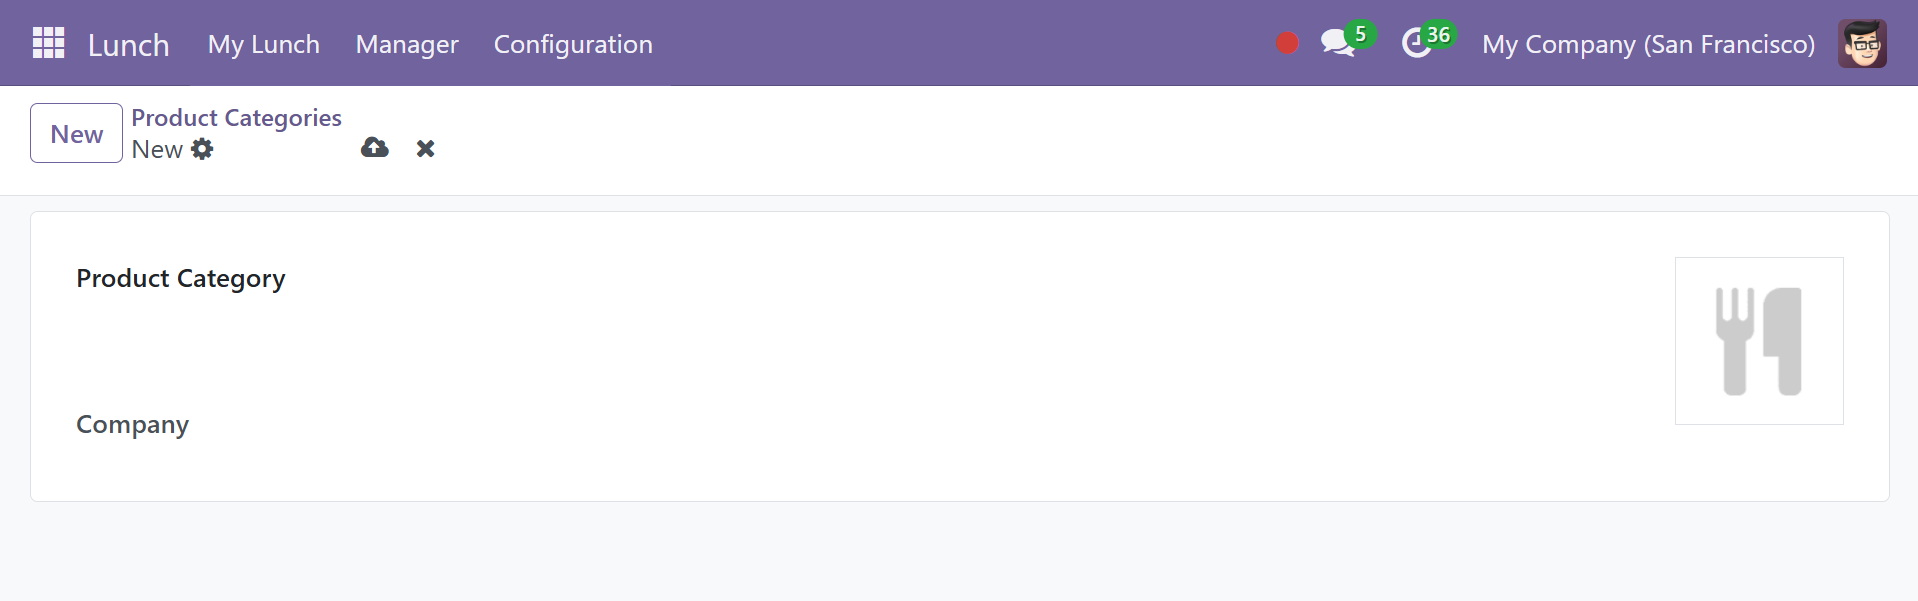
This is where you need to enter the company name and the product category. The option to attach an image for the same is also available there. Finally, to add it to the list of current product categories, use the Save option.
Alerts
Reminders to be reminded to place the order by using the Lunch Alerts feature is available under the module. To prevent delivery delays, this option would be highly beneficial. This choice will ensure that the orders are placed on schedule. The Configuration menu will provide the option.

All of the previously produced alerts are visible in the window. The alert's name, type, whether it is displayed today, and active status are among the details. It can quickly and easily create a new lunch alert by using the New icon.

The name of the alert must be entered here. It can choose to display the alert as a chat notification or as an alert within the app. In the Show Until section, the location and date can be specified. Touching the Active icon will activate the alarm. The day the alert should be sent out can be also specified. Finally, you can choose to save the alert.
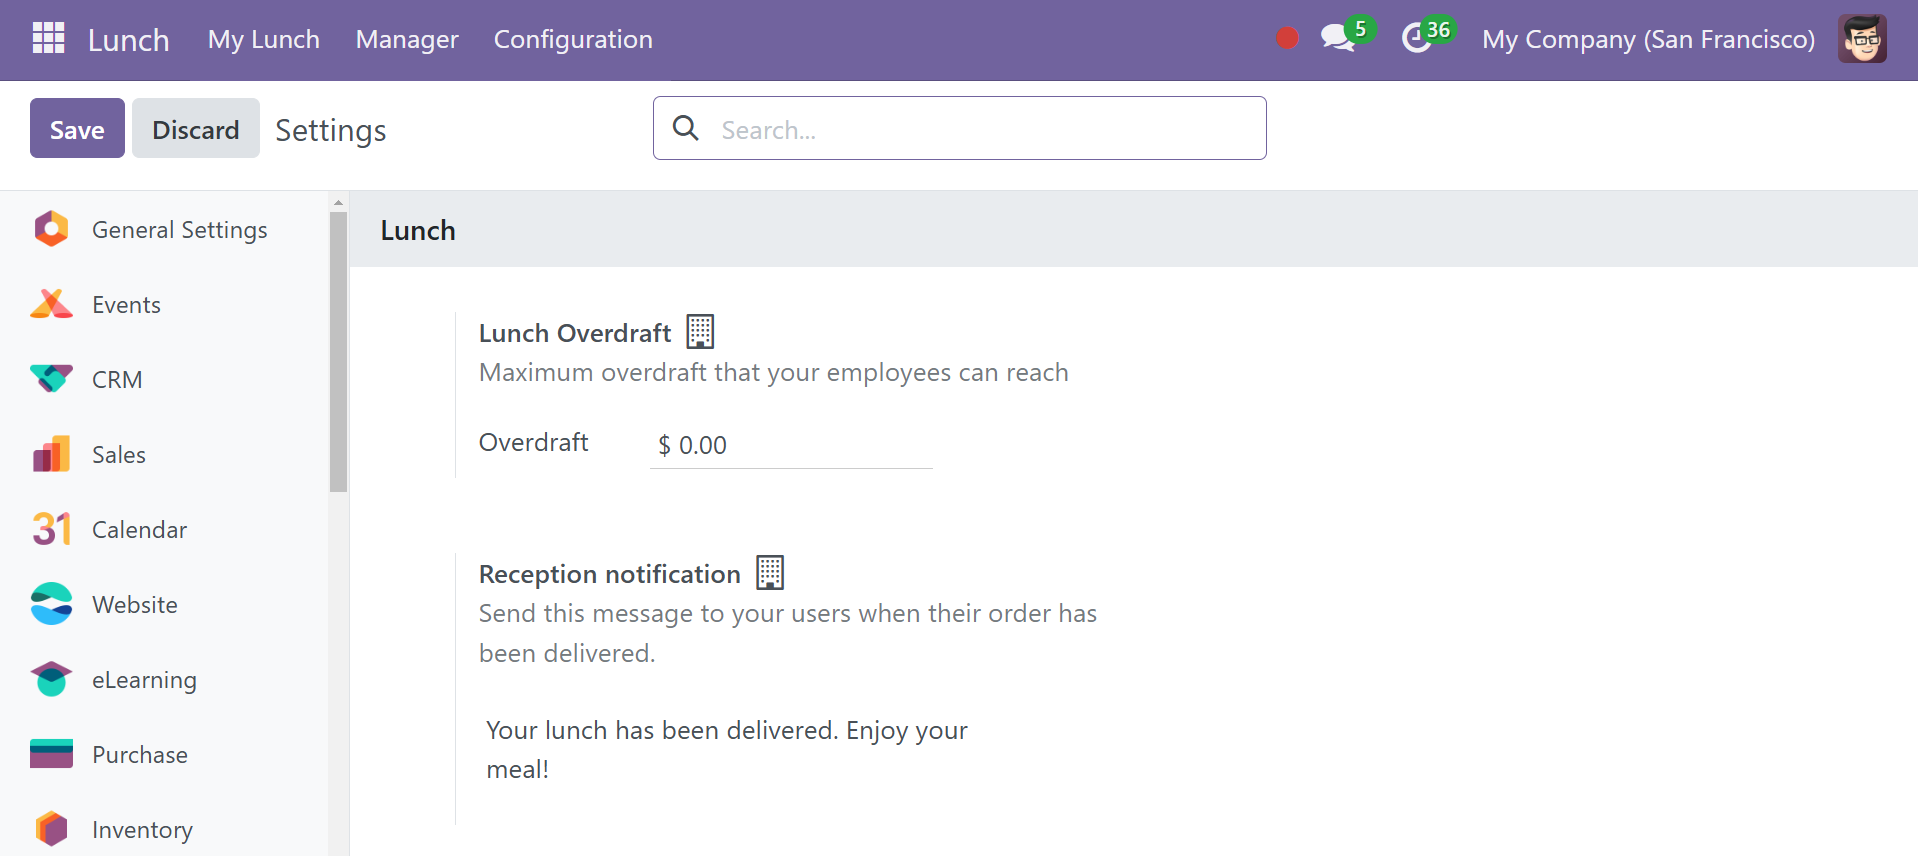
Settings
The Lunch Settings specify the maximum amount of overdraft that an employee is allowed to make. When your order is delivered, there is also an option to choose whether or not to send messages via a reception notification.
As provided, lunch modules easily enable workers to manage activities during their lunch breaks and place orders based on their preferences.