Invoices
The Odoo 18 Invoicing module will provide you with a dedicated platform to manage all of your invoices. Depending on the processes you manage and the modules you use, Odoo 18 offers several options for automating the creation of invoices. The draft invoice's accessible details are immediately filled in based on the sales order. It is not required to manually enter the details in this case. It just requires sending the invoice to the appropriate customer. The Odoo Invoicing module's Customer Invoices menu will compile and record all of these invoices from different modules. Here, you may also manually create new invoices.
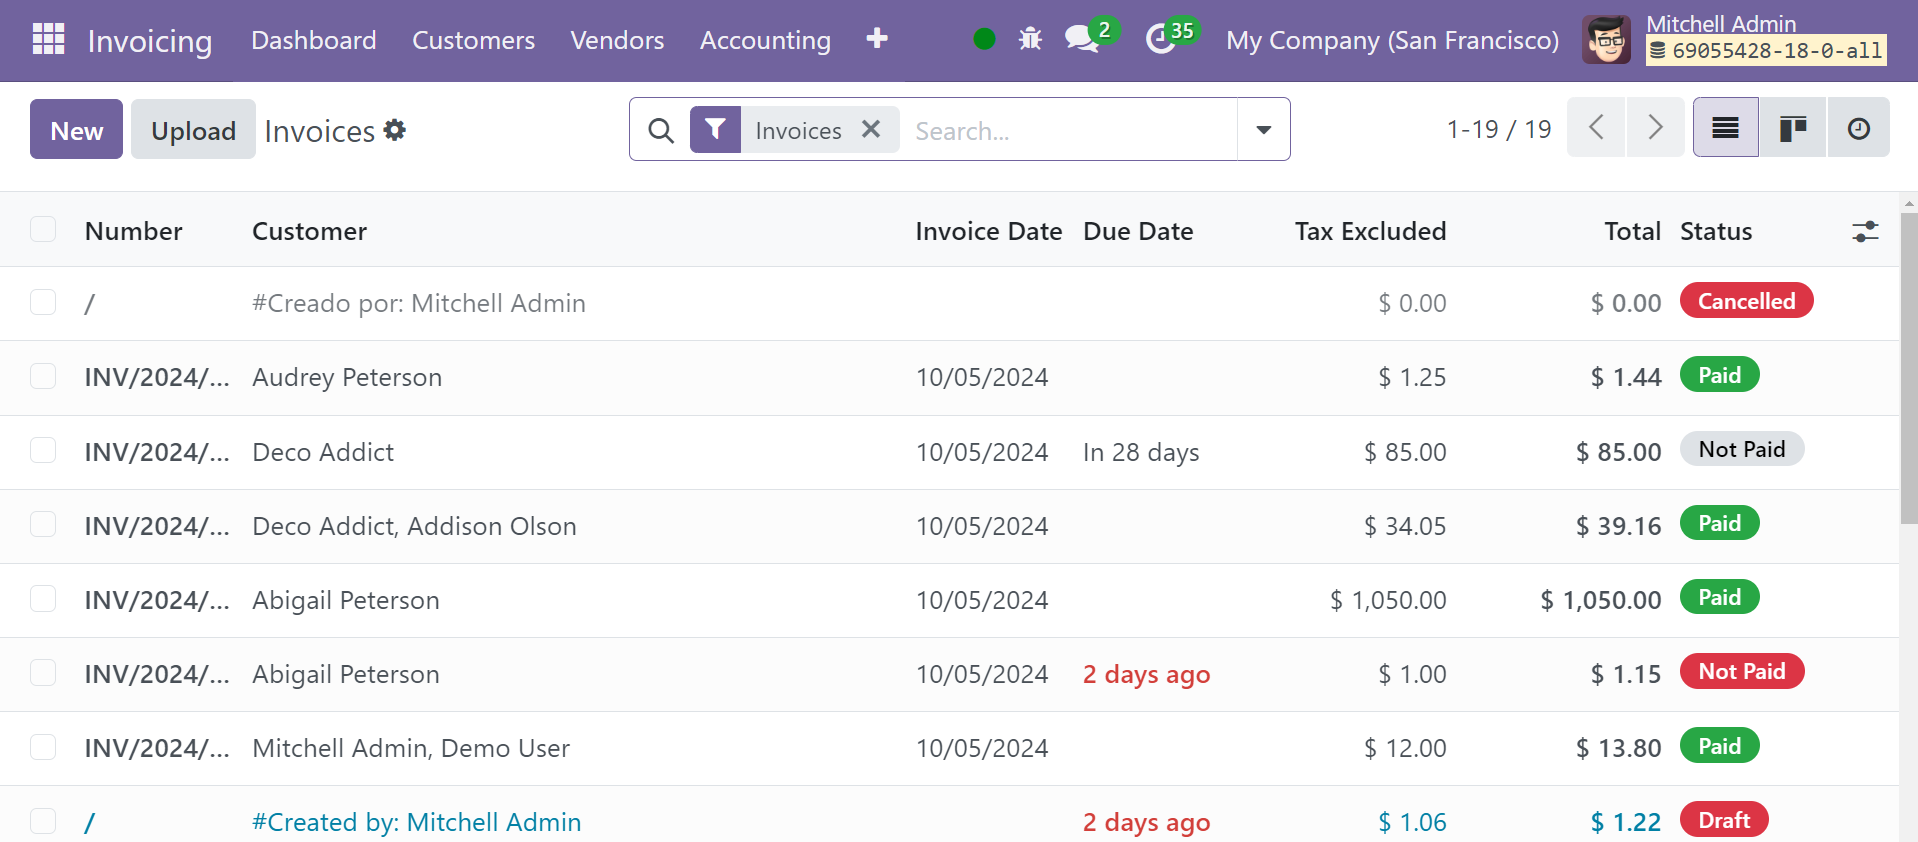
The list view of the invoices that are stored in the module is displayed in the screenshot above. The number, customer, invoice date, due date, activities, tax excluded, total, total in currency, payment status, and status are all previewed in this platform's list view. You may also view this window in Kanban view by clicking on the corresponding icon. You can click on the symbol in the screenshot below if you would want to add extra information to the list view.
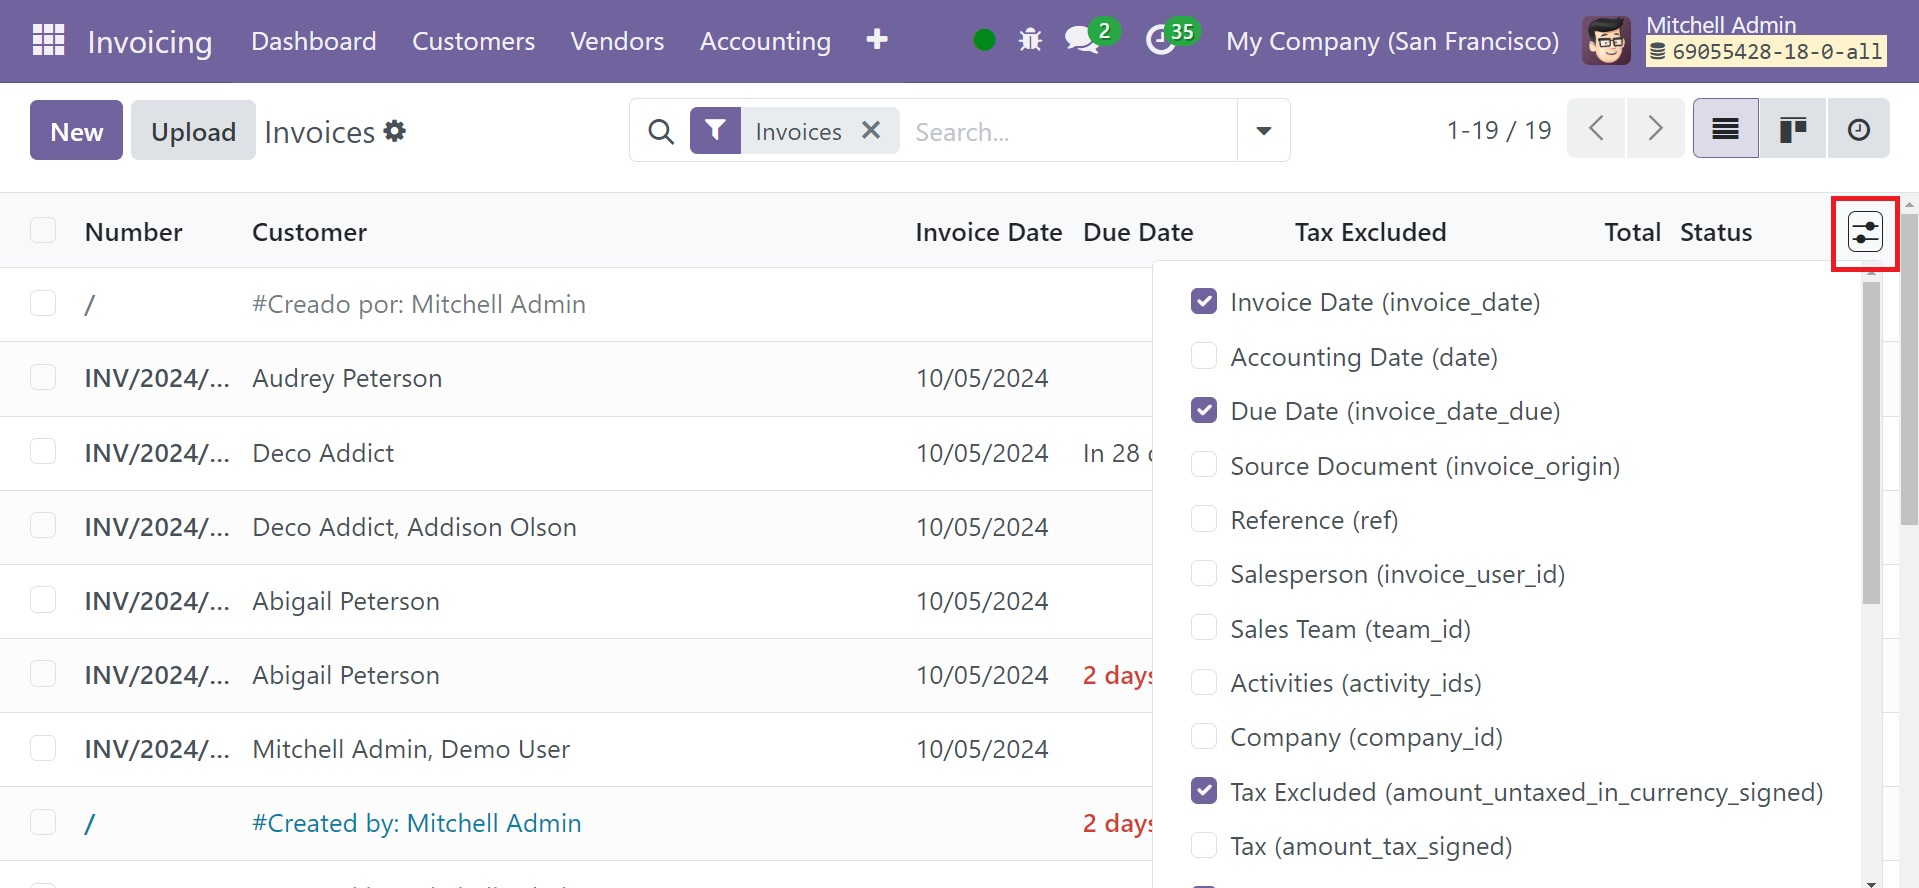
The screenshot above shows the list view of the invoices that are kept in the module. The list view on this platform provides a preview of the number, customer, invoice date, due date, activities, tax excluded, total, total in currency, payment status, and status. Click the matching icon to view this window in Kanban view as well. If you would like to add more information to the list view, you can click on the symbol in the screenshot that follows.
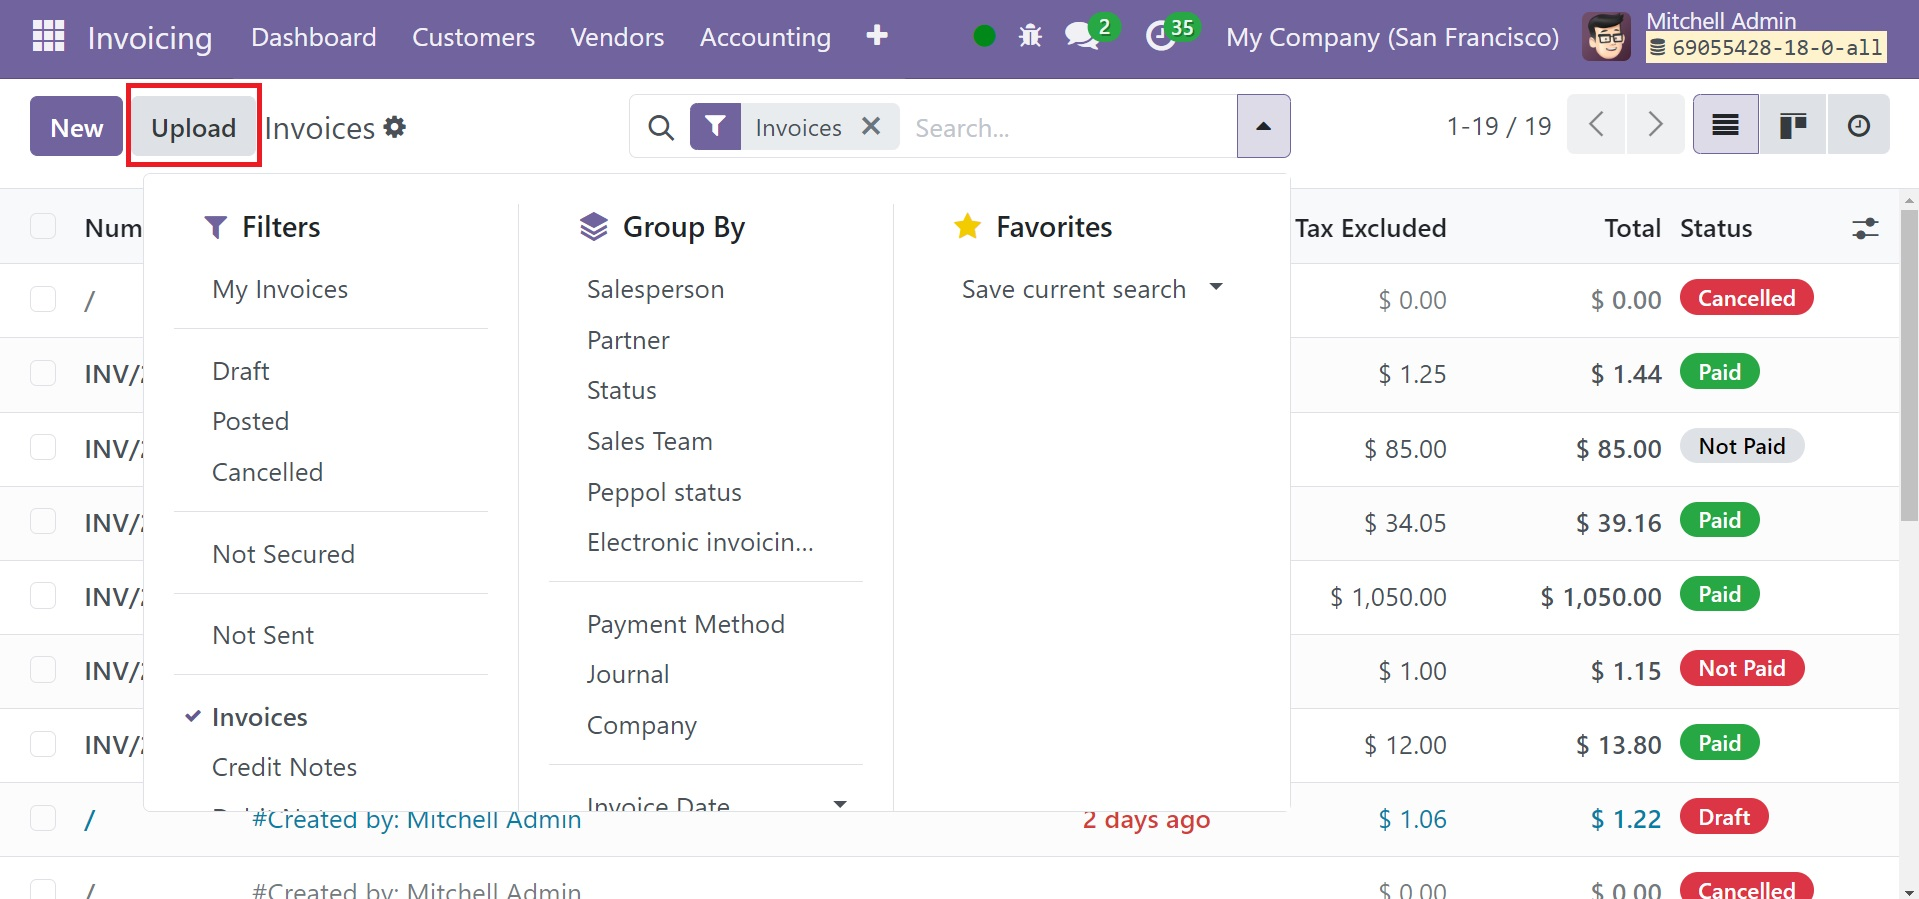
At the bottom of the list, there will be further displays of the total invoiced amount and the tax-excluded amount. The Upload option allows you to upload the invoice straight from your system. Clicking the New button in the module will produce a new invoice.
This form view shows the invoice-generating pane once you pick the New button. Let's draft an invoice using this form.
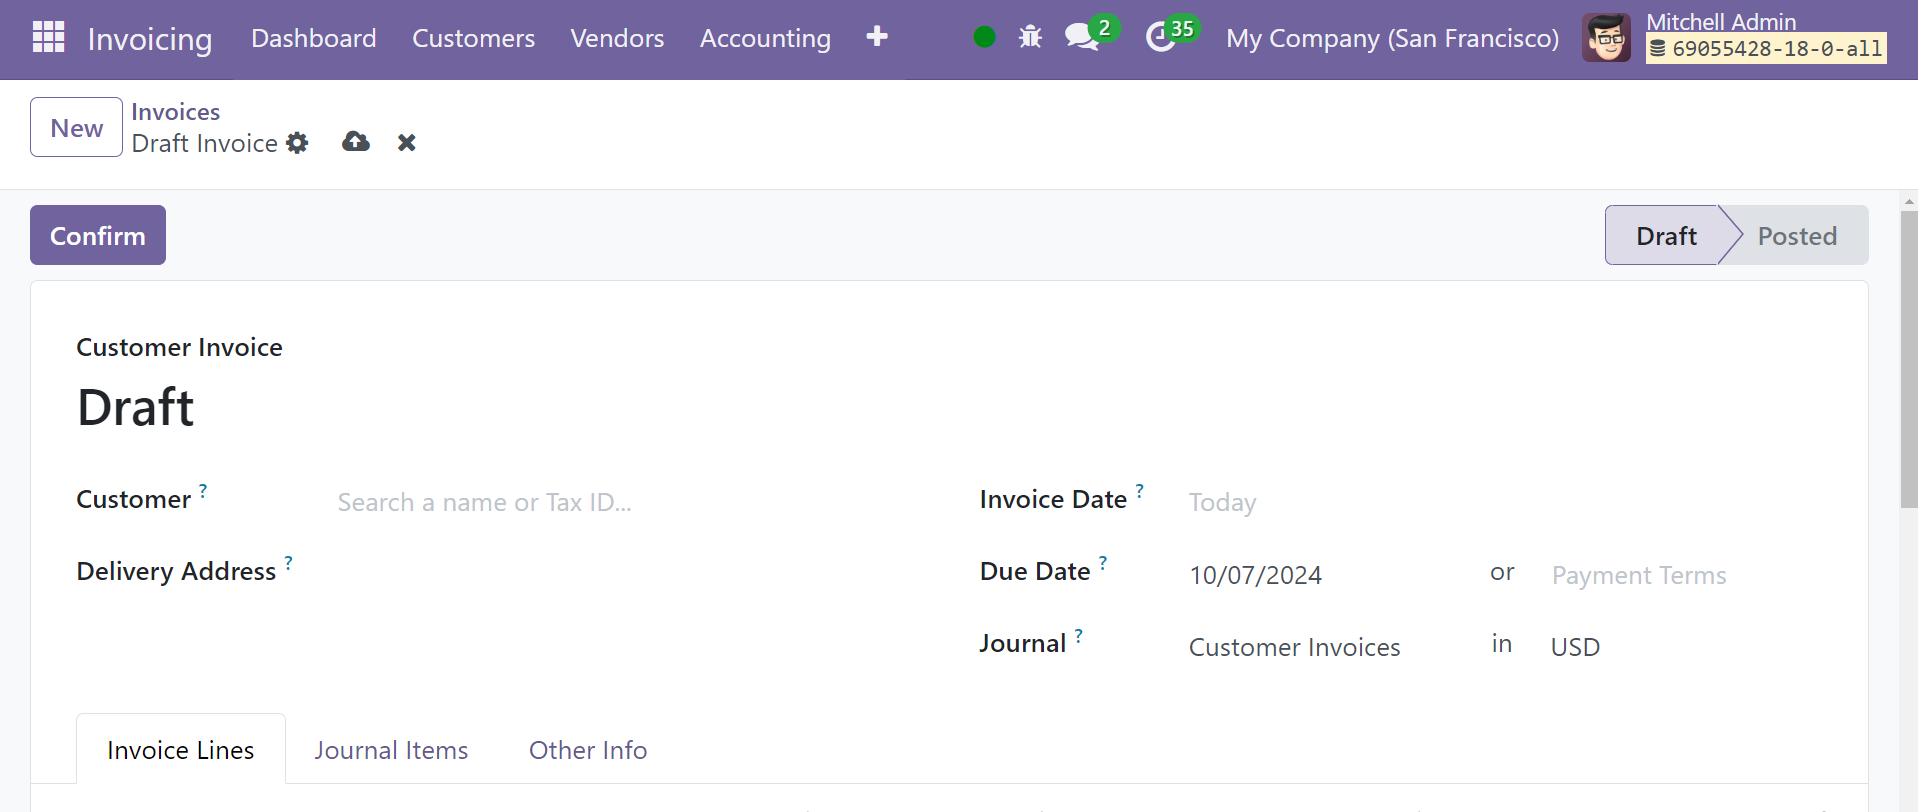
The fields that correspond to the customer's name and delivery address can be filled in. You can enter the invoice date in the Invoice Date field. You can add the Payment Reference in the appropriate field to put it on the relevant journal articles. The Payment Terms will appear in the form based on settings as soon as you specify the Customer data. It is possible to set a Due Date for this particular invoice, which would indicate when payment is due, in case the selected customer's payment term isn't already established. Mention an excellent journal to record accounting information in the relevant subject.
When the user views the invoice, three tabs related to the Invoice Line, Journal Item, and Other Info will be visible.
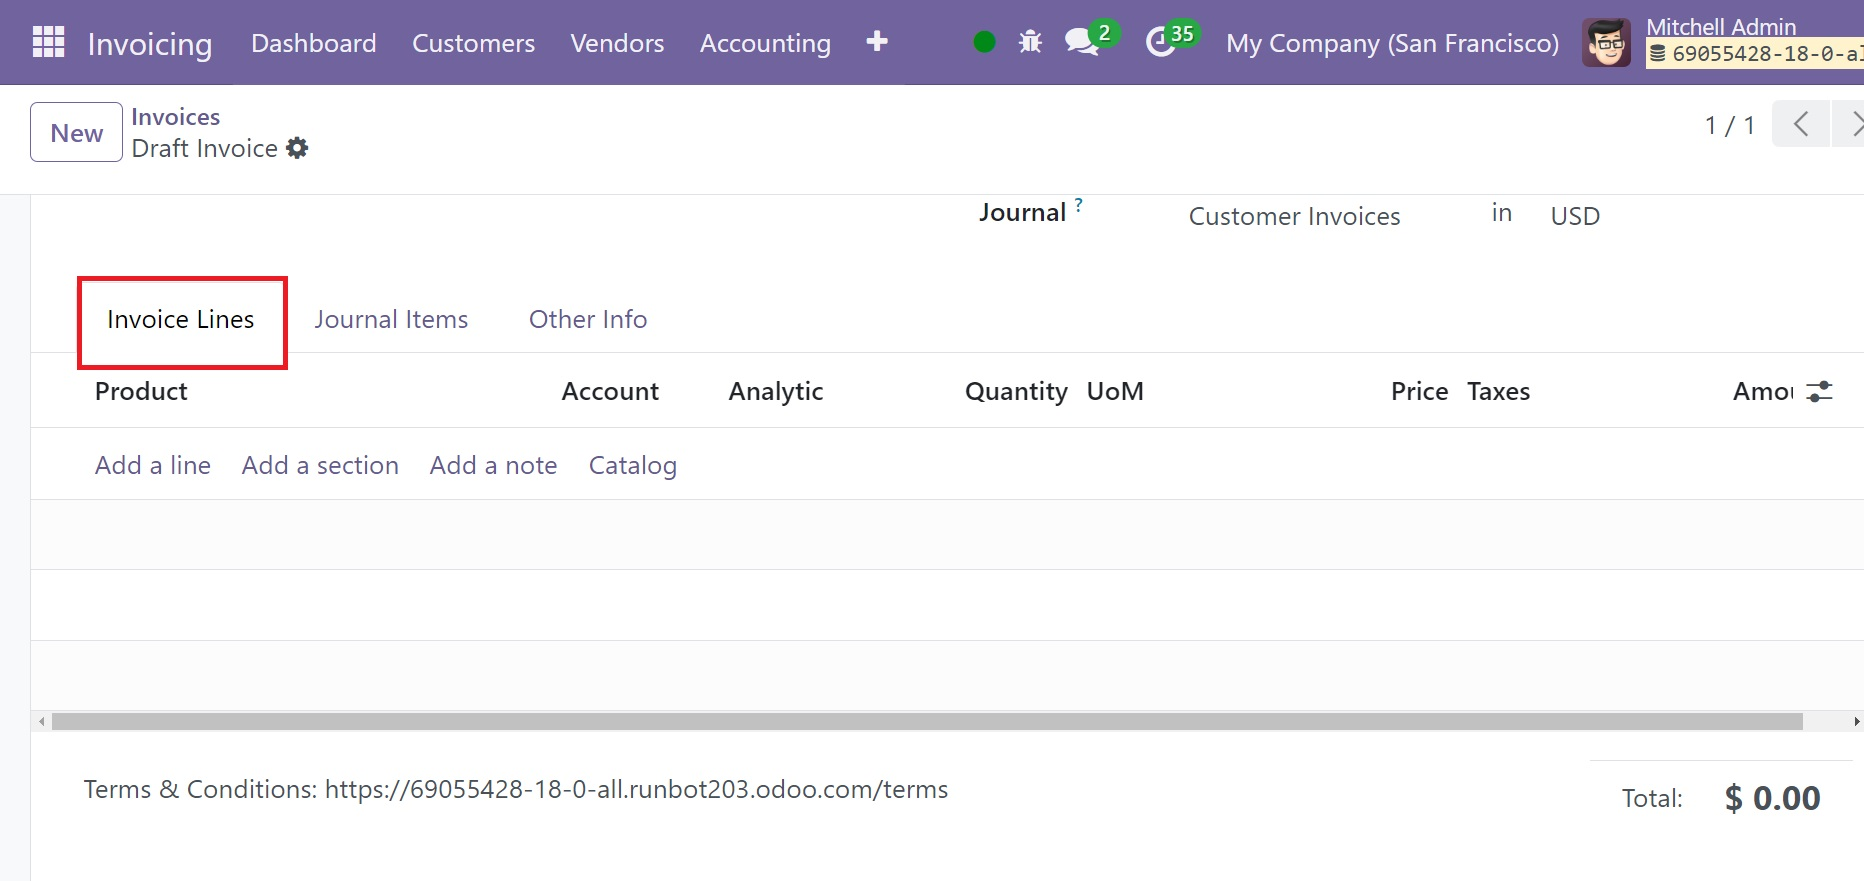
Using the Add a Line option, navigate to the Invoice Lines tab and add the product you wish to invoice. Product, Label, Account, Quantity, UoM, Price, Taxes, and Subtotal are some of the product details. The information of the Untaxed Amount, Taxes, and Total will appear at the bottom of the tab once you have completed the Invoice Line. The Add a Section button allows you to add parts to the invoice line. You can utilize the Add a Note option to add notes to this field. To further describe the terms and conditions applied to this specific invoice, you will also find a Terms & Conditions section in this tab.
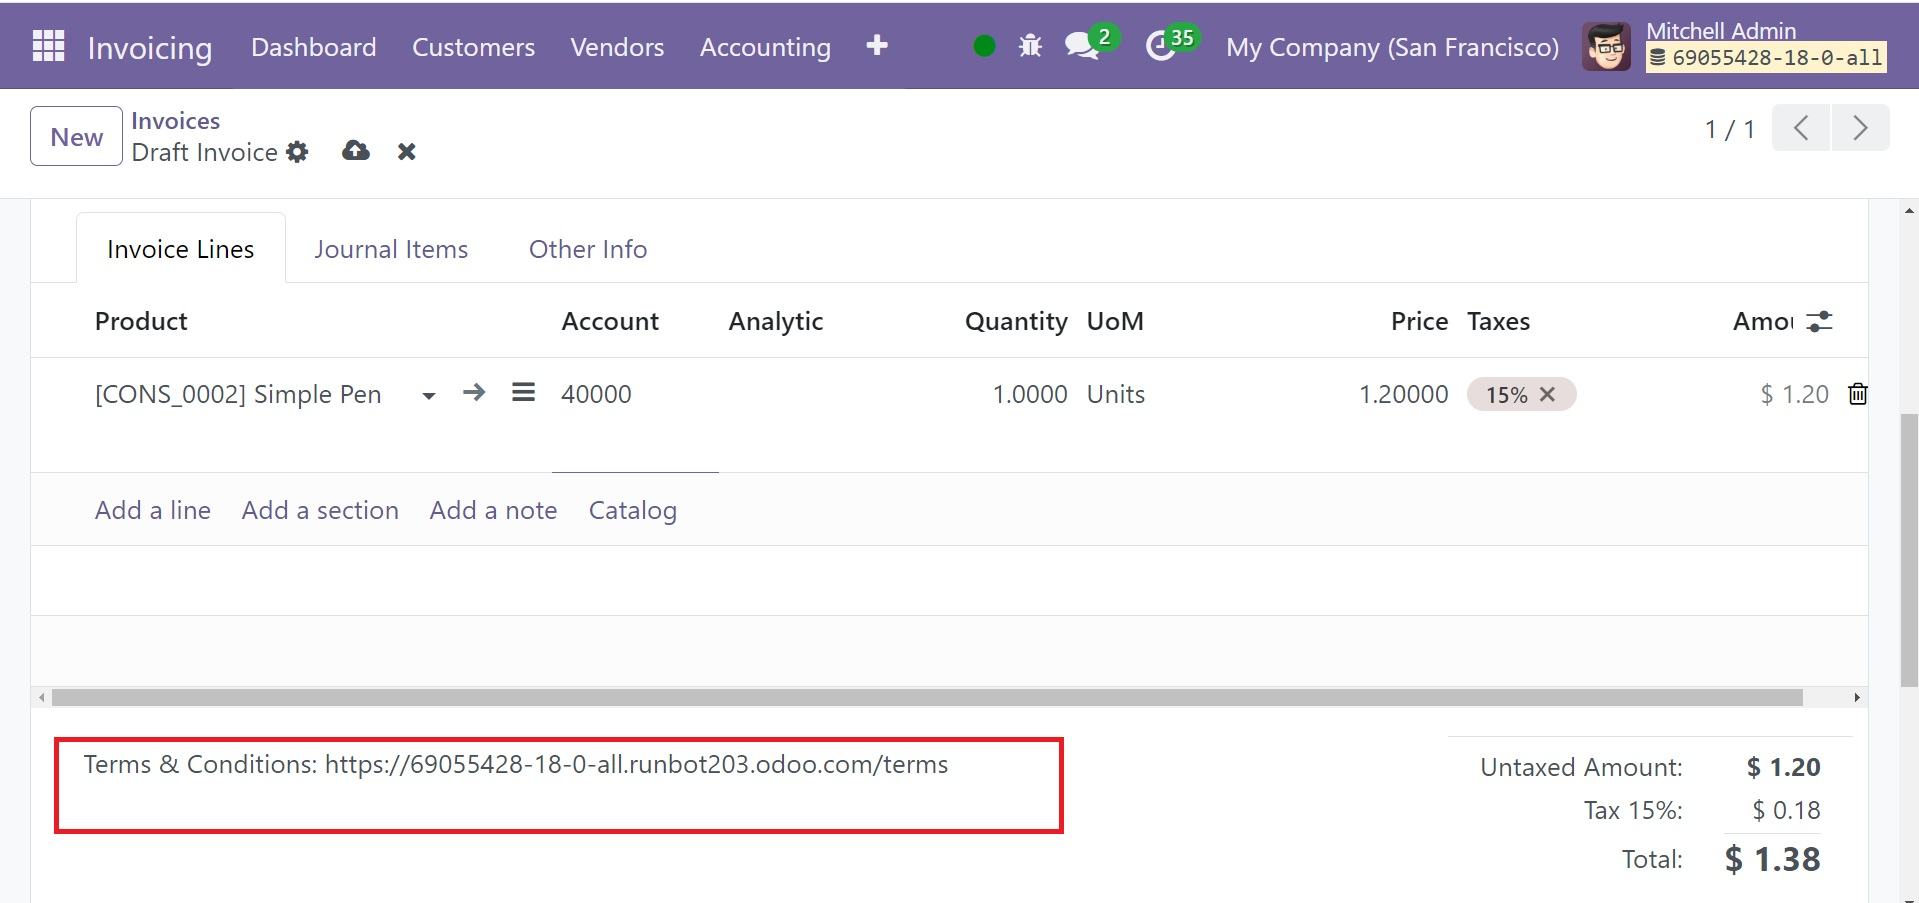
On the Journal Items tab, you will see the matching journal items for the products you listed in the invoice line. The way the fields are automatically filled in will depend on the journal entries that are configured for the previously stated products.
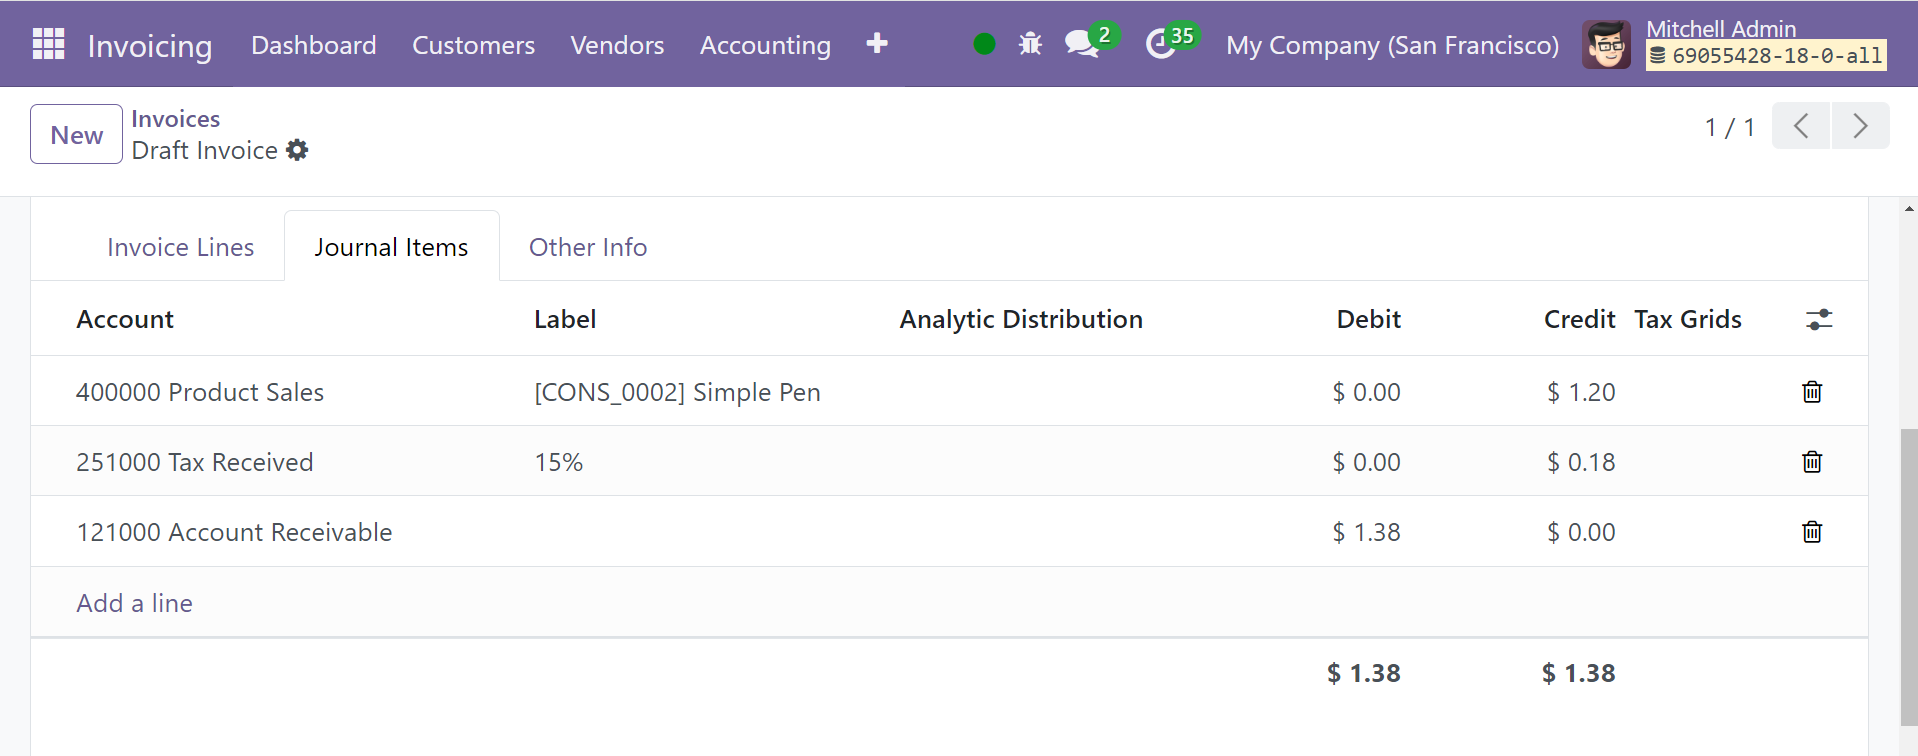
Among the details are the Account, Label, Debit, Credit, and Tax Grids. You can add more journal entries by using the Add a Line button.
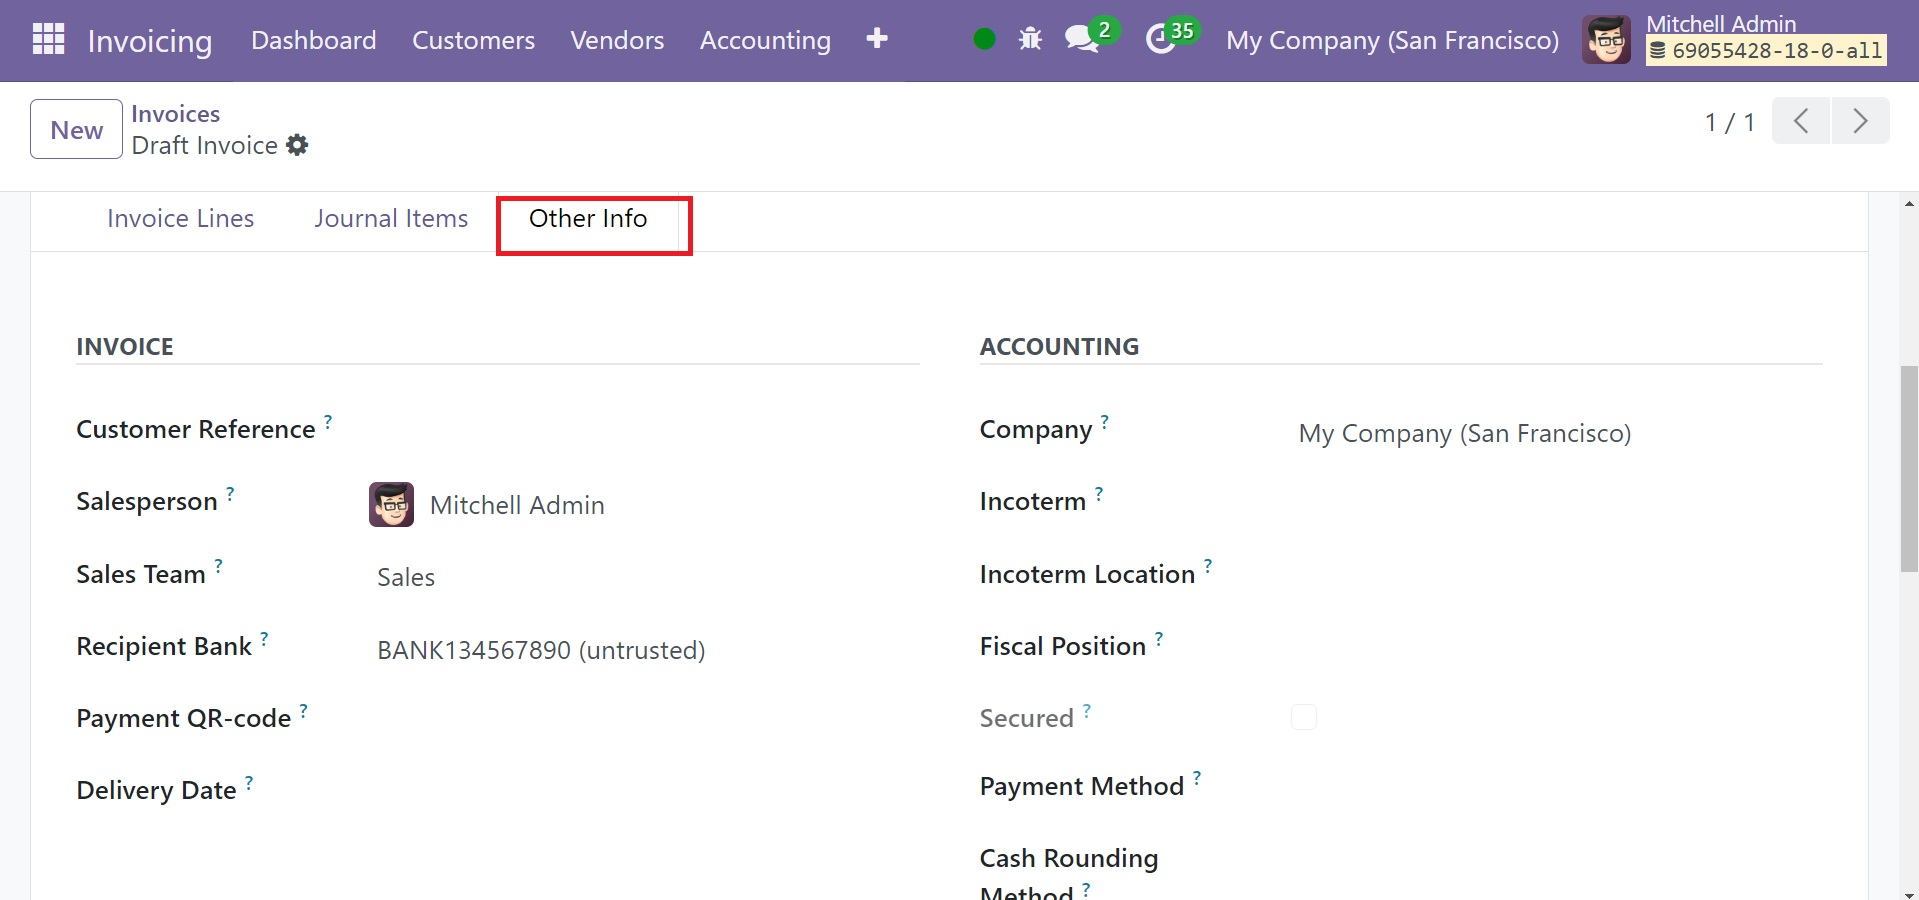
On the Other Info page, you will find areas to fill out for marketing, accounting, and invoices. You can provide the client reference for this specific invoice in the Customer Reference section. In the corresponding areas, you can designate a Salesperson and Sales Team to handle this invoice. Enter the bank account information to which the invoice money will be credited in the Recipient Bank section.
The relevant field will display the Company data under the Accounting section. The Incoterms used for international transactions and the Fiscal Position to modify taxes and accounts for certain clients or sales orders/invoices can be specified in the respective areas.
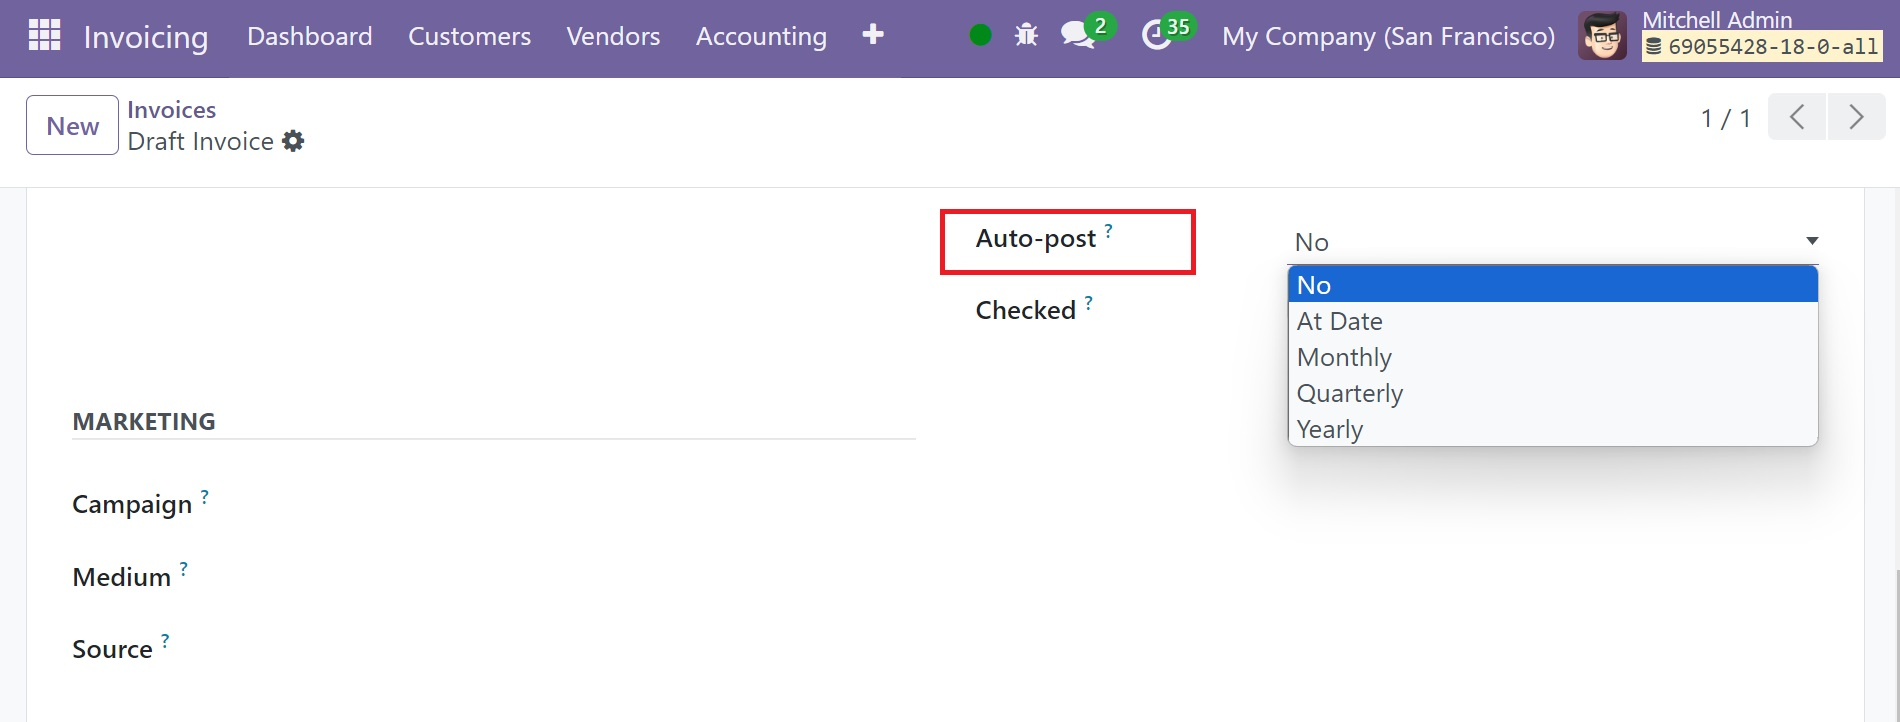
You can set up this entry to post automatically by selecting the time window in the Auto Post section. By choosing the time frame from the Auto Post area, you may automatically post this entry. You can choose the No option from the Auto Post section if you would rather do it by hand. You can use the To Check section to indicate that you are unsure about the information that was included in the invoice when it was created. If this field is enabled, it means that the move needs to be verified again. The draft invoice has finished being created. If you have any doubts regarding the information that was included in the invoice when it was prepared, you can express them in the To Check area. This parameter indicates that a second verification of the move is required if it is enabled. The creation of the draft invoice is complete.
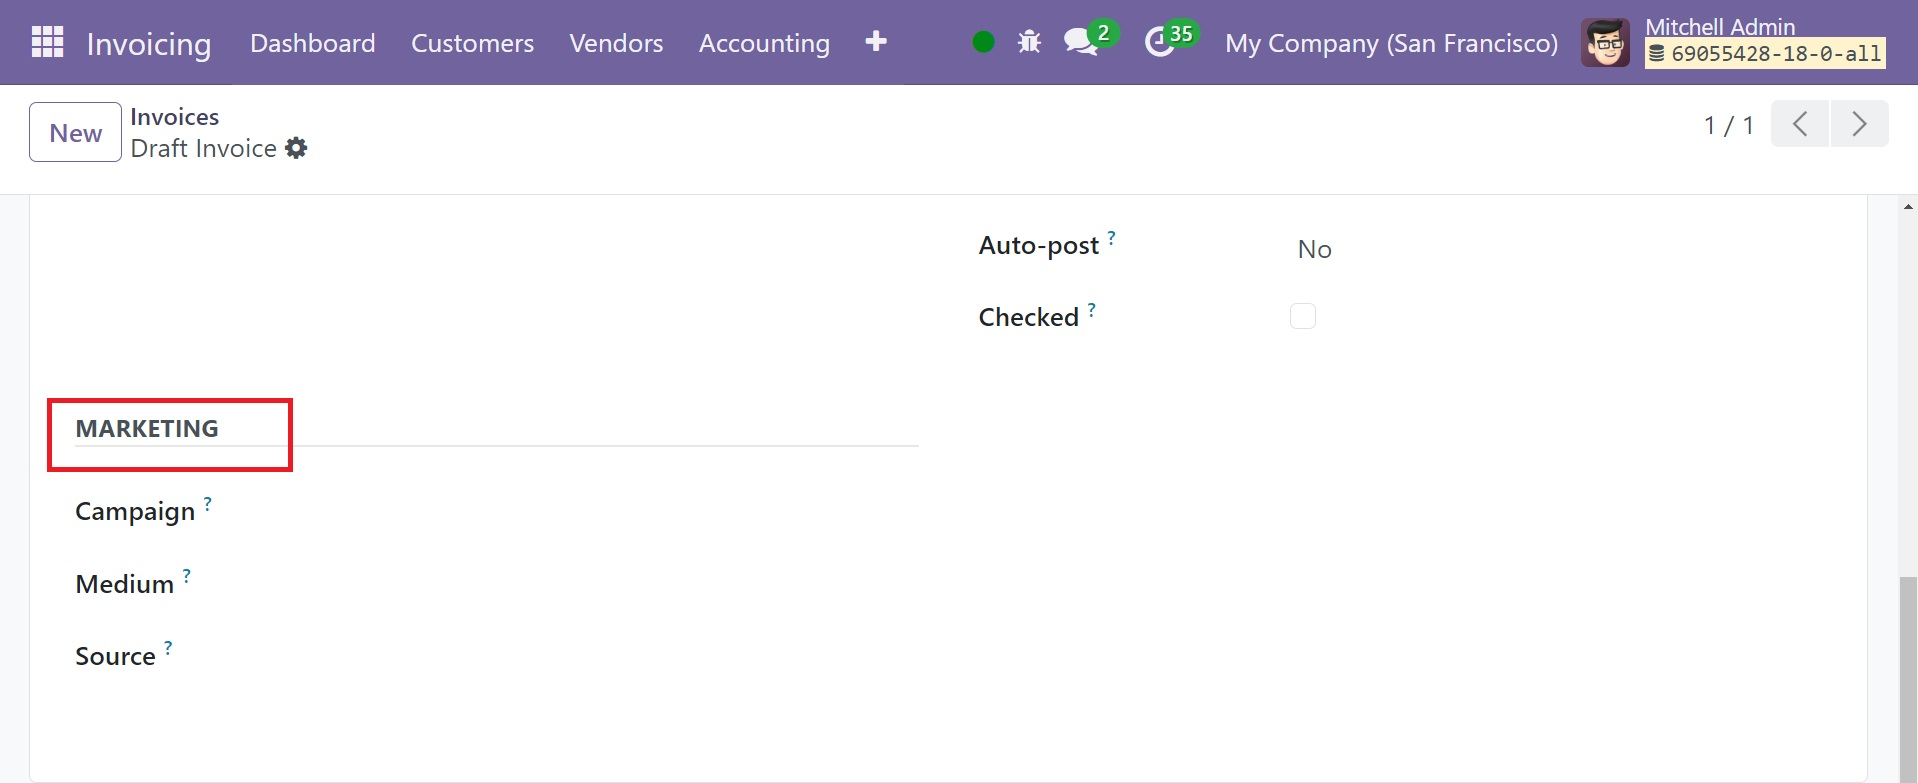
In the Marketing area, you can designate this invoice's Campaign, Medium, and Source.
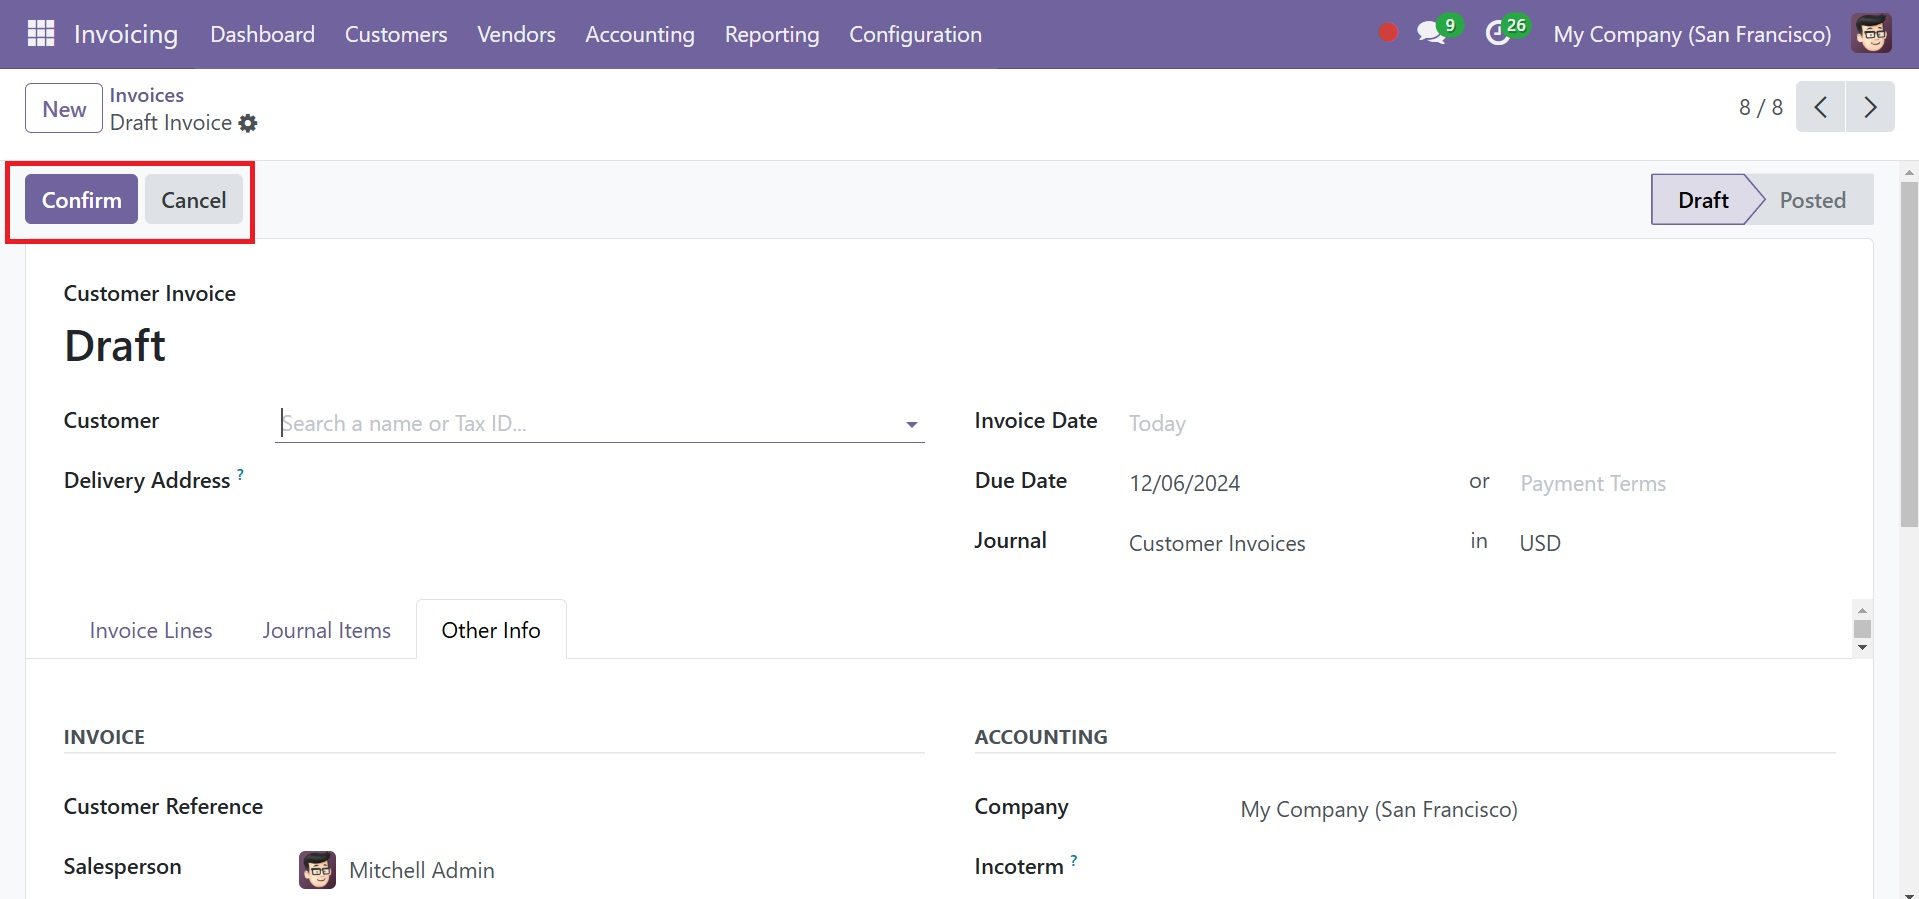
By selecting the Confirm option, you can now verify the draft invoice. Click the "Cancel" button to close the invoice. By clicking the Preview button, customers can view a preview of the invoice. After everything has been validated, you can send the invoice to the concerned customer. To perform this step, use the Print & Send button found on the form screen.
This button opens an automatically generated email, as shown in the screenshot below.
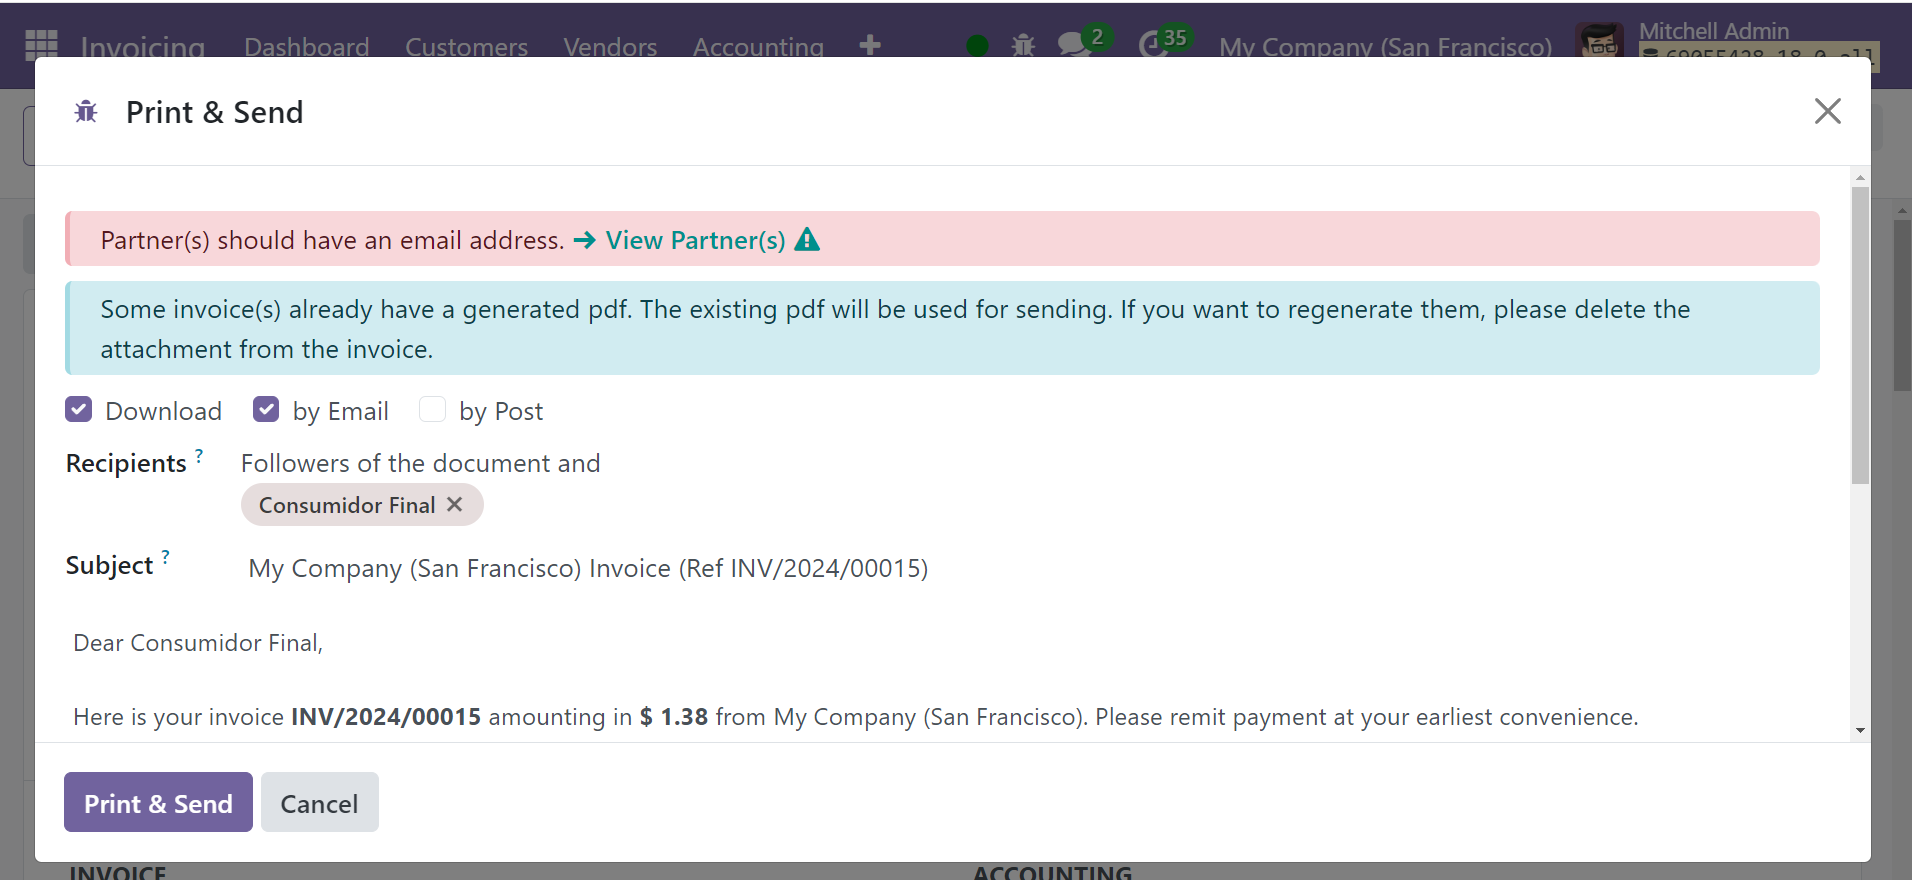
The receivers' information can be found in the relevant field here. The email's content is subject to review and updating as needed. The letter will be sent as an attachment together with the freshly formed invoice. You can use the Print & Send option to forward this email to the recipients. A copy of the invoice will also be produced with this.
Once you submit it to the right people, the customer can view the invoice and complete the payment. Prior to recording payment, an invoice must be created in the Odoo 18 Invoicing module. The option to register the payment will appear on the form view after you have confirmed the invoice. So click on the Pay button.
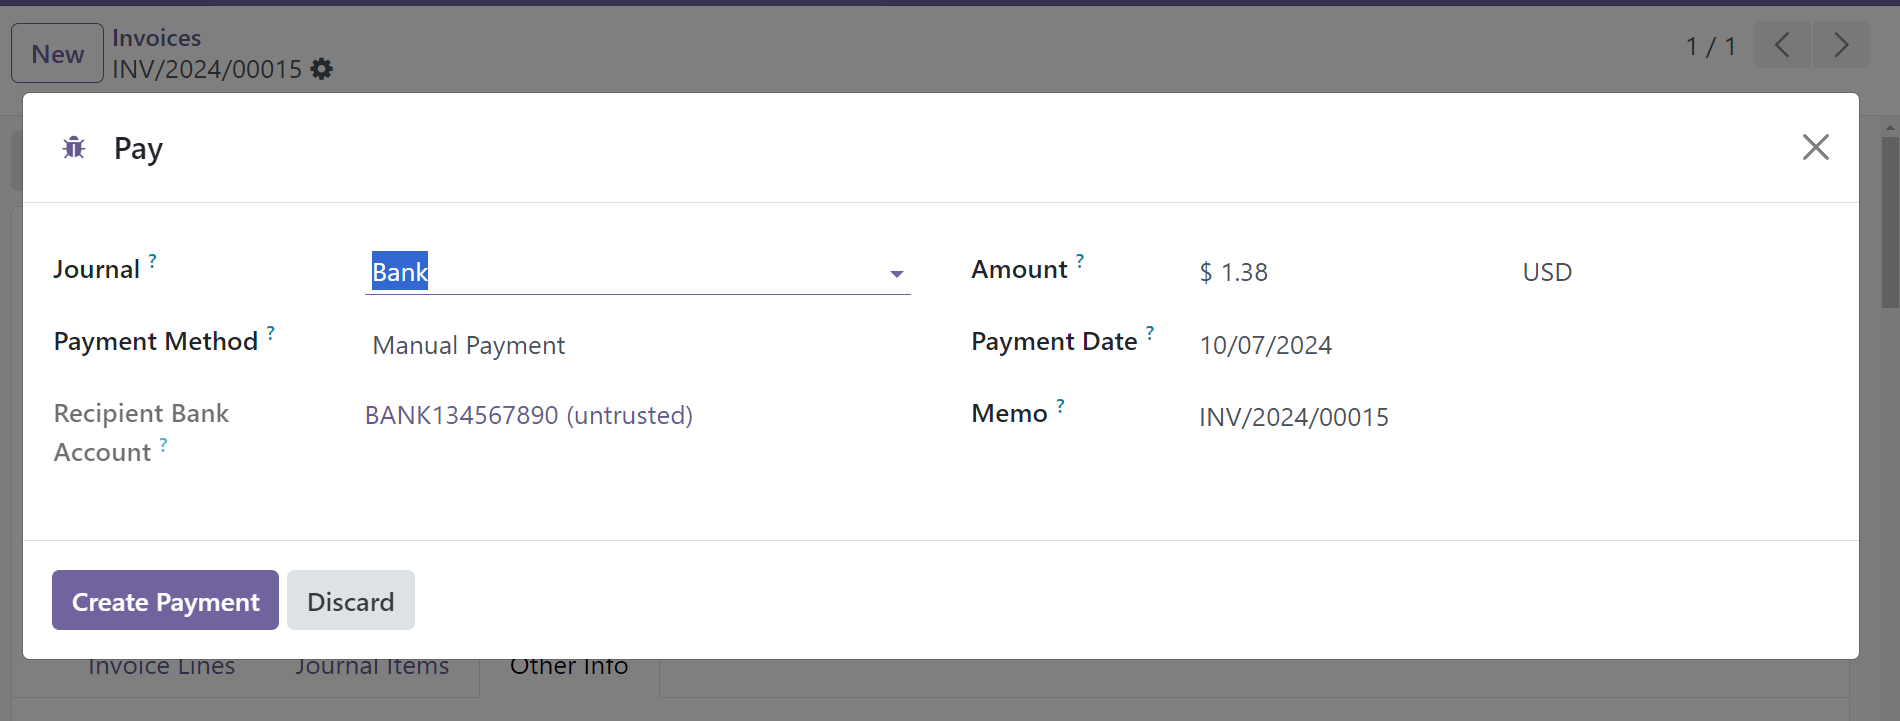
The Pay window will show information about the Journal, Recipient Bank Account, Amount, Payment Date, and Memo. The payment record will be included in the diary that appears in this window. After checking the details, you can click "Create Payment".
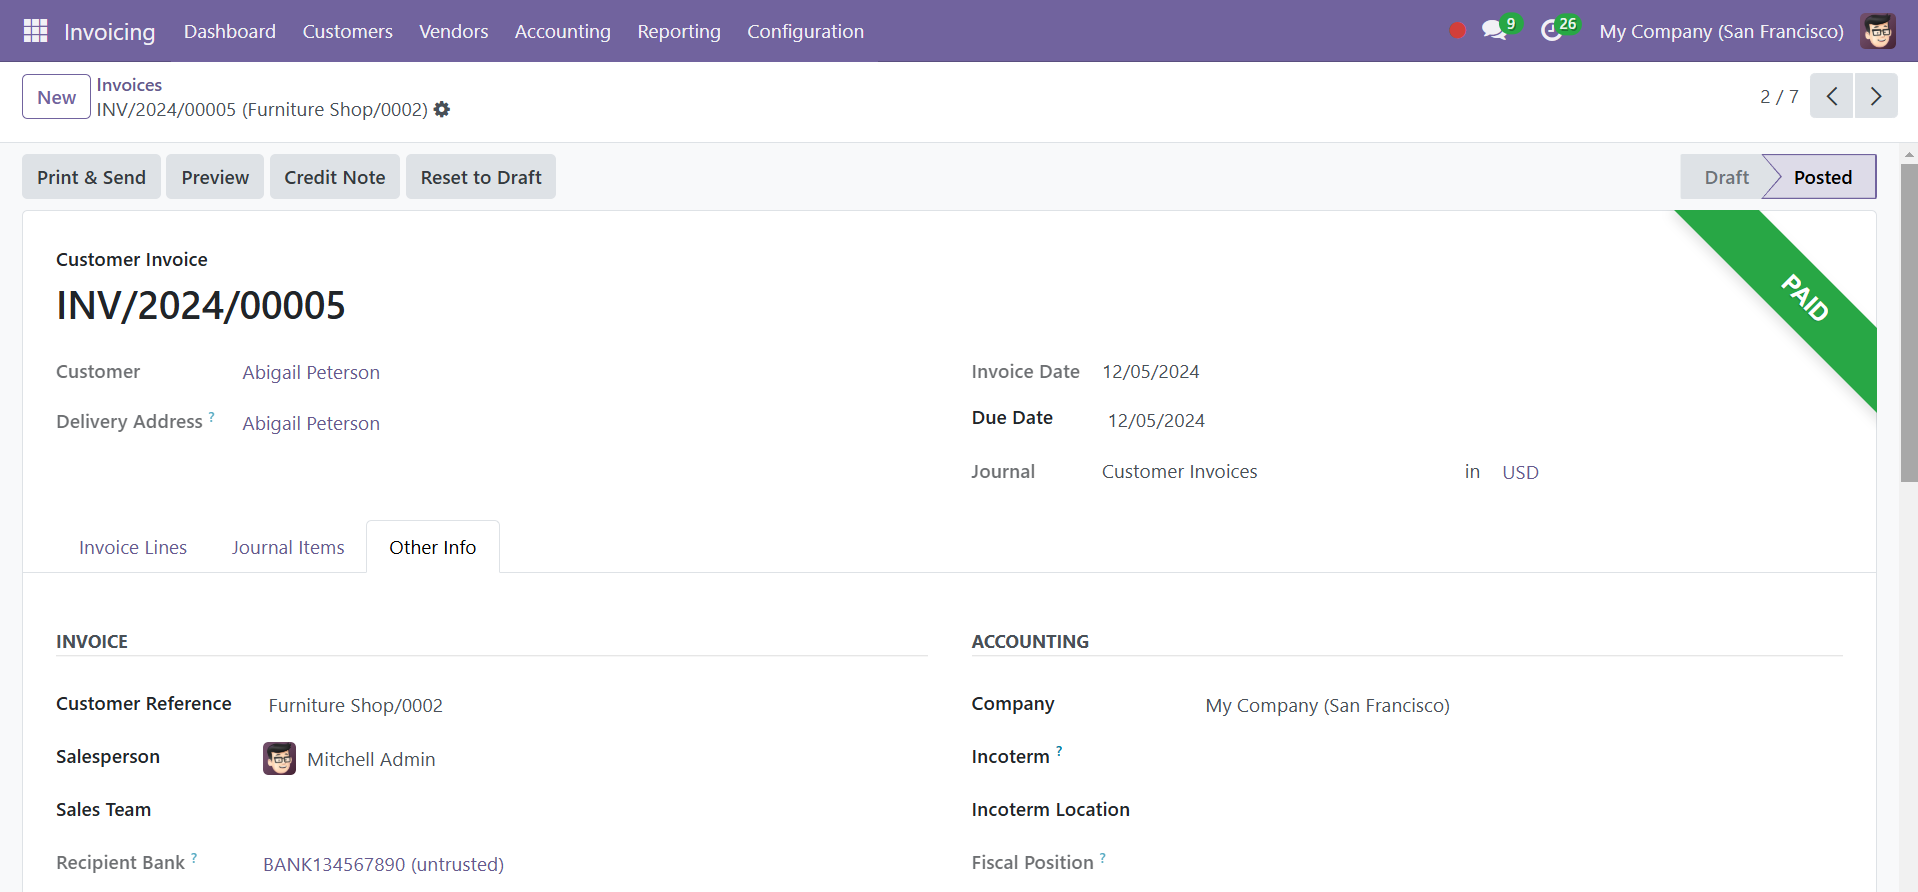
You can check the status of the related customer bills as paid after finishing this step.
To manage all of these payments, you will have access to a specific platform via the Customers option in the Invoicing module. Using this platform, all payments made by customers will be monitored in Odoo 18.
Payments
To manage all of these payments, you will have access to a specific platform via the Customers option in the Invoicing module. Using this platform, all payments made by customers will be monitored in Odoo 18.
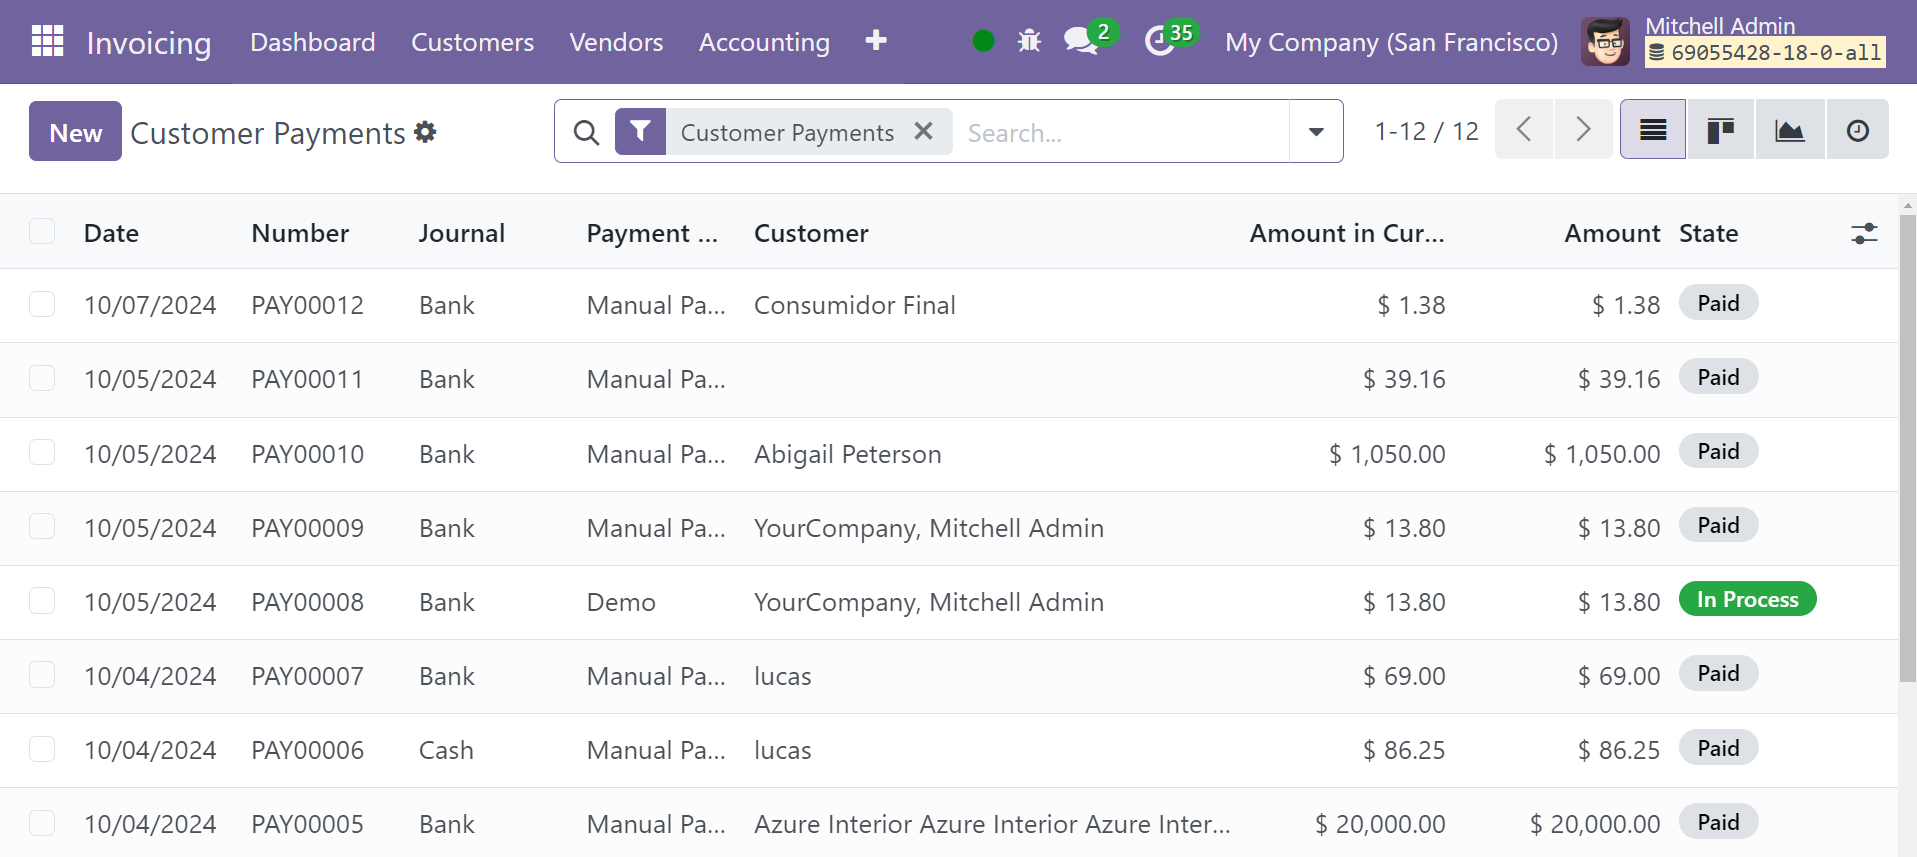
An image of the Payments list can be found above. The list preview includes the following details: date, number, journal, payment method, customer, amount, and payment status. You can also alternate between the Graphical and Kanban perspectives.
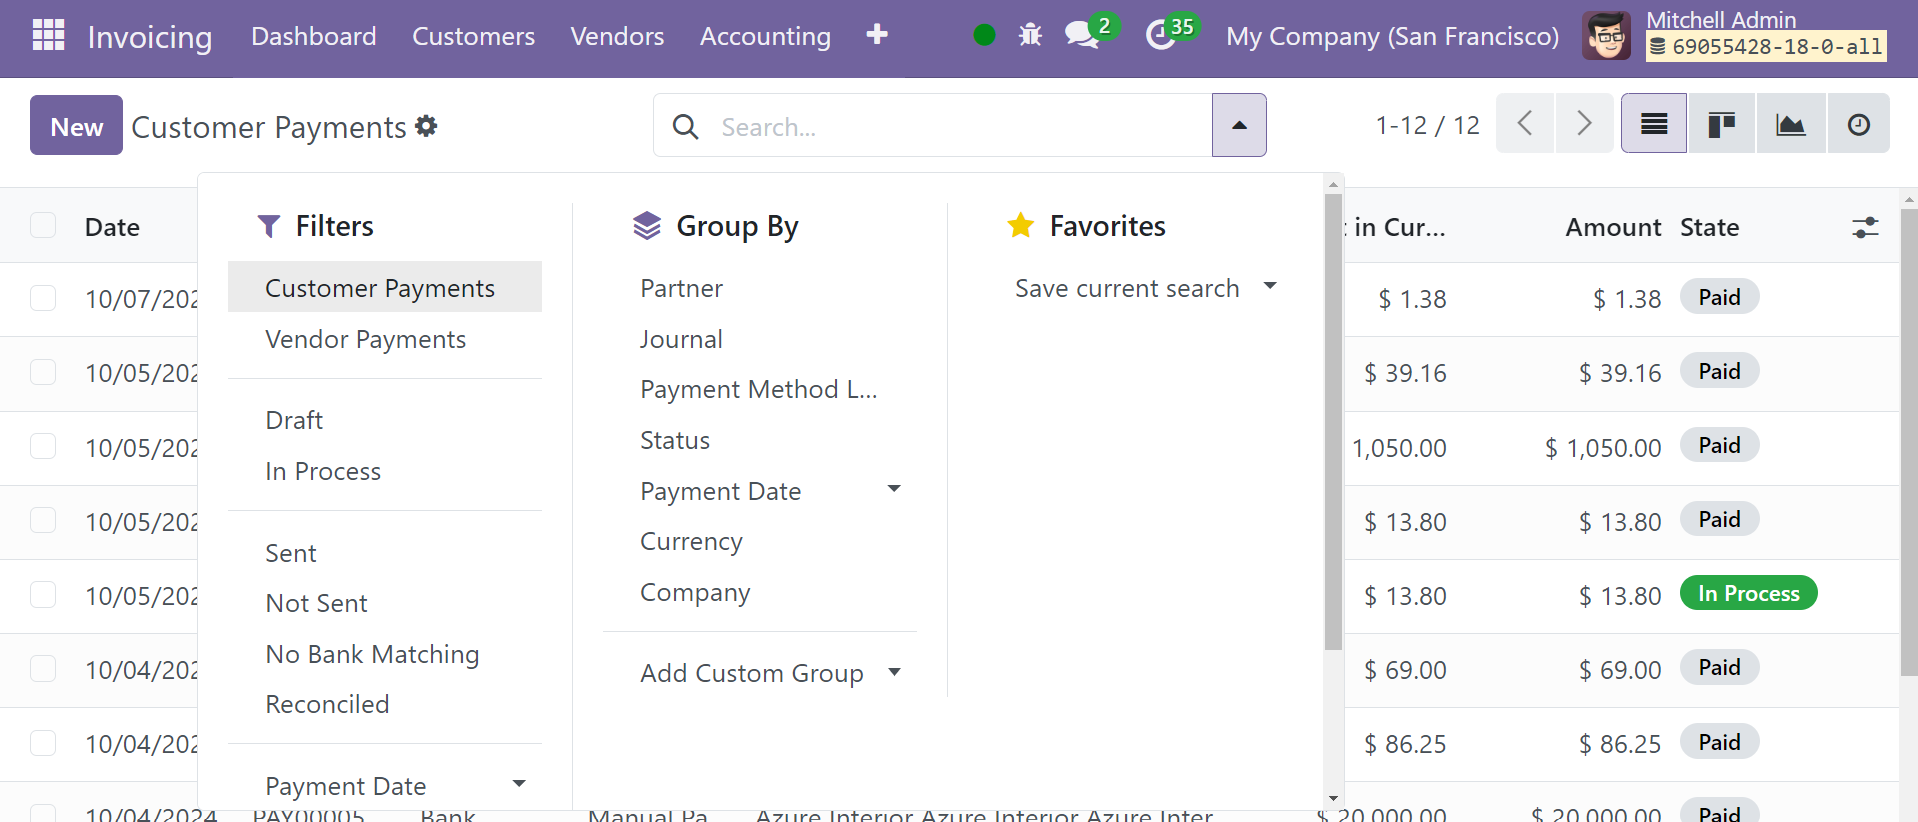
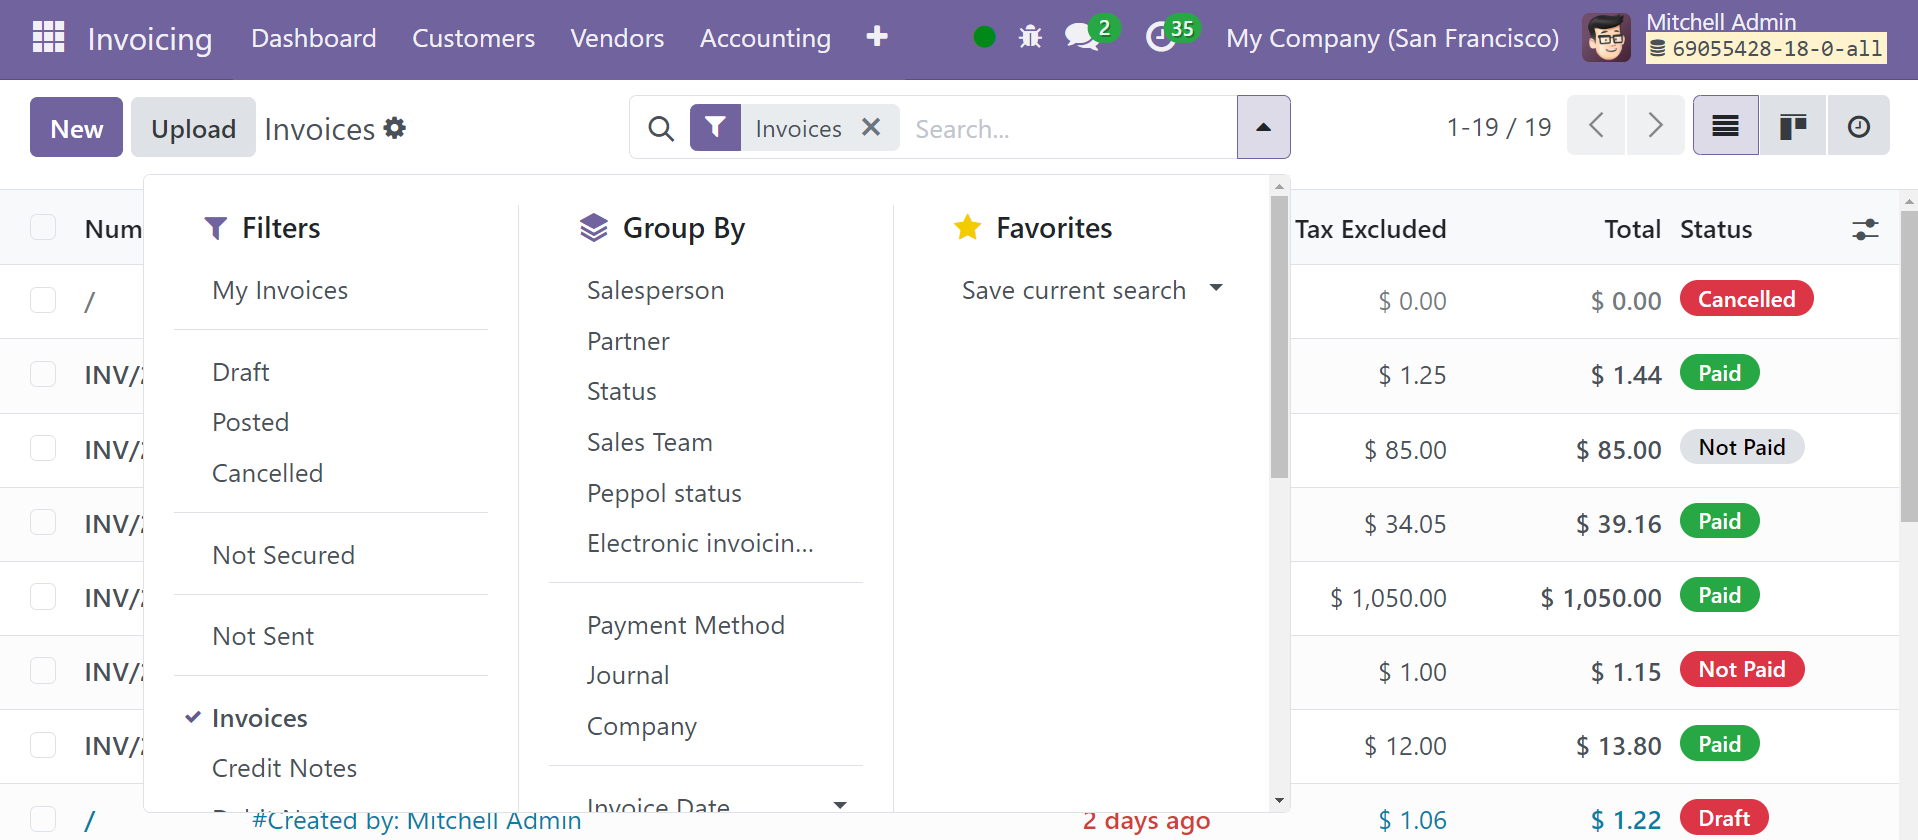
The default criteria that are offered here are Payment Date, Check to Print, No Bank Matching, Draft, Posted, Sent, Internal Transfers, Vendor Payments, Customer Payments, Reconciled, and Payment Date. Use the Add Custom Filter option to create filters that suit your needs. When you choose the Group By option, the following fields appear: Customer/Vendor, Journal, Payment Method Line, Status, Payment Date, Company, and Currency.
By selecting the New option, you may now register a fresh payment from your client. As seen in the figure below, a new form view emerges where you can input payment-related details.
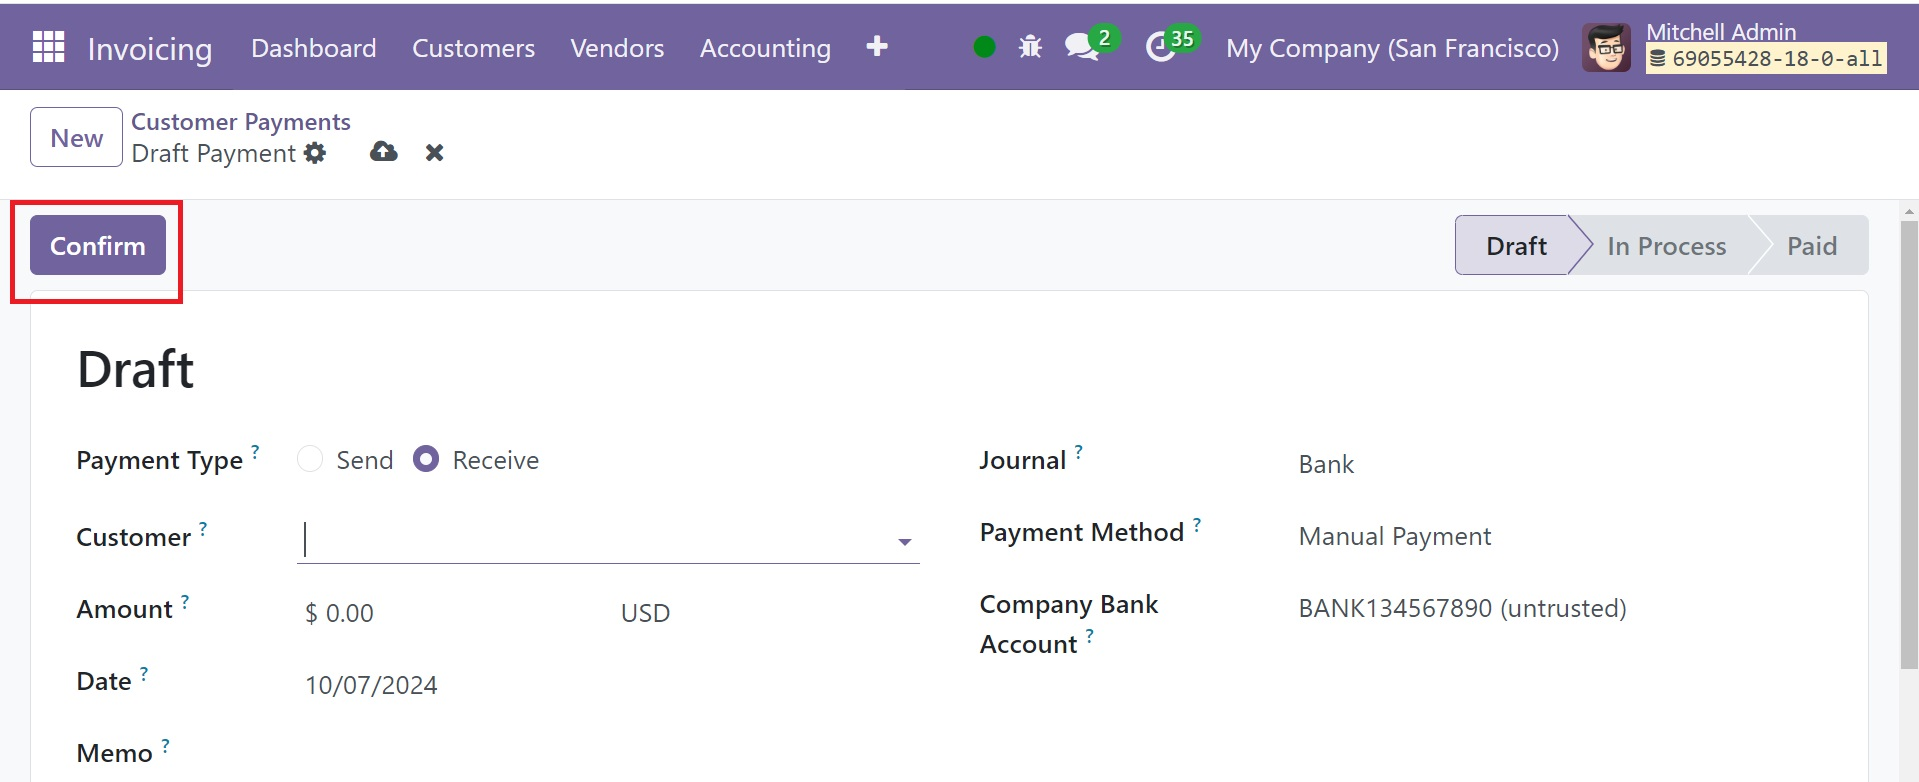
For payments made by clients, the Payment Type will be shown as Receive. The customer's bank account, the payment method, the journal in which the transaction will be recorded, the date, the memo, the amount of the bill, and the customer's name can all be entered in the corresponding areas. When all the required information has been given, you can utilize the Confirm button to confirm the payment, as shown in the screenshot above.
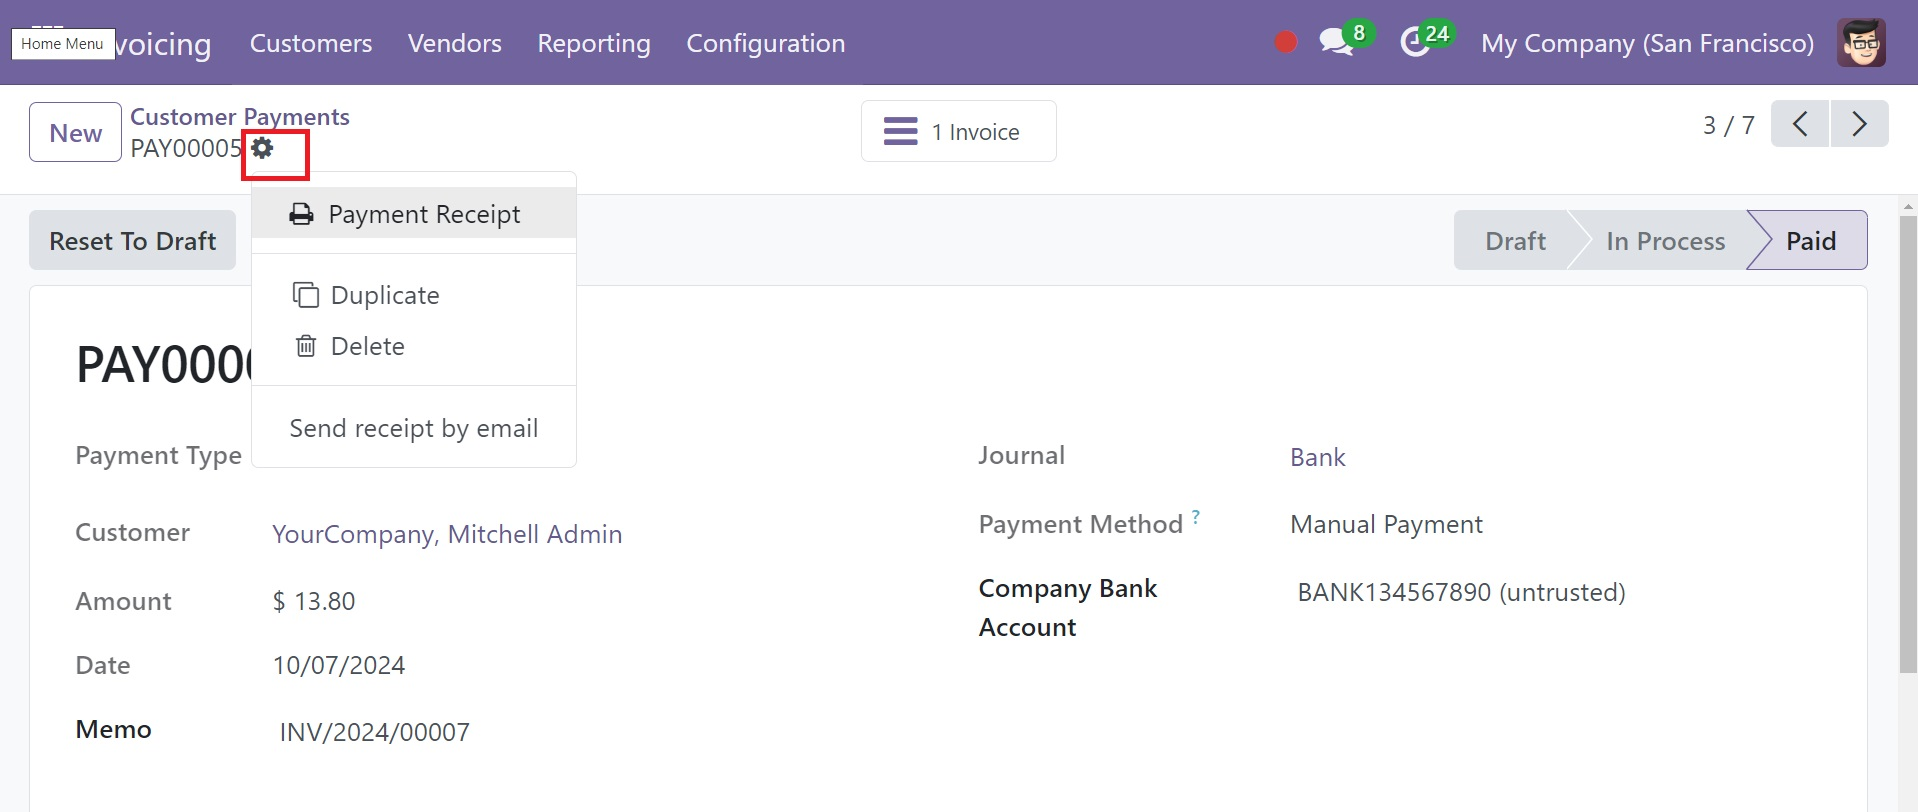
You can email the concerned customer a receipt of the payment by using the Send Receipt By Email option found in the Actions menu.
This is how we manage customer payments in Odoo 18.
By choosing the Vendor Payment option from the Vendors menu, you may oversee and control vendor payments.
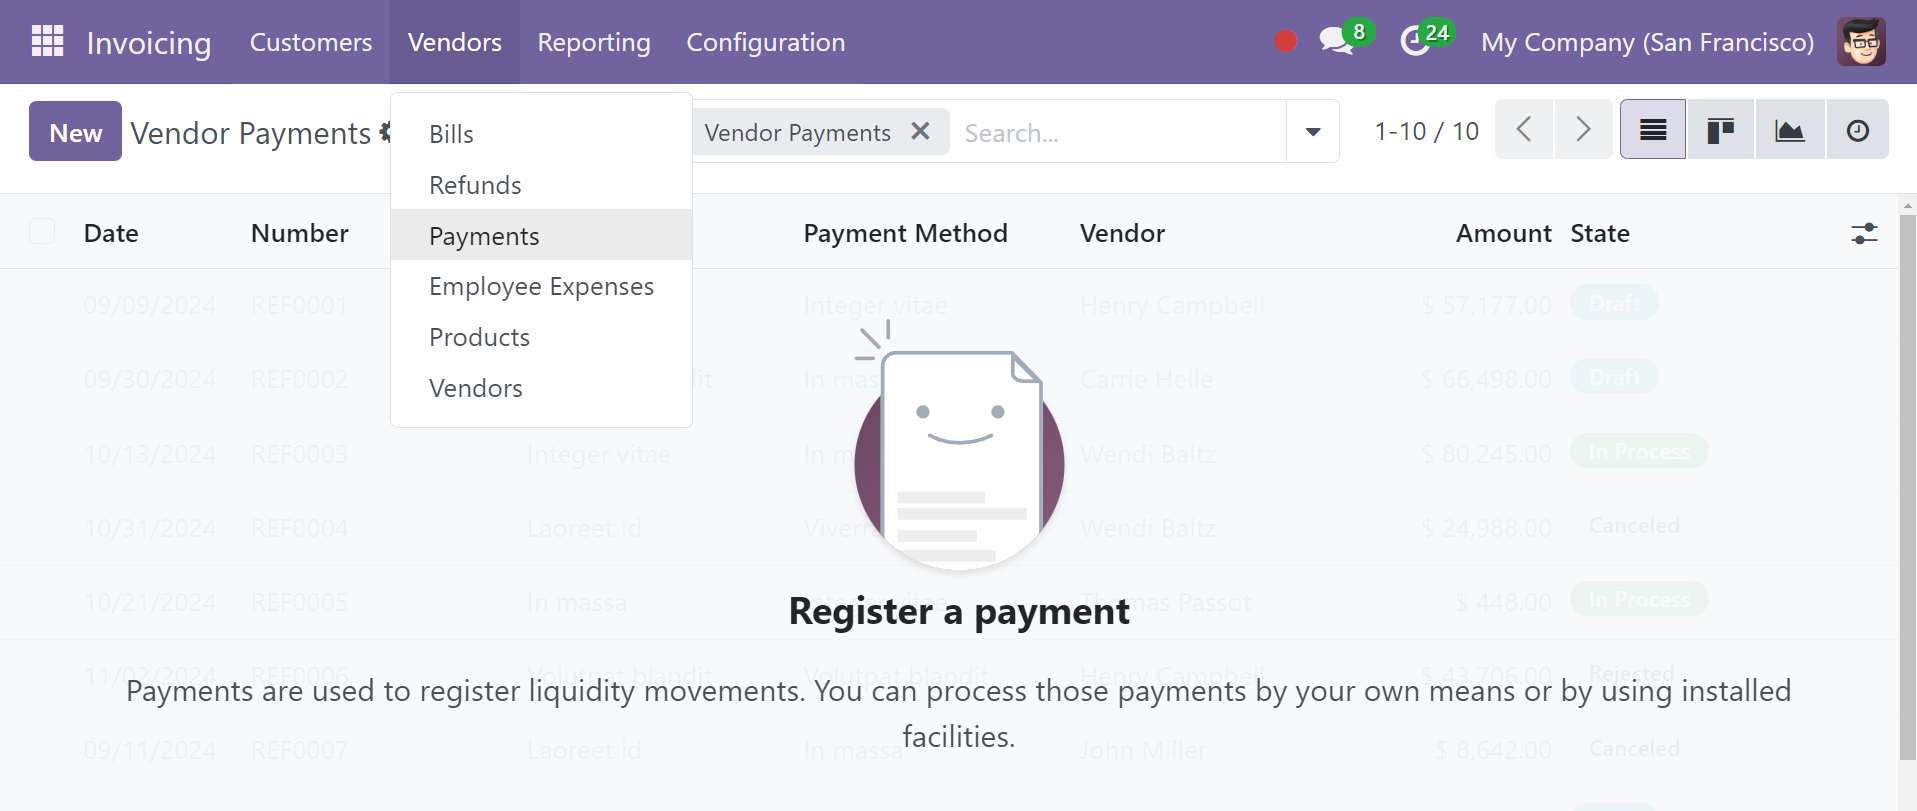
You can set up a new vendor payment by following the same steps as the customer payment. You can see that the Payment Type is indicated as dispatched here since we are sending the money to the concerned vendor. In the Payment Method section, you have the option to select between checks and manuals. If you select the checks option, you can use a check to pay the bill.
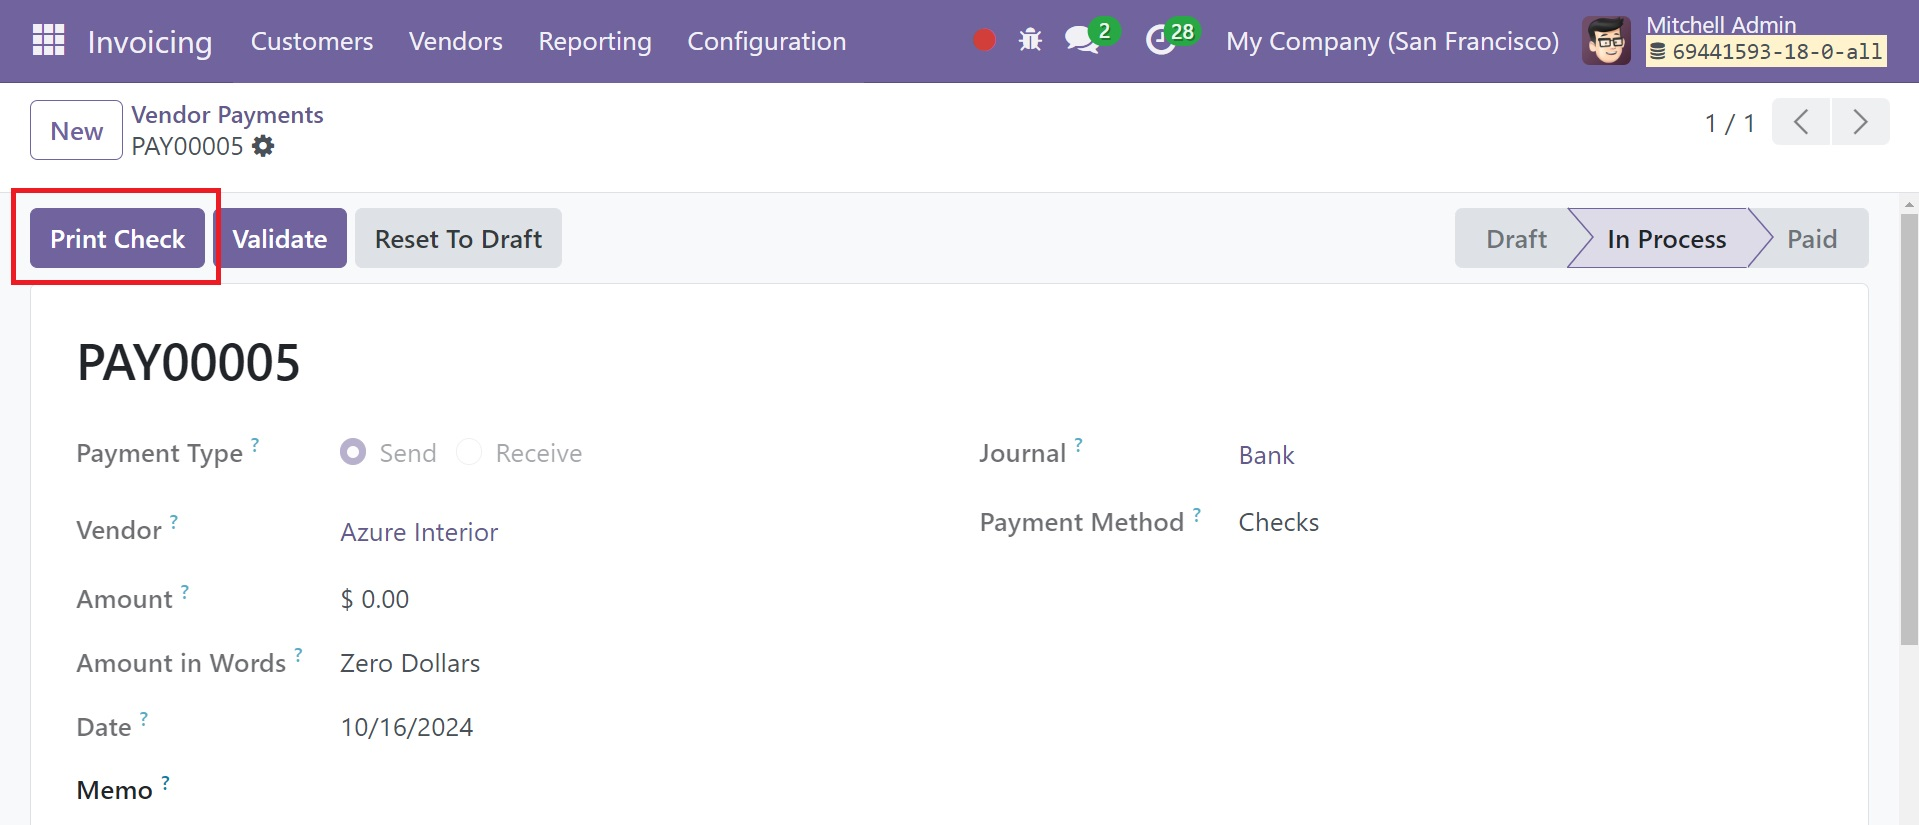
The option to Print Check will appear in the window once the payment has been completed. Click this button to get a printout of the checks.
Credit Notes
In Odoo 18, you can make credit notes for mistakes in bills or invoices, product damage, returns, or cancellations. It is possible to reverse a bill and create an invoice with credit notes. In the invoice form view, the Credit Note button will show up once the payment processes are complete. You can add credit notes to client invoices by using this button. You will also receive the same button on the vendor bill.
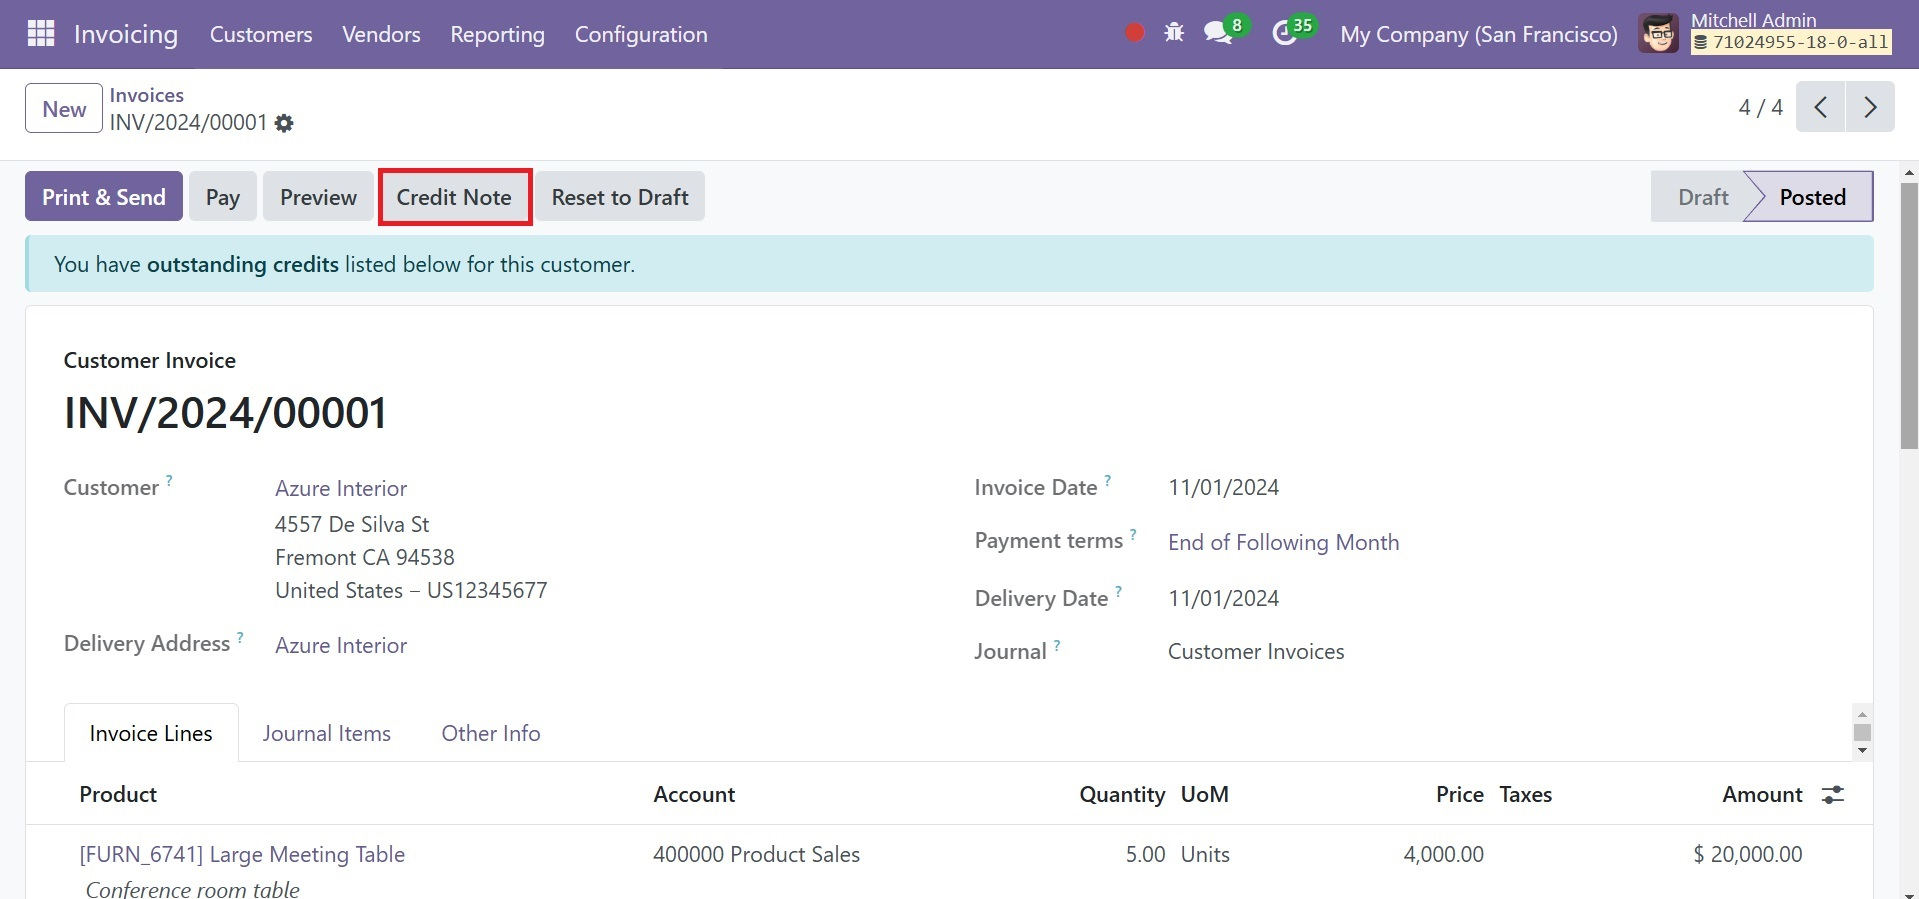
To create a credit note, click the corresponding button on the window. This will result in the appearance of a new pop-up window, as seen in the screenshot below.
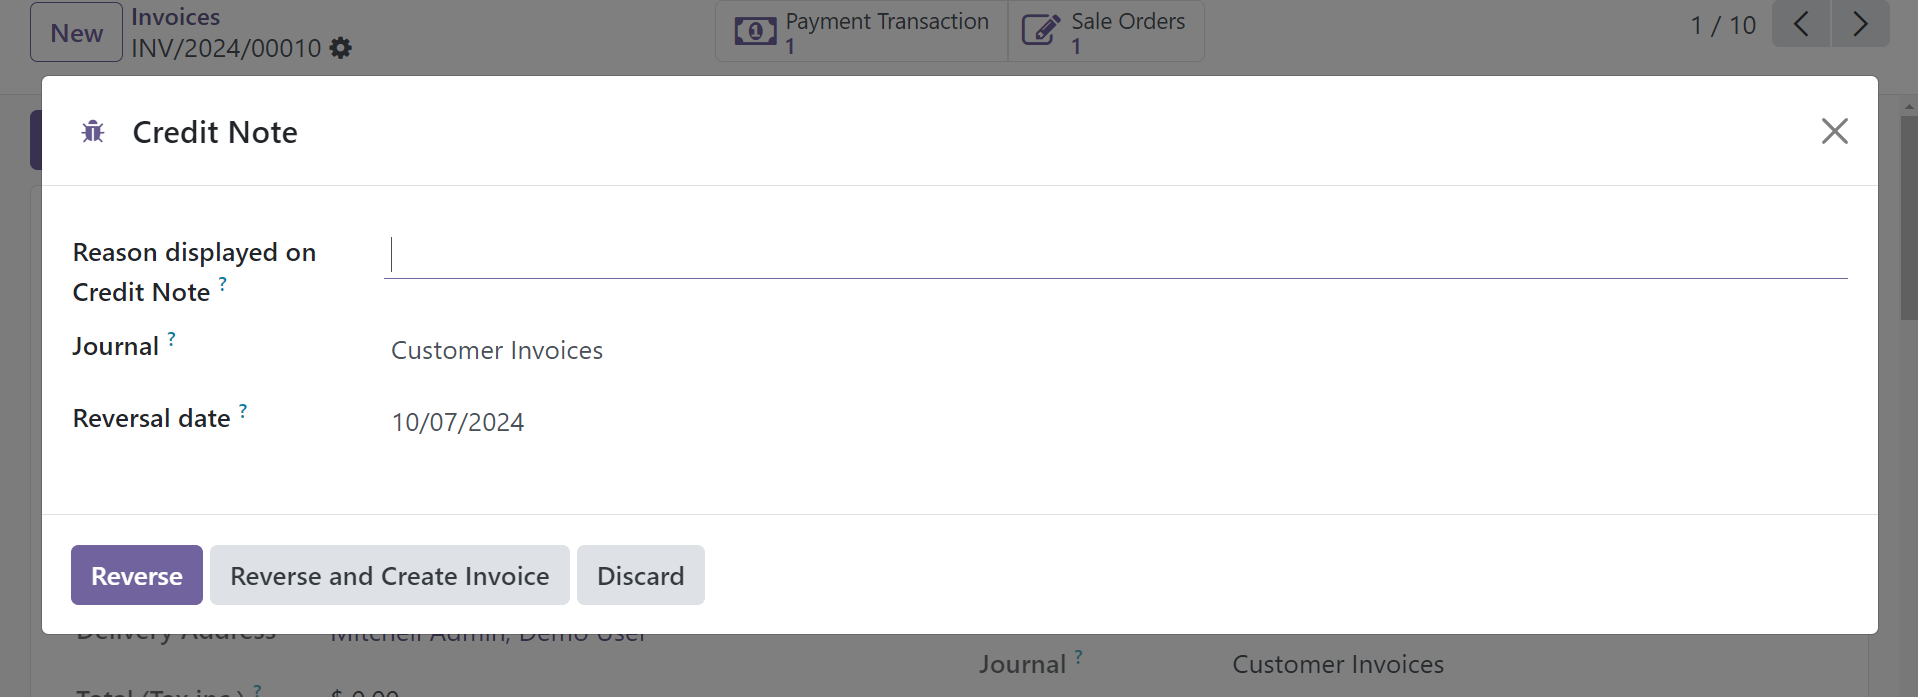
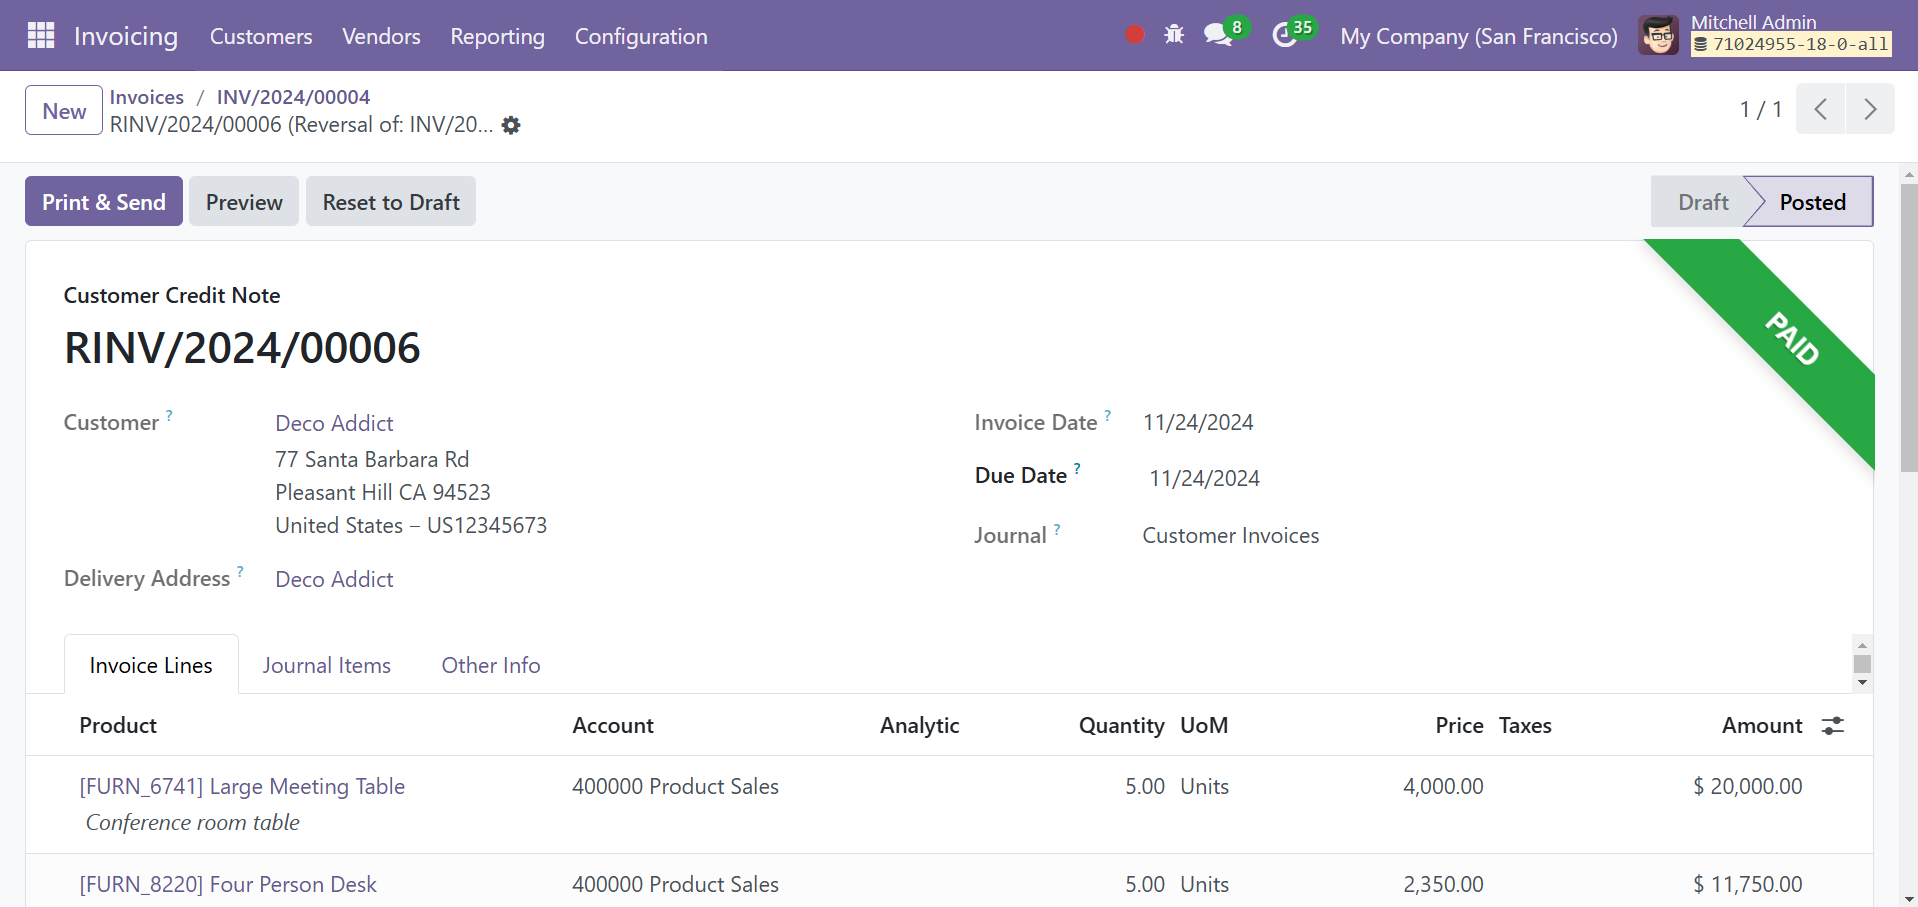
The reason for the credit note might be written in the space provided. Enter the Reversal Date and Use Specific Journal in the appropriate areas. Clicking the Reverse button will now reverse the customer invoice. Once the invoice is reversed, it will immediately proceed to the draft step.
Reverse: Odoo creates a draft credit note when you choose this option. This enables the user to check and update the credit note's information before completing it. In situations when you might need to change the amounts on the original invoice or provide a partial refund, this option is useful.
Reverse and create invoice: This option generates a fresh invoice in draft mode as well as a credit note. The information on the updated invoice is identical to that on the original, but it can be changed if necessary. While the new invoice can be modified prior to validation, the credit note is posted right away. This is especially helpful if, after sending a credit note or a full refund, you wish to generate a fresh invoice based on the same transaction.
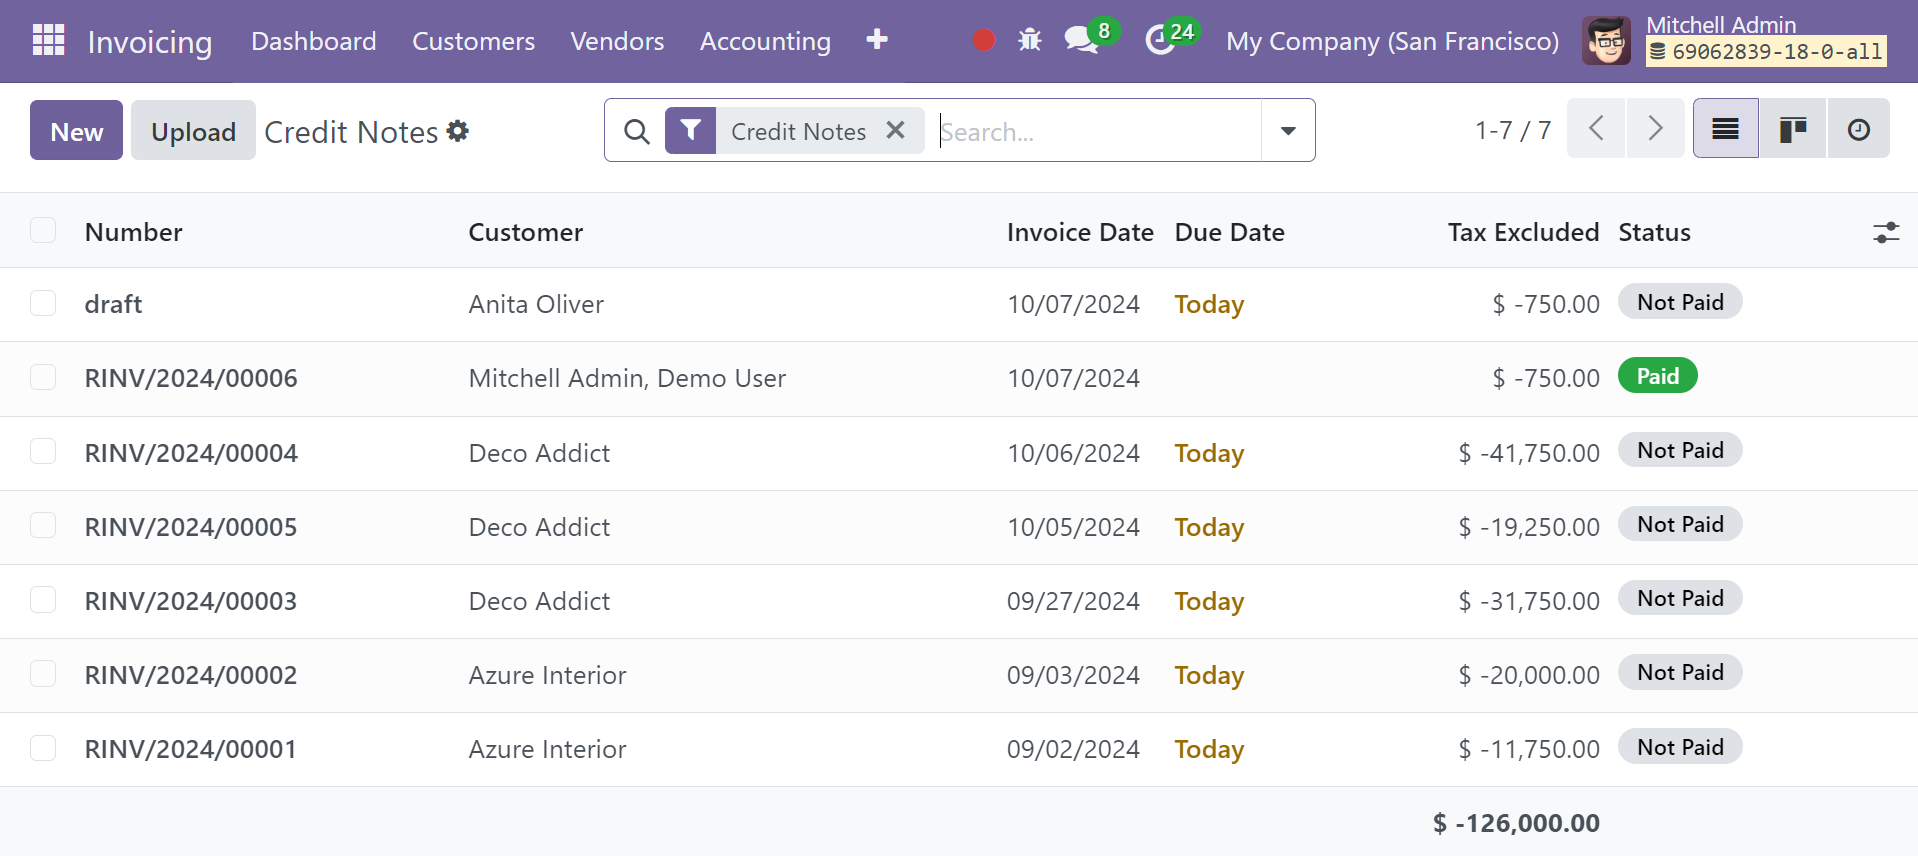
To manage Credit Notes in Odoo 18, navigate to the Customers menu and select a different platform. Choose the Refunds option from the Vendors menu in order to manage the credit notes from vendor bills.
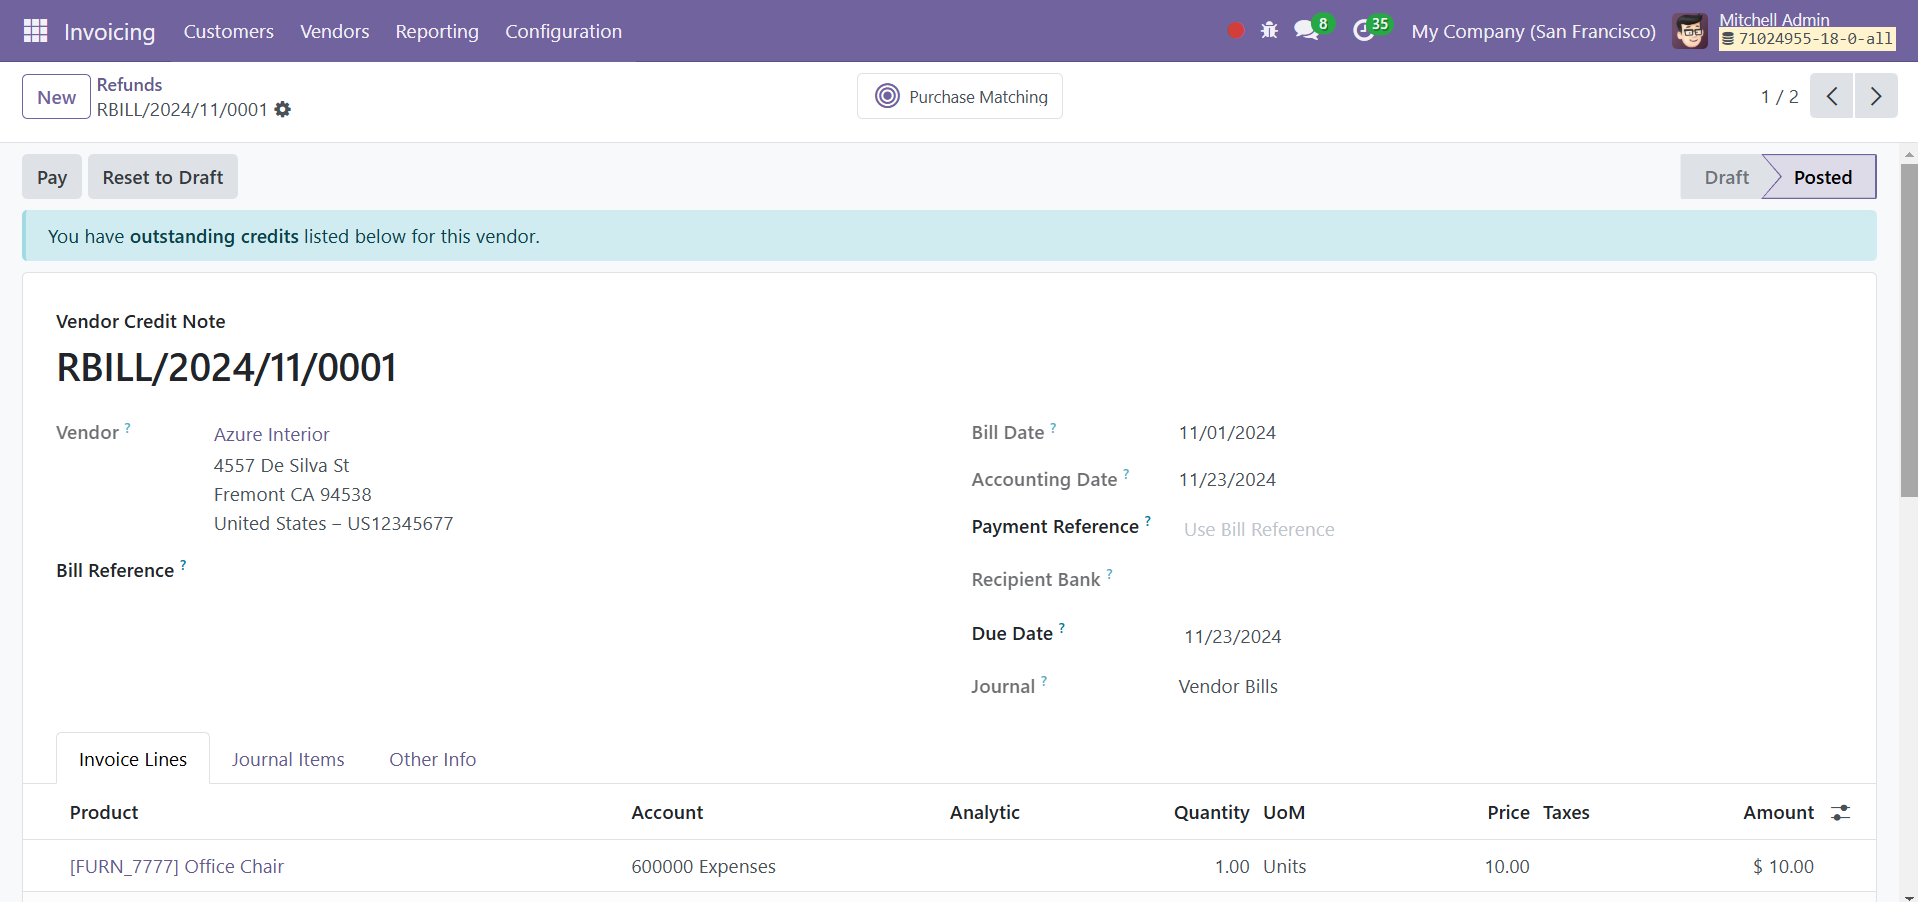
The list view will show the number of the customer credit notes, the customer, the invoice date, the due date, the activities, the tax excluded, the total, the total in currency, the payment status, and the status. Click the New button to begin a new credit note.
This will either lead you to the form view of vendor or customer bills, depending on which option you select. Create a vendor bill or a customer invoice from the relevant windows before using the Credit Note option.