When creating a vehicle, enter the license plate number and model. Under the DRIVER tab, provide the driver’s name and address. The Assignment Date field specifies when the vehicle becomes available, leaving it blank means the vehicle is available immediately.
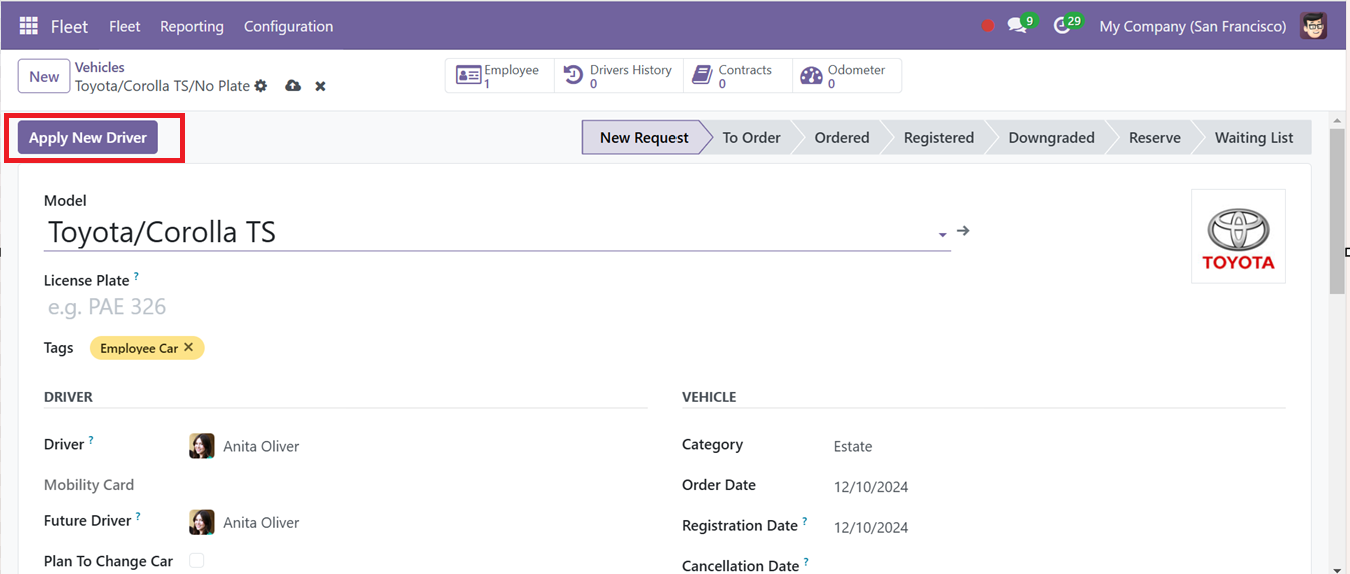
Once assigned, the vehicle's Chassis Number will appear under the Vehicle Menu if it fits the designated criteria. Enter the responsible Fleet Manager's name, along with the location and company information.
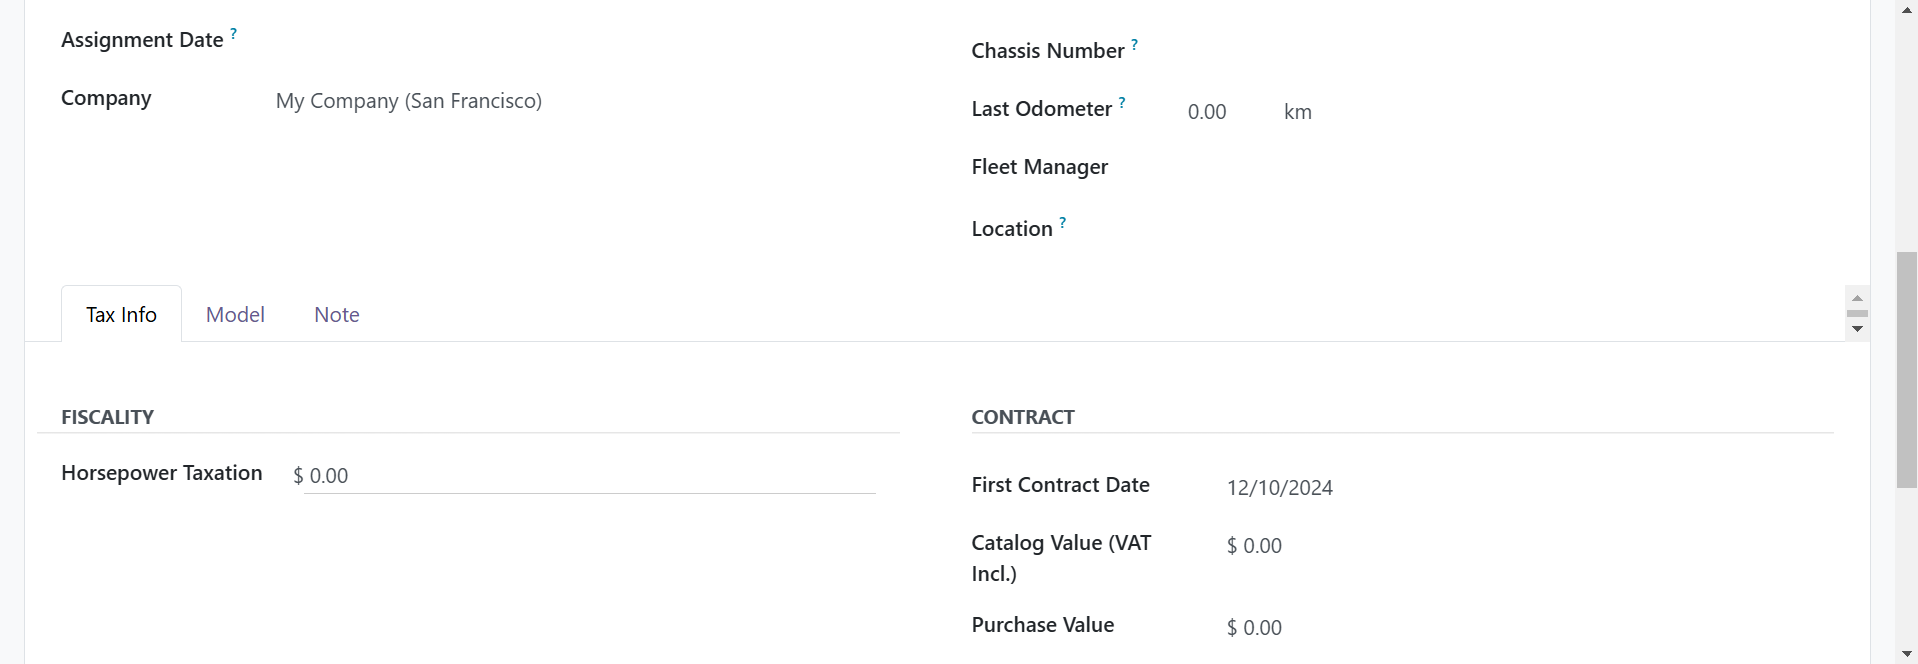
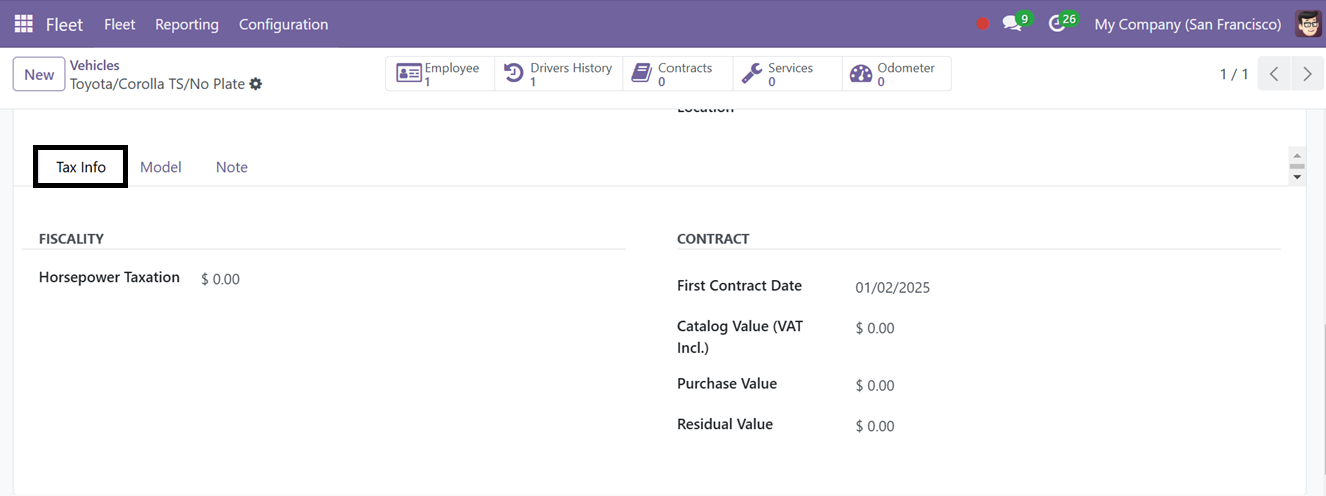
You can manage tax details under the Tax Info tab, including Horsepower Taxation. In the Contract option, record essential contract details like First Contract Date, Catalog Value, Purchase Value, and Residual Value.
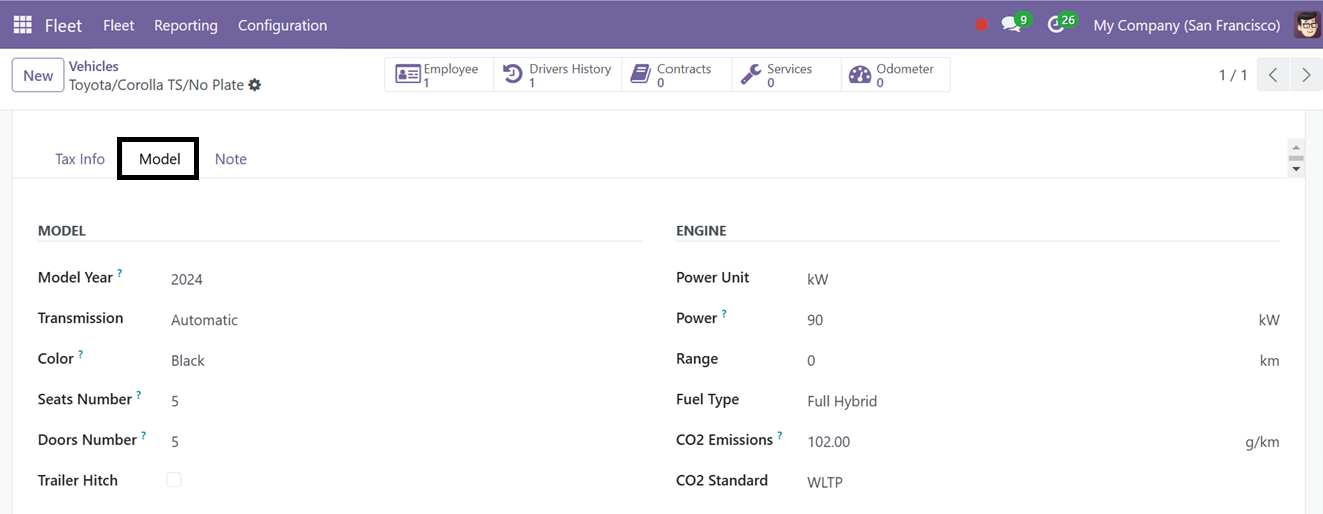
In the Model Tab, specify the vehicle’s Color, Model Year, Transmission, Seat Number, Door Number, and Trailer Hitch. Under the ENGINE Section, you can list the Power Unit in kW, Power, Range, Fuel Type, CO2 Emissions, and CO2 Standards as shown in the screenshot below.
Use the Notes Tab for additional details about the vehicle. After entering the information, click the Save button to access advanced features.
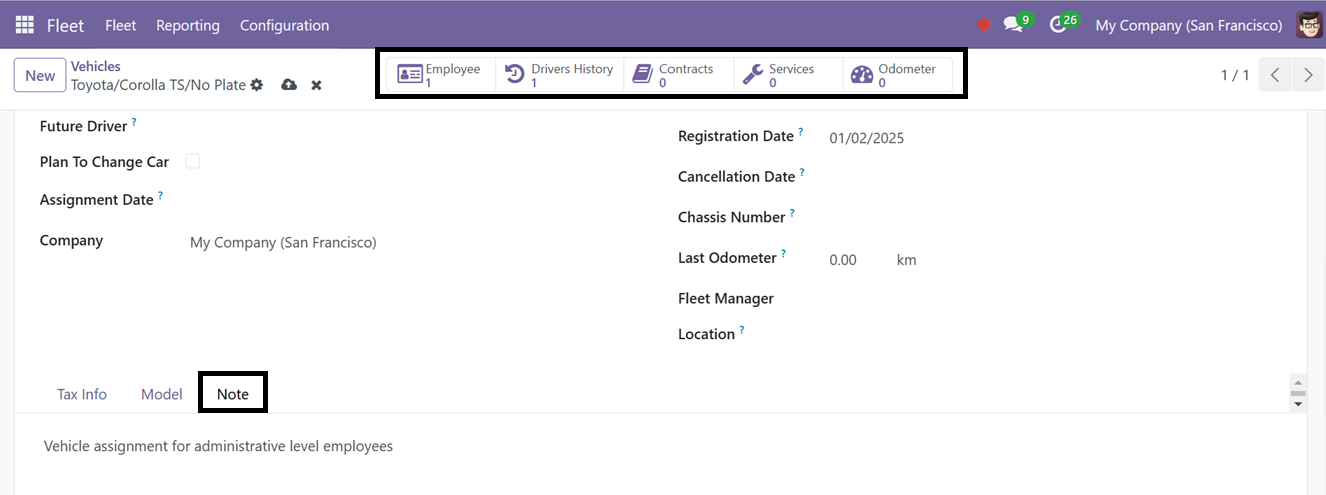
You’ll then find smart button options such as Driver’s History for tracking past drivers, Contracts for managing agreements linked to the vehicle, Service Logs for maintenance records, and Odometer Logs to track mileage.
The Contracts Smart button option allows you to modify vehicle data and manage existing configurations. Available through the Fleet Menu, this feature provides contract details such as Contract Name, Start Date, Expiry Date, Vehicle and Driver information, Vendor details, Recurring Costs, and Status.
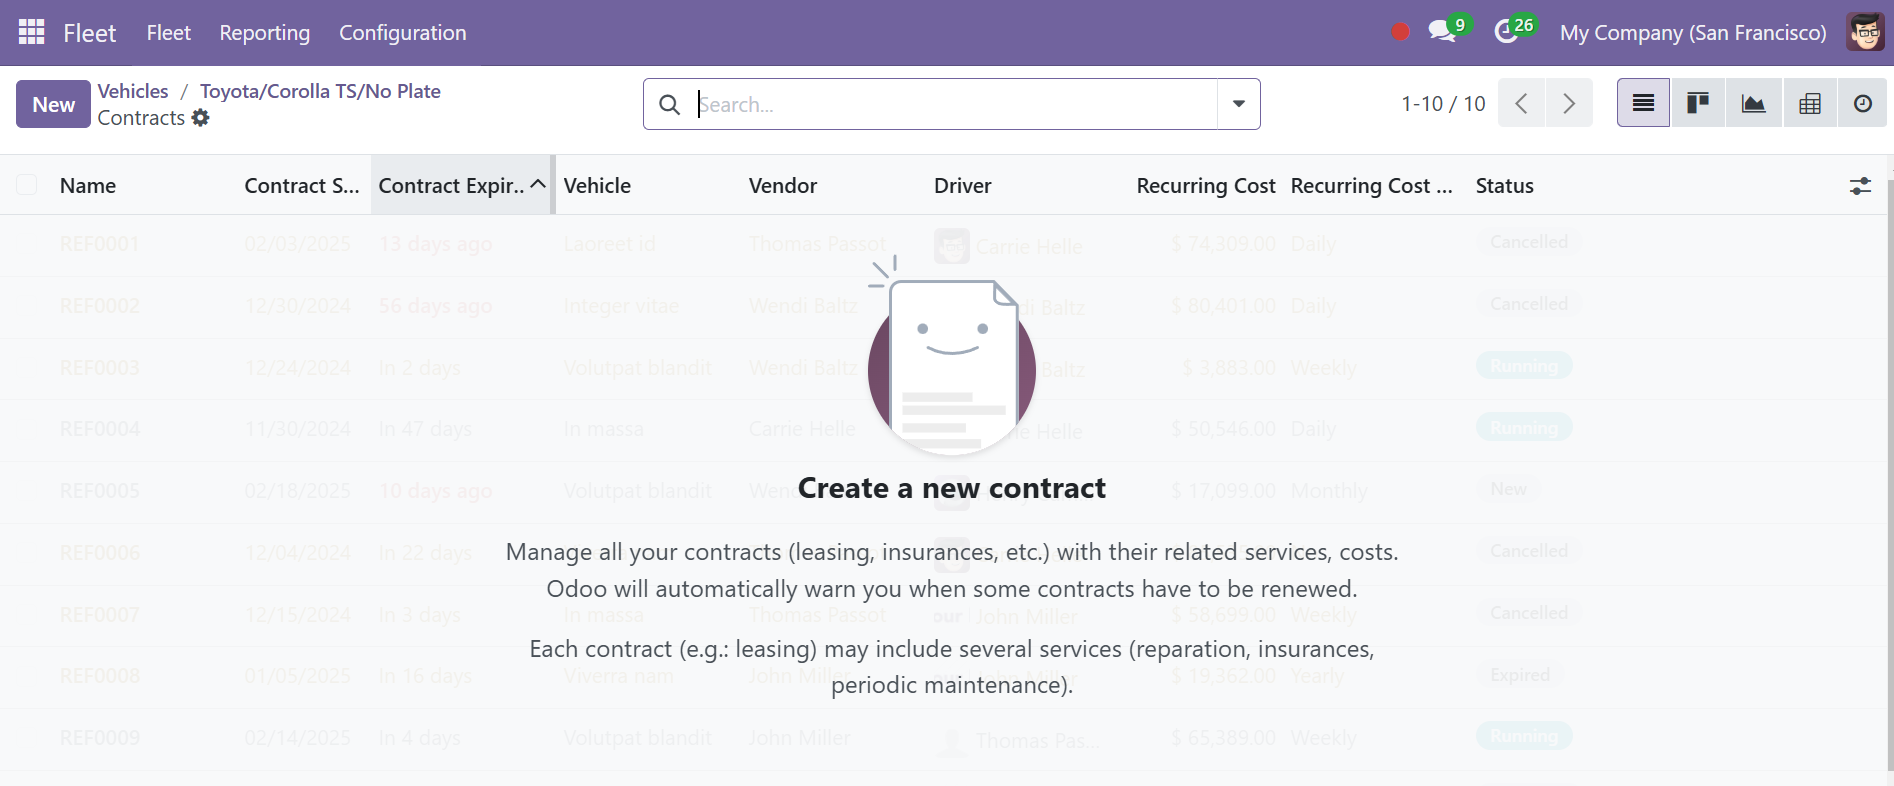
You can view the page in Activity, Graphical, Pivot, and Kanban formats.
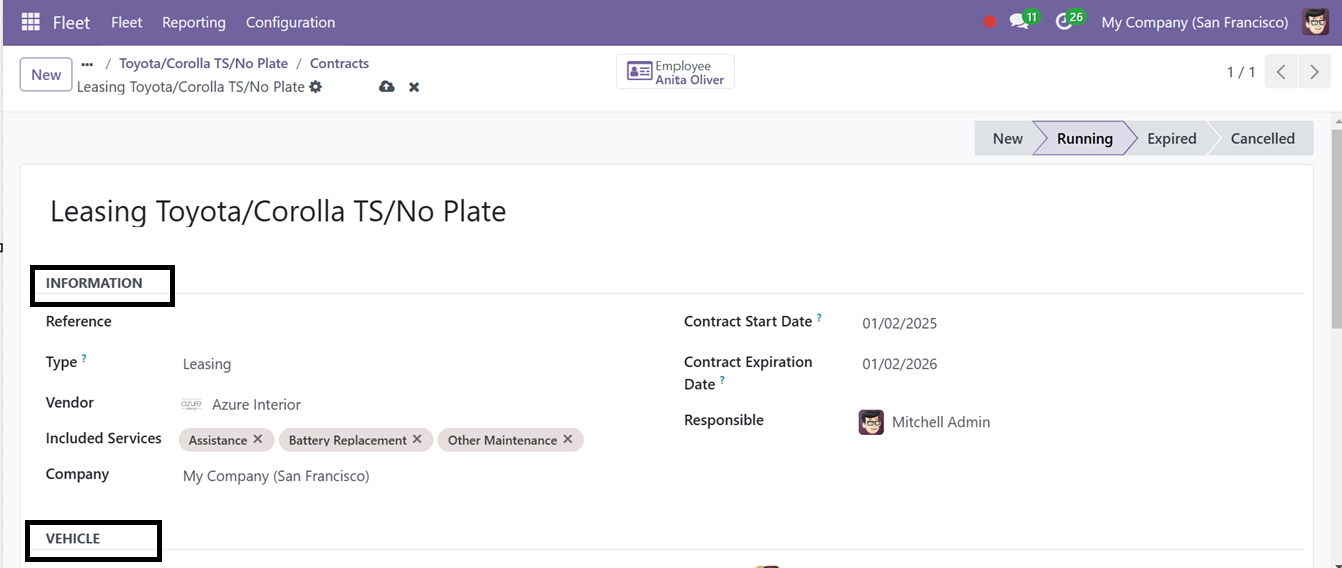
Contracts
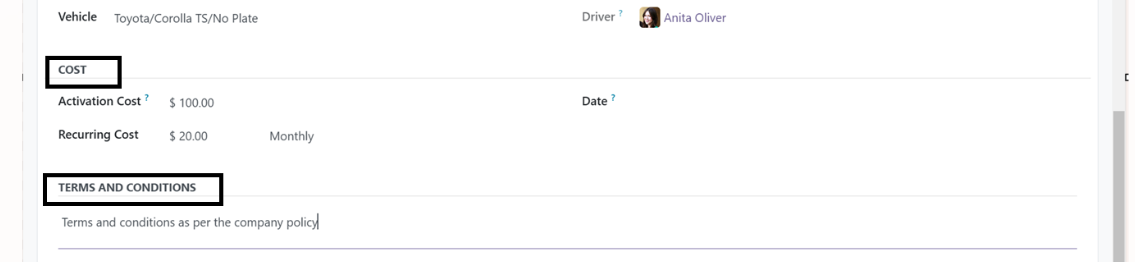
To create a new contract, click the New icon and enter the form fields Including the Company Name, Vendor, Reference, Type, and Included Services of this contract. The COST section can be used to set the Recurring Costs, Activation Cost, Vehicle and Driver details in the VEHICLE Tab, add additional terms or conditions under the TERMS & CONDITIONS tab, and click the ‘Save’ button.
The Service option in the Fleet module provides an overview of all previous services, with information like: Service date, Service Type, Description, Vendor, Driver,Cost and Status.
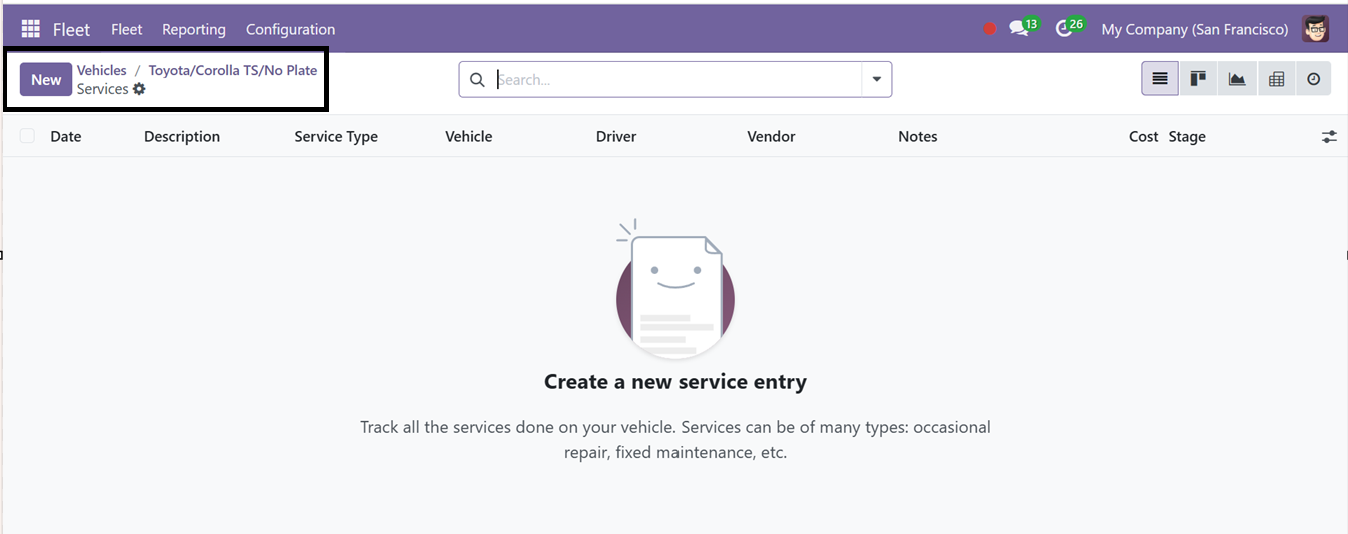
Creation of a new service can be done by opening a new configuration form. You can switch between graphical, list, pivot, or kanban views. Use the New button to create a service entry and specify the details.
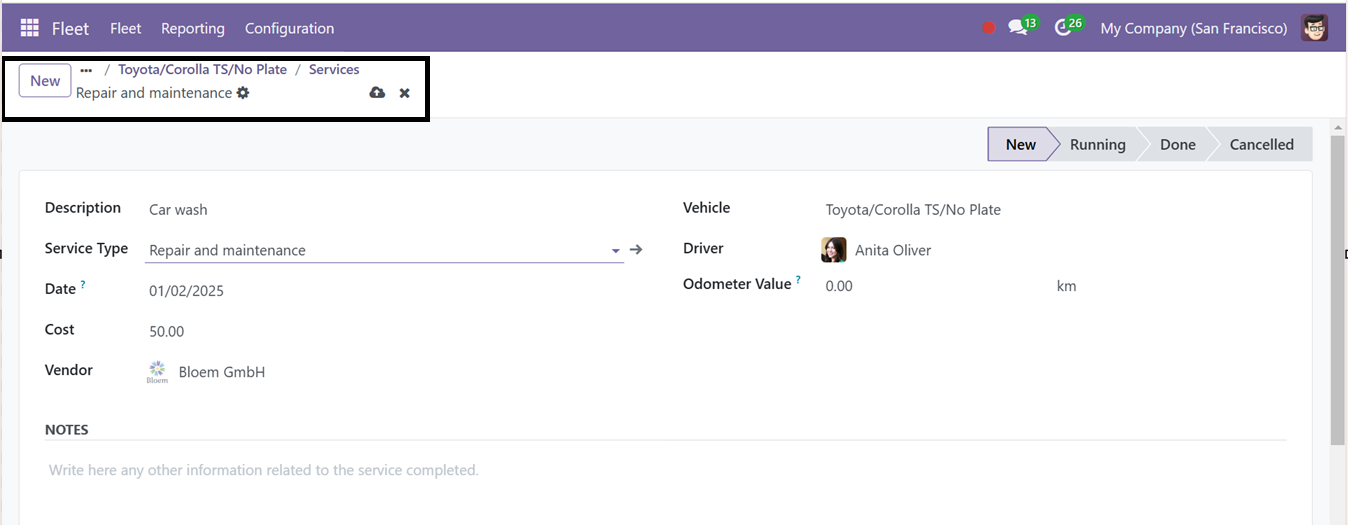
Inside the form view, provide a Service Type, Vehicle Name, Driver, Vendor, Odometer Value, Cost, and Date. Add any notes under the NOTES Tab, then click Save to store the information.
Odometer
With the Odometer menu option, you can log the vehicle’s mileage by entering the reading Date, Odometer Value, Vehicle Name, Driver, and Unit. Use the New icon to create a new Odometer entry.
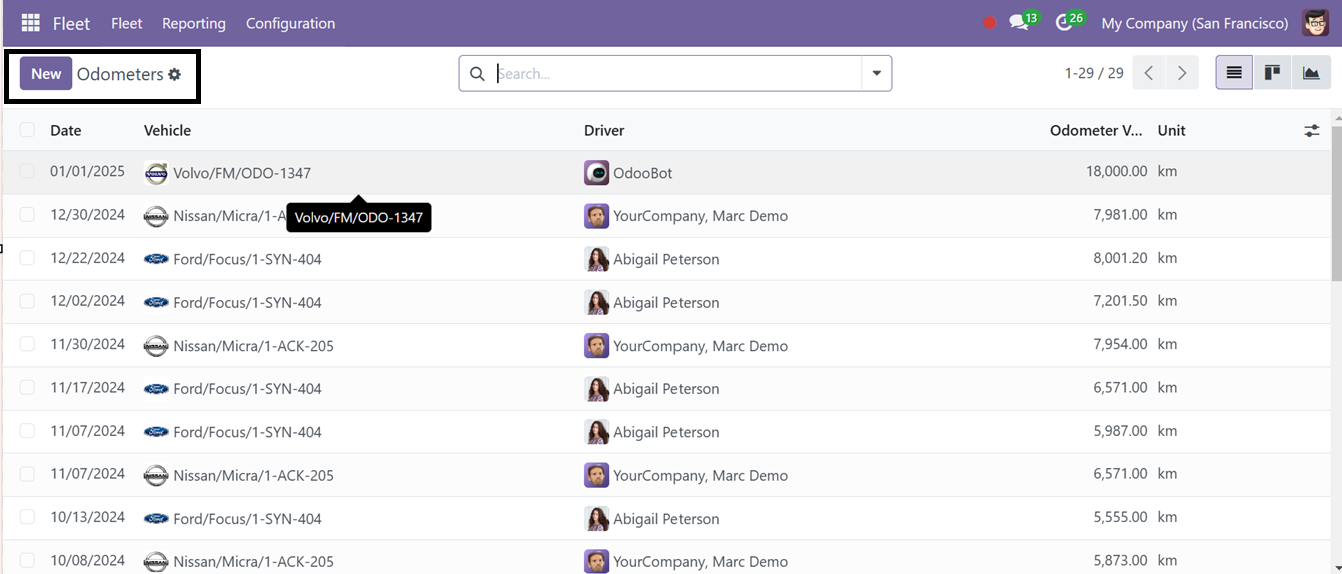
Upon opening a new Odometer entry, a new editing line will appear on the dashboard. So, you just need to edit the Date, Vehicle name, and the other fields. Finally, click the ‘Save’ button to add the new Odometer reading to your Fleet database.