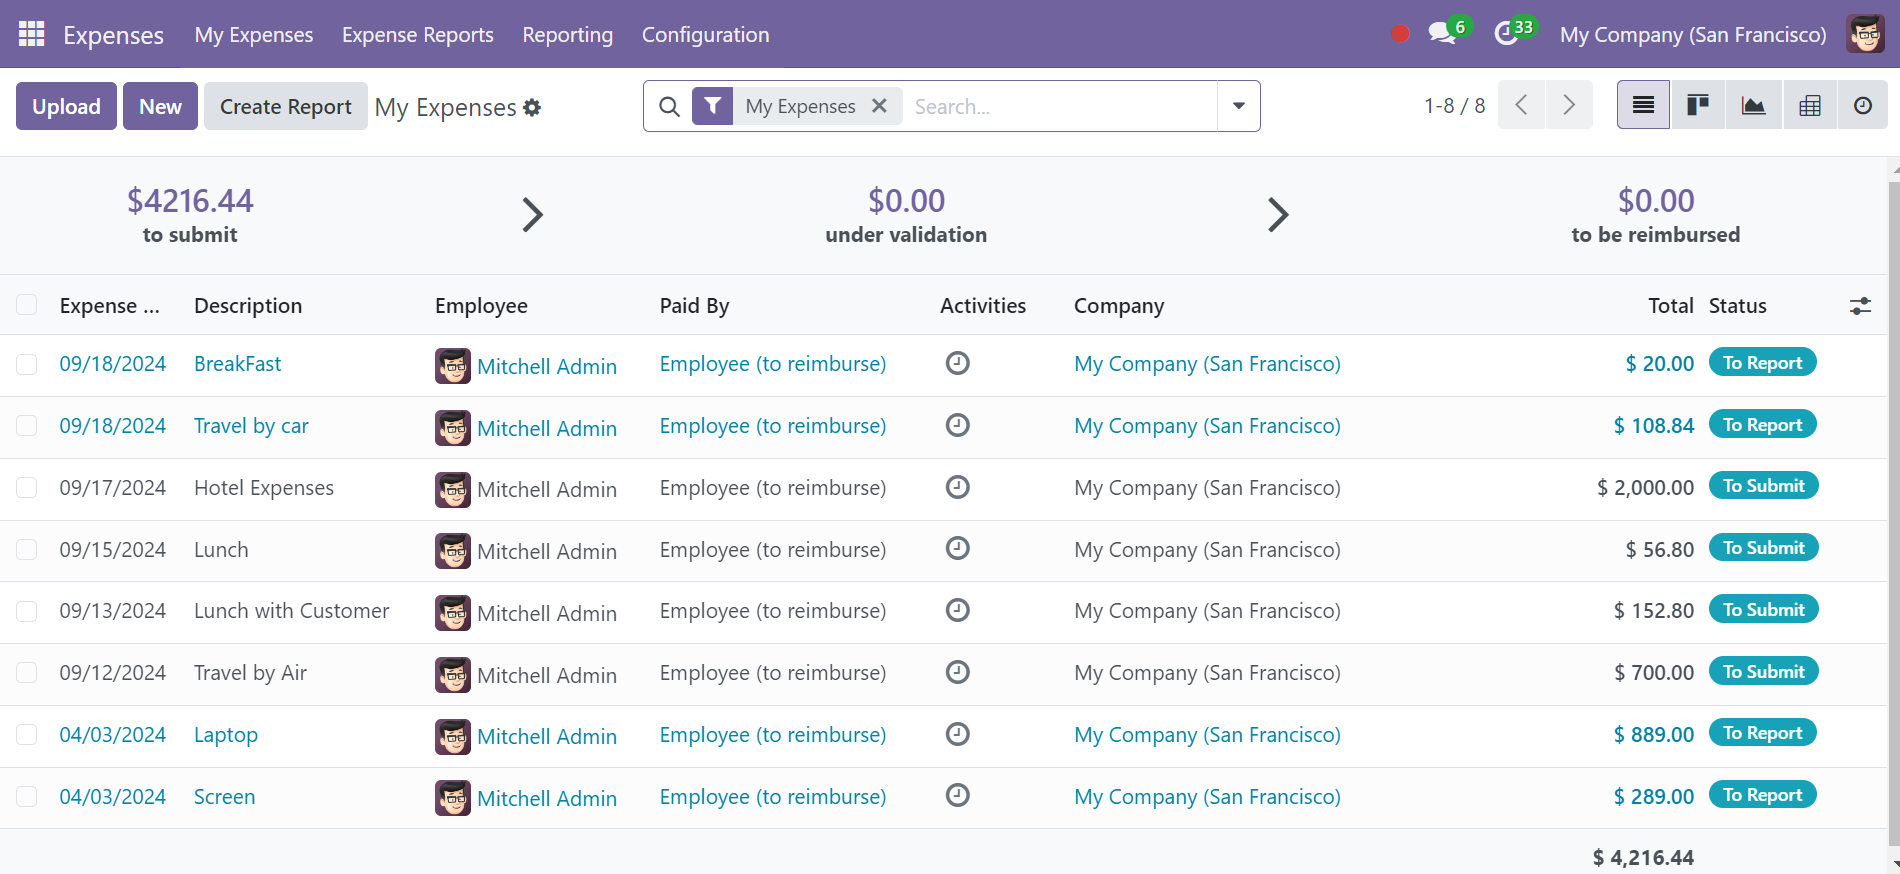
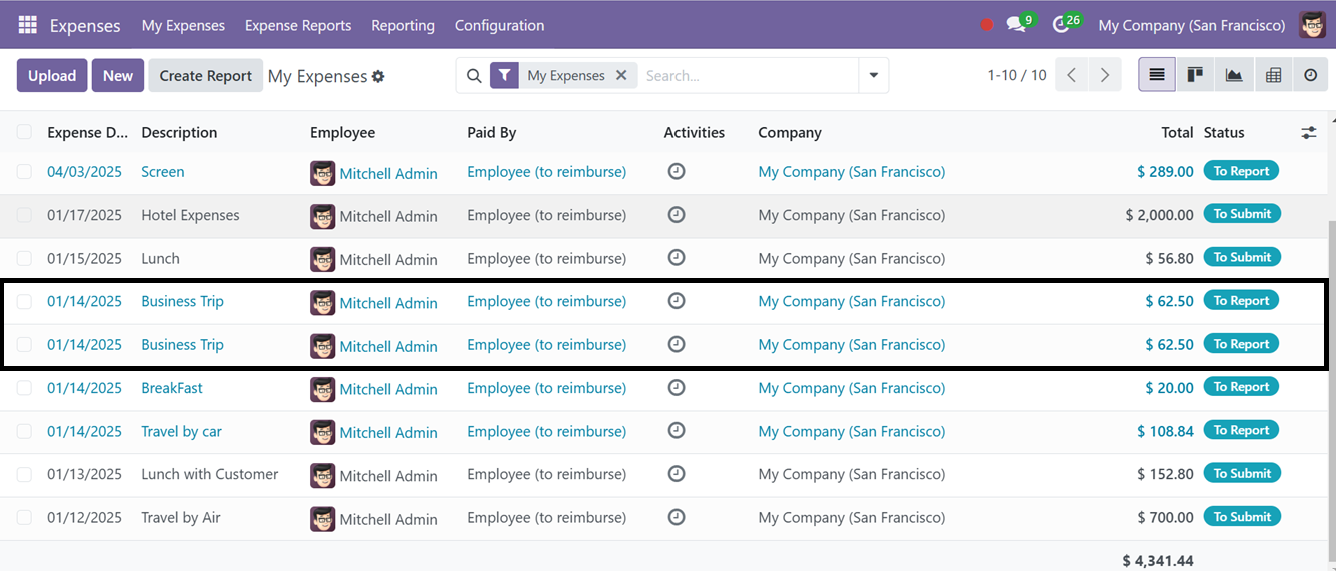
The Expenses dashboard of the My Expenses menu displays all the employee expenses associated with reports that have been submitted for managerial approval. The user can access a detailed view of their expenses with their Expense Date, Description, Paid By, Activities, Company, Total amount, and current Status, as illustrated in the screenshot below.
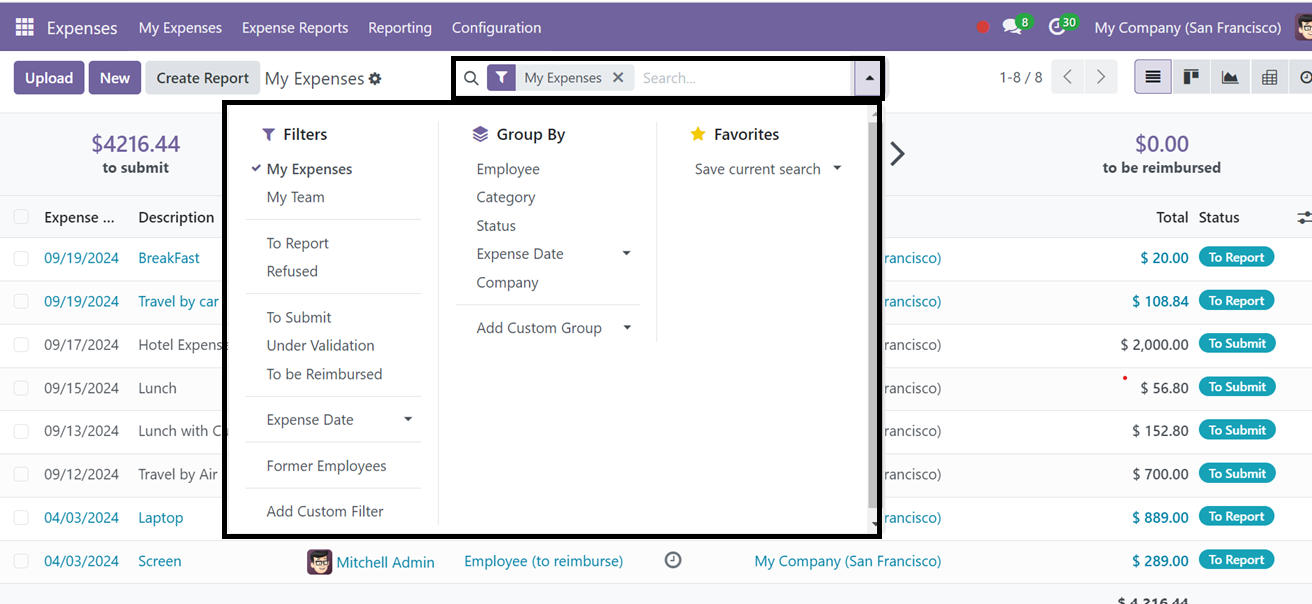
The advanced search bar provides several filtering and grouping options, such as Group by, Favorites, and Filters. Under the Filters menu, you can find options like My Expenses, My Team, To Report, Refused, Expense Date, Past Employees, and even create custom filters. The Group by option lets you group expenses by Employee, Category, Status, Company, or Expense Date, with the ability to add custom groups. Using the Favorites option, you can save your current search and add it to the dashboard for easy access.
The view can be toggled between Kanban, List, Pivot, and Graphical formats using the respective icons provided on the upper right corner of the screen.
To create a new expense request, click the New button on the left side of the screen. This will open a new expense configuration form window where you'll be prompted to enter the Expense title in the Description field, select an appropriate Category from the dropdown, and fill in the employee’s name.
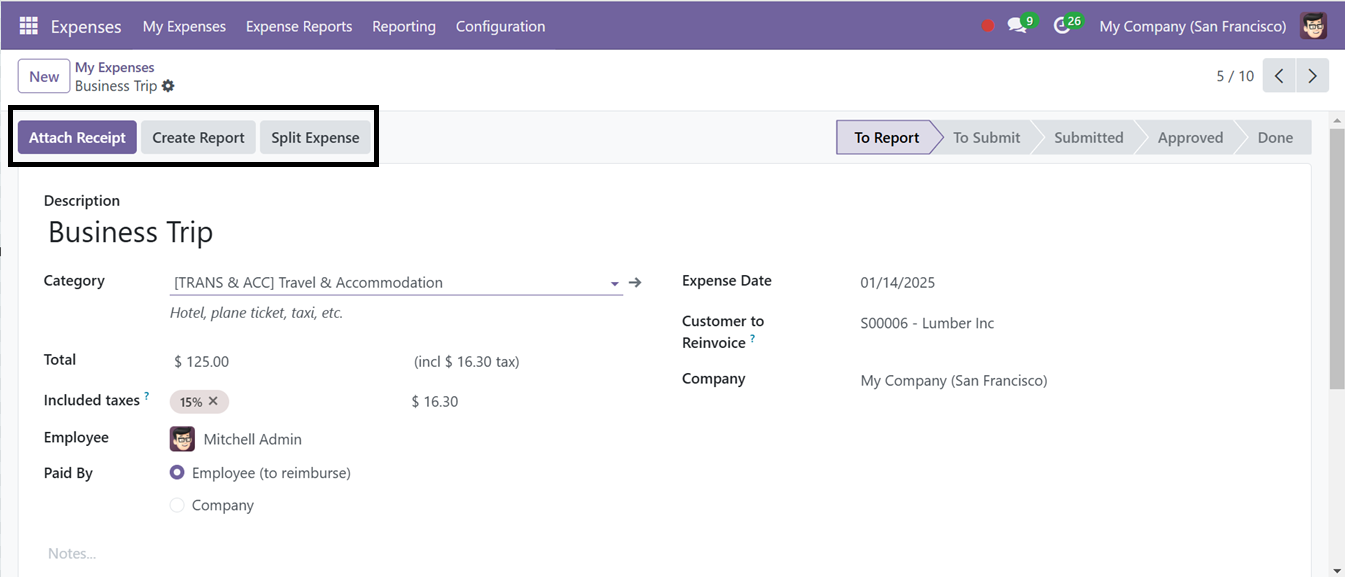
Then, provide the total expense amount in the ‘Total’ field and also choose whether the expense was paid by the Employee or the Company, enter the Customer to Reinvoice, and include details such as the Company name, and Expense Date. Additional notes can be added in the remarks section.
The newly introduced ‘Split Expense’ button in Odoo 18 Expenses Module divides a single expense into multiple ones, ensuring accurate cost allocation and improved financial tracking across various projects or departments
This will open a new pop-up window, where you can create the customized expense split entries using the ‘Add a line’ button. Here, we are splitting the expenses into two sections.
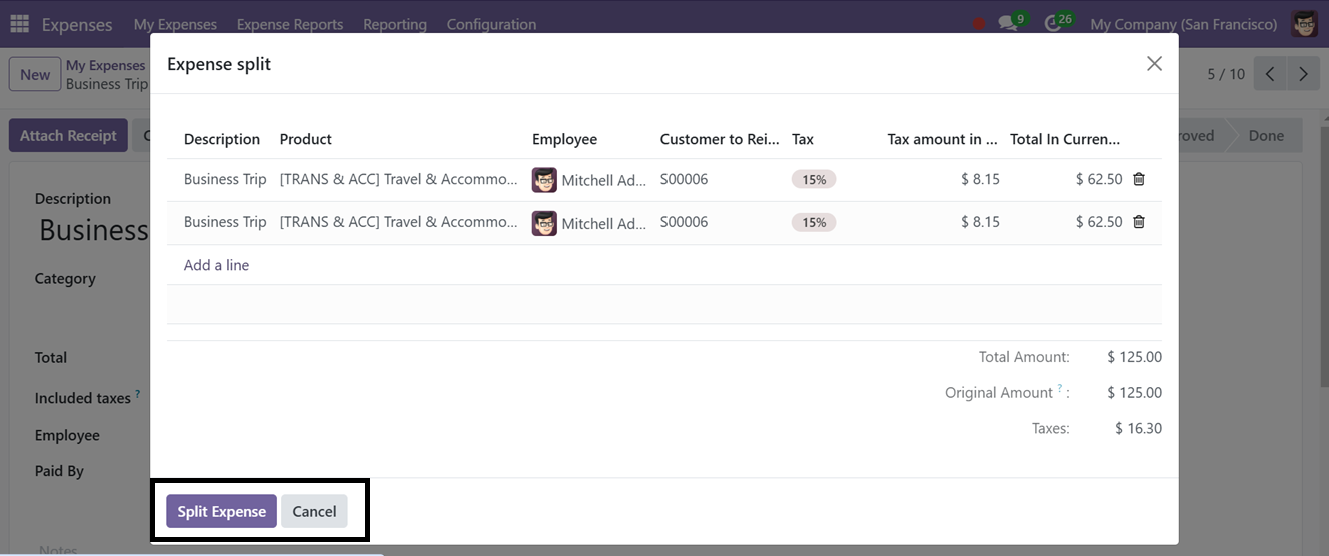
Then, press the ‘Split Expense’ button. So, this will create two entries in your ‘My Expenses’ dashboard window as shown below.
Once all details are entered, click Save. After saving the expense, you can attach a receipt by selecting the Attach Receipt option. To generate an expense report, click the Create Report button on the expense page. This will generate a summary of the expense report, which can be submitted for approval using the Submit to Manager button.
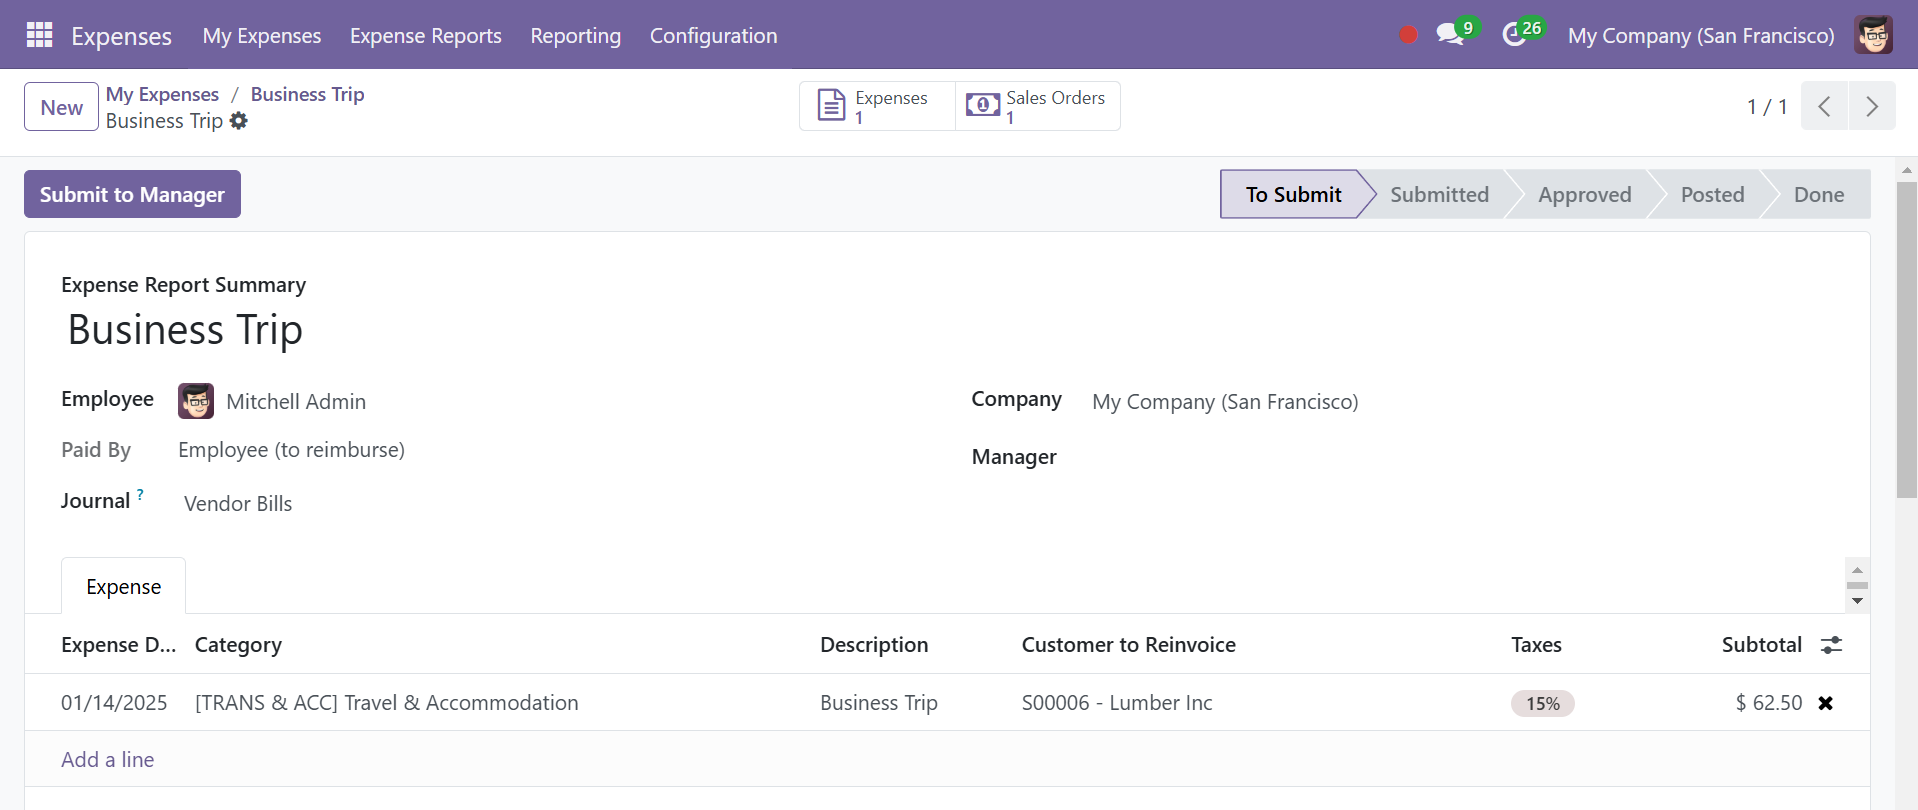
The ‘Expenses’ smart button can be used to view and manage the expense report and the Sales Orders (SO) related to this expense report will be updated in the ‘Sales Orders’ smart button.
This ‘Sales Orders’ smart button feature in Odoo connects expenses to relevant sales orders, enabling users to quickly access and review associated orders, ensure accurate tracking of expenses linked to customer transactions, and efficiently streamline expense and sales management.

Once submitted, the manager can either Approve or Refuse the expense report. Finally, you can utilize the ‘Reset to Draft’ button to reset the expense report into a draft. If approved, the expense report can proceed to the payment stage, and journal entries can be posted by selecting the Post Journal Entries option.
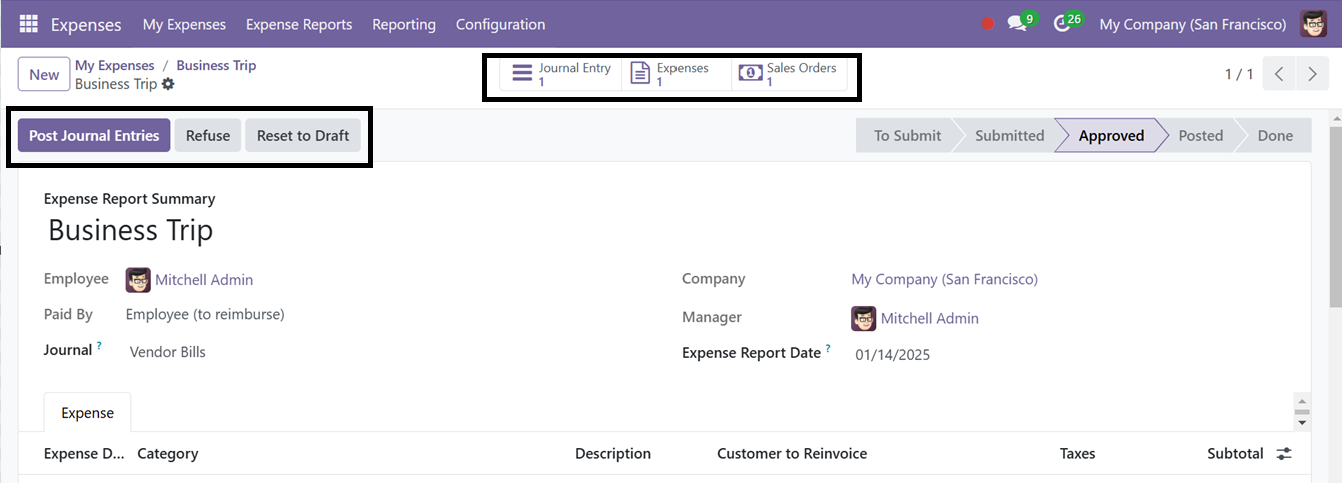
After posting the journal entries, you can see the ‘Pay’ button.
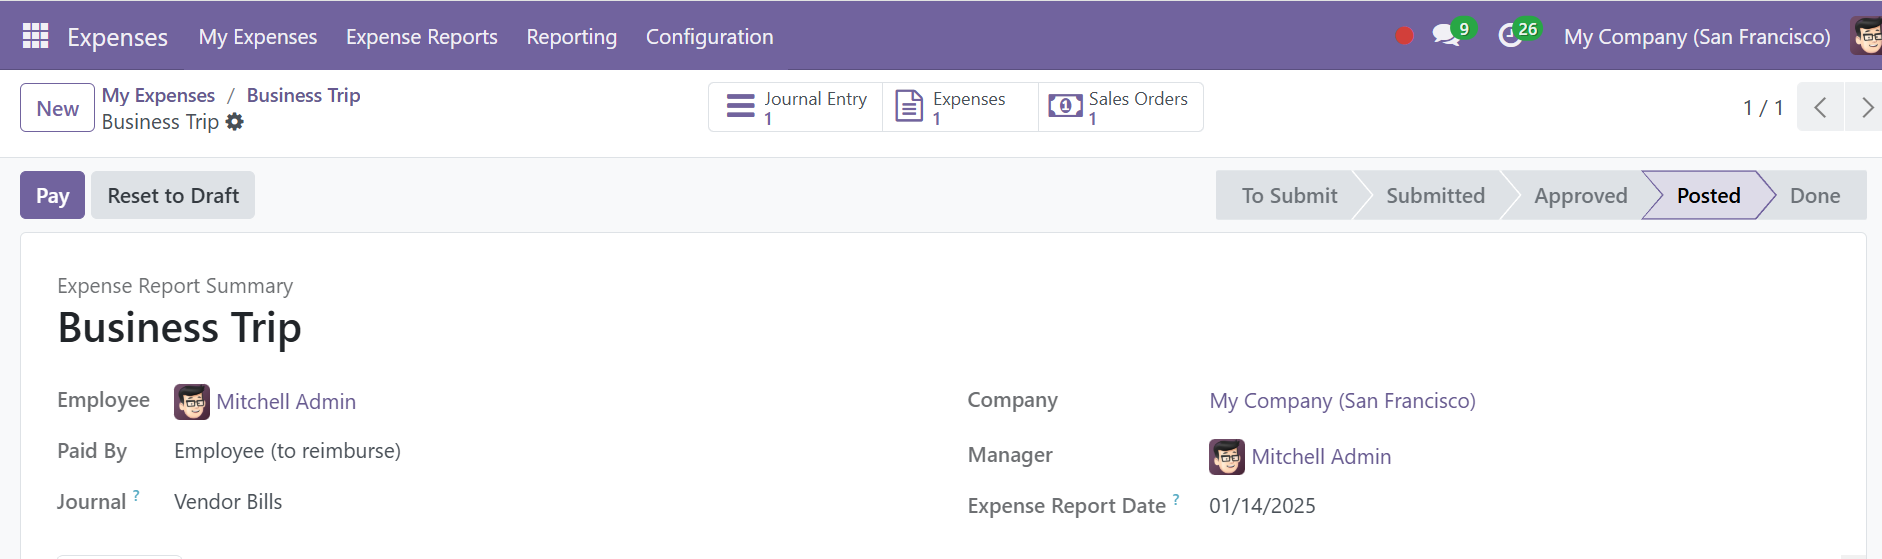
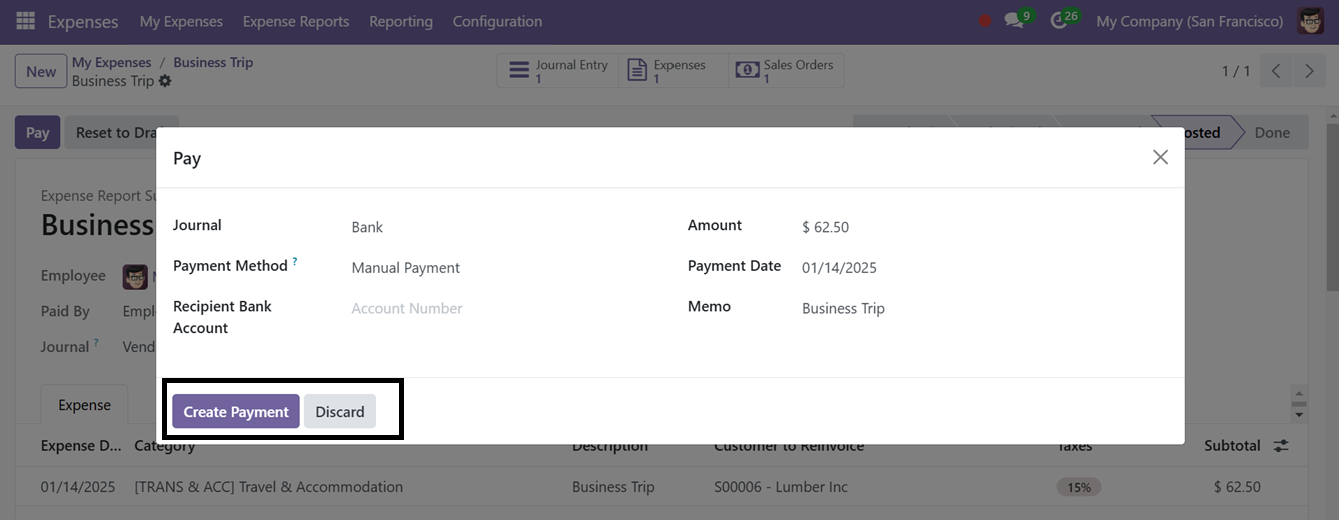
The Pay button will trigger a new pop-up window to enter the Journal name, Payment Method, Recipient Bank Account information, Amount, Payment Date, and Memo. After completing this, click the ‘Create Payment’ button to credit the amount into the recipient’s account, and the status will change to Paid.
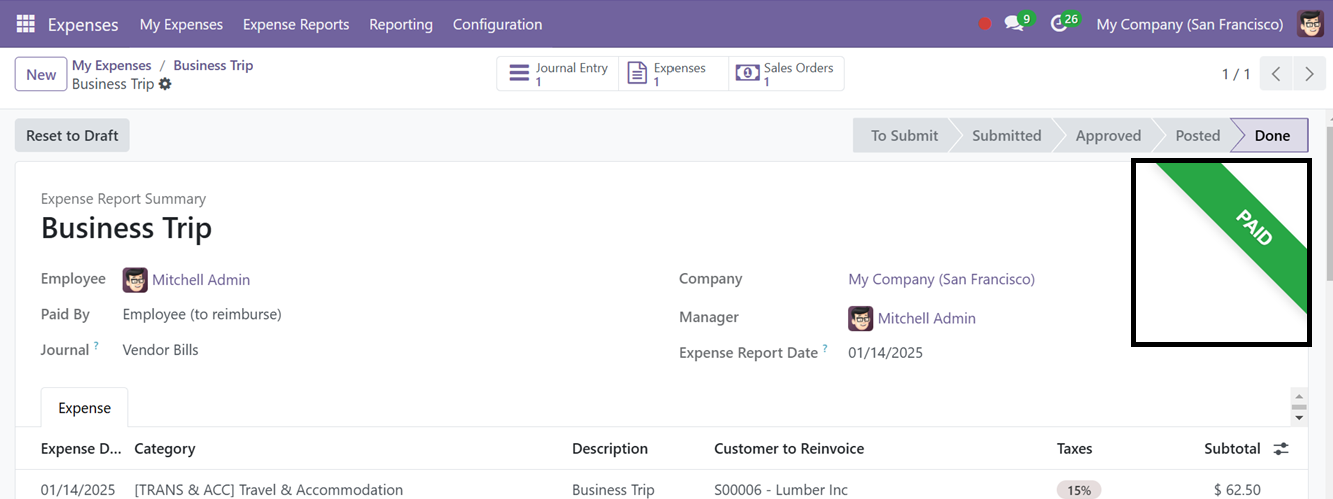
After completing the payment procedure, the expense will be credited and you can see the green colored ‘PAID’ ribbon in the form view as shown in the screenshot below.
My Reports Menu
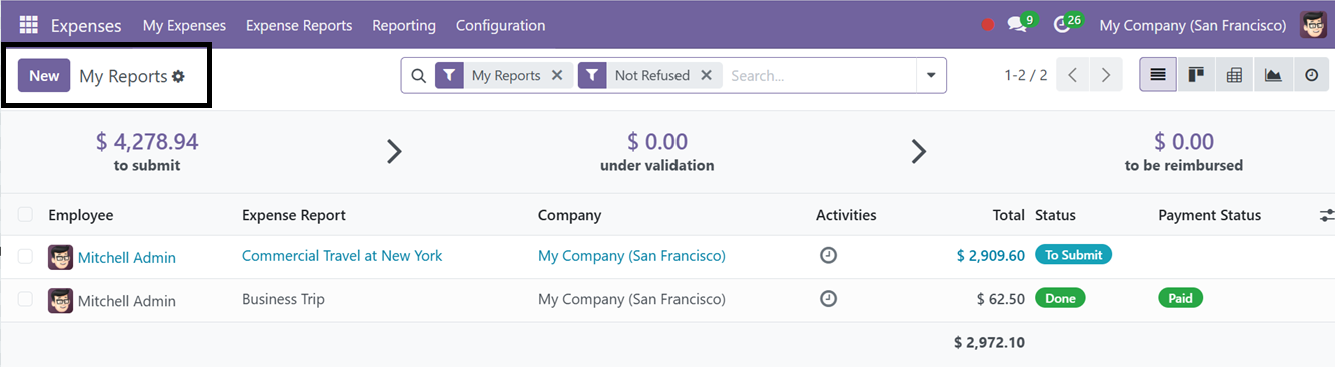
The My Reports window found under the My Expenses menu will show a detailed overview of the user’s expense reports that are not refused and will be displayed with their respective Employee Name, Expense Report, Company, Activities, Total, and Payment Status as shown in the screenshot below.
You can create new expense reports using the ‘New’ button and edit the Expense Report Summary, Employee name, Journal, Company, and Manager as shown in the screenshot below.
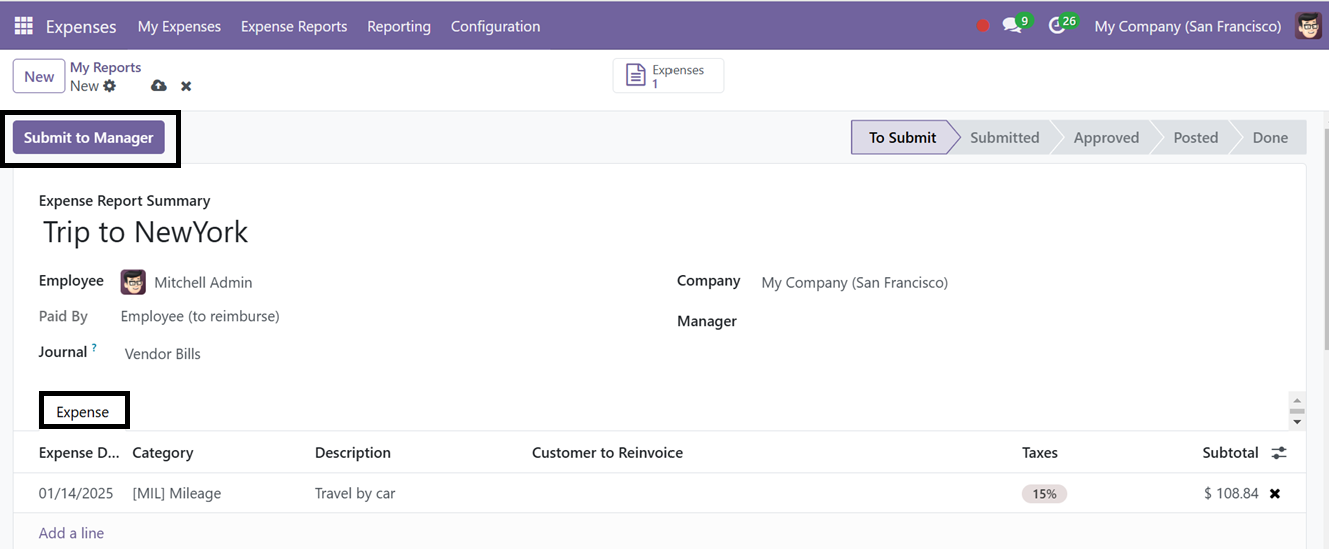
In the ‘Expense’ tab area, list the expenses by clicking the ‘Add a line’ button. Here, you have to provide the Expense Date, Category, and Description details. Then the Taxes and Subtotal will automatically appear. After editing the expenses and saving the report, submit the expense report using the ‘Submit to Manager’ button. This procedure is also the same as the expense request process described in the above section.
Expense Reports
In the Expense Report menu, you can find various reports on To Submit, Submitted, approved, Posted, Done, and Refused expenses, among others. For simple record sorting and navigation, these choices are located on the left side of the page.
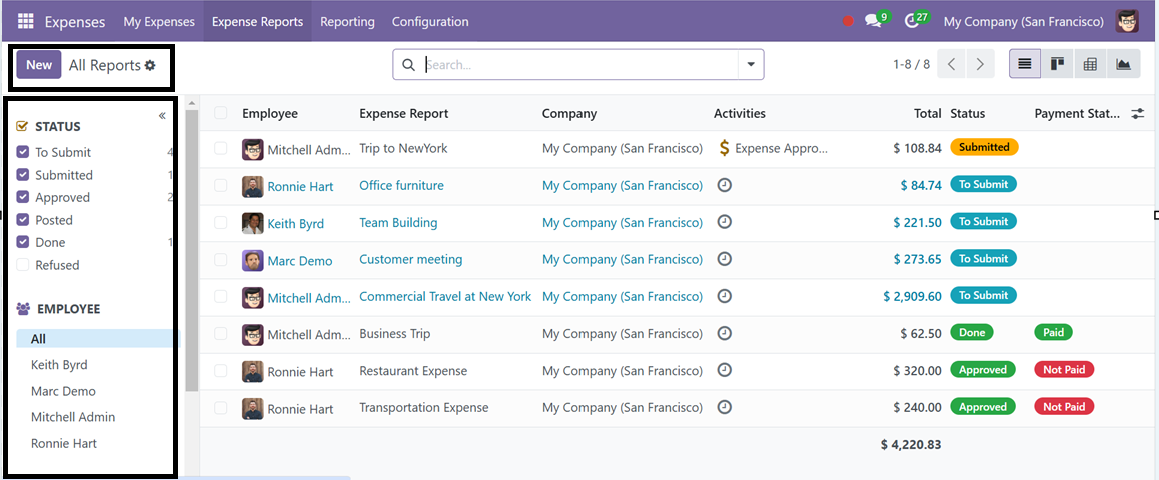
With the aid of this extensive window, managers or other responsible users may easily oversee or approve all expense requests and reports made by different employees, as well as their statuses. The filter options available in the search bar area can be used to sort and filter specific Expense reports.