Dashboard
All of the point-of-sale sessions in Odoo 17 will be visible on the
Dashboard of the PoS module. With the correct tools, managing the
sessions is simple from the dashboard itself. The PoS dashboard's
Kanban view is depicted in the screenshot. You can either use the
Continue
Selling button to carry on with the current session or the New
Session option to begin a new session for the relevant PoS.
Customers can
use their kiosk to place orders by clicking the "Open Kiosk" button.

The menu that displays after clicking the three vertical dots on
each session, as shown in the figure above, has more operation
tools.
You can view the Orders and Sessions of the chosen PoS using this
menu and create reports about the Orders.
The PoS dashboard's list view looks like this. To change the
settings, click any of the various places of sale. In Odoo17, you
can build a new PoS by pressing the NEW button.

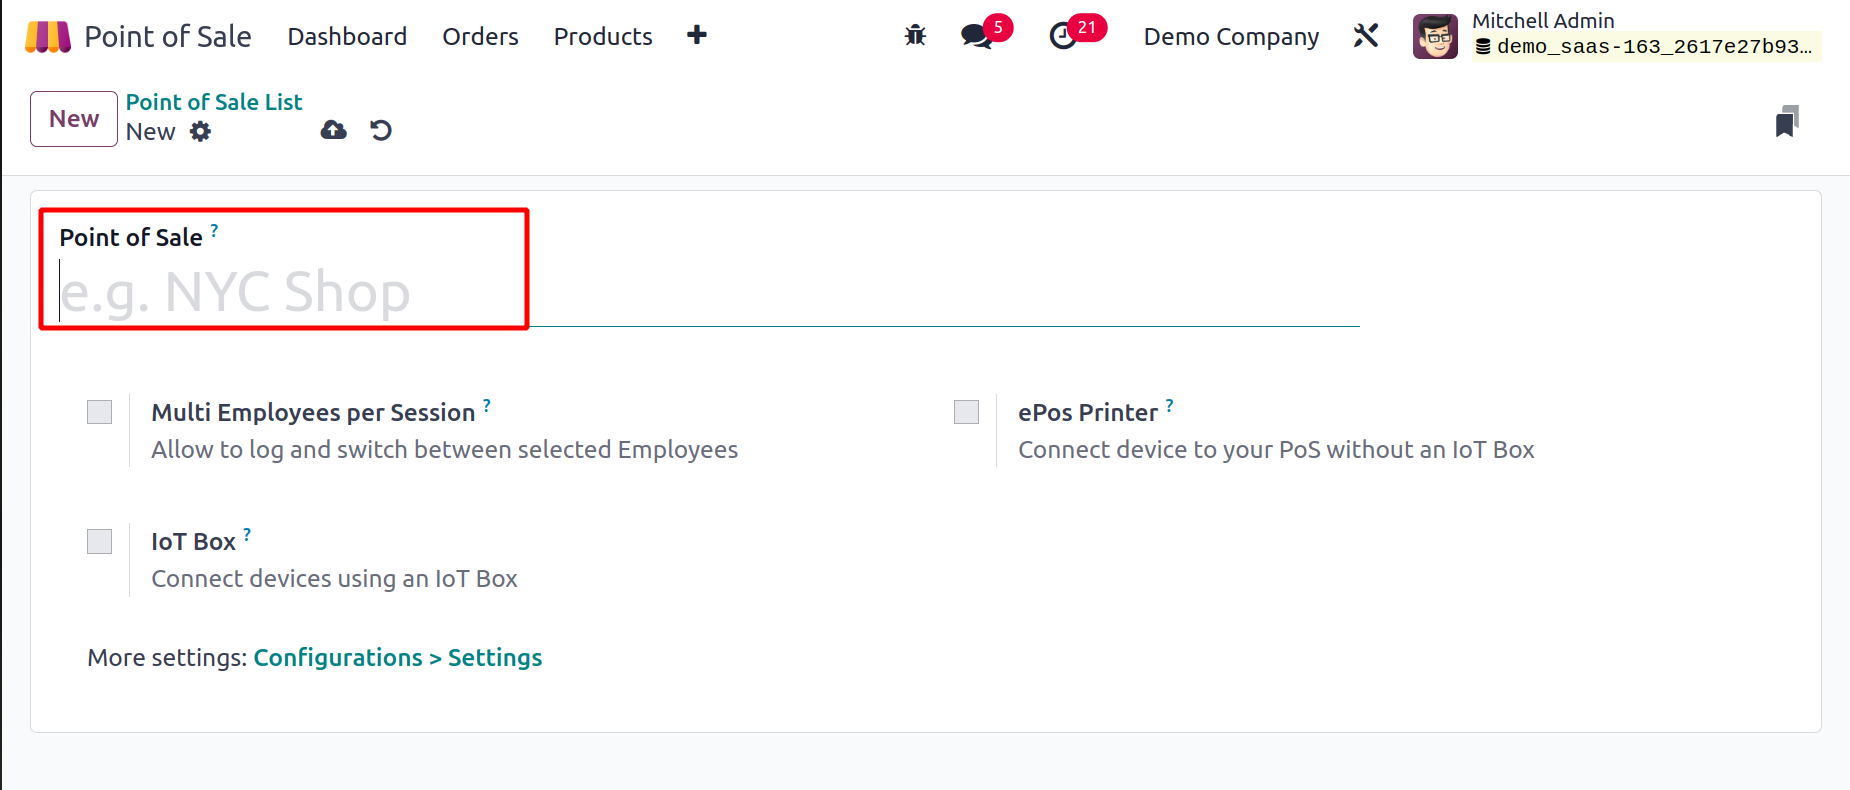
As seen below, Odoo17 will send you to a new Configuration window
where you can enter the name of the new Point of Sale in the
appropriate field.

You now turn on more functions for the new PoS in accordance with
your company's needs. The Multi Employees per Session feature can be
turned on if you want to permit several employees each session. In
the new PoS, this will enable us to log in and switch between
certain employees. The names of the authorized personnel will show
in a separate field. To access a PoS session,
these employees can either scan their badges or input their PIN.
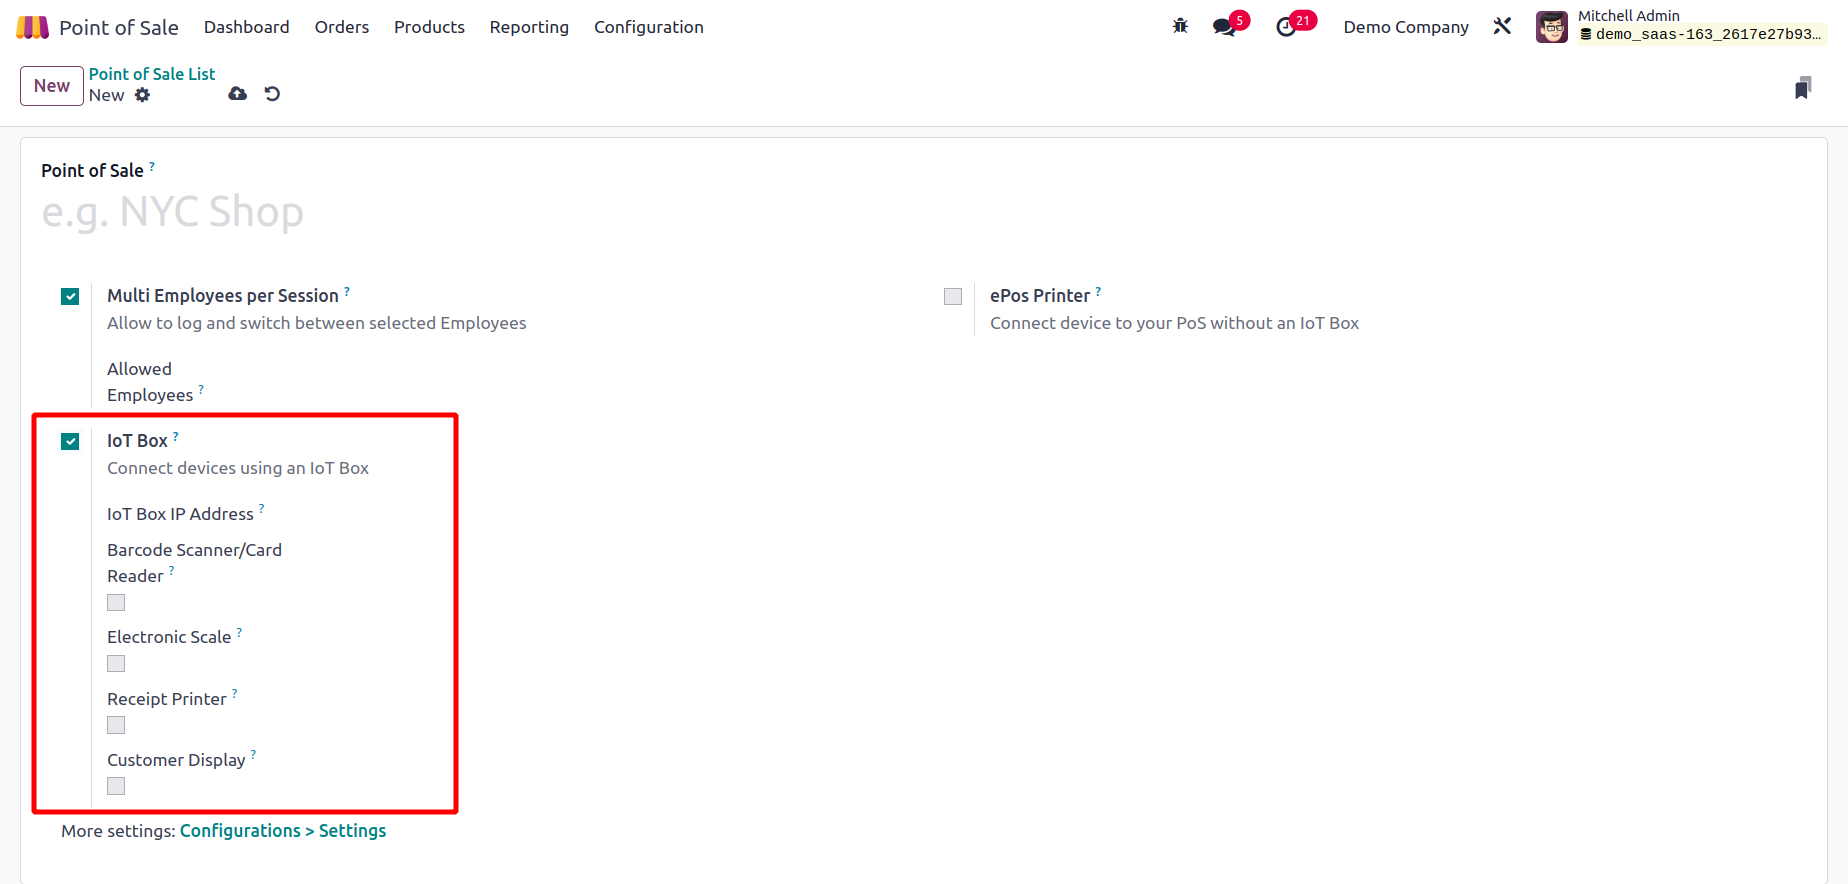
You can connect devices using an IoT Box by turning on the IoT Box
option. The fields allow you to provide information about the
receipt printer, customer display, card readers and barcode
scanners, electronic scale, and Sweden Fiscal Date Module. You can
control the IoT devices that are connected through the external
link. By turning on the ePoS Printer field, you can connect devices
to your PoS without using an IoT box. You can enter the IP address
of the receipt
printer in the available space.
