Scrap Management
Inventory that is deemed scrap is made up of damaged or unusable goods.
Products with expiration dates may also be included in scraps. There is
a potential that damaged or expired goods will be discovered while
maintaining the inventory. We need to get rid of these products as
quickly as possible because we cannot sell damaged or outdated goods.
Most of the time, products with minor damage are employed in repair
procedures. The recyclable components of scraps can be utilized during
recycling procedures. You can save money and, most importantly, the
environment by
using a smarter scrap management system. The scraper that was taken from
the inventory can be taken to a site for scrap.
You can designate a spot for scrap from among the storage spaces
available in the warehouse. Let's see how managing the location of scrap
in your storage is made easier by Odoo17. The management and
configuration of storage locations in the Odoo17 Inventory have already
been covered. You can configure a location for scrap using the same
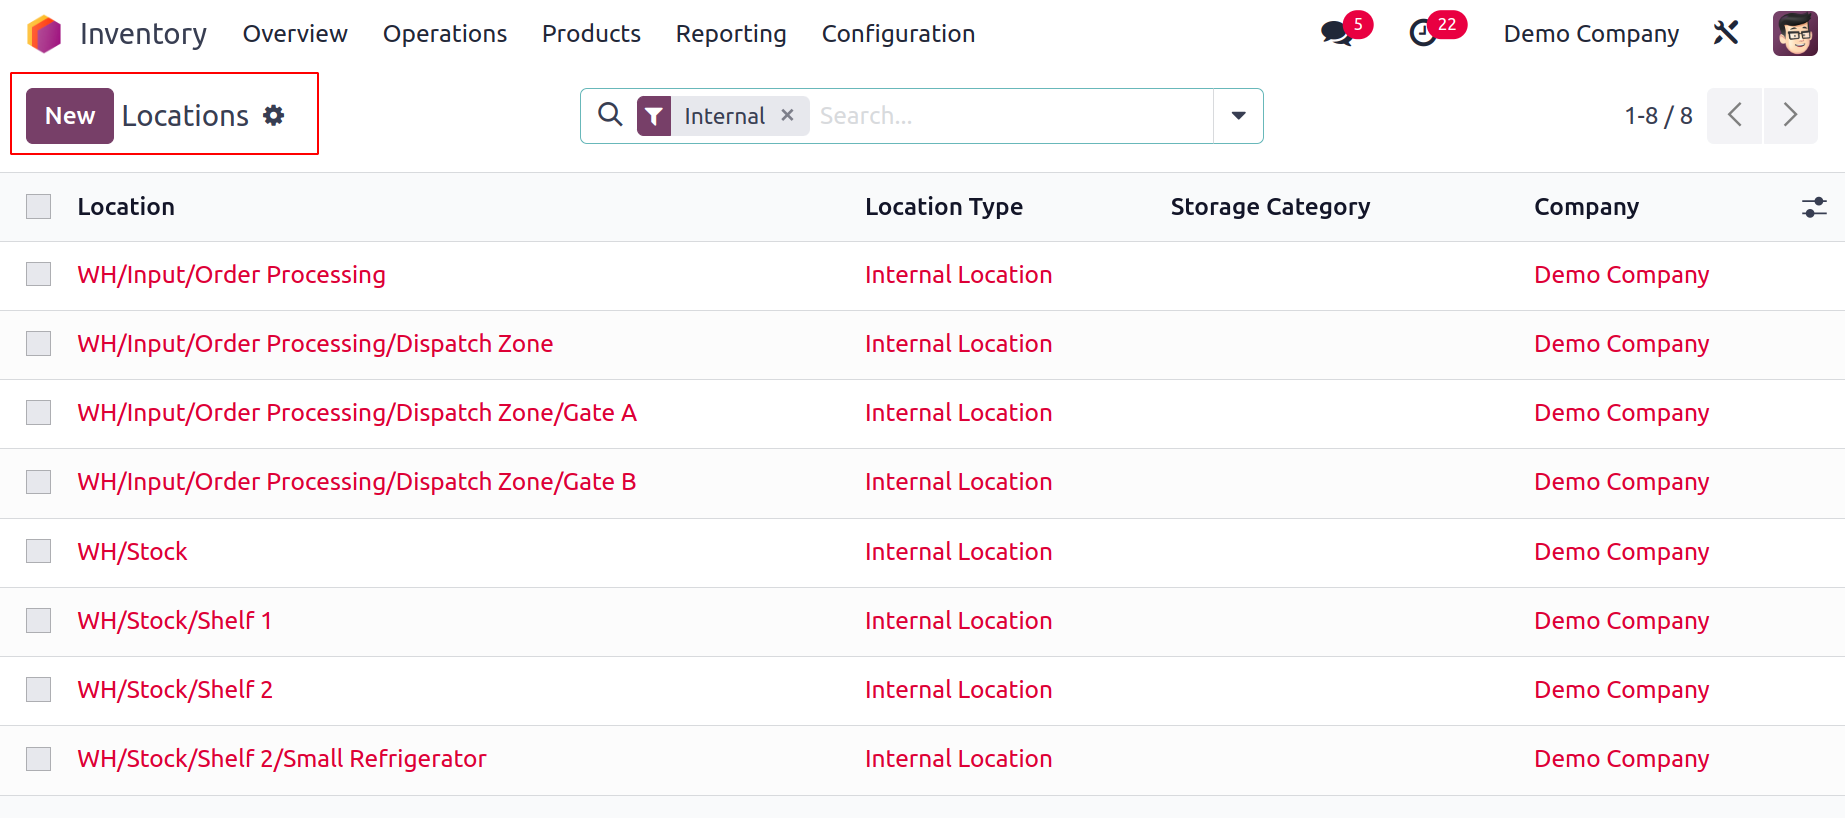
procedure. You can do this by accessing the Locations menu found under
the Configuration menu. The opening of a new window is depicted below.

To establish a brand-new spot for scrap, click the New button.

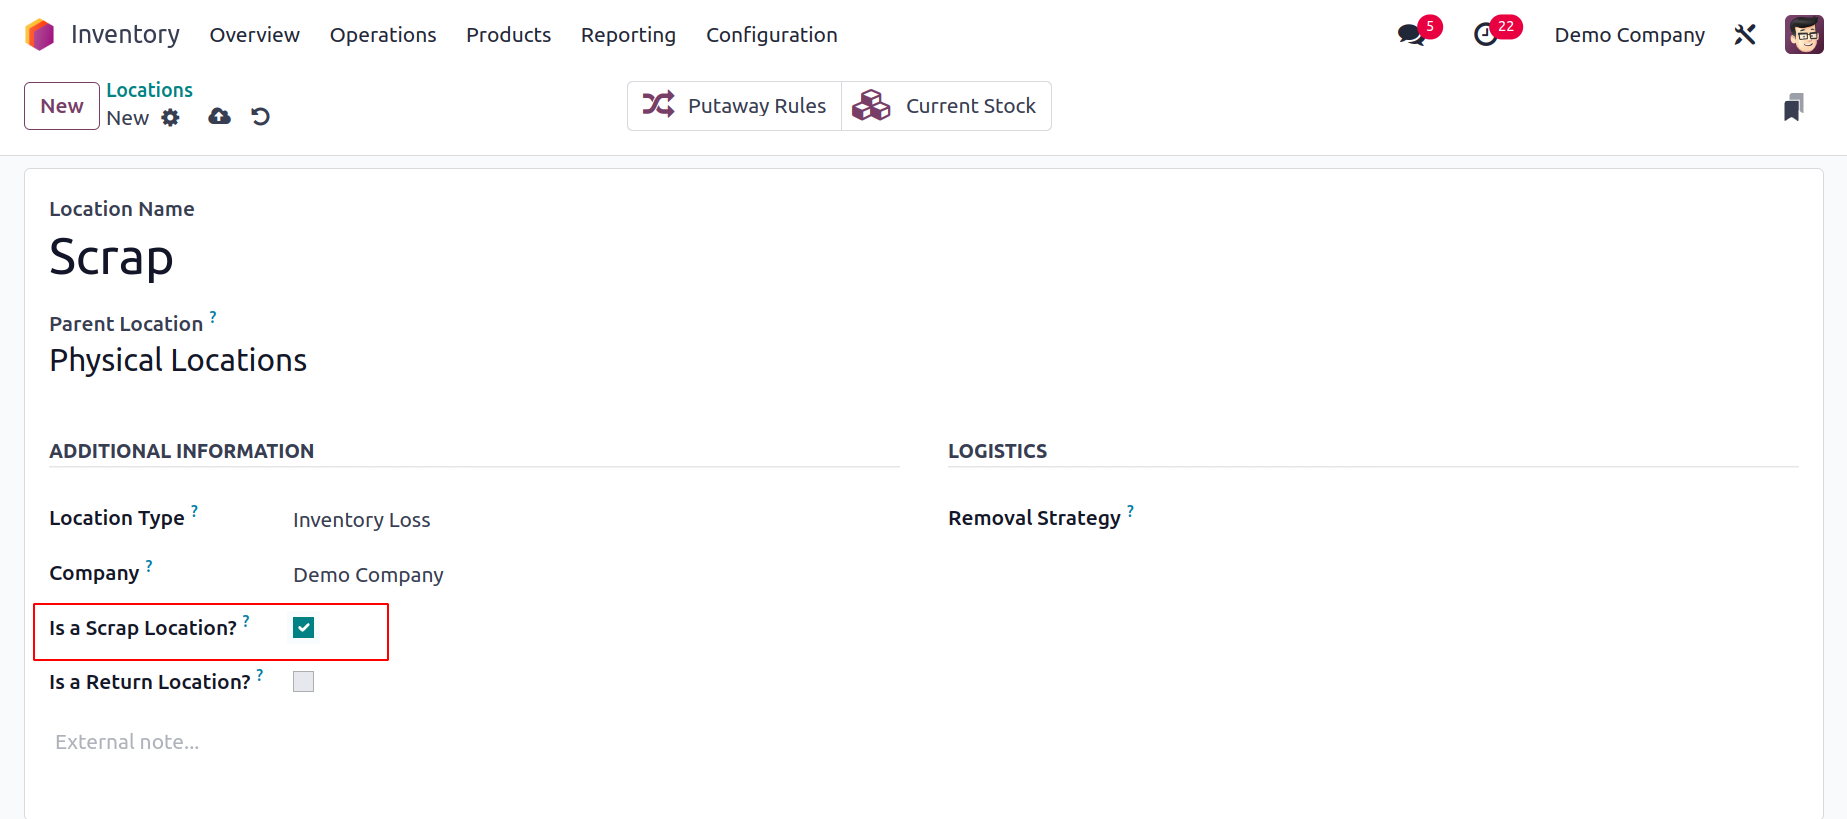
You can enter the location's name in the field provided in the
window for creating a new place.
Here, the location is referred to as Scrap Location. The
remaining stages are the same as those
we outlined in the prior Location configuration section. The
most crucial step is to turn on the
Is a Scarp Location field in order to treat this place as a
scrap location. You can click the Save
button once you have entered all relevant information. In the
storeroom, we've finished designating a spot for
scrap. By using this technique, more scrap sites can be created.
Let's now examine how to add items to the scrap location. The
majority of processes in the Odoo17
inventory management system, including receipts, delivery
orders, internal transfers, manufacturing
orders, point-of-sale orders, and many more, give you the option
to add to scrap.
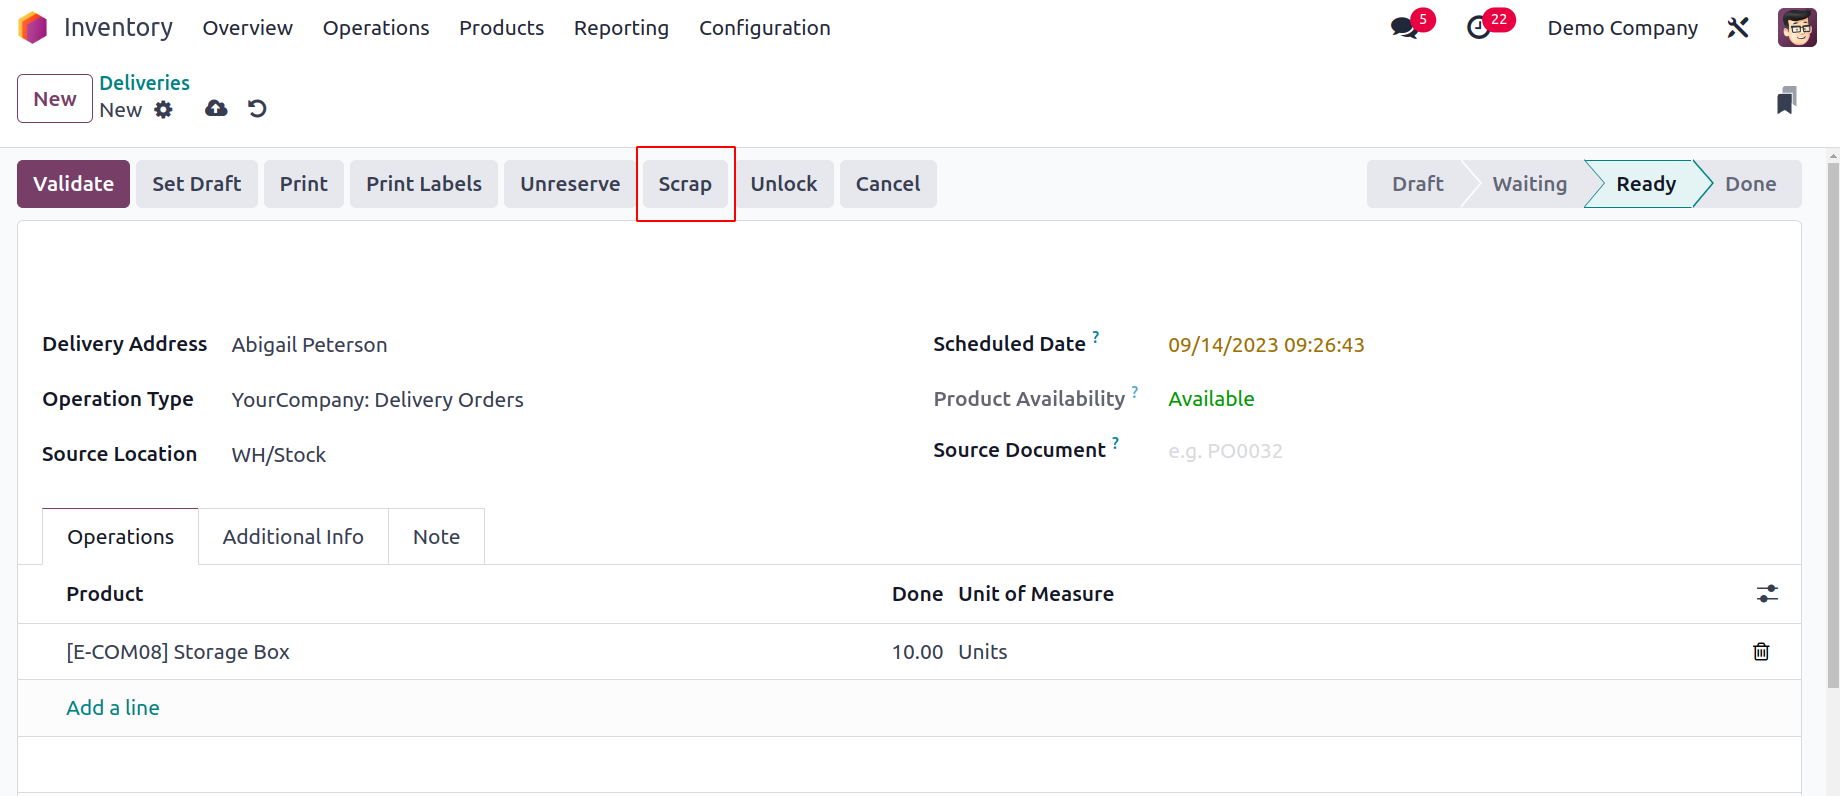
We took a delivery order for the demo at this point.

As seen in the screenshot above, the Scrap button is located
on the delivery orders. Clicking this button will
add any delivery
order items that are broken or past their expiration date to
the scrap pile.

The fields for the scrap product's name, quantity,
package, and owner are all available here. This window
will display the product's Source Location. You can
choose the scrap location from the drop-down menu in the
Scrap Location field if you want to move broken or
expired goods there. The item will be moved to the
designated
scrap location when you click the Validate button. The
delivery orders will be reduced by the
amount of the scrap product.
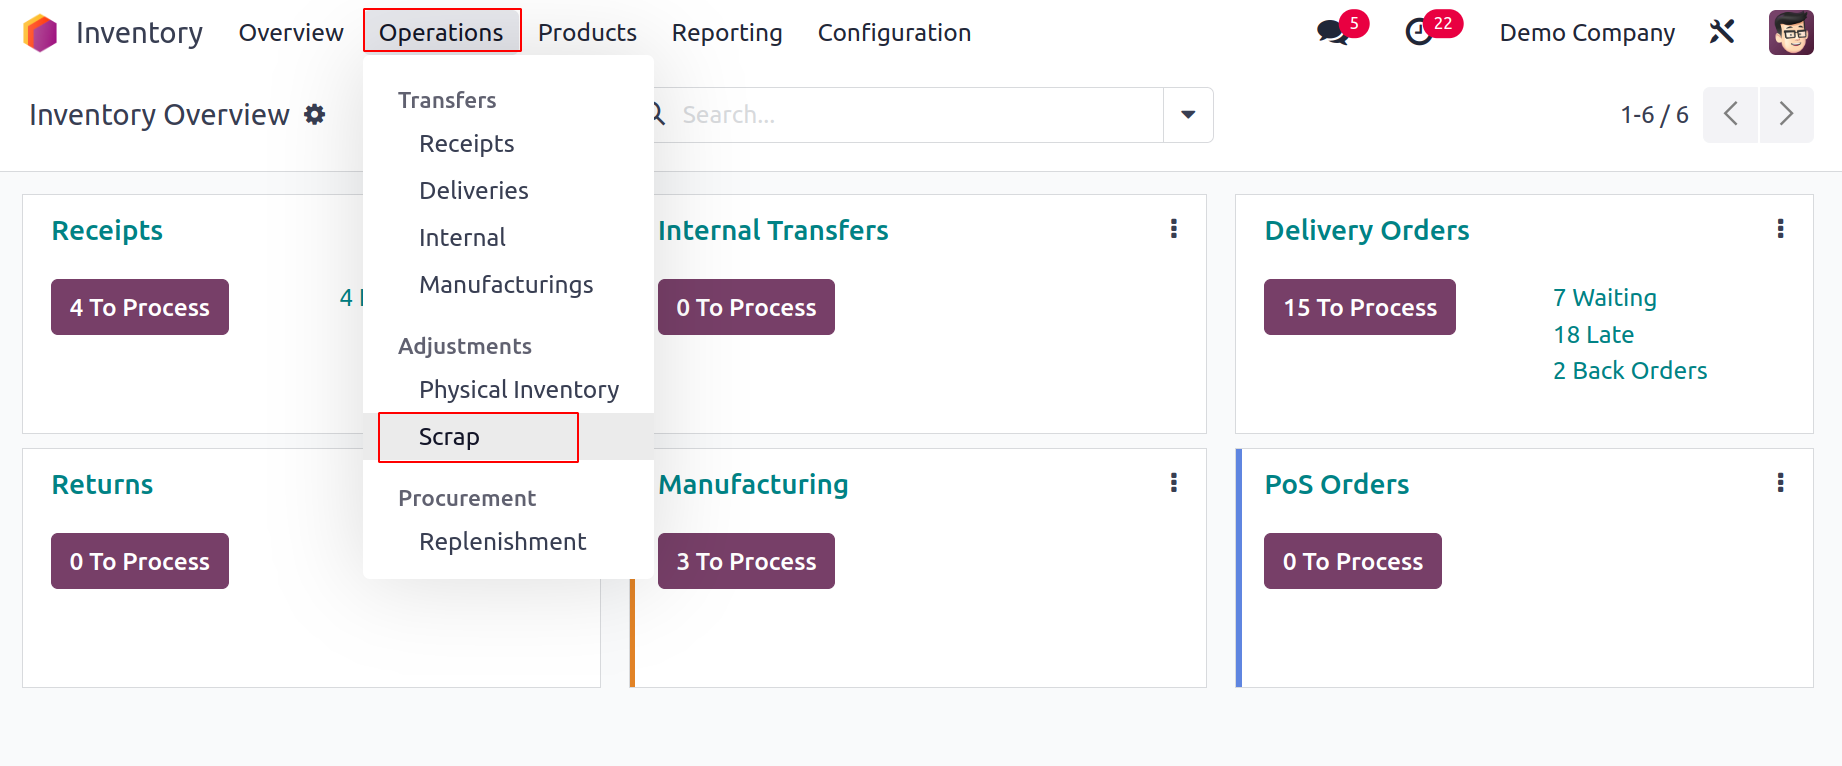
You will find a separate platform to manage all of these
scrap orders under the Operation menu of the Inventory
module,
as seen below.

On this platform, the user can access List, Kanban,
Pivot, and Graphical views. The Reference, Date,
Product, Quantity,
Unit of Measure, Source Location, Scrap Location,
Company, and Status details of the Scrap Orders are
available from the
List view. Using the Create button in this window,
you may also create a
new scrap order.

For sorting purposes, you can use the pre-set and
programmable choices under the Filters and Group
By features.
Let's now discuss the Inventory module's Landed
Cost functionality.