Frontdesk Management
It's possible for visitors or guests to come meet employees at a workplace. This could be
a requirement of any task, or the employee might occasionally have guests. Therefore, in
these situations, the front desk staff member or receptionist normally has to let the
user or employee know about the guest. Odoo 17 has since added a new module named Front
Desk to make handling these types of guests easier.
As seen in the screenshot below, the Front Desk module's overview is comparable. Users
initially see the workstations in the Kanban view inside the dashboard. Four menus
comprise this module: Stations, Visitors, Reports, and Configuration.

Stations
All that a station is an office's workspace. Thus, from the dashboard itself, one can
exam ine every workstation that has been created. Click the New button to add a new one.
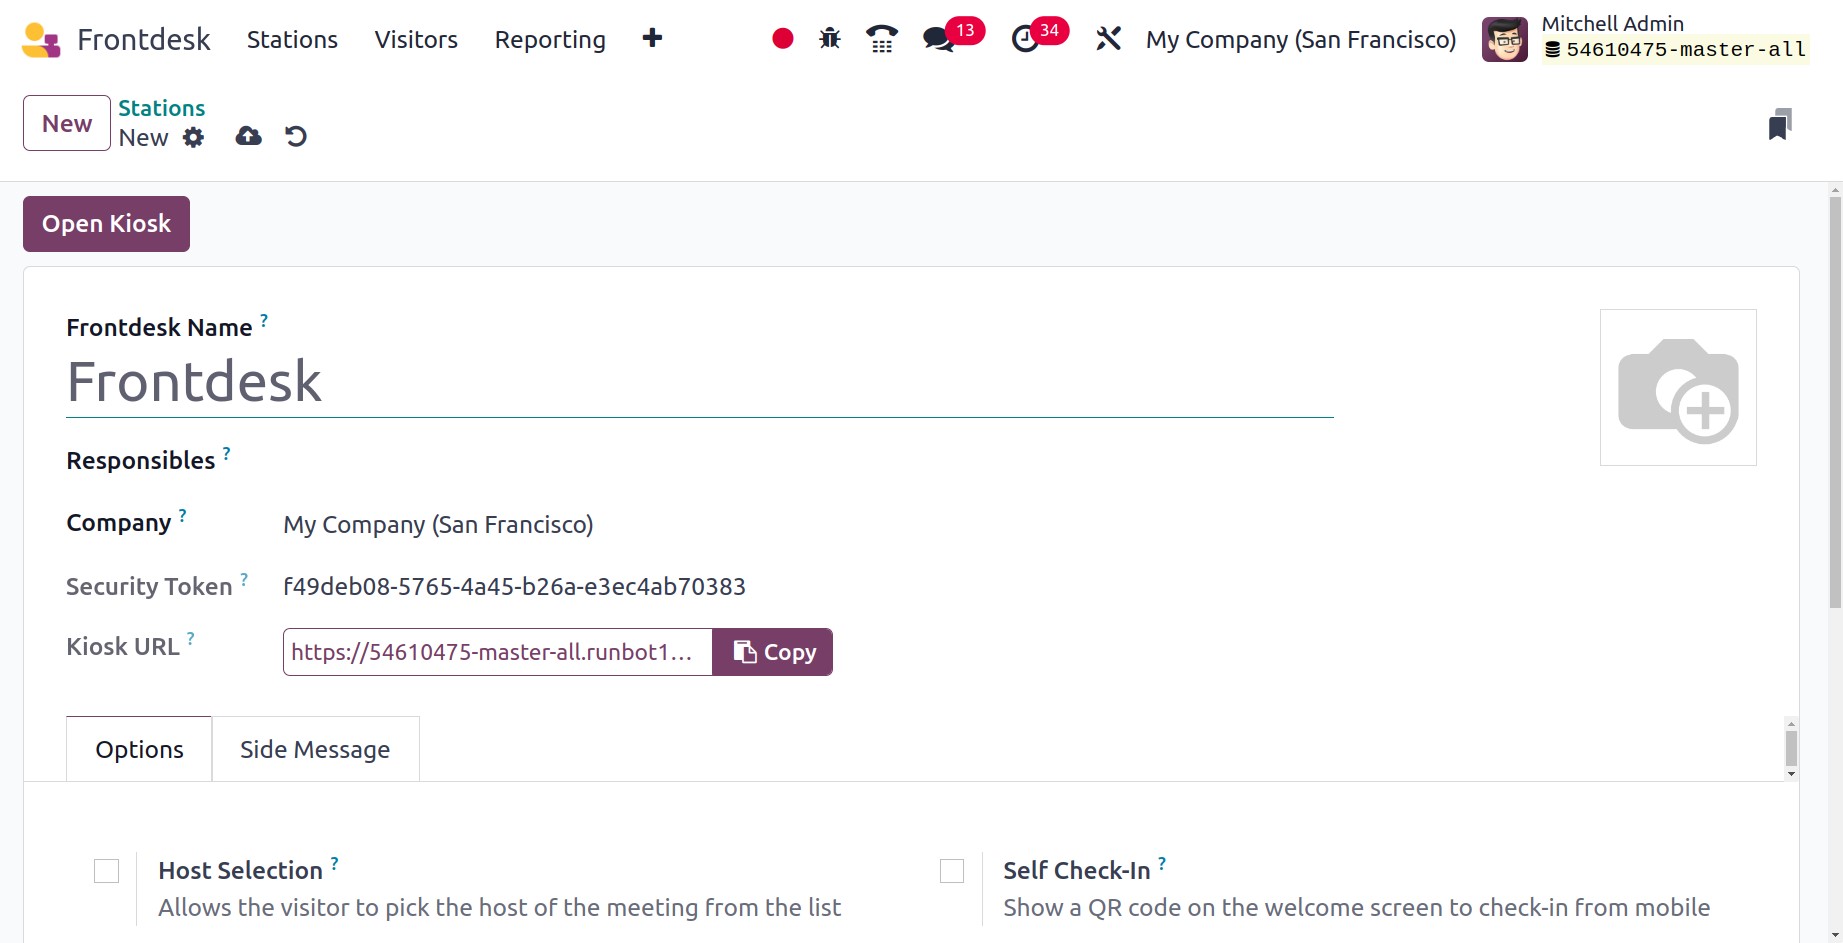
Mention the front desk name first. The users who receive notifications about visitors are
the ones with responsibilities. Then you may put the name of the company. Next, the form
view also contains the Kiosk URL. Then, adding more configurations is made easier by the
Options tab.
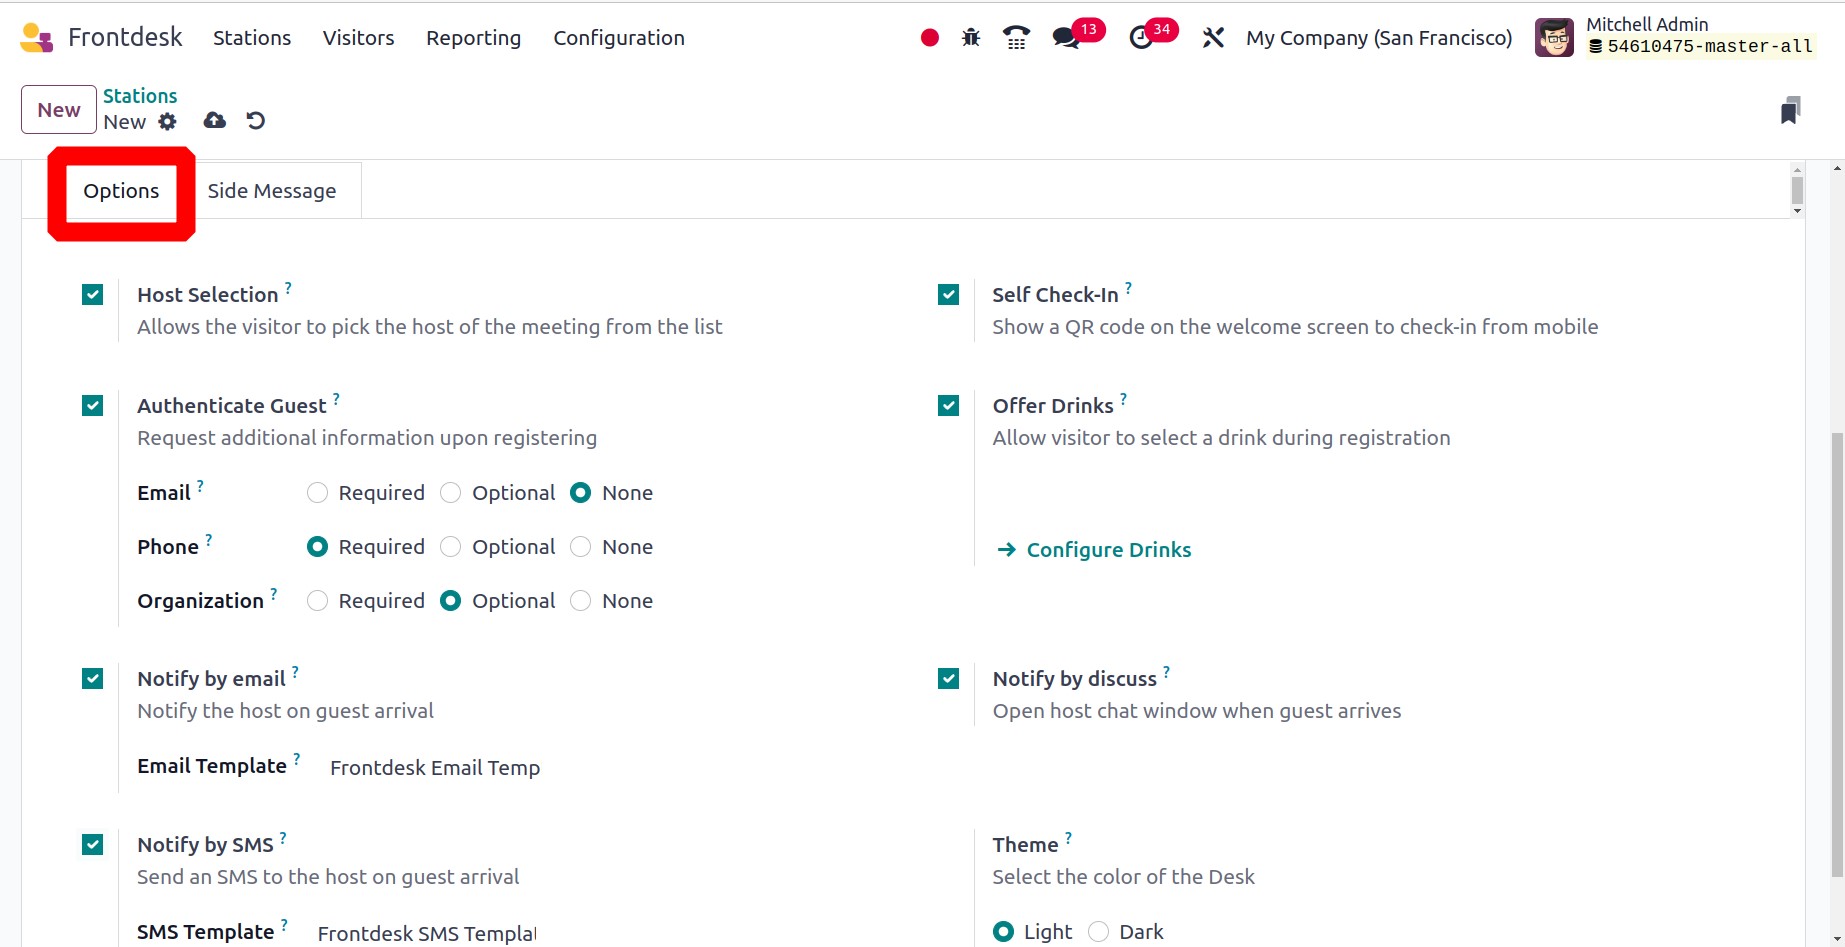
The guest will be able to select the meeting's host from the list through host selection.
Authenticate Guests will ask for further details when they sign up. Notify by Email and
Notify by SMS options help to notify the host of visitor arrivals through email and SMS.
To check in via a mobile device, Self Check-In provides a QR Code on the welcome screen.
Offer Drinks lets guests choose their beverage of choice when registering, and it lets
you serve snacks or drinks to guests. When the user has enabled ‘Notify by discuss’,
when a guest arrives, a chat window will open on their computer. The Desk color can be
chosen based on the Theme, either Light or Dark.
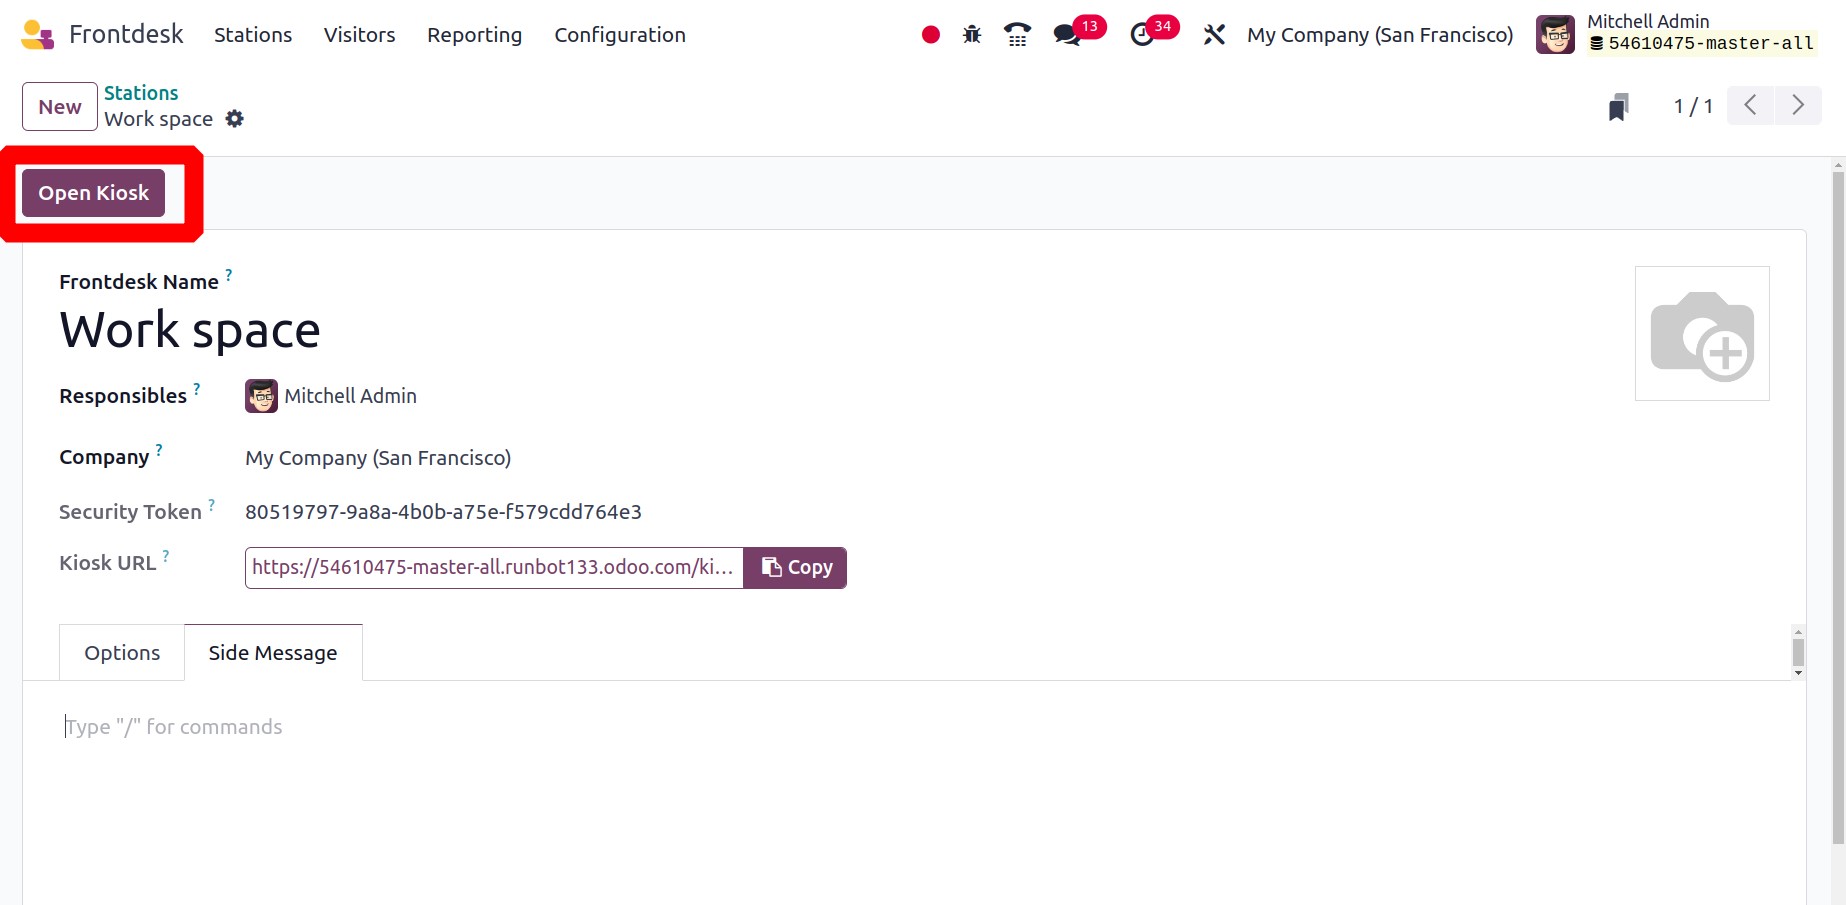
Side Message is the next tab, which aids in adding any messages. Once the setting is
finished, click the Open Kiosk icon in the top left corner.
A greeting of welcome appears on the screen. To check-in, guests have two options: scan
the QR code or click the Check In button.
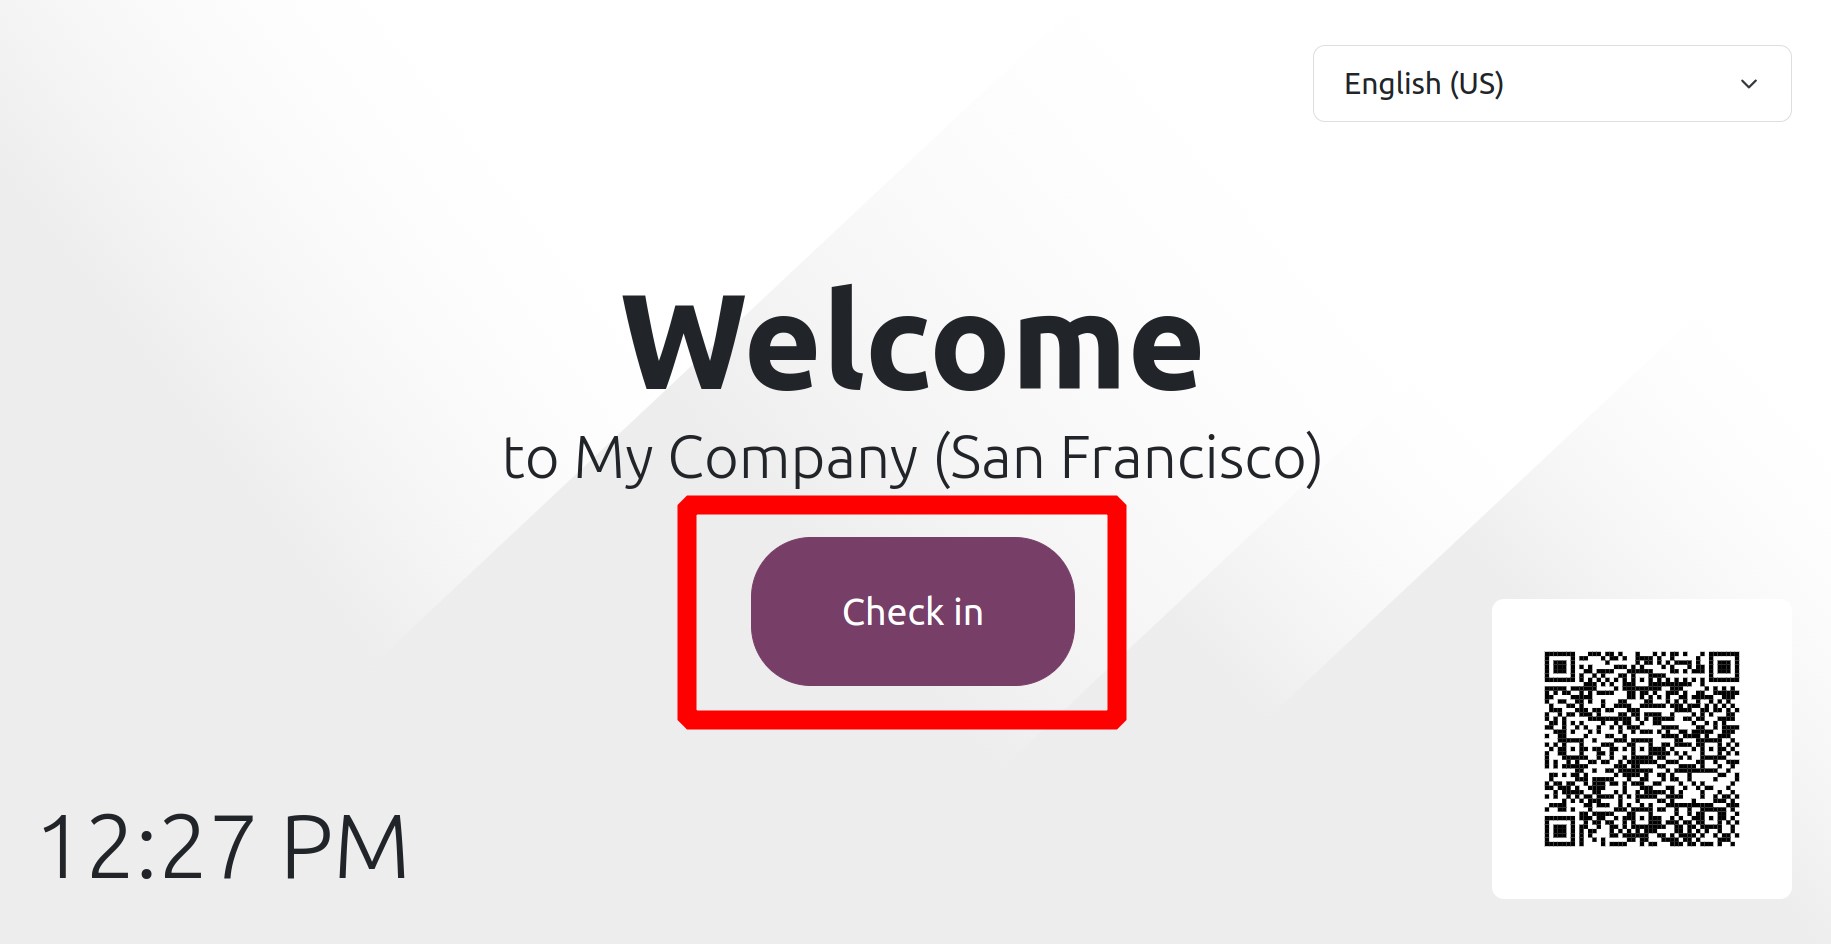
At the top of the screen, we have the option to choose a language. If multiple languages
are enabled in Odoo, we will get the ability to change languages. So visitors can choose
the appropriate language to add details.
The following page asks visitors to fill in their personal information, including name,
phone number, and business name. Next, press the "Check In" button.
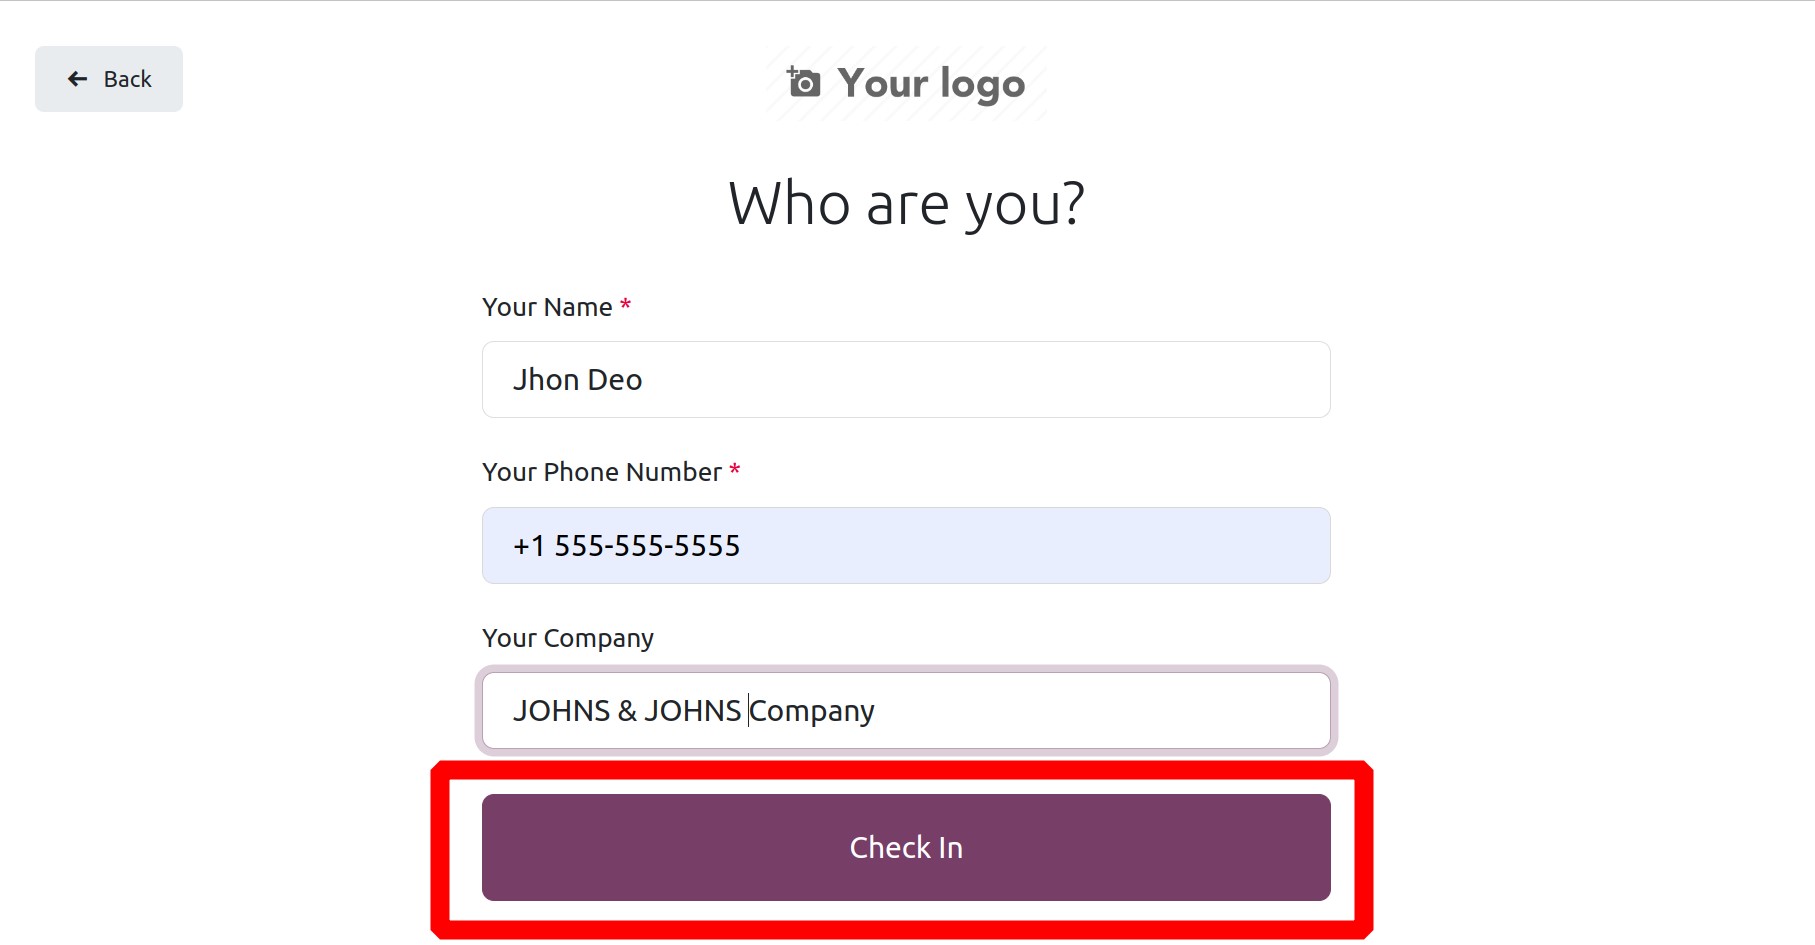
Next, decide which user or employee the visitor wants to see. Select the employee from
the list, then press the Confirm button.
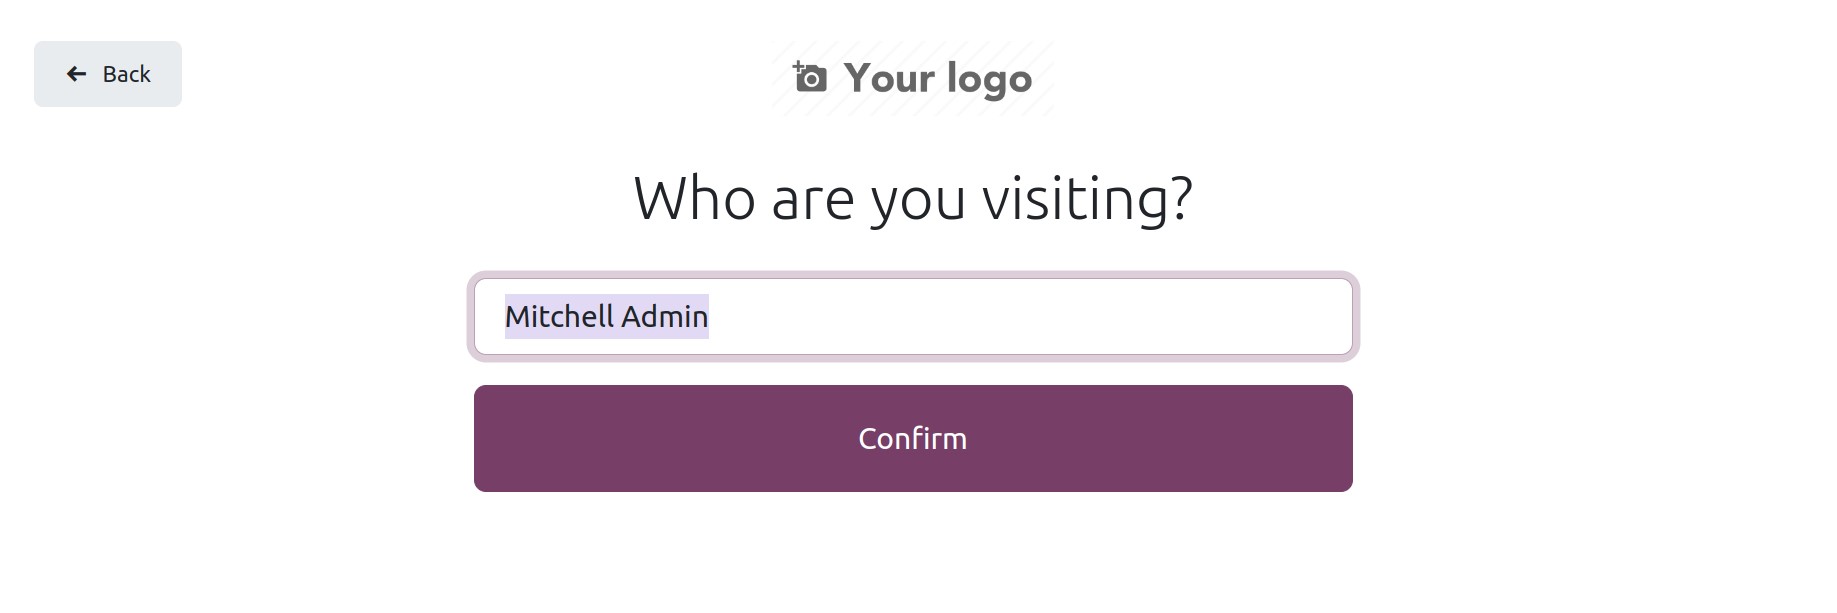
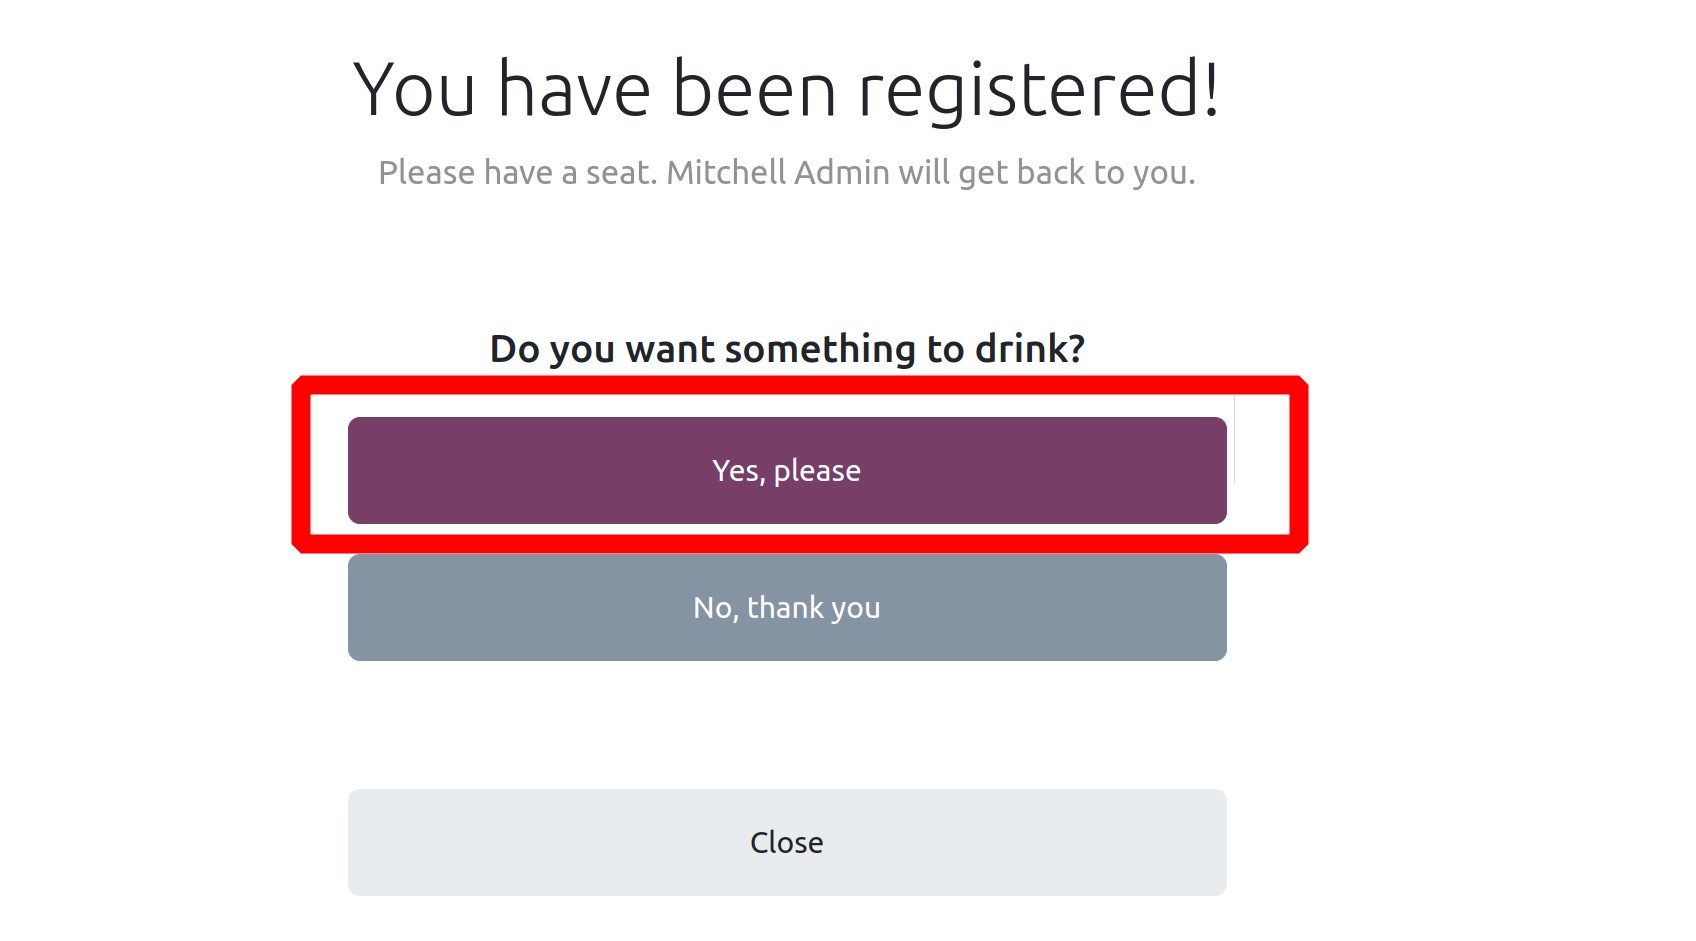
The business then provides the visitors with some snacks or drinks. Click the Yes, please
button if they desire that. Alternatively, they can click the No, thank you button to
decline the offer.
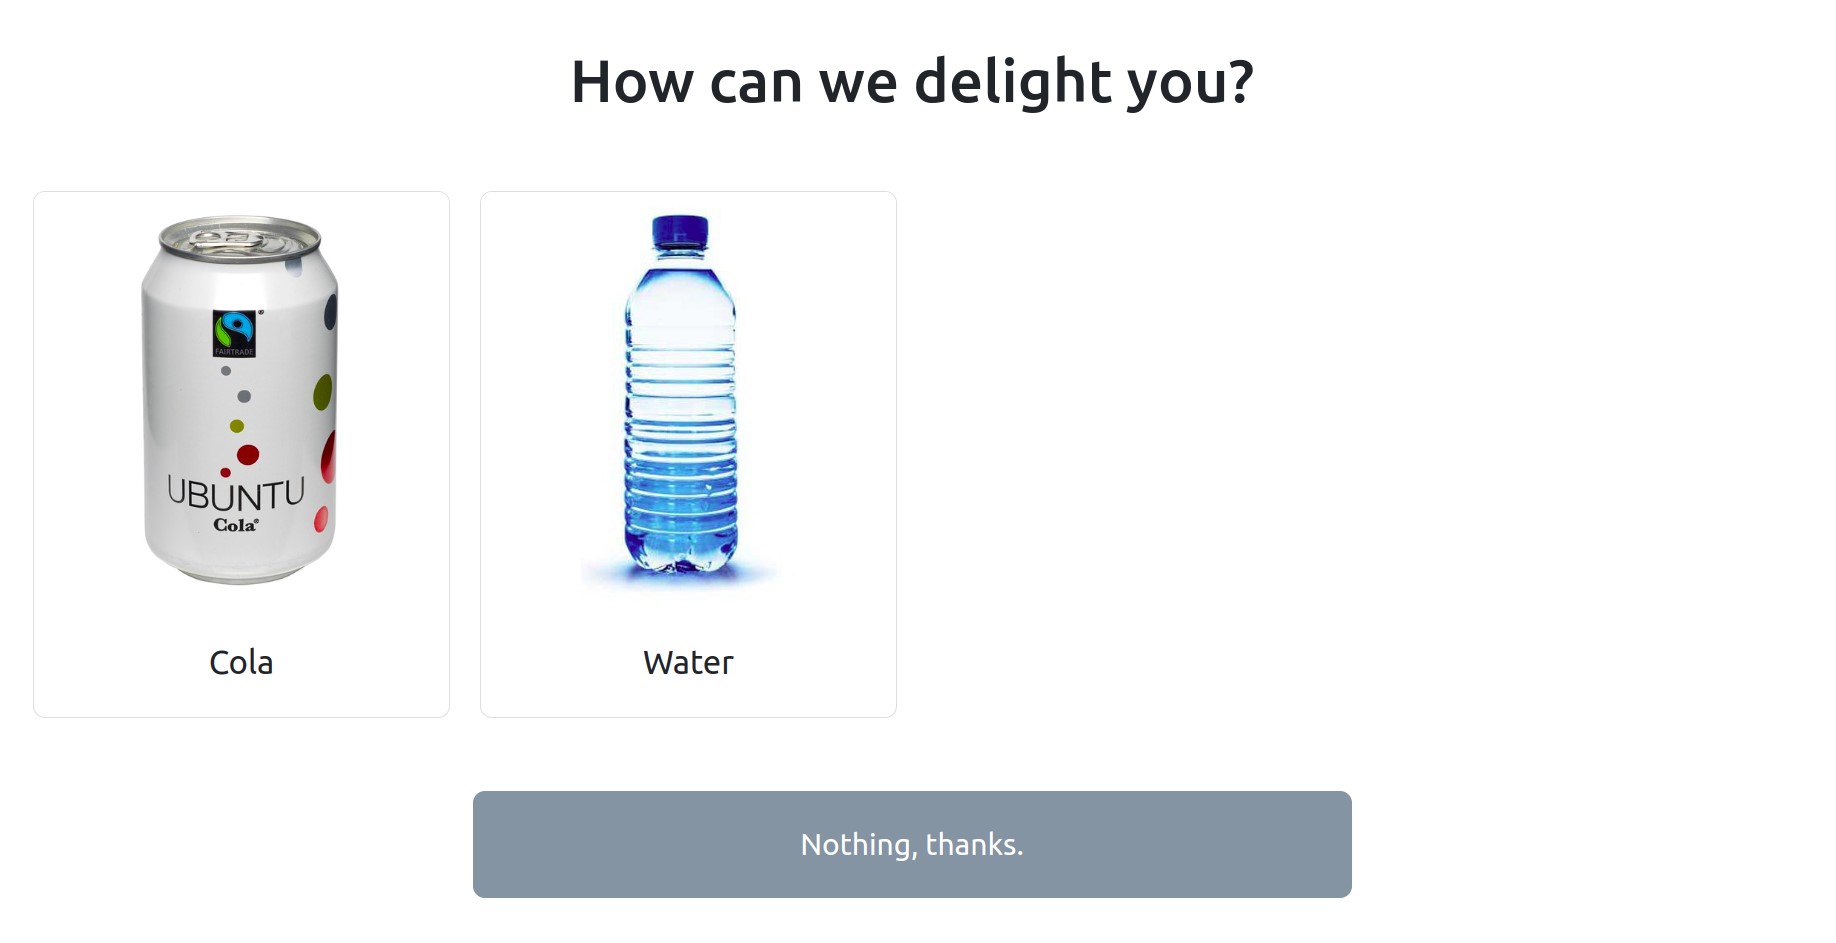
The list is displayed on the very next page for guests to choose from, should they so
desire.
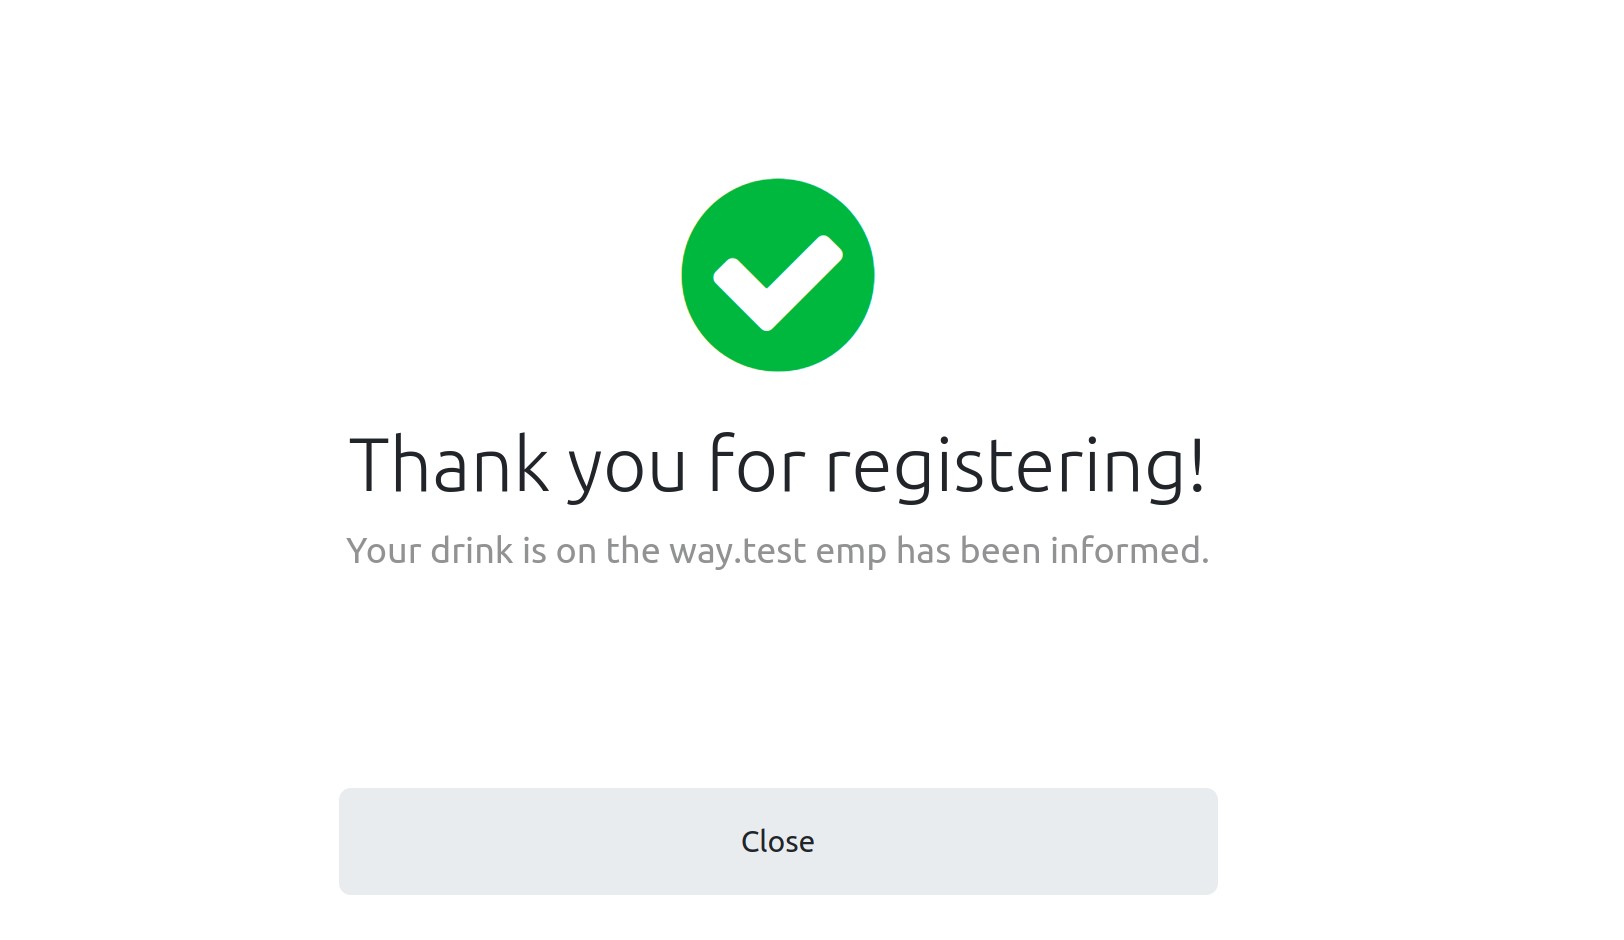
The registration process is now complete. As soon as the visitor receives the message of
confirmation below.
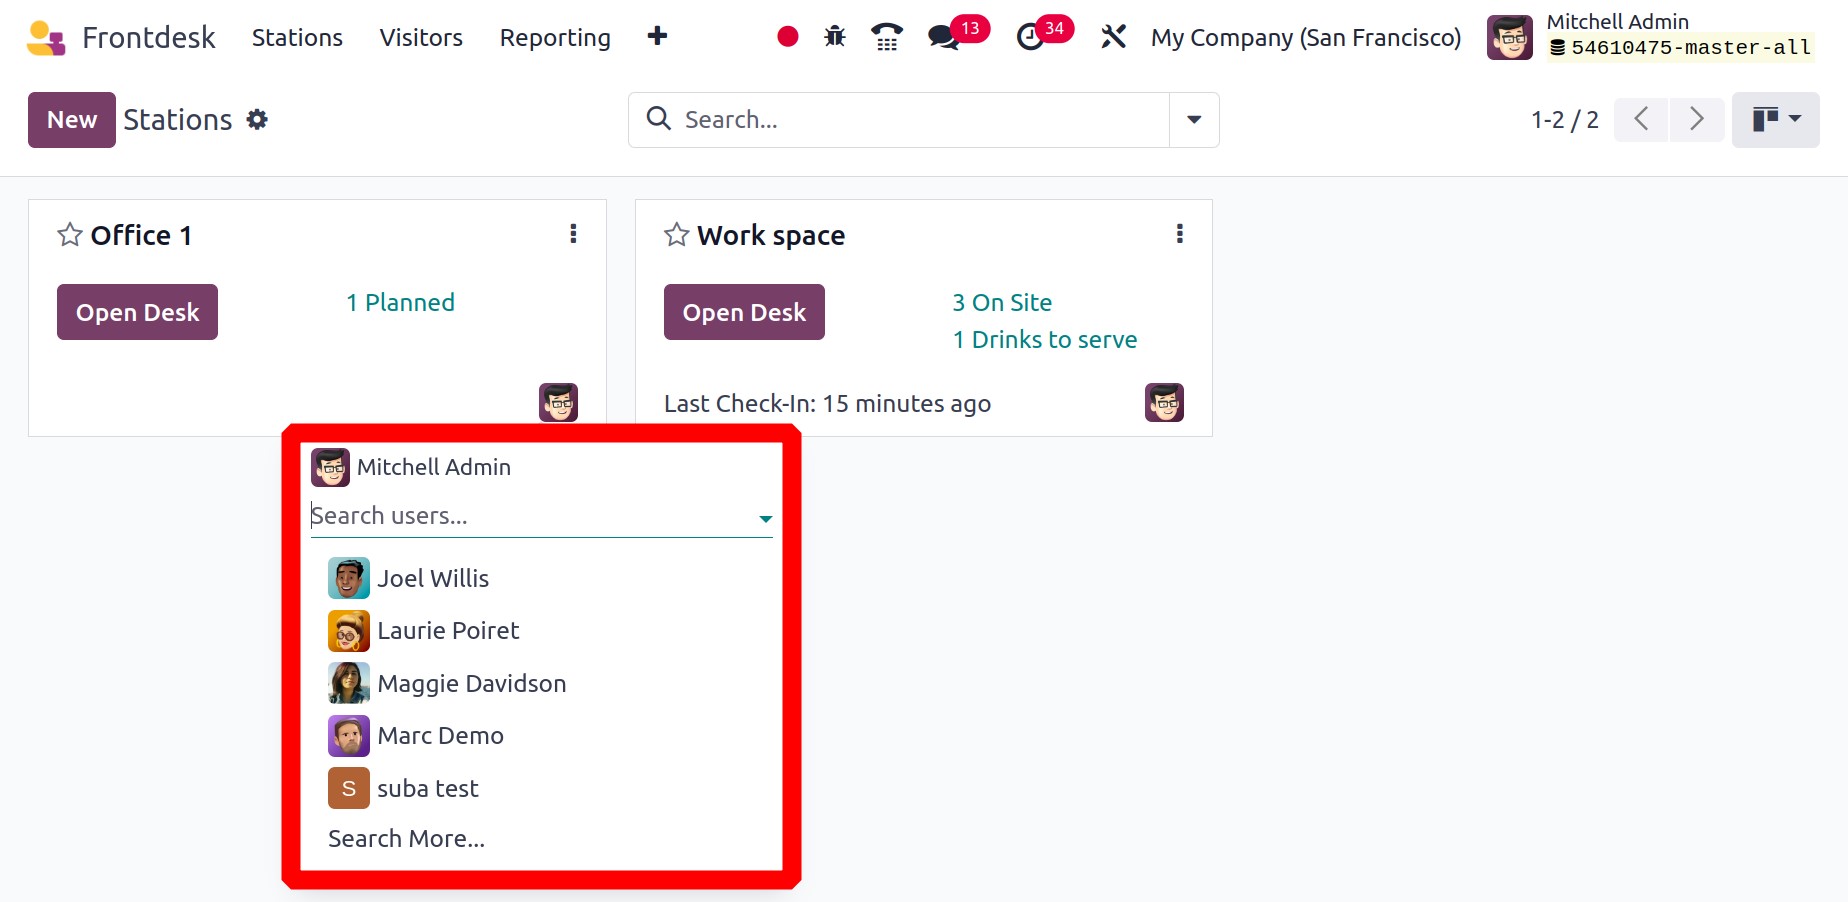
The station's status is then shown on the dashboard. How many people are waiting, how
many drinks can be served, when is the last check-in, etc. It's possible to add a
Responsible person from the dashboard.
Visitors
The visitor's list contains a list of visitors. The waiting list of guests is displayed
in the list. The list shows the name, firm name, phone number, host, check-in time,
station, and status.

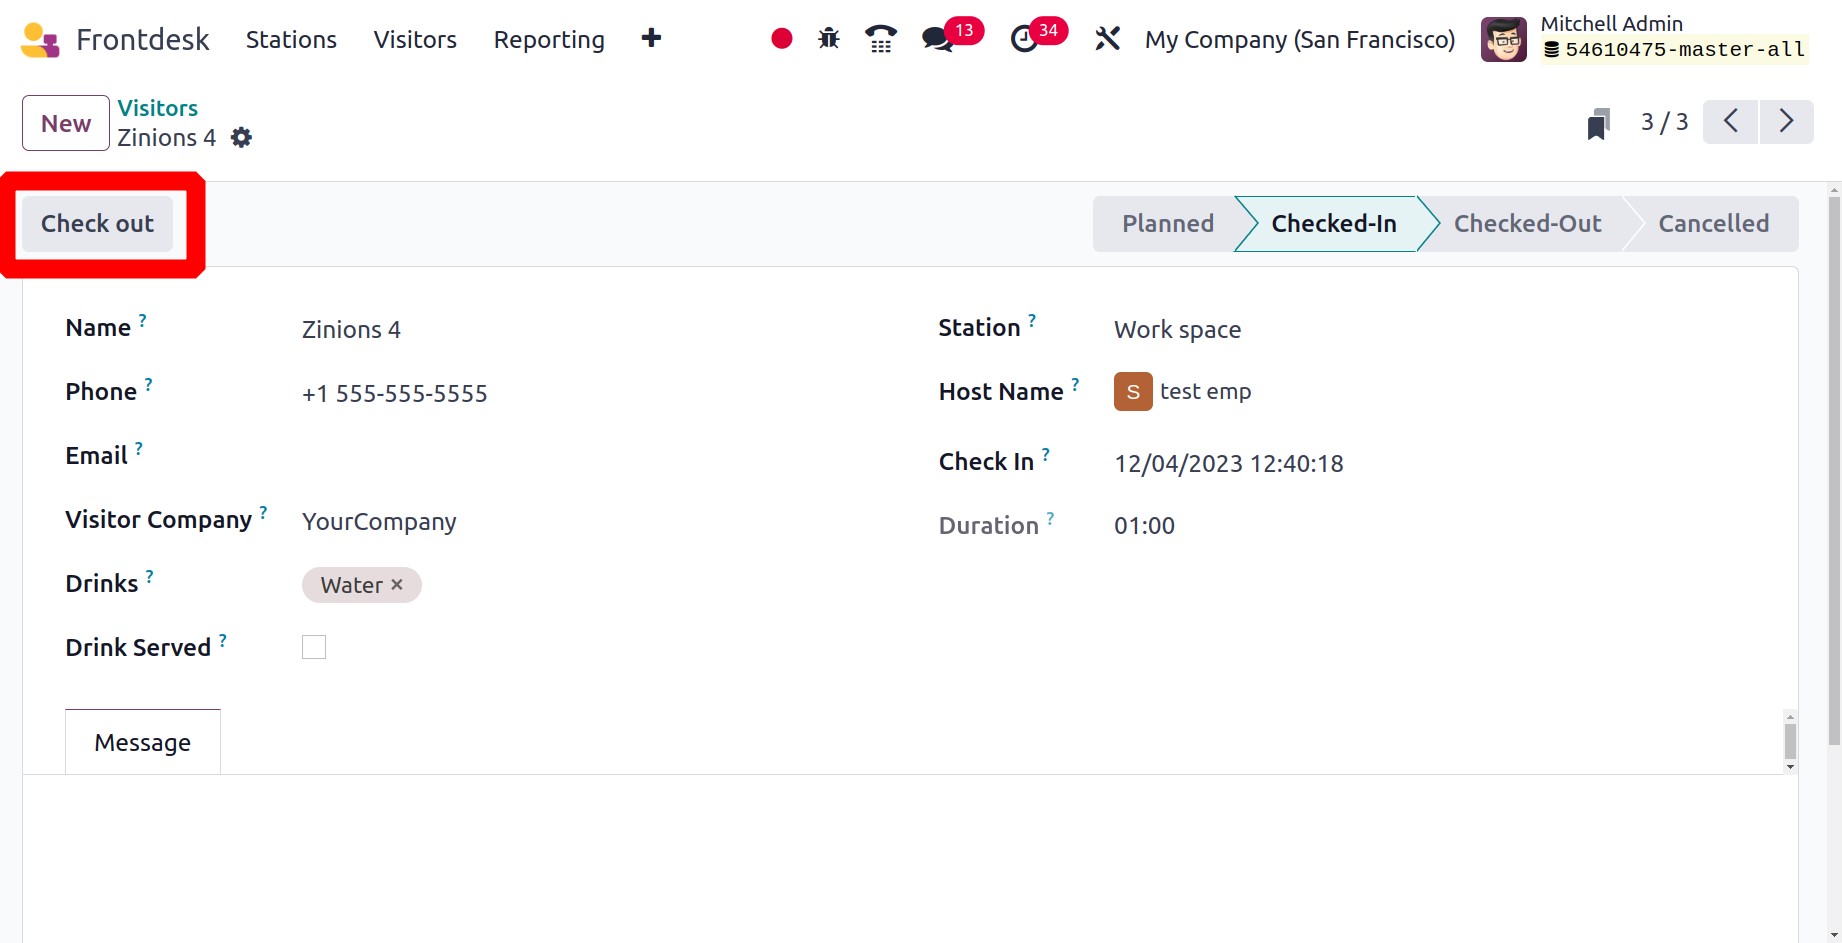
The user can then access each one. If the guests check out, the user can select Drink
Served and click the Check-Out button when the meeting with them is over. Any message
regarding the meeting can be added inside the Message tab.
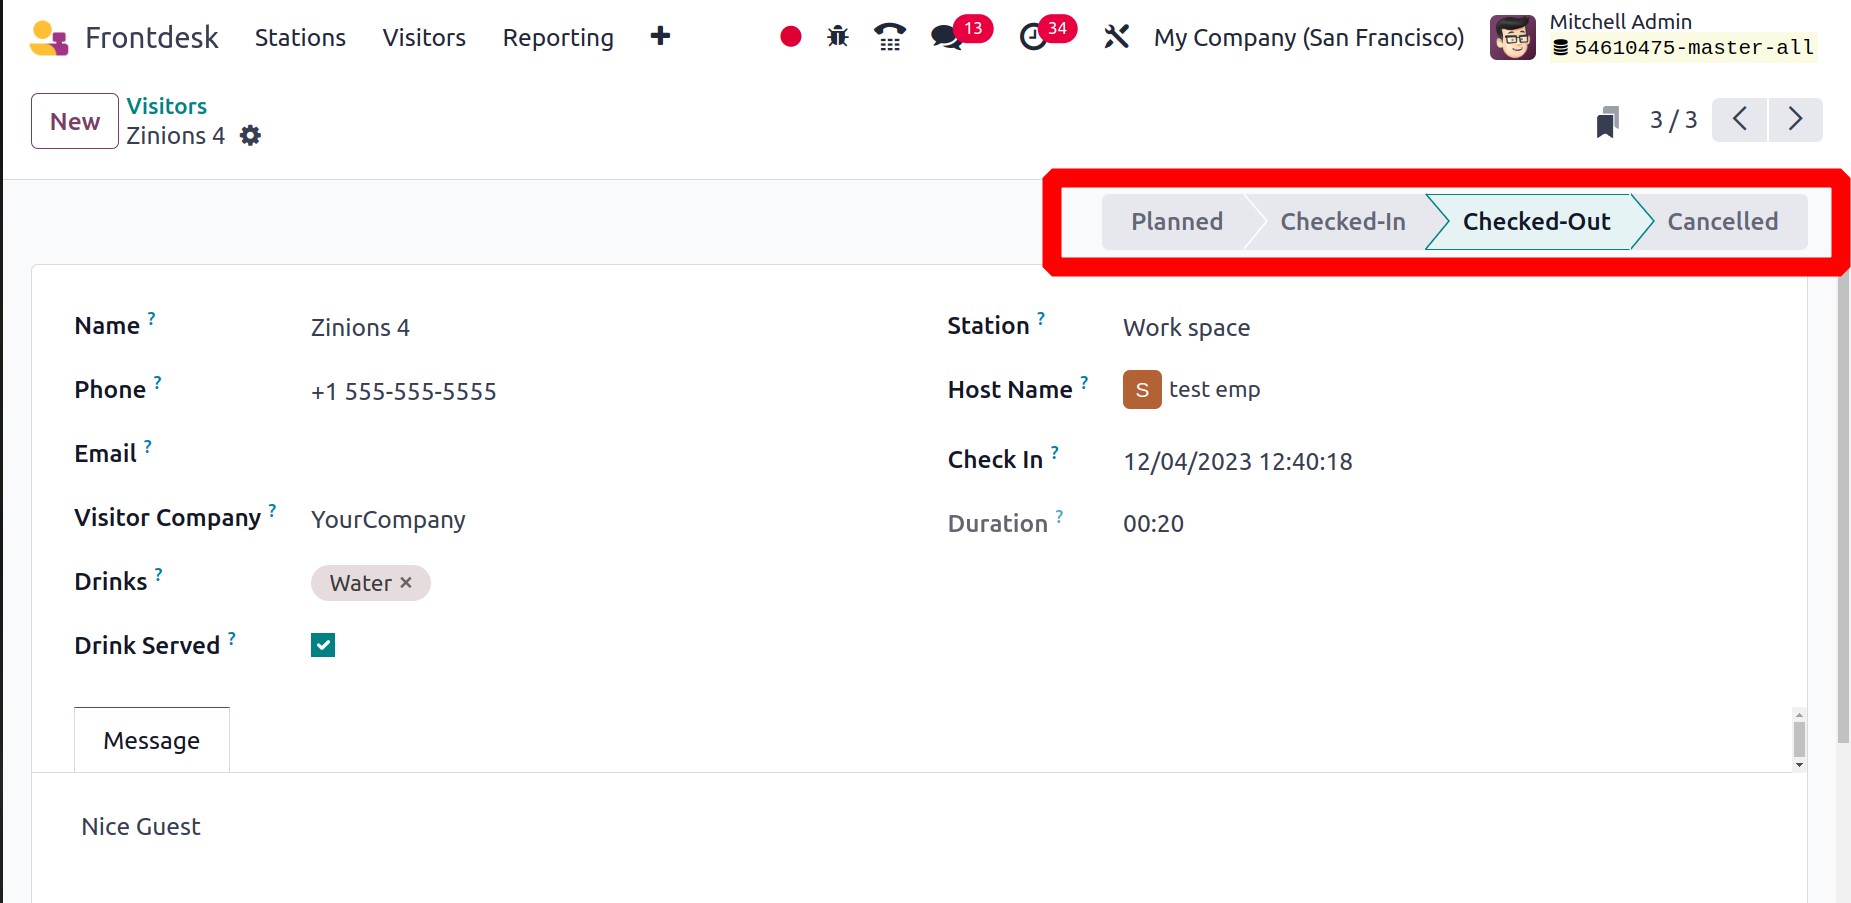
Next, the status was updated to "Checked-Out."
Configuration
Users can customize the Stations and Drinks from the Configuration menu.
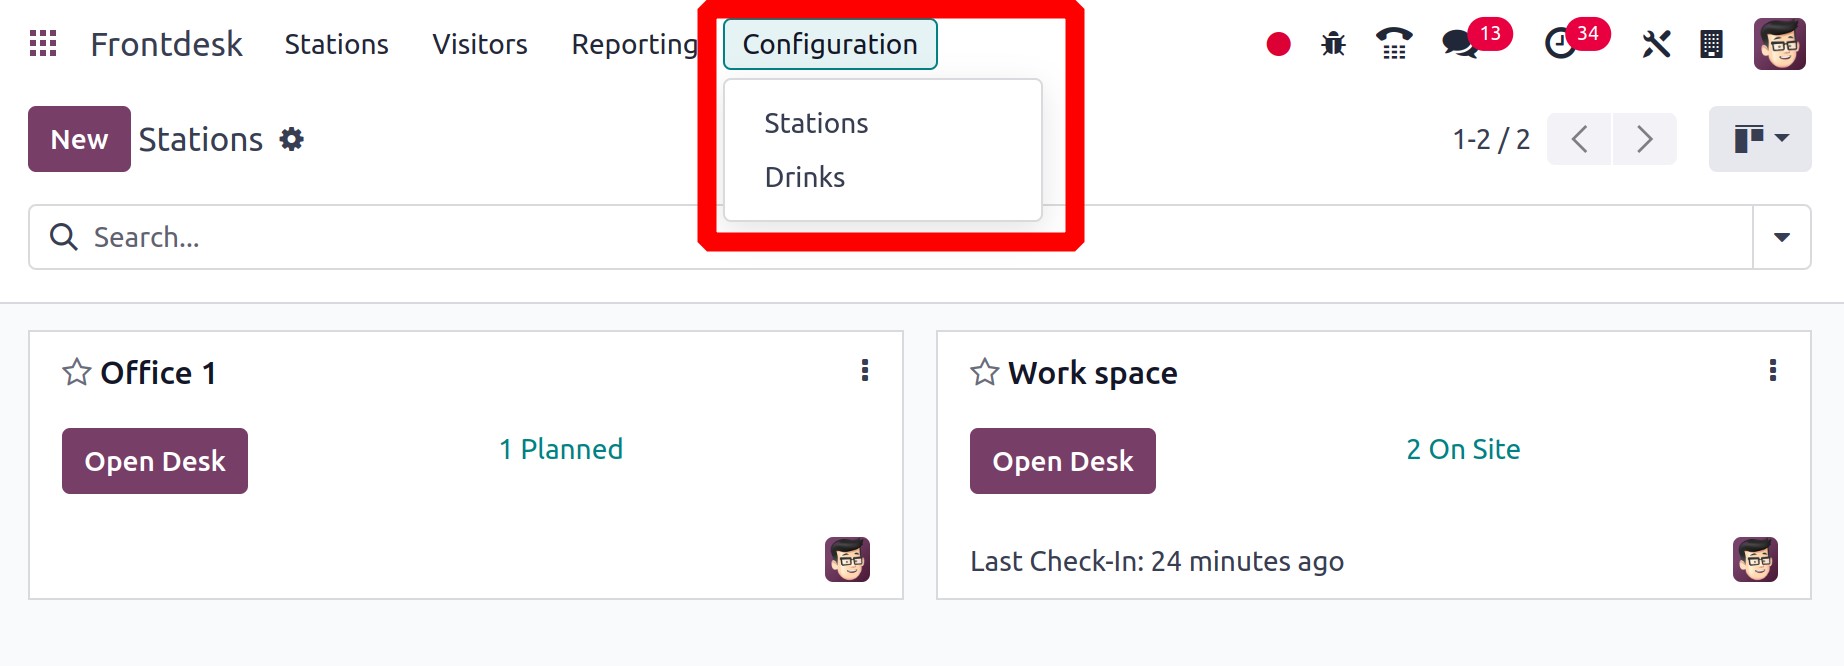
The module displays every station that has been constructed. Responsibilities under the
front desk name are displayed. As we previously mentioned, the configuration form is
comparable.

The next step is to arrange the drinks. Some drinks have pictures on them. Use the New
button to make new beverages.

Name the drink and identify the person who should be notified. An image and sequence
number can be added.

Reporting
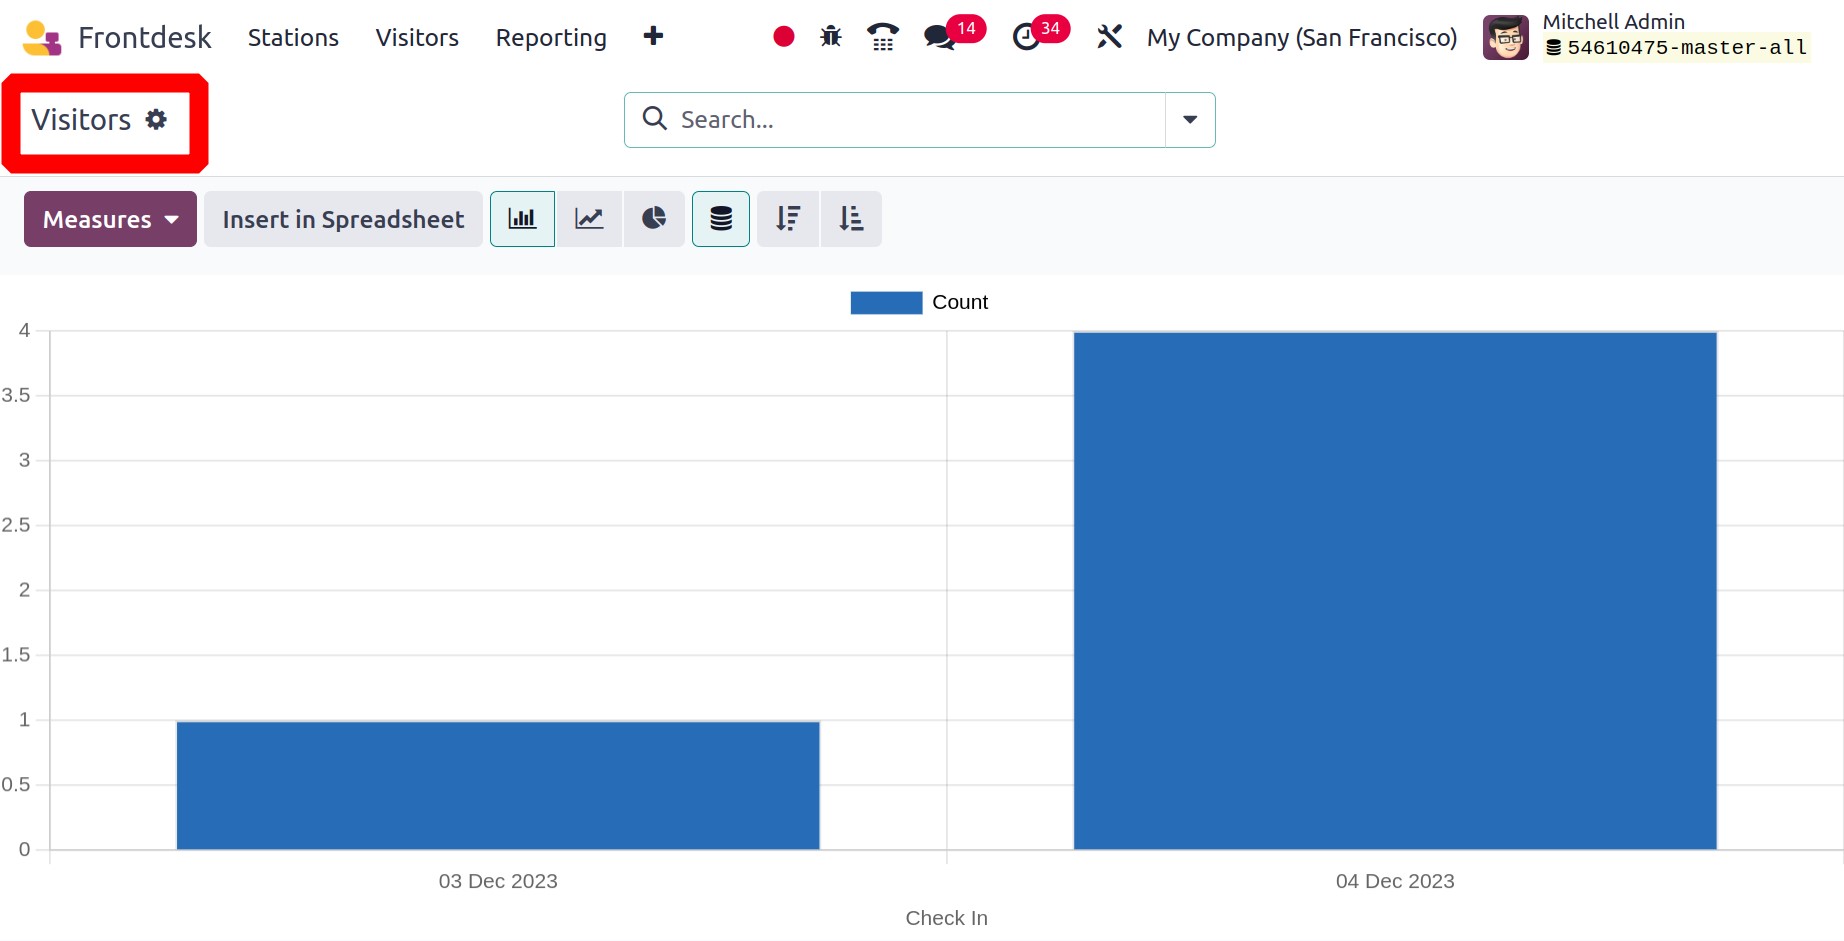
Visitors is the initial report. The Measures option allows users to filter the data, as
seen by the Checks in visits each month. This site offers a wide variety of graph
formats. Additionally, adding data to the spreadsheet is now possible.
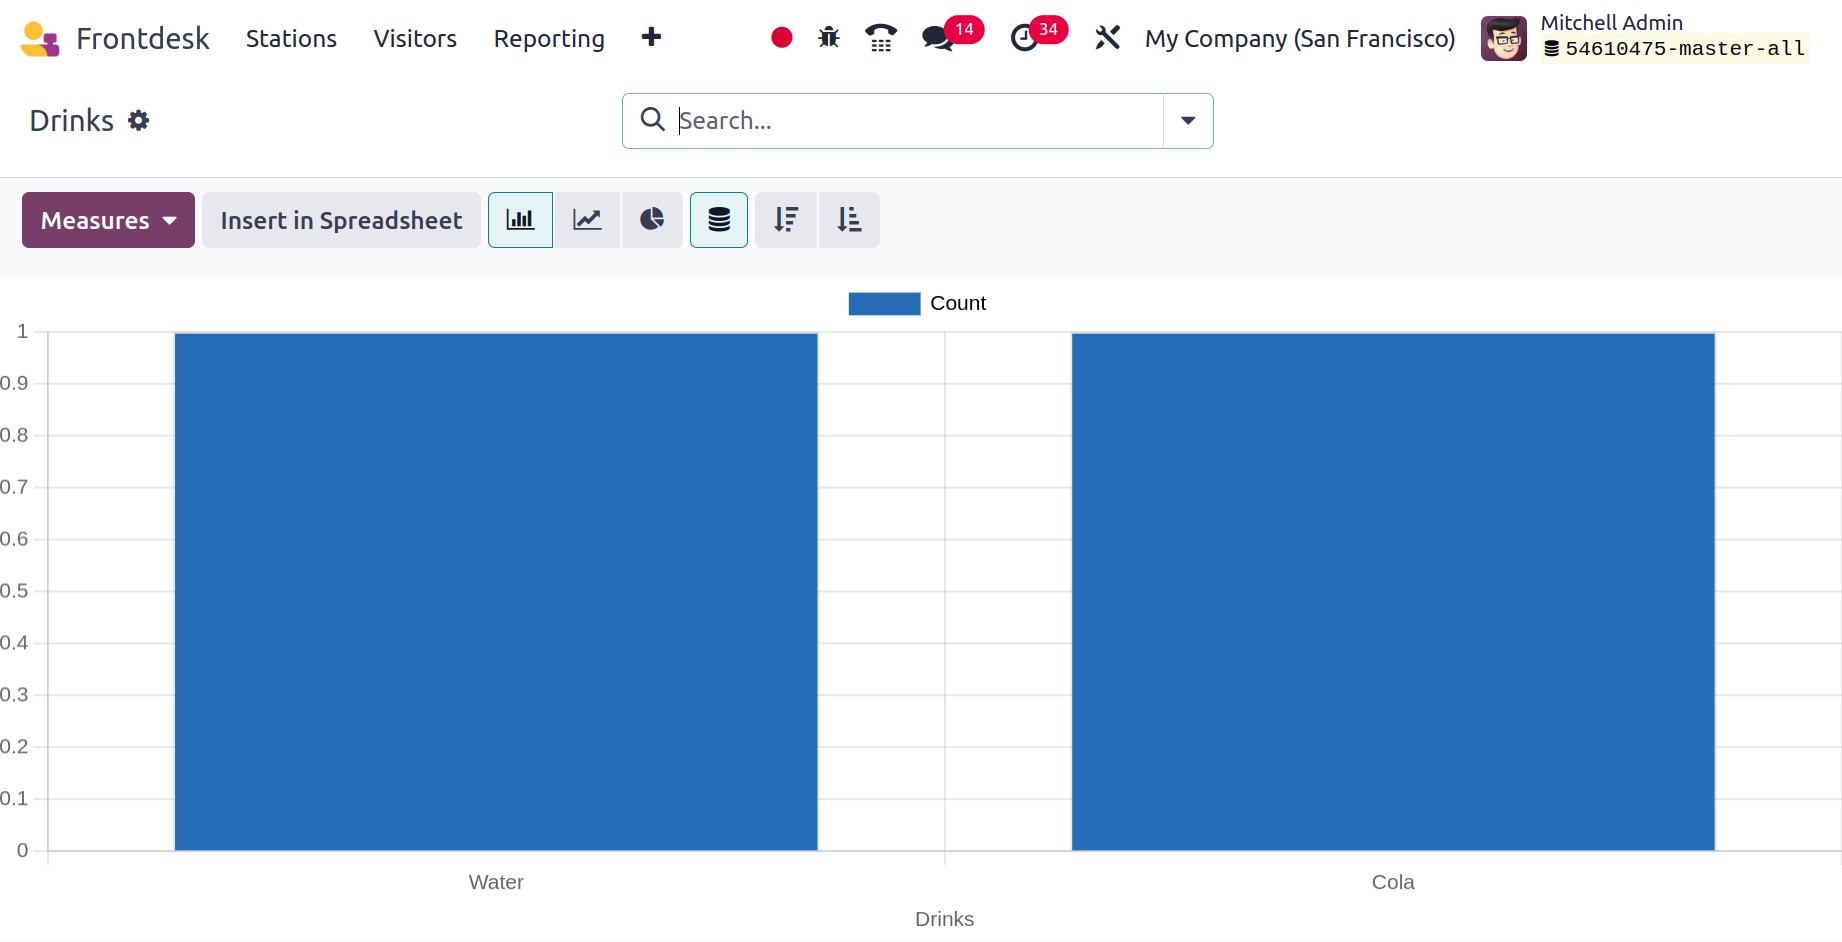
The report therefore makes it simple to analyze the drinks that the company uses. Users
can utilize the Drinks report for that.
Nowadays, every business may benefit greatly from guest management by utilizing the Front
Desk module. Additionally, the drinks menu improves customers' perceptions of the
business, which is easily managed with this module.