Within the Odoo 17 ecosystem, users can participate in debates, exchange expertise, and
ask for help on a cooperative platform offered by the Forum module. For internal teams
as well as external user groups, Odoo's capabilities like threaded conversations,
user-friendly interfaces, and customizable forums, enable efficient communication and
community building.
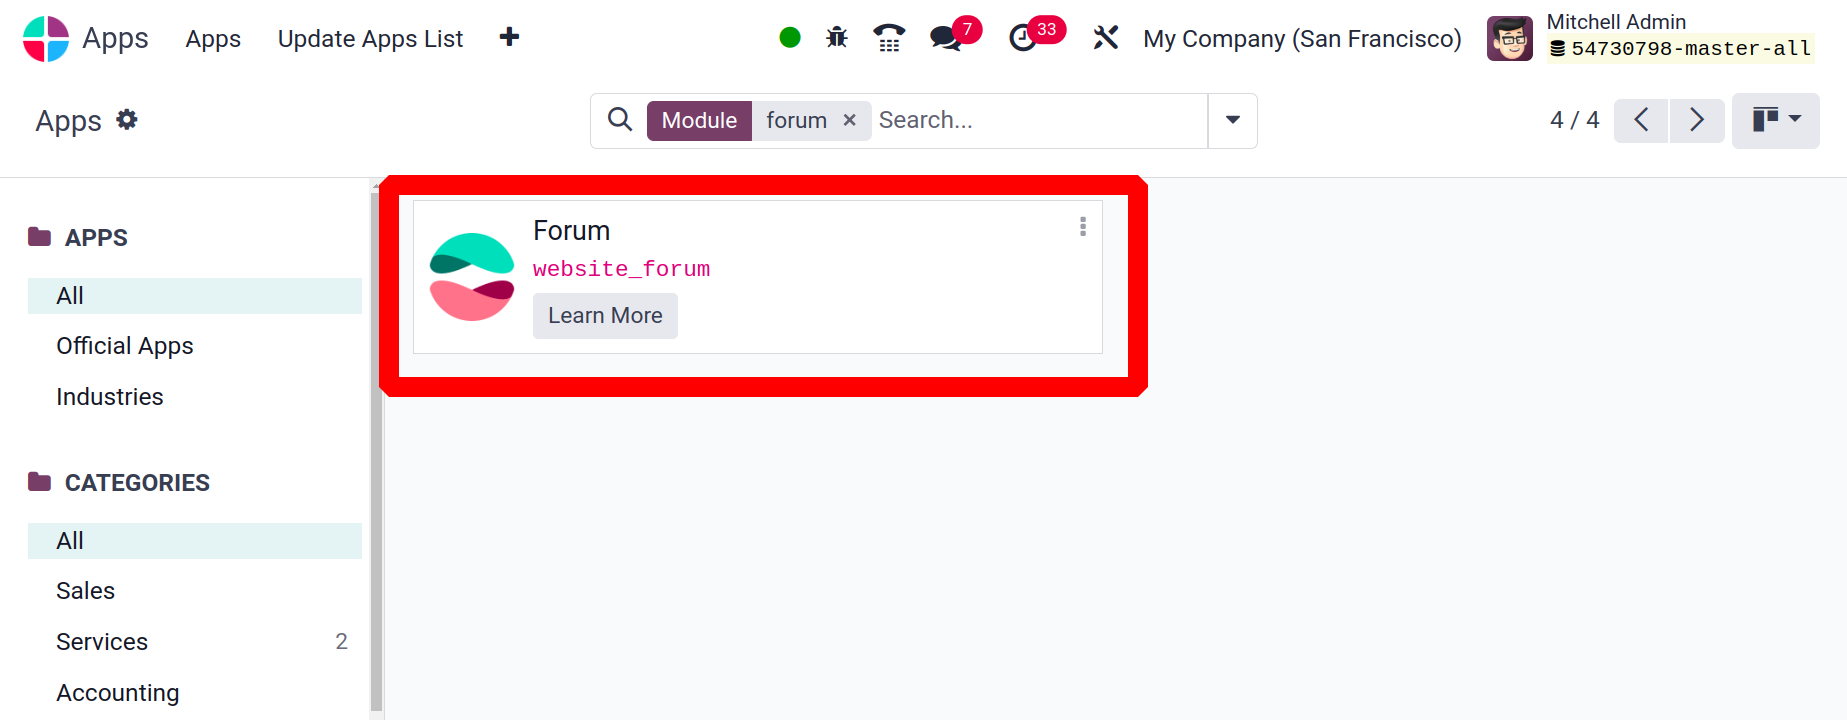
The Forum module is available in the Odoo 17 app store. If the Website module is chosen,
the Forum module will be deployed together with the website since it is a dependent
module.
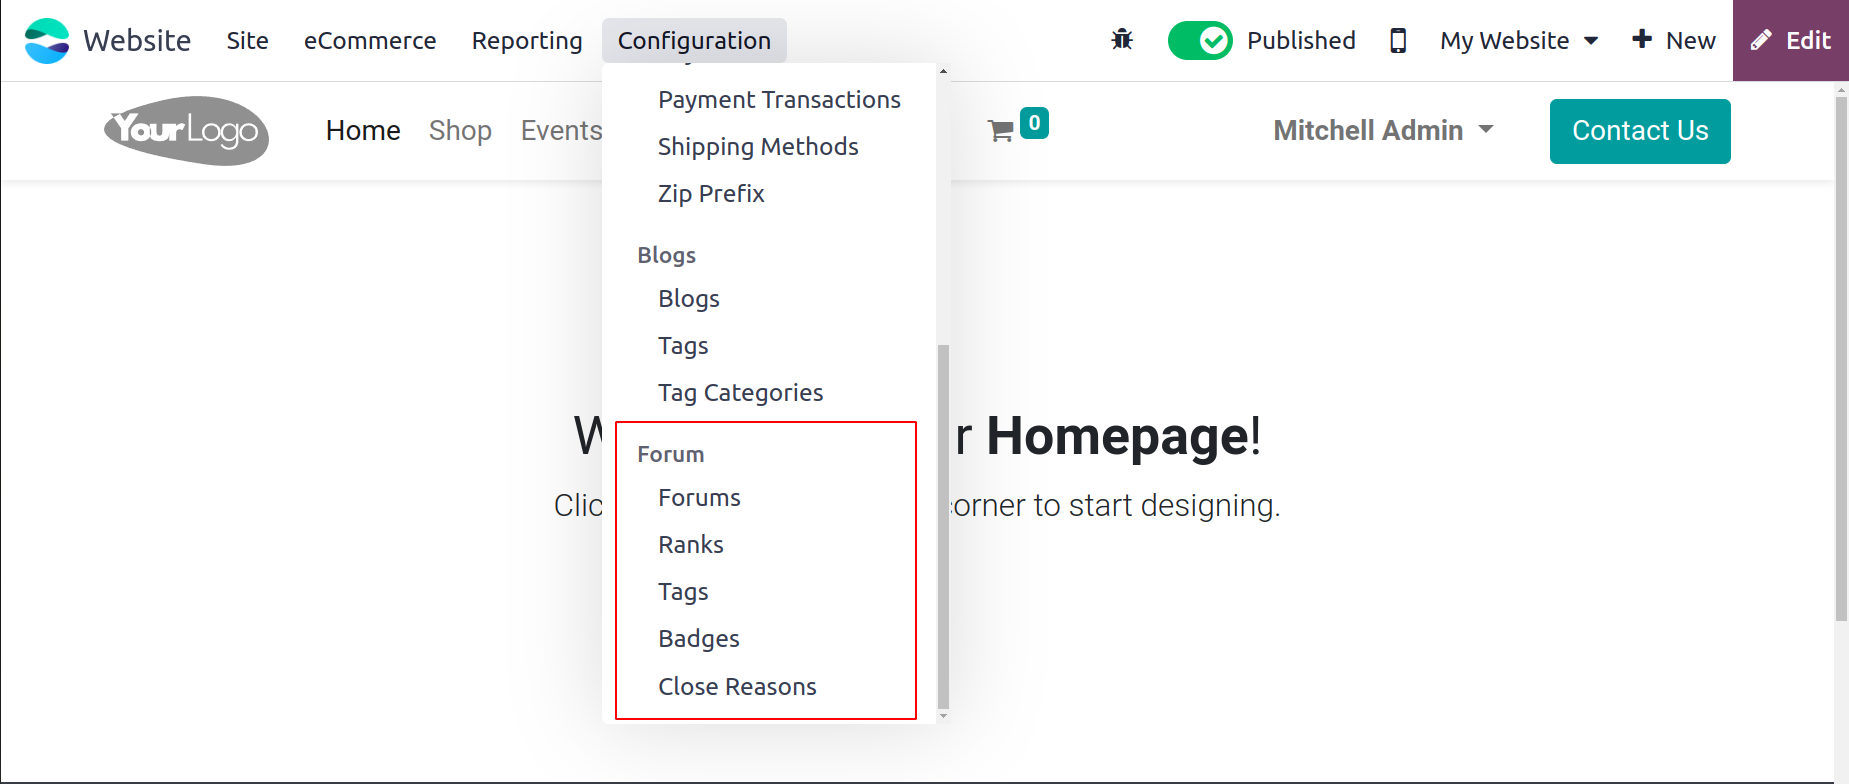
You can set up Forums according to our business needs using the Forum menu found under
the Configuration tab of the Odoo17 Website module. You will be taken to the Forum
window, as displayed below, after choosing the menu.
We have now covered the front end of publishing a forum and moved on to the back-end
operation. Your website's forum allows users to send messages to one another and
converse with one another. It is also a very useful tool for driving more visitors to
websites. This cutting-edge tool will let you introduce your company to potential
clients.
With the Odoo17 Website module, you may create a special forum posting platform. You may
build forums and posts on the site with ease. It can be thought of as a conversation
spot where clients or guests can ask questions and get their questions answered. The
Forum tab is visible when you look at the Website module's main menu bar. You can click
on the Forum menu beneath the Forum tab to manage forums.
As you can see, the window displays a list of every forum that is set up on the platform,
along with information about each one such as the forum name, website, number of posts,
views, answers, and favorites.
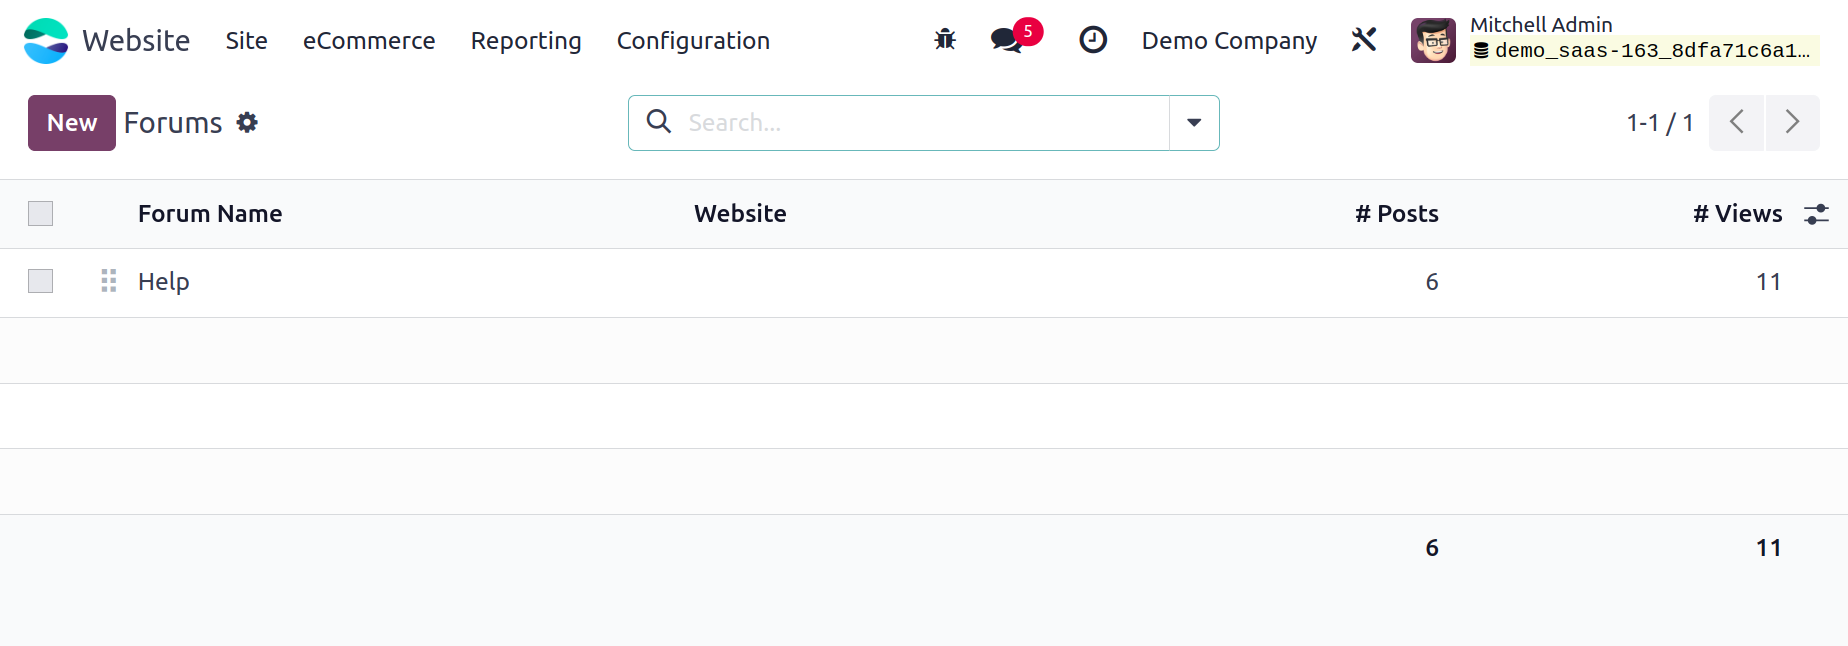
The New button can be clicked to start a new forum.
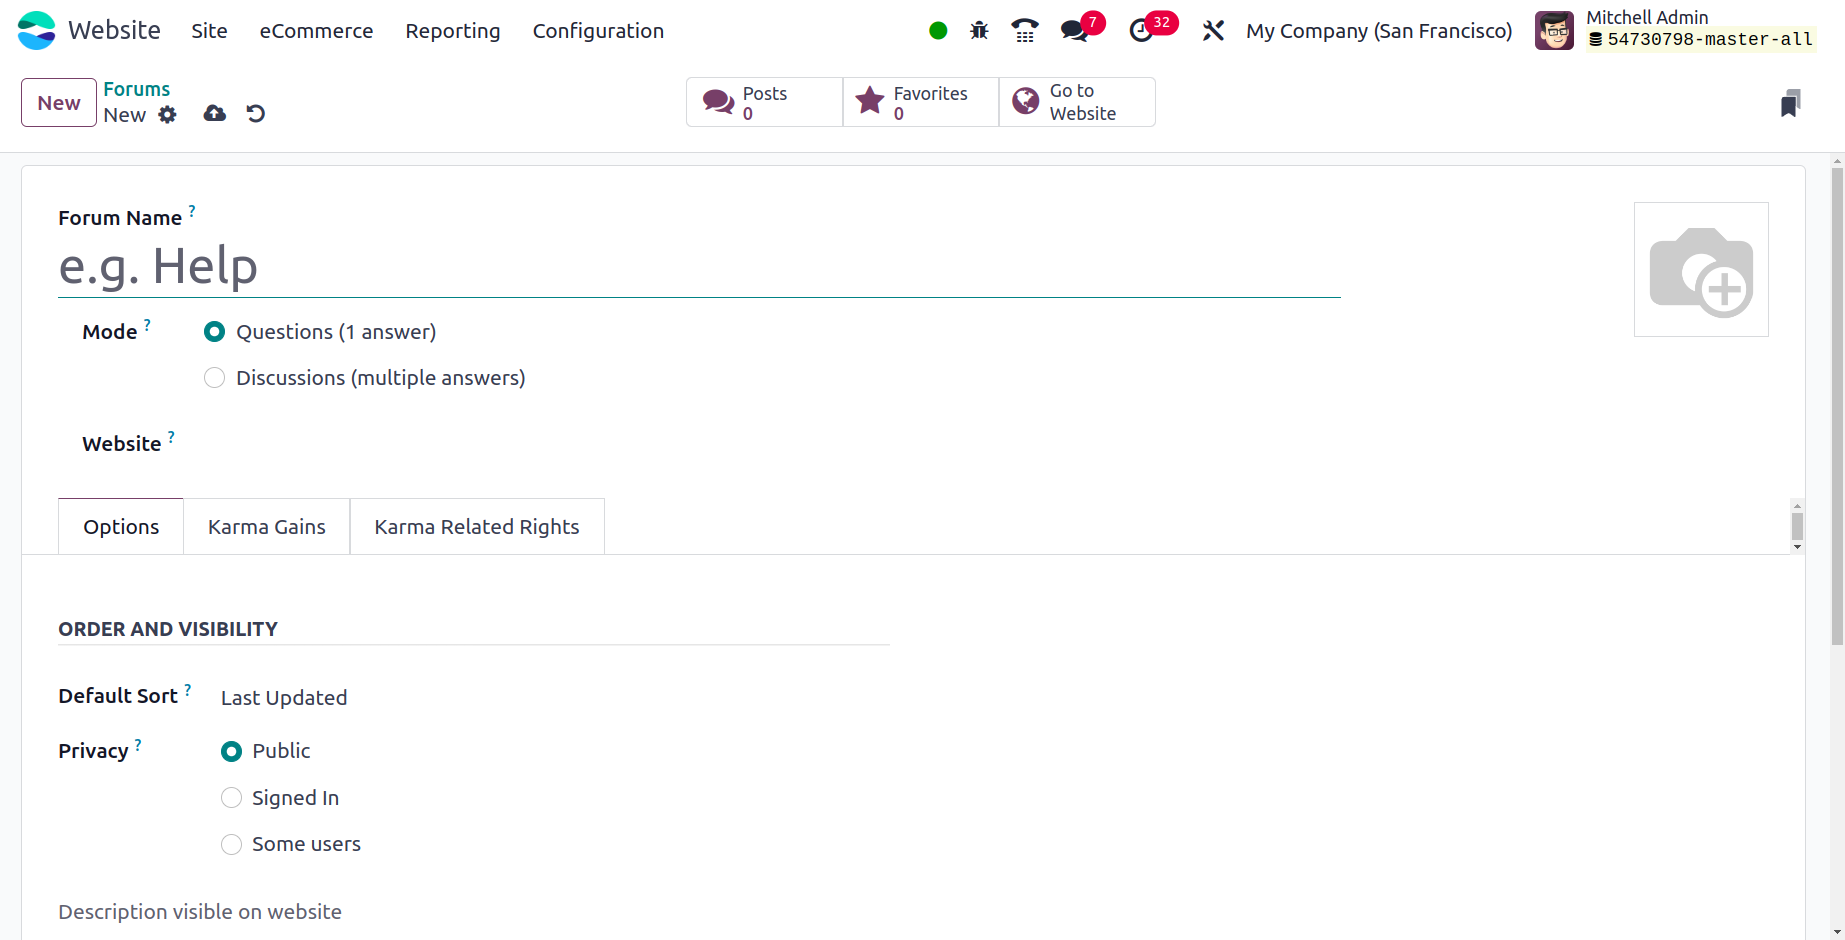
You can easily configure new forums with this creation form. You must first choose the
Mode and enter the Forum Name. There are two options: discussion mode (many answers
permitted) or question mode (just one answer allowed). The Website can then be specified
when this forum has to be published. Additionally, you can add the forum-related photo
to the designated area.
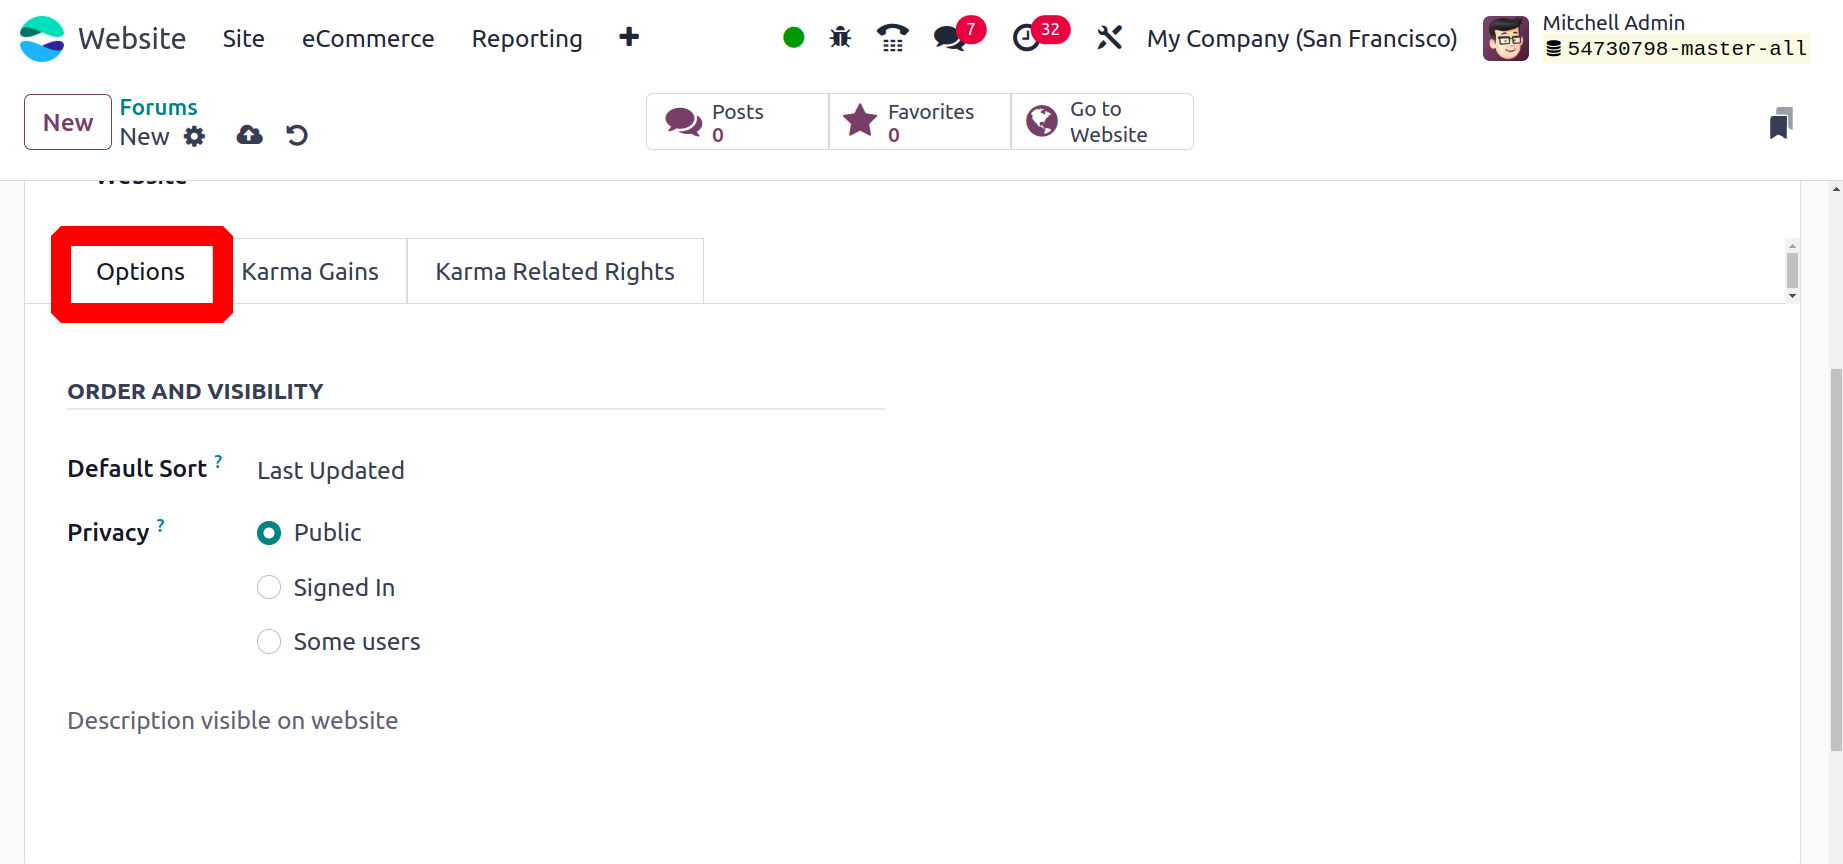
You may customize the forum's order and visibility under the Options Tab. You can choose
the default sorting strategy in the Default Sort box. This field's default sorting
options are Relevance, Answered, Most Voted, Newest, and Last Updated. There are three
ways to define the privacy policy: Public, Signed In, and Some Users. The forum will be
visible to all users if you choose to make it public. In the event that a user is logged
in, the form will be available to them. Lastly, the forum and the content posted by some
individuals are concealed from non-members of the designated group in their situations.
In addition, you have the option to include a forum description that will appear on the
website. You can specify the different karma points to the participants for their varied
activities under the Karma Gains tab.
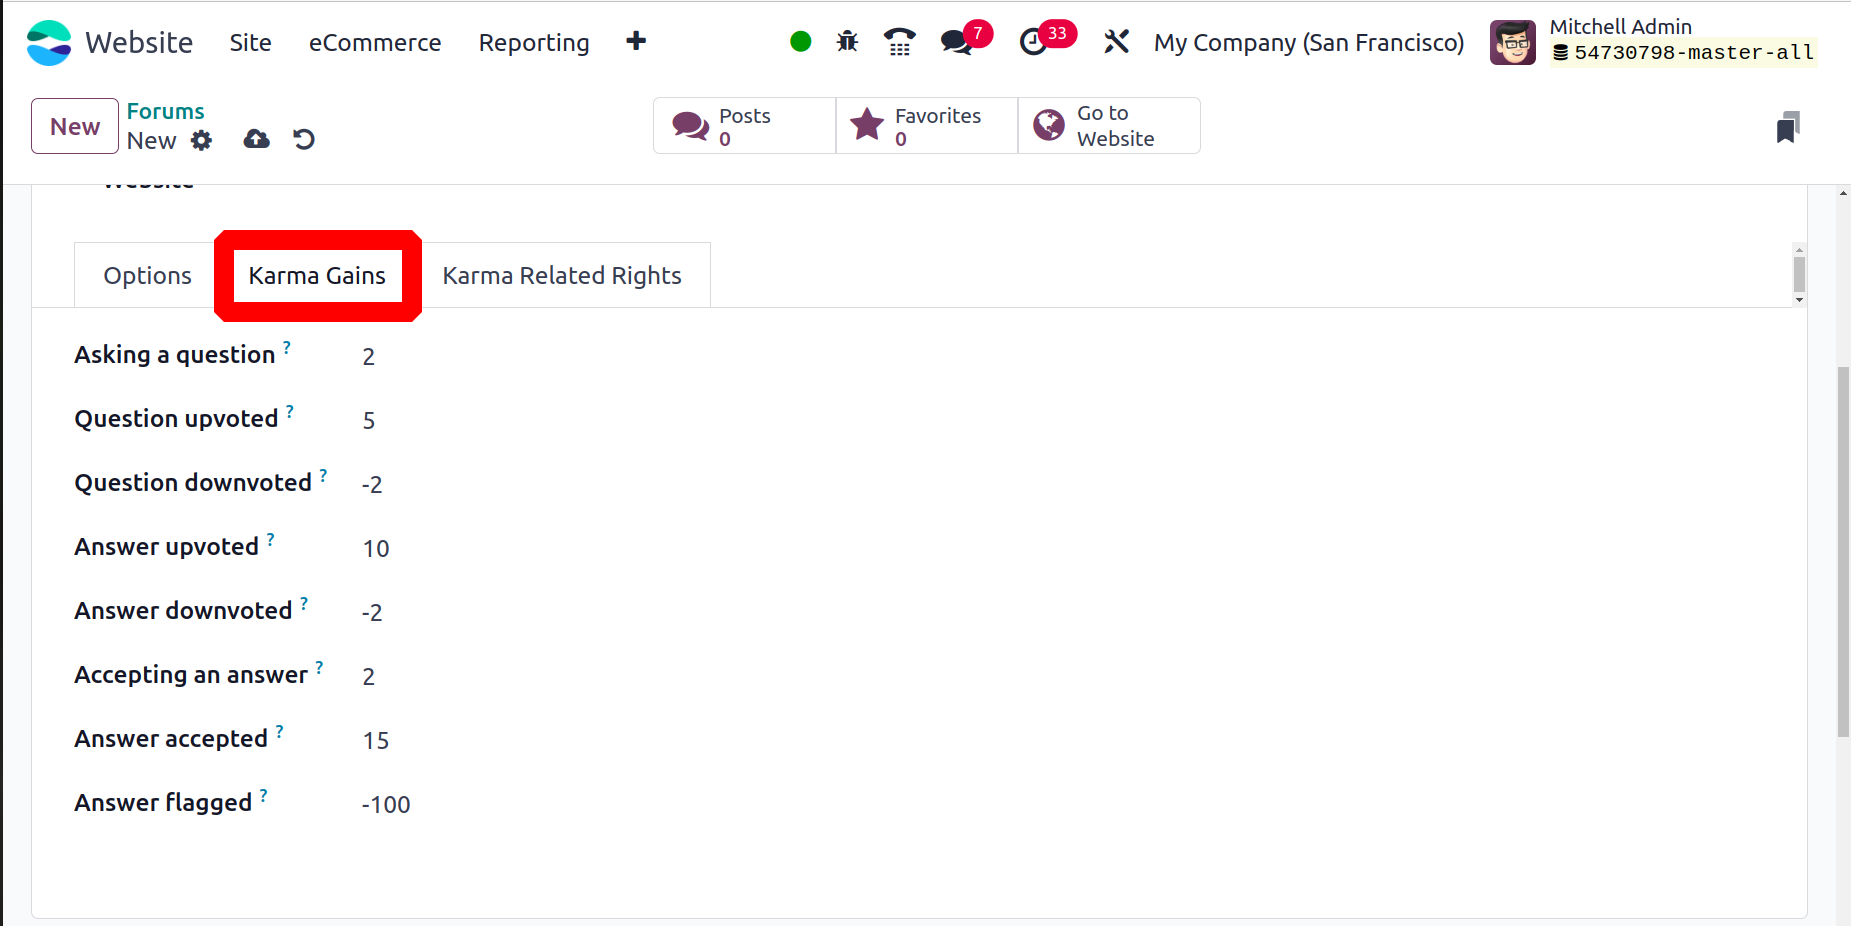
The participants will be able to acquire various rights if they accumulate enough karma
points. You may explain the right in Odoo 17 by going to the Karma Related Rights tab.
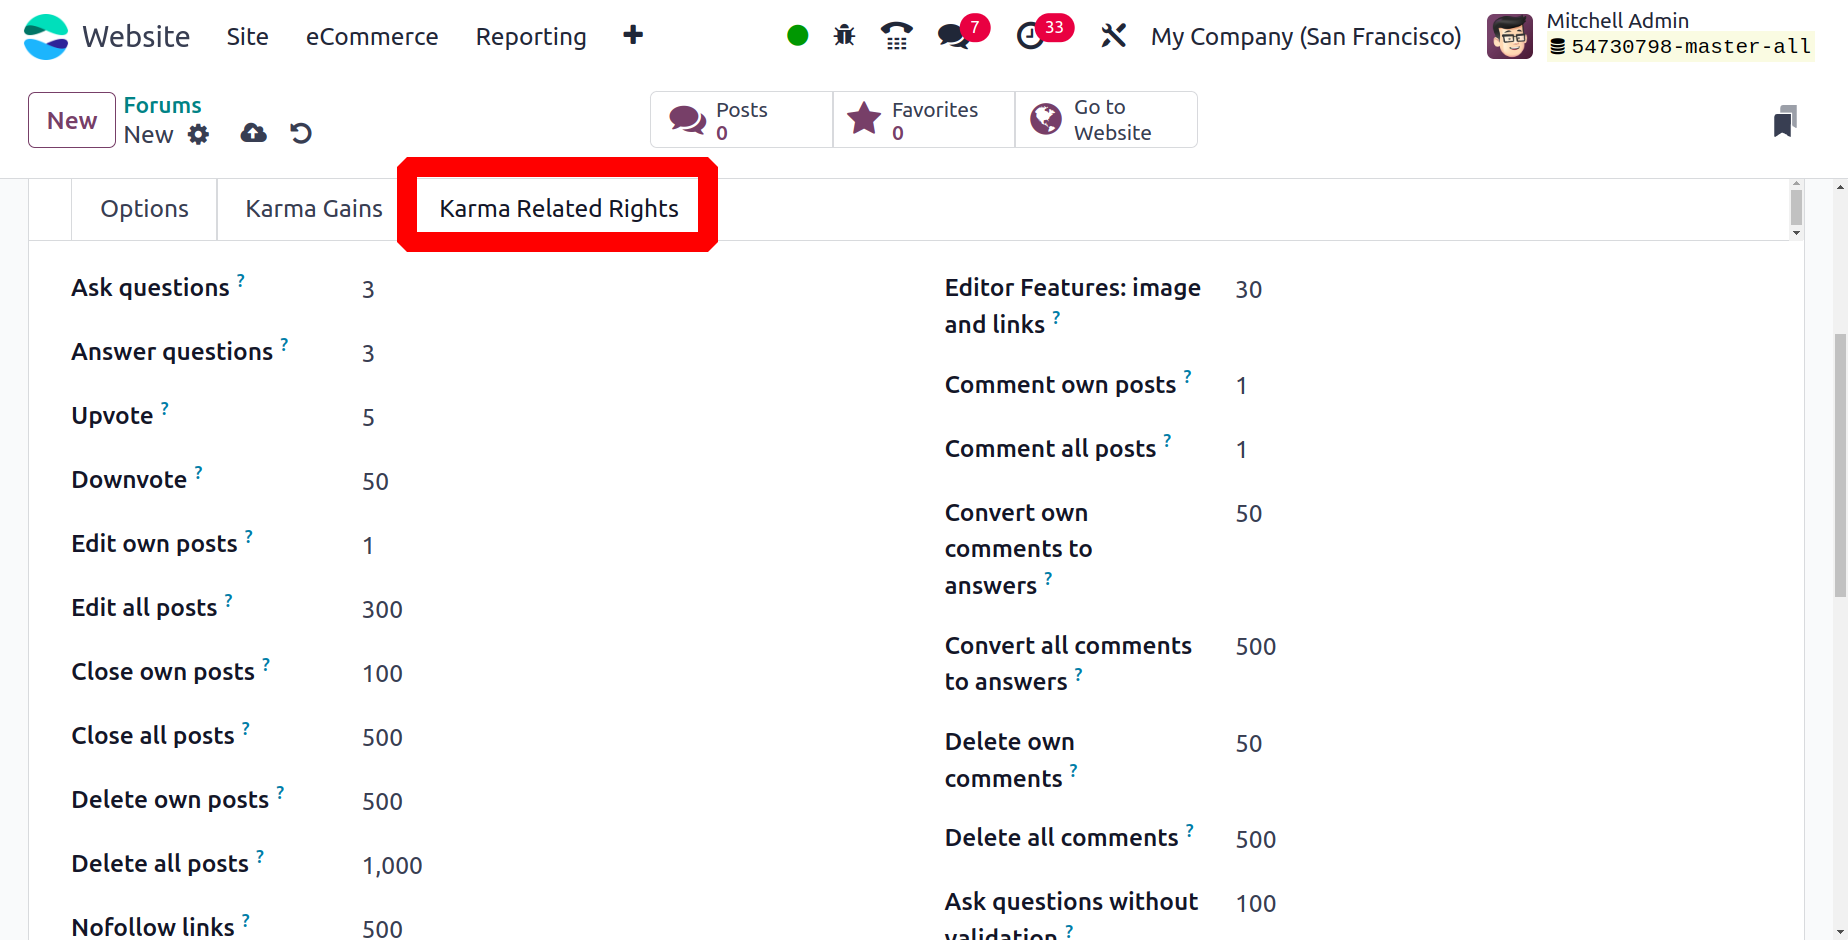
You can see a list of rights under the Karma Related Rights tab. Participants can only
get rights if they accrue the indicated karma points.
Once you've finished all of these steps, click the preserve button to preserve the
details.
Forum Post
The Forum option includes a smart tab Forum Post option. This opens the view of every
forum post page that has been created.
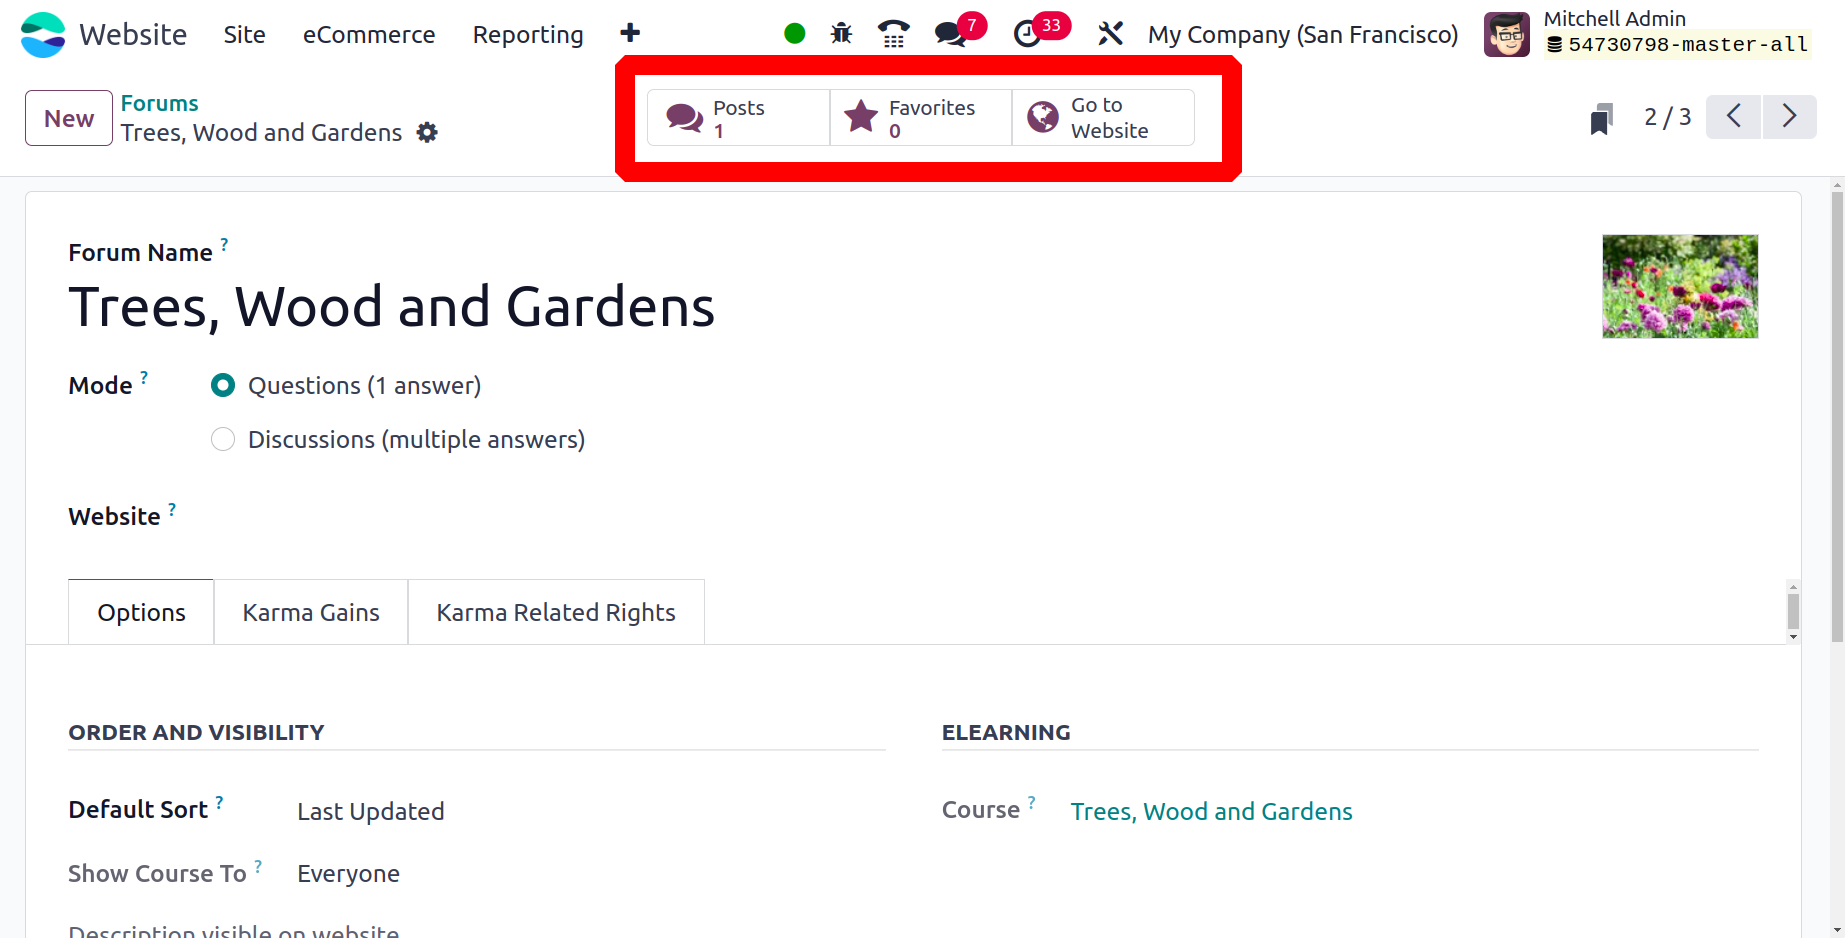
The Go to Website smart tab relocates the user to the website page. Posts, My Posts
Favorites, People, Badges, and other options are displayed on the left side of the
screen. The Moderation Tools, which include validated, flagged, and closed posts, are
located below that. There is a Help section in the My forum section.
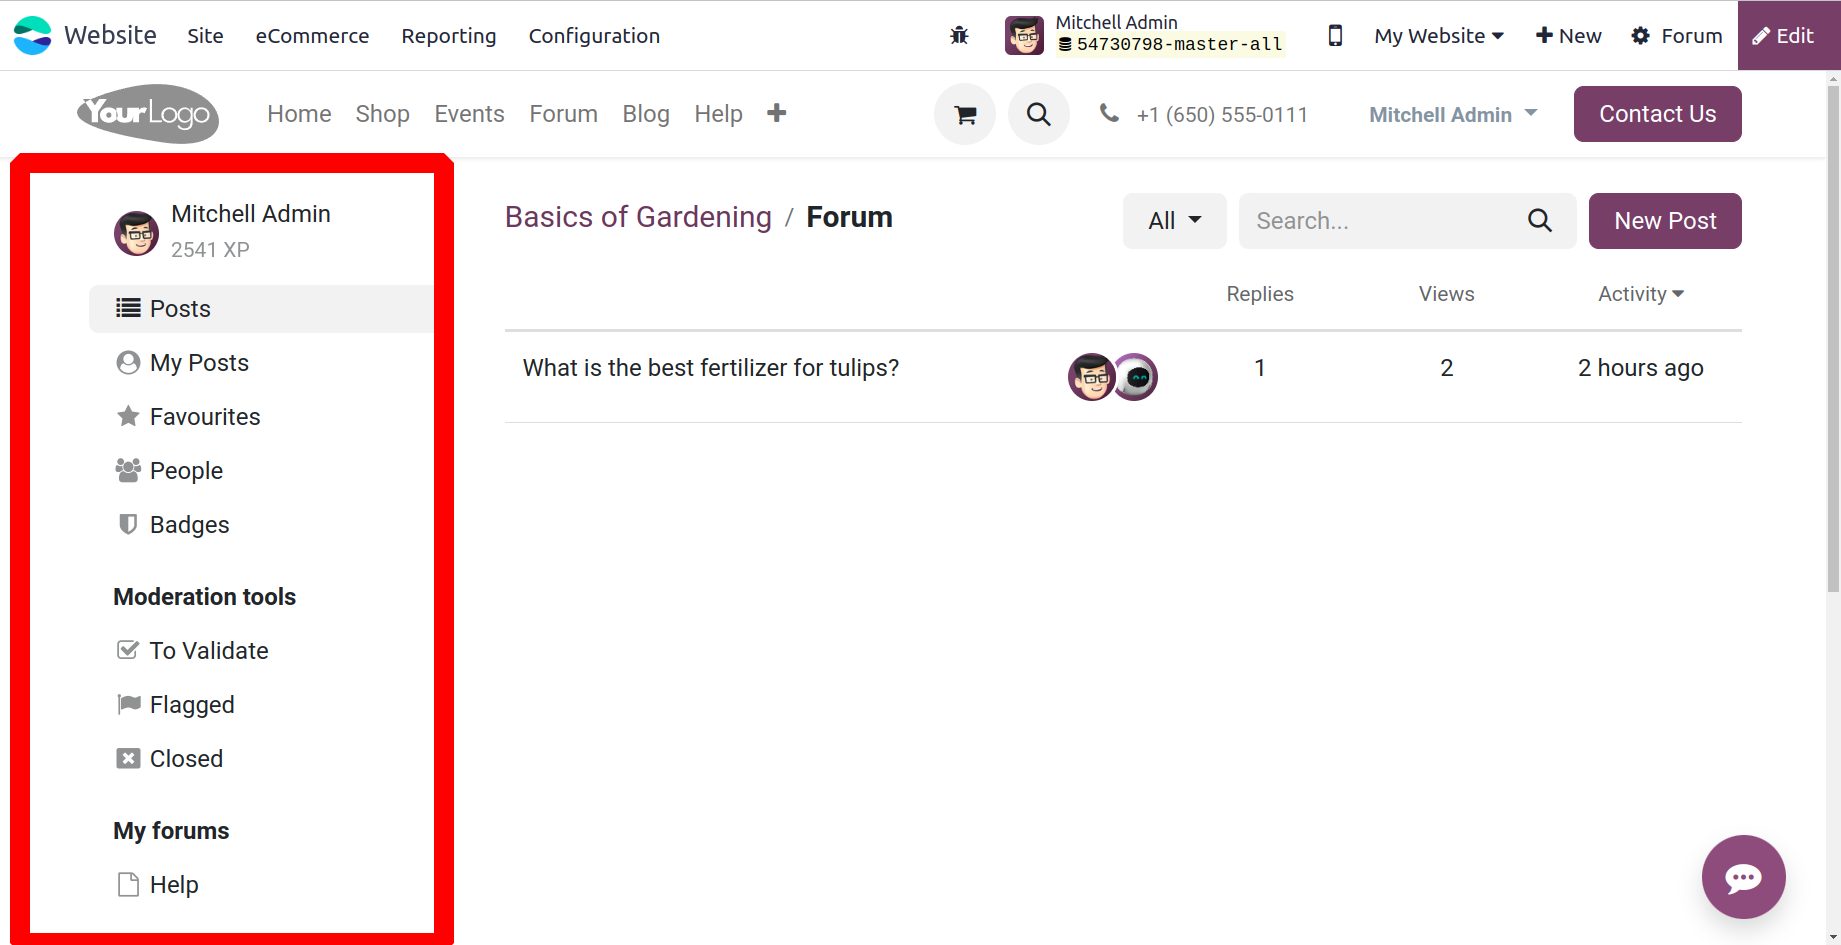
The screen displays the forum post that has already been created. There are the posts'
actions, views, and responses displayed. The user can add new forum posts with the aid
of the New Post button.
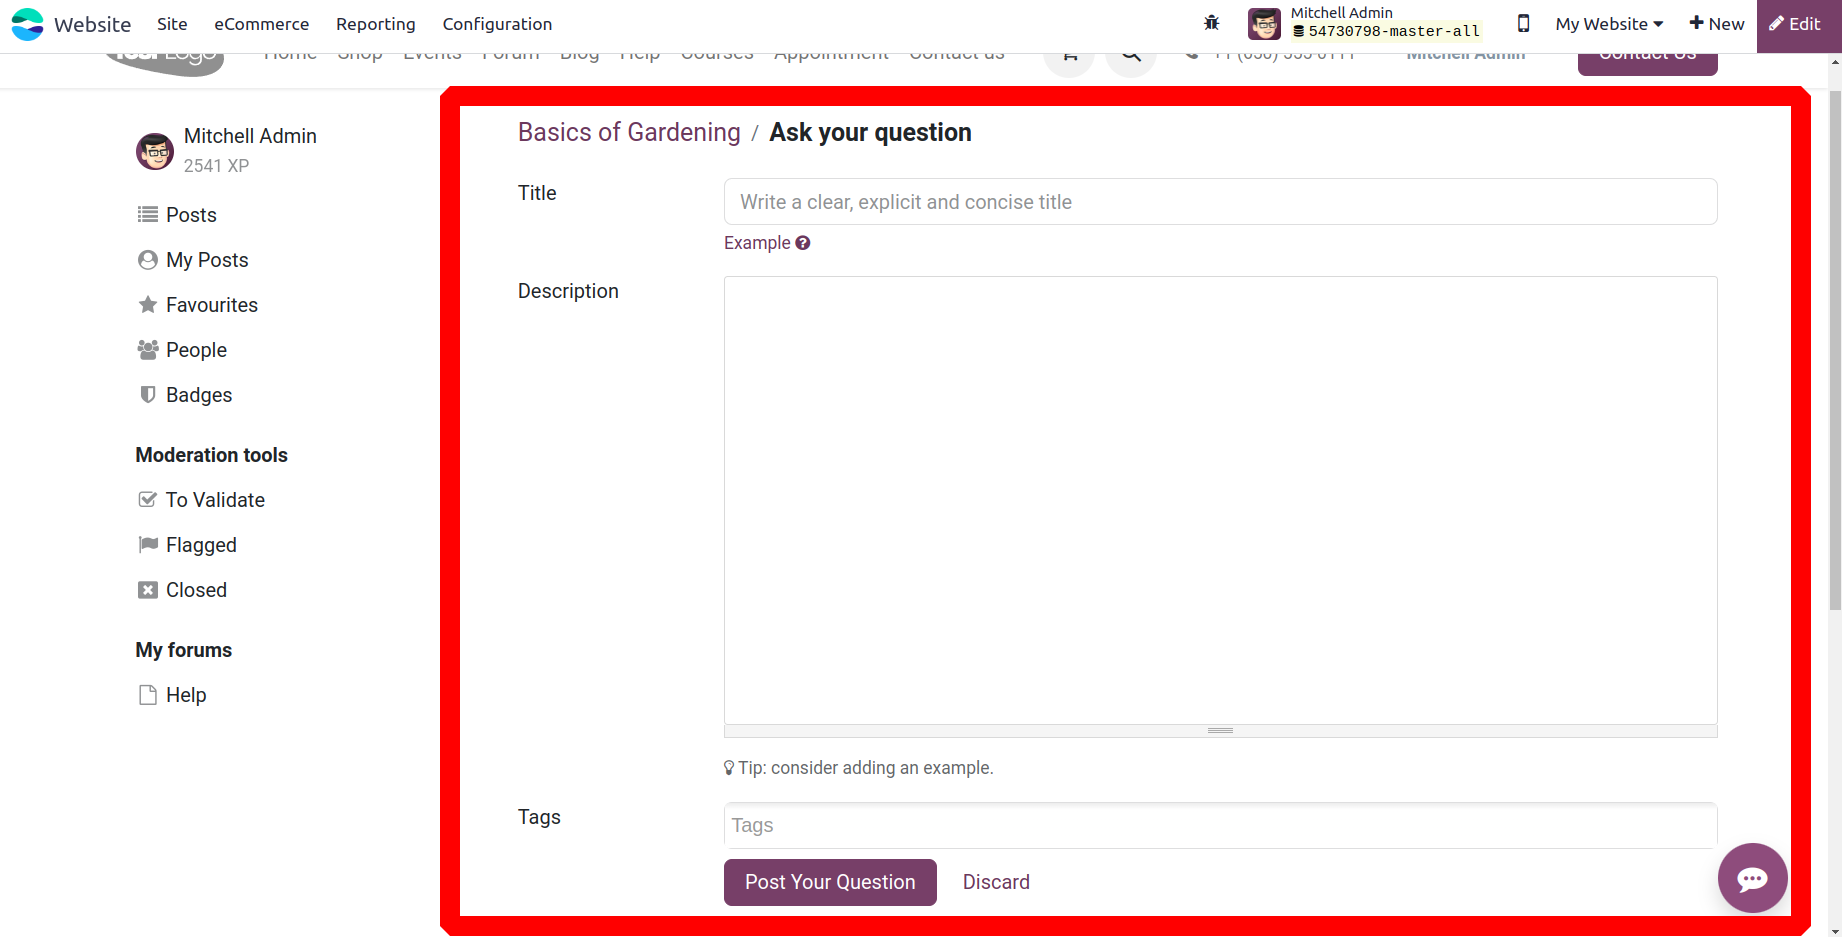
To add a new thread to the forum, include the Title, Description, and tags. Next, to post
your question, click the Post Your Question button.
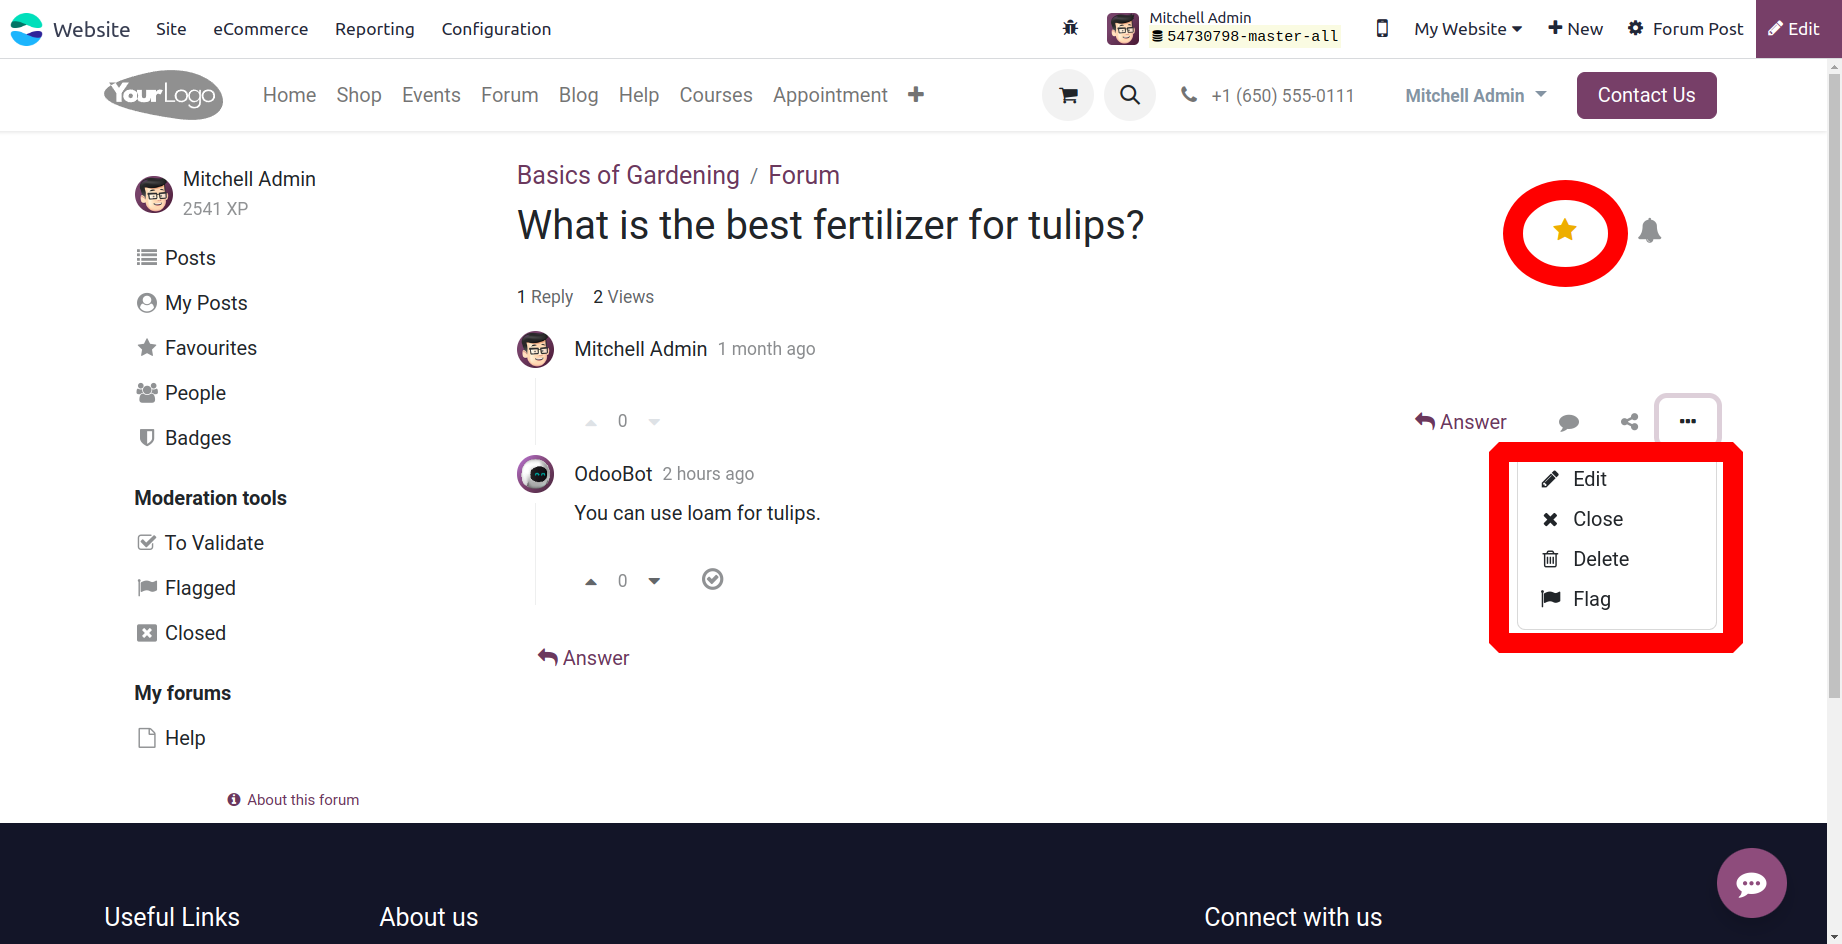
A forum post can be made as a favorite by adding Stars. The Edit, Close, Delete and Flag
options are available on the blog post.
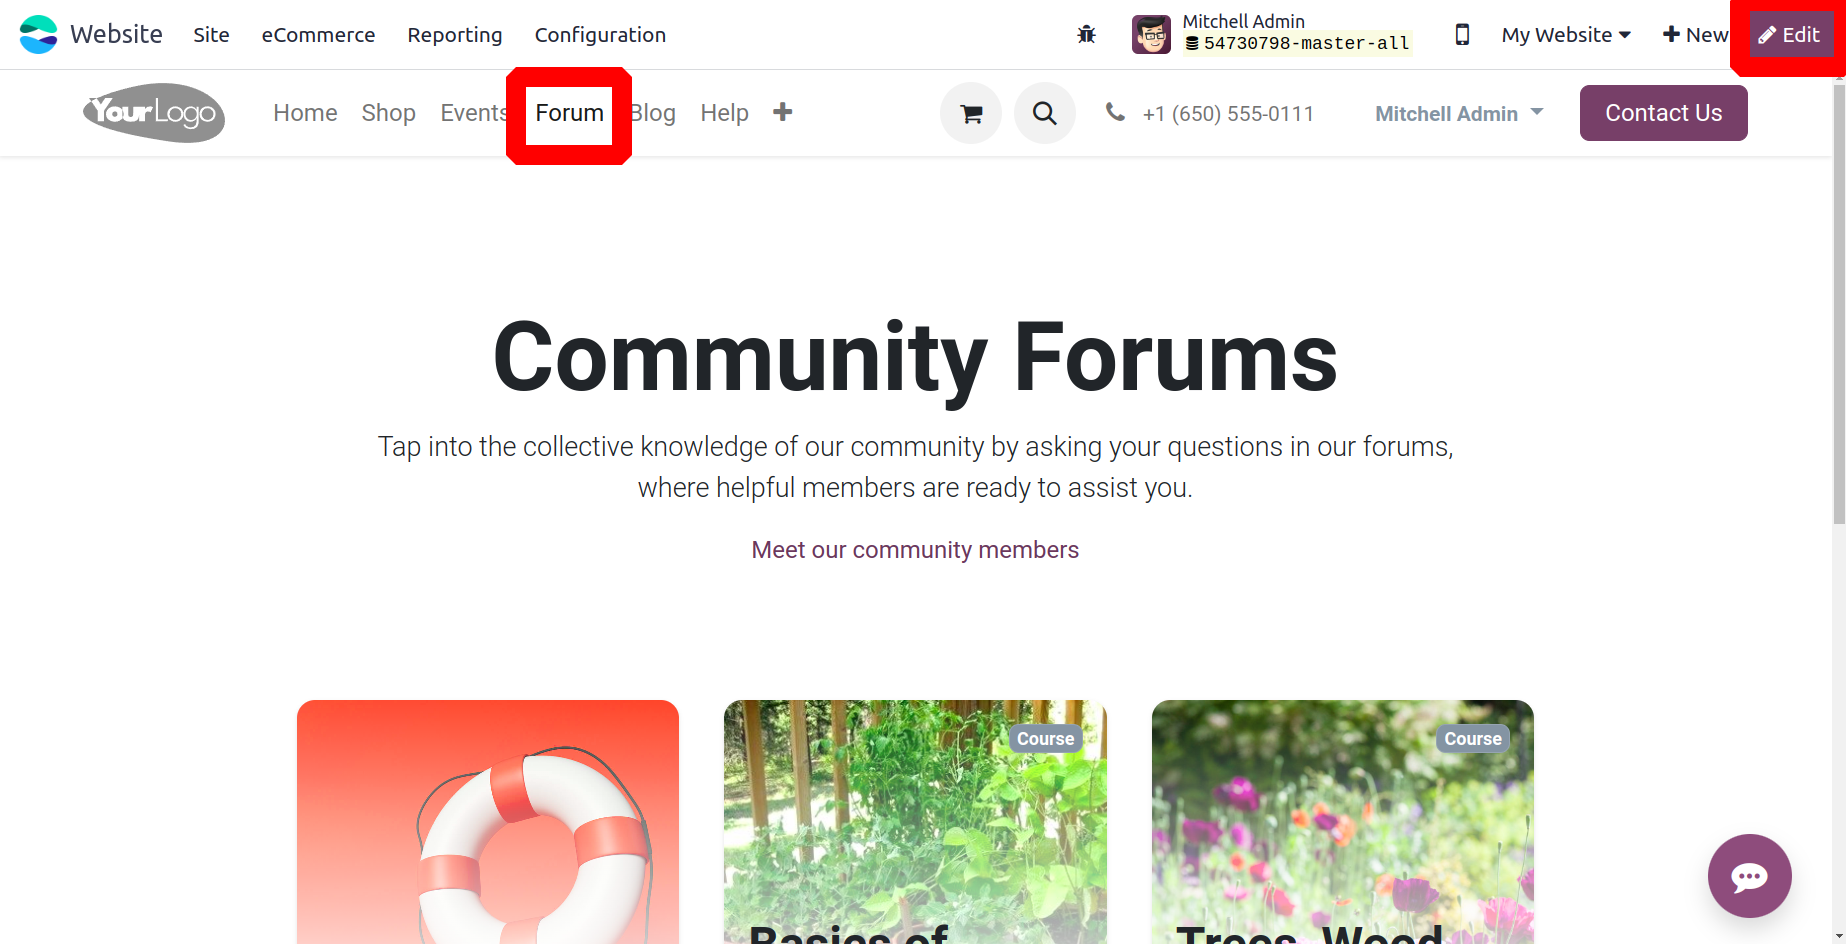
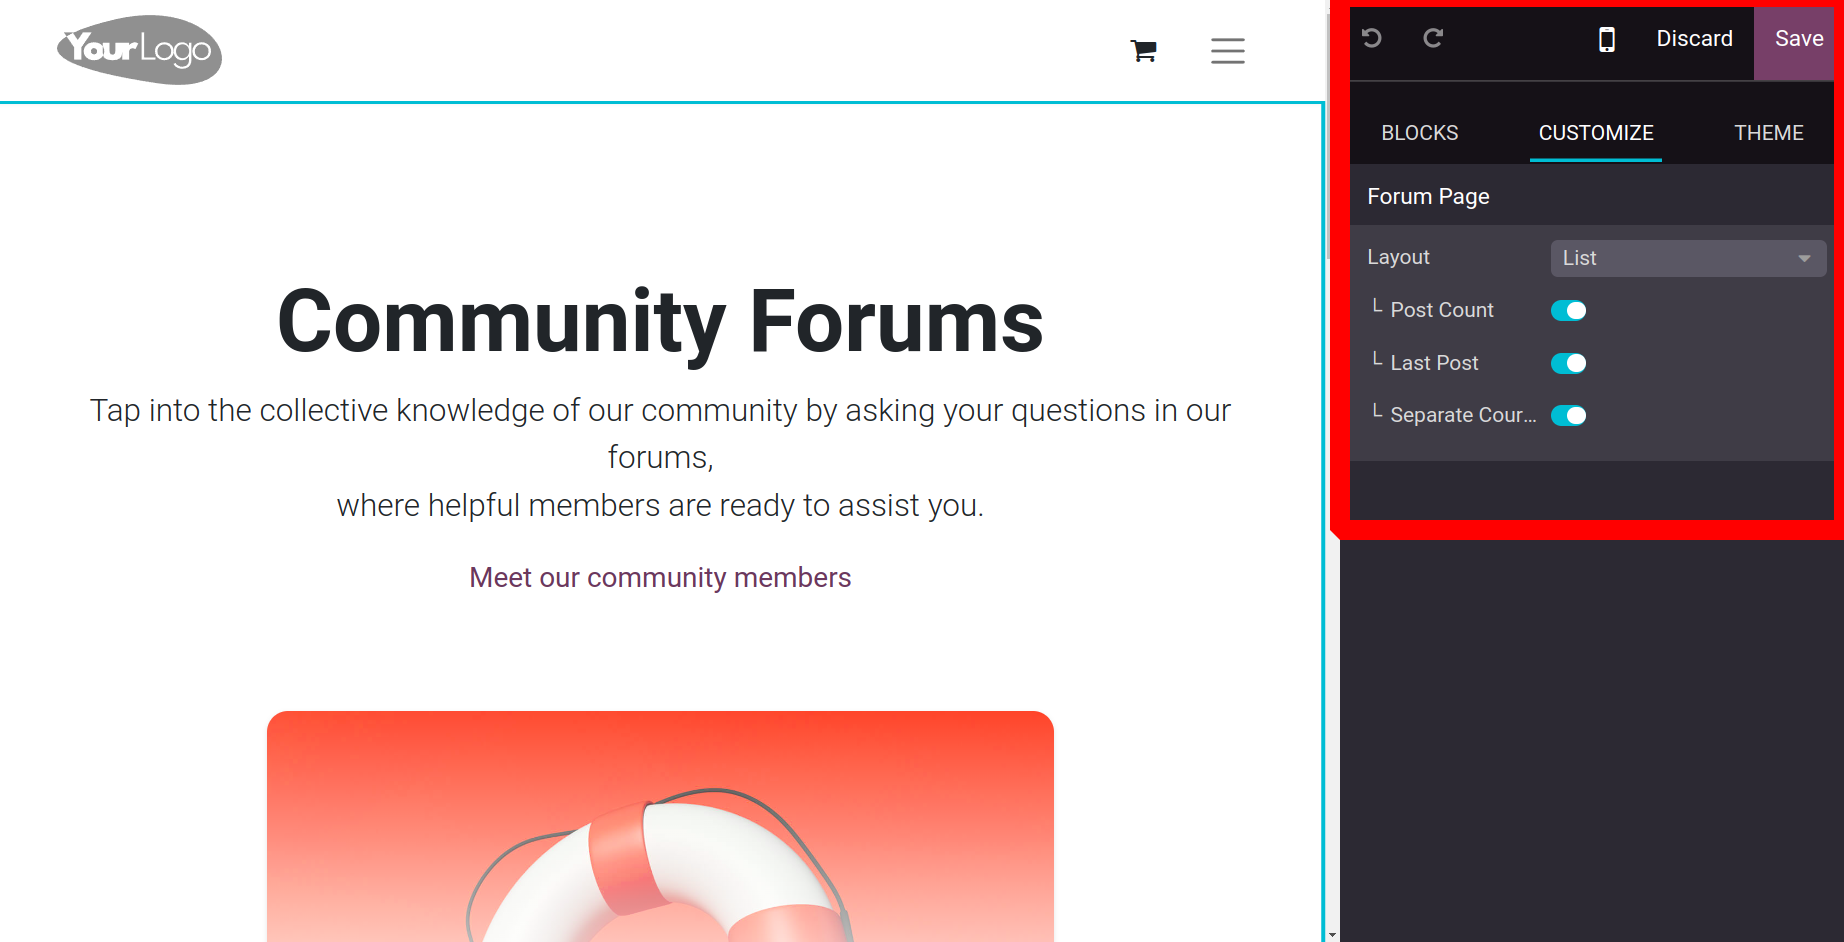
All of the generated Forums are visible through the website's Forum navigation. The upper
right corner of the screen has an Edit button. Editing the current Forum page is
accessible with the Edit button. The user can simply customize the page by utilizing the
CUSTOMIZE tab found in the editing panel.
The user can select List View or Grid View as the page layout from the customization
options. Post Count will then display the total amount of new posts. The Separate
Courses option is also available if you enable the Last Post to view the most recent
addition.
Now let's talk about the Ranks menu.
Ranks
You can set up several rankings for the forum members using the rankings option found
under the Configuration tab of the Odoo17 Website module. Below is a screenshot of the
Ranks menu.
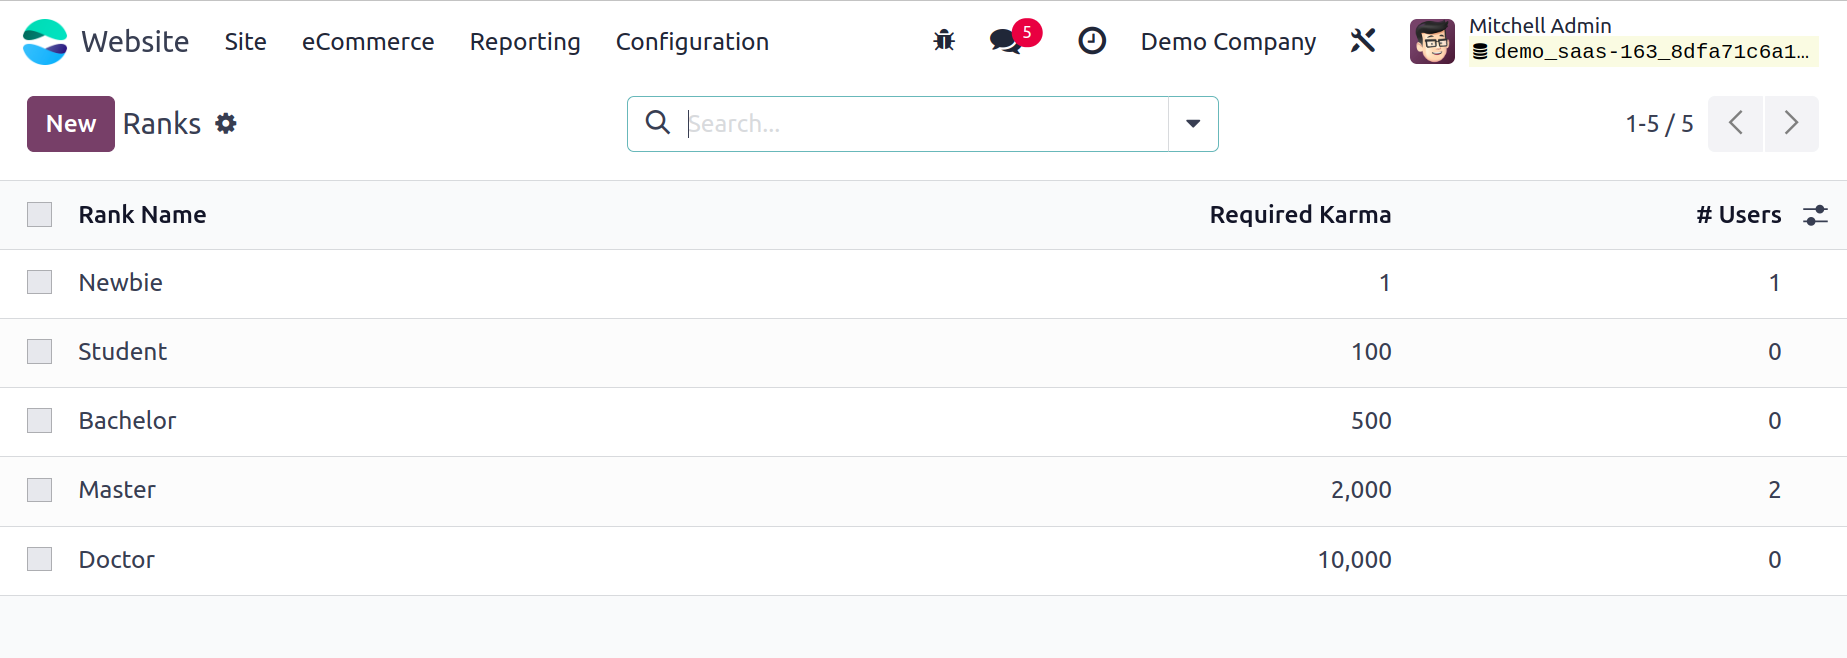
Odoo17 always assists you in maintaining the specifics of any set Rank on the platform.
All of these details are available to you in the window above. You may see the number of
users, the required karma, and the specifics of each rank name in this window. The
different rankings can also be attained according to the amount of Karma points
accumulated. You can click the New button to configure a new rank.
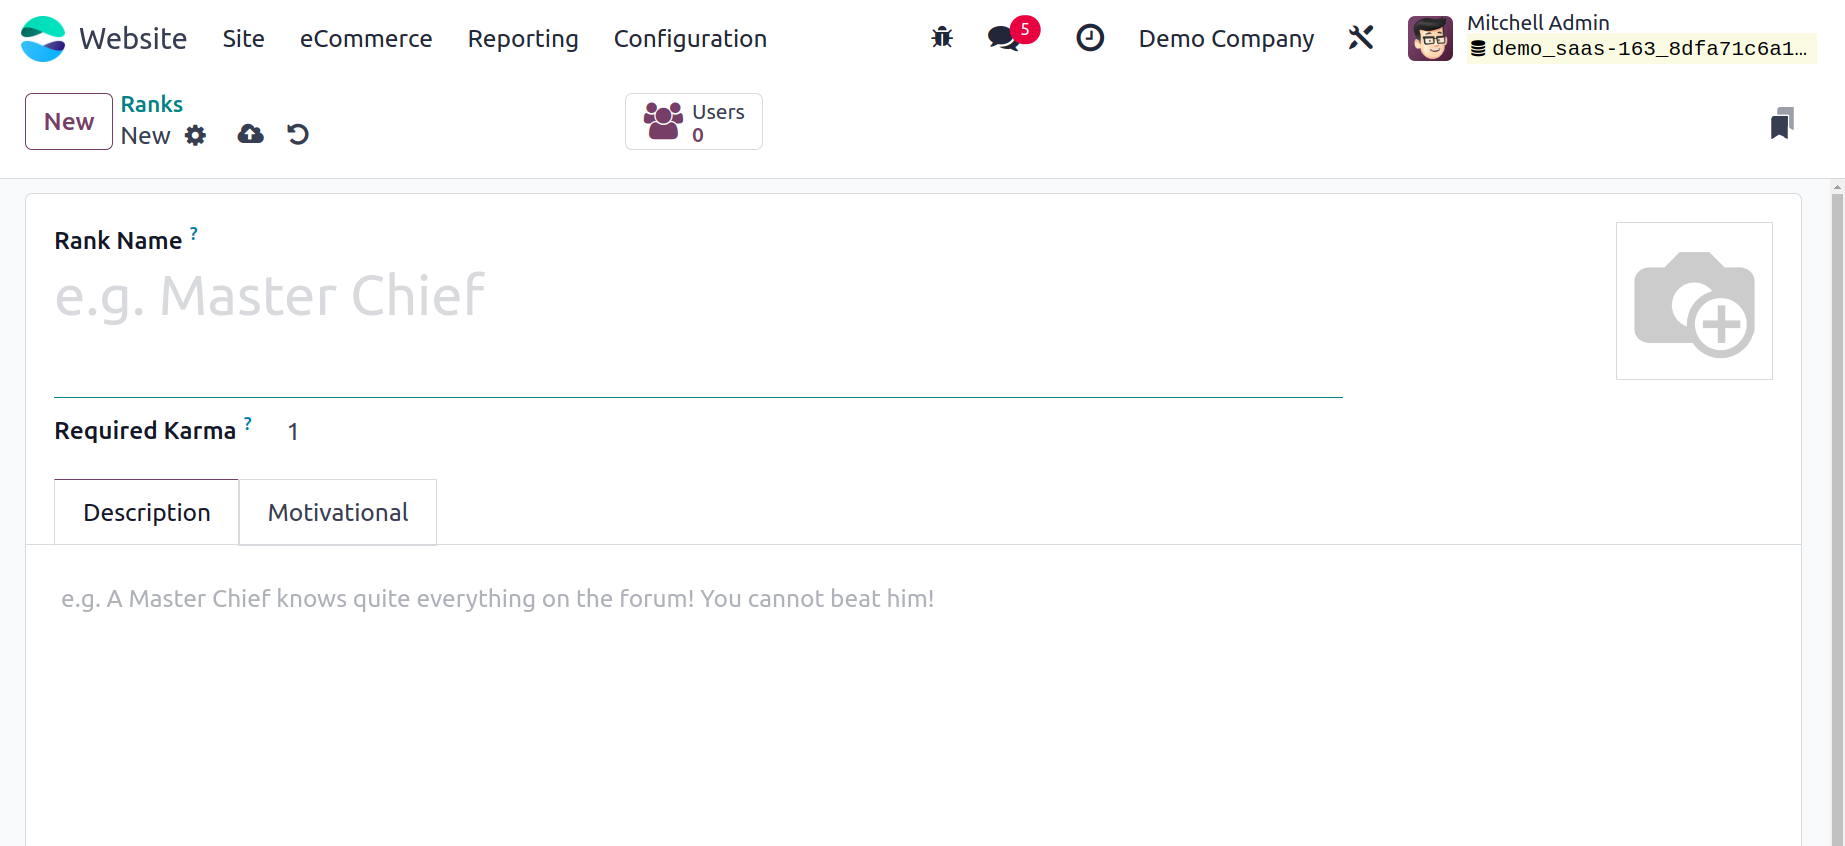
You can enter the Rank Name and the Karma Requirement to reach the rank in the Rank
Configuration Form. You can provide a description of the defined Rank in the Description
tab. Under the Motivational tab, you can find a motivating slogan to help you accomplish
this specific rank.
Tags
You may also set up different tags for the forum posts using the Odoo17 Website module.
These tags will help with forum post classification and recognition in a timely manner
according to the requirements. The Forum section of the Configuration tab of the module
provides access to the tags menu.
The Tags window, as seen in the image below, will open immediately when you click on the
Tags menu.

All of the preconfigured Tags, along with their names and related forum names, are
viewable here. To add new Tags, click the New button. The details can then be entered in
a new row that appears in the same window.
Badges
Creating and managing badges is a unique function that Odoo17 provides, particularly for
your website's forum post viewers. With the help of this tool, you may define what kinds
of tasks visitors must complete as detailed on your forum in order to be eligible to win
badges. You can give out these particular badges as prizes for completing the challenges
on your website.
The Odoo17 Website module's Configuration tab leads to the Badges menu. Let's investigate
the Badges window.
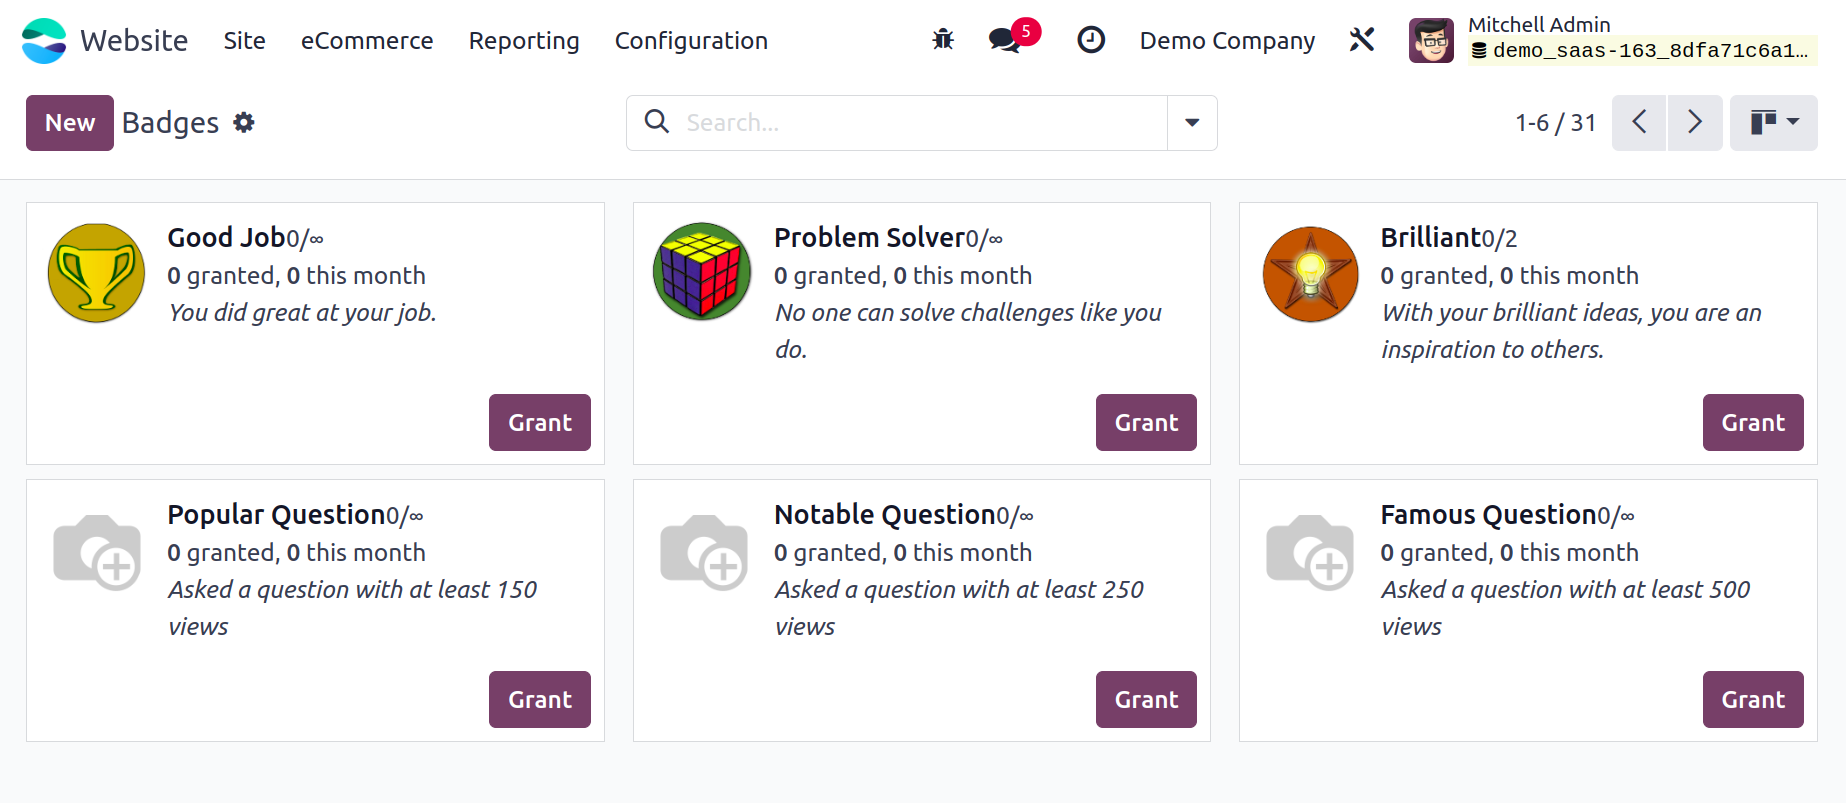
All of the badges that are defined on the platform will be seen in the Badges pane. The
Badges window in Kanban view is seen in the image above. The GRAND button on the
underside of every emblem is visible in the kanban view. To give your participant this
badge, simply click the button. This button will display a pop-up window similar to the
one in the image below when you click on it.

This is where you can identify the recipient of your prize. You can also explain what
they did and why it is significant. Your description will be available to the public.
After that, you can select the Grant Badge option.
The Badges window is also accessible in List view. You can click the New button to create
new Badges. Below is a screenshot of the creation form.
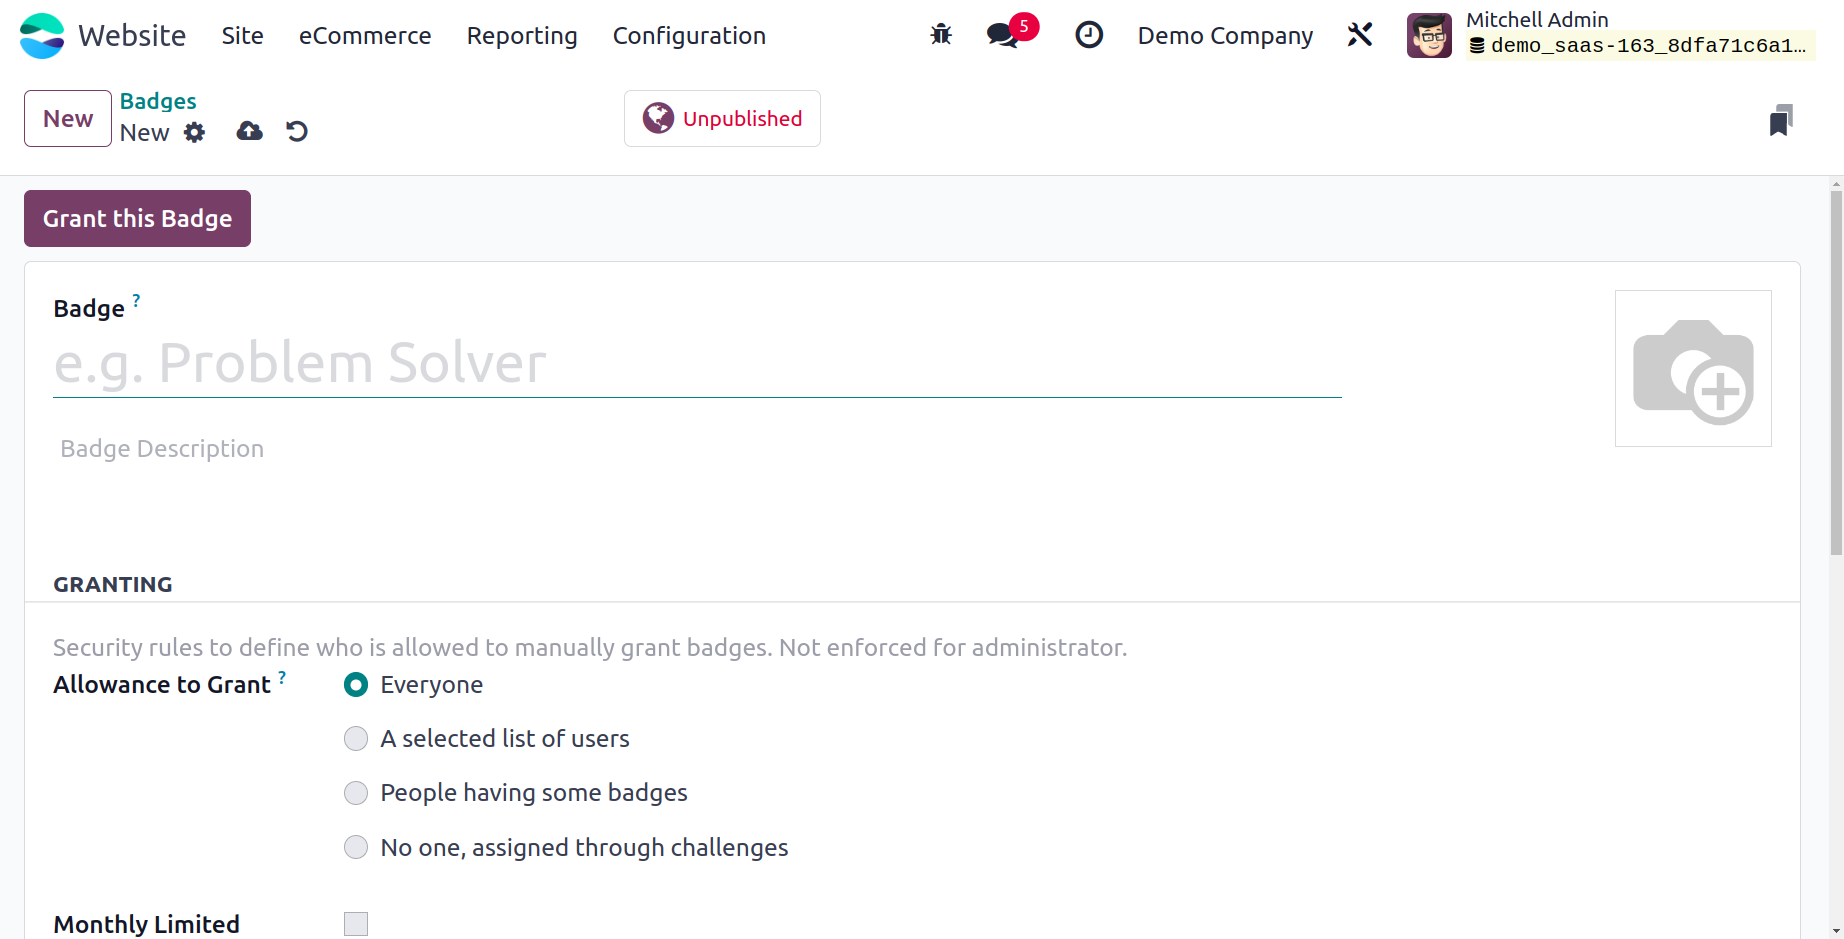
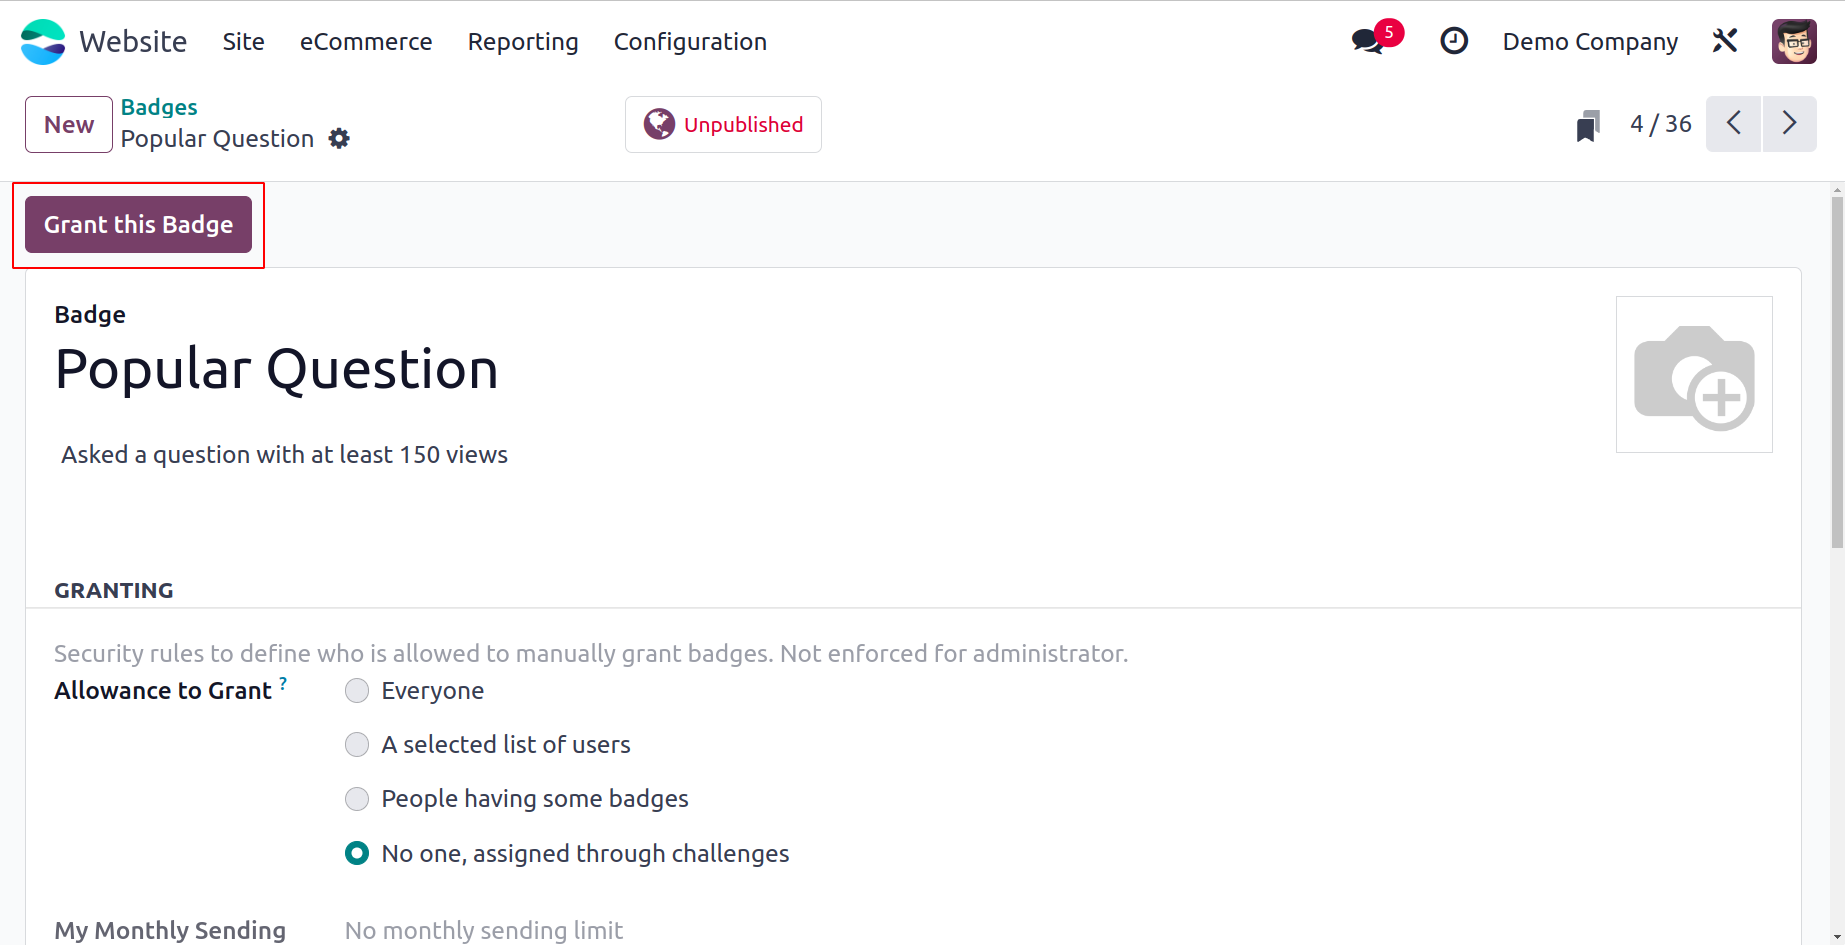
You can assign the Badge Name and Badge description in this Badge creation form. The
security guidelines for manually providing badges are provided in the granting section;
these guidelines are not applicable to administrators. You can specify who has the
authority to grant this badge in the Allowance to Grant area. You can choose this from
the available options.
- Everyone
- A selected list of users
- People having some badges
- No one, assigned through challenges.
To set a monthly limit for each person to send this badge, you can use the Monthly
Limited Sending option. You can define my monthly sending total as well. In other words,
it represents how many times this badge has been sent this month by the current user.
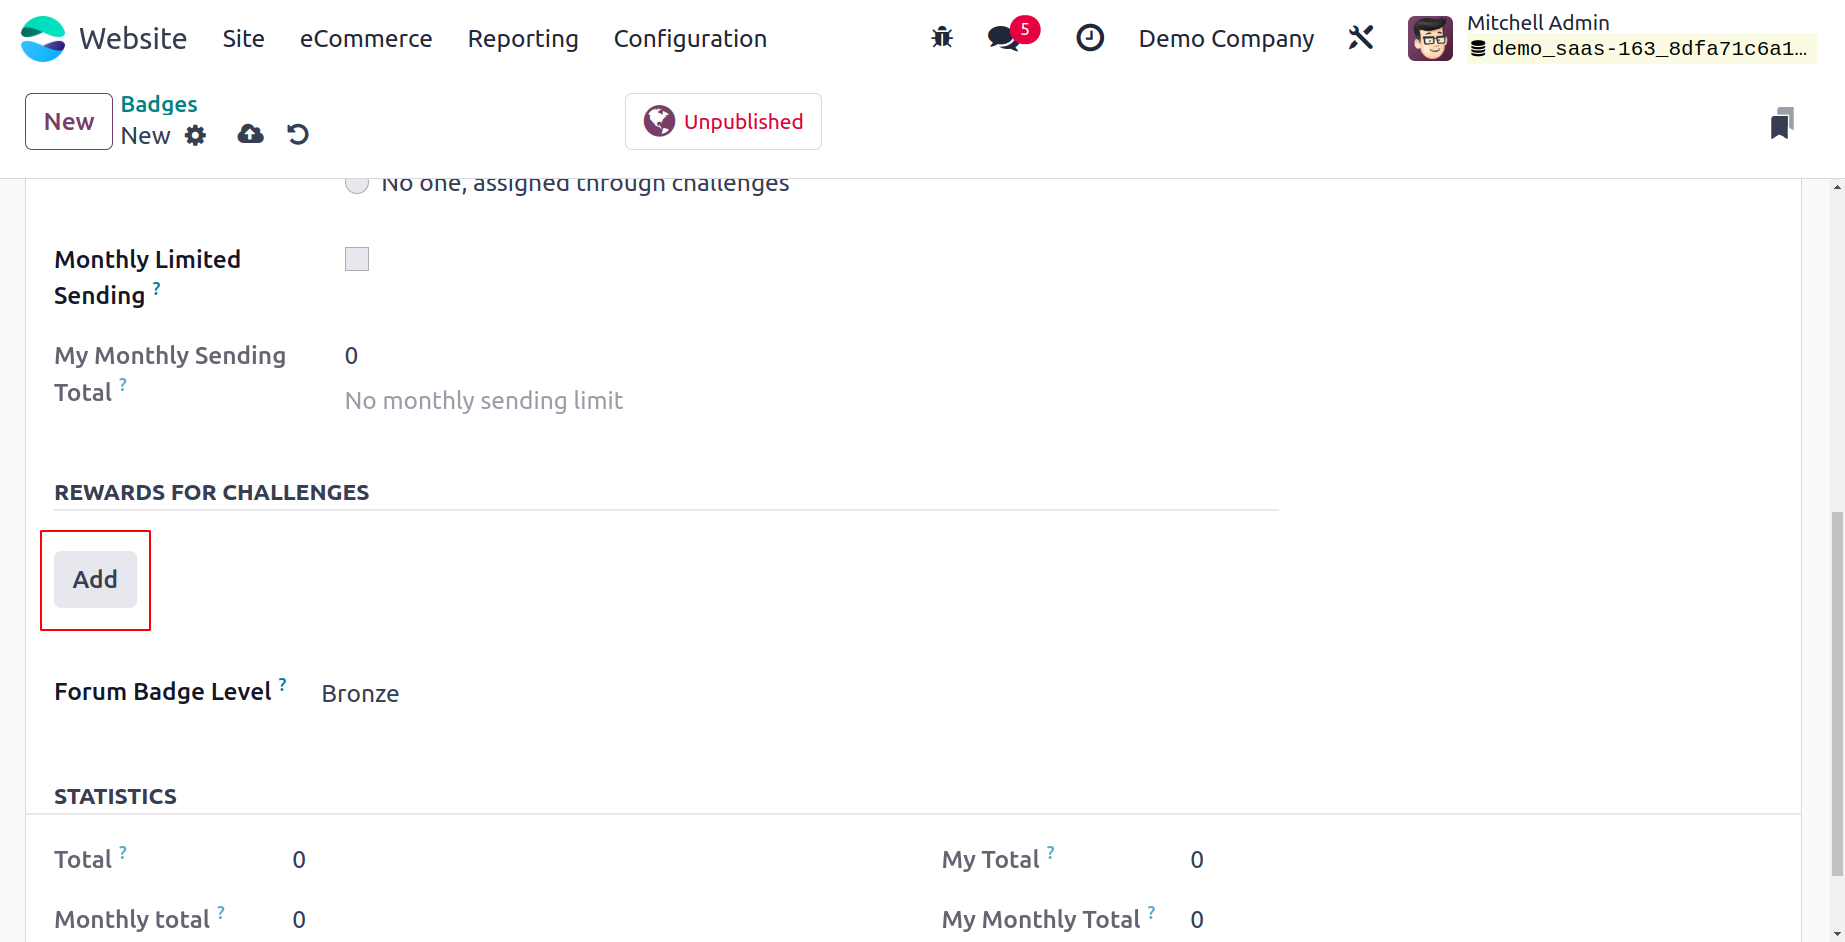
To set a monthly limit for each person to send this badge, you can use the Monthly
Limited Sending option. You can define my monthly sending total as well. In other words,
it represents how many times this badge has been sent this month by the current user.
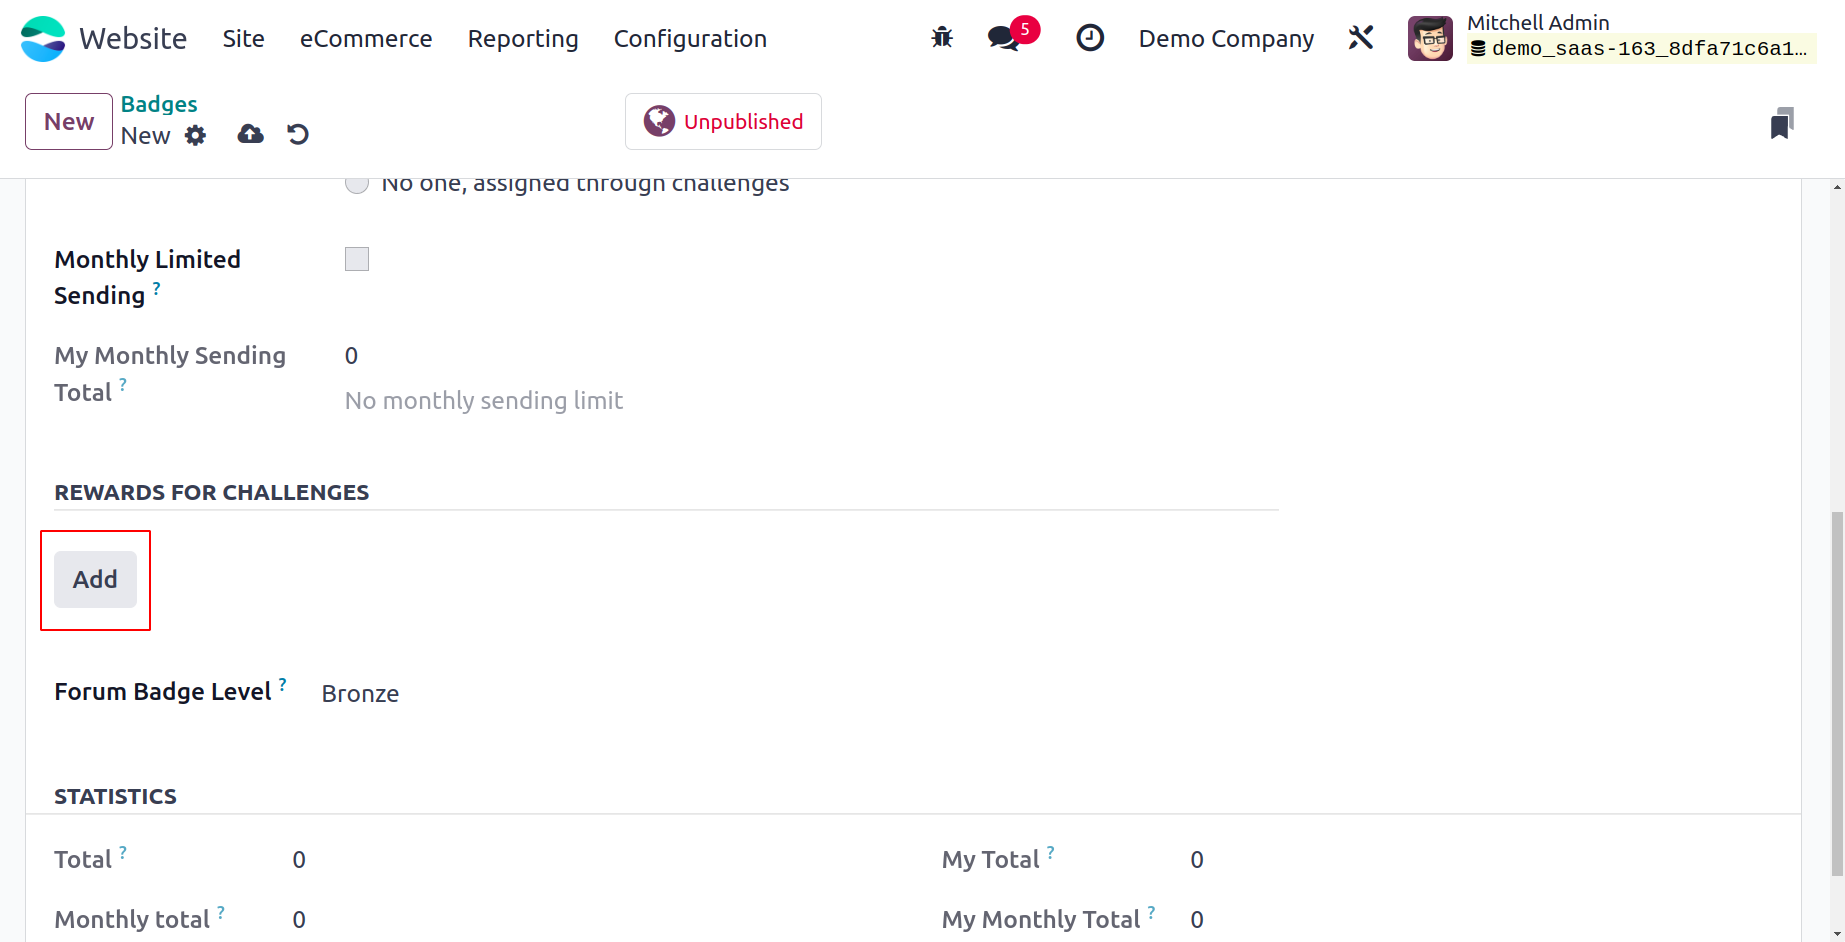
You can also provide incentives for completing tasks. You can accomplish this by
selecting the ADD button that appears in the Rewards for Challenges section. All of the
predetermined challenge record rewards will be shown in a pop-up window when you click
the ADD button.
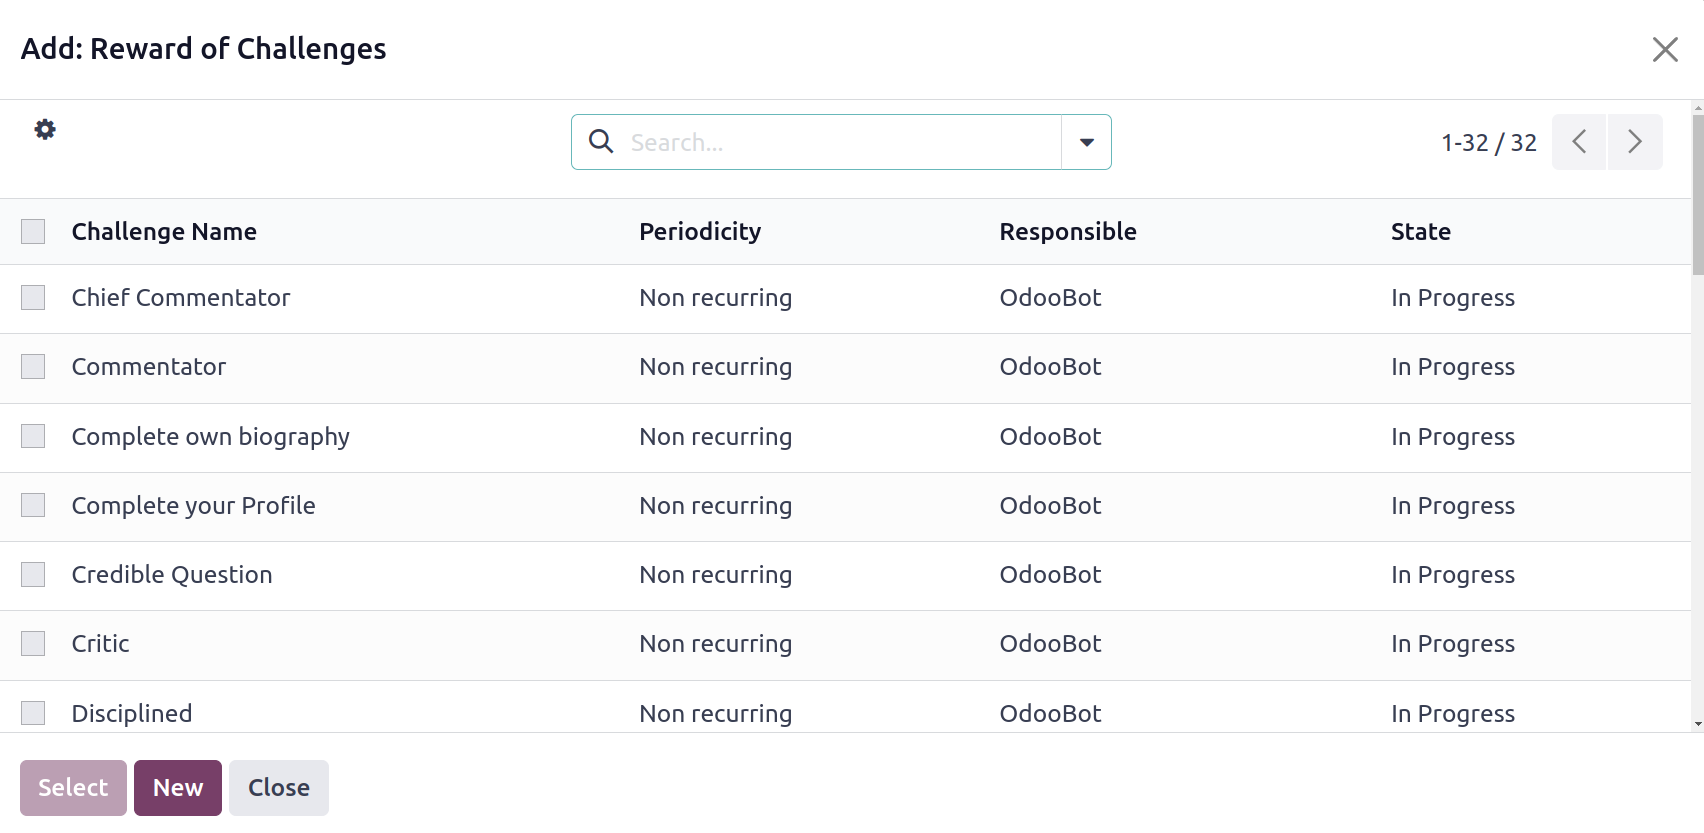
A relevant record can be added to this field.
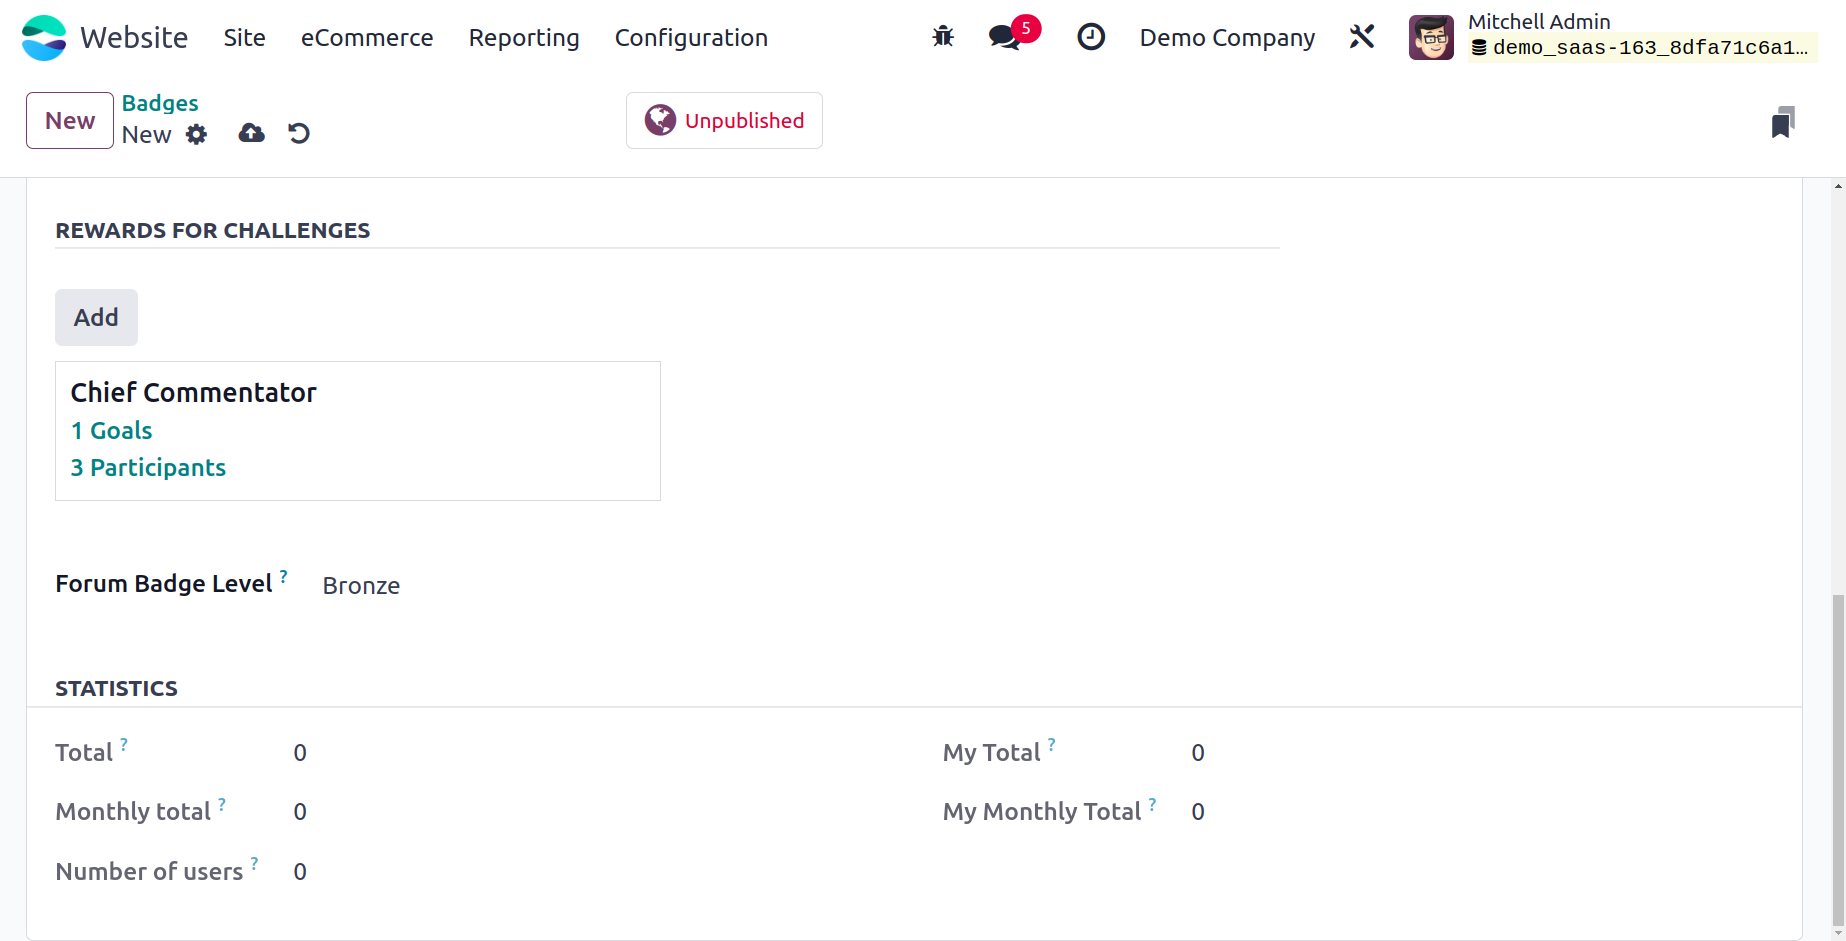
The provided list can be used to determine the Forum Badge Level. Options like Bronze,
Silver, and Gold are on the list. You can specify the following information in the
Badges creation window's Statistics section.
Total: The quantity of all the badges that have been obtained.
Monthly Total: The sum of all the times this badge has been awarded this month.
Users: The total number of distinct users who have got this badge.
My Total: The total number of times this badge has been awarded to the active user.
My Monthly Total: The total number of times this badge has been awarded to the current
user this month.
After completing each field, you can save the information by clicking the SAVE button.
You may award this badge to your participants by clicking the Grant this Badge option
after saving it.
You can name the participant and the true reason for the reward when you click the Grant
this Badge button, as seen in the pop-up window below. Click the Grant Badge button
after that.

We can talk about the Close Reasons menu now.
Close Reasons
The Odoo Website module's Configuration tab has a Close Reasons option that you may use
to explain why specific forum posts have been removed from your website. It will be a
simple yet helpful feature that will support your efforts to gain more credibility. The
Close Reasons menu is available in the Configuration tab's Forum section. Go to Website
-> Configuration -> Forum -> Close Reasons to gain access. This menu will take you to
the Post Close Reasons window, as seen in the illustration below when you click on it.
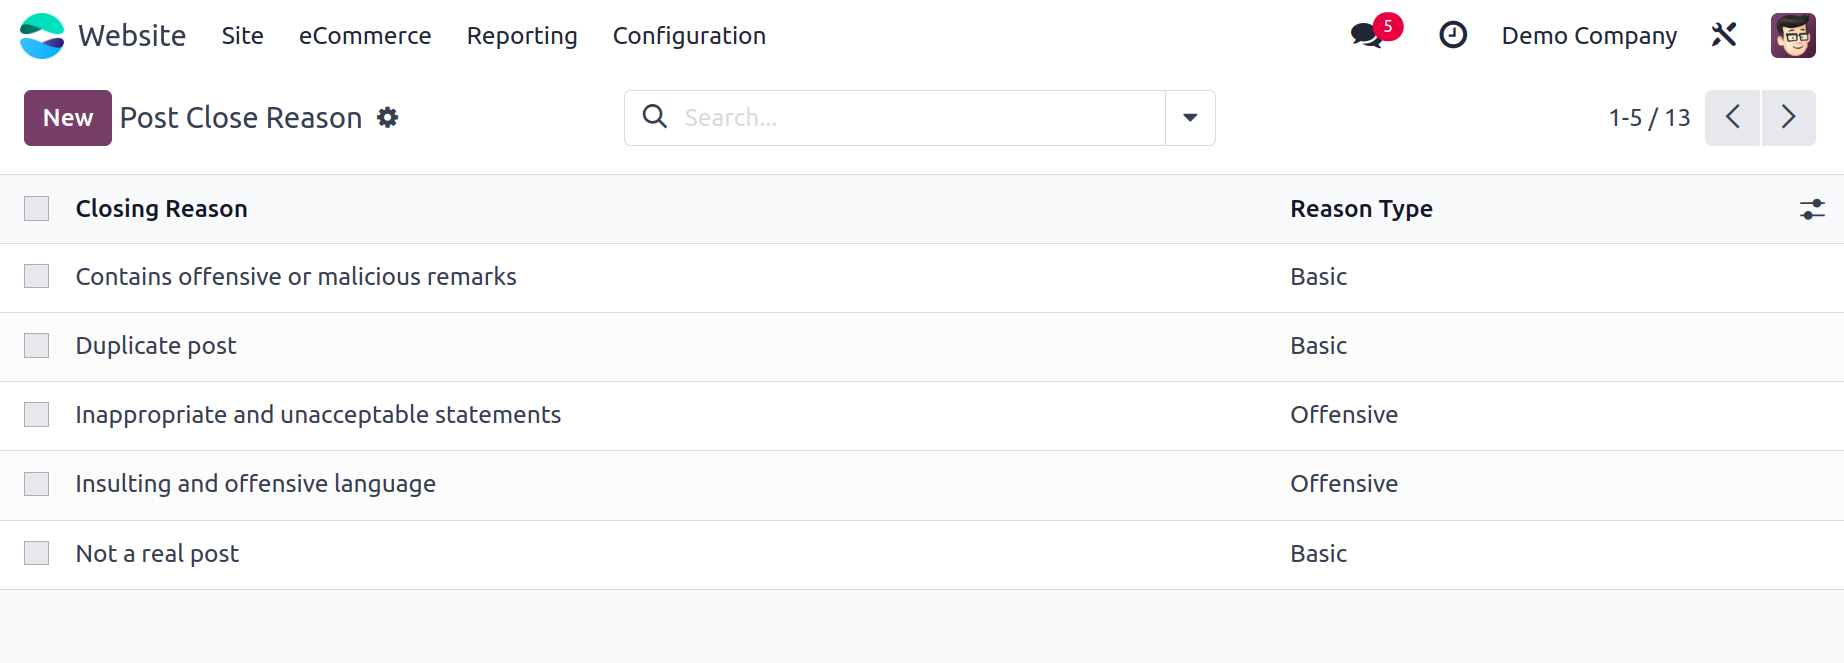
All of the previously discussed Close reasons and their various reasons are listed in the
window. You can click the New button to add new closing reasons. You will now see a new
row where you can state the Reason Type and provide the closing justification.
Thus far, we have talked about the many features included in the Forum area that can be
found under the Website module's Configuration tab. The e-Learning module also allows
for the creation of forums and forum postings. Currently, the Forum module in Odoo 17
can be used to manage forums.