E-Learning
eLearning is the process of facilitating and improving learning experiences through the use of electronic technology, mostly the Internet. It offers flexibility and convenience by enabling students to participate in classes and access instructional materials from any location with an internet connection. E-learning can be done using a variety of platforms, such as blogs, interactive multimedia content, forms, and online courses.
It's now very simple to manage these eLearnings with the Odoo 17 eLearning module.
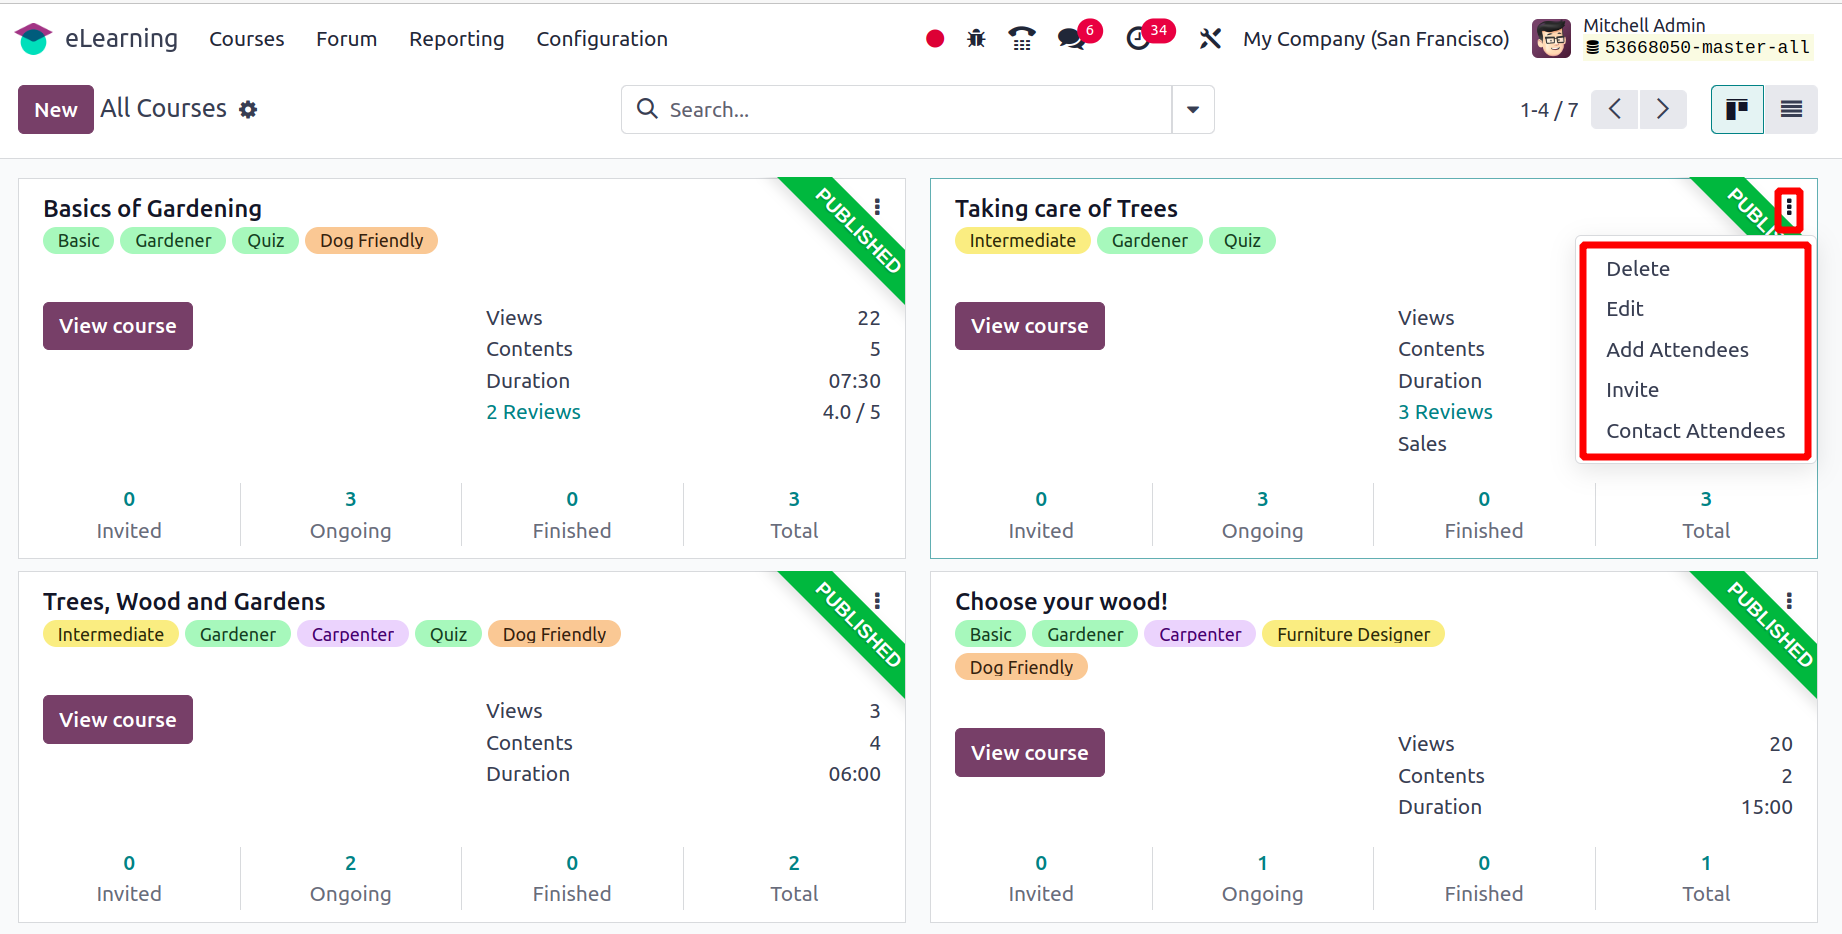
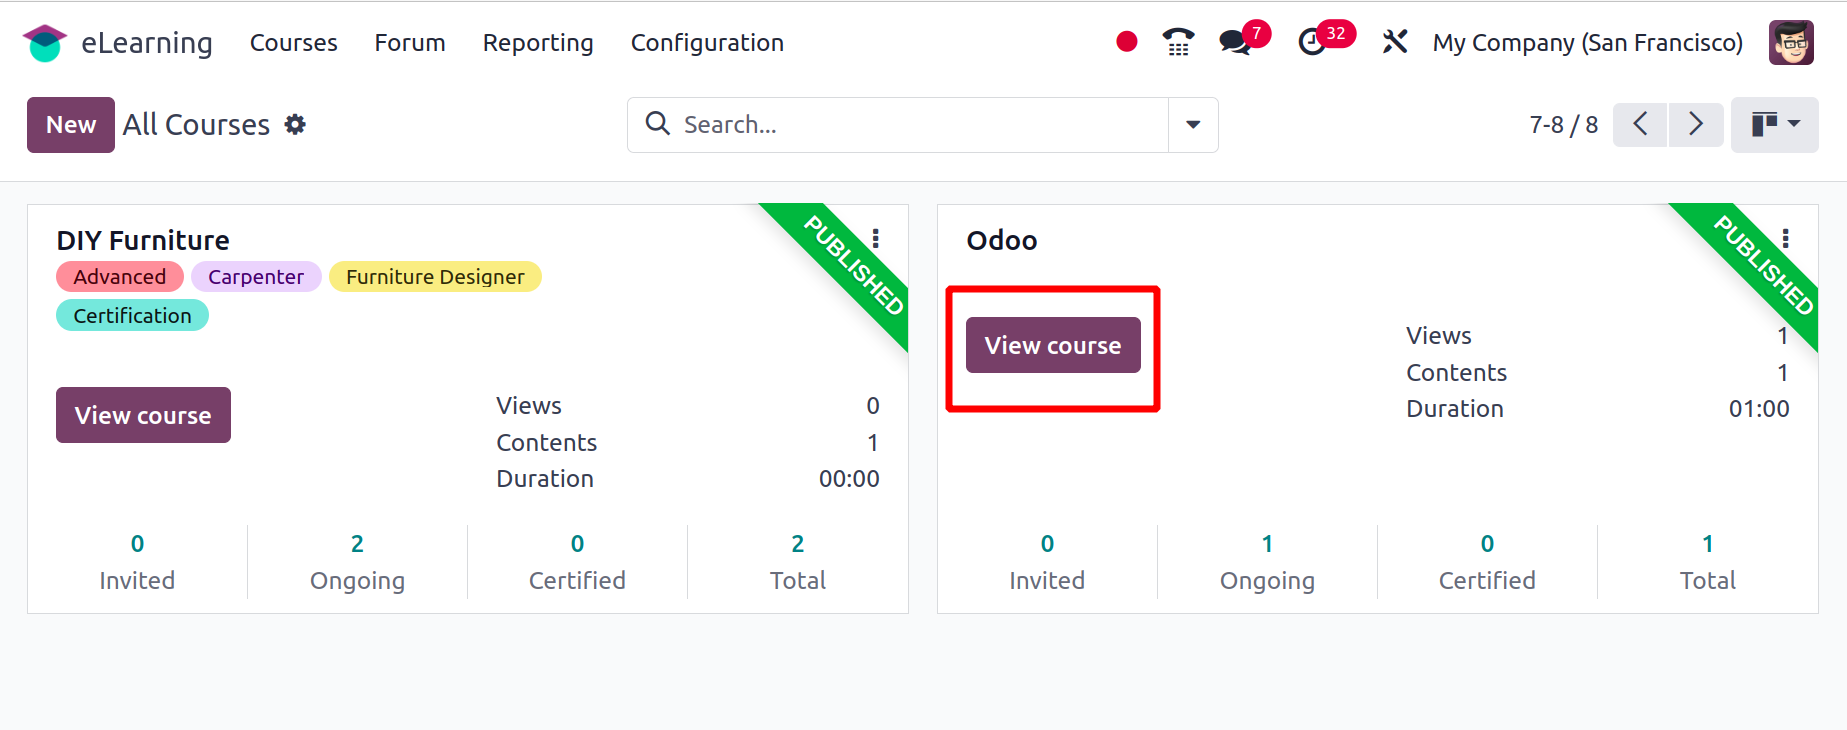
The screenshot above shows the dashboard view. On the dashboard, you can see every course that has been created. The view displays information about the course, including the Total Views, Contents, Duration, and user details. You may access buttons to Delete, Edit, Add Attendees, Invite, and Contact Attendees by clicking the three dots on the right side of the screen. From then on, you may view the produced course by clicking the View Course option.
There is also the course's List View available. Details like Name, Responsible, Website, Course Type, Show Course To, Published, and so forth are displayed in the list view.
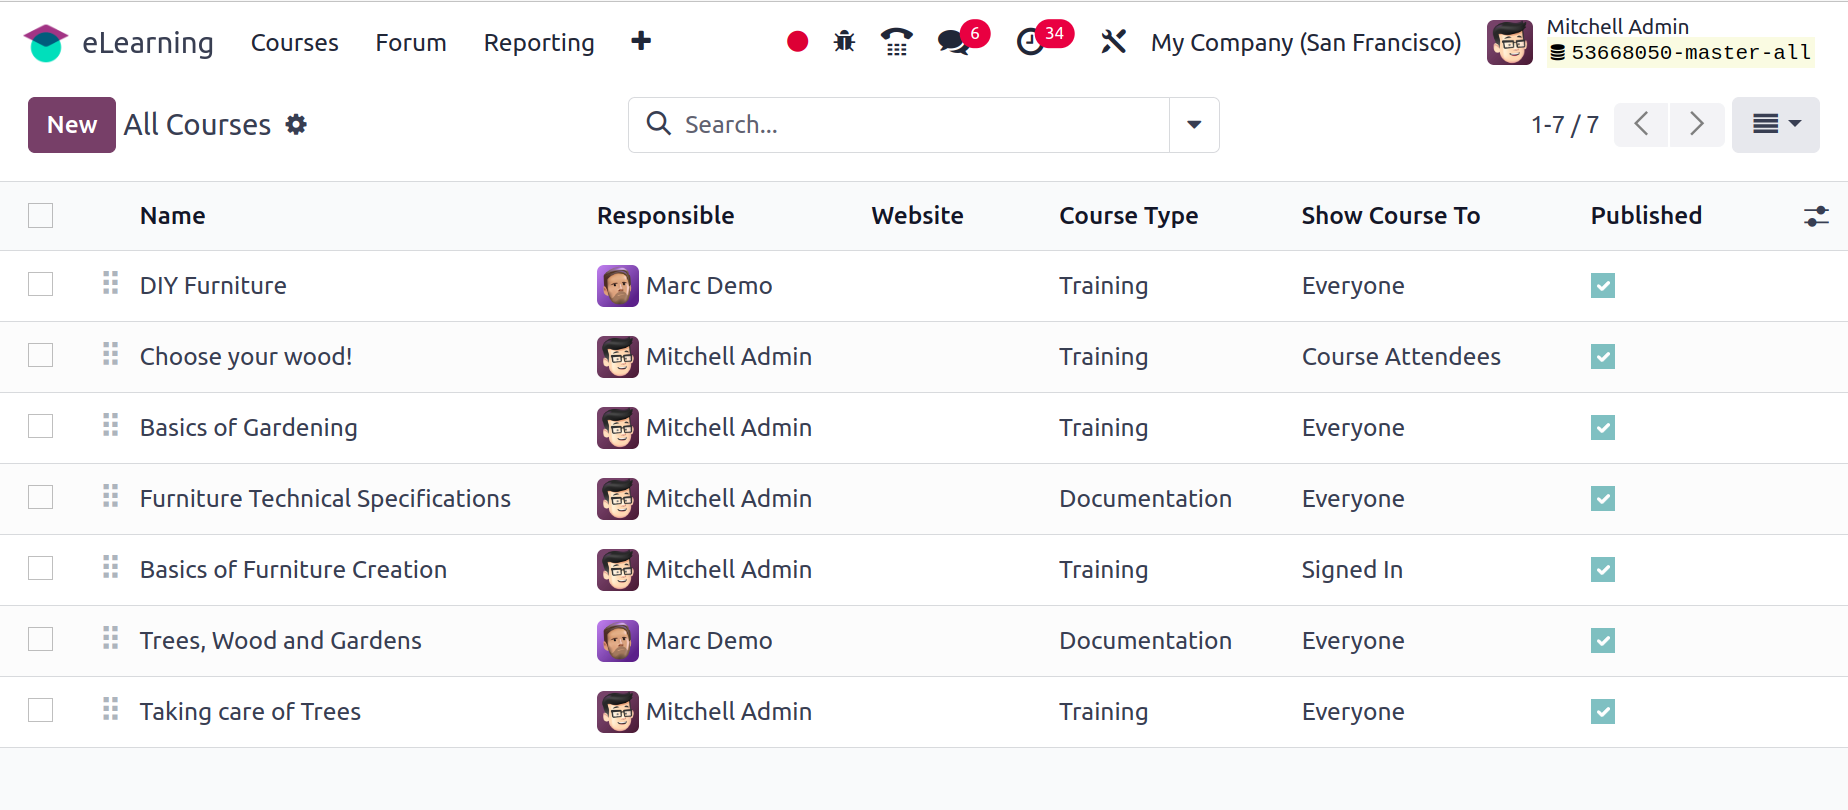
This screen also includes Search, Filter, Group By, and Favorite options. Click the New button to add a new course. The creation form will then appear.
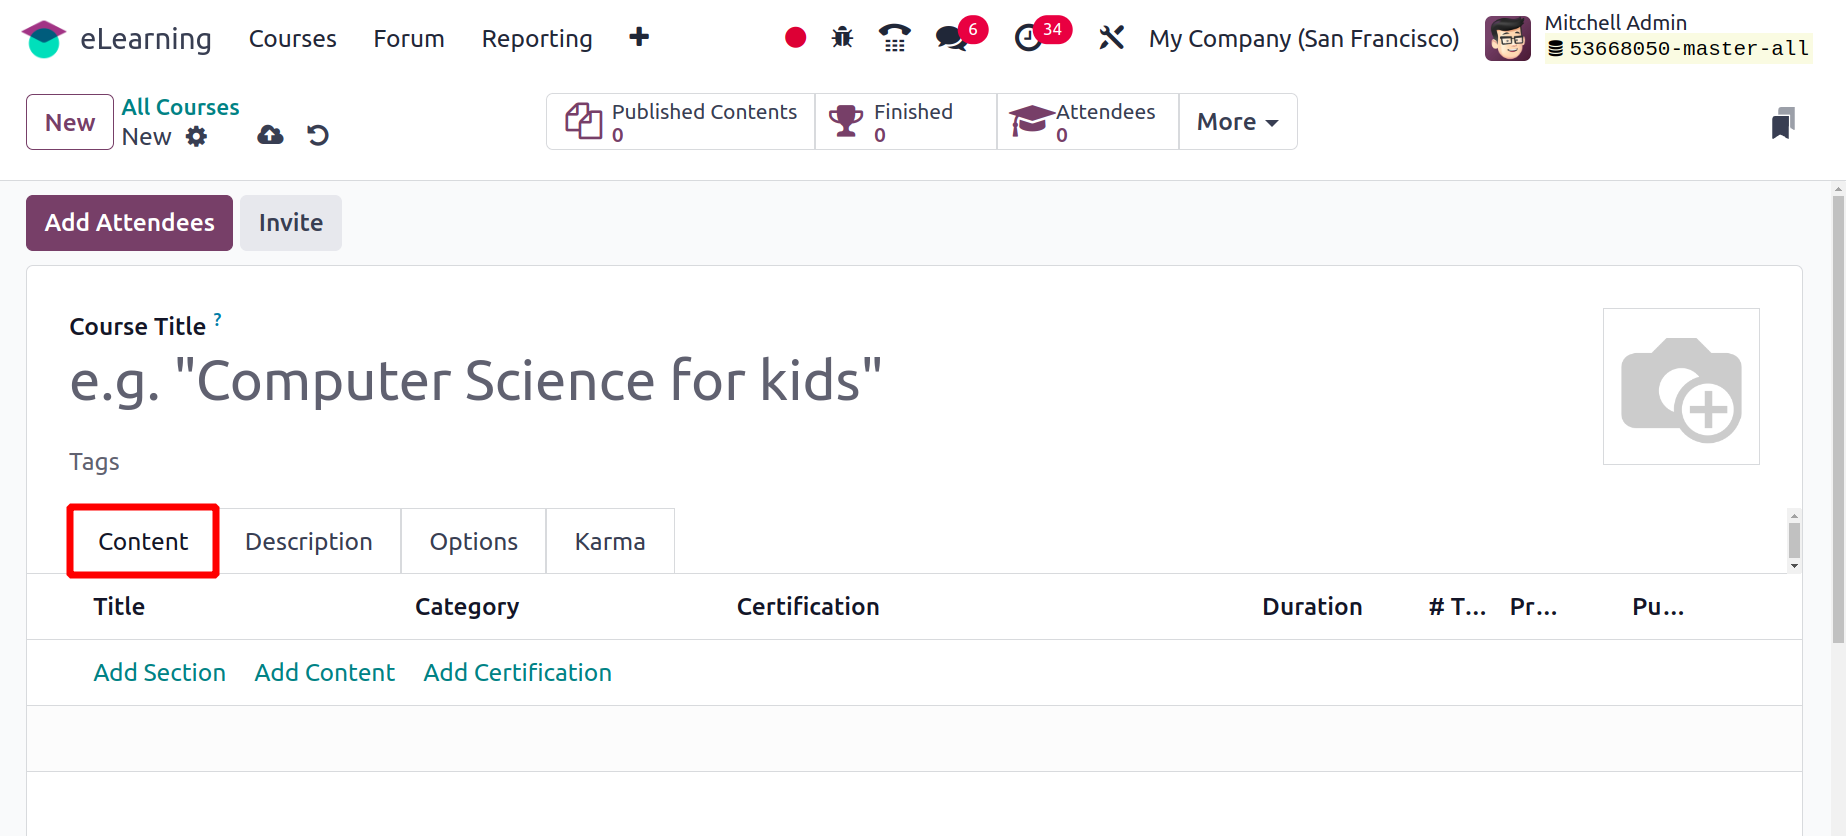
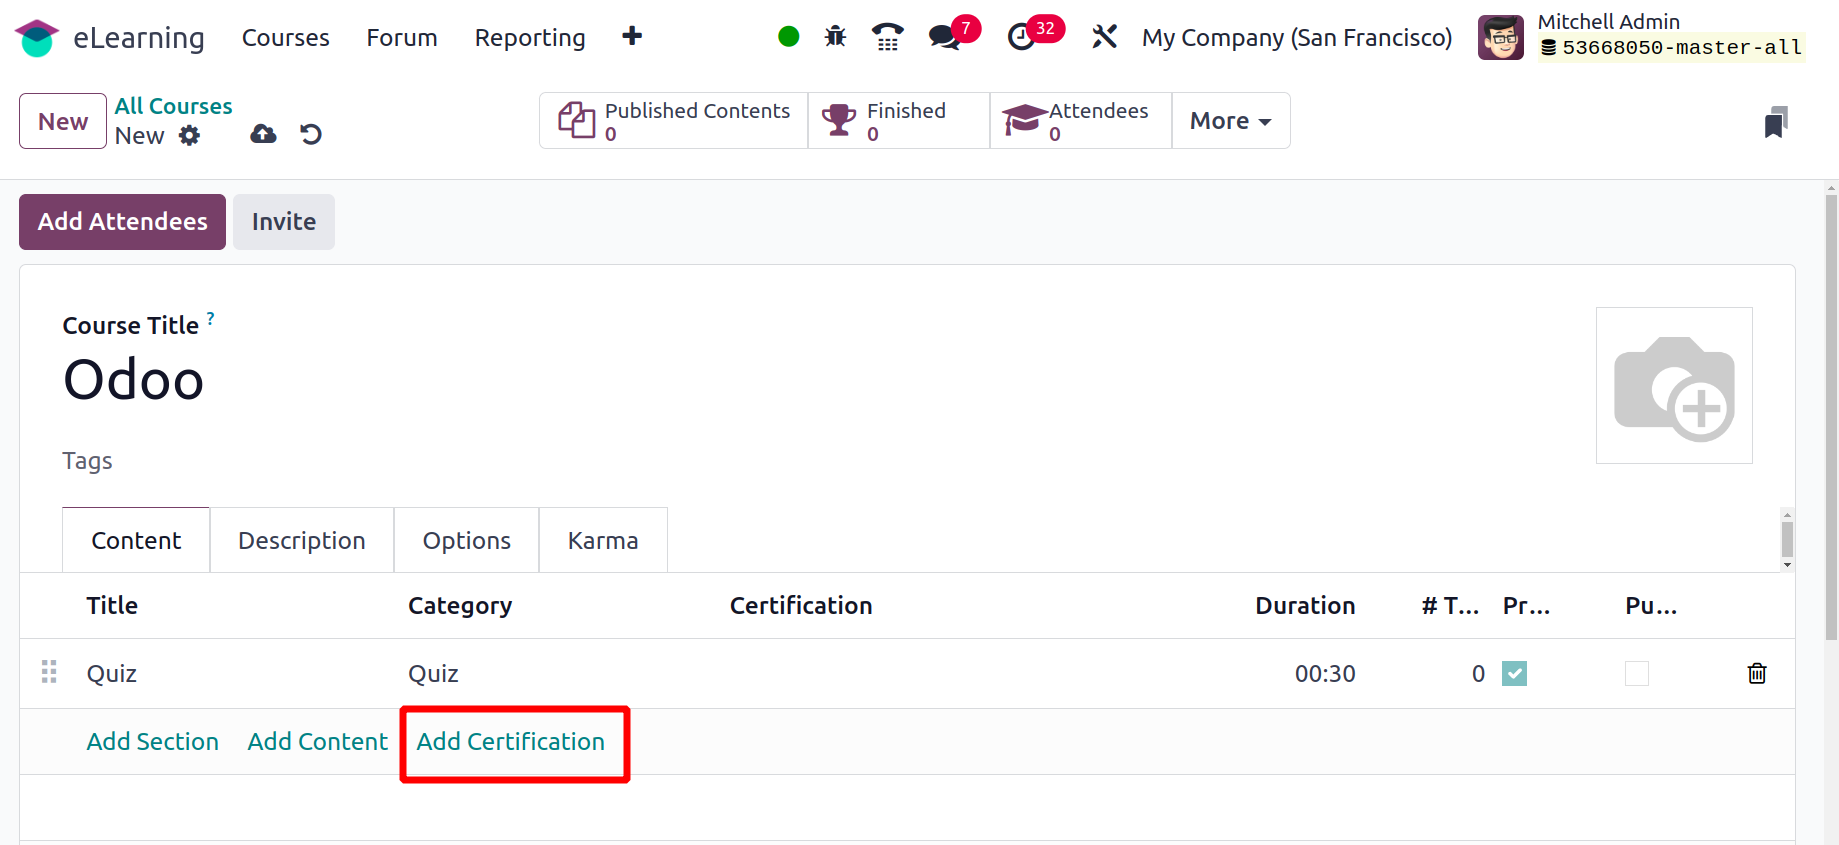
Select the relevant tags and add the course title. The form view contains four tabs. Content, Description, Options, Karma. This Content tab is where you put the course's contents, and it has buttons for adding a section, adding content, and adding certification.
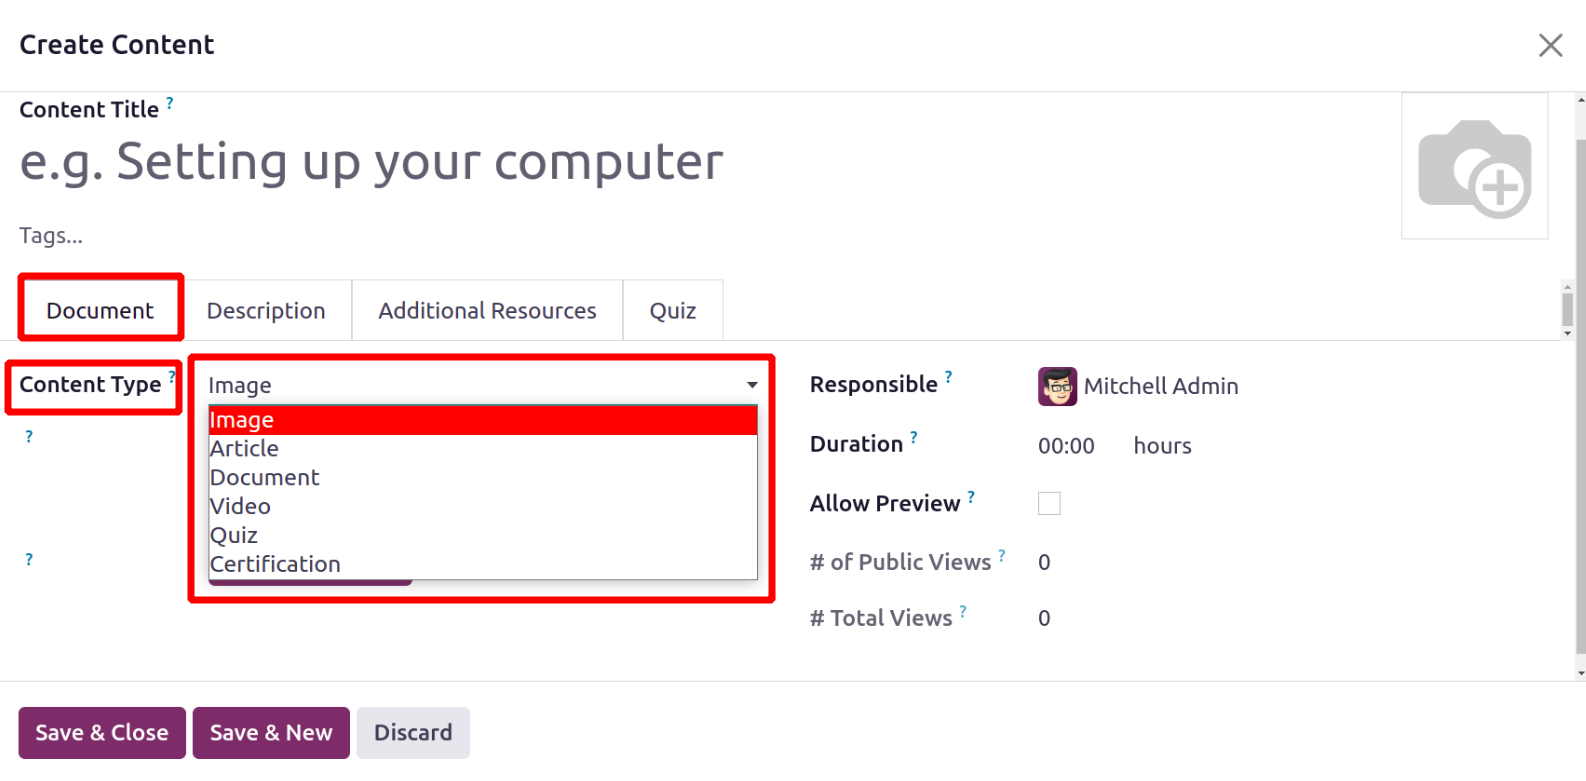
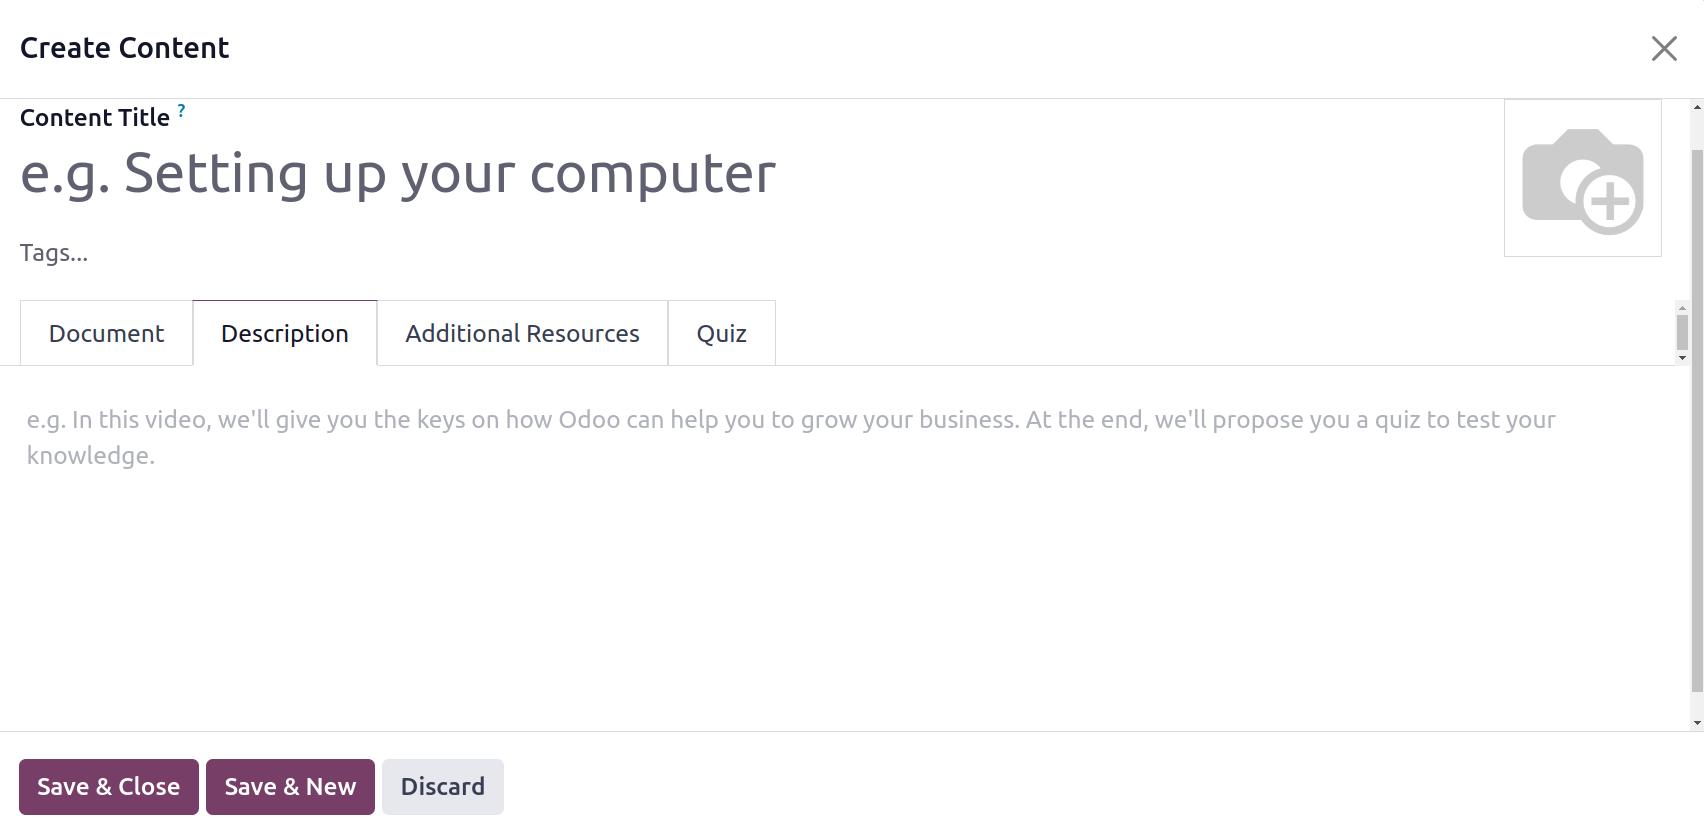
The Add Content button will cause a popup window to emerge. Bring up the tags and content title. Next, select the Content type by clicking on the Document tab. There are many different material categories available, including Images, Articles, Documents, Videos, Quizzes, and Certifications Include the Responsible person and the content's Duration. Next, select the Allow Preview option to permit a preview of the content to be displayed.
Inside the Description tab add a description of the content.
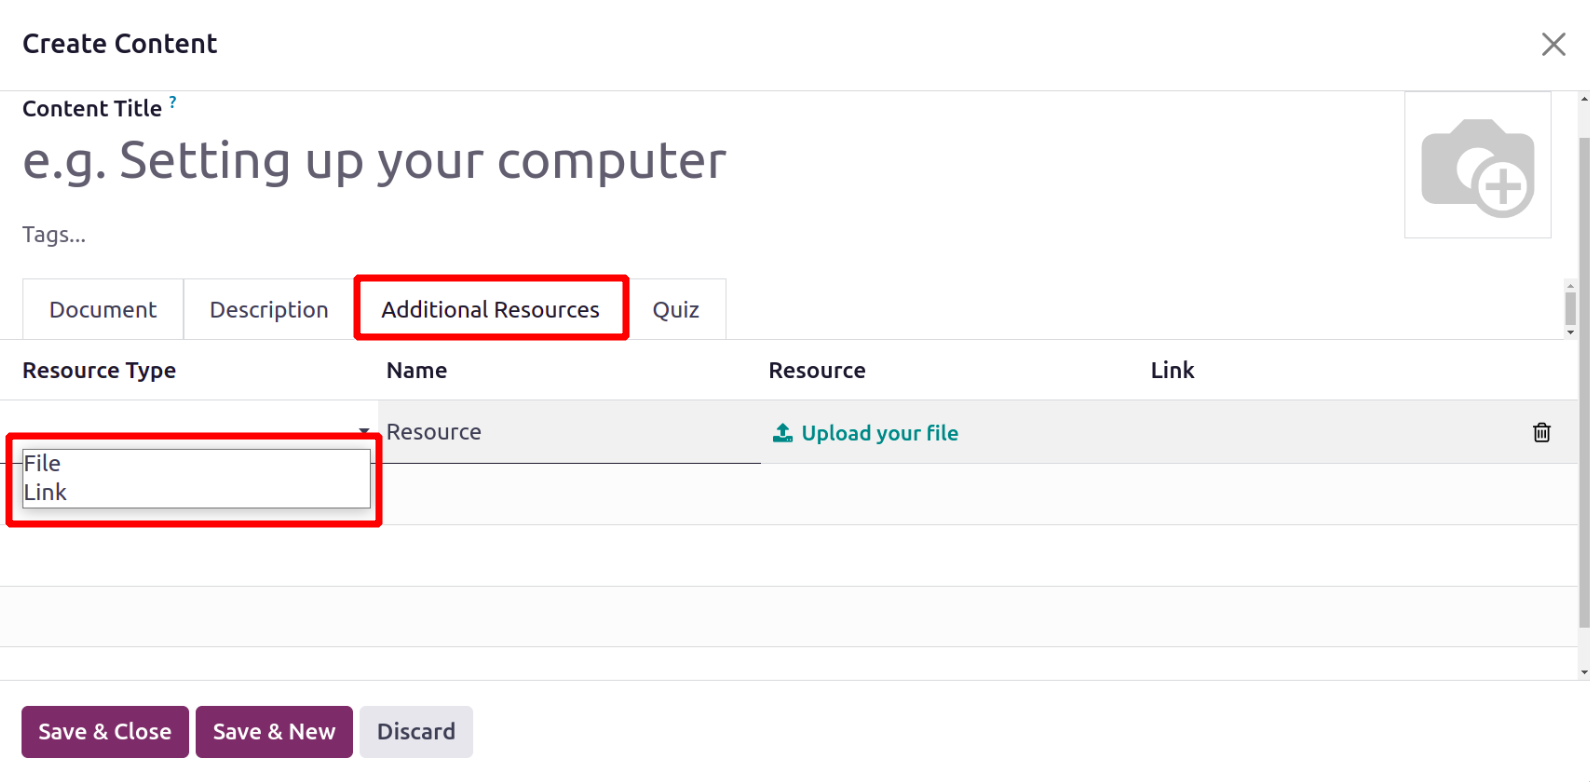
You can add any other materials you like in the form of a file or link by using the ‘Additional Resources’ tab. Select the relevant format, then add a link or upload a file.
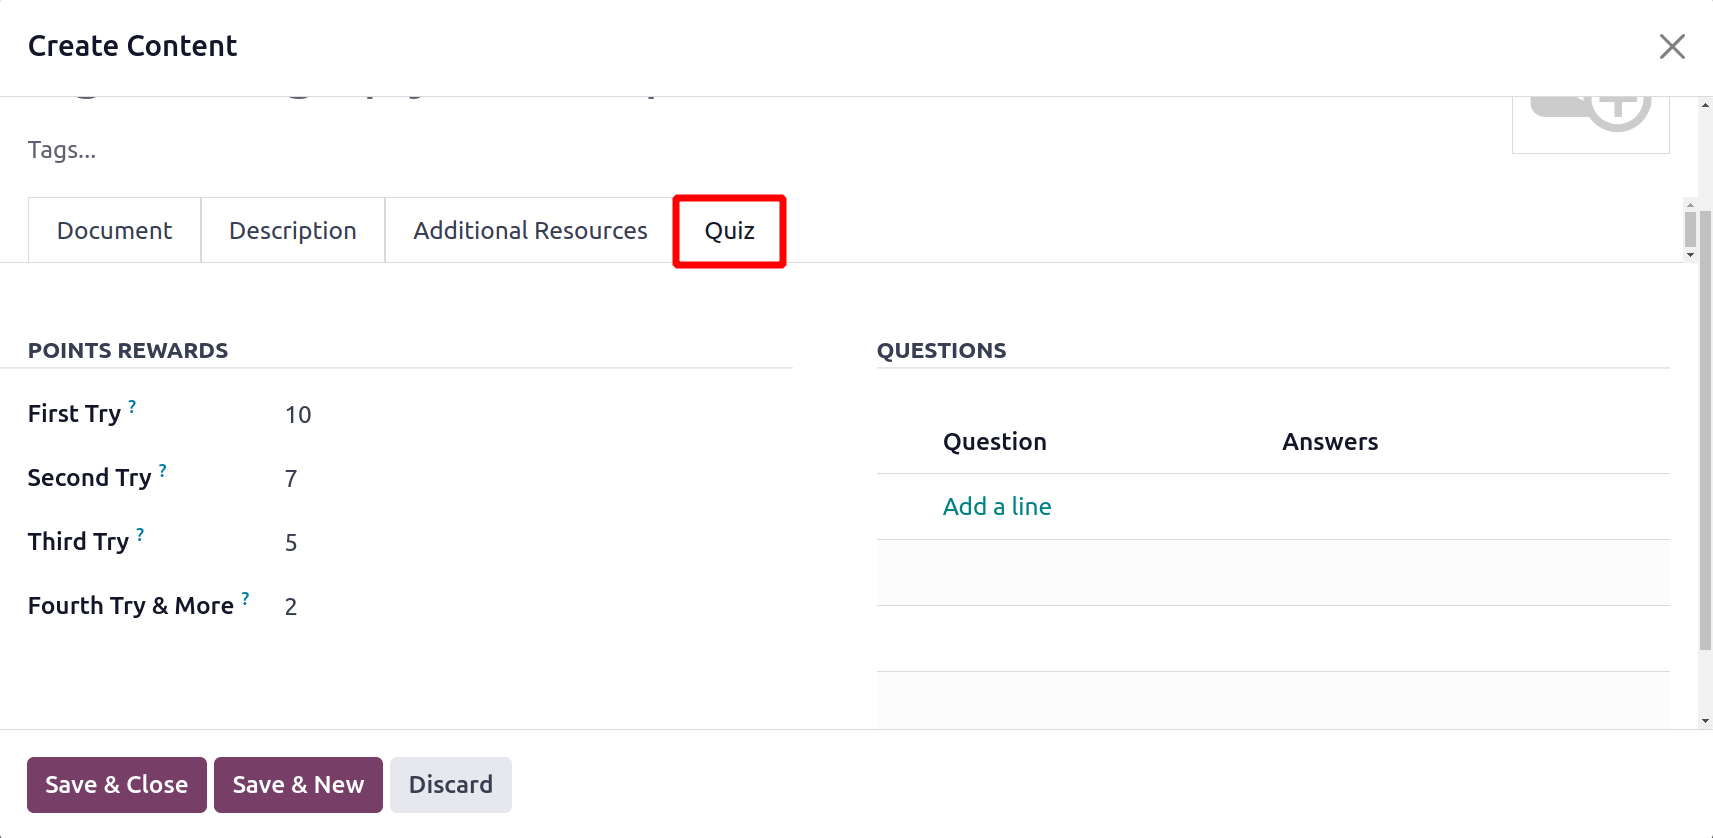
We can customize the quiz tab's questions and reward points. Users can add points for their first attempt rewards in the First part. Similarly, they can add points for their second attempt rewards in the Second Try area. Finally, they can add points for their Third, Fourth, and More attempts in the POINTS REWARDS section.
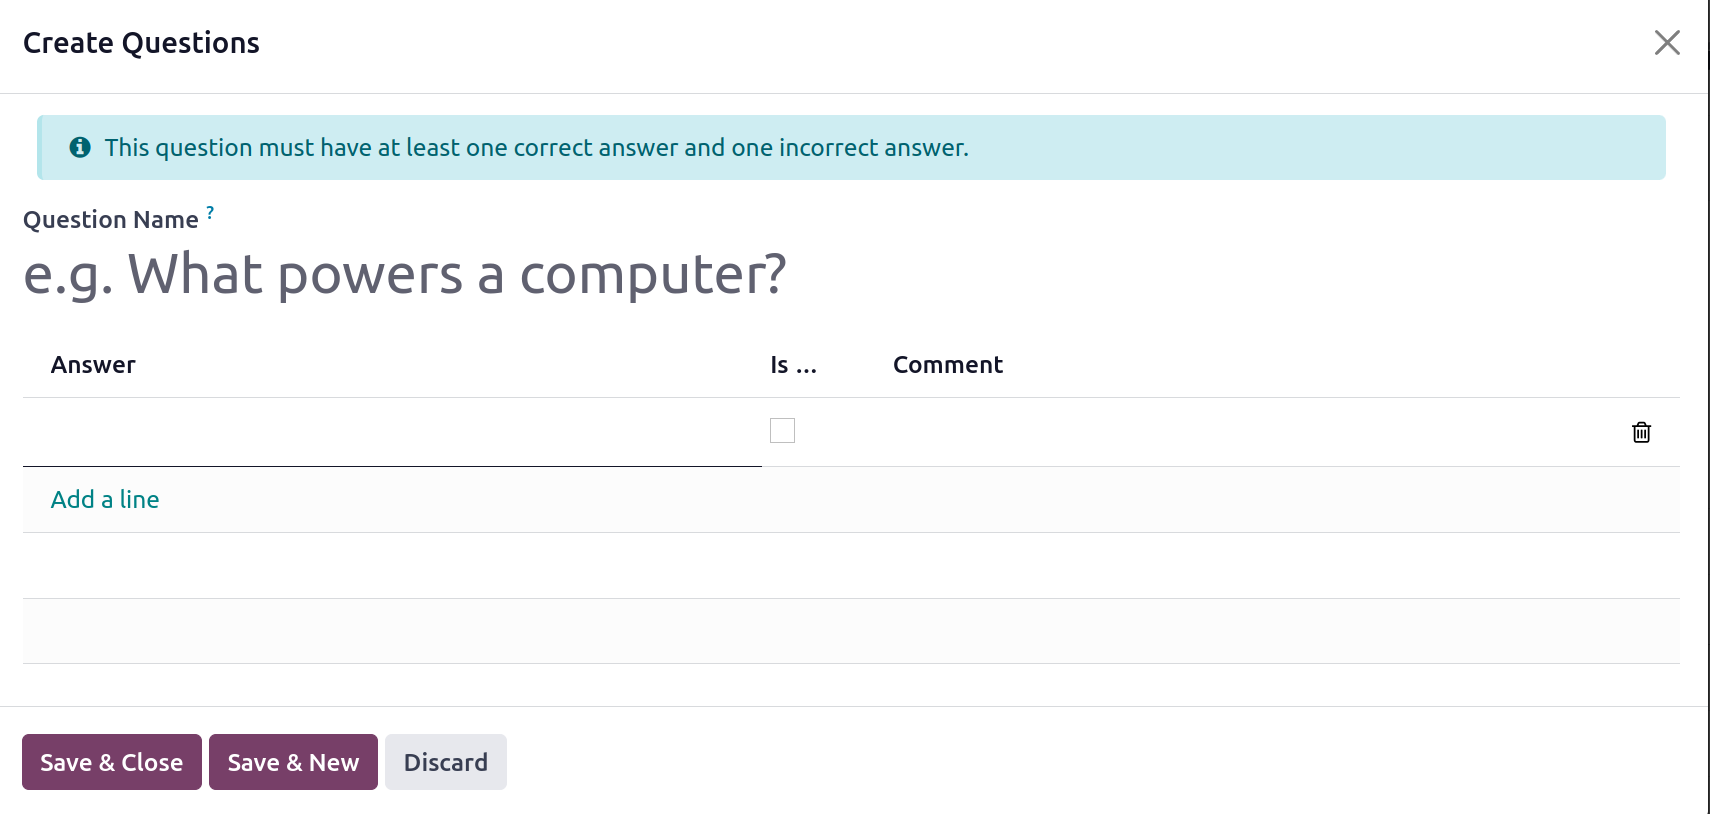
You can use the Add a Line tool in the QUESTIONS area to create quiz questions and answers. In the Answers area, add alternatives after adding questions. For the right response, select the Is Correct checkbox. There must be at least one right response to a question. Then, to close, click the Save & Close option. To add another question, click the Save & New button.
To add new Certification click on the Add Certification button.
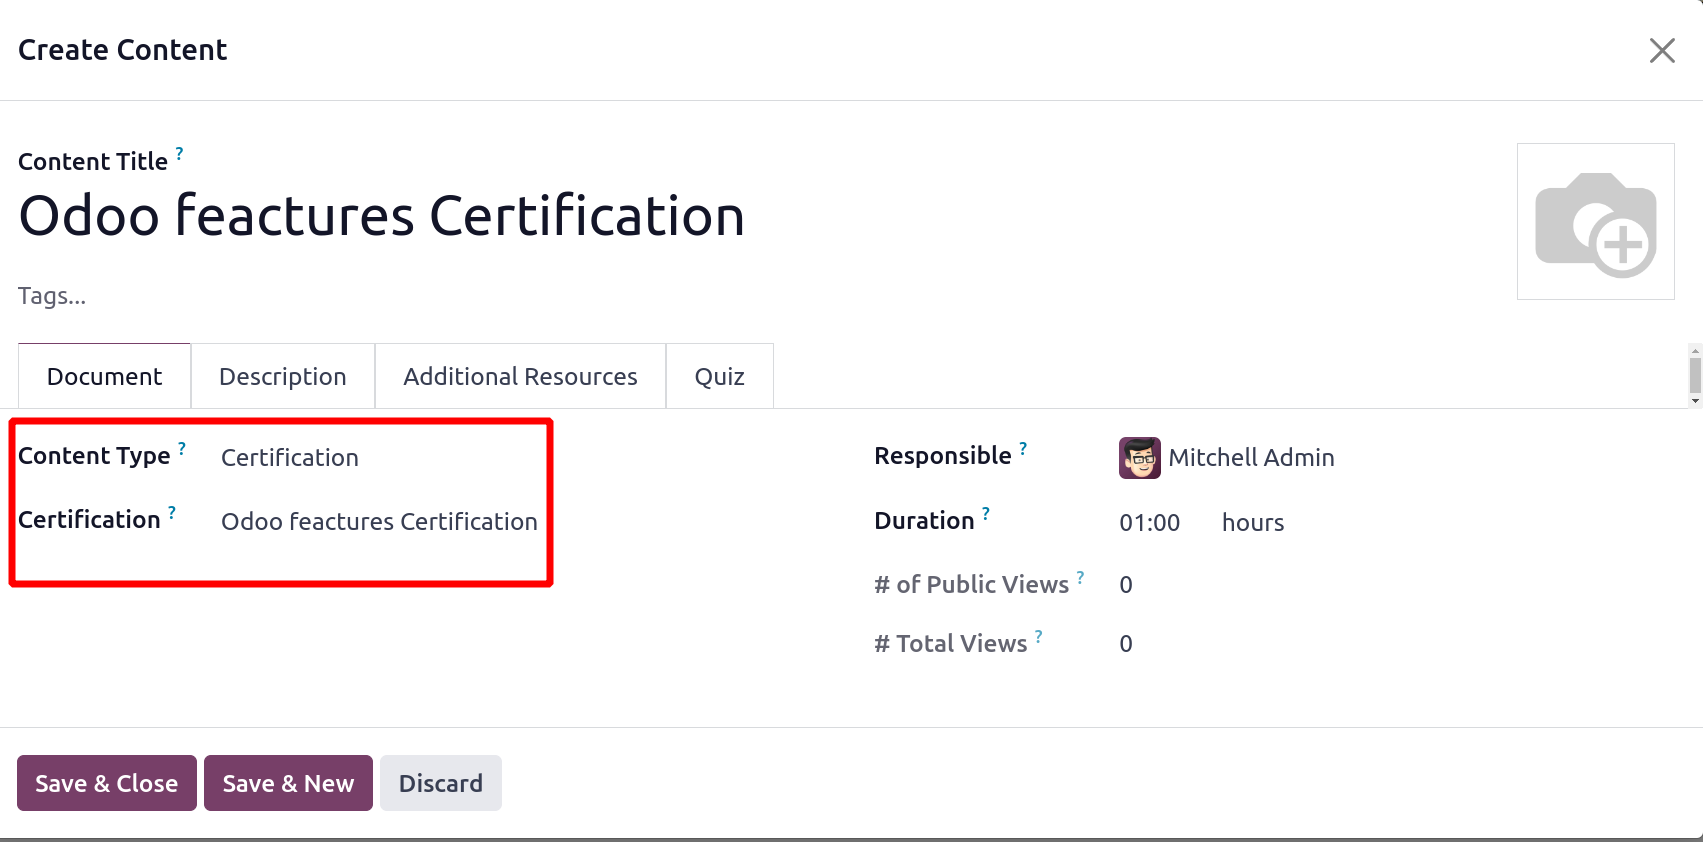
Then the same window as mentioned above will open. Here the Course type is Certification and choose appropriate Certification.
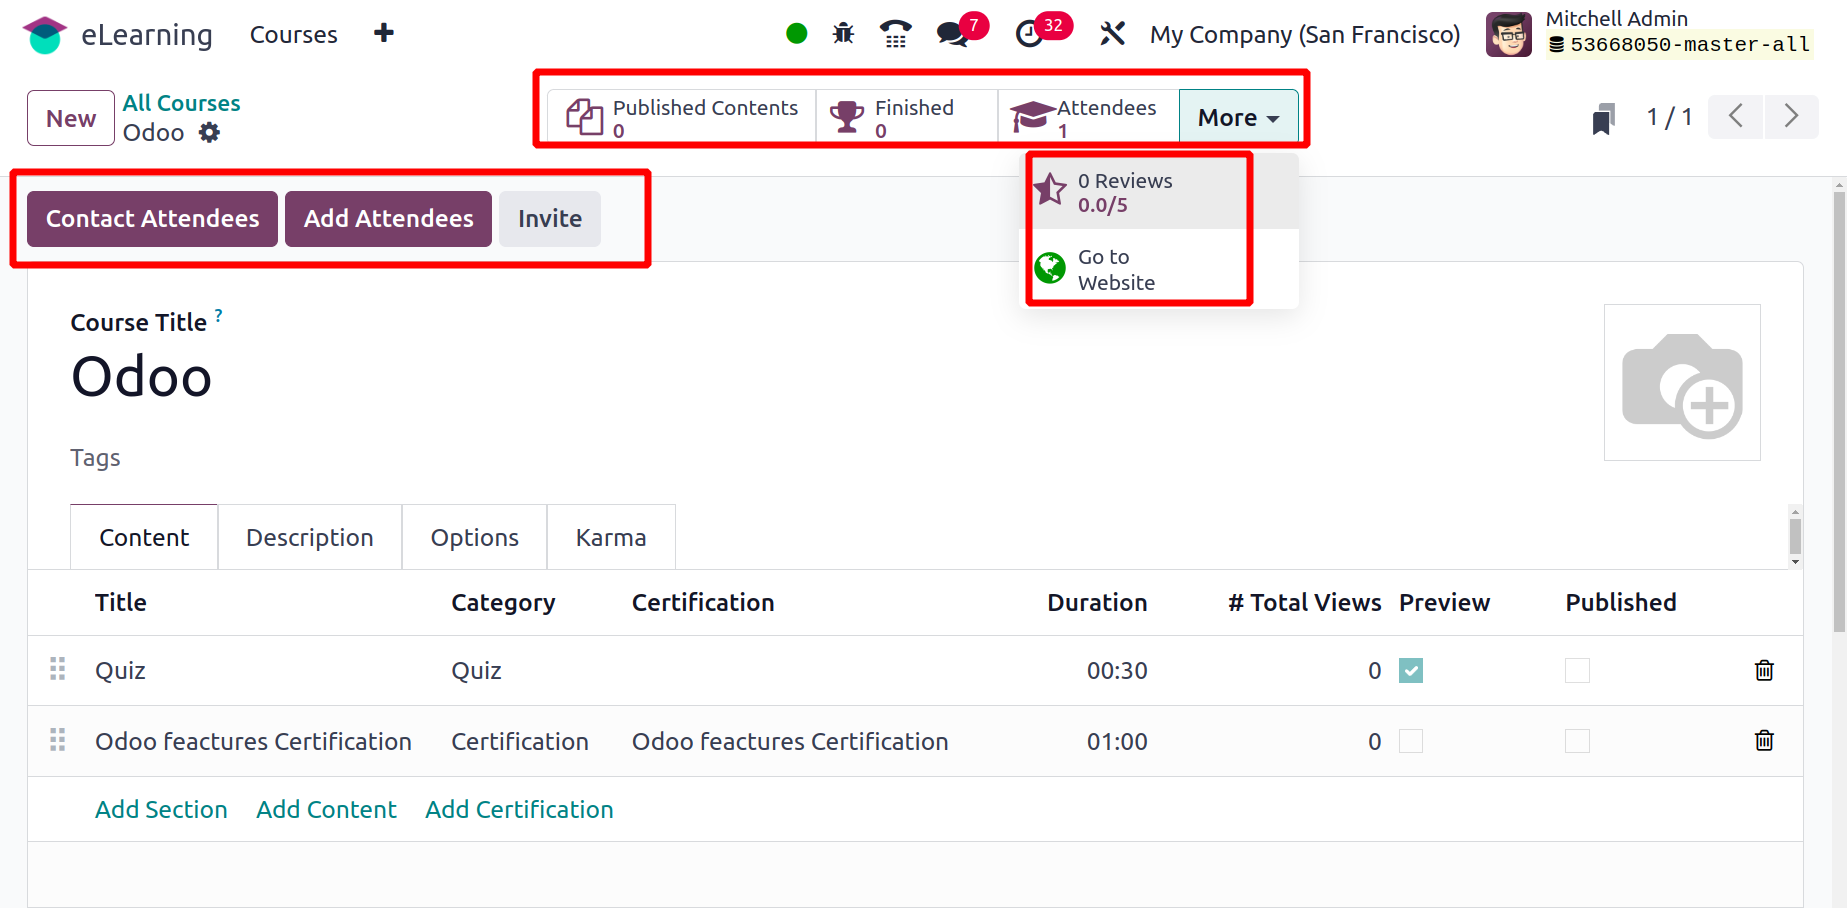
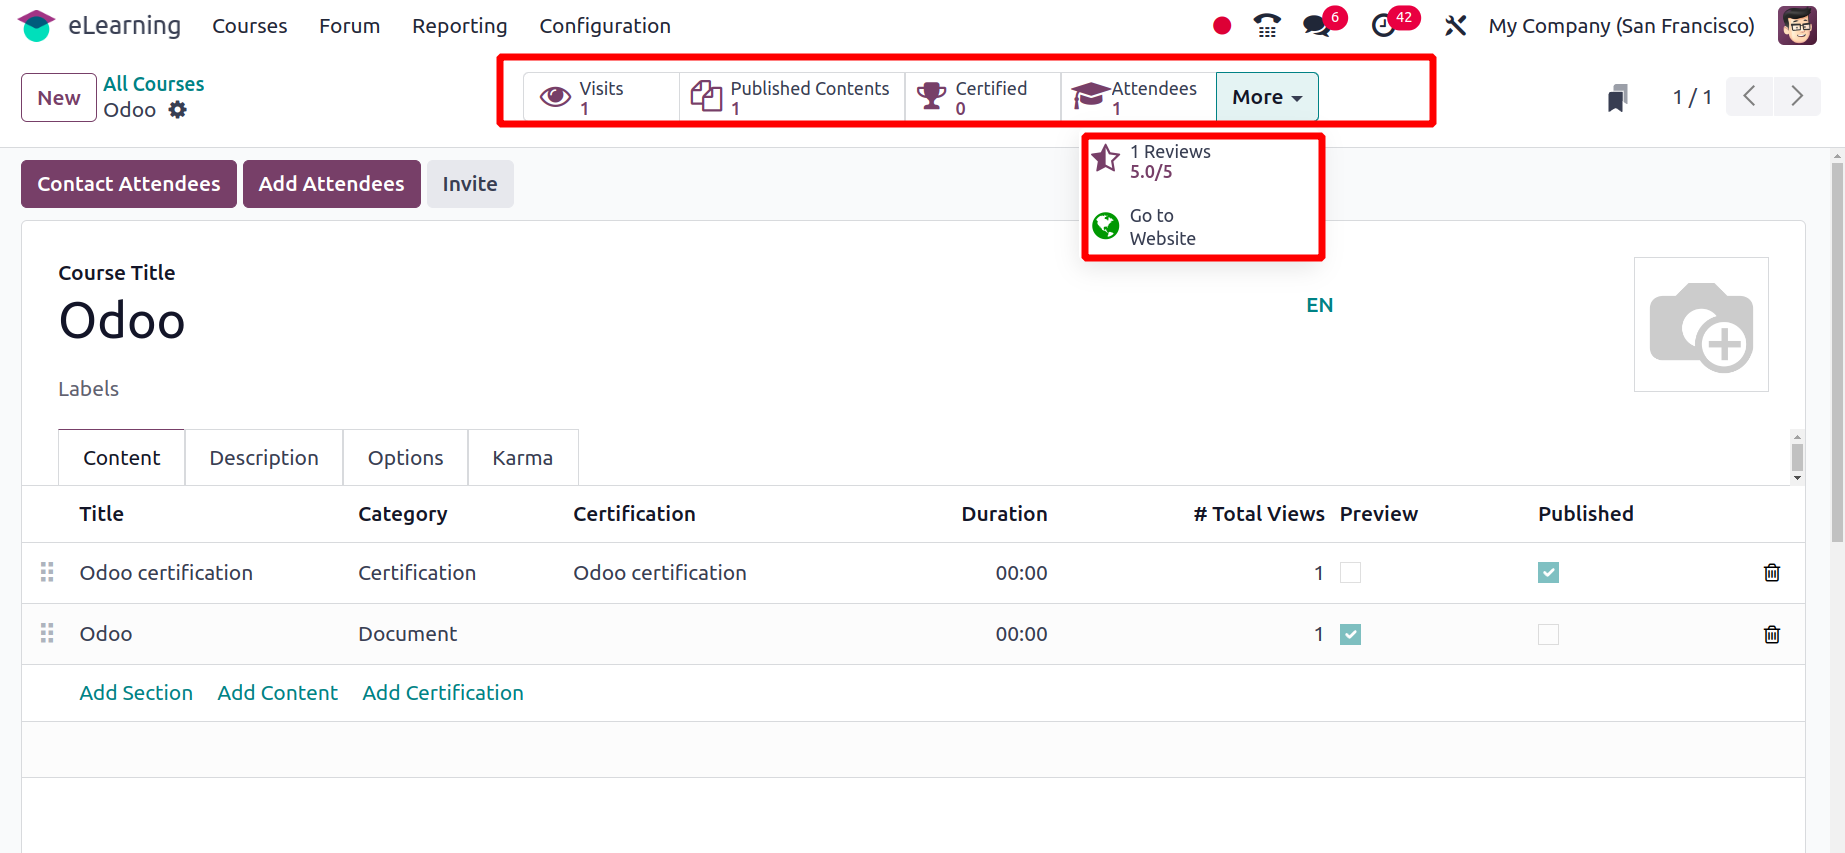
Two buttons, one is Contact Attendees, Add Attendees and Invite are present there after saving the Course. Some smart tabs include Published Contents, Finished, Attendees, Reviews, Go to Website.
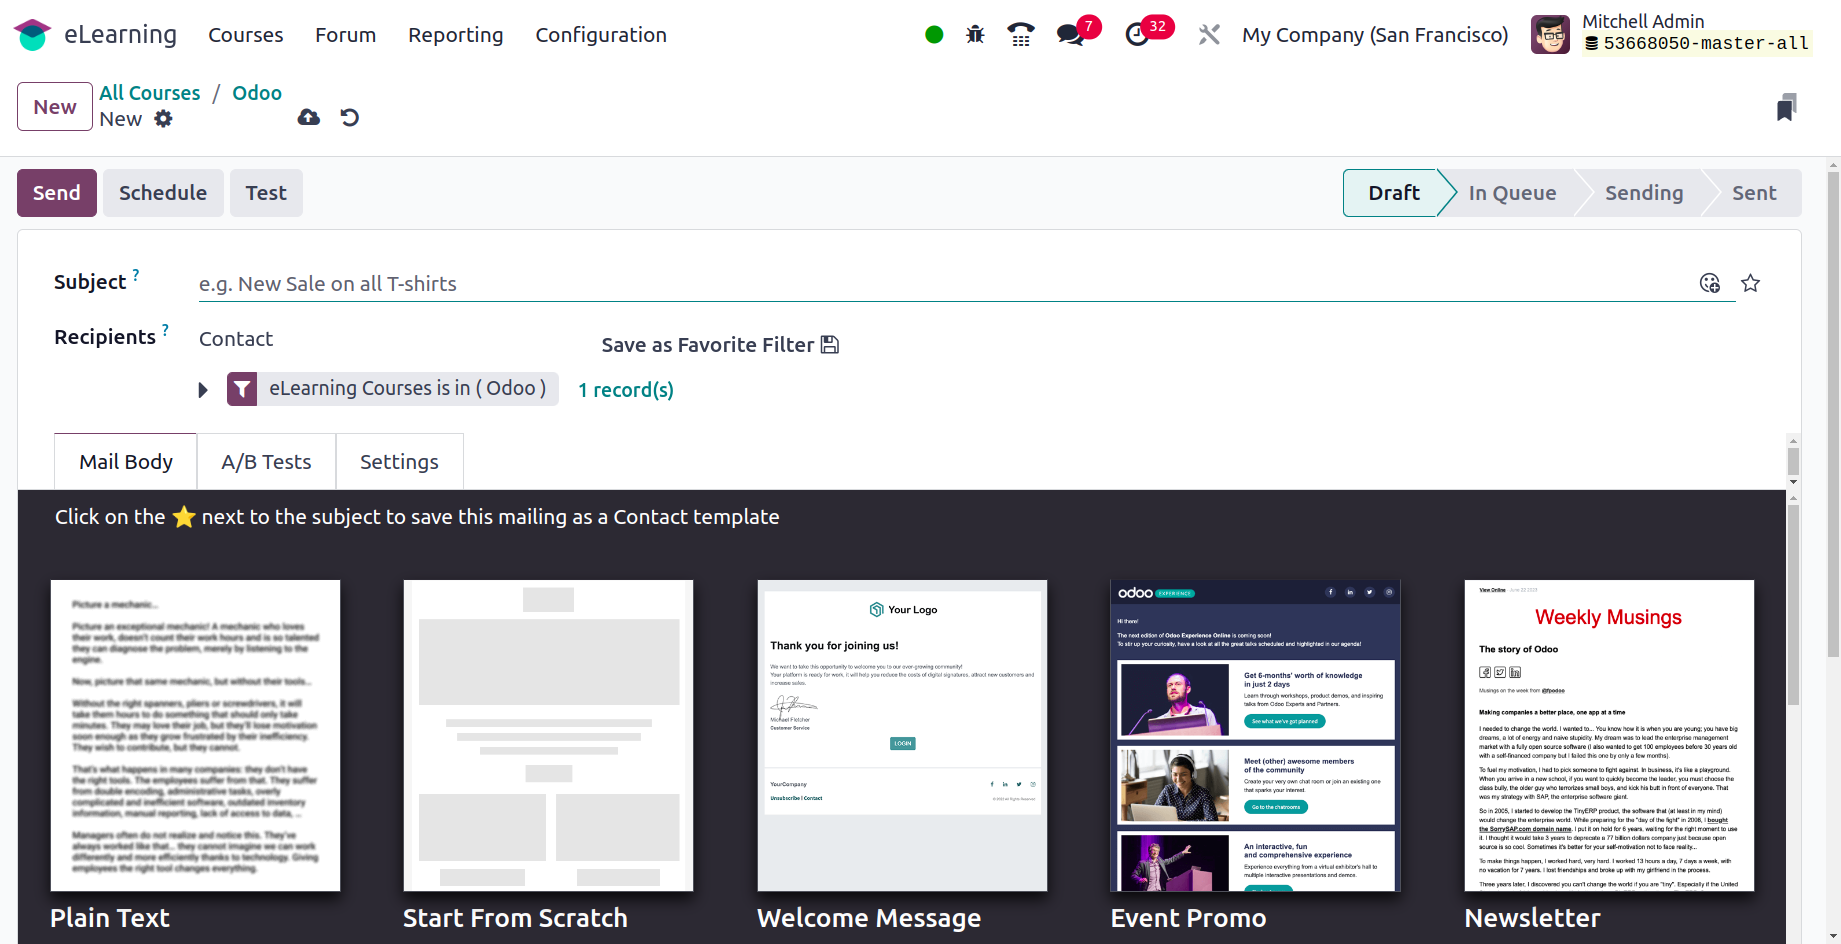
Clicking the Contact Attendees button leads to email marketing. Click on the Send button.
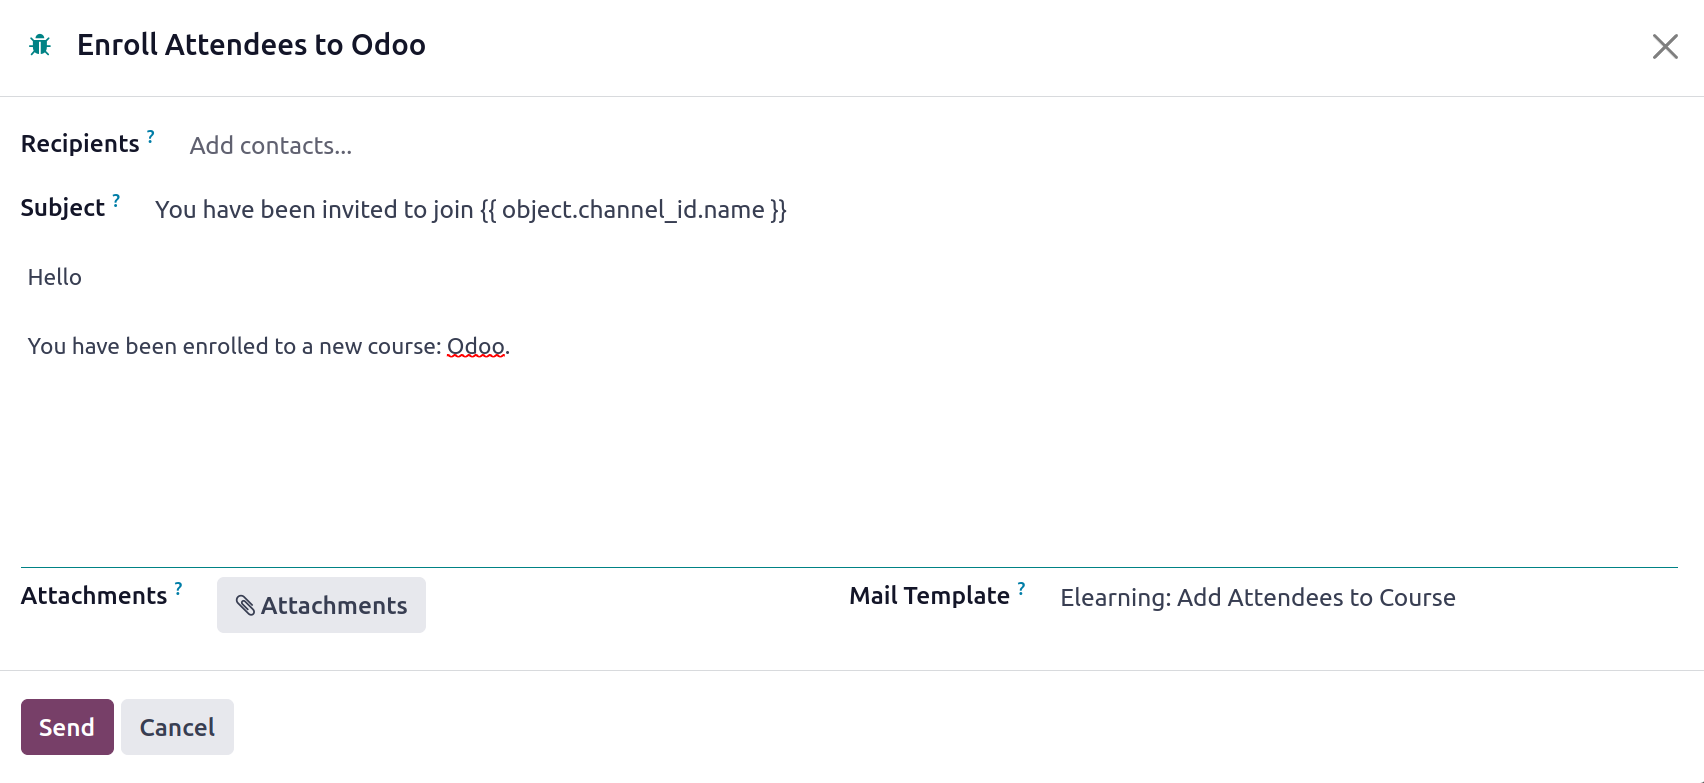
Click on the Add Attendees button, a popup window opens to email the users to inform them that they have been enrolled in this particular course. Click on the Send button to send the email.
The dashboard provides access to the developed course. To view the course on the web, click the View Course icon when navigating to the website by clicking the button.
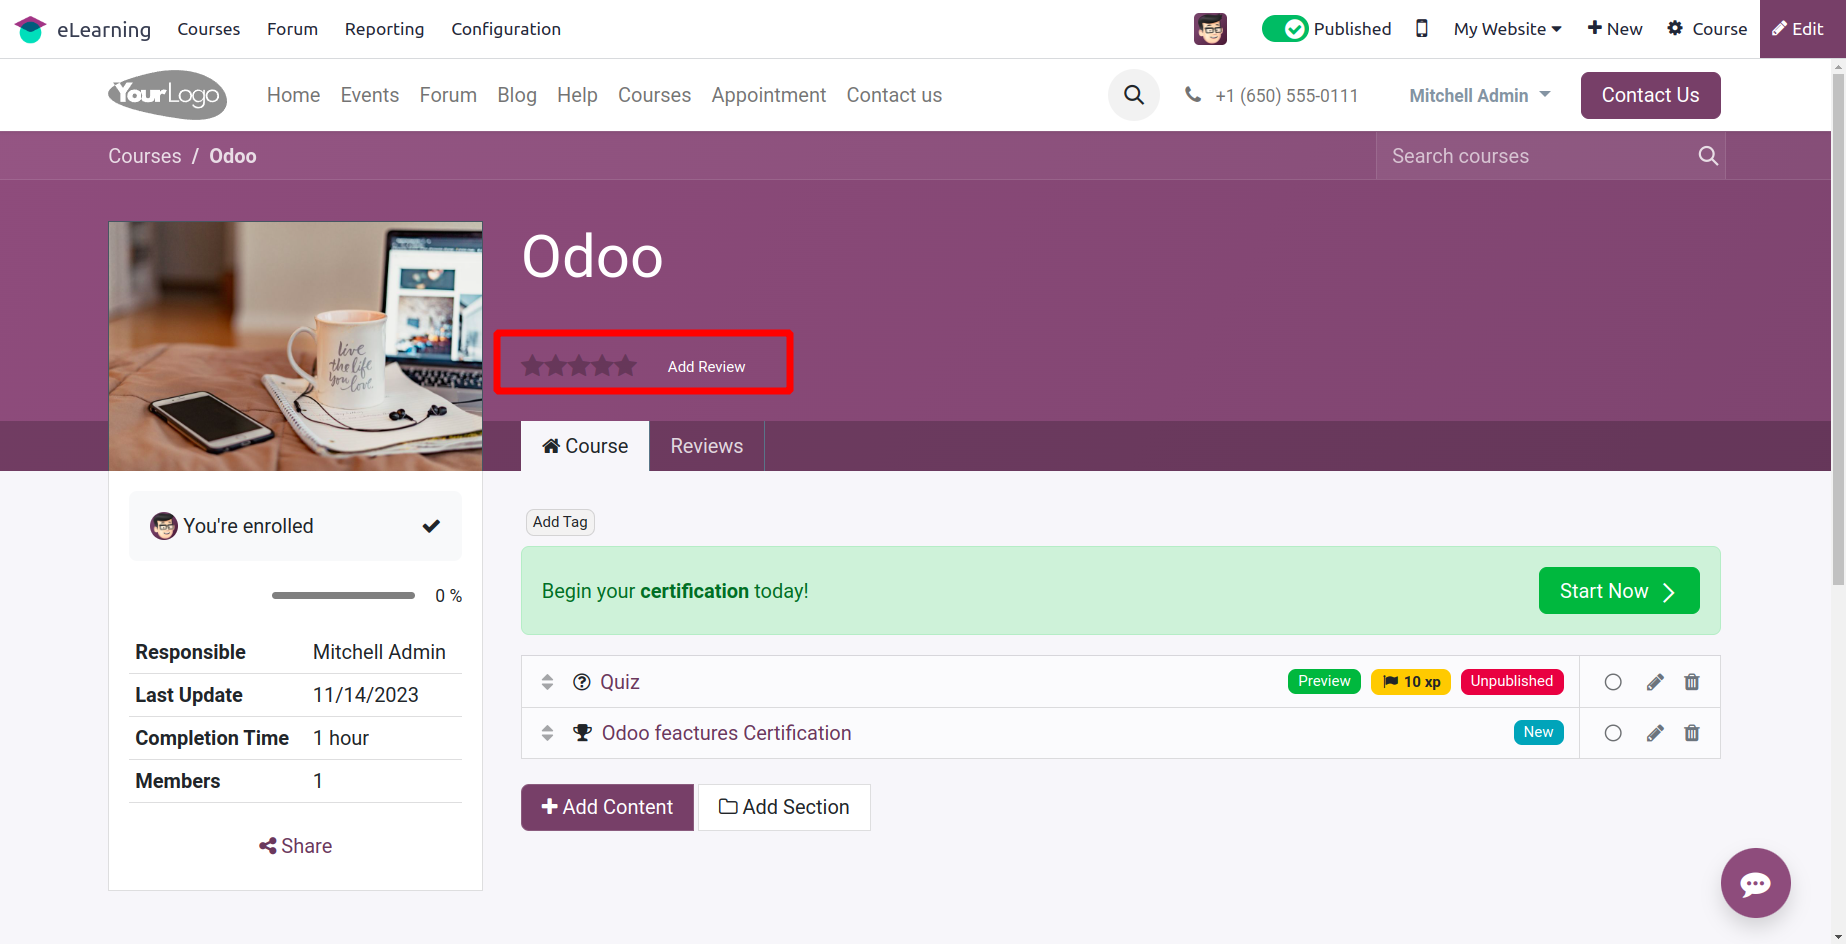
This is how the generated course appears on the website. This view displays all of the added materials and certificates. Users can add user reviews to the course by using the Add Review feature.
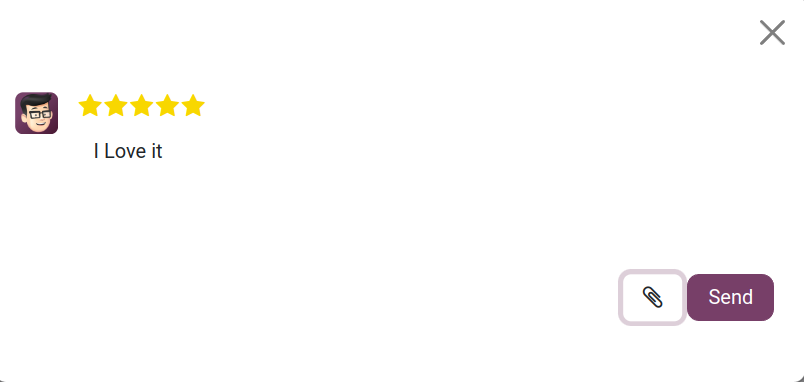
The popup to add reviews will show while you click the Add Review button. Fill the box with a comment and add stars. Attachments can also be added as well. Next, press the Send button.
On the page, the review will be updated. You can make changes to the review. Comments on the review can be made under the Review tab.
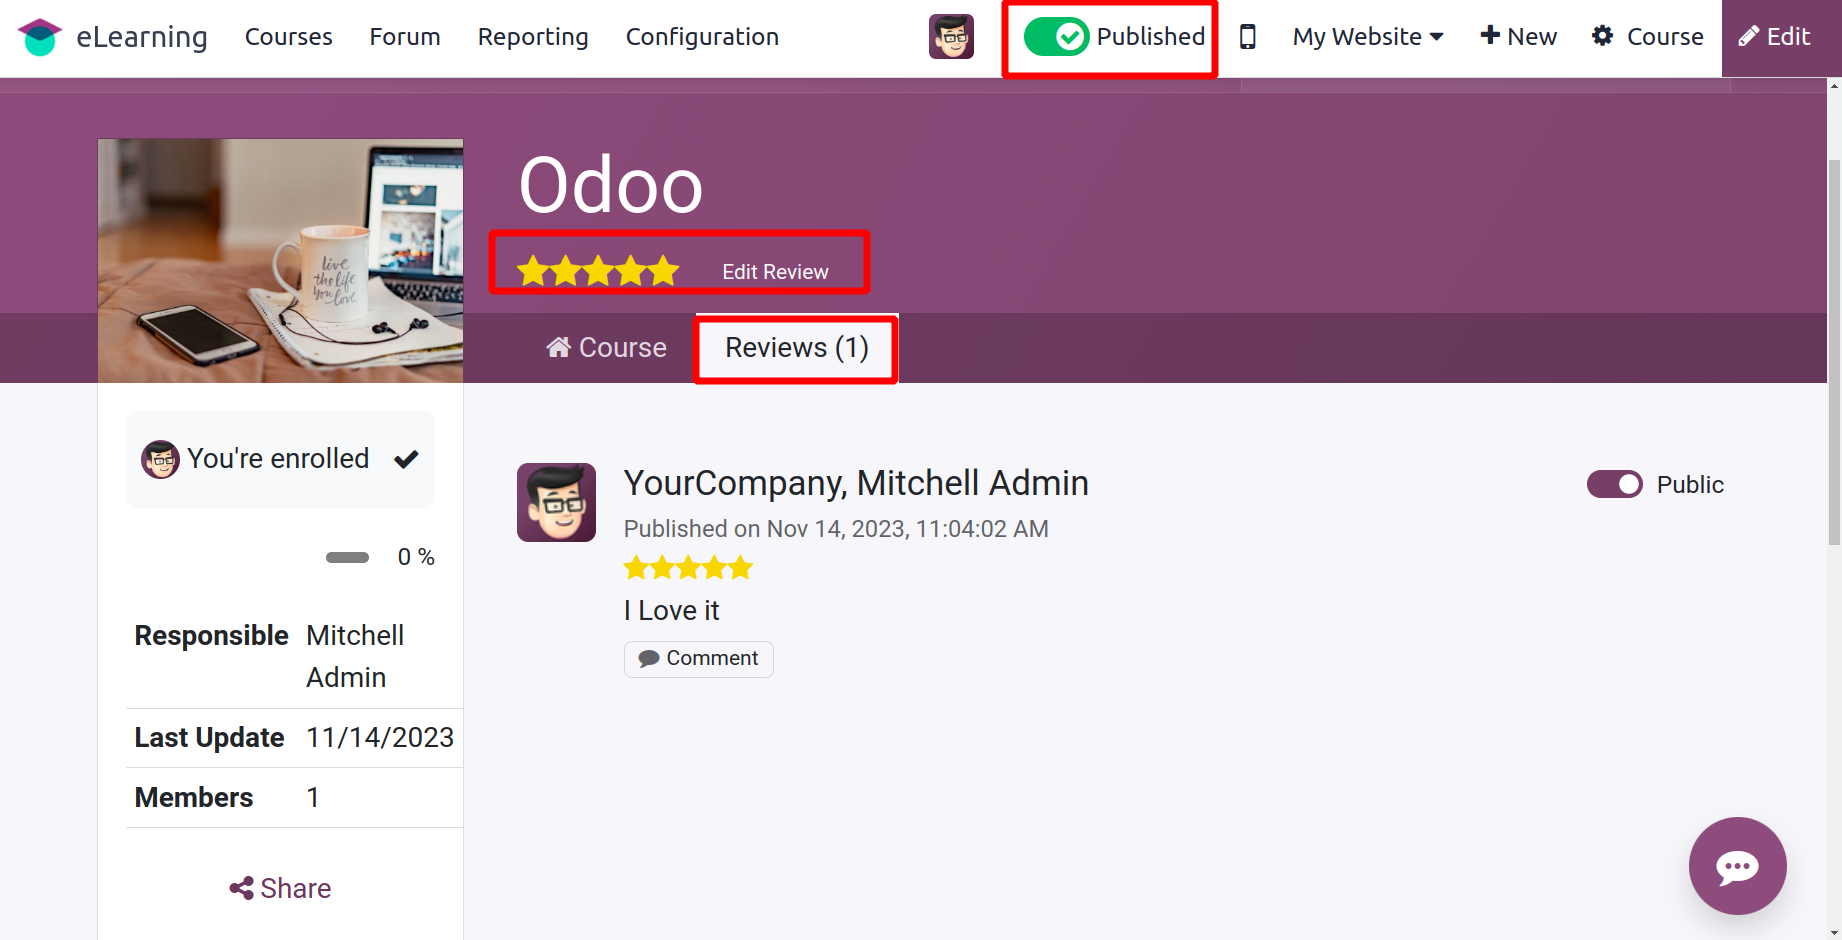
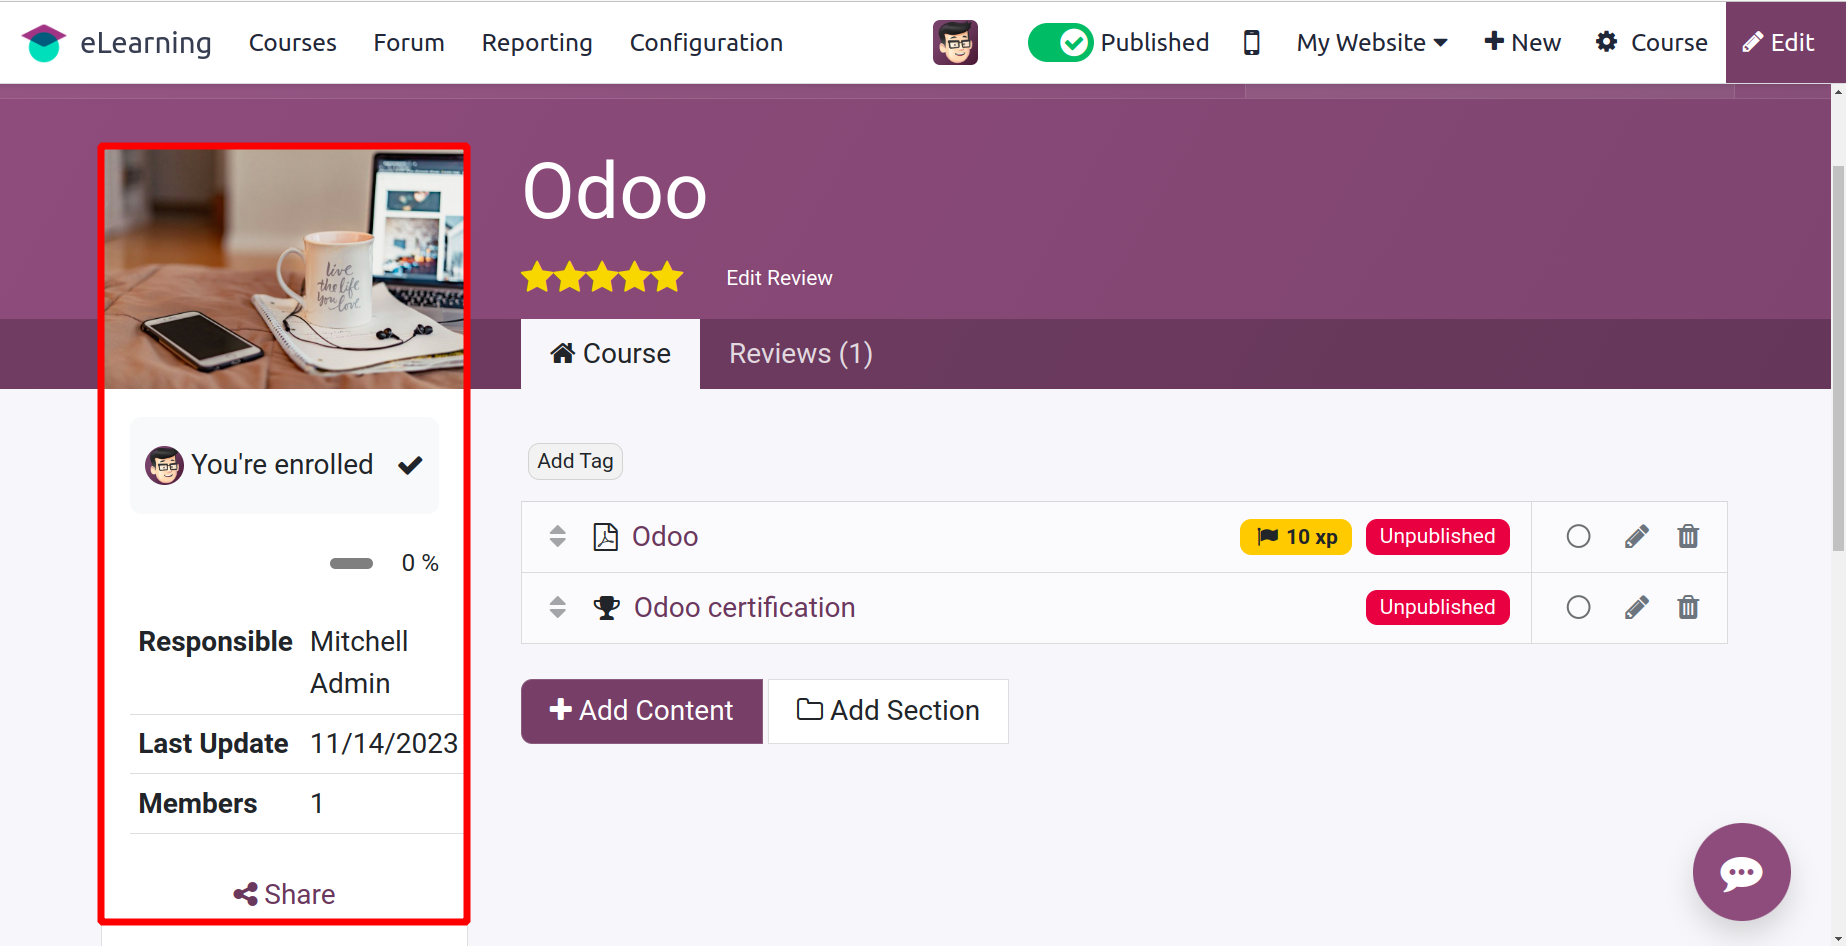
The responsible person, last updated date, and number of members are shown on the right side of the screen.
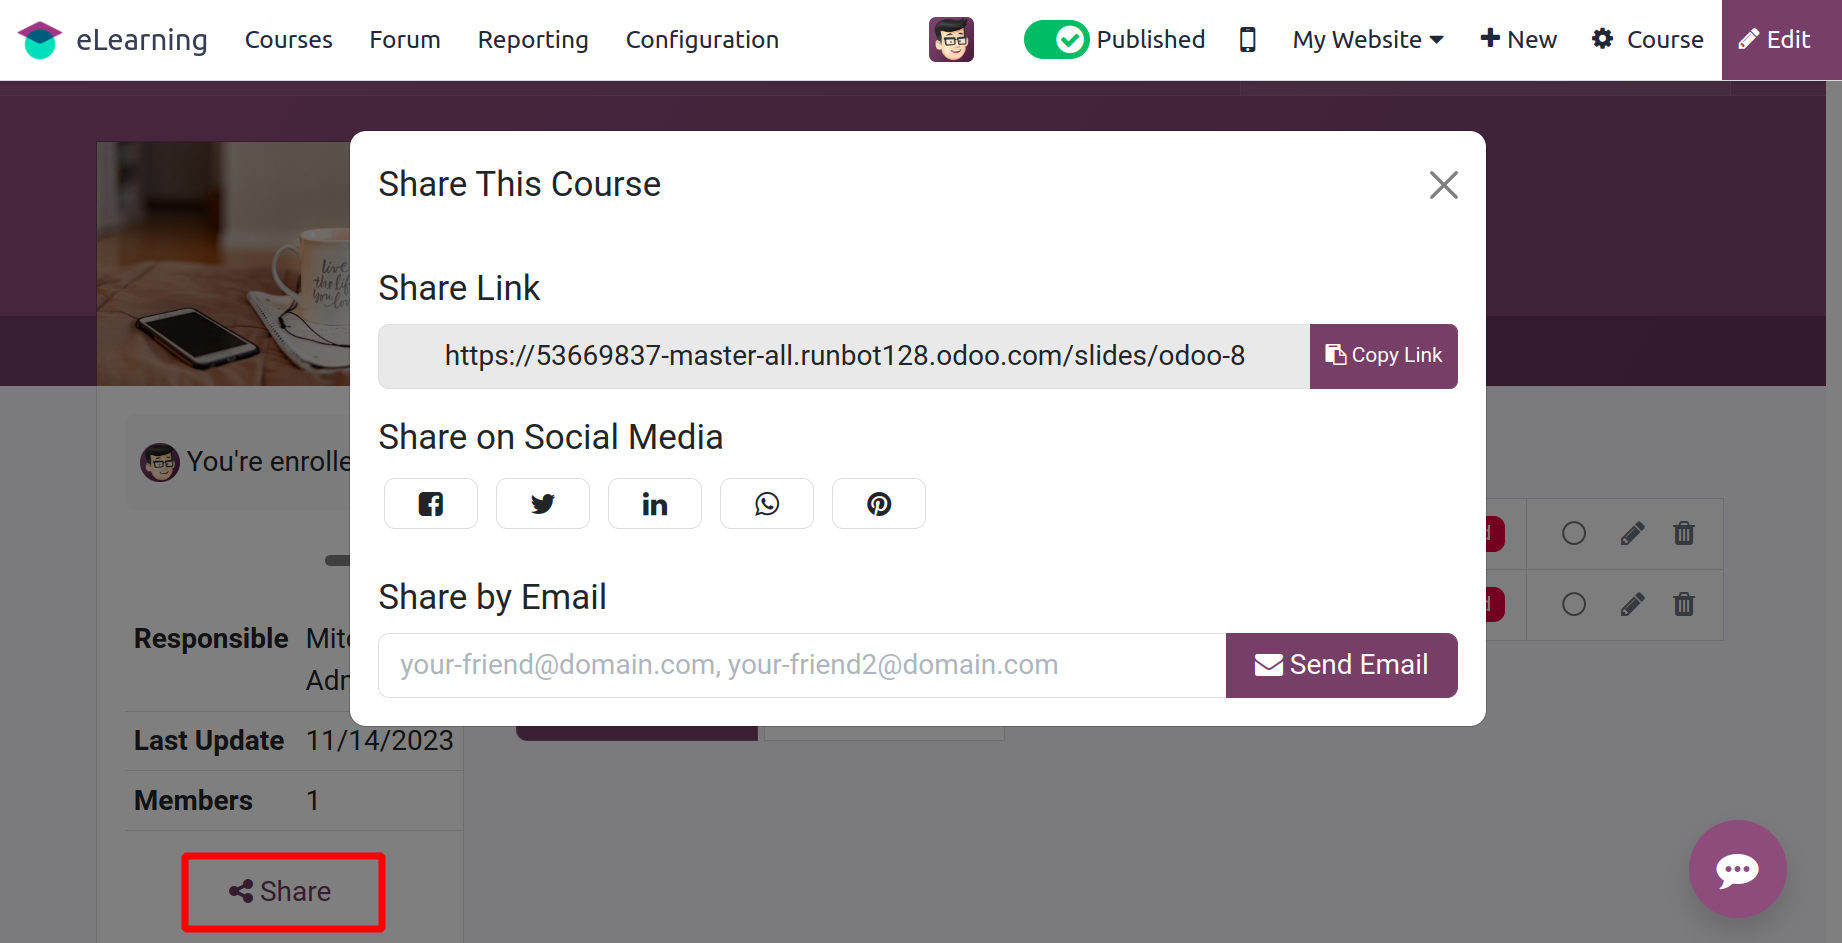
The course link can be shared by clicking the Share button.
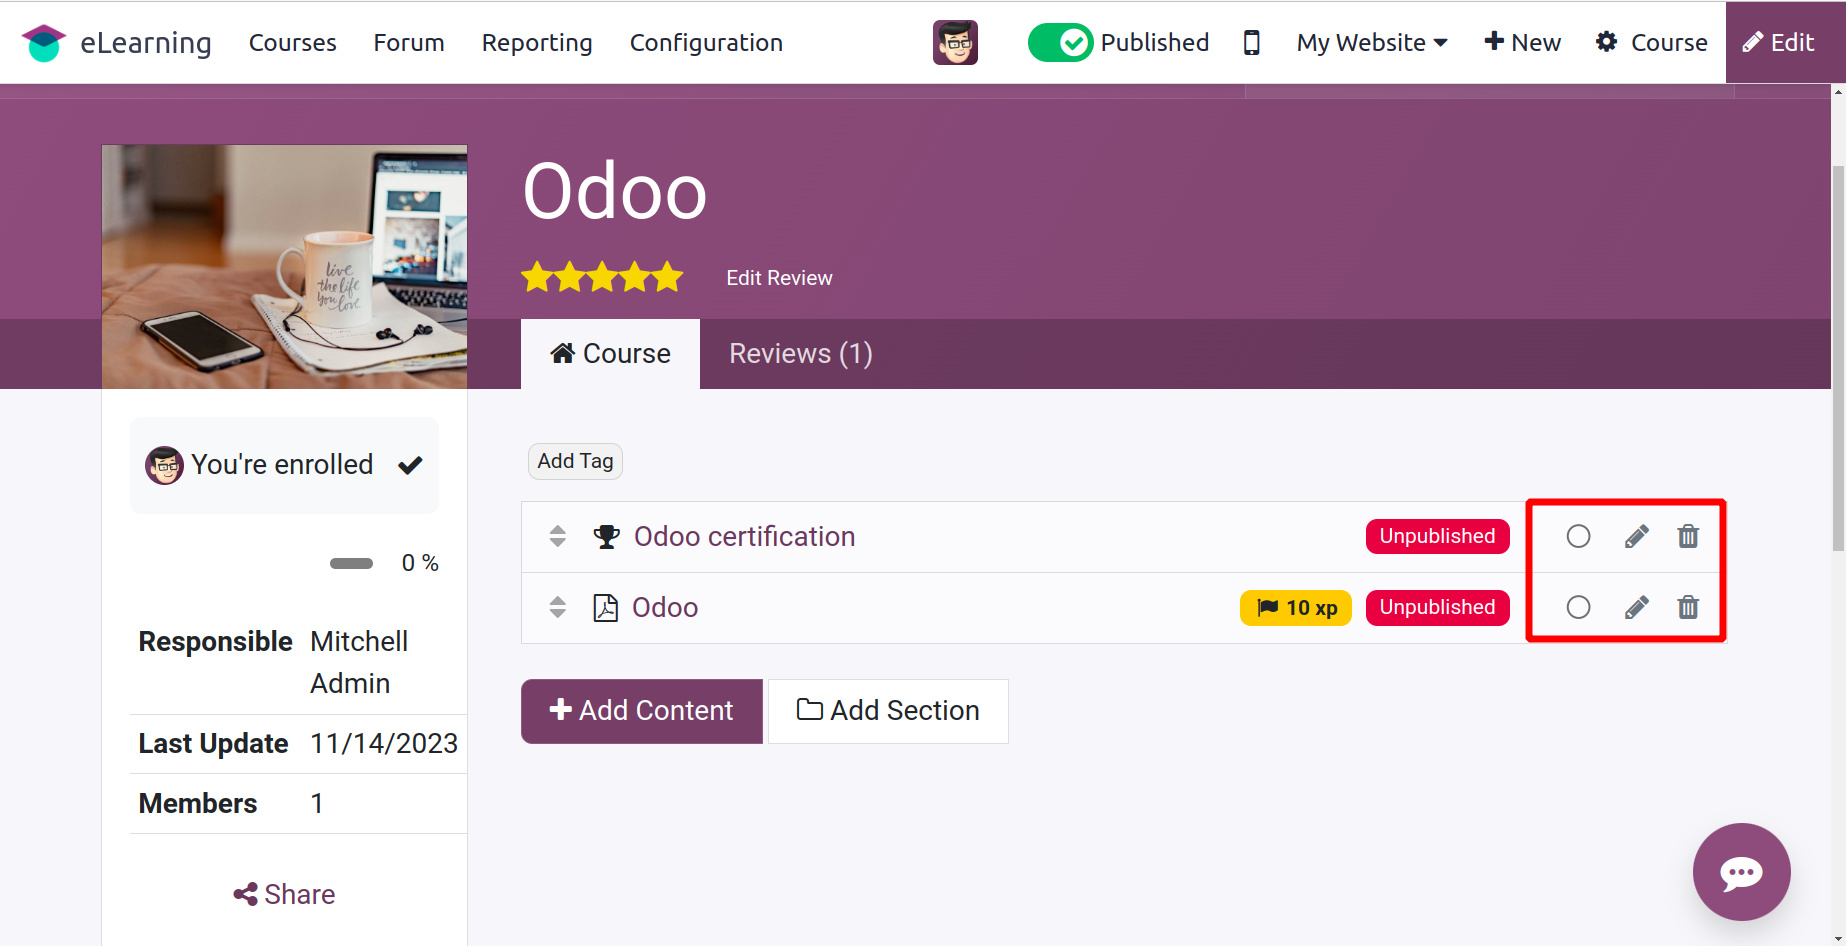
Let's move to the Course section. All the created contents and certifications are visible there. The created content can be edited or deleted from the website. To edit the content, click on the edit sign, and near that a delete button is placed, which helps to delete the content.
To start a certification program, click on the programs. The +Add Content button allows you to add content from the website. While clicking on the +Add Content button, a new window as shown in the screenshot will appear.
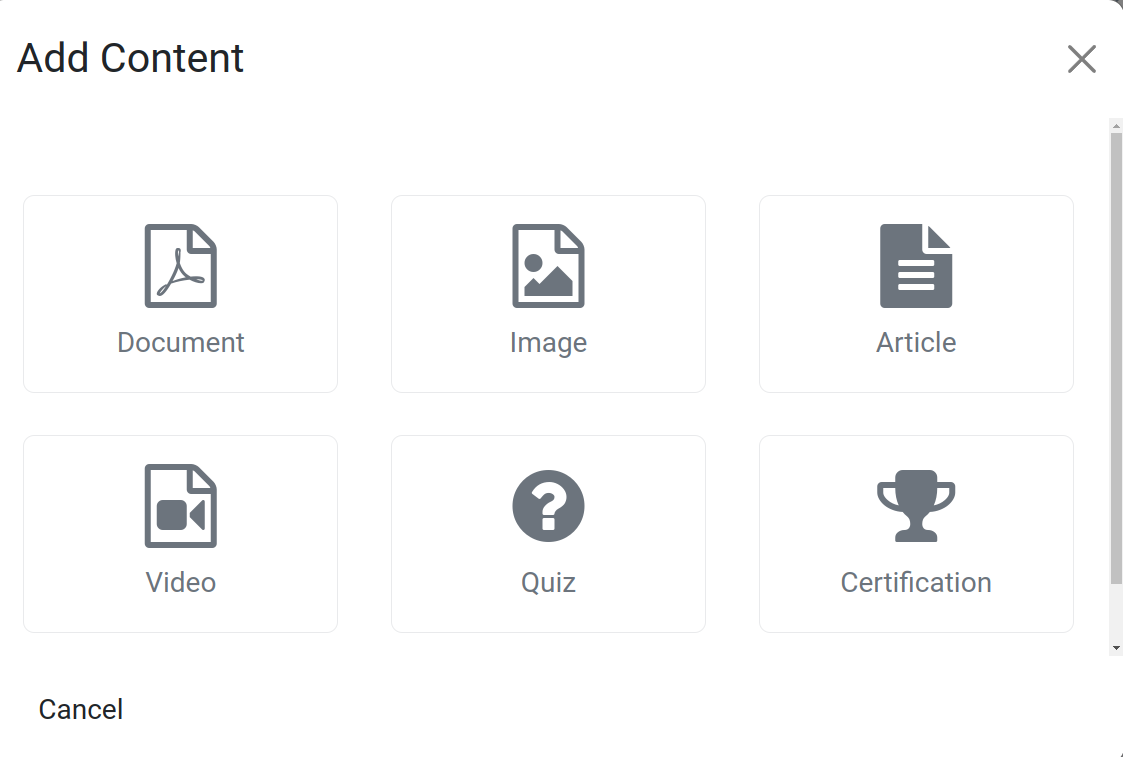
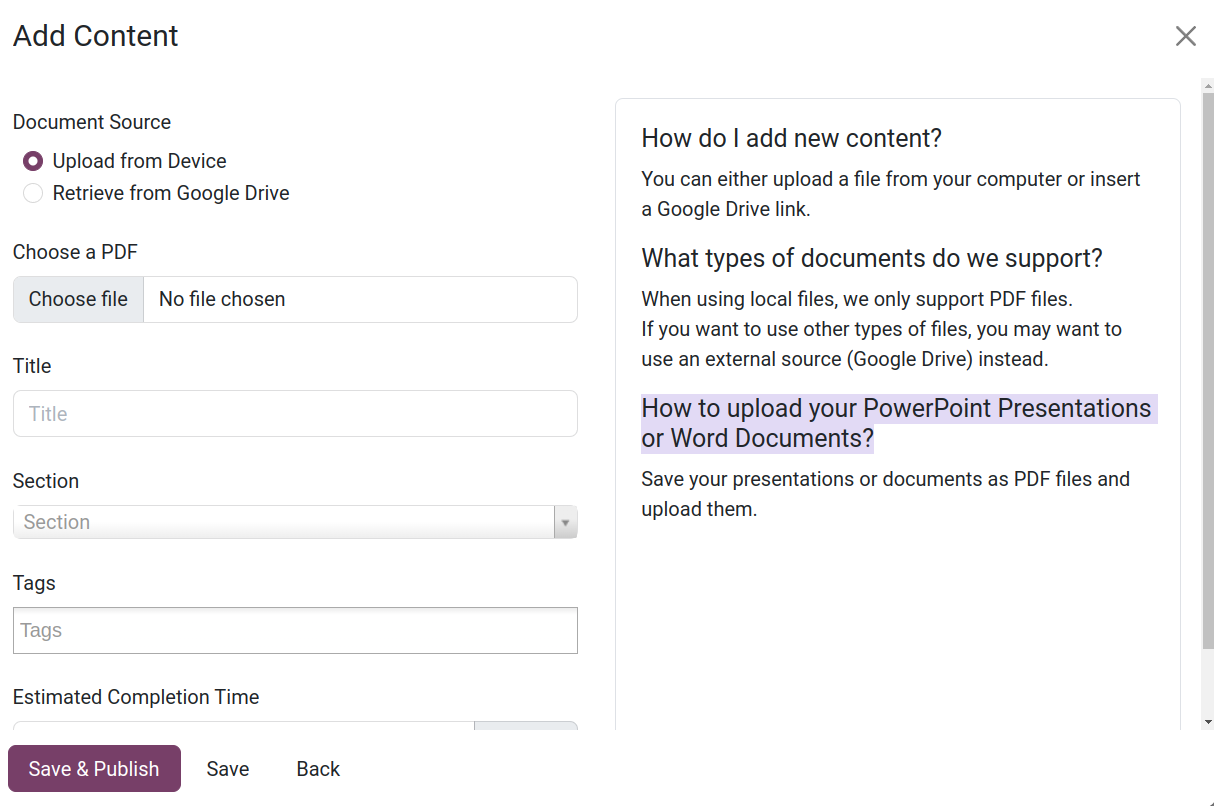
By selecting the suitable Content Type from the window above, users can generate content from this. Next, include content data such as the section title, tags, and estimated time of completion. then select "Save & Publish" from the menu.
By clicking the +Add Section button, you can add a new section. Add the section name and click on the Save button.

So go back to eLearning, and choose the course you created again. Which shows some smart tabs.
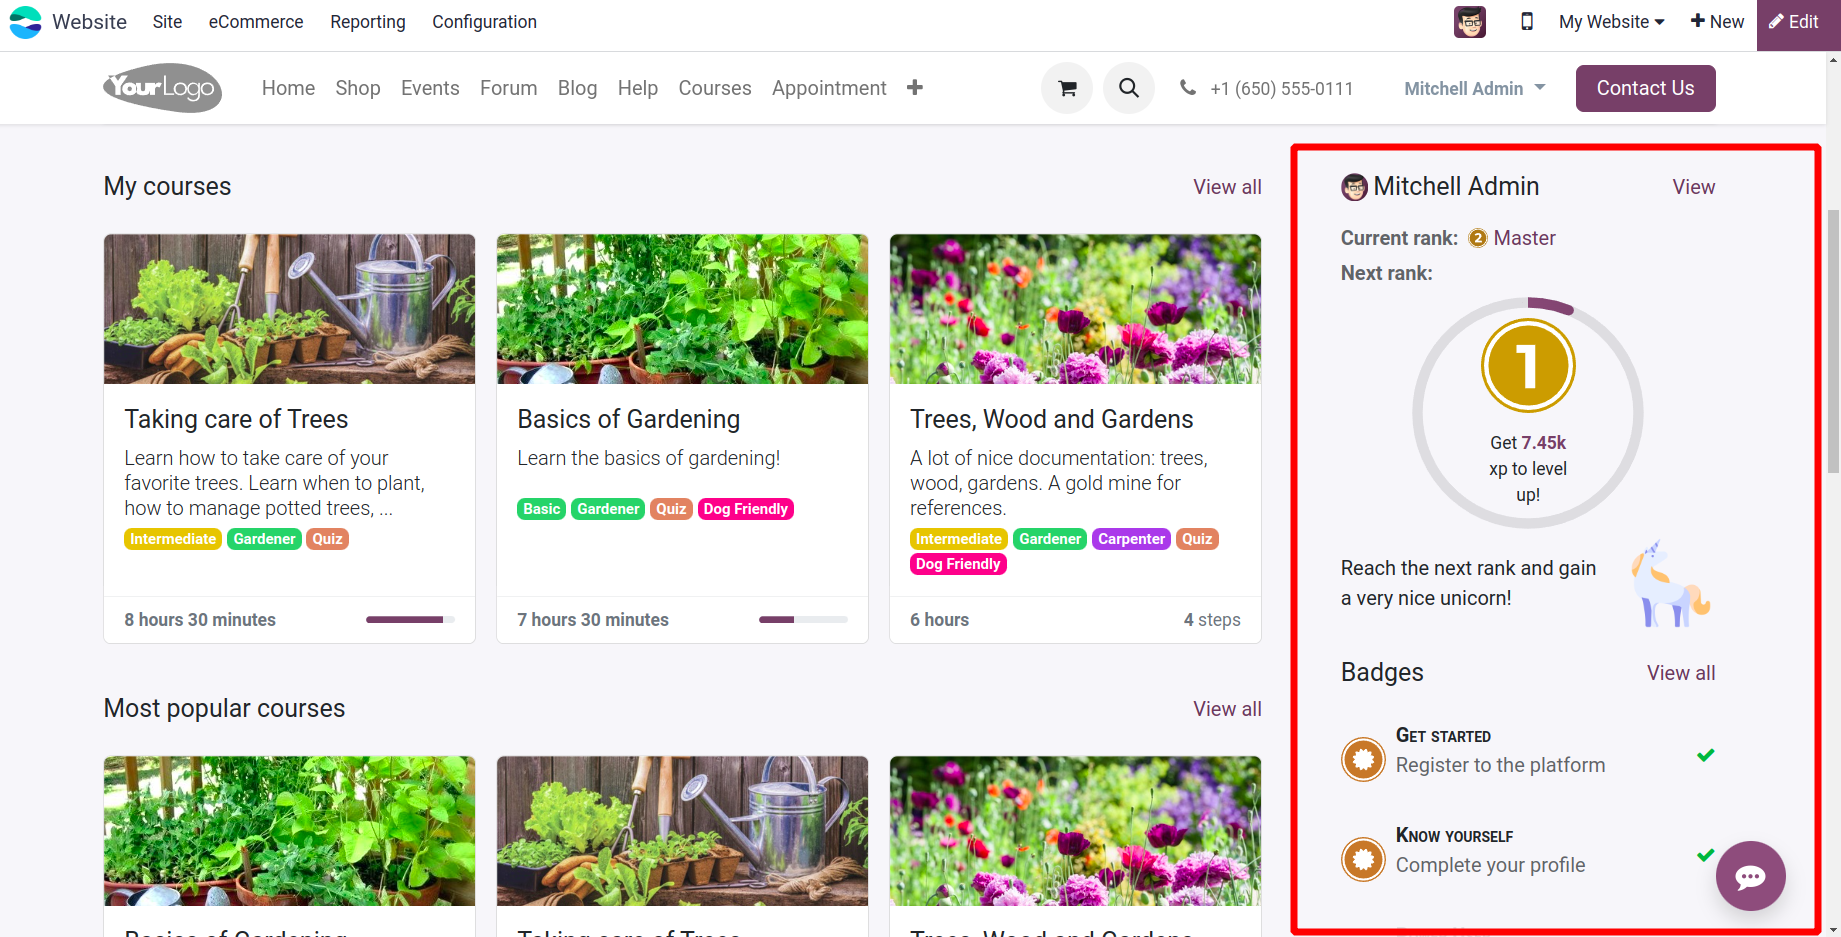
The courses option from the website gives a view of all the created courses. You can alter the Course page. To access the modification options for that, click the Edit button in the upper right corner.
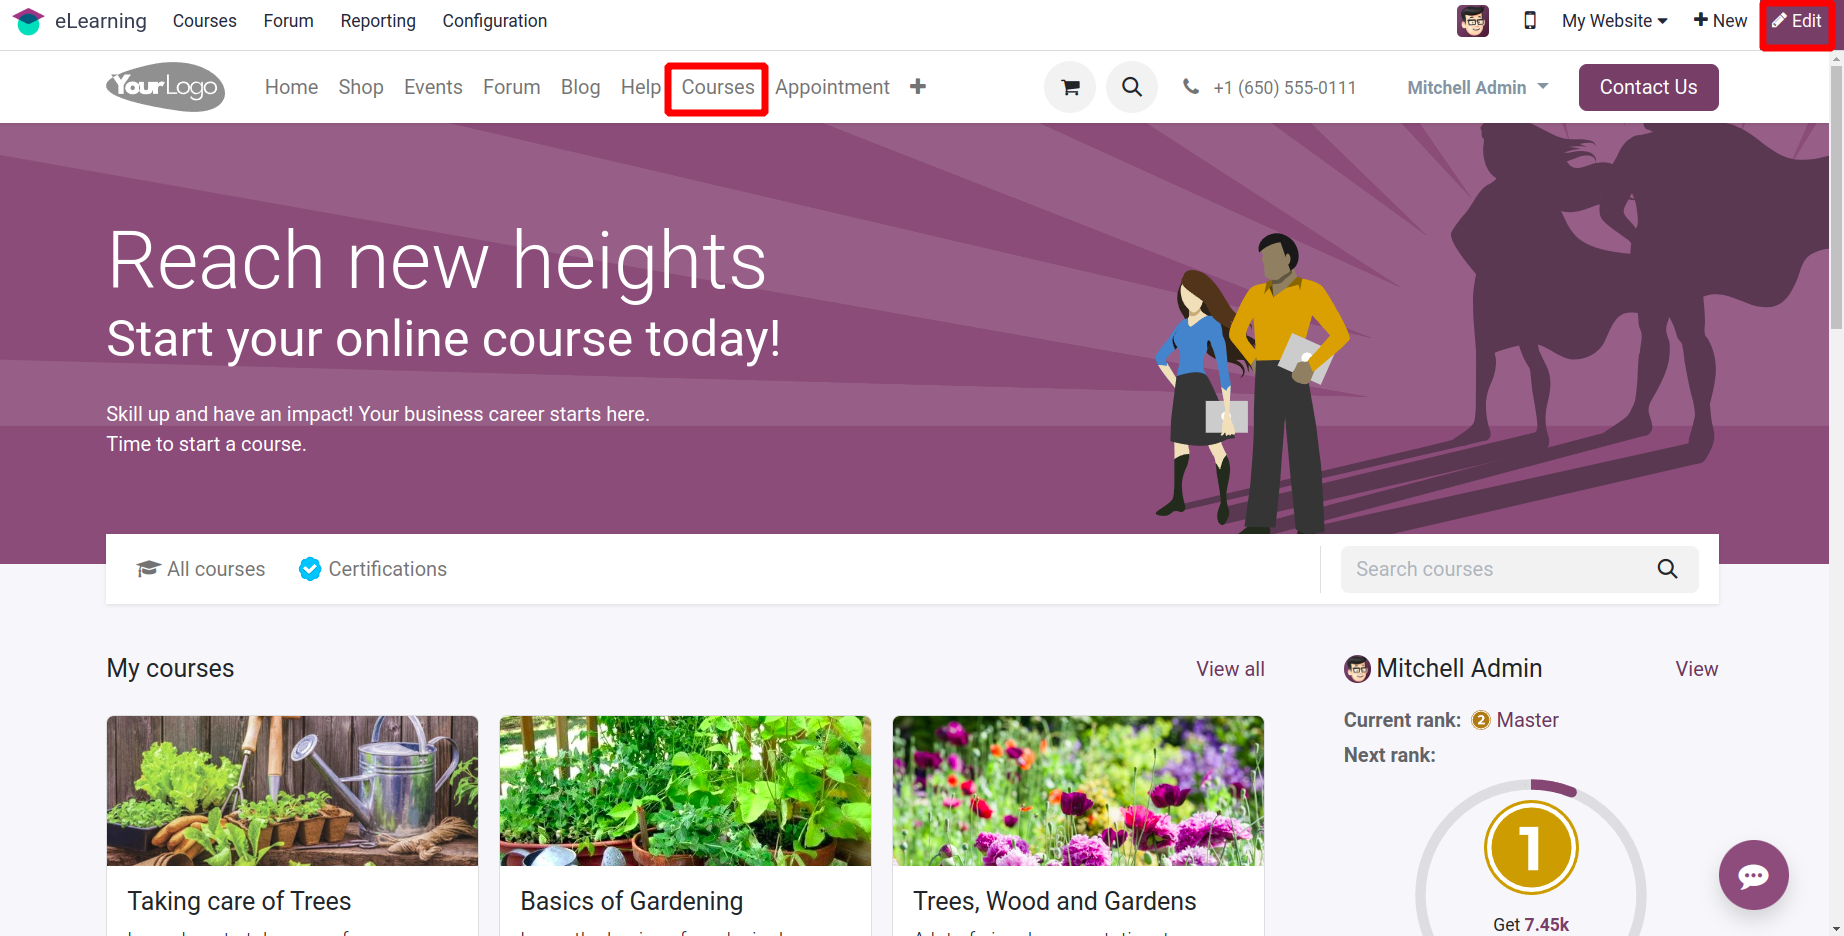
The right side of the window gives details of the current rank of the login person. About the points needed to get the next rank, badges, etc.
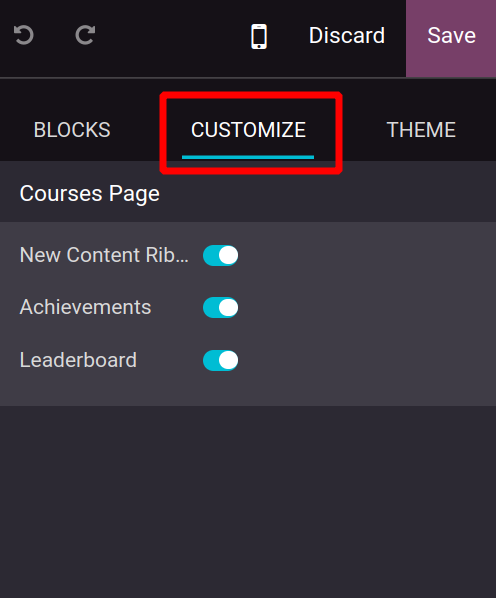
The CUSTOMIZE section allows you to add customizations.
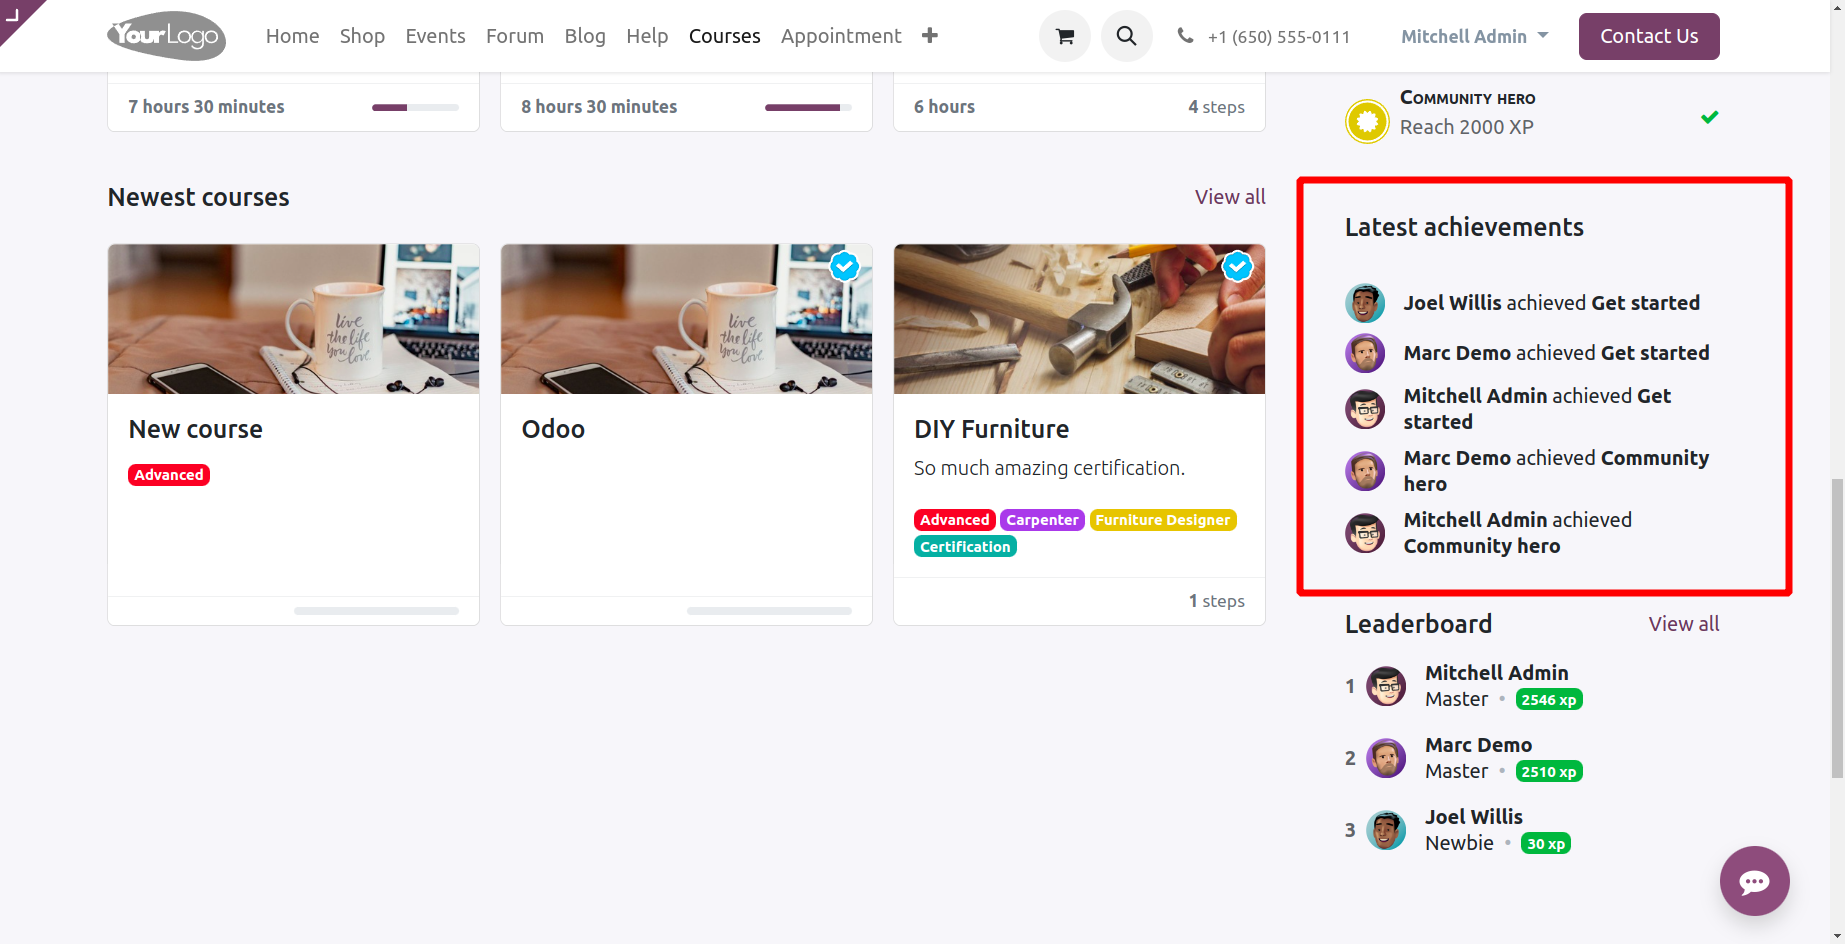
If the Achievements option is enabled the Achievements will display on the course page. The latest Achievements will now be displayed on the course page.
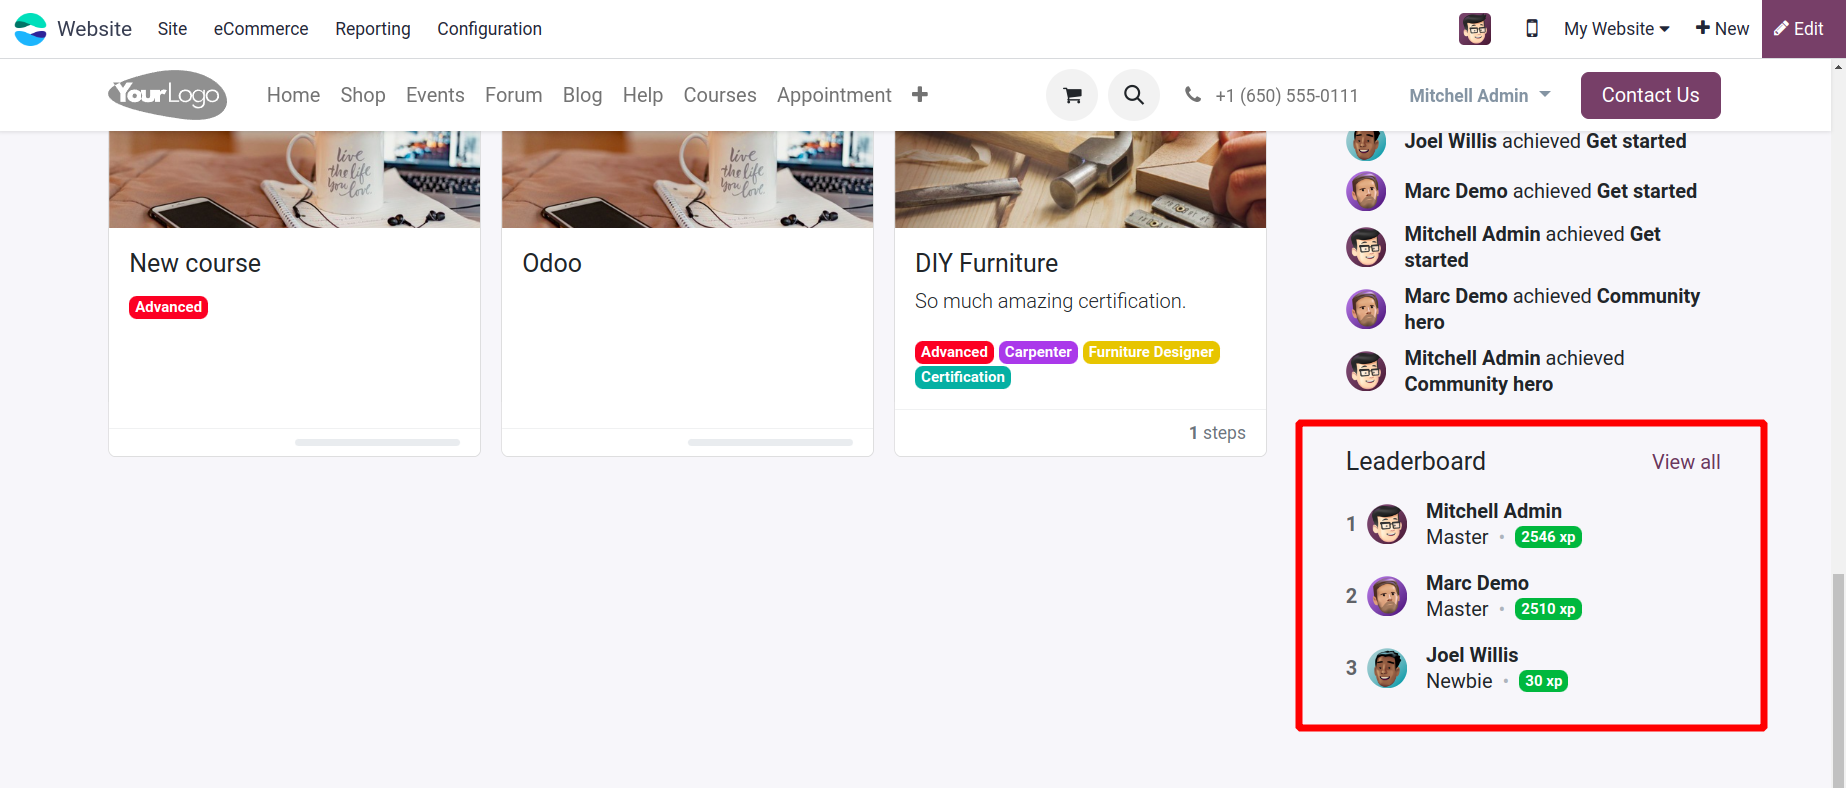
If the Leader board option is enabled from the Customize tab then the leader board will display on the course page as shown below.
Contents
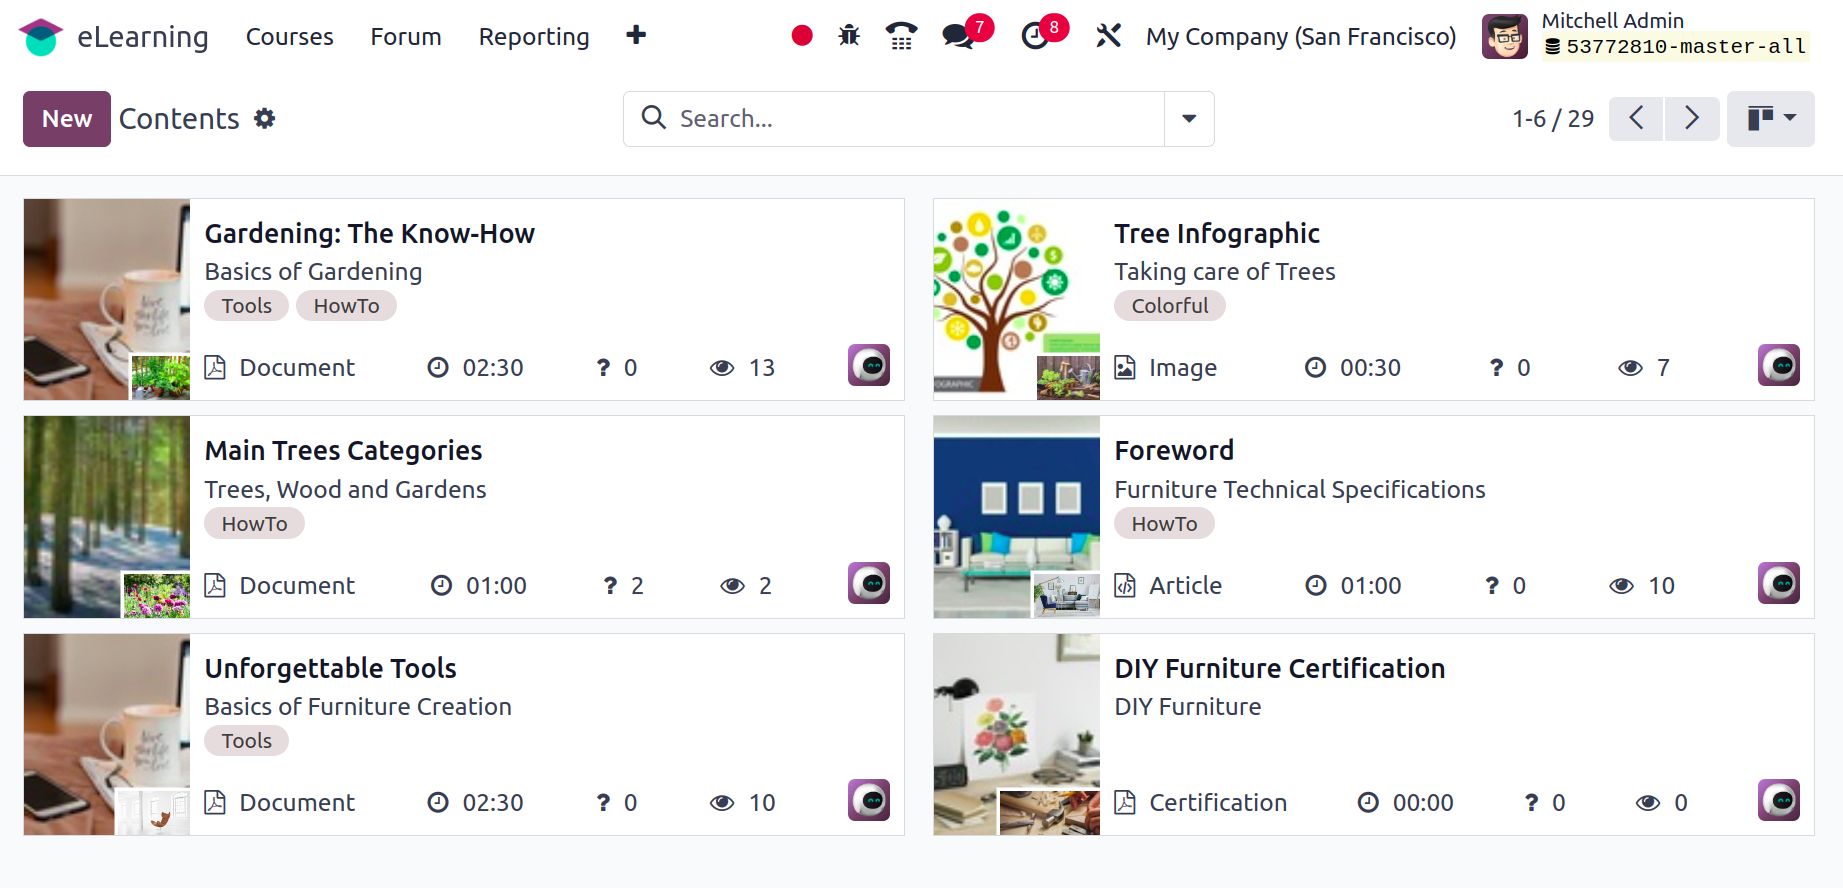
The Contents menu item, located within the Courses menu, contains all of the created content. As seen below, a kanban view of all the created content is available.
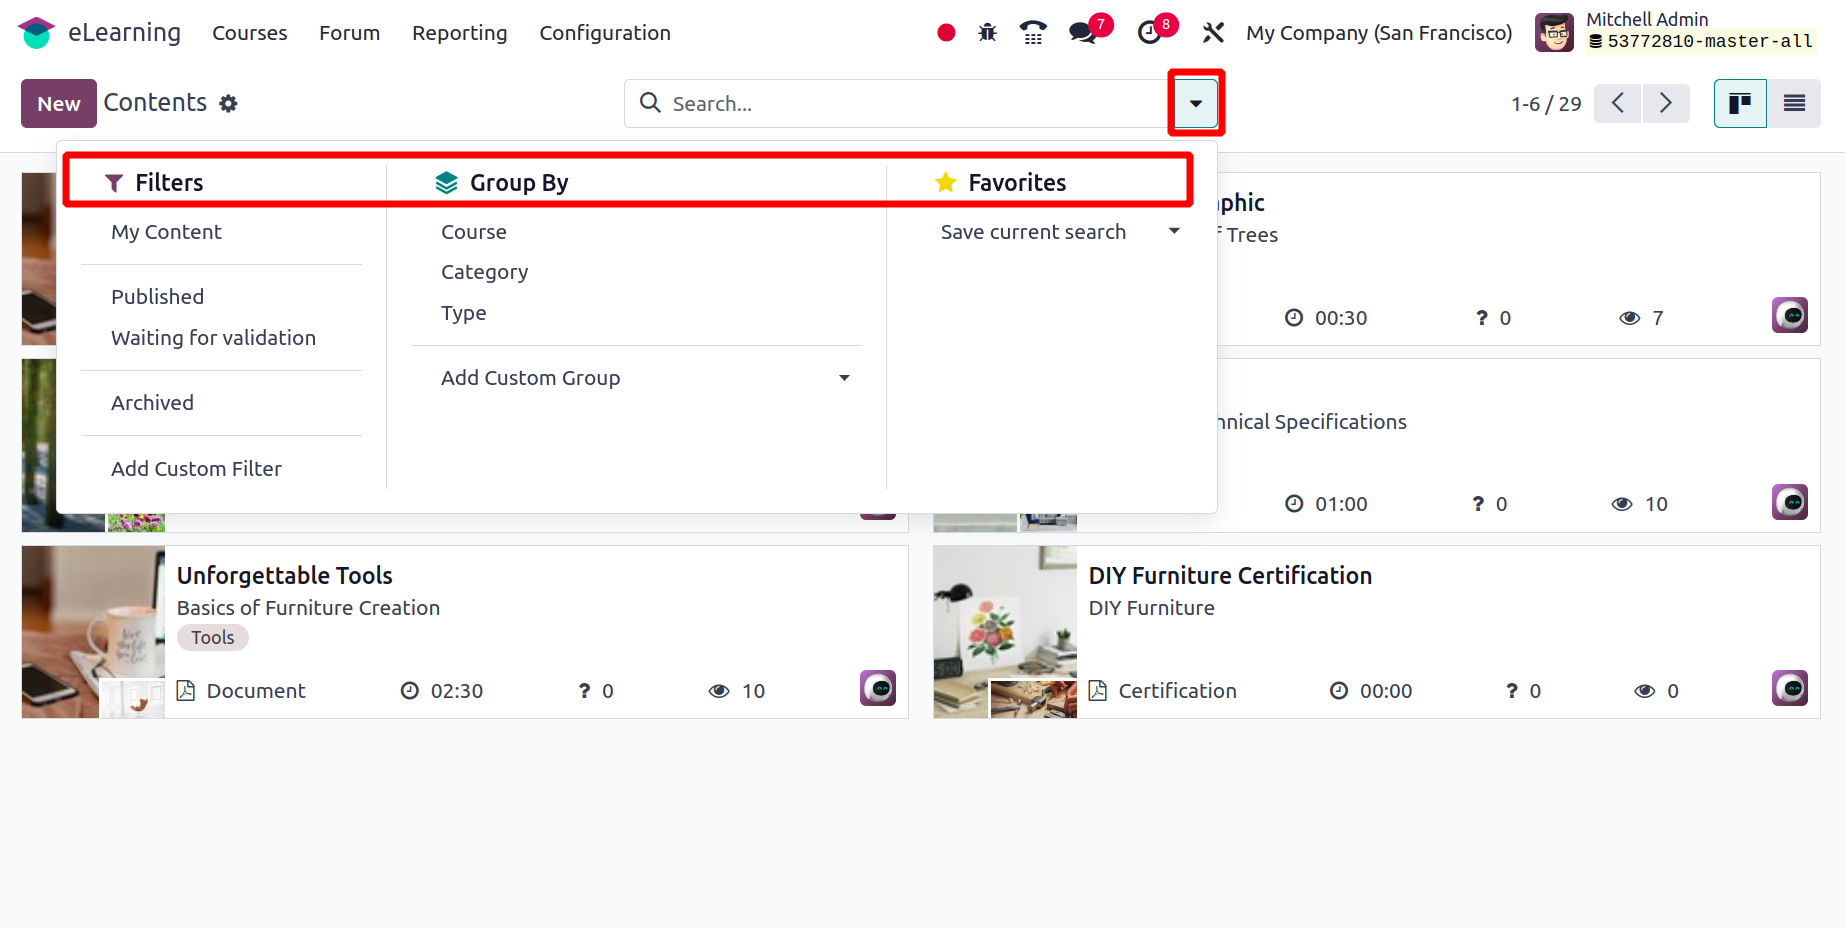
The content page has options to search, group by, filter, and favorite. Content can be sorted by Archived, My Content, Published, and Waiting for validation. It can be arranged according to Type, Category, and Course. Additionally present are the custom group and custom filtering. The Save current search option allows you to save the search as a favorite.
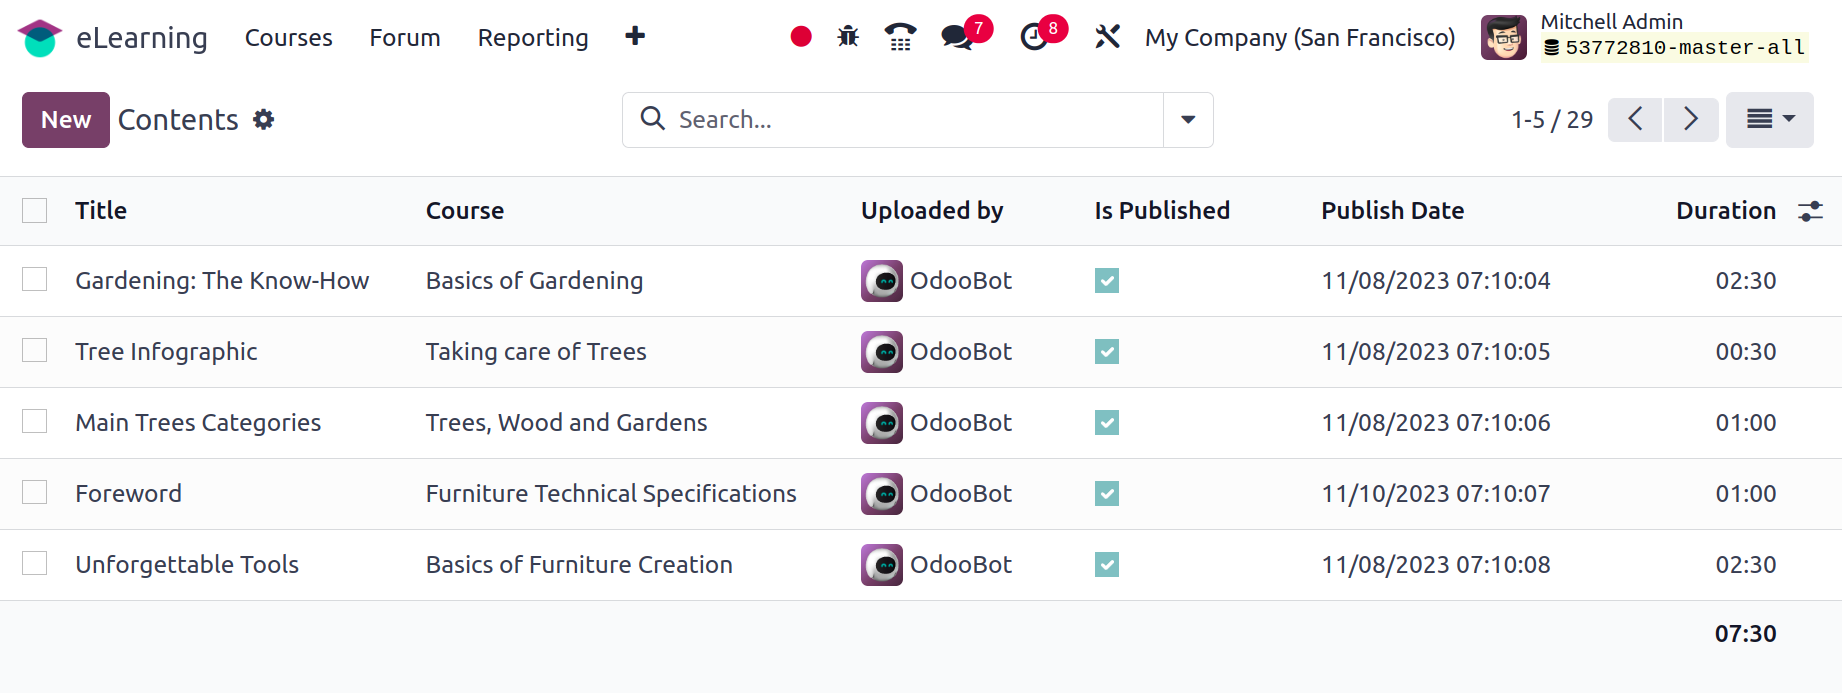
Details like Title, Course, Uploaded by, Is Published, Publish Date, and Duration are displayed in the contents list view.
It is possible to add new stuff with the New button.
Certification
Within the certification field, all certifications are displayed collectively. Details about the certification, such as the number of questions, average time, courses, etc., can be accessed from the Kanban view. The options to share, test, and view results are then displayed for every certification.
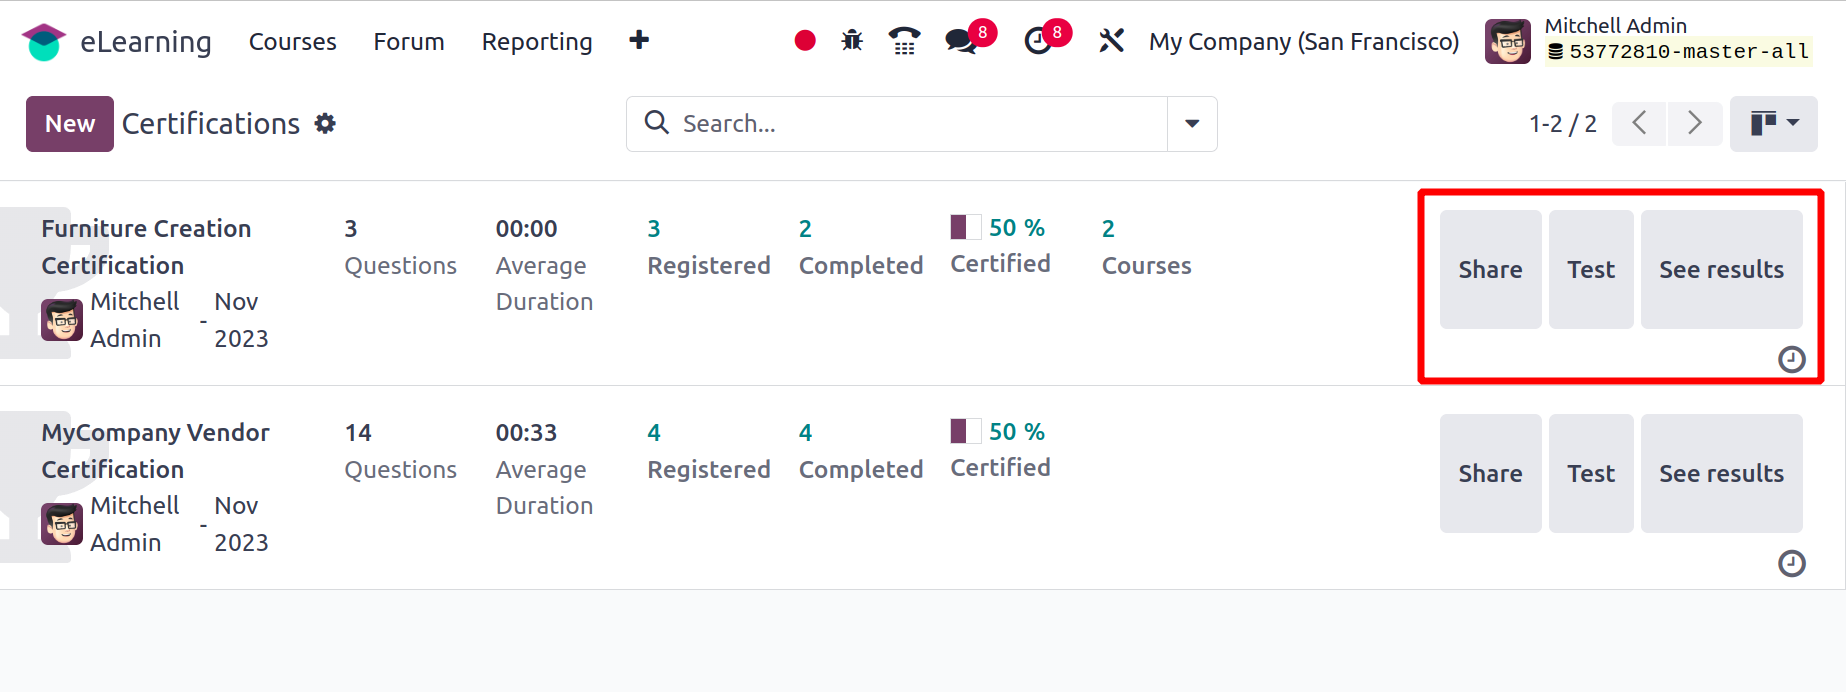
The survey link appears in a new popup window when you click the Share option, and you can email the link.
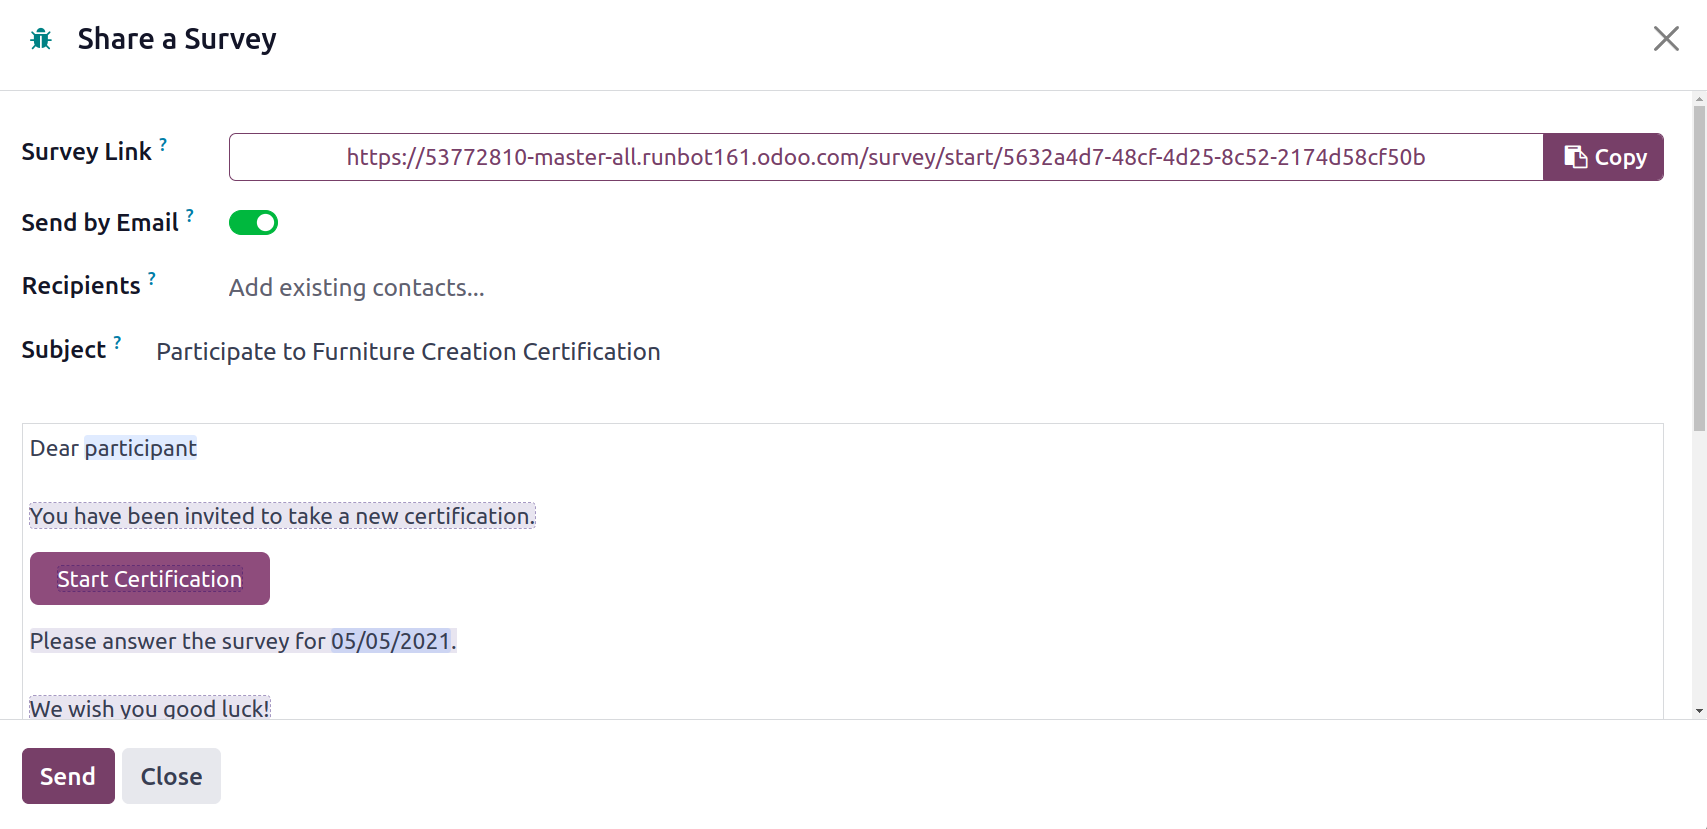
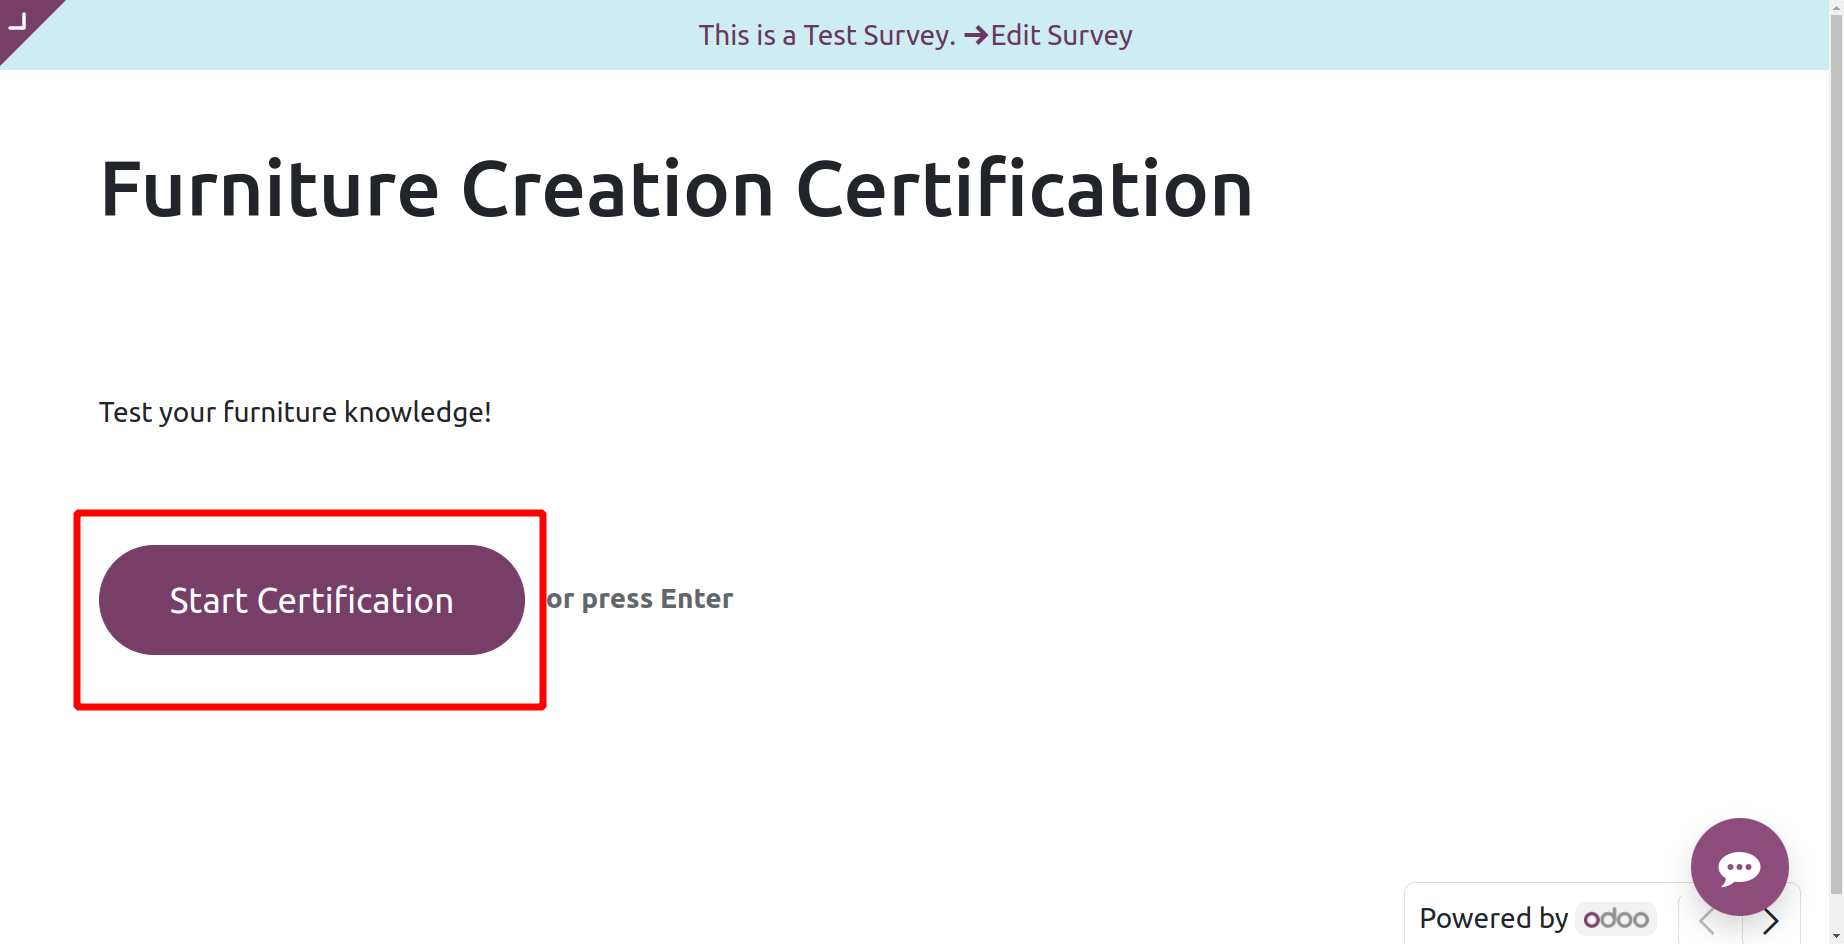
Using the Test button, the user can test the certification program. By clicking on the Start Certification button, users can start testing.
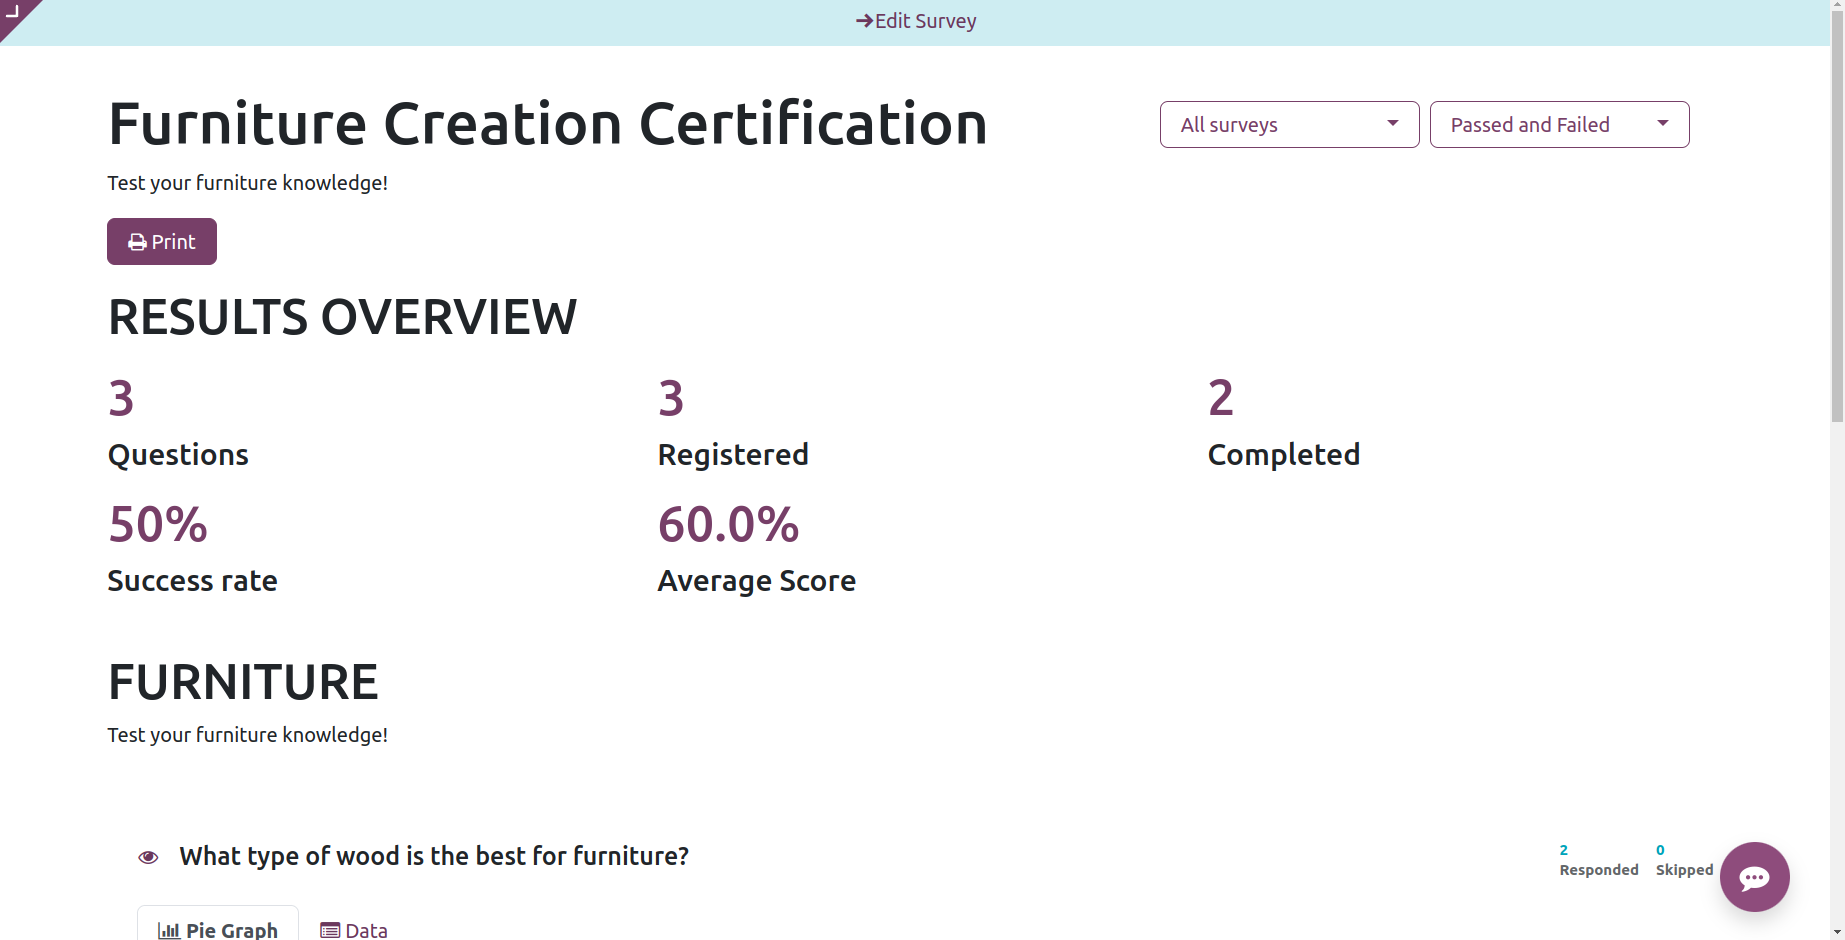
Next, by clicking the "See Results" option, you can view the result overview, users response etc on the screen.
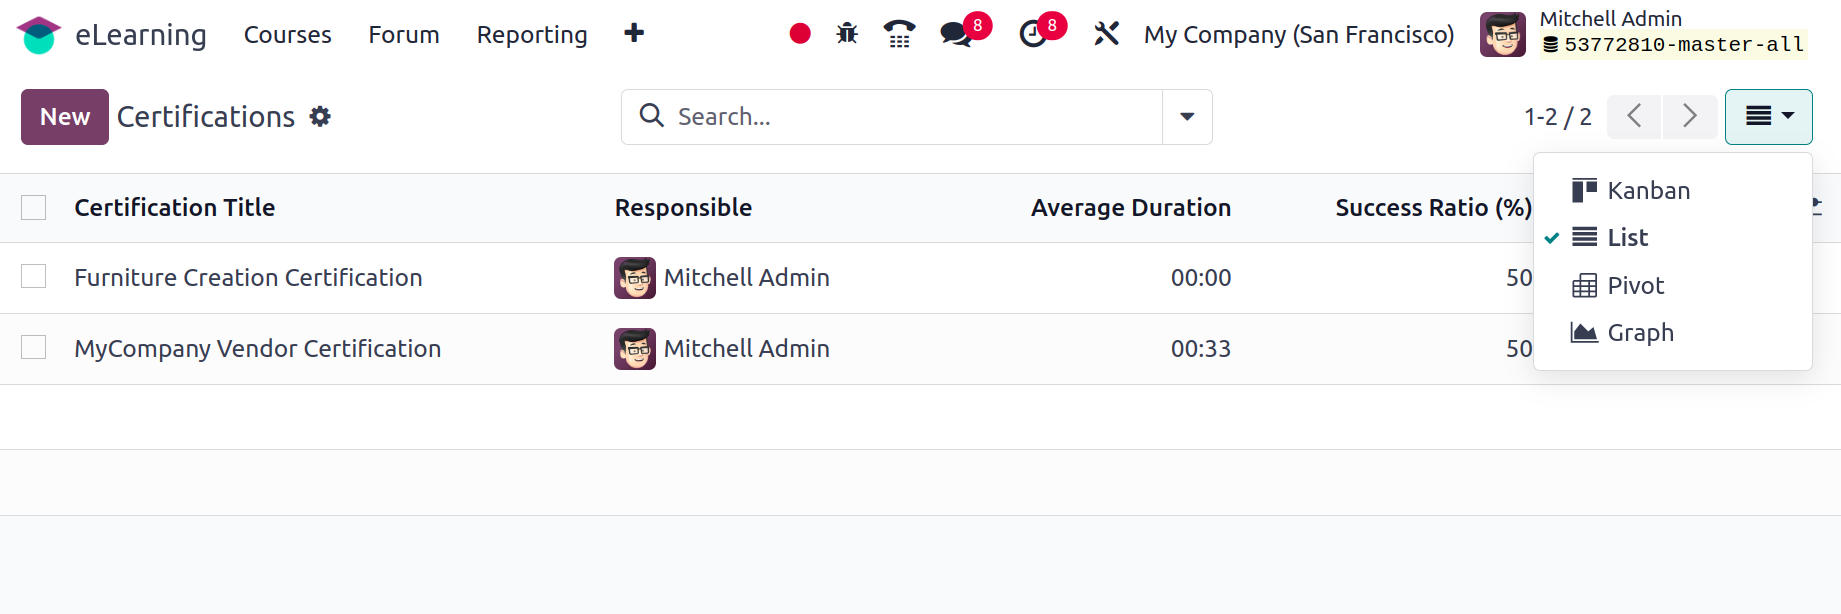
List View, Pivot View, Kanban View, and Graph View are some of the accessible perspectives. To begin a new Certification, click the New button.
It seems that a form view generates a certification, similar to the one we discussed earlier.
Forum
As you can see, the window displays a list of every forum that is set up on the platform, along with information about each one such as the forum name, website, number of posts, views, answers, and favorites.
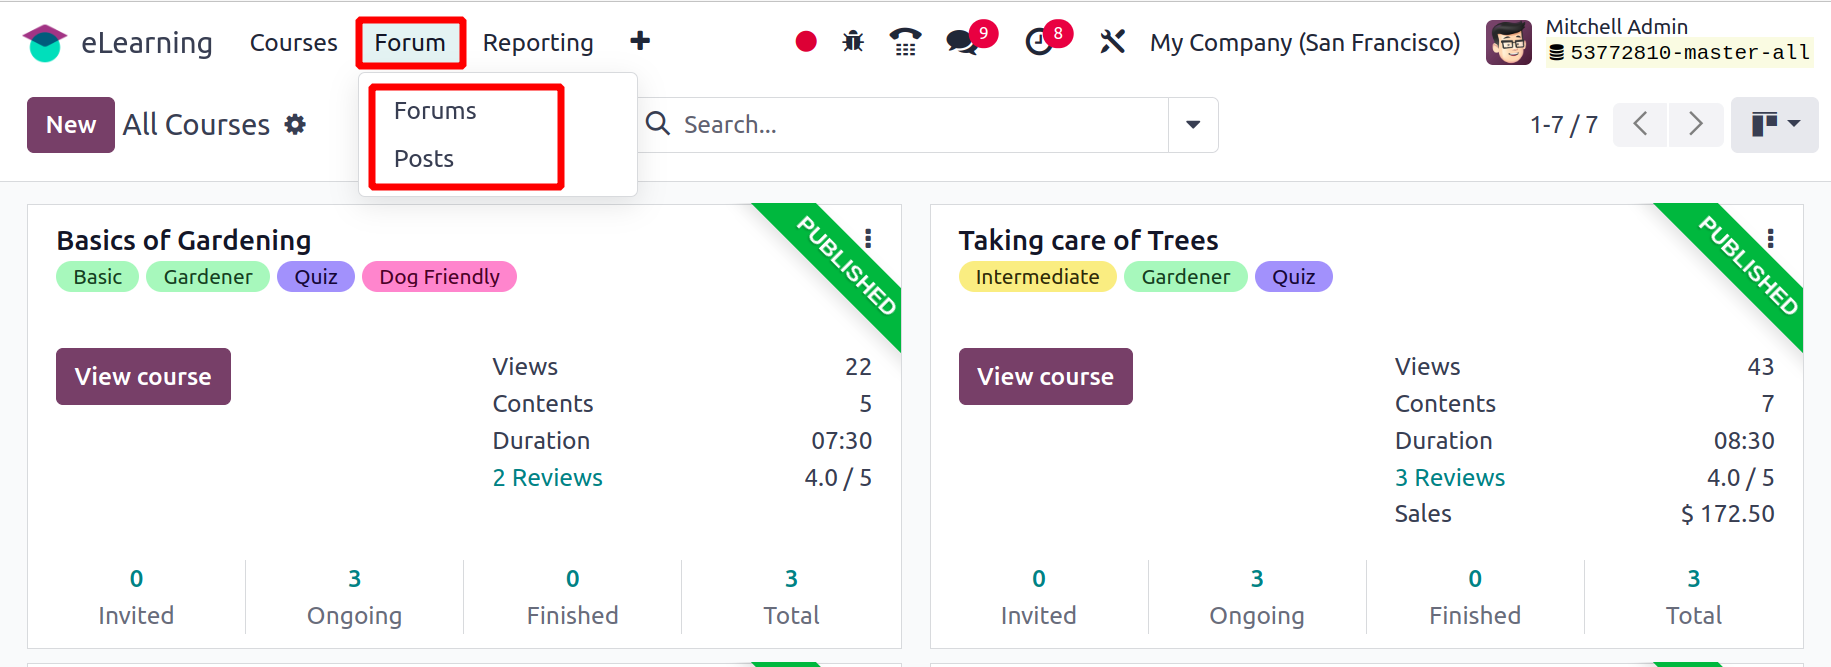
The New button can be clicked to start a new forum.
To learn more about the forum creation and Forum Posts please check the Forum Module : Forum in Odoo 17
Configuration
Course Groups and Content Tags can be configured by users with the use of the eLearning module's Configuration tab. Within the Configuration, there is also another Settings option.
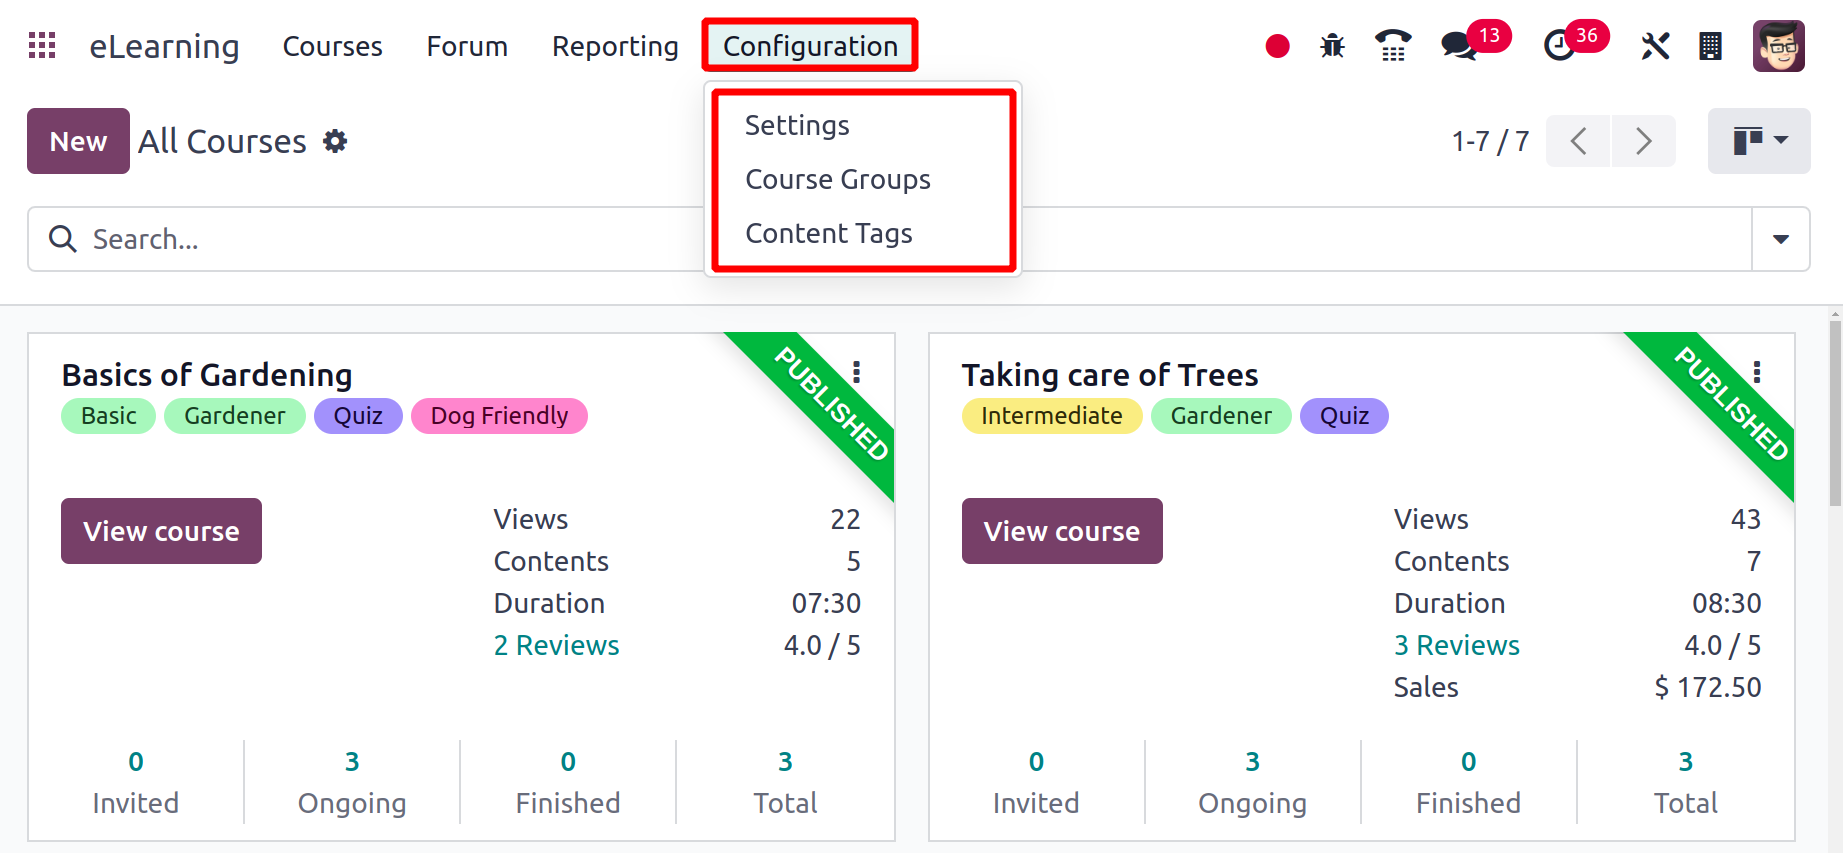
Course Groups
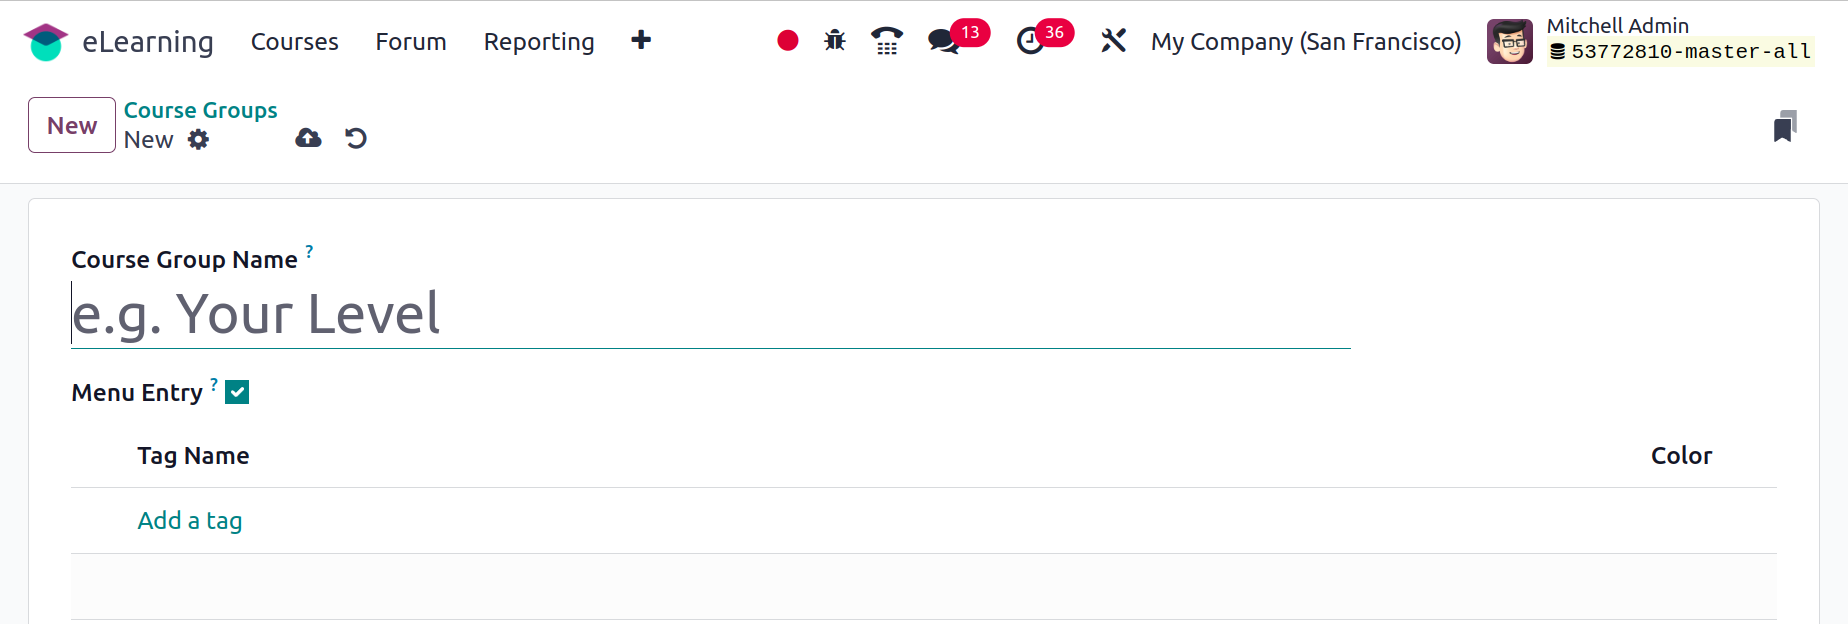
There is a Course Group option in the Configuration. a list view containing information about the group name, menu item, and tags. Click the New button to start a new one.

In order to publish and enable the Menu Entry, add the Course Group Name. Next, add tags to the relevant tab.
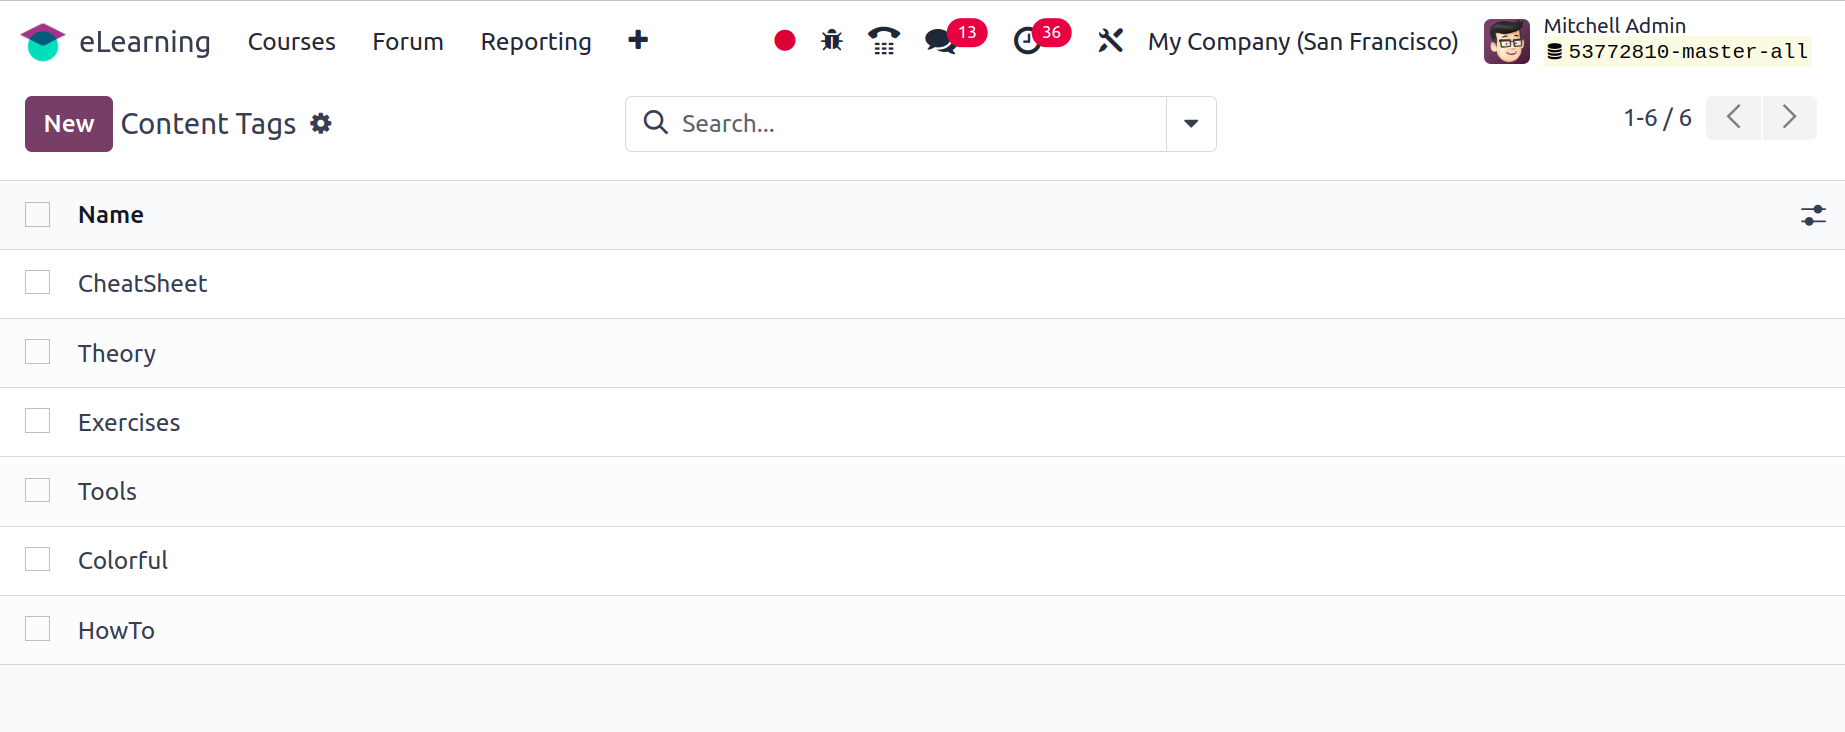
Content Tags
All the created Content tags are available in the list. Create a new one by using the New button. An additional line will be added under the list to mention the new tag name.
Settings
The parameters on the eLearning allow you to customize additional parameters. Certifications are the first setting. Users have the ability to construct multiple certification programs in order to certify attendees' skills and evaluate their knowledge. The certification menu won't appear until this option has been enabled.
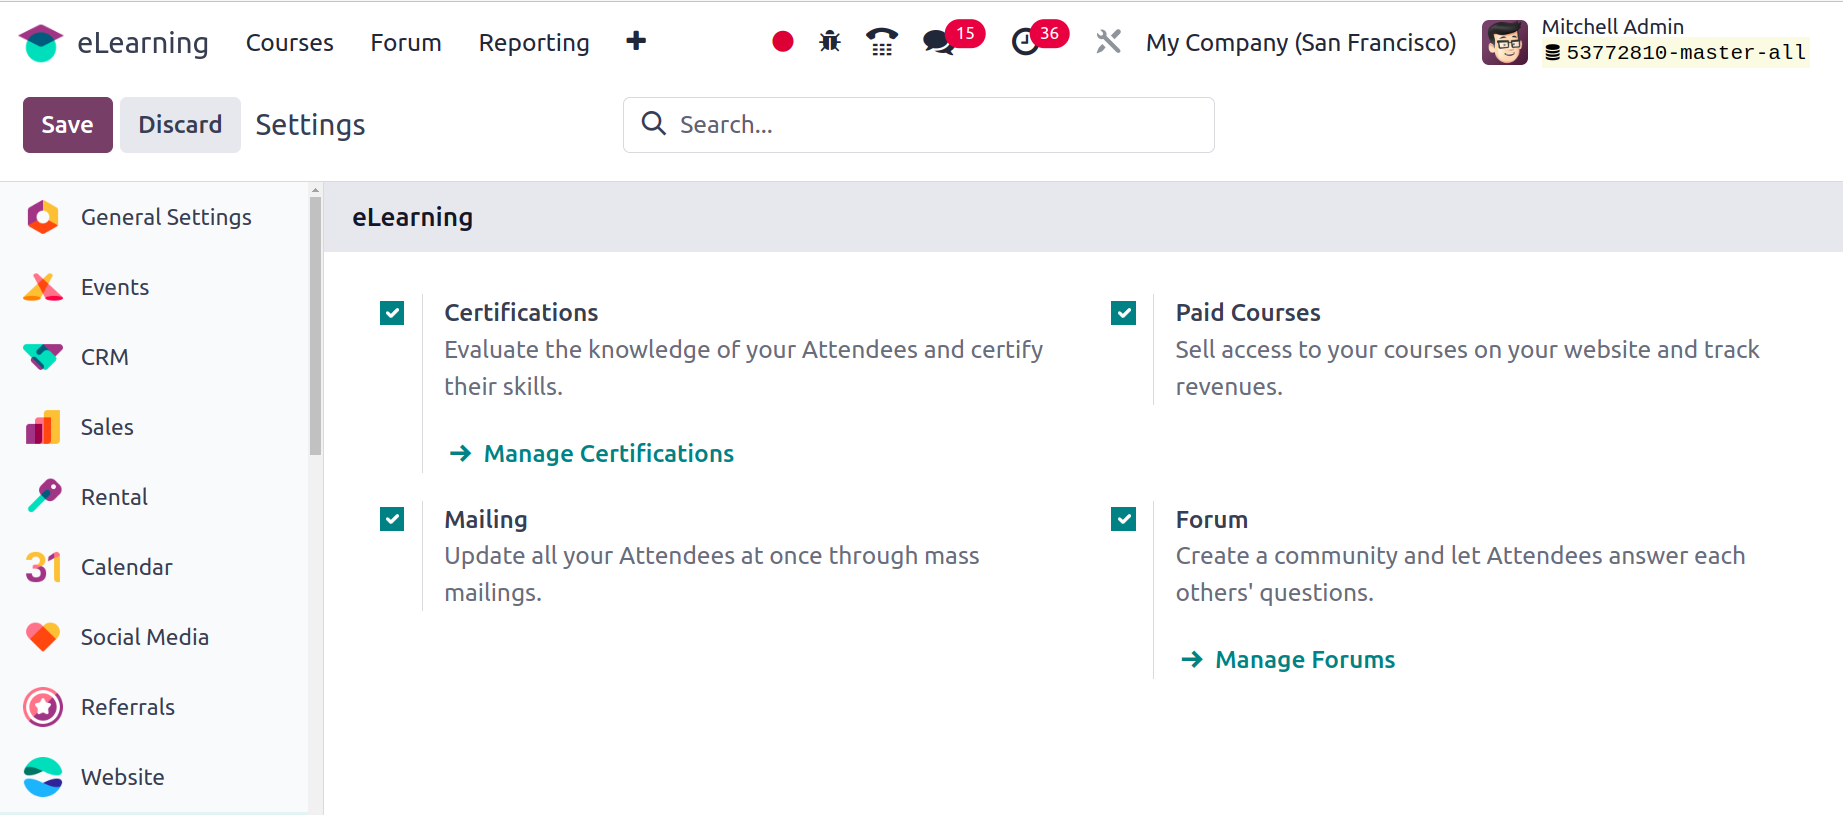
Enable the Paid Courses option from Settings in order to sell access to your courses on your website and monitor earnings. Using mass mailings, the Mailing feature makes it possible to update every attendee simultaneously. Finally, there is the Forum option, which fosters community building by allowing attendees to respond to one another's queries.
Reporting
The eLearning module's reporting menu aids in the assessment of the eLearning procedure. There are six distinct reports in the study. The various reports include those for courses, contents, revenues, attendance, reviews, and quizzes.
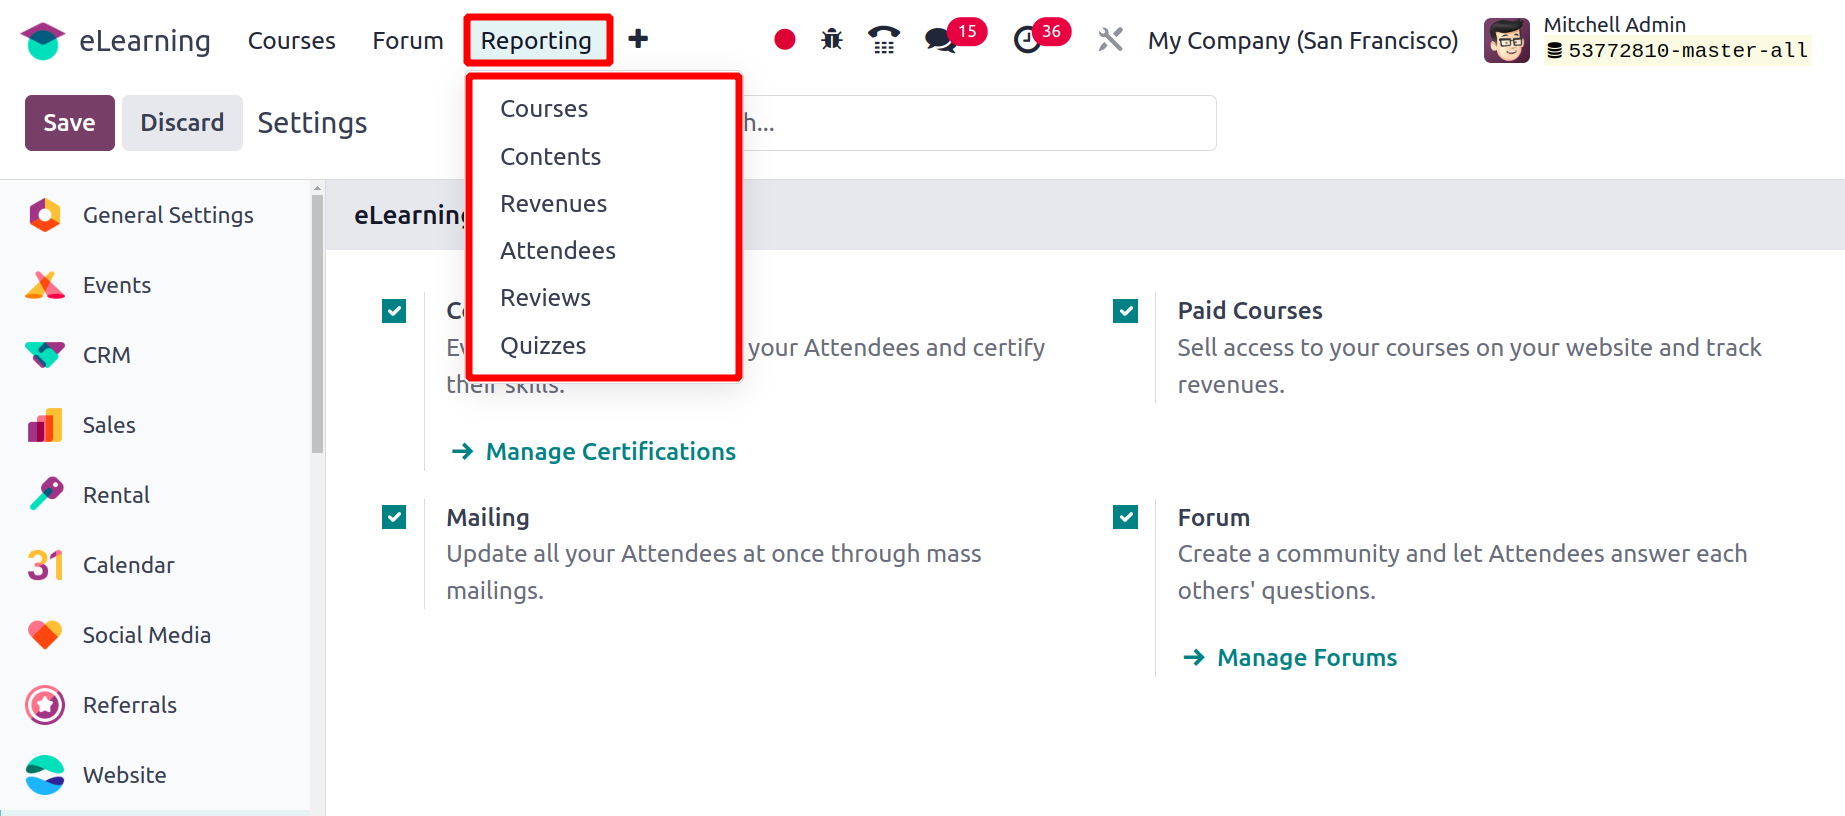
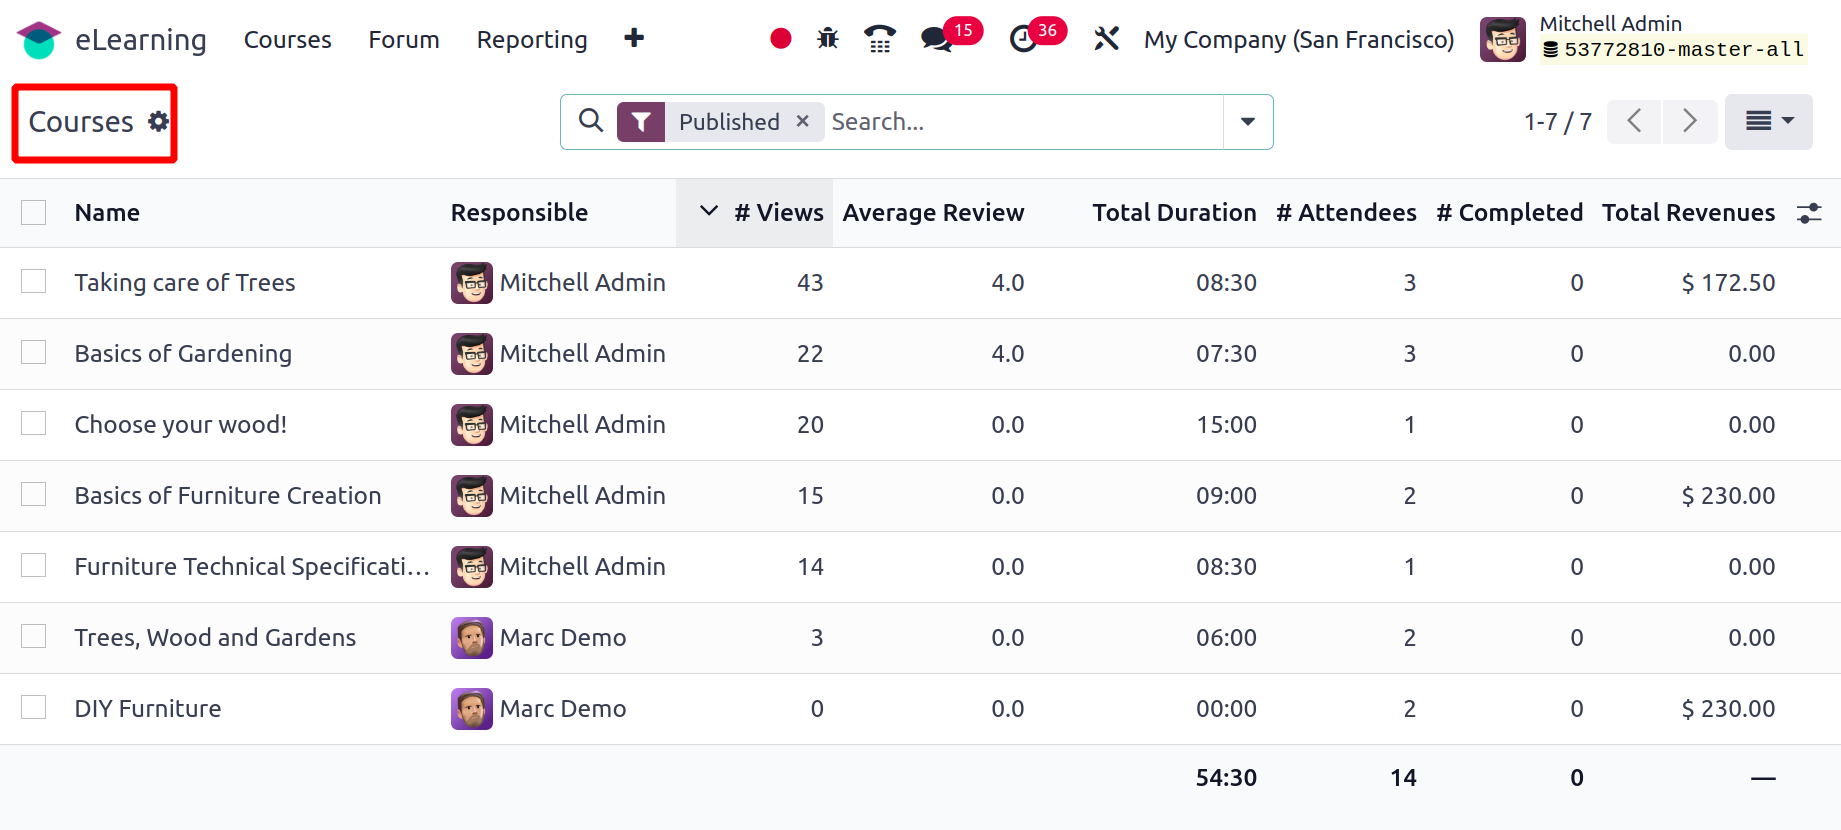
The Courses option shows the details of courses like course name, Responsible person, total views, Average views, total duration, number of attendees, total Revenue, etc.
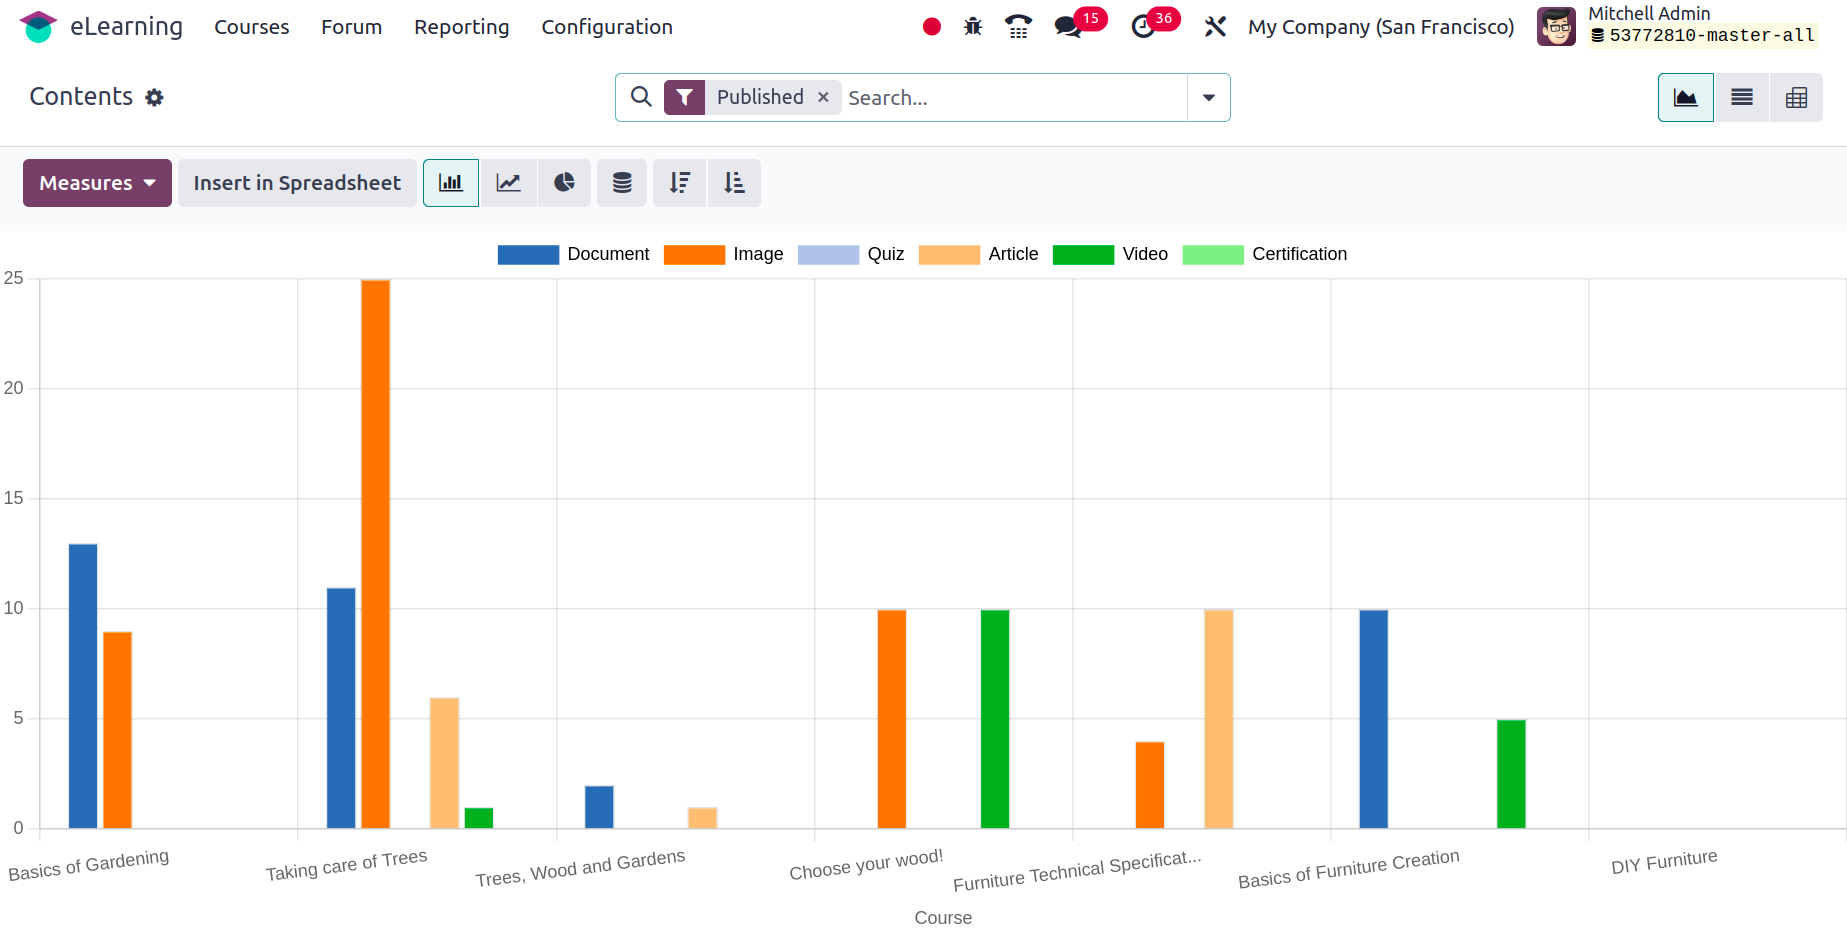
Details of the contents are included in the Contents report. This is a graphical depiction of the contents. Here you can access several graph formats, such as pie charts and line charts. List view, pivot view, and graph view are other options. The metrics aid in data filtering based on user requirements.
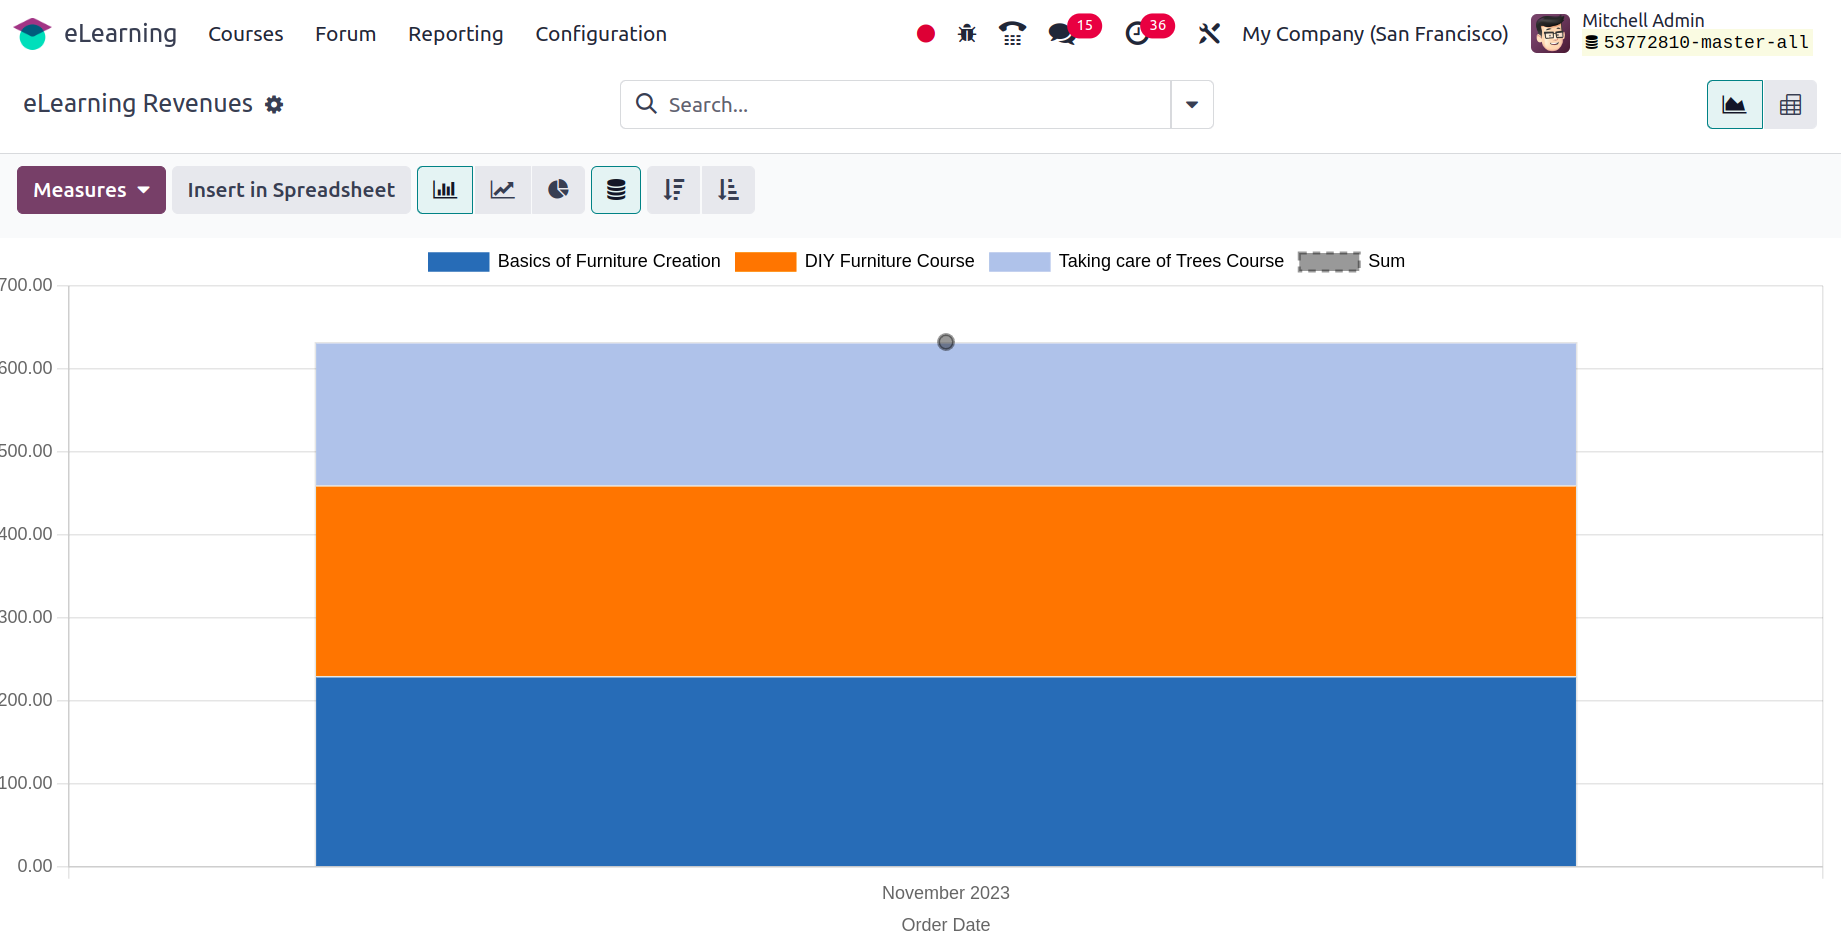
The details for each month are included in the eLearning Revenue reports. This report has access to filters, measures, and several perspectives as well.
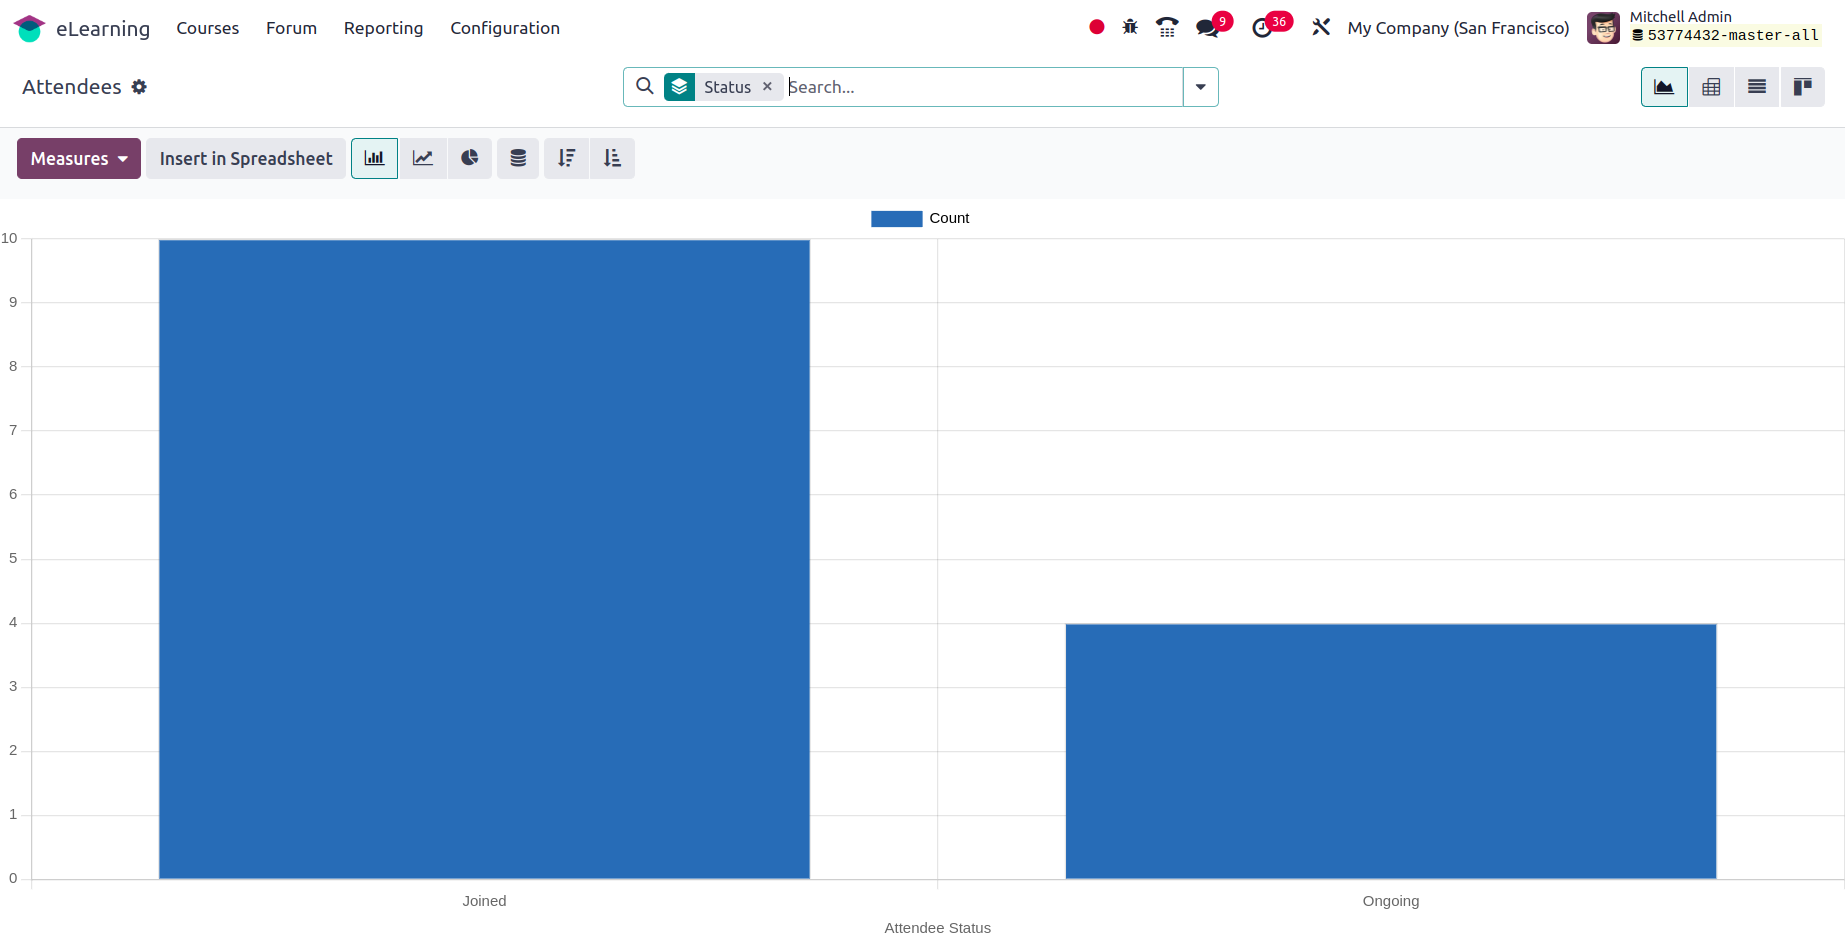
The Attendees report can be used to assess the attendees' status. The snapshot below shows the guests' names and current information in a graph format.
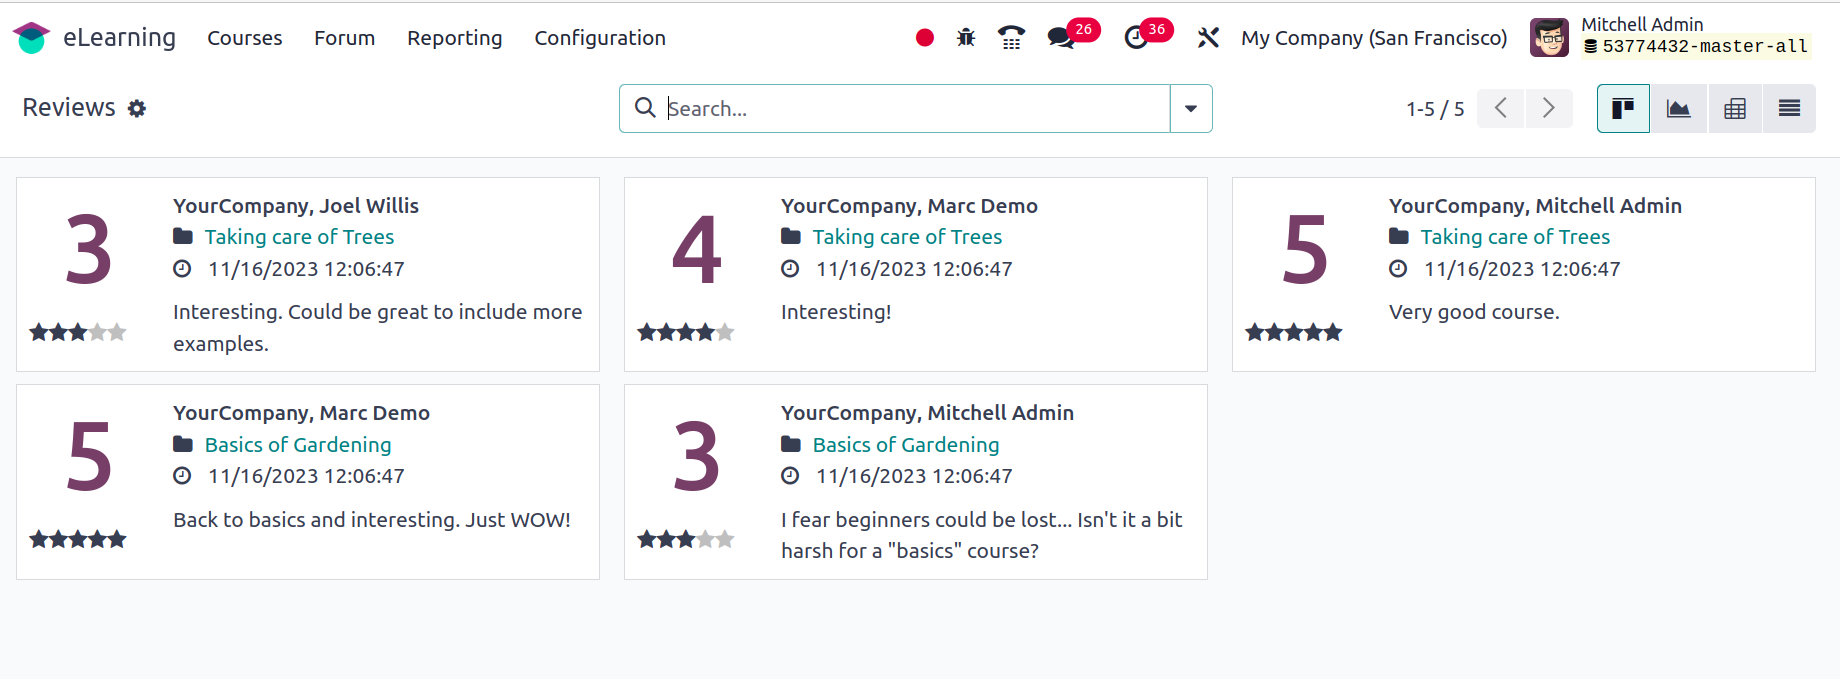
Each course allows users to add reviews, which may then be examined using the Reviews report on the back end. In the Kanban view, you can see review details such as the course name, the date and time of submission, the comment, the rating, and so on. You can click on each one to reveal more details.
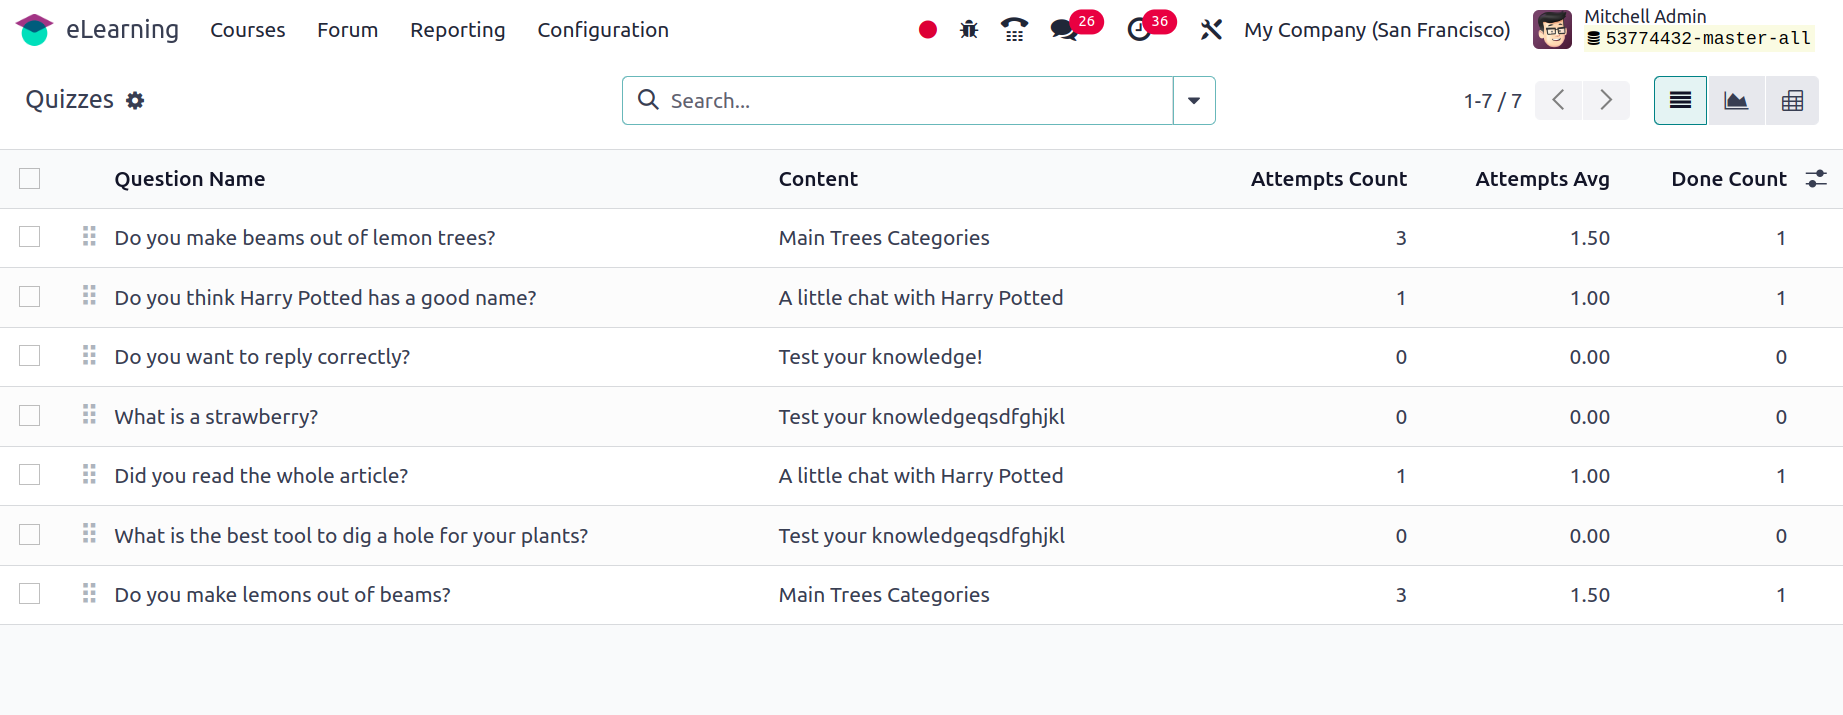
Quizzes are the final reporting kind. The questions in the list view of this report correspond to the content total attempt count, attempt average, completed count, etc.
To put it simply, the Odoo 17 eLearning module is ideal for managing eLearning initiatives.