Leads
Leads can be viewed as the first step in beginning a business relationship with a client
or organization. If a person or organization expresses interest in your company, you may
turn that interest into a lead that can then be turned into a sales opportunity. With
the help of the Odoo 17 CRM, leads may be gathered from a variety of sources. Leads can
be created in Odoo17 from inquiries made via phone calls, SMS, emails, live chat, help
desk tickets, events, contact forms, and many more channels. To increase the likelihood
of success, proper management of leads generated through such platforms must be carried
out with the highest care and attention. In the CRM module, Odoo 17 provides a dedicated
platform for the administration of leads.
You may access the lead management window by going to the module's Settings menu.
You may activate the Lead option under the CRM tab, as seen in the screenshot
below.
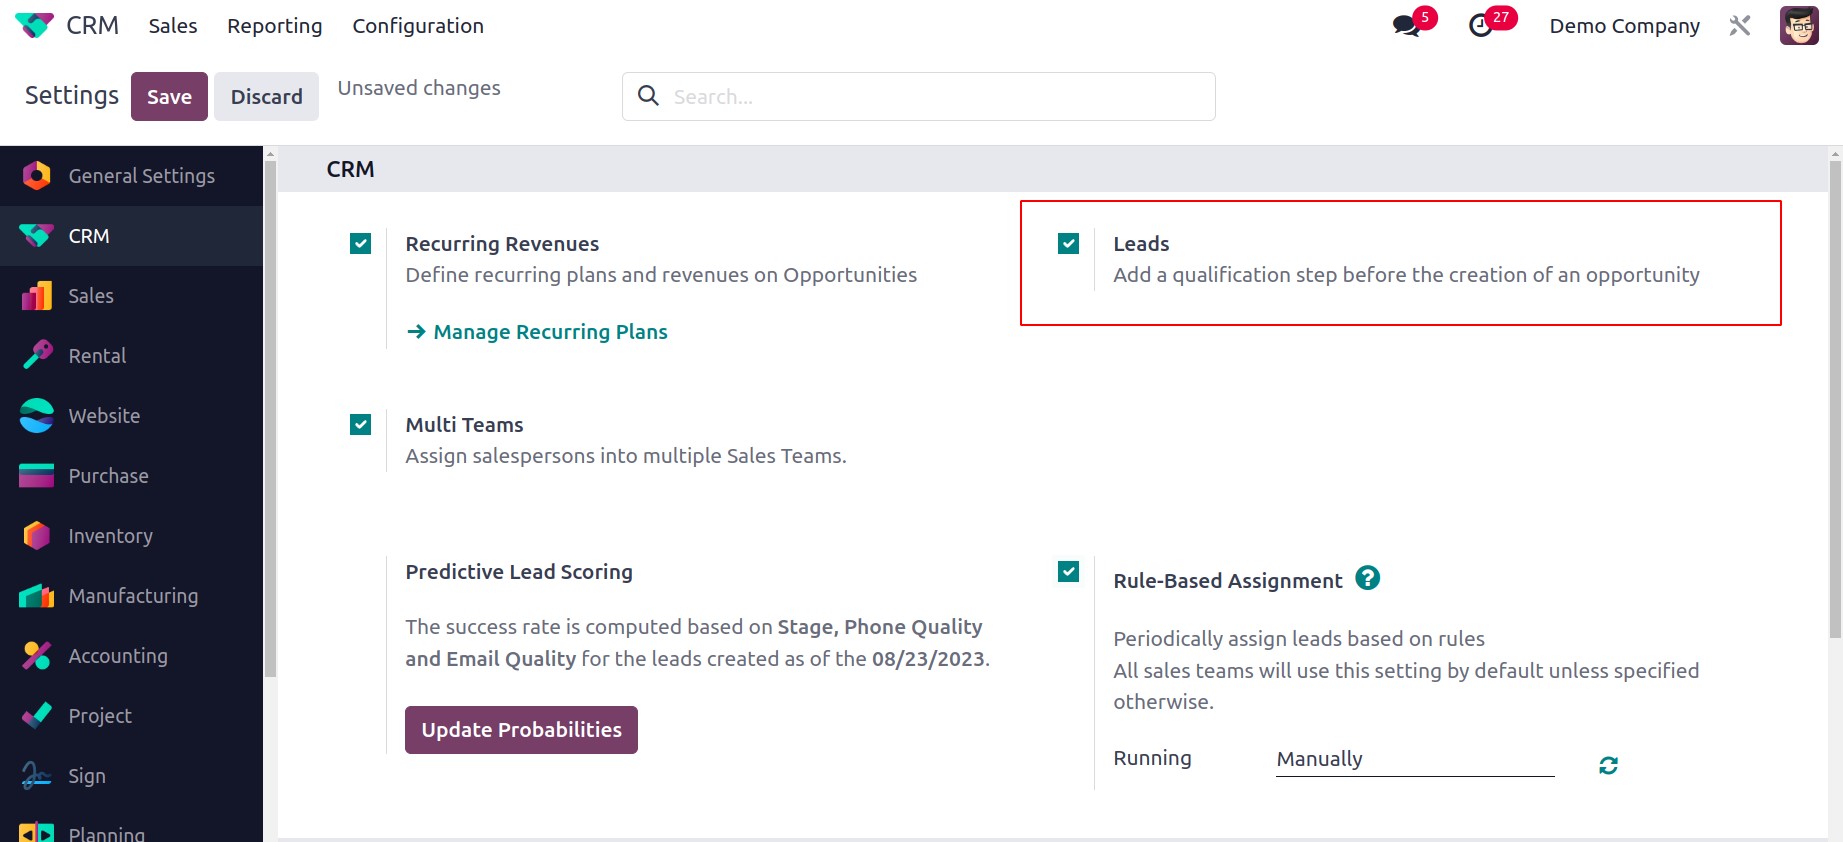
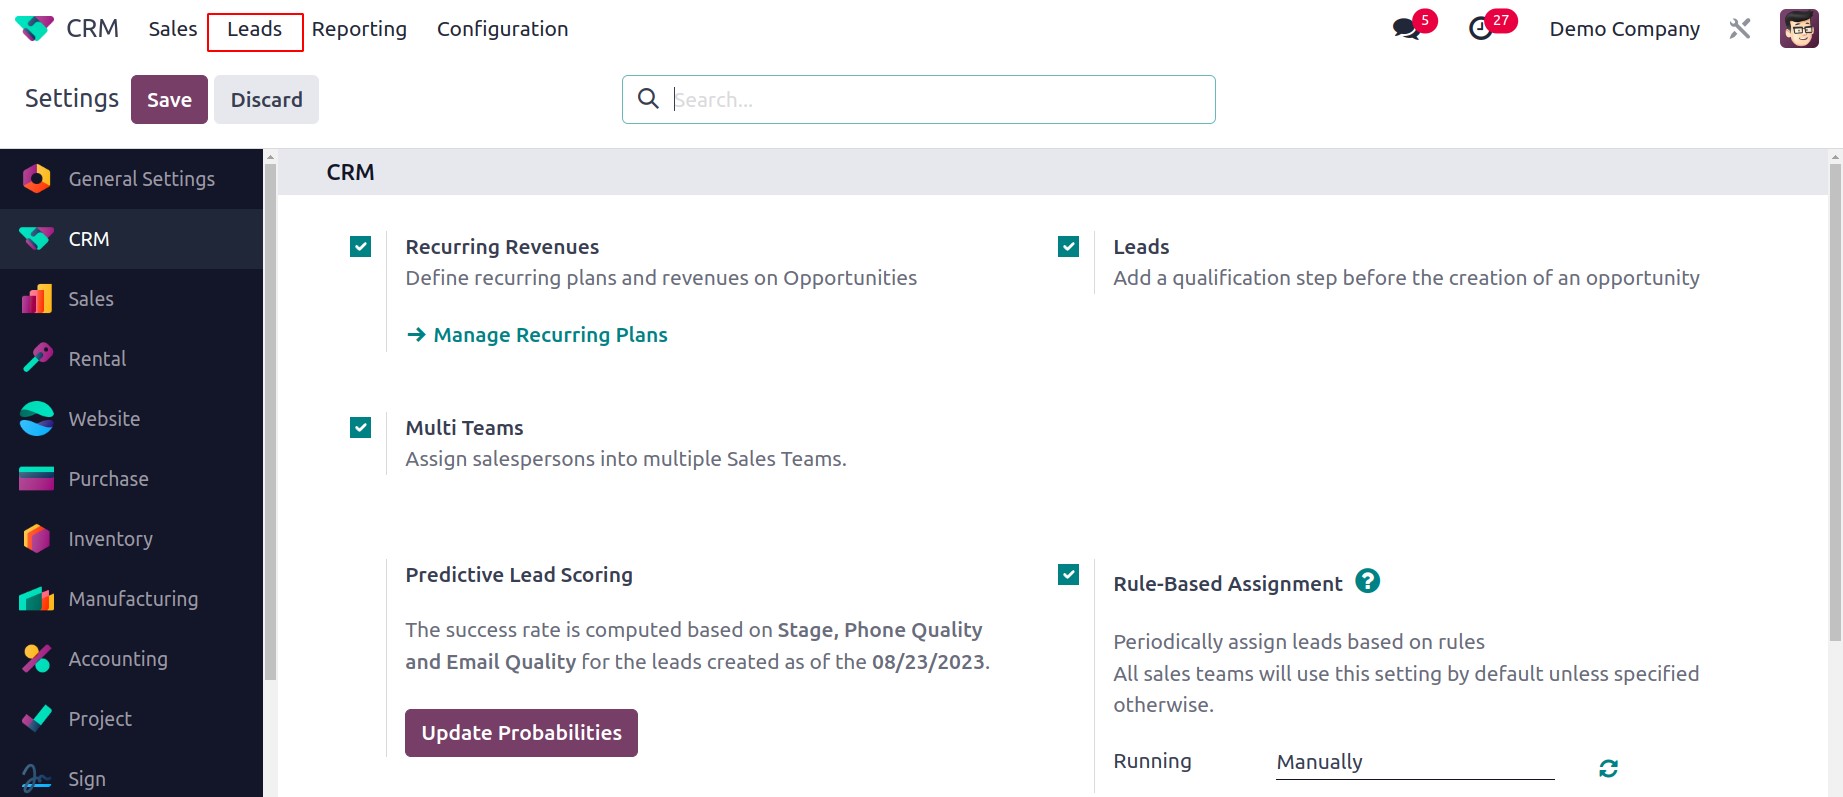
When this option is turned on, a new menu item named Leads will appear in the main menu
bar. This platform will display a list of all leads produced by Odoo 17's various
platforms.
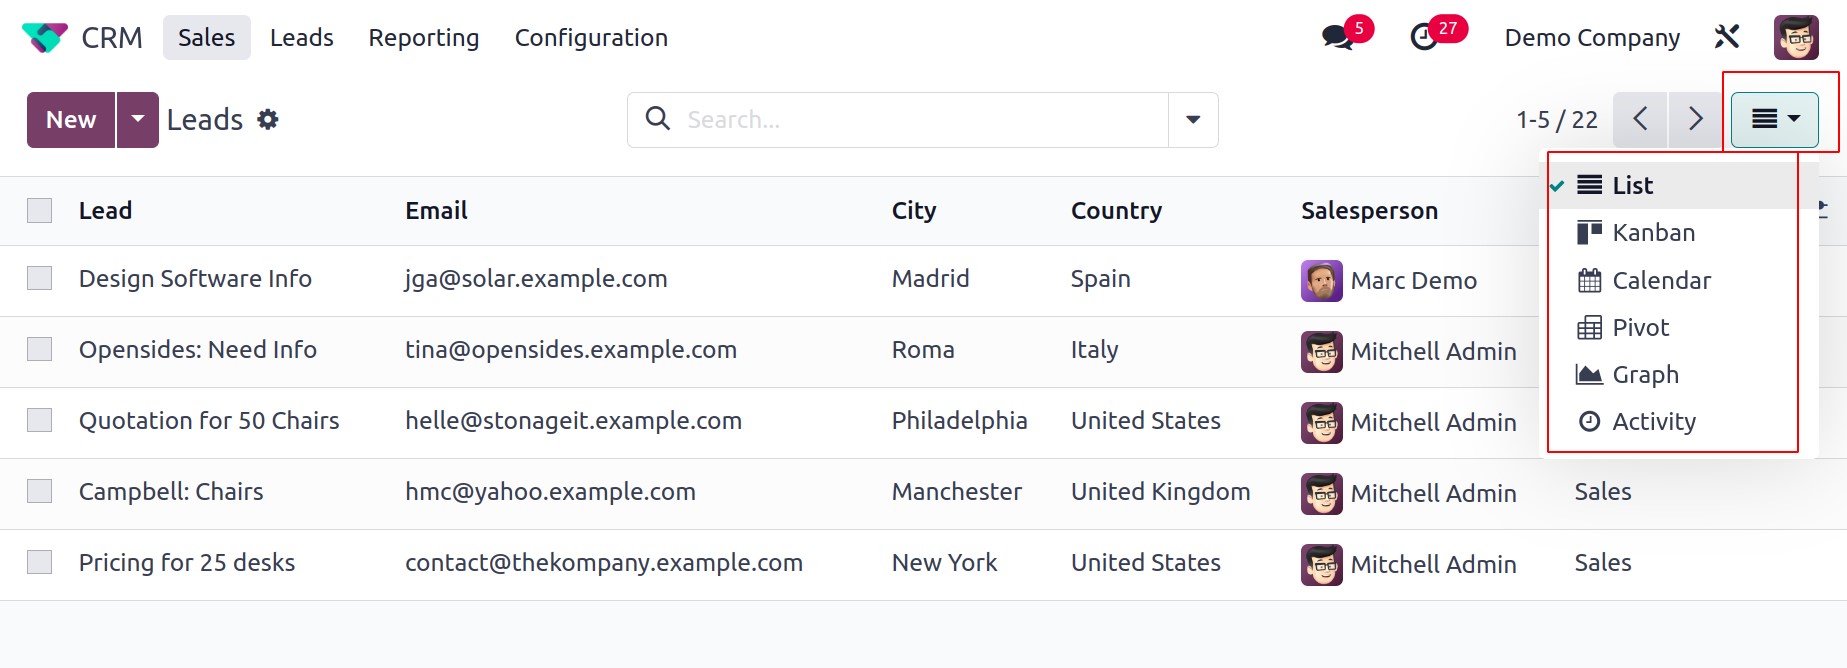
The lead, email, phone, company, city, country, assigned partner, salesperson, and sales
team information are all included in the list. Depending on your needs, you can switch
between the platform's Kanban, Calendar, Pivot, Graph, and Activity views.
Using the New button, you can manually record new leads, while the Generate Leads
button will generate leads automatically based on predetermined criteria.
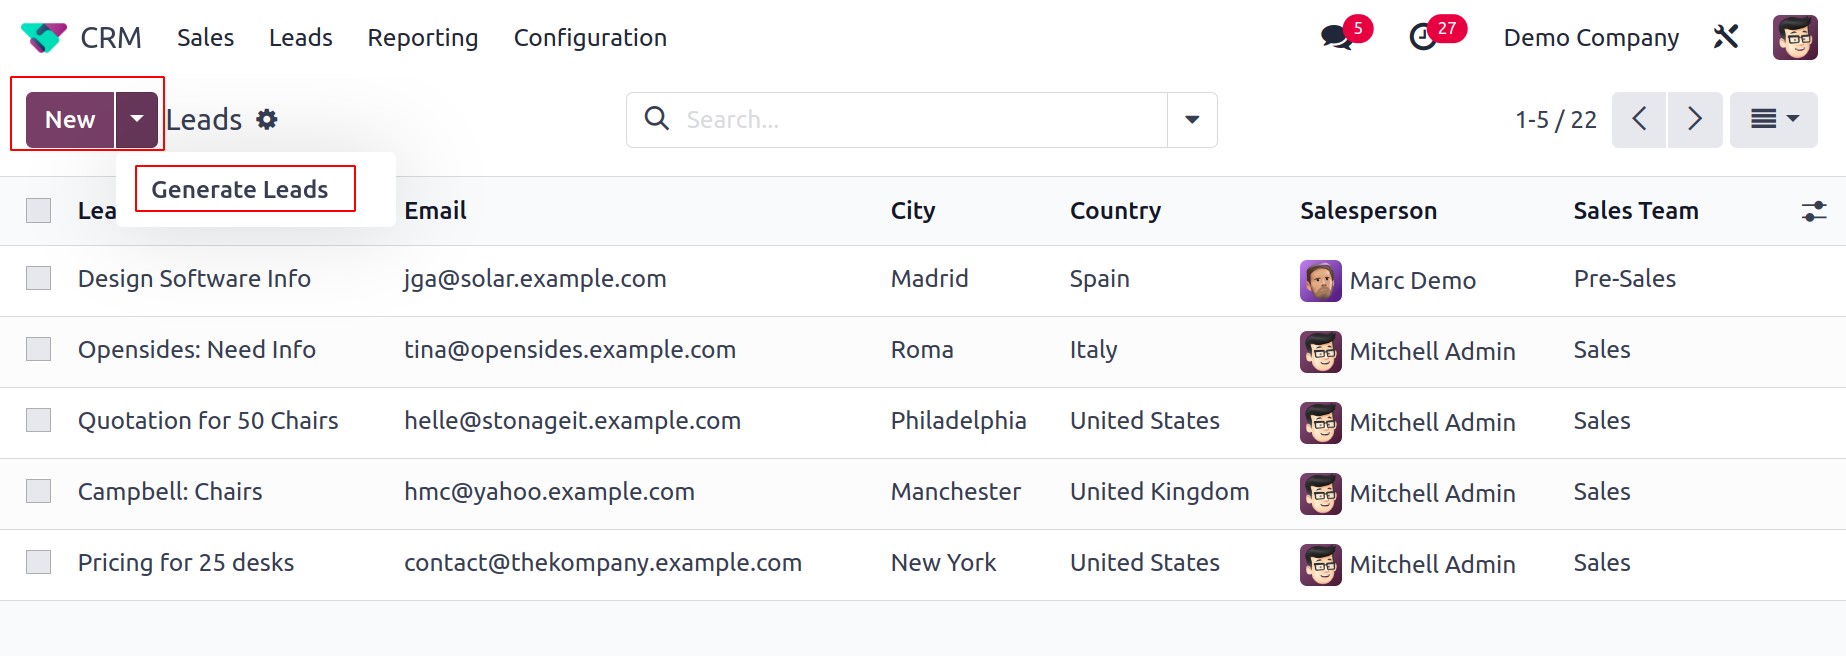
Let's first examine how leads are manually created in the Odoo 17 CRM module. The
New button is located in the top left corner of the screen. Click it to begin.
When you click on this button, a new window containing the lead's specifics will emerge,
as shown in the screenshot below. Let's check out the new features this window has to
offer first. The New and Action buttons are now located in the screen's right
corner, as you can see.
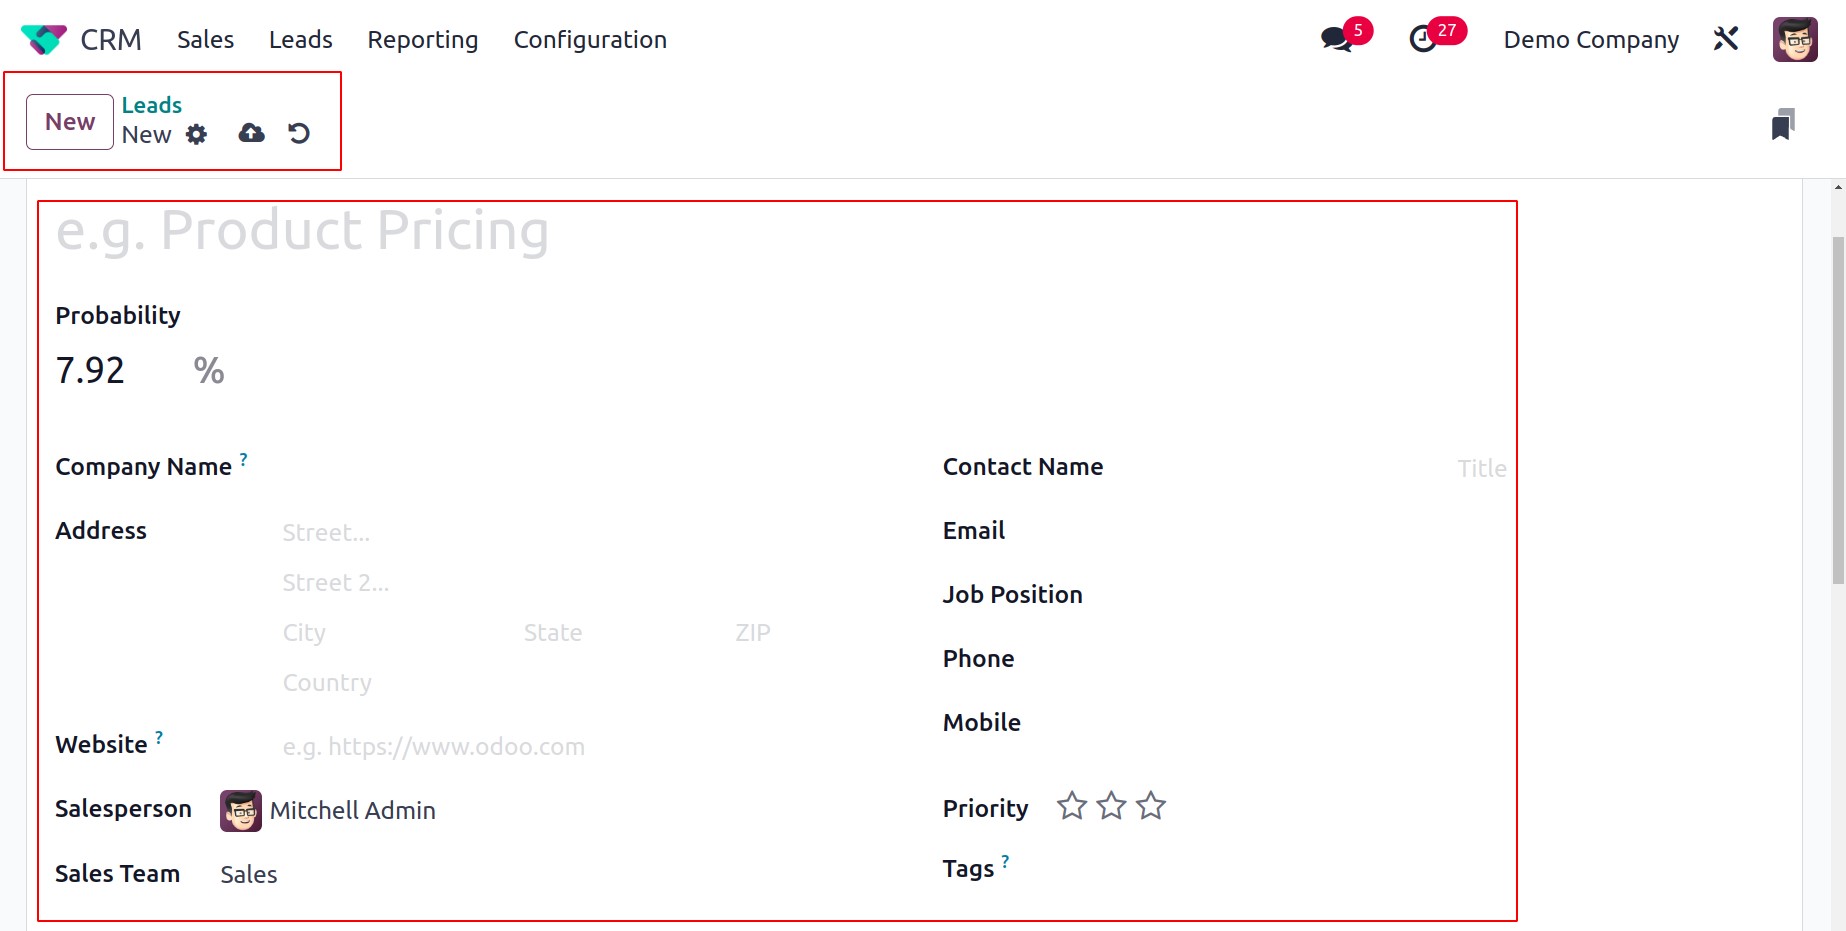
Additionally, without pressing the Save option, Odoo 17 will automatically save the
details supplied in this box. You can choose to manually store the information by
selecting the Save Manually icon. Changes have also been made to the Discard
button. Discard Changes now has a new icon thanks to Odoo 17. The Edit button is not
there in the most recent version of Odoo; however, you can click on the field you wish
to edit by hovering your mouse over it.
The lead's title can be entered in the designated space. The Company Name section
can be used to specify the name of the potential business partner that will be formed
when the lead is turned into an opportunity. Enter the company's address in the
Address area. You can include the contact's website in the Website section. In
the corresponding fields, also provide the Language, Contact Name, Email, Email Cc,
Job Position, Phone, and Mobile. In the Salesperson and Sales
Team sections, respectively, you can designate an employee and a team for the
lead management. You can award the lead stars depending on its priority. In the provided
field, provide the appropriate Tags for the leads.
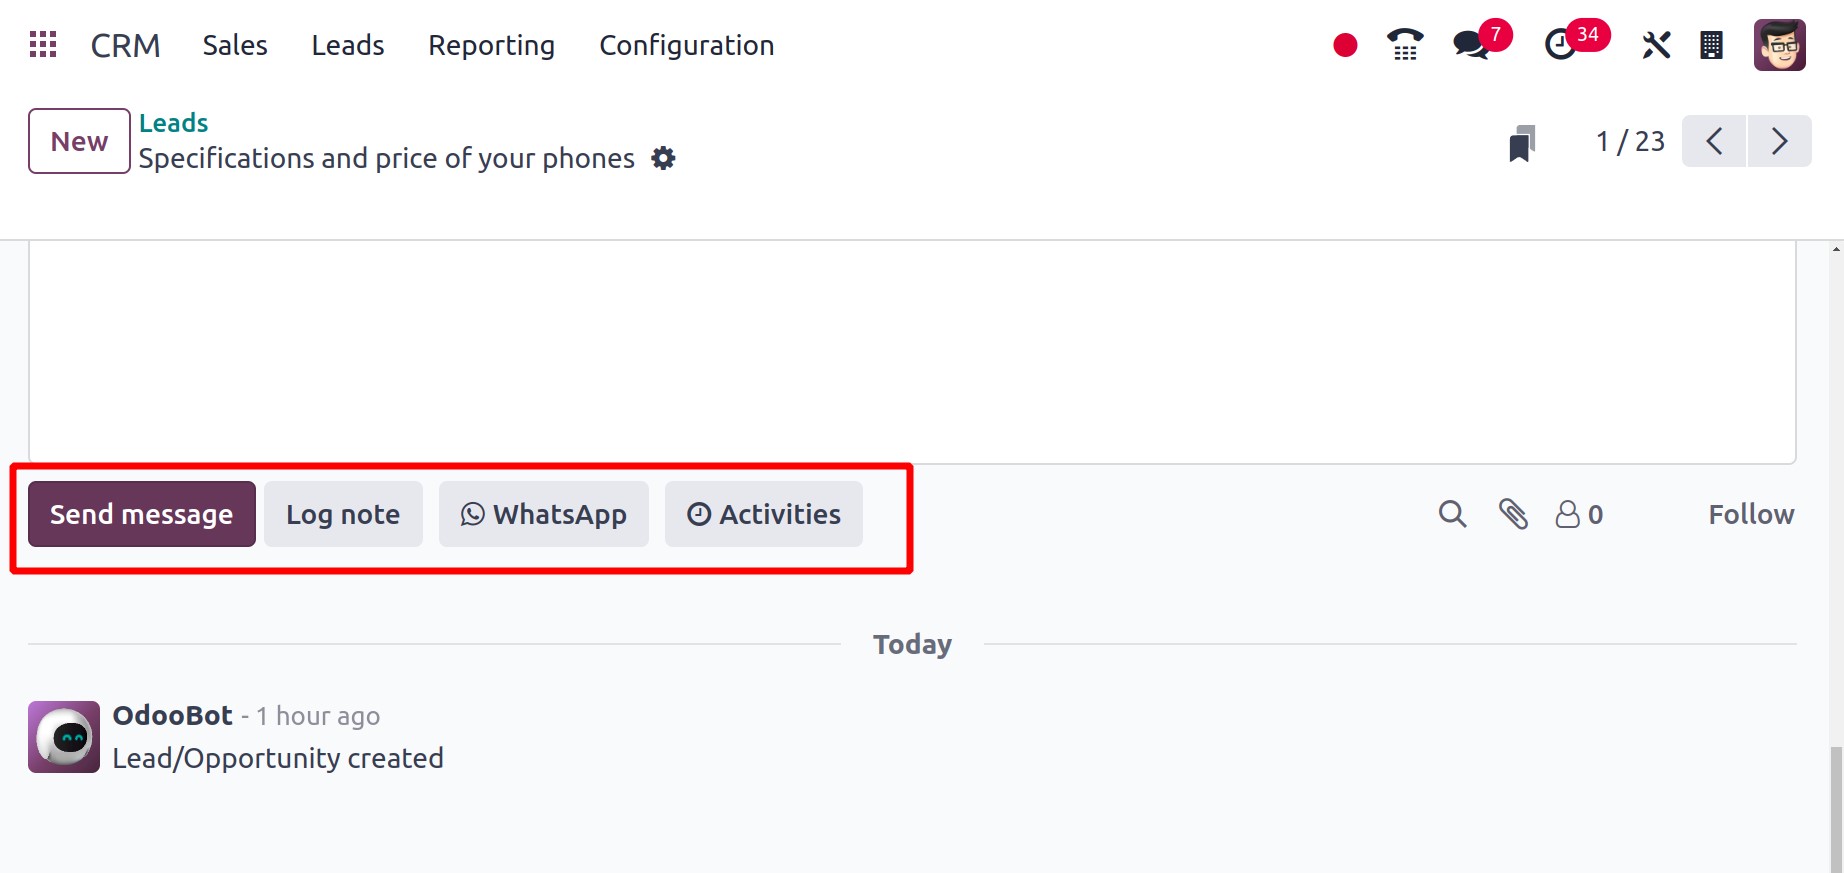
Four alternatives are displayed when you scroll down the window. Which are, Send Message,
Log Notes, WhatsApp, Activities as highlighted in the screenshot below.
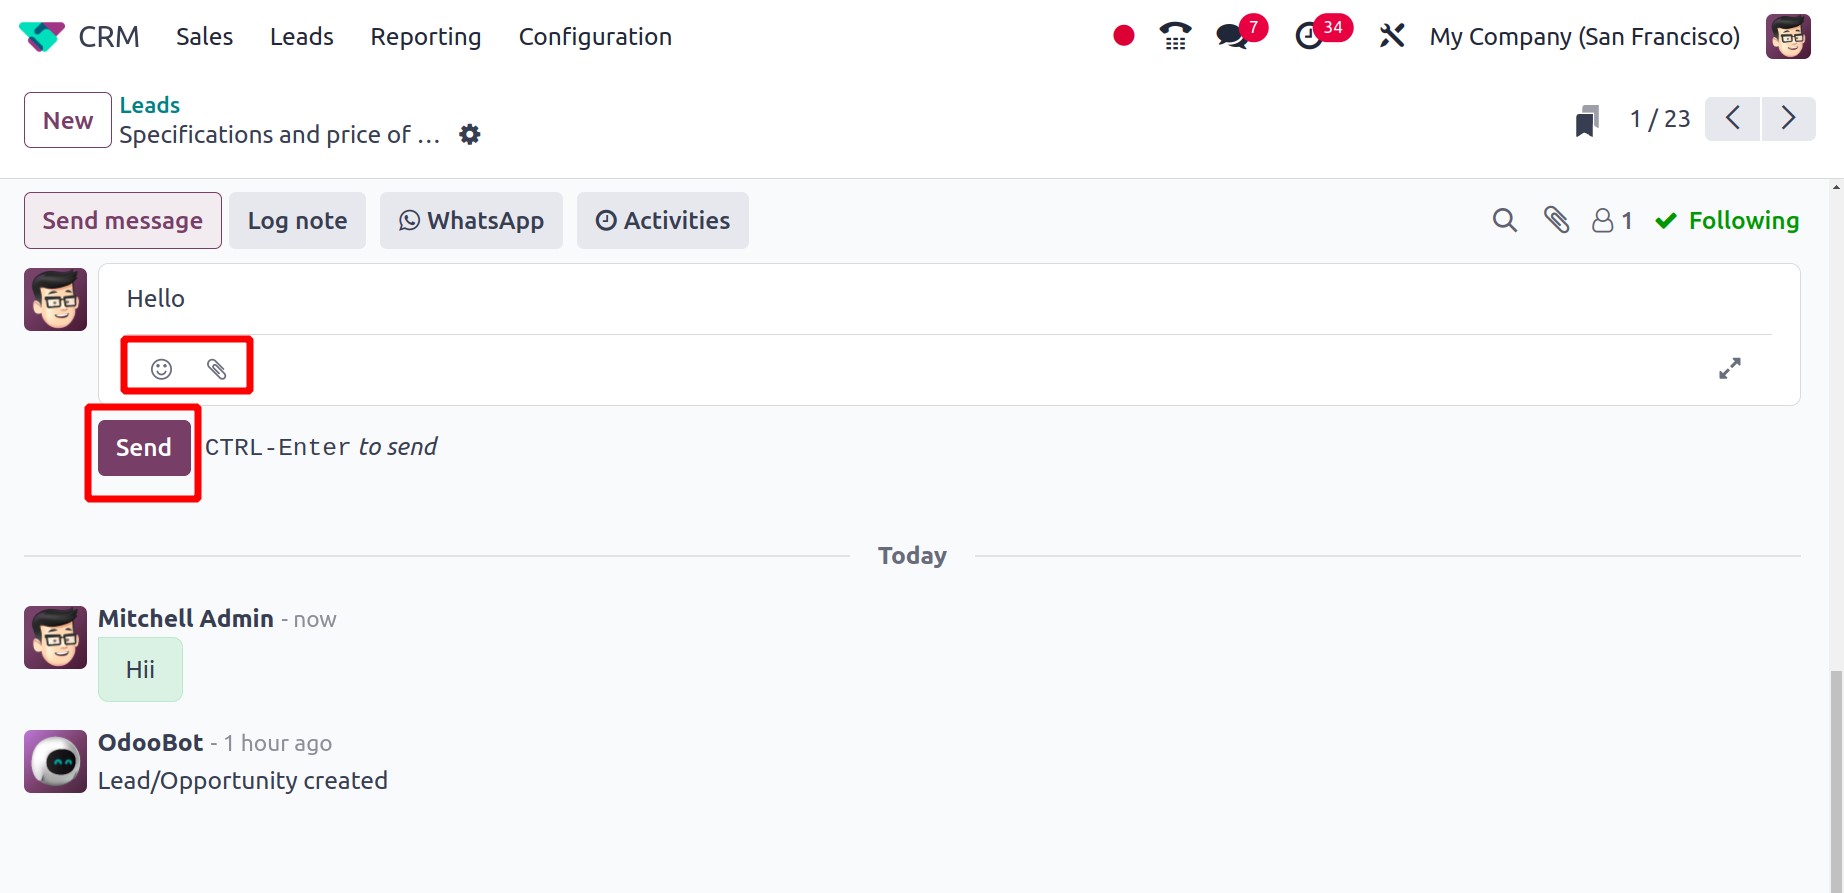
A new section to add messages to the Followers will emerge when we click the Send
Message button. You can include attachments and smilies in the message box.
After that, use the Send button to deliver the message.
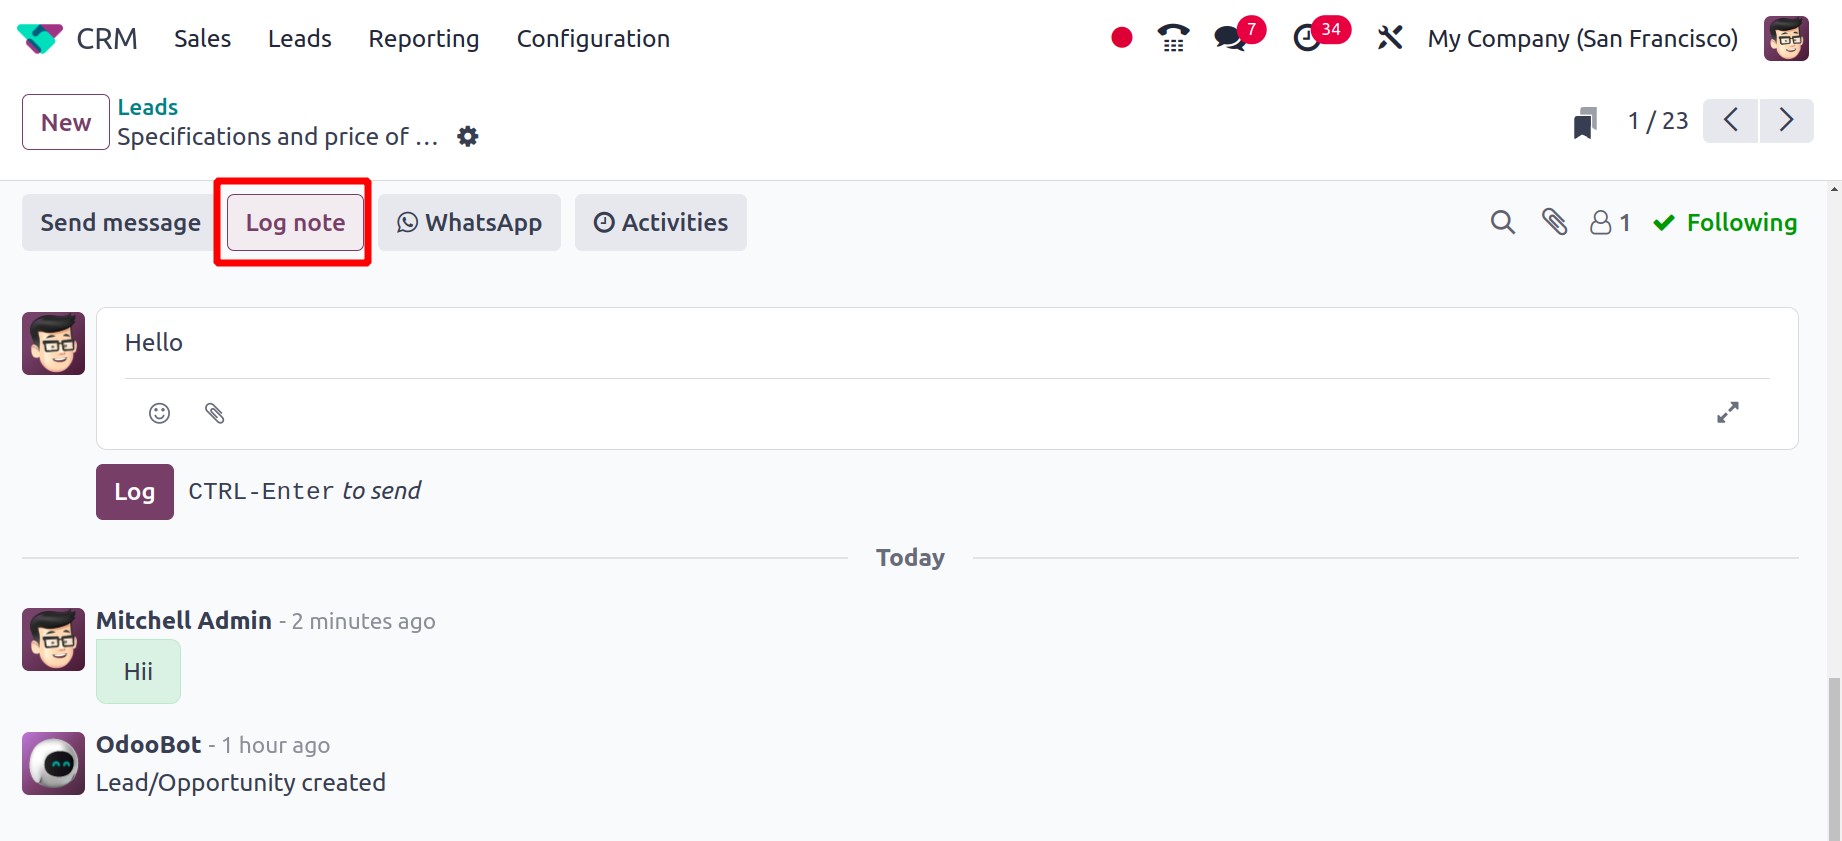
A section identical to this one will show up when you click on the Log note
button. Nothing more than a tool for user internal conversation, log notes.
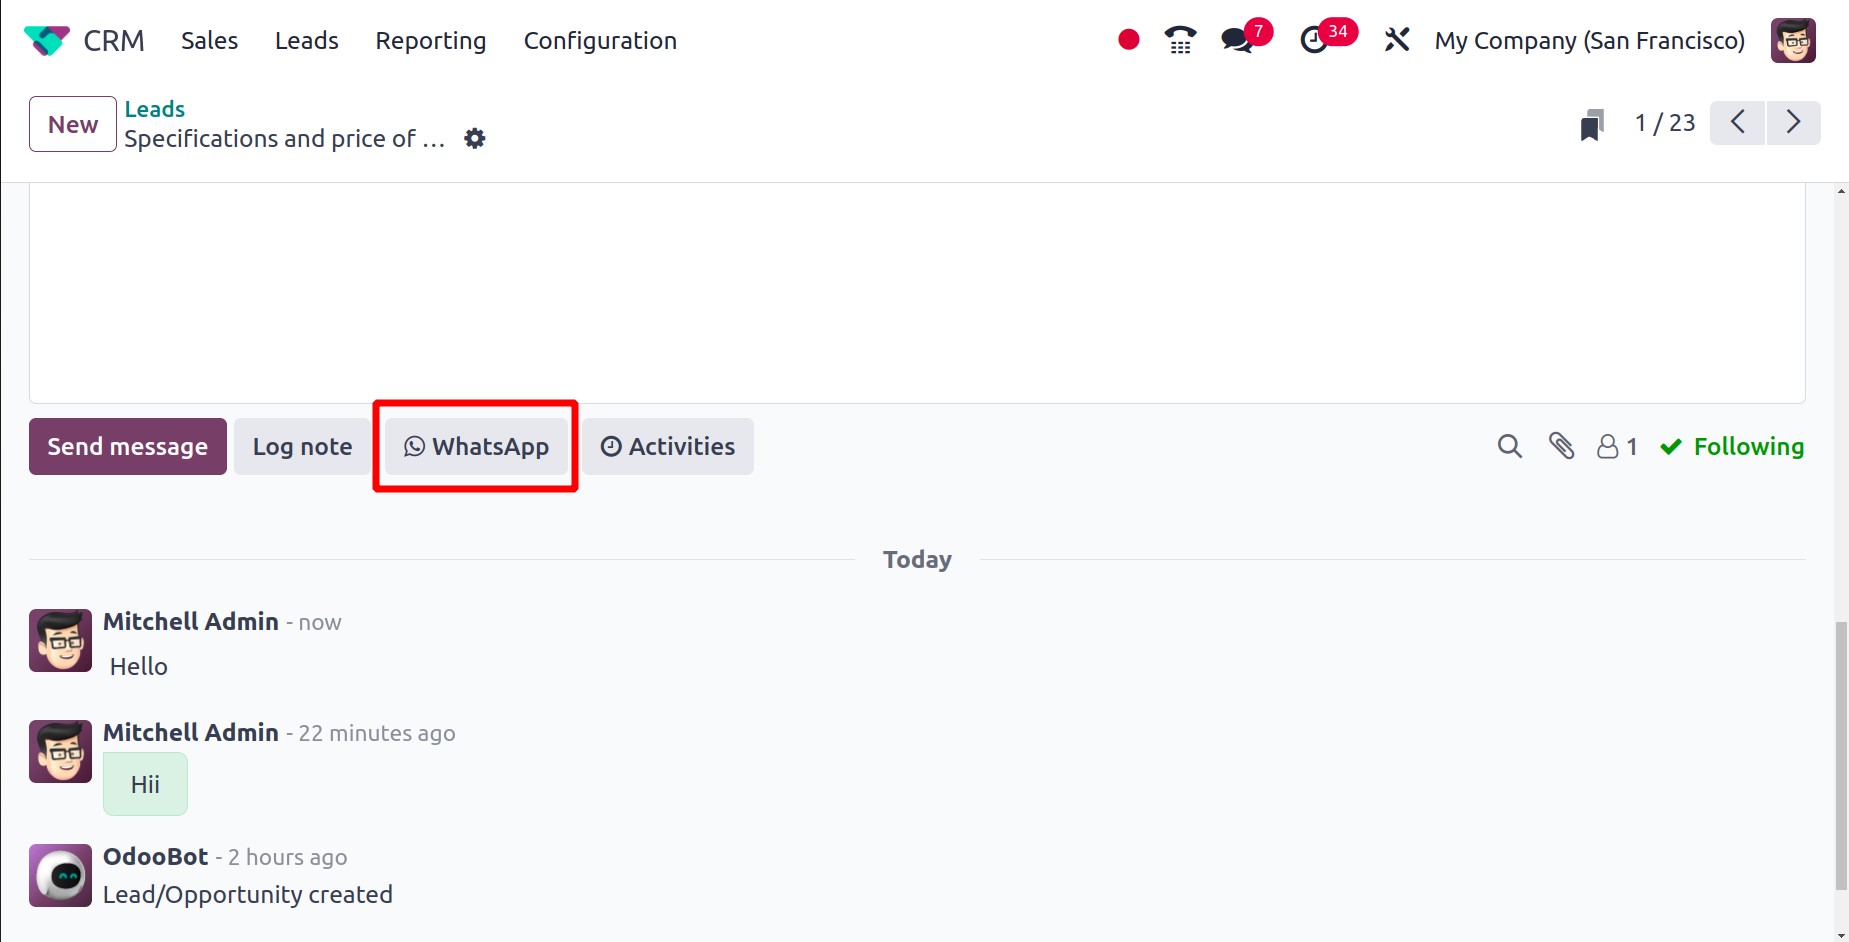
Odoo 17 brought with it a new feature called WhatApp. Odoo can now integrate
WhatsApp as of this version as well. Customers can be contacted directly by users using
this, and it is possible to get their responses.
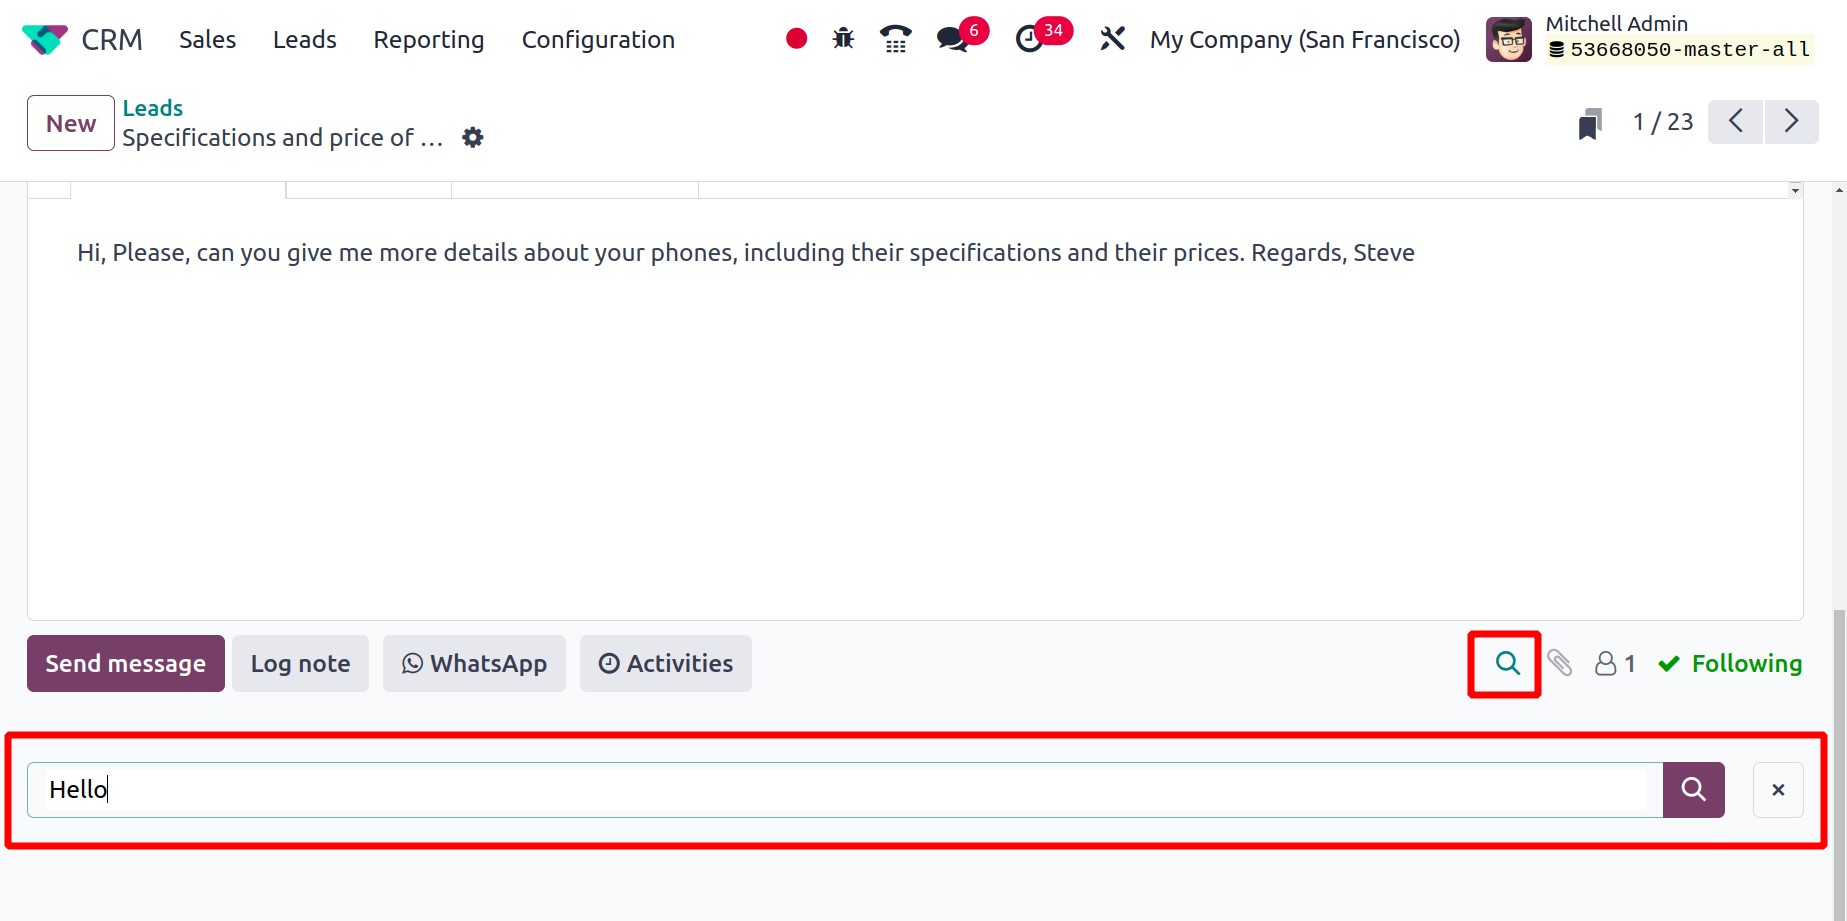
Activities are the last choice. Thus, users can schedule Activities using this as
well, which is comparable to what we previously mentioned. In the conversation, Odoo 17
added a new Search option in the chatter. It makes it easier to look for specific
messages. Click the "searching" symbol, as seen in the screenshot below, to bring up the
search option.
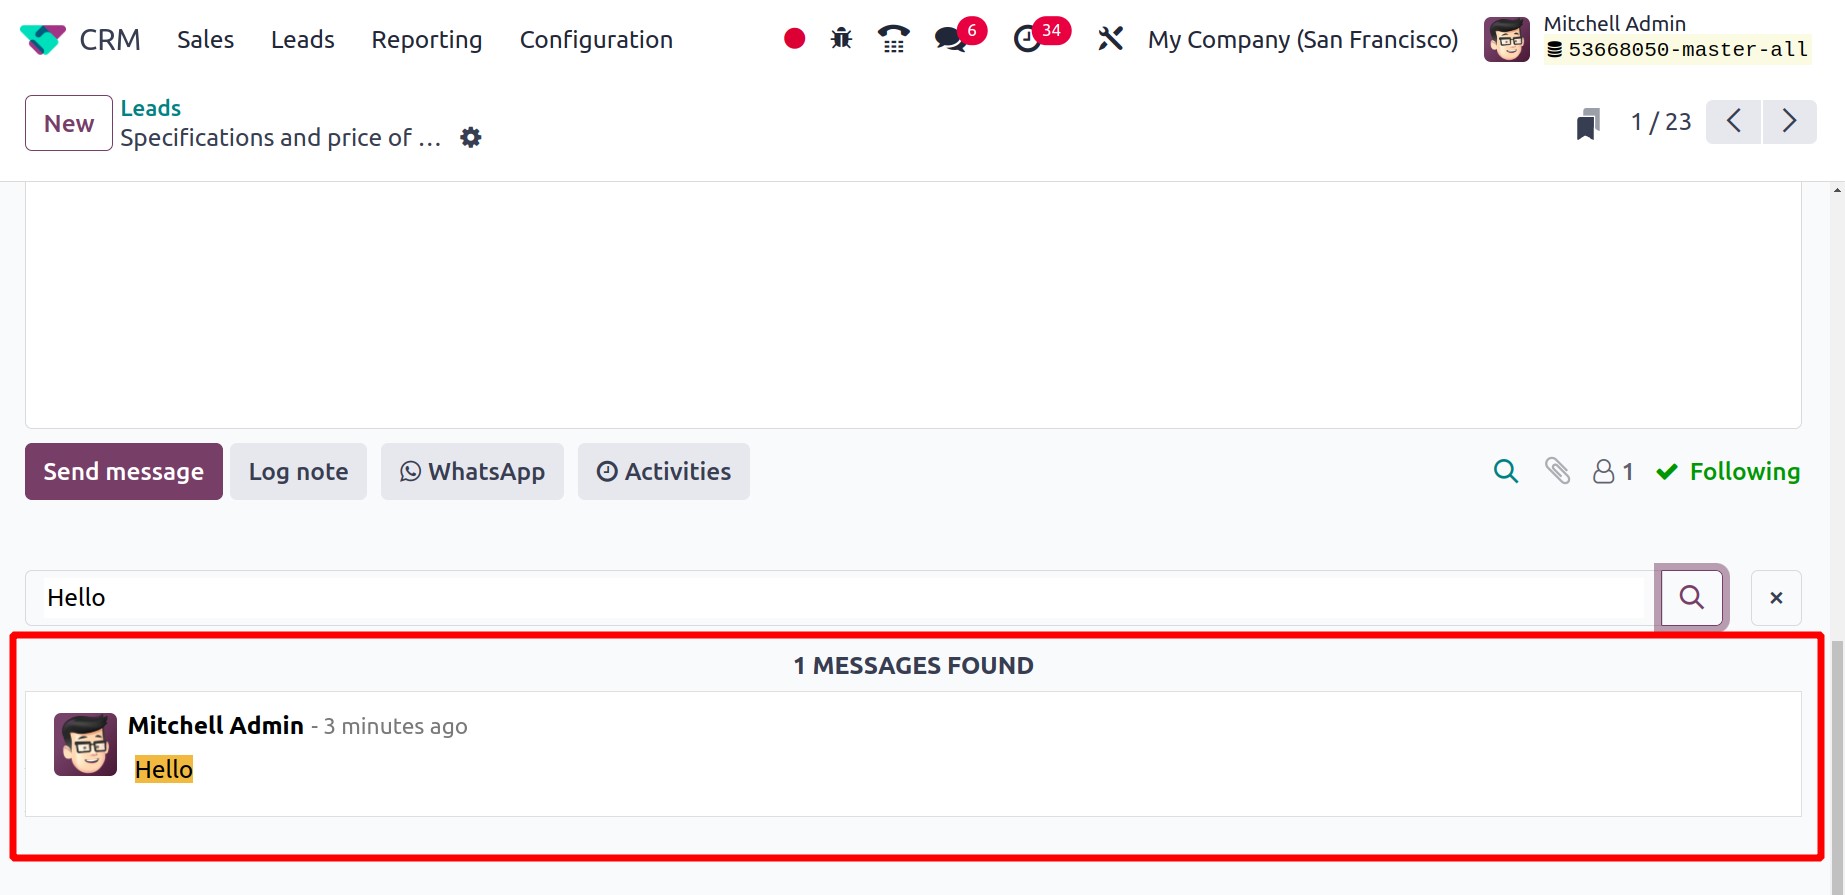
Add a text and search for the added text, which will show the results as shown in the
screenshot below.
In this window, there is a new functionality called Add a Property that was added
to Odoo. This function enables you to add personalized fields to the form view.
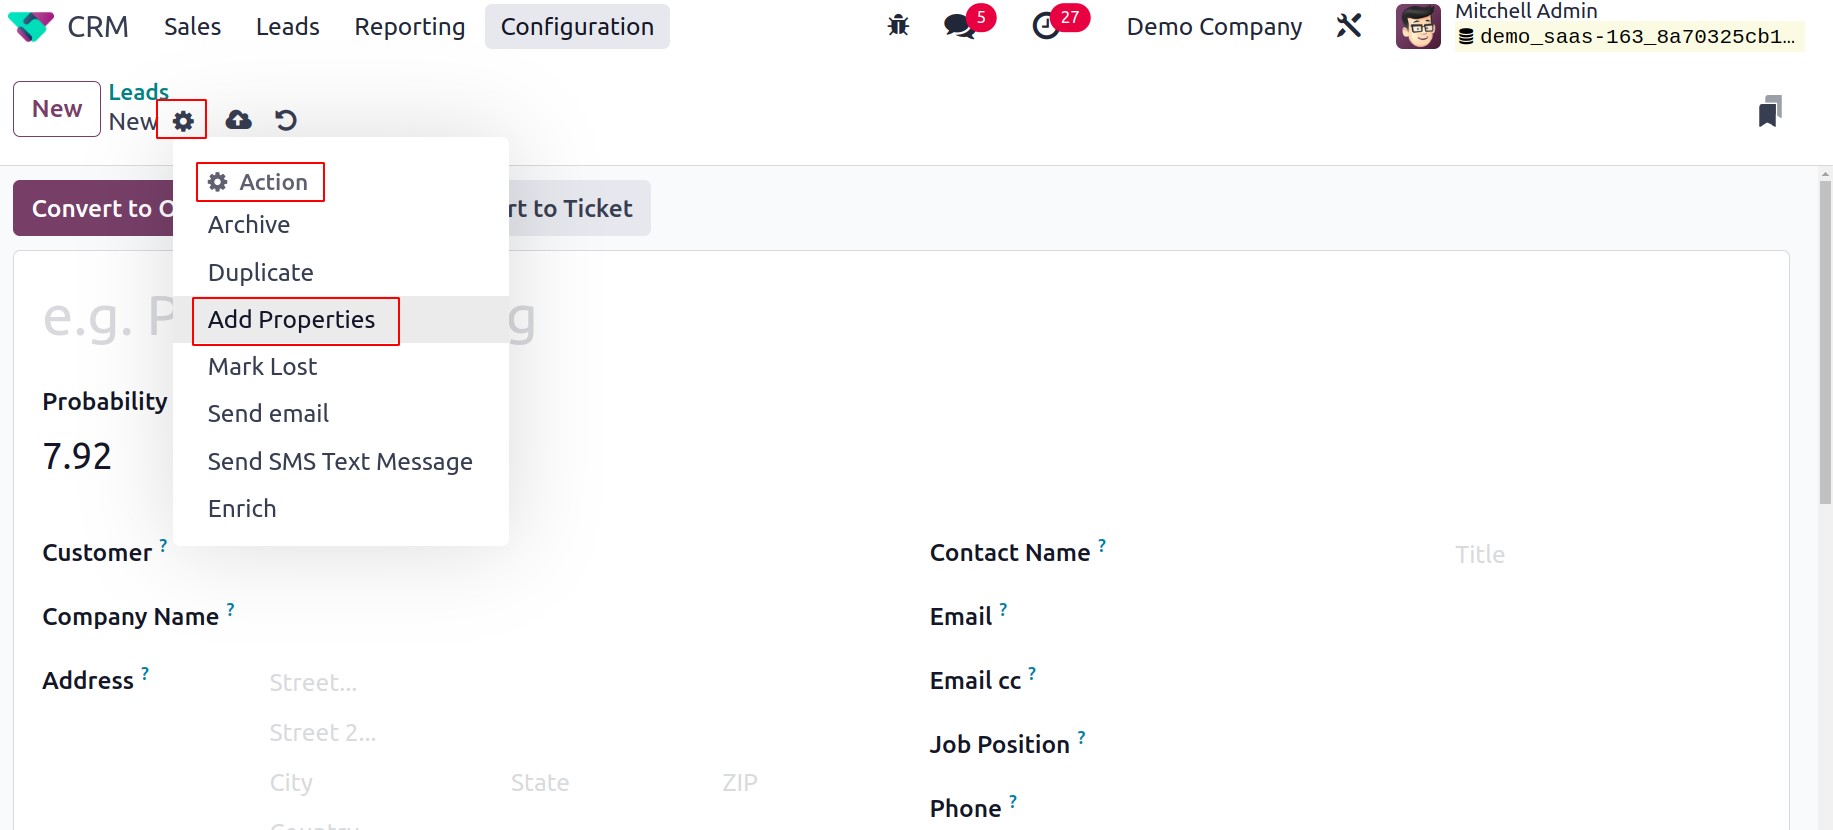
A pop-up window similar to the one below will appear when you click the Add a
Property button.
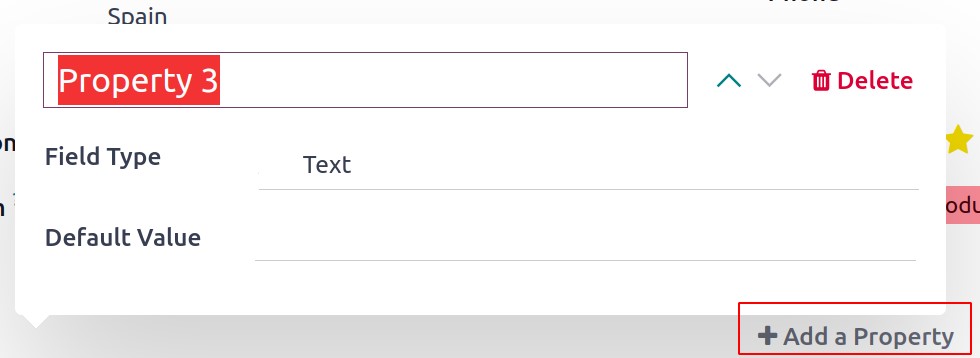
In the space provided, you can mention the name of the new field here. For instance, you
can call the field Country if you wish to add the Country field to the form view.
The Field Type will include a drop-down menu from which you can choose the type
of the new field. Depending on your preference, the field type can be Text, Checkbox,
Integer, Decimal, Date, Date & Time, Selection, Tags, Many2one, or Many2many.
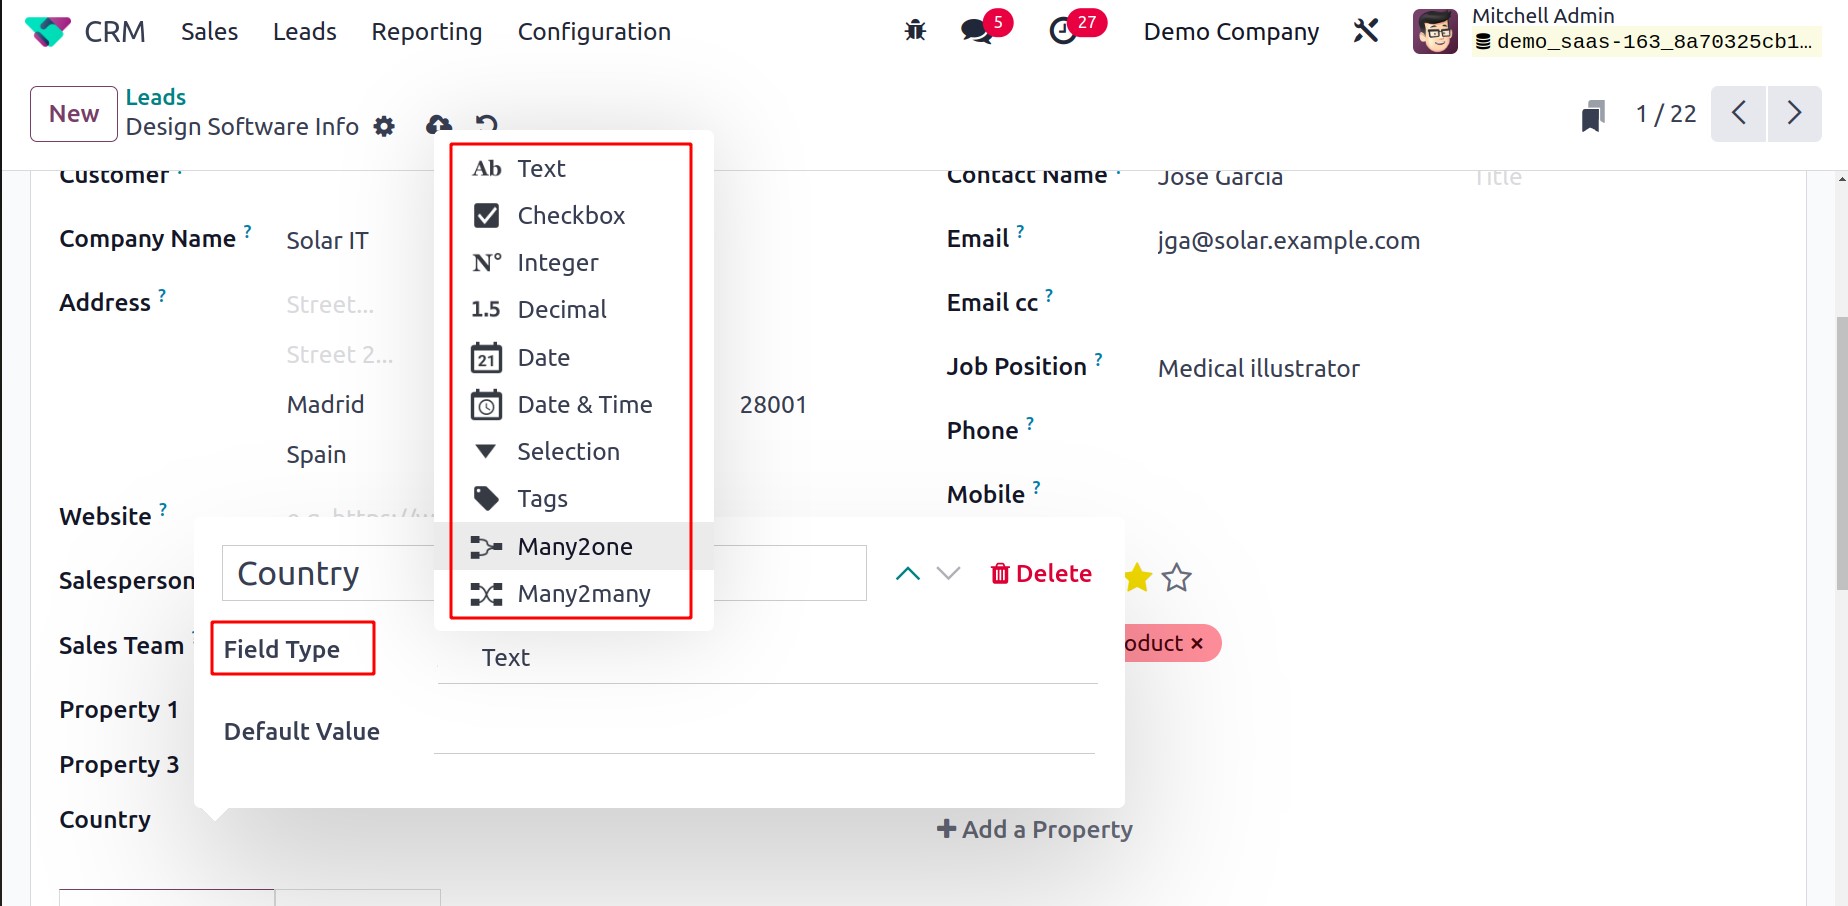
You can specify a Default Value for this new field in the relevant field after
establishing the Field Type. By turning on the View in the Kanban field, you may see
this field in Kanban.
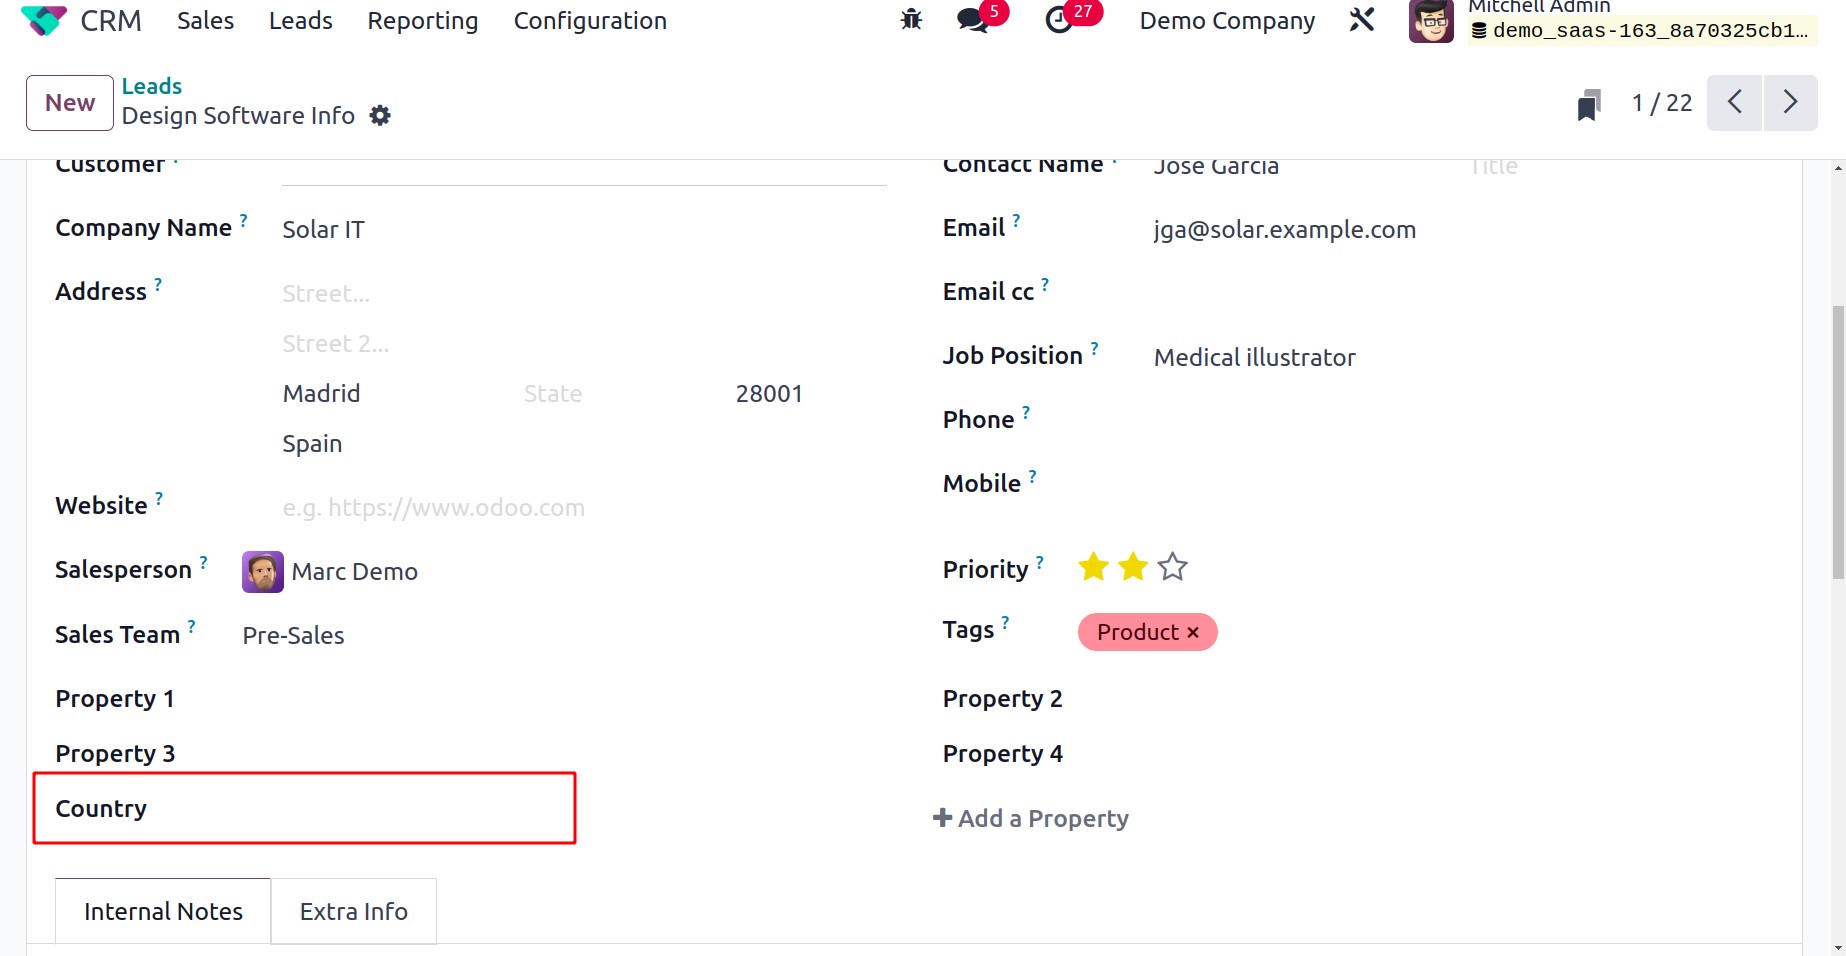
You can see that the lead's form view now includes a new field called Country.
The
Add a Property button allows you to add a variety of these fields to the form
display.
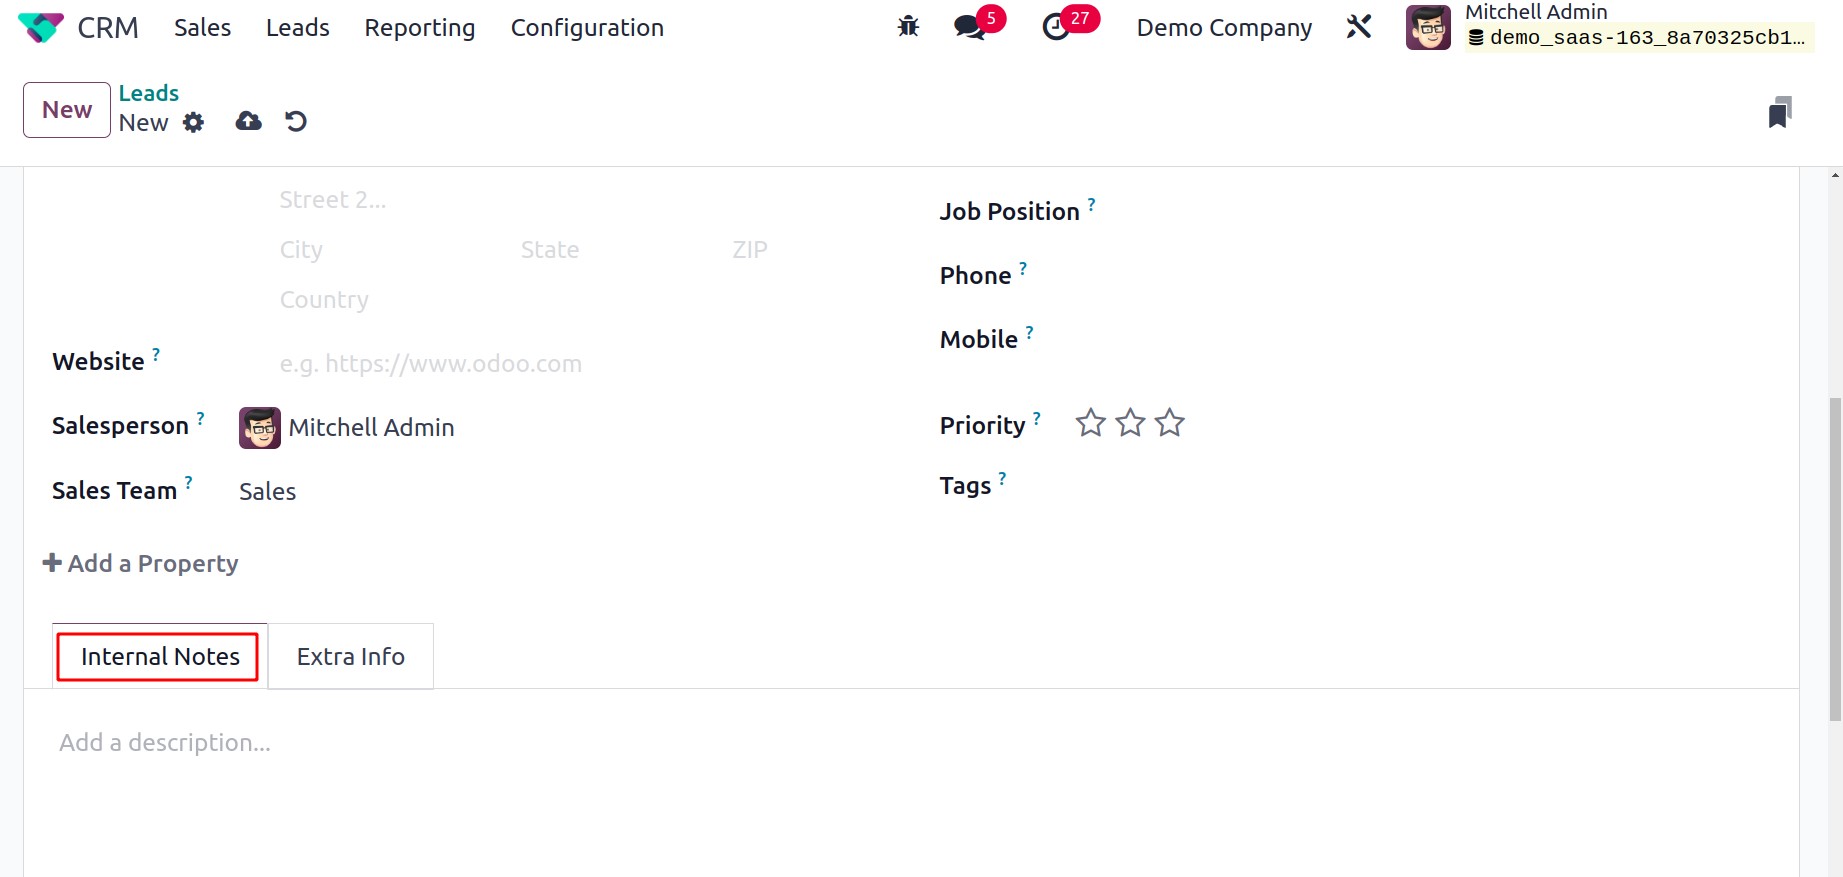
The Internal Notes tab is where you can add any further notes you
have about the lead.
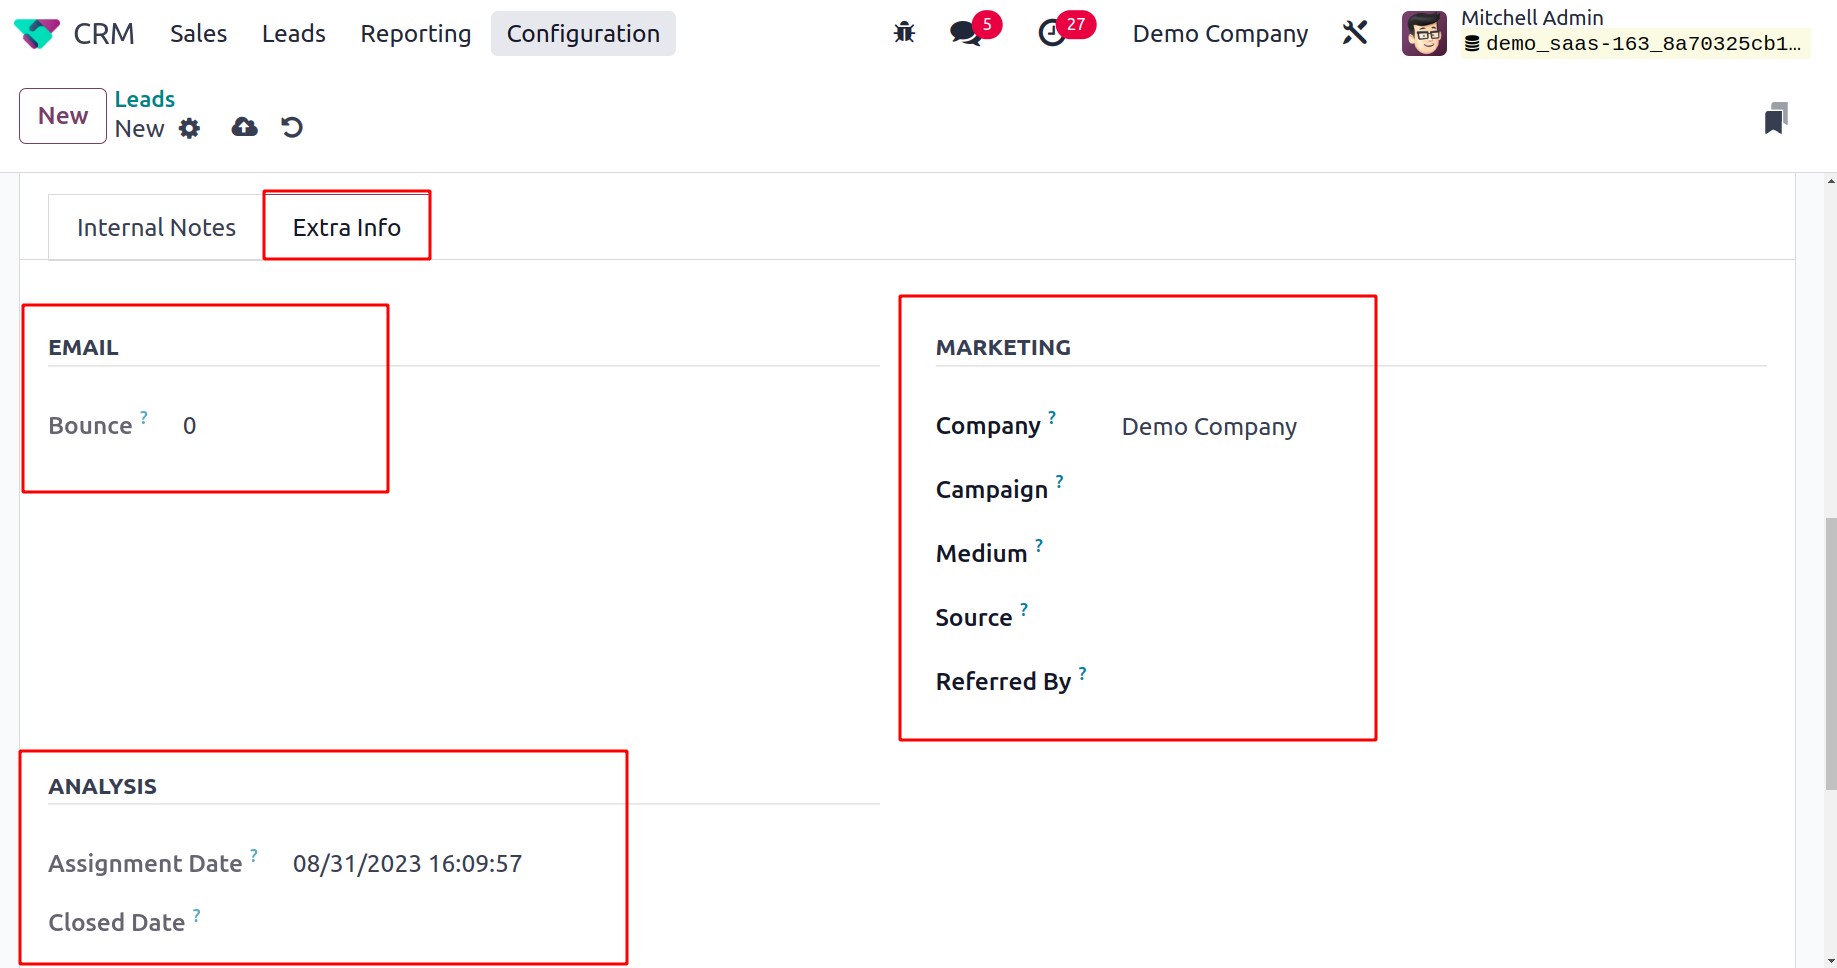
You may add the Marketing and Analysis details under the Extra Info tab. The
number of emails that have bounced for this contact may be seen on the Bounce
field's counter. Indicate the Company, Campaign, Medium, Source, and Referred
By under the Marketing section. You may get information about the
Assignment Date and Closed Date under the Analysis field.
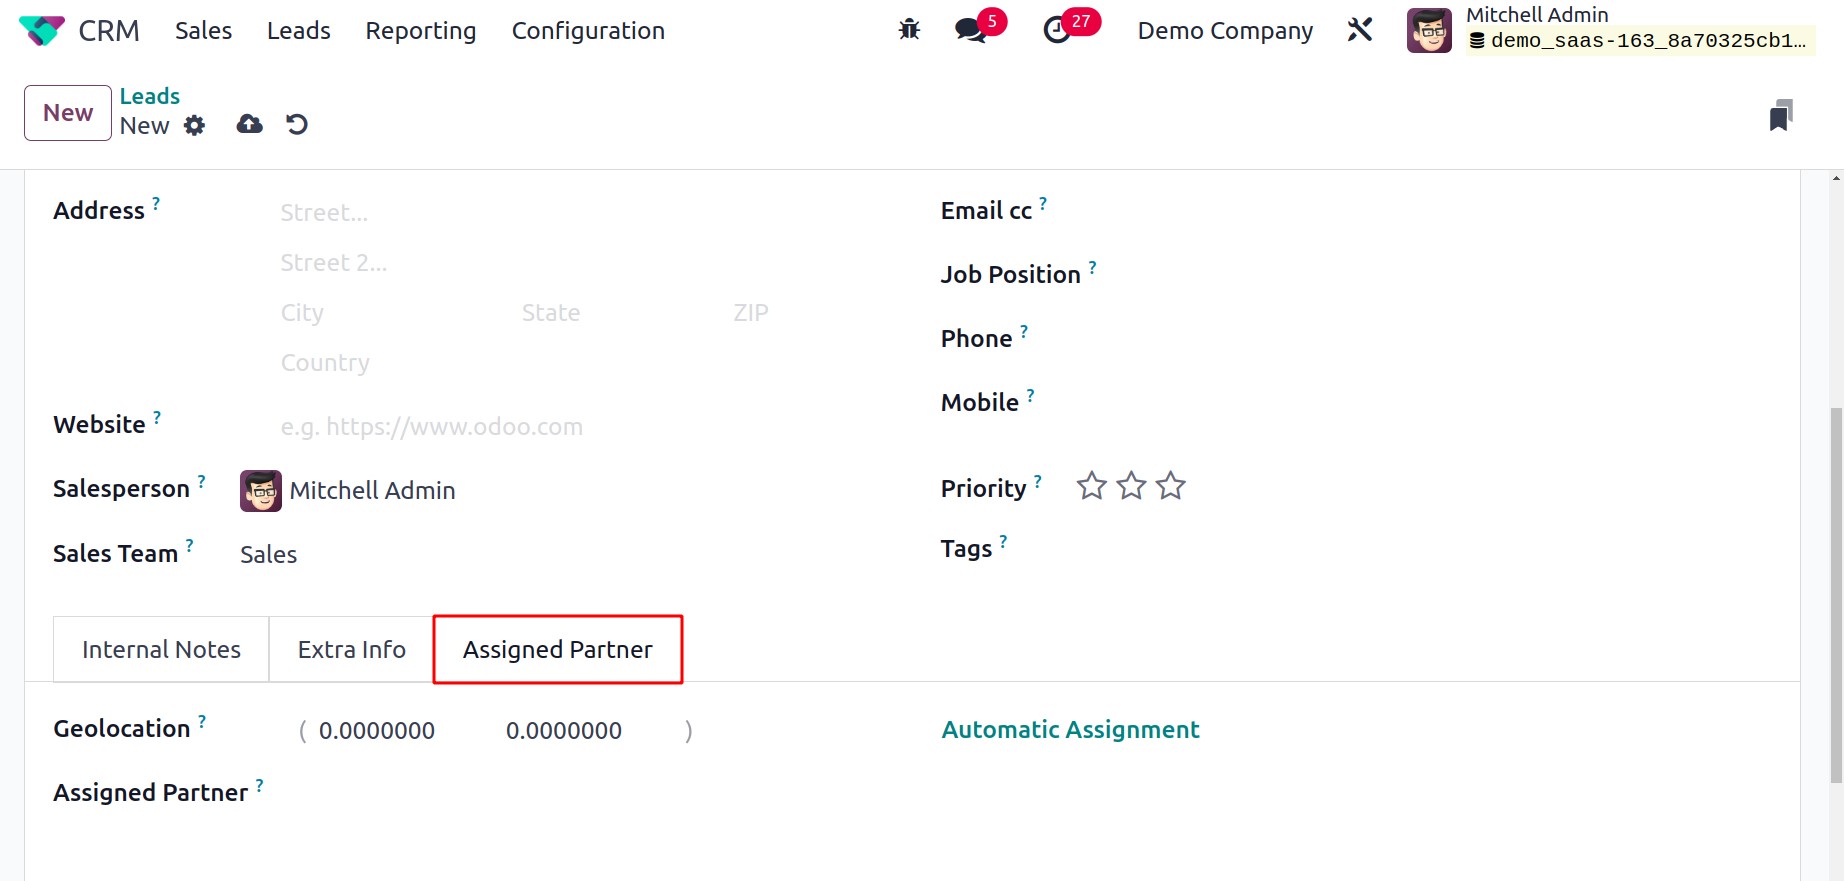
The Geolocation and Assigned Partner details can be entered under the Assigned Partner
tab in the new lead creation box.
