Reconciliation
Bank reconciliation is crucial for analyzing and determining whether there are any
differences between the accounts utilized for commercial operations. If any deviations
are found, you can take corrective action right away to make things right. Manually
matching bank records with account statements will be challenging. Cash transactions in
the business are tracked in cash accounts, thus it's crucial to keep them in sync with
the bank accounts. Checking that the bank account matches the cash account is necessary
to ensure this. Manually carrying out all of these tasks will be challenging and take a
lot of time and effort. The Odoo17 Accounting module can be used to streamline the
reconciliation procedure.
Reconciliation tasks are simple to carry out directly from the Accounting Dashboard.
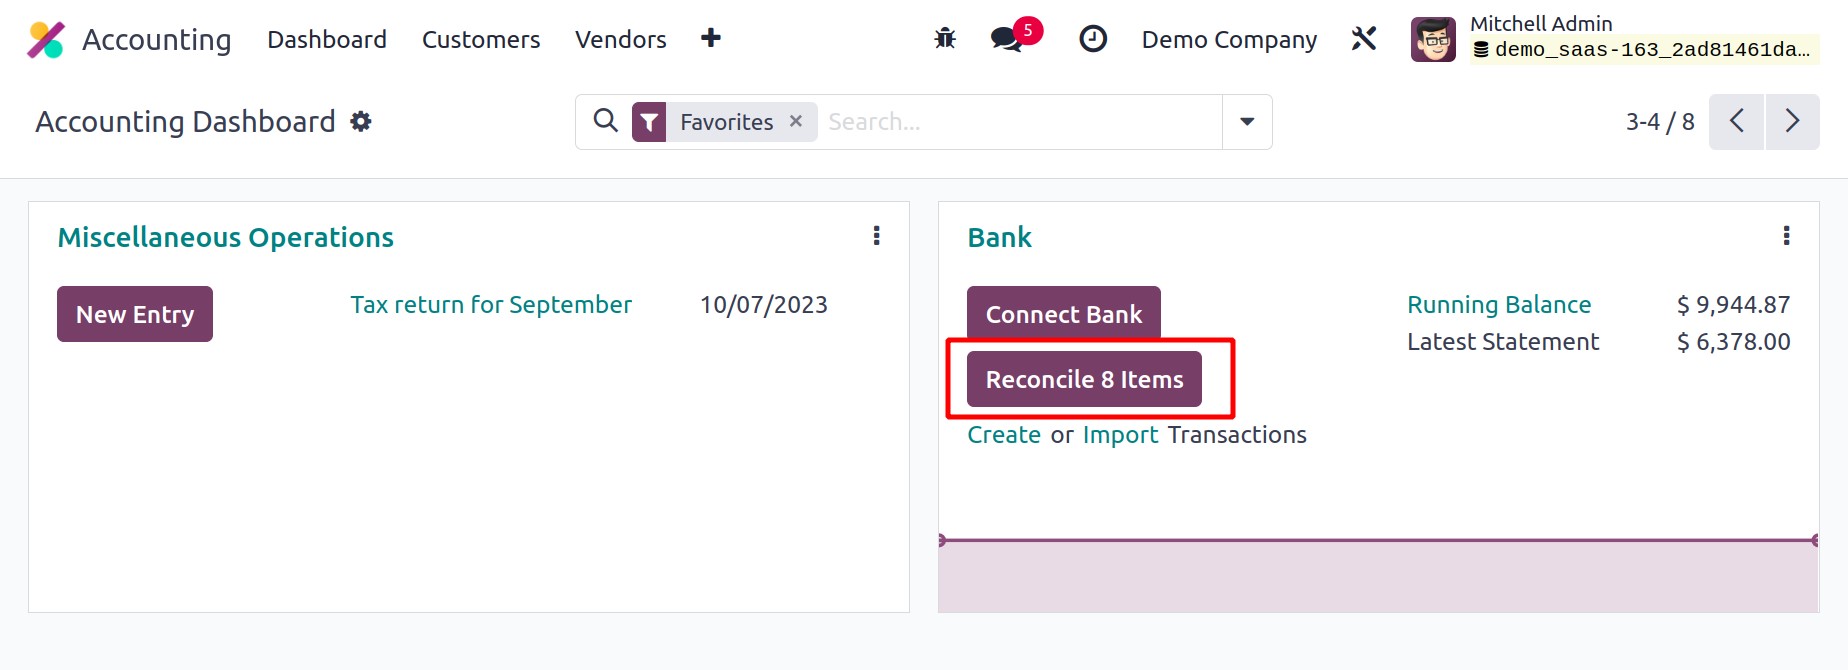
The list of statements that need to be reconciled can be found here by clicking the
Reconcile button as shown above.
The Reconcile option is available under the Accounting menu.
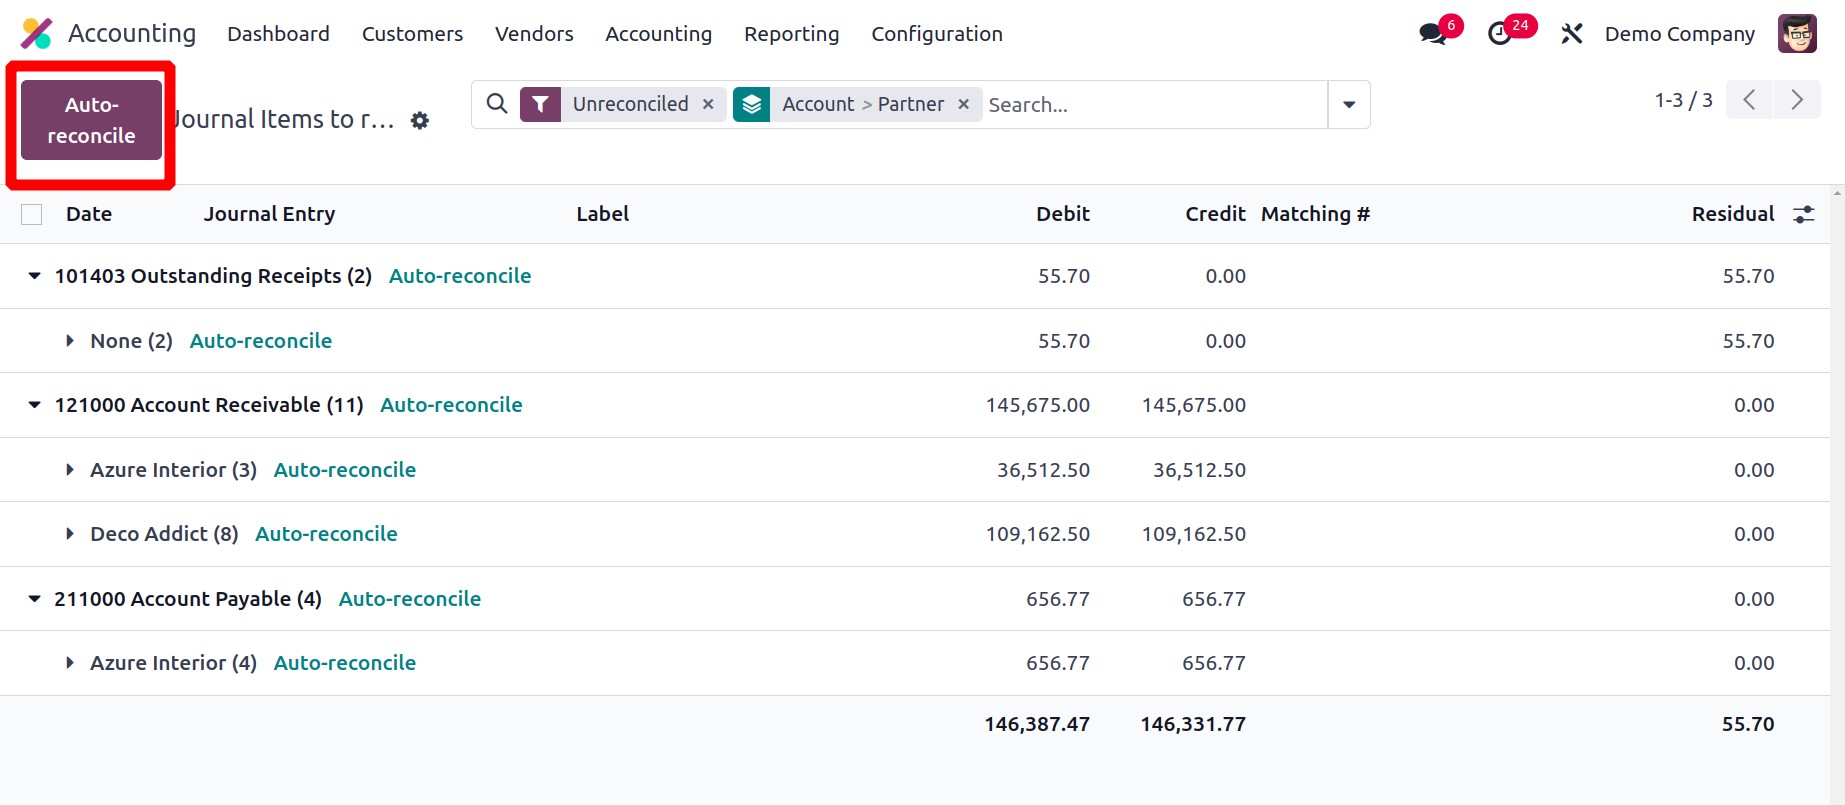
The Auto reconcile button helps for the automatic reconciliation of the statements,
which is as similar as the Payment matching.

The pop up allows users to add from and to dates and accounts. Click on the Launch
button to launch the reconciliation. Then all the entries will reconciled.

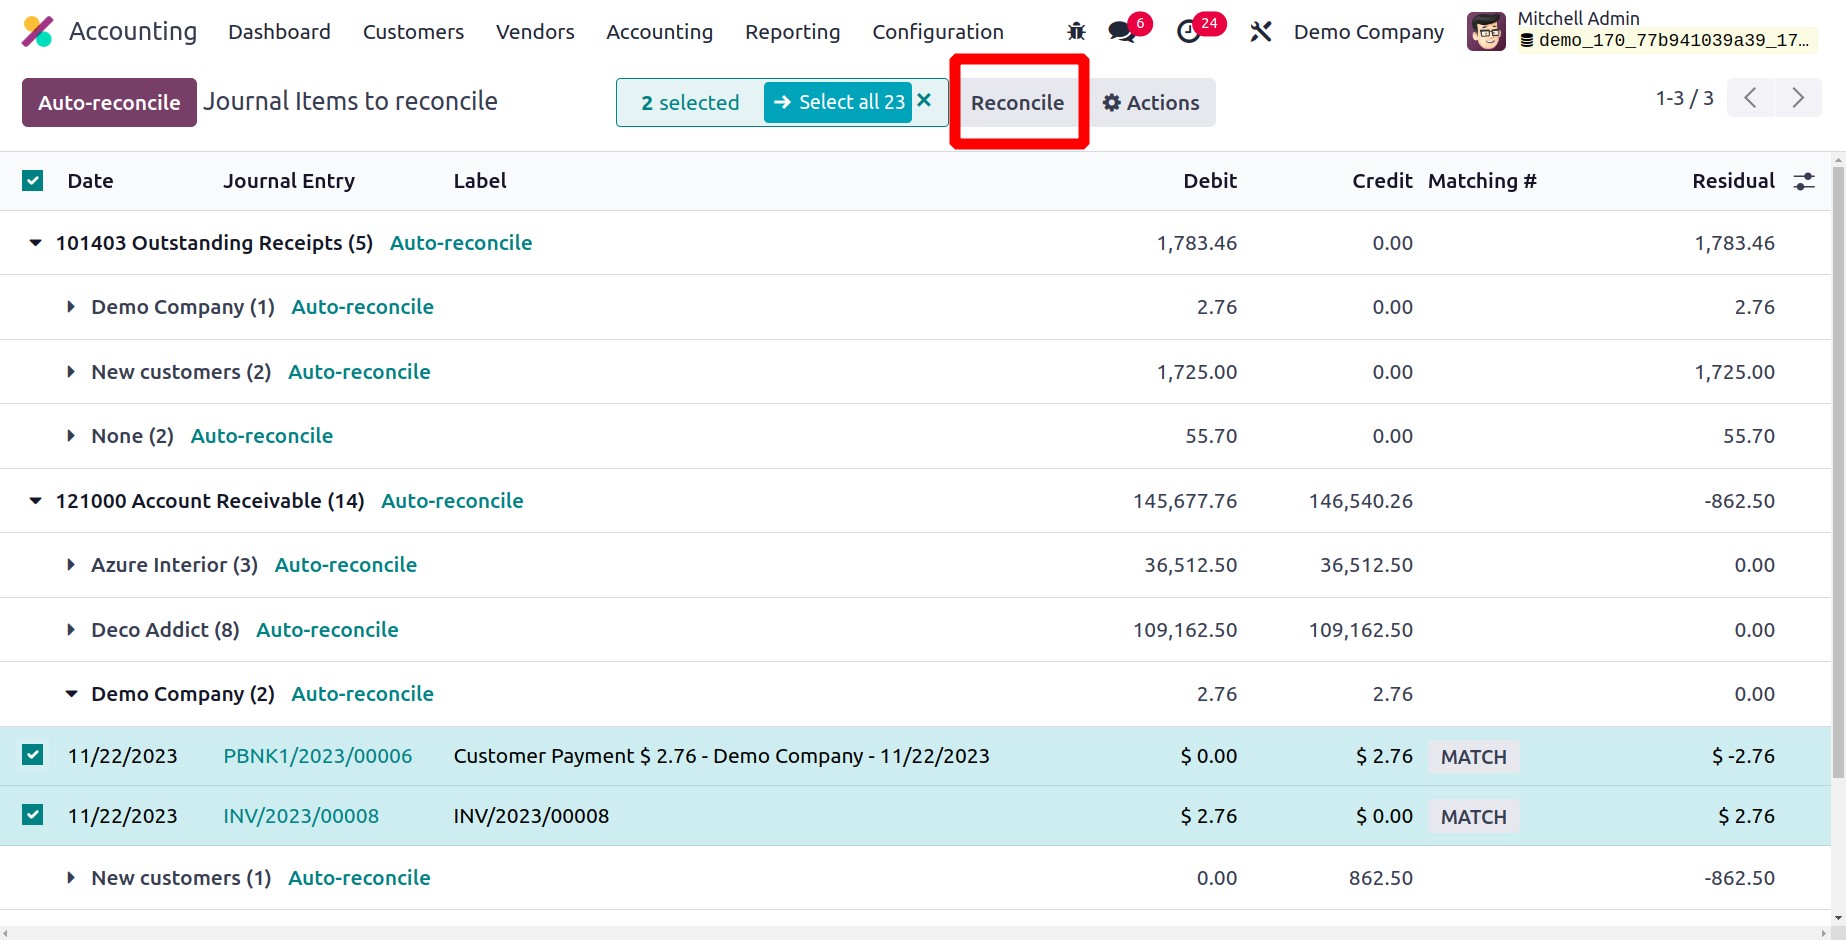
The Reconcile button allows the user for manual reconciliation of the entries.
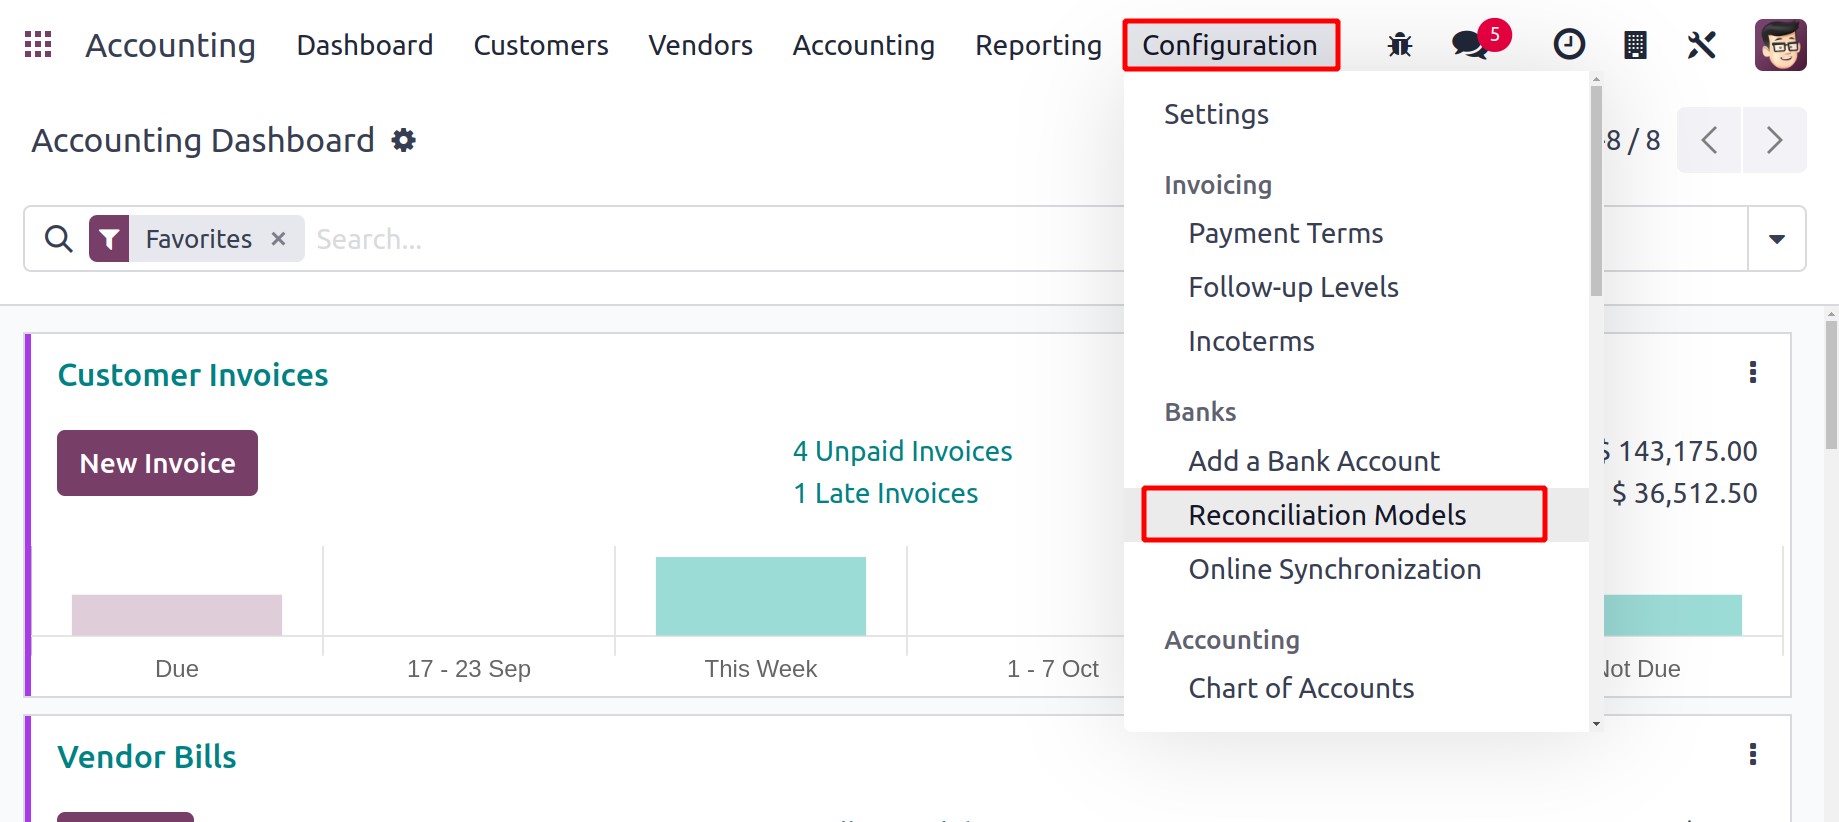
You can configure a suitable reconciliation model initially to simplify the
reconciliation procedure. Reconciliation Models, an option found under the
Configuration menu, can be used to do this.
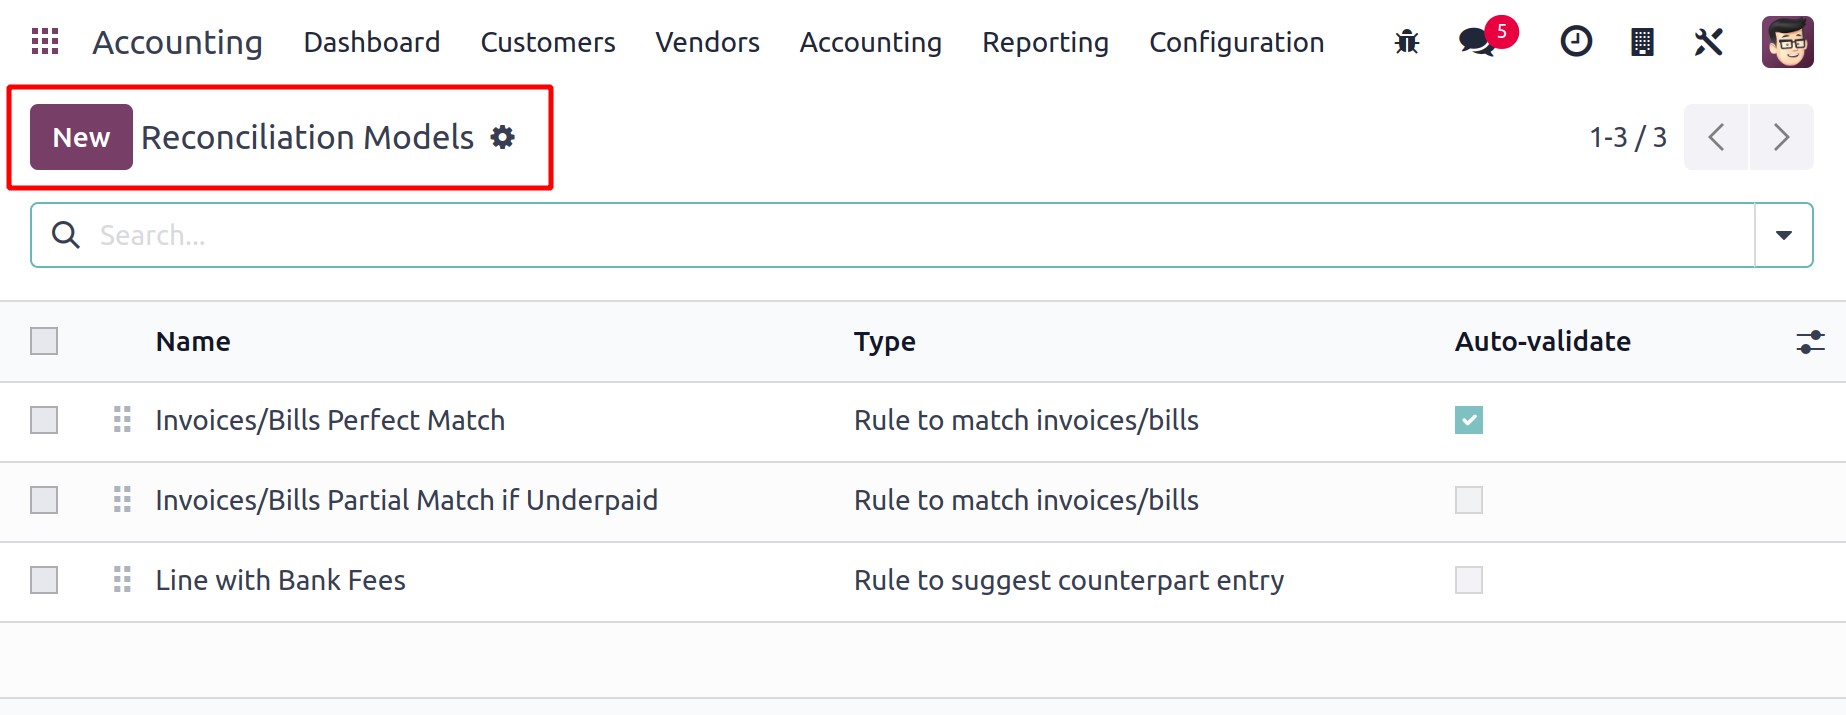
This pane displays existing reconciliation models along with information on their Name,
Type, and Auto-validate status. Get a new configuration window by selecting the
New button.
You can choose the type from the available alternatives after giving the name of the
reconciliation model. Depending on the setup type you choose, the remaining options may
change.
Button to generate counterpart entry
You will see the Journal Availability field when choosing the Button to produce the
counterpart entry option as the model type. Here, you can add a journal like Cash or
Bank. Only the chosen journals will have access to the reconciliation model.
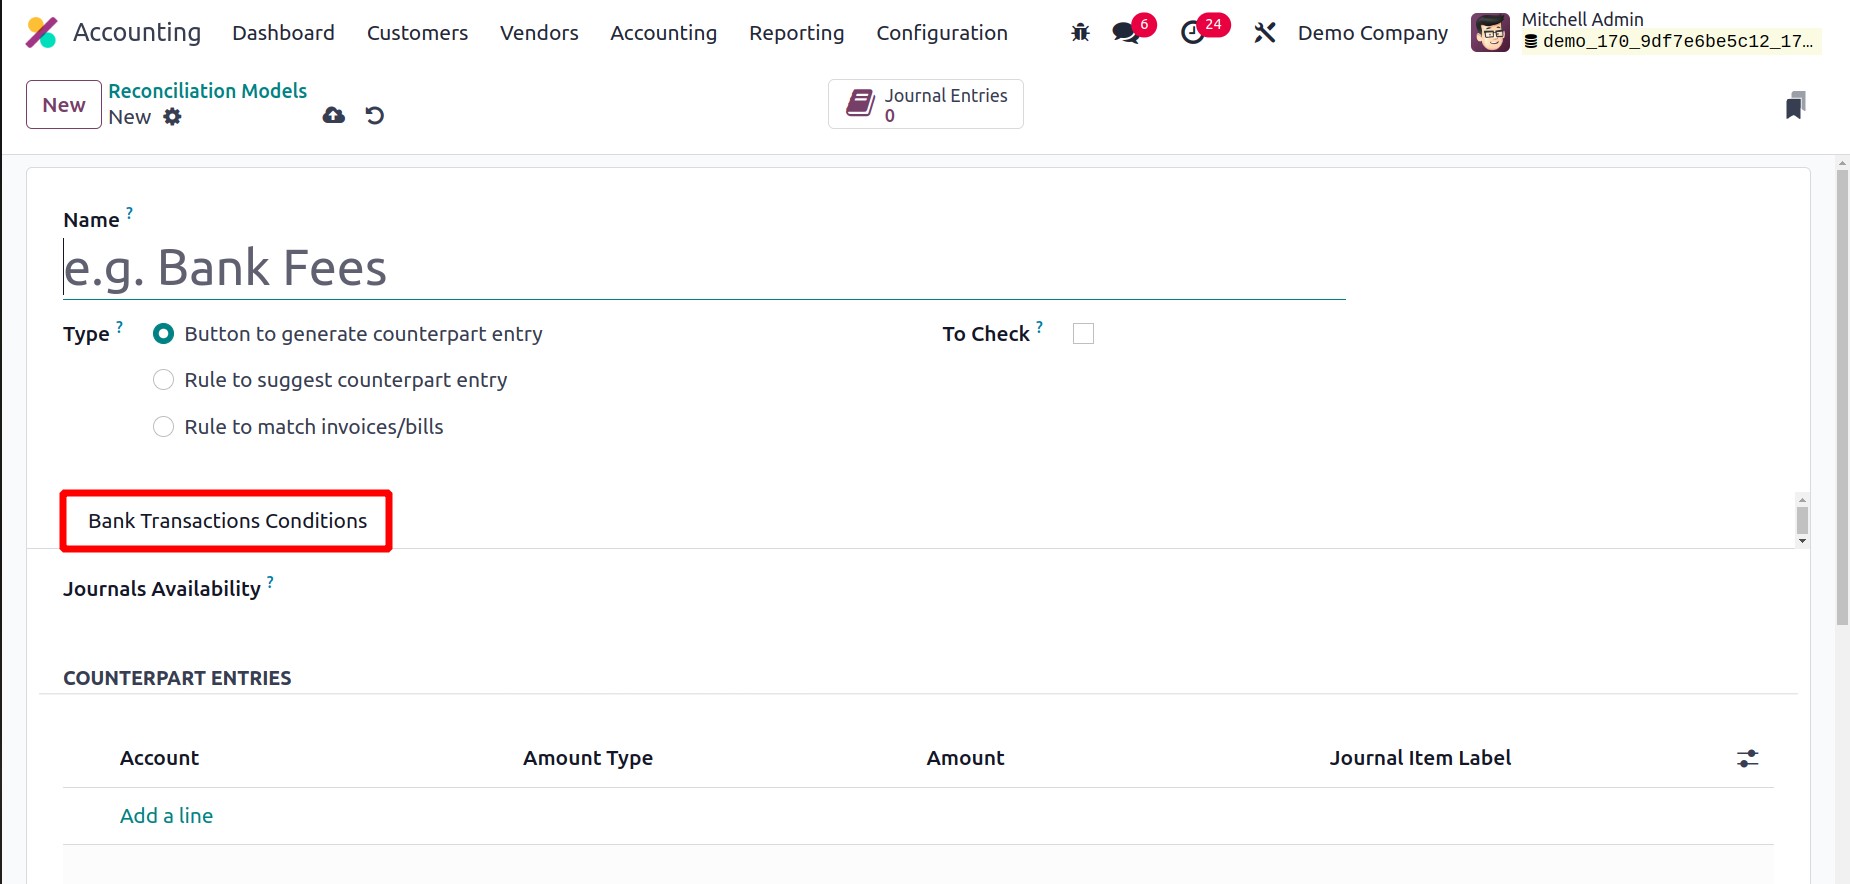
You can choose the Account, Amount Type, Amount, Analytic, and Journal Item Label under
the Counterpart Entries tab. Fixed, percentage of balance, percentage of statement line,
or from labels are the possible account types. The button to produce a counterpart entry
model for reconciliation is available once the configuration is complete.
Rule to suggest counterpart entry
The screenshot below illustrates the setting choices for the Rule to suggest equivalent
entry.
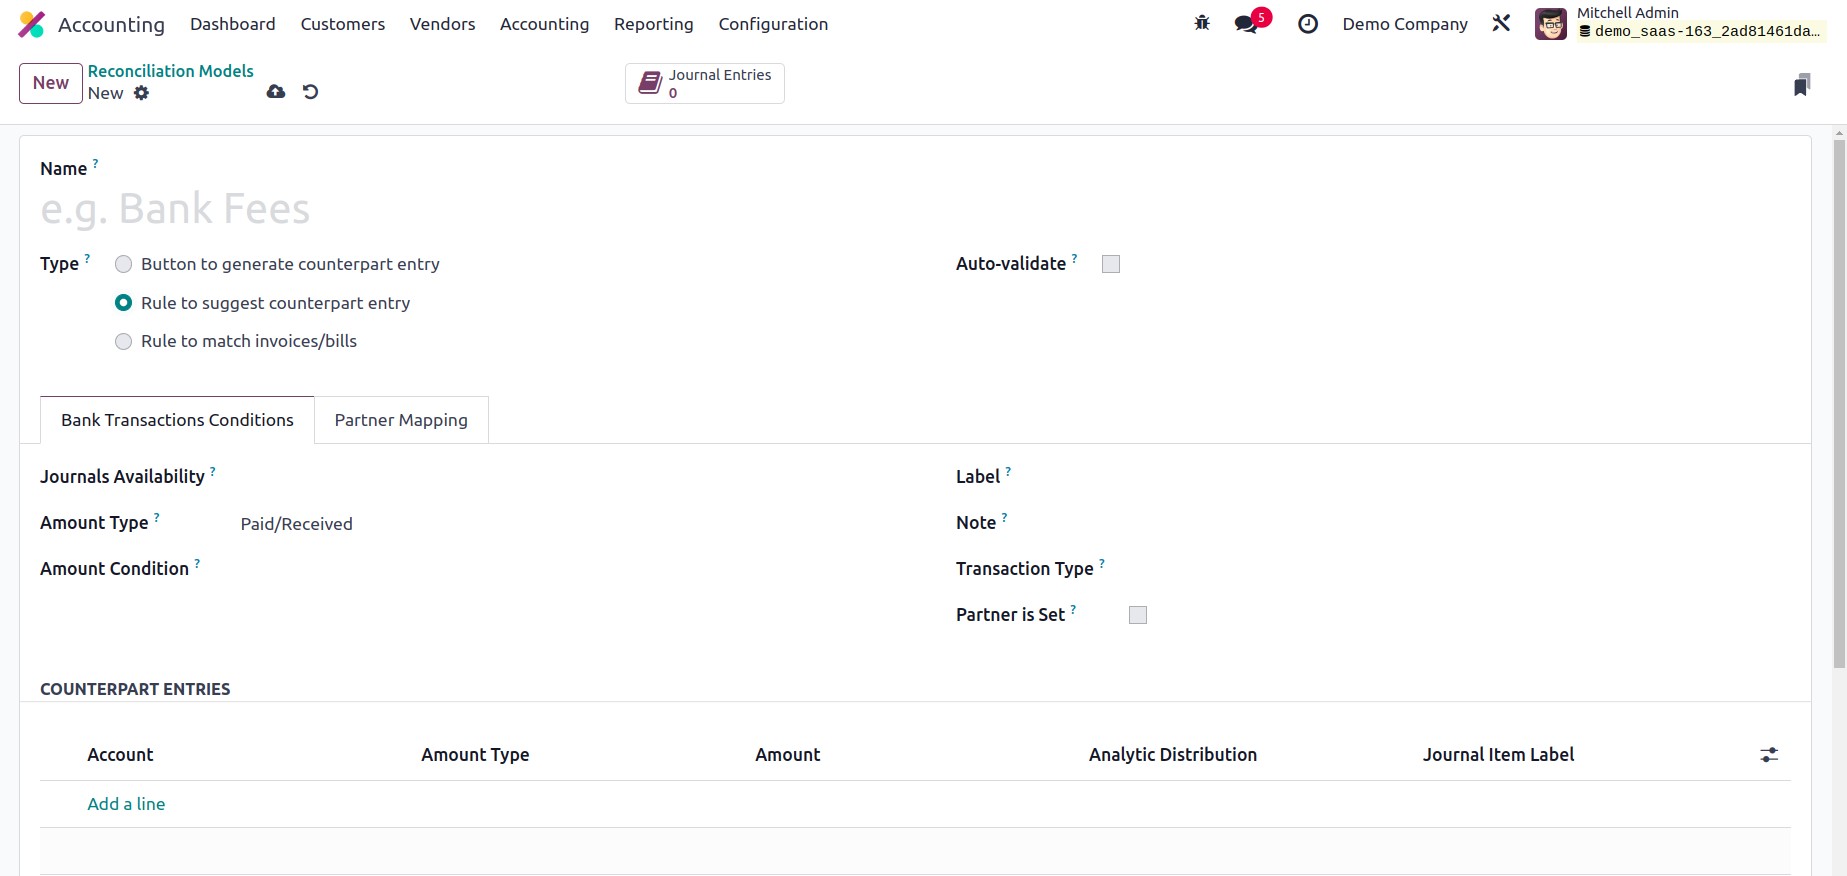
You can use the Auto-Validate option to automatically validate the statement line
from this point. You can choose a suitable Amount Type from the alternatives provided
after mentioning the Journal Availability. These options are Received (applied
only when receiving an amount), Paid (applied only when paying an amount), and
Paid/Received (applied in both circumstances). By doing this, the specified
transaction type will be the only one to which the reconciliation model is applied. You
can specify a precise amount in the Amount Condition, and the reconciliation
model will be used when the amount is less than, more than, or equal to the amount you
indicated. Label, Note, and Transaction Type rules can be configured as
Contains, Not Contains, or Match Regex. When the Partner's established field is turned
on, the reconciliation model will only be used when a customer or vendor is already
established. You can receive more fields to mention the Matching Partners and Matching
Categories by turning on this option. Using the Add a Line button, enter Counterpart
Entries in the available area.
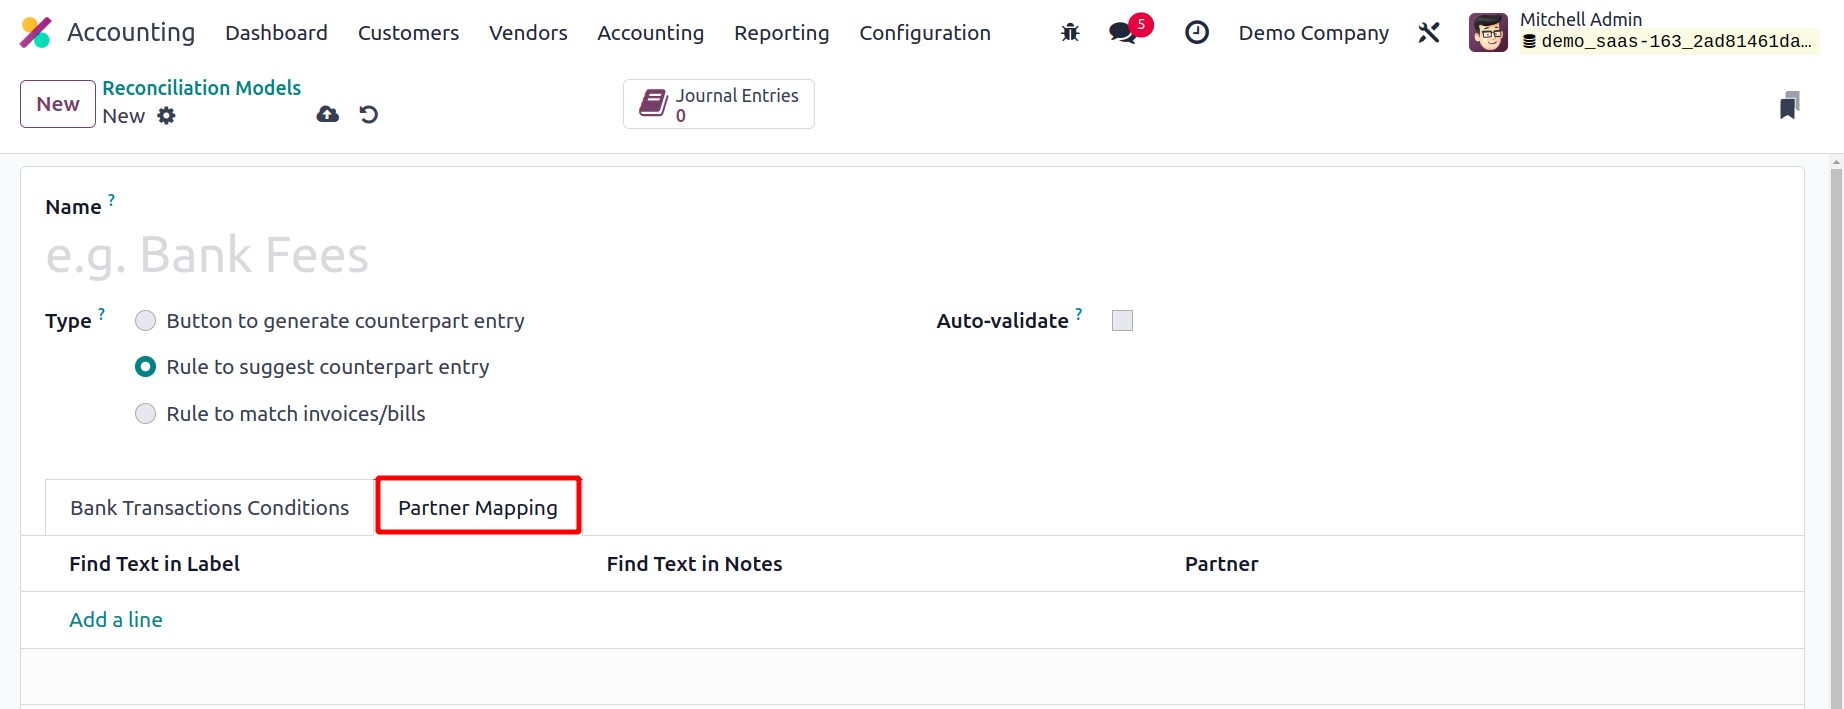
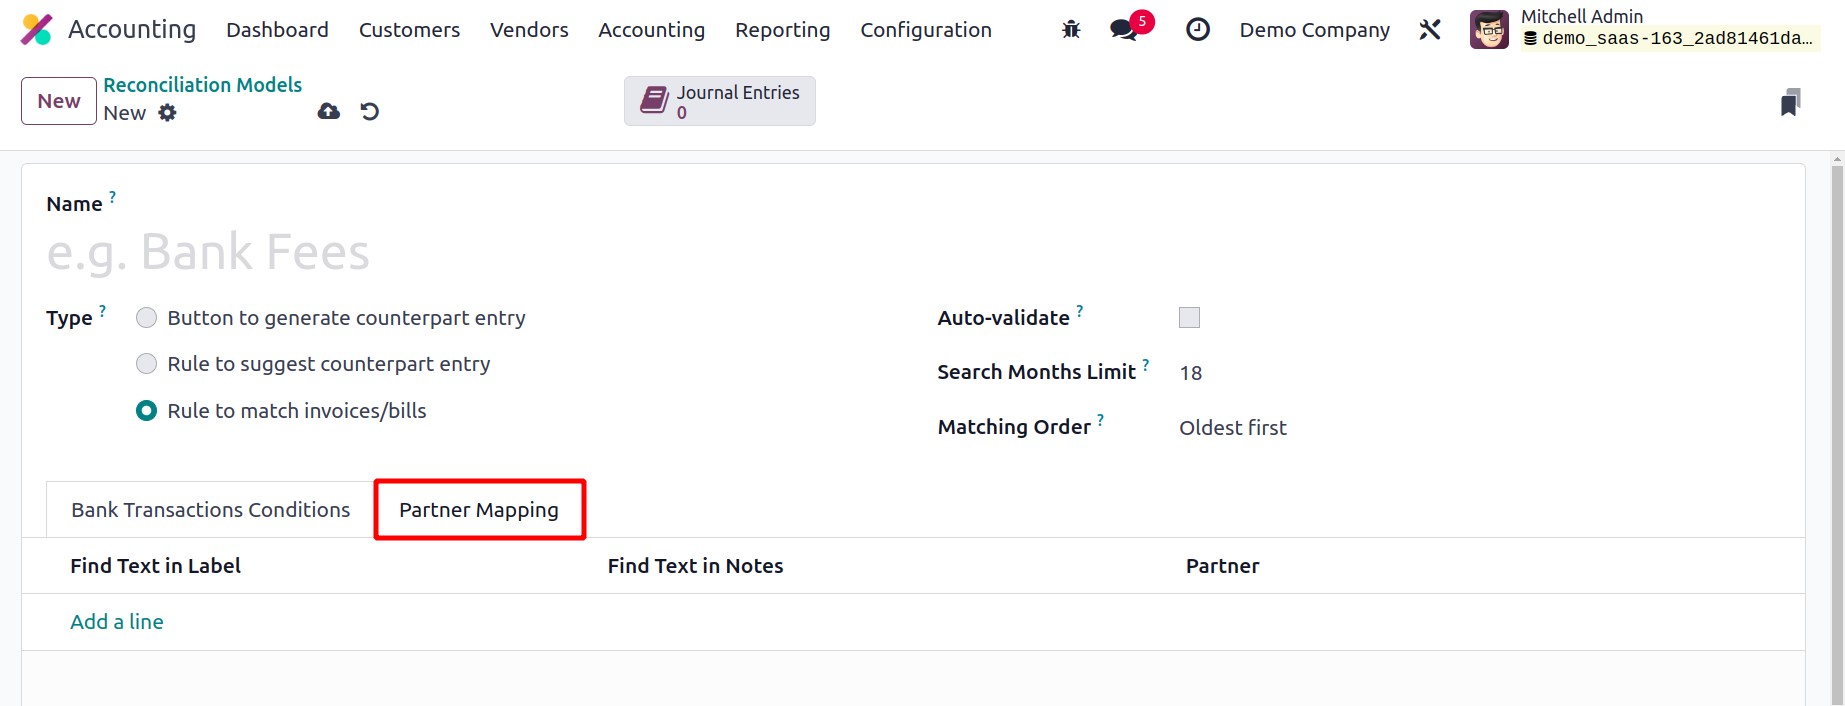
You can use the Add a Line button on the Partner Mapping tab to add Find Text in
Label, Find Text in Notes, and Partner.
Rule to match invoice/bills
The setting window for the Rule to match invoices and bills reconciliation model type is
displayed below. You can turn on the Auto-Validate box to automatically validate the
statement line. You can specify how many past months to use when using this model in the
Search Months Limit field.
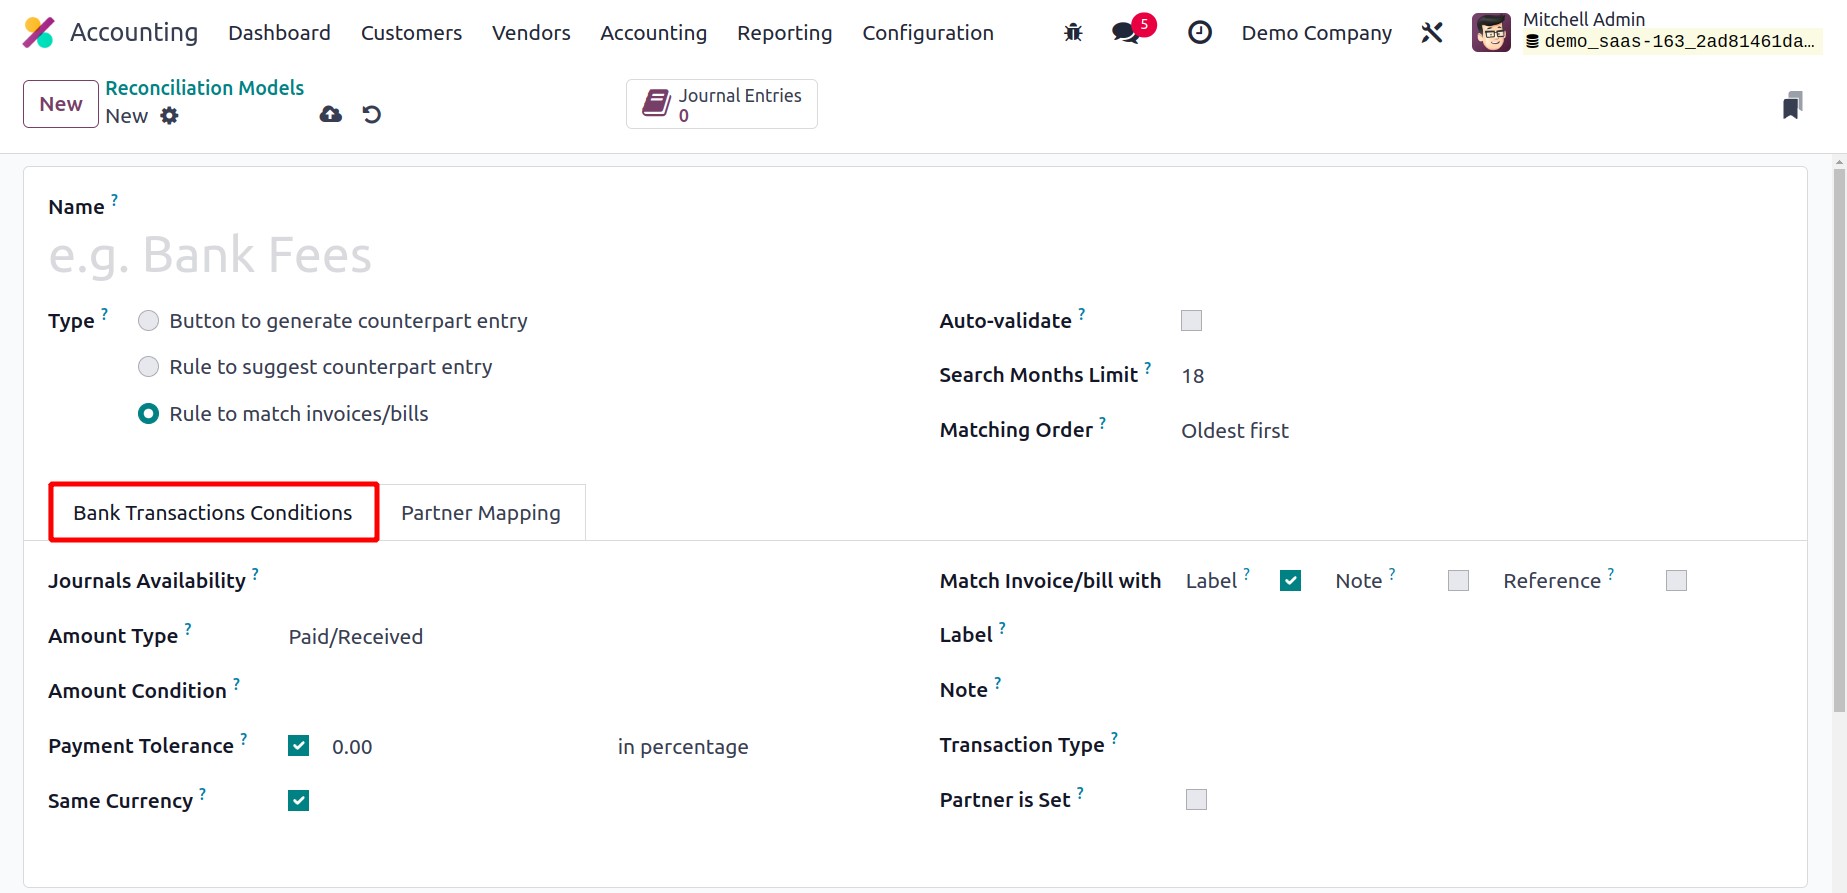
Either Oldest First or Newest First can be used for the Matching
Order. The settings we described before can be found under the Bank Transactions
Conditions tab. Furthermore, the Payment Tolerance will be activated for you so that you
can tolerate variations in case of underpayment. To limit propositions using the same
currency as the statement line, the Same Currency field can be turned on. You can
activate the Label, Note, or Reference to match the invoice or bill in the
Match Invoice/Bill with field. By configuring the Partner Mapping on the
appropriate tab, the configuration can be finished.
You can go to the Reconciliation option under the Accounting menu to
acquire a list of all the statements that need to be reconciled.
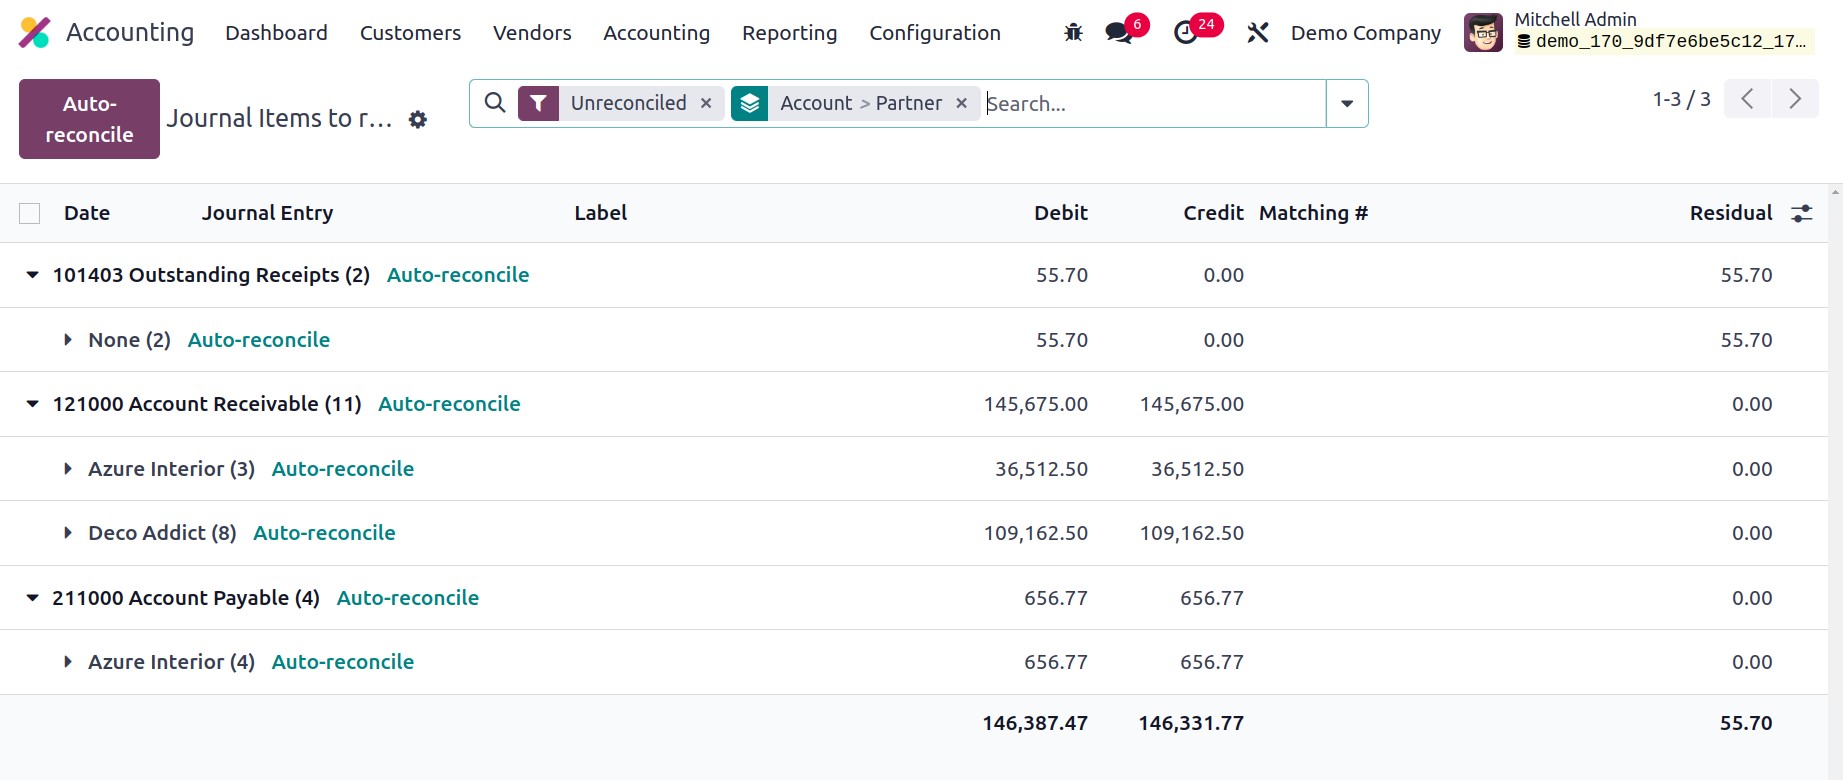
Here, automatic reconciliation of the statements with the bank accounts by clicking the
Auto Reconcile button.
Users can locate the records for automatic reconciliation by clicking the Auto reconcile
button. Add the accounts, from, and to dates in the popup box. Select the
Reconciliation option for either Accounts with zero balances or Opposite balances
individually.

You may quickly import bank statements into your system through the Accounting Dashboard
of the module, which can then be used for the subsequent reconciliation process.
Depending on the option you select from the Settings menu of the Accounting module, you
can import your bank statements in the following formats: CSV, OFX, QIF, and CAMT.
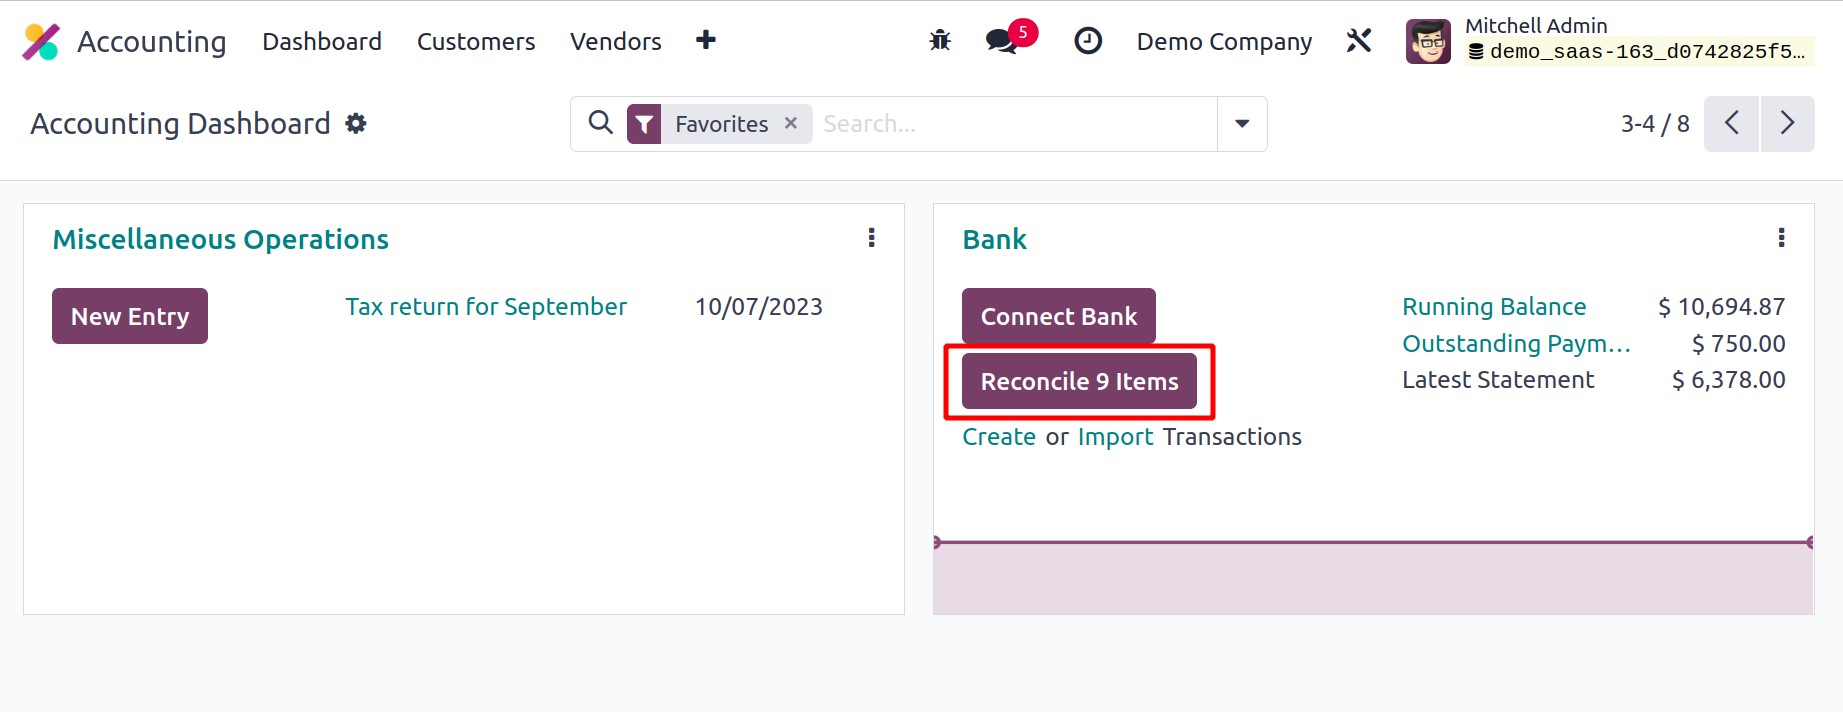
As seen in the above image, the equivalent options are located on the Bank & Cash tab.
You will be able to use a button to import bank statements from the Accounting Dashboard
as soon as you activate this functionality.