Configuration
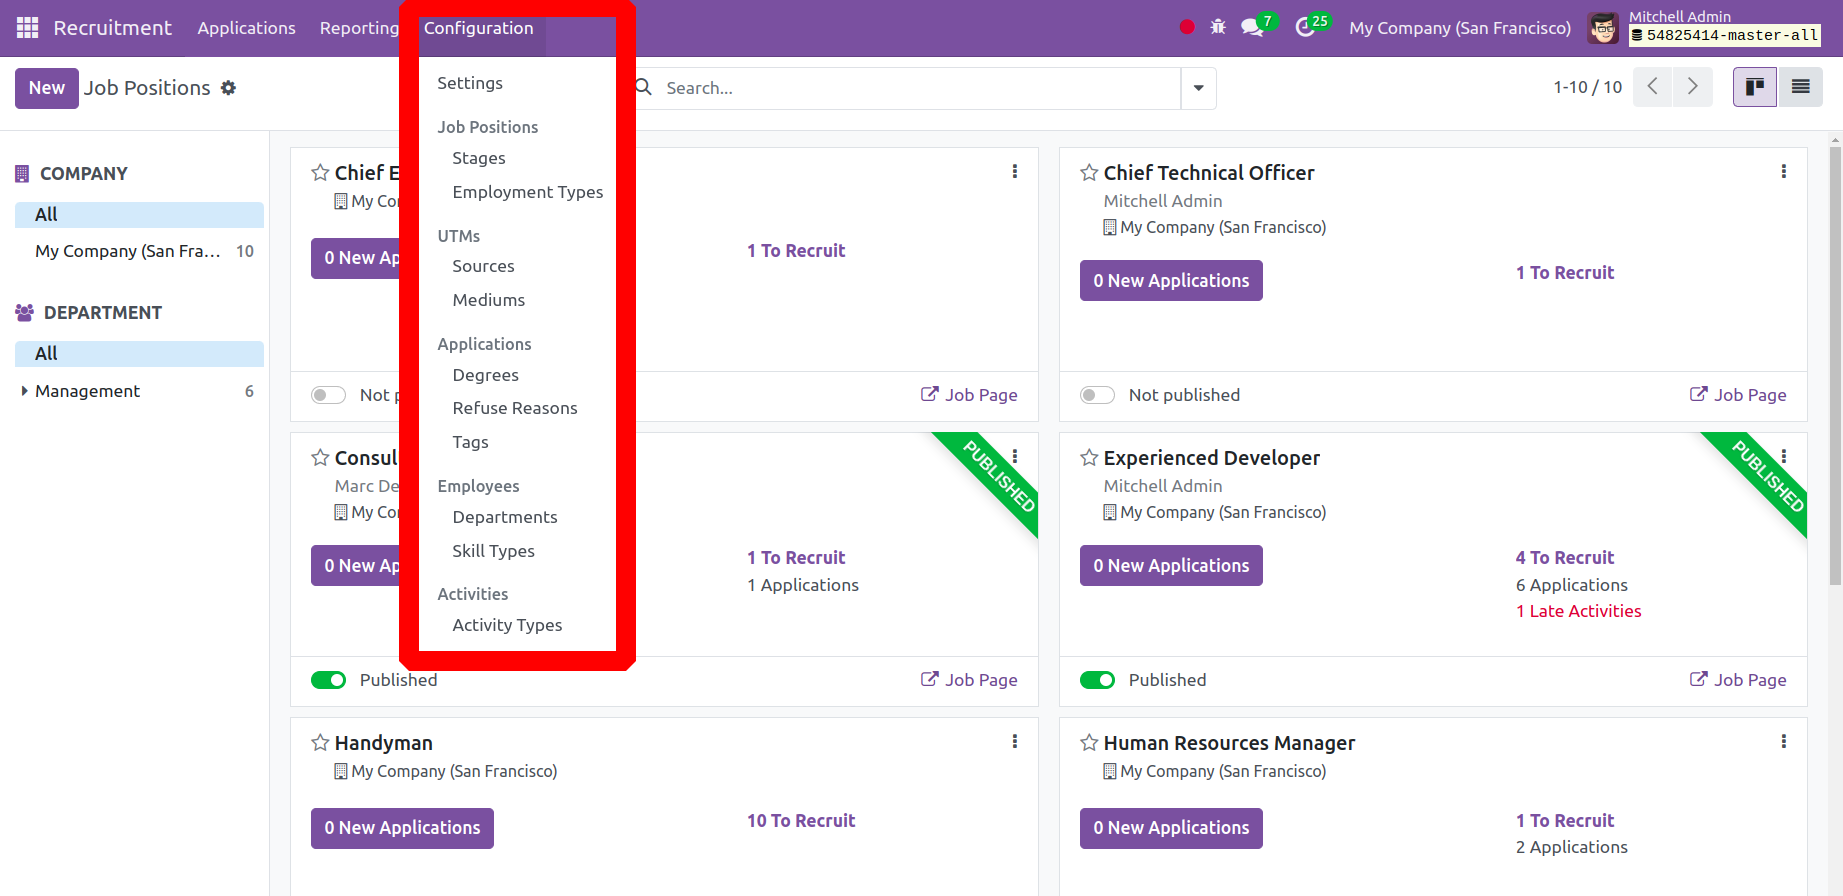
The configuration menu, which offers several options including settings, job position, UTMs, Applications, Employees, and Activities, can also be used to add the option.
Stages
The Configuration menu displays the configured job position stages. That's where the stage name appears. The stages are folded in the Kanban view, and the list indicates which stages are hired.
Employment Type
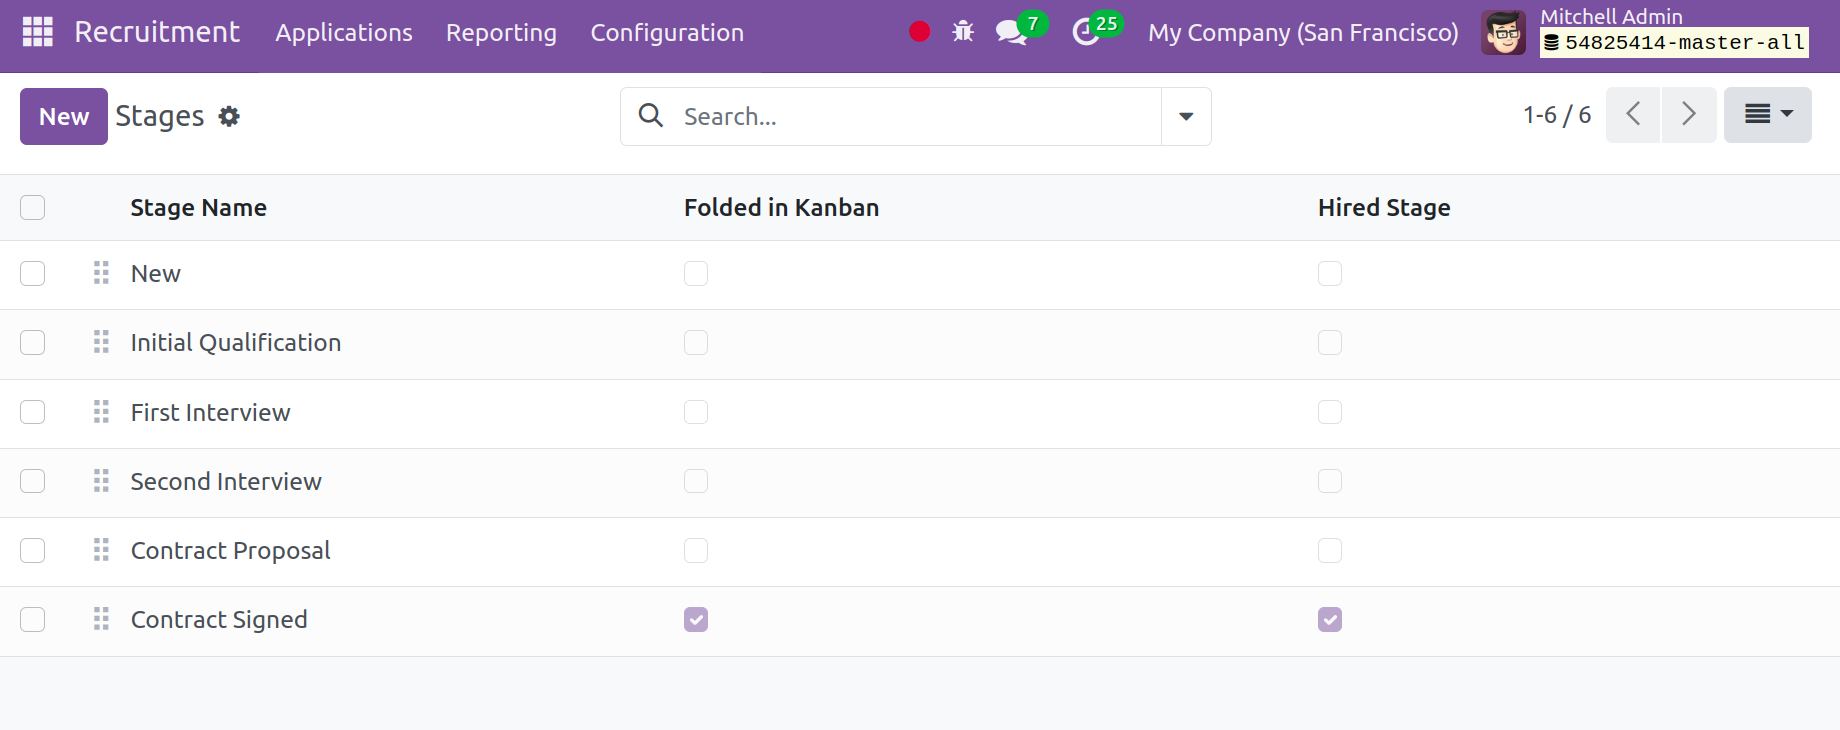
Every company offers a variety of jobs, including temporary, part-time, and full-time positions. Users can alter the employment categories under Configuration's Job Positions section. In the presently open window, the user can view the list of pre-configured employment types. Users can see the titles of all employment classifications, including Replacement, Interim, Permanent, and others.
To create a new employment type, pick the New symbol.
Sources
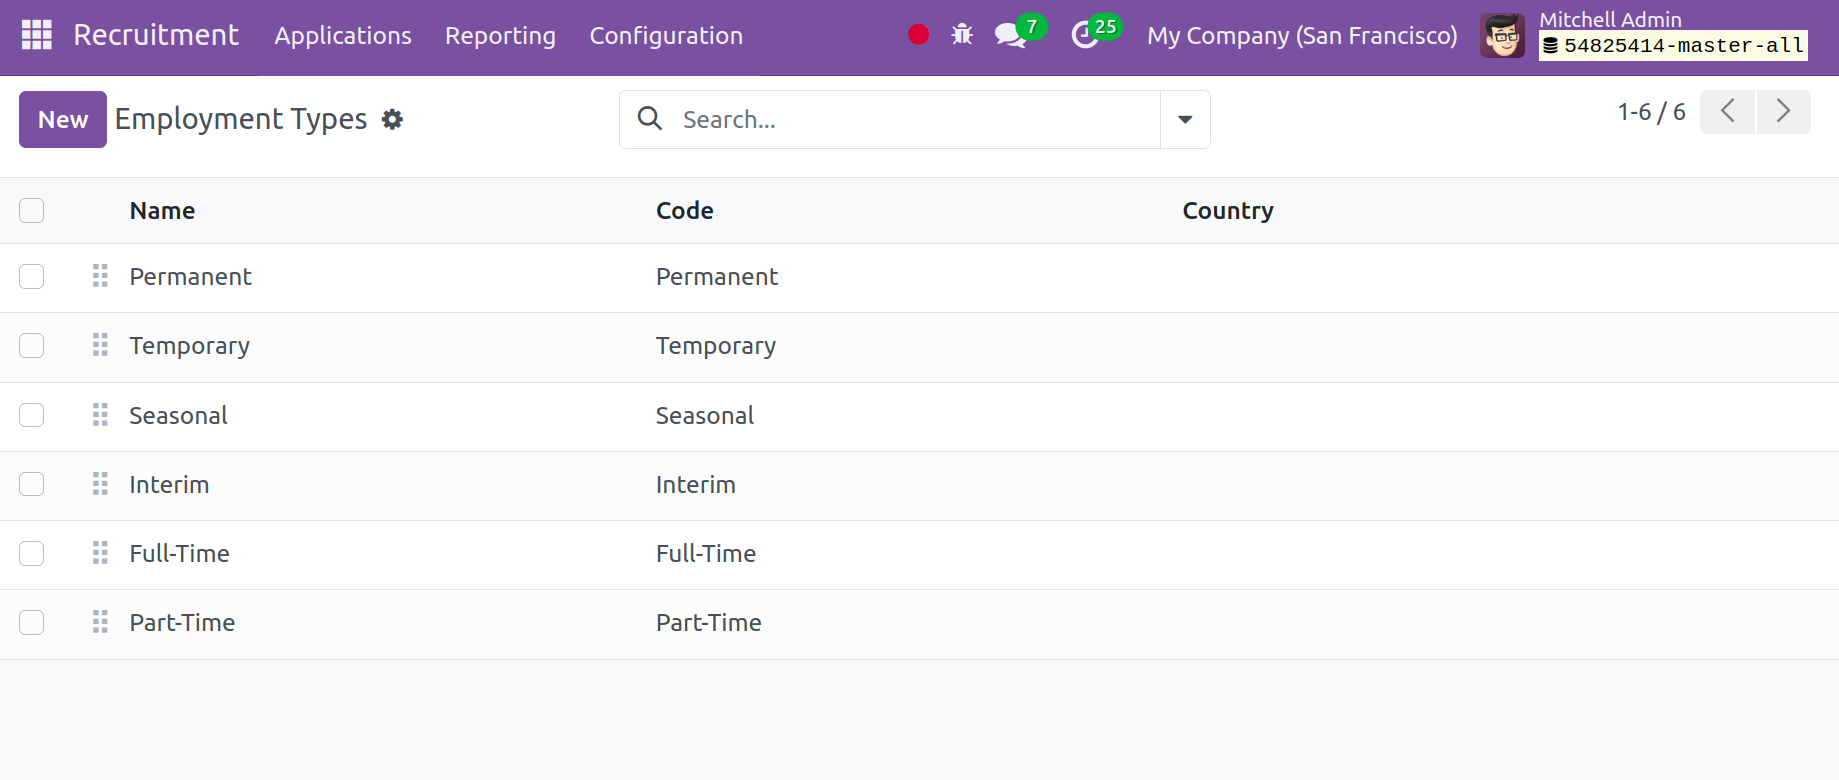
An applicant has access to several resources for information regarding open positions. As a result, the applicant will specify how they discovered the opportunity on the job application form. The generation of such sources is enabled by the Configuration option. Every source that has been created is listed.
Every company offers a variety of jobs, including temporary, part-time, and full-time positions. Users can alter the employment categories under Configuration's Job Positions section. In the presently open window, the user can view the list of pre-configured employment types. Users can see the titles of all employment classifications, including Replacement, Interim, Permanent, and others.
Mediums
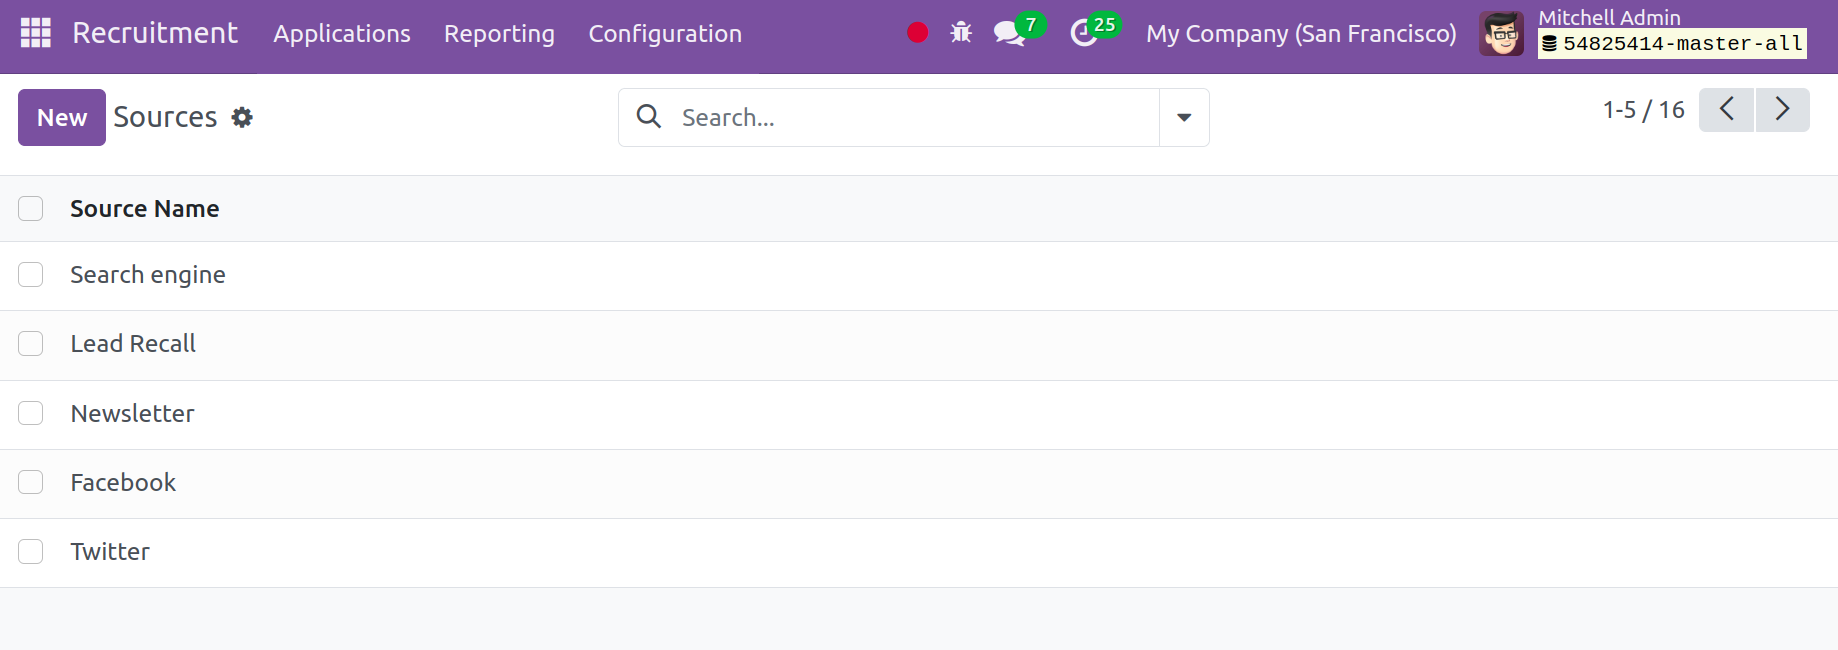
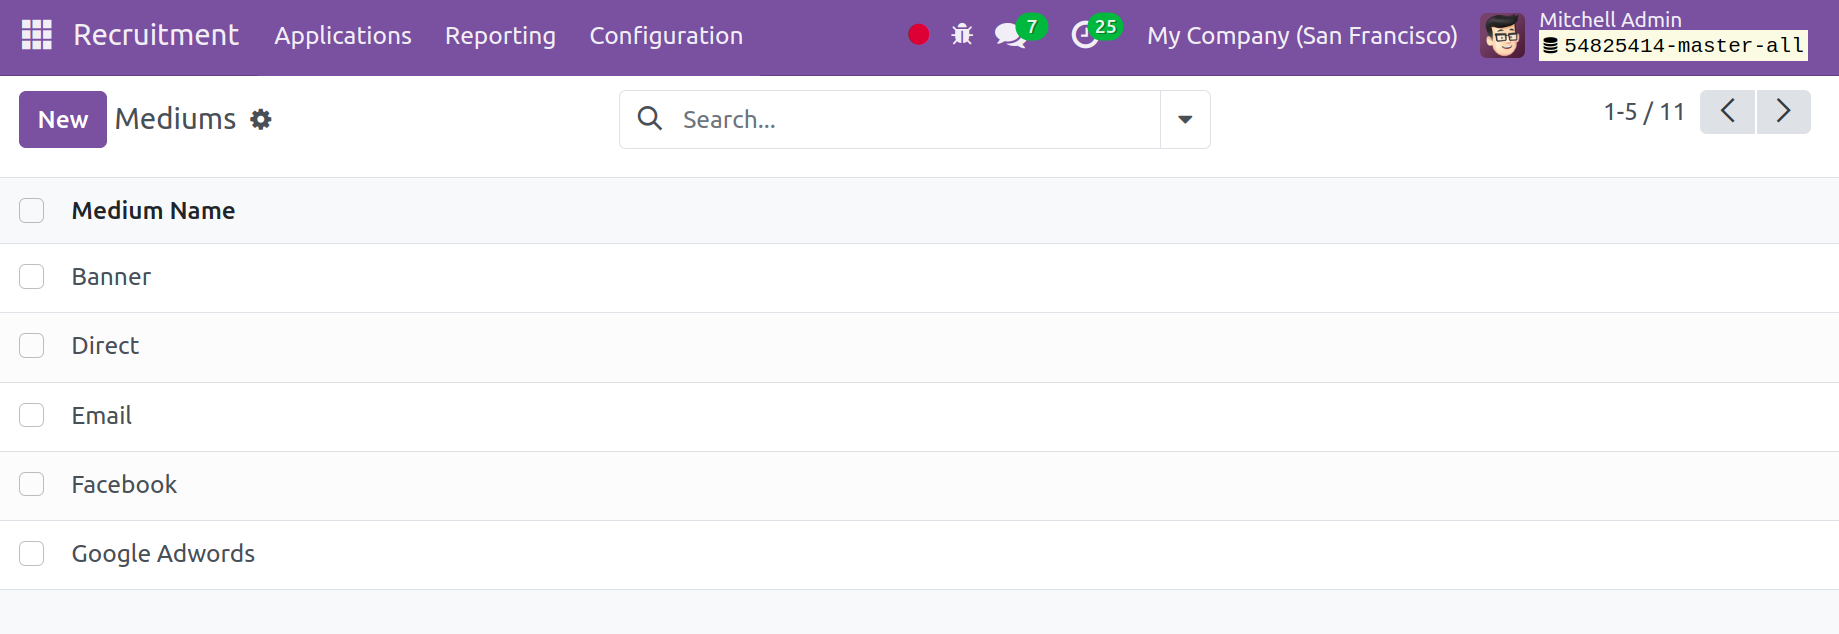
As previously mentioned, there will be multiple ways for us to accept employment applications: Facebook, email, and even direct mail. Such mediums can be configured using the Medium option. Click the New button to add new media.
Degrees
The degree of qualification may be included in the application. Such degrees can be configured using the Degree section. The Configuration menu has the Degree option. Click on the New button to add another.

Refuse Reasons
You may find the explanations for an application's rejection under the Configuration menu. The screenshot below illustrates how the page will look.
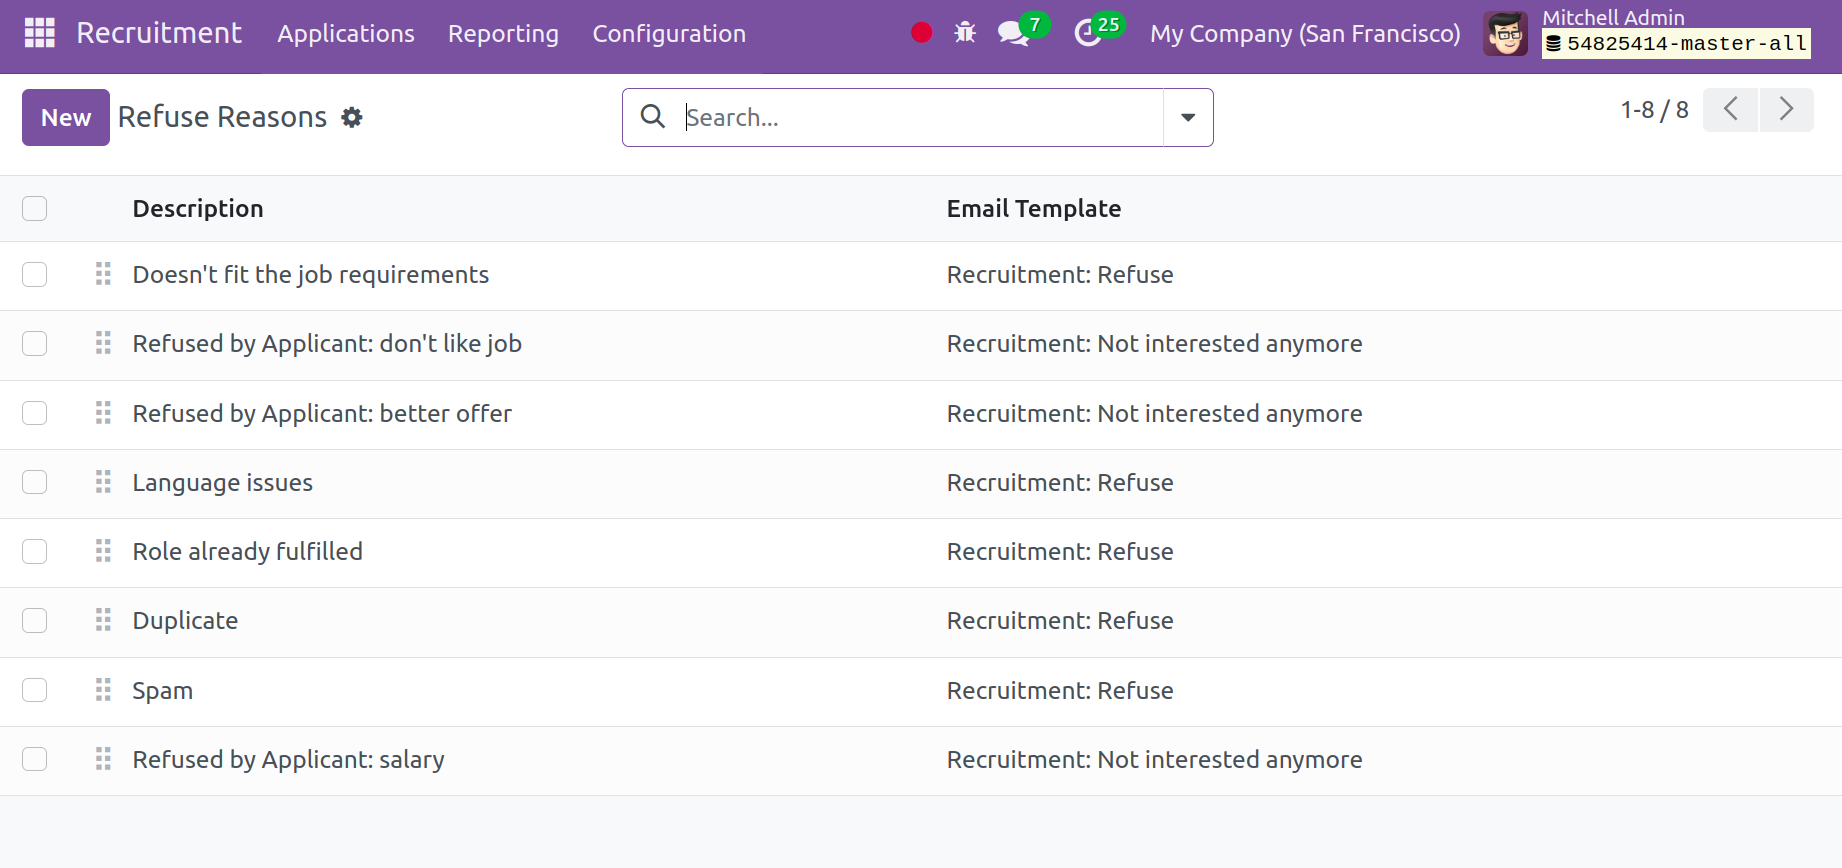
This is where you will find the email template, description, and list of grounds for rejection. When an application is turned down, the applicants are notified. You can add a new refusal reason with the aid of the New option. And in the following line. It is extremely easy to add a new reason.
Tags
Tags are employed in search operations. You can add new tags by clicking the New button. In the line that was added beneath the list, include the Tag name and Color Index.

Department
You will find the Department option under the Configuration menu, as seen in the following image. Included in the details are the display name, manager's name, company name, staff name, and parent department name. You can click on the New icon to create a department that is identical to this one.
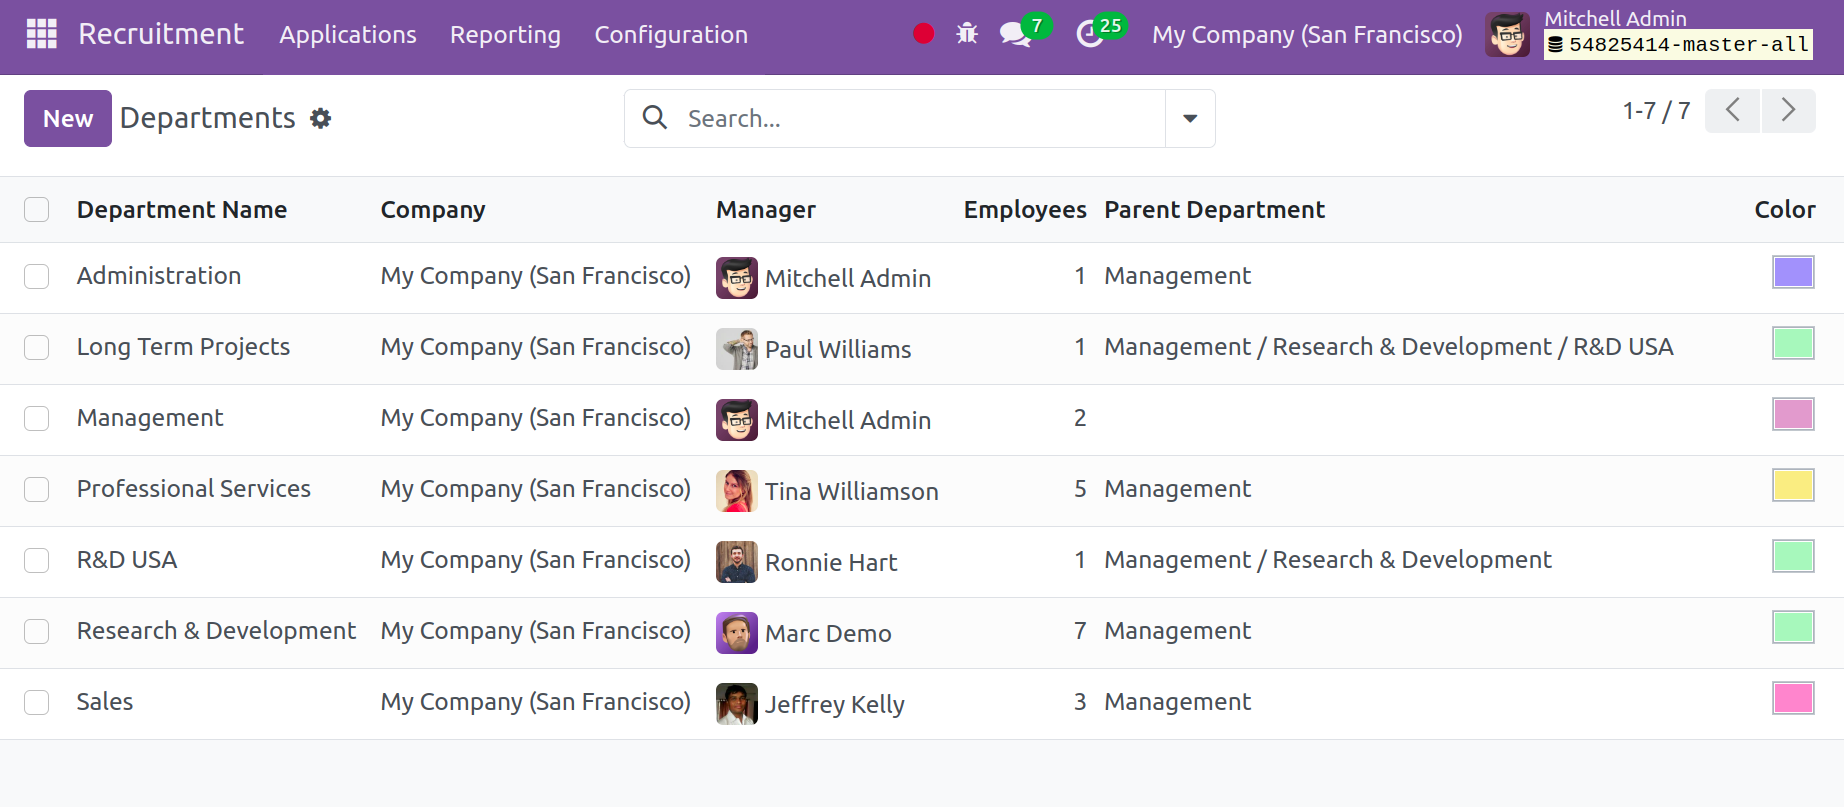
A new line was added to the list. In the viewpoint slots provided, you can put the name of the department, manager, parent department, and firm. Lastly, select the "Save" icon.
Skill Types
Employee language and other skill sets can be generated under Configuration by selecting the Skill Types. A list displays the name and skill.
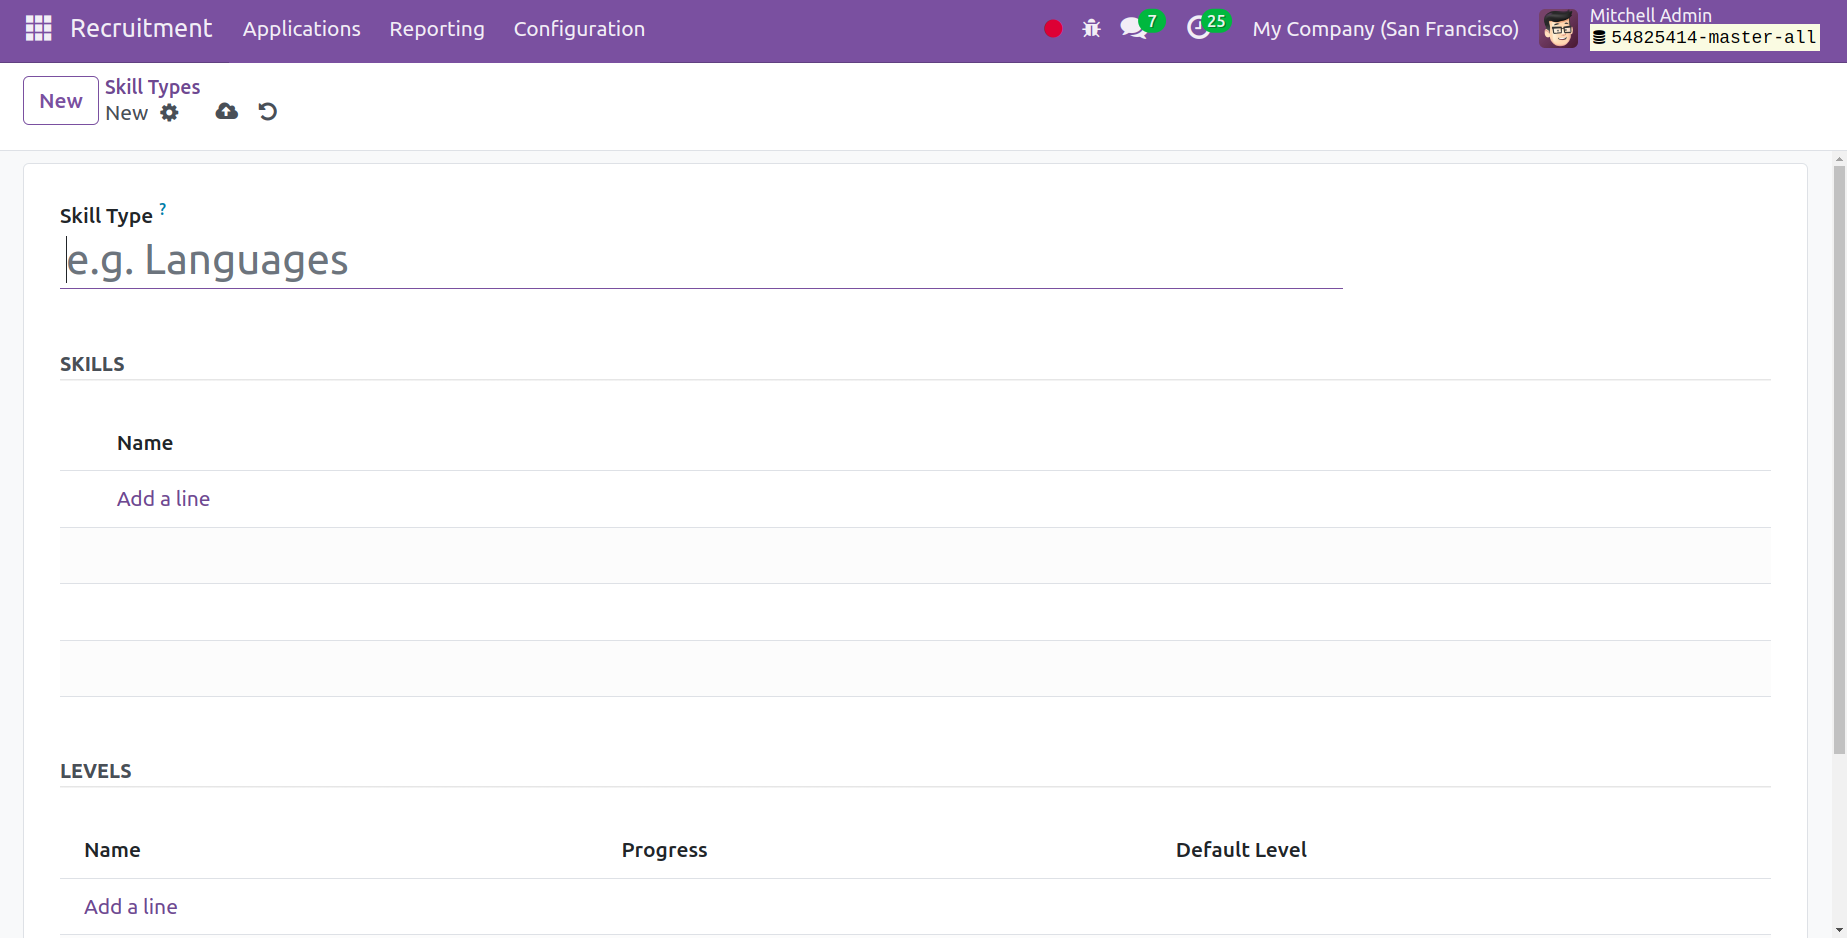
Click on the New button to add another. Add the skill type, then the skills under SKILL; finally, specify the skill level under LEVEL.
Activity Types
The list of activity kinds appears on the Configuration menu, as seen in the screenshot below.
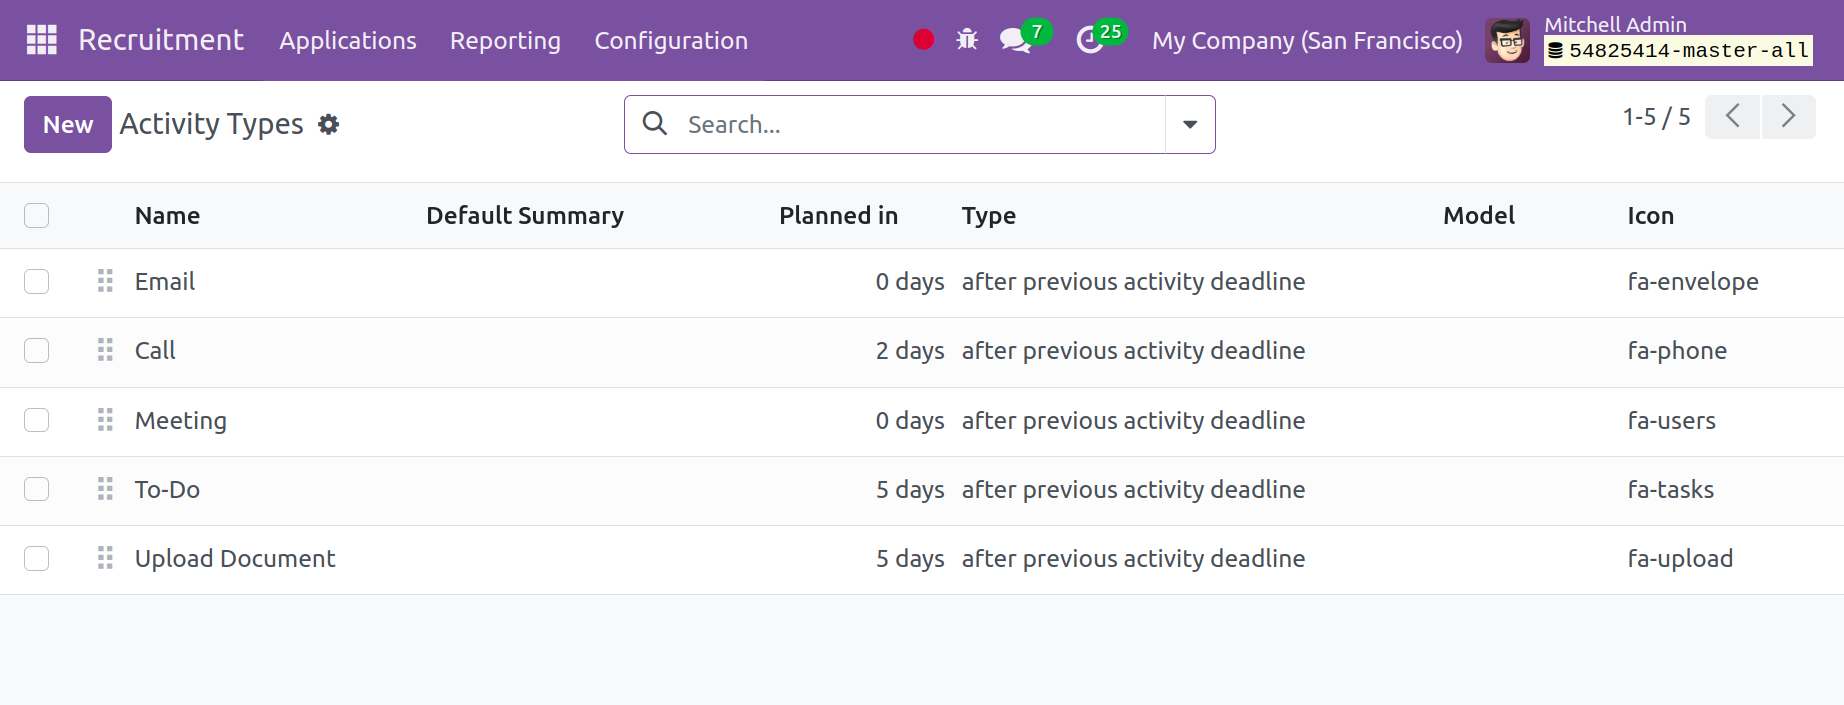
To create a comparable kind, select the New icon. The screenshot below illustrates what the creation page will look like.
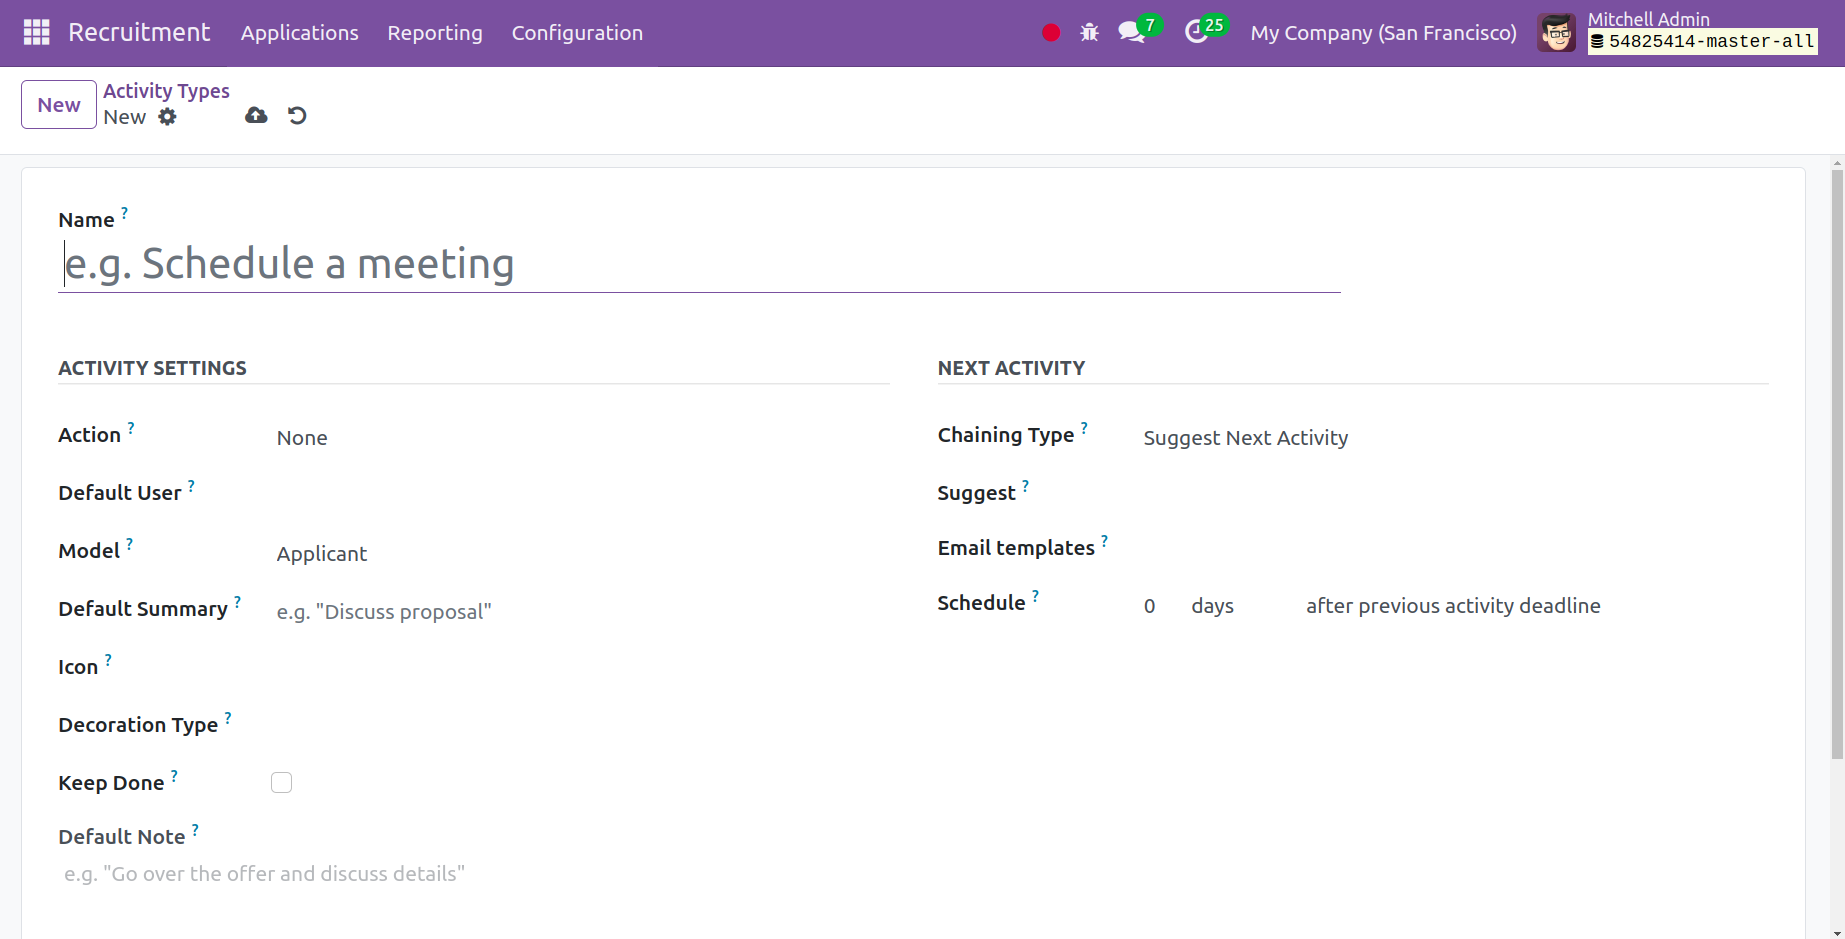
You can add the name right at the start of the creation age. You can now add actions, default user, mode, default summary, icon, decoration type, and a brief default remark in the designated space under the activity settings, which are located beneath that. The chaining type can be configured to either trigger or propose the next activity in the series. The email template and the activity can now be scheduled in the designated place below it. Once you have completed all the details, click the Save icon.
Settings
Under Configuration, there is also a Settings option. Two sections make up the settings page: the first is for Job Posting, and the second is for the Recruitment Process. The choice under "Job Posting" is "Online Posting." Therefore, for the user to post available jobs on your website, they must enable online posting.
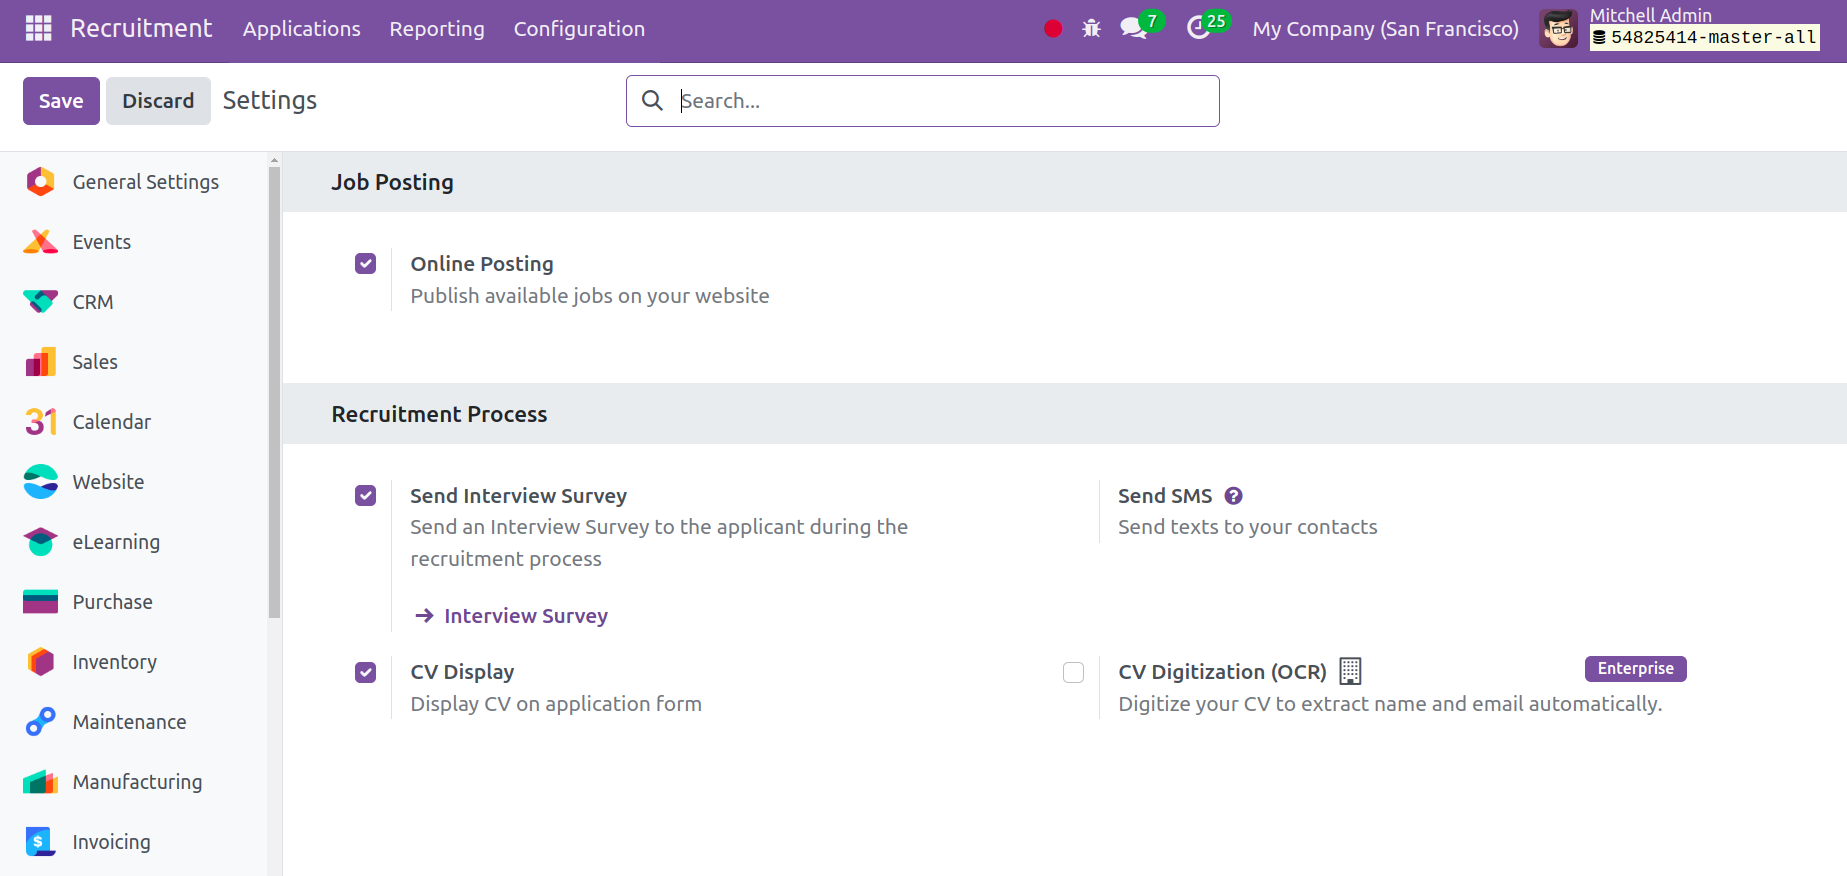
The Send Interview Survey feature, which is included in the Recruitment Process section, enables the application to send an interview survey to the candidate throughout the hiring process. You can text your contacts by using Send SMS. On the application form, the CV Display option will show the CV.