Recruitment Module
You will find modules under the Odoo ERP Software that assist you in handling hiring, attendance, employee profiles, payroll, and a host of other human resources-related tasks. The initial phase of the human resource process is recruitment. You can manage open positions within the organization, post job vacancies, handle new applications, and oversee the recruiting process with the aid of the recruitment module. Because the module's procedures determine the company's success, only highly skilled and talented individuals should be chosen for the role.
You may view the open position on the module's home page, as seen in the screenshot below.
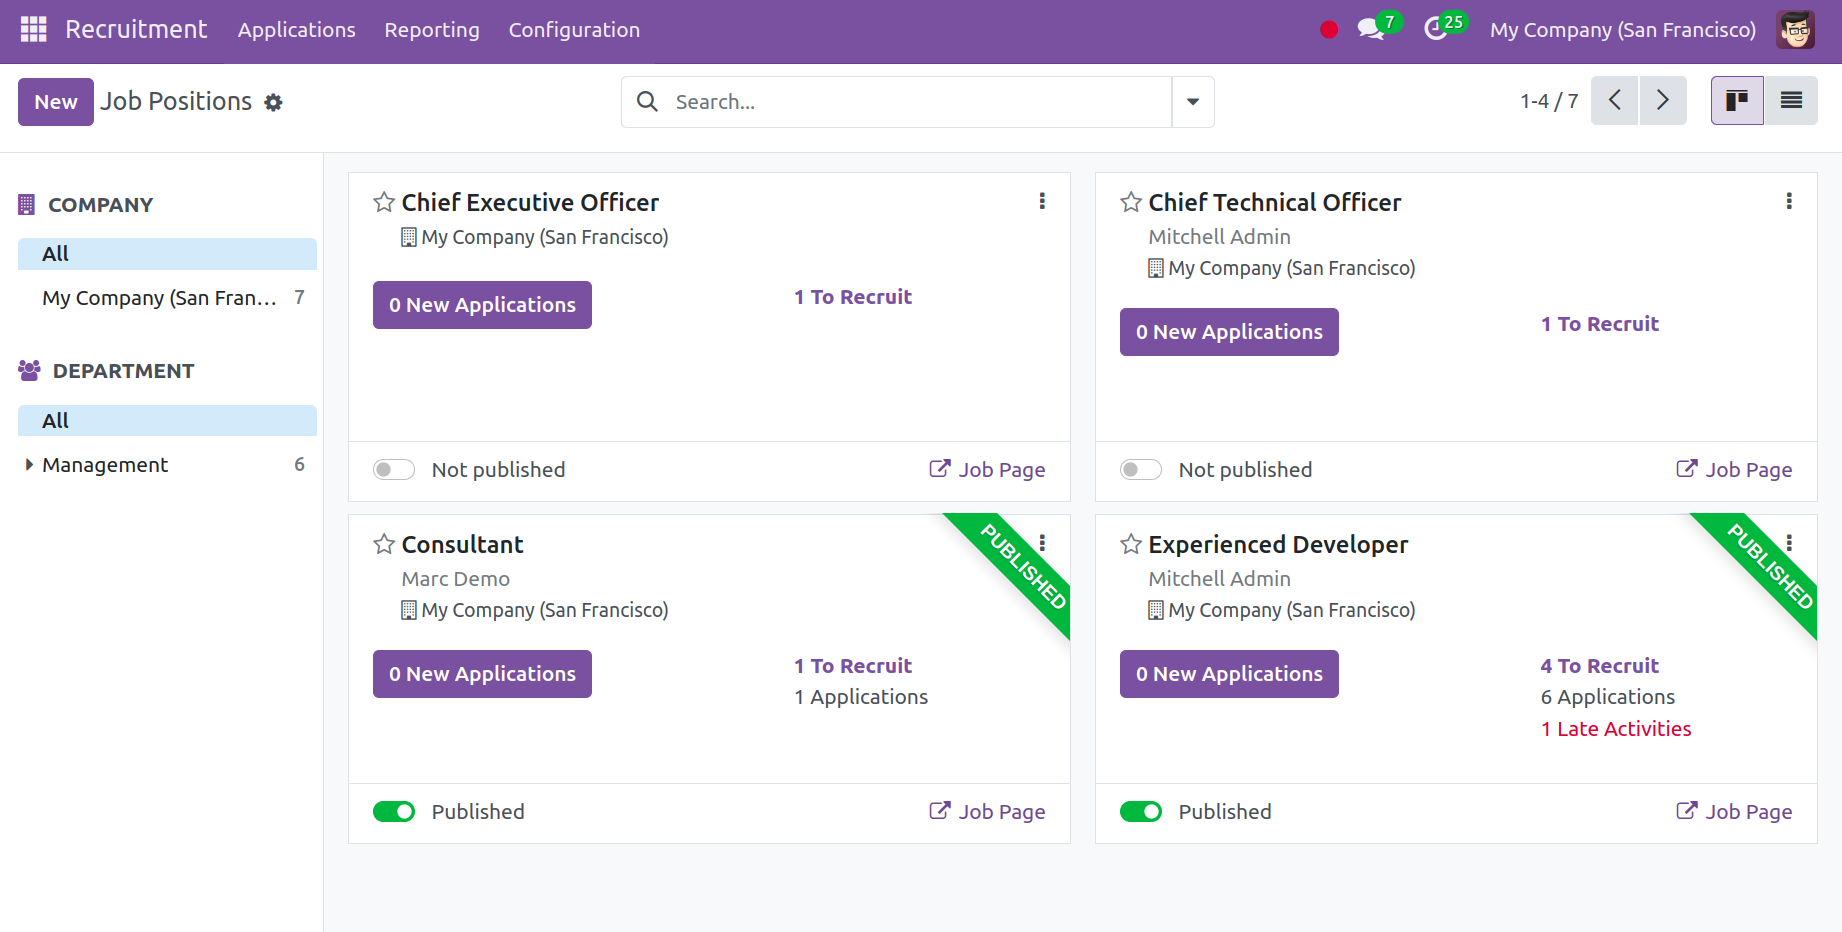
You will find the details as displayed in the picture on the page. In addition to the Kanban view, the page is also shown in the list view. If necessary, use the Group by, Favorites, and Filters settings. You will find the new applications option on every job position
that has been listed. The screen that appears when you select the existing application option is depicted in the screenshot below.
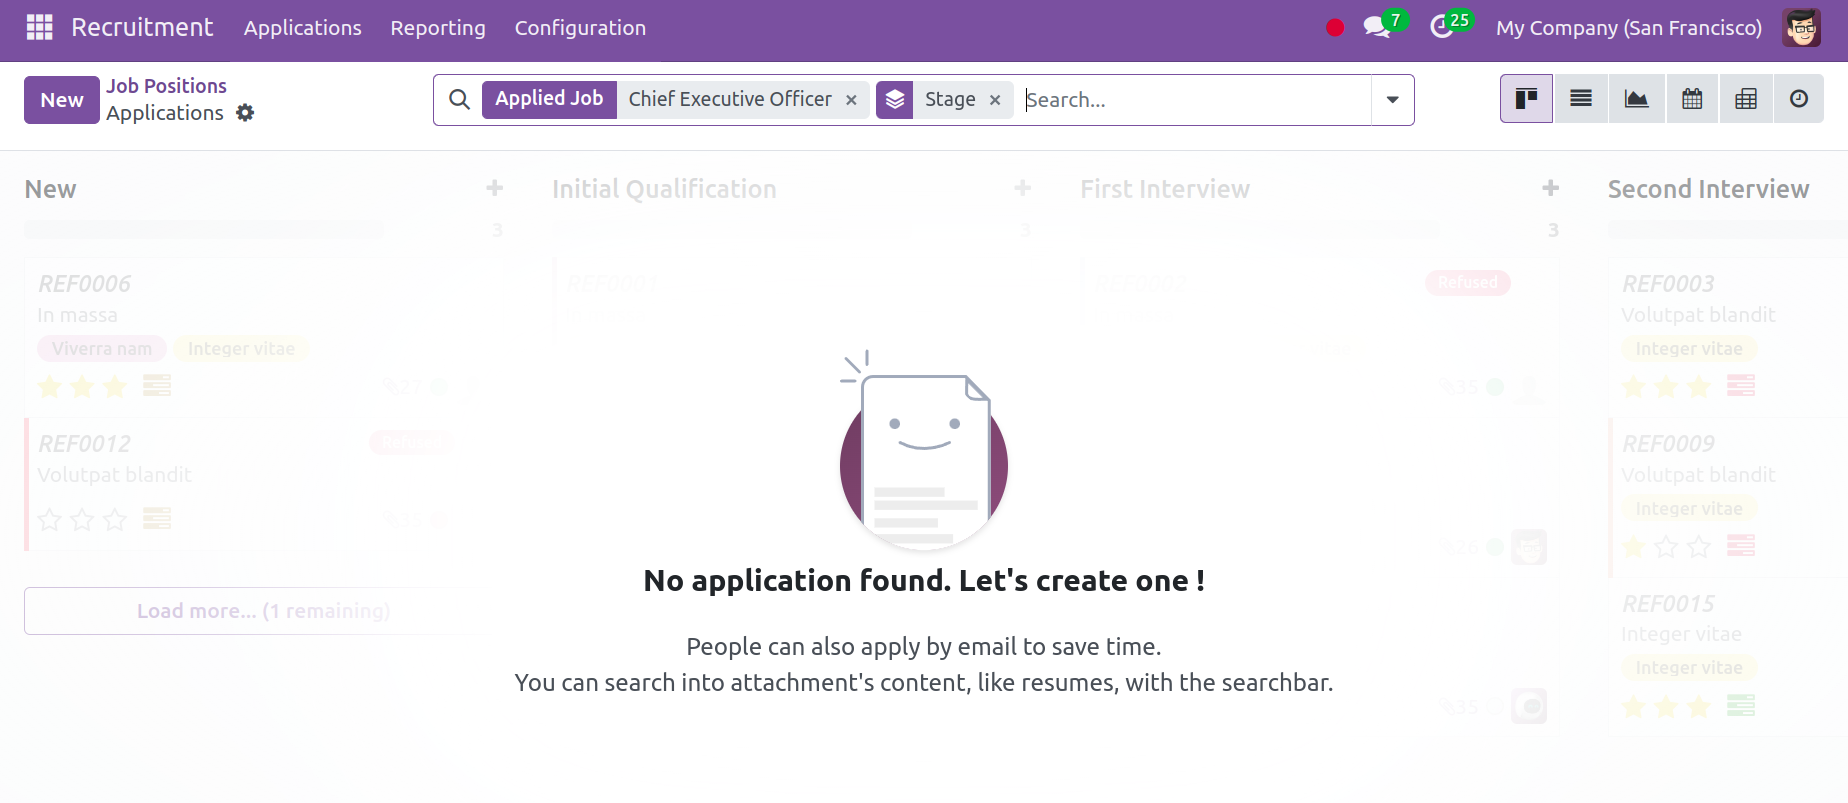
You can find several steps for specific candidates to finish the requirements procedure on this page. Initial qualifying, the first interview, the second interview, the contract proposal, and the signed contract are among the several stages. The plus icon on the page can be used to add a new stage. Filters, Group by, and Favorites are available for use.
You can access sub-options like Fold, Edit, Automation, Delete, Archive All, and Unarchive All by selecting the settings icon that appears in each step.
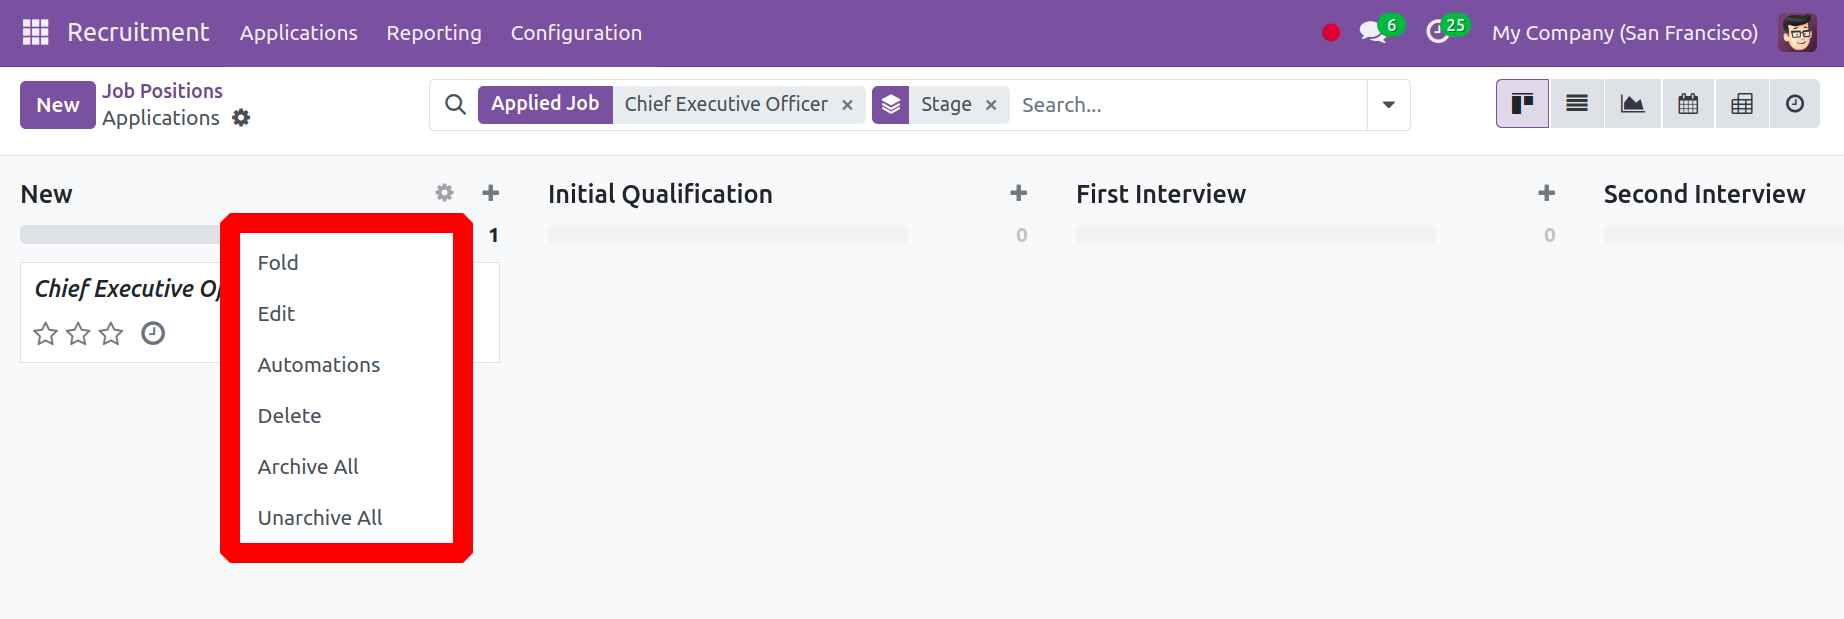
The stage in Kanban view can be folded using the Fold option. The pre-created stage can be edited with the use of the modified stage option. You will see a page similar to the one in the screenshot below after choosing the Edit stage option.
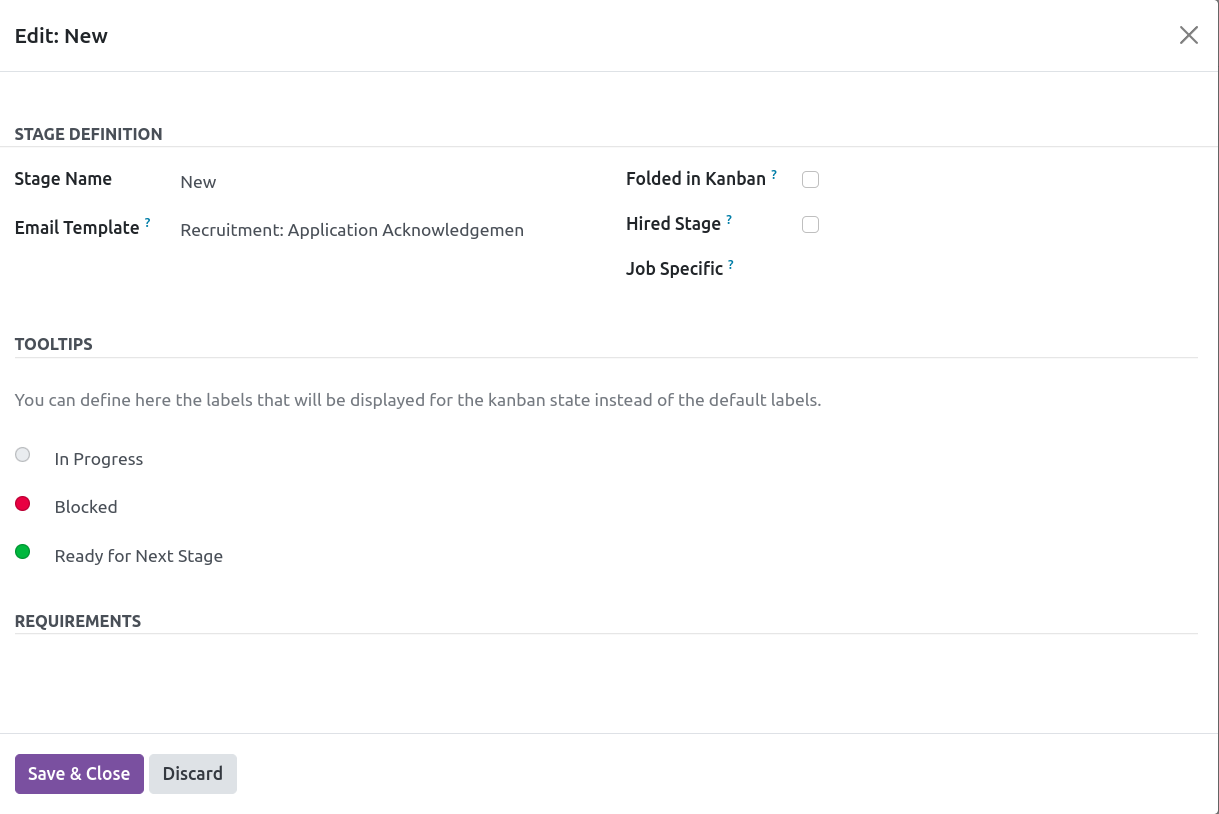
You can modify the stage name on the new page. Additionally, you can enter the email template in the designated space. You can choose to Fold in the Kanban and Hire Stage options, with the hire stage option assisting you in determining when to hire a specific applicant. By selecting the Job-Specific option, the stage can be customized for a particular job. You can now adjust it to be in progress blocked or prepared for the next stage under the tooltips tab. You will now see the stages menu in the setup menu when you activate developer mode as well. This menu allows you to create and modify new stages.
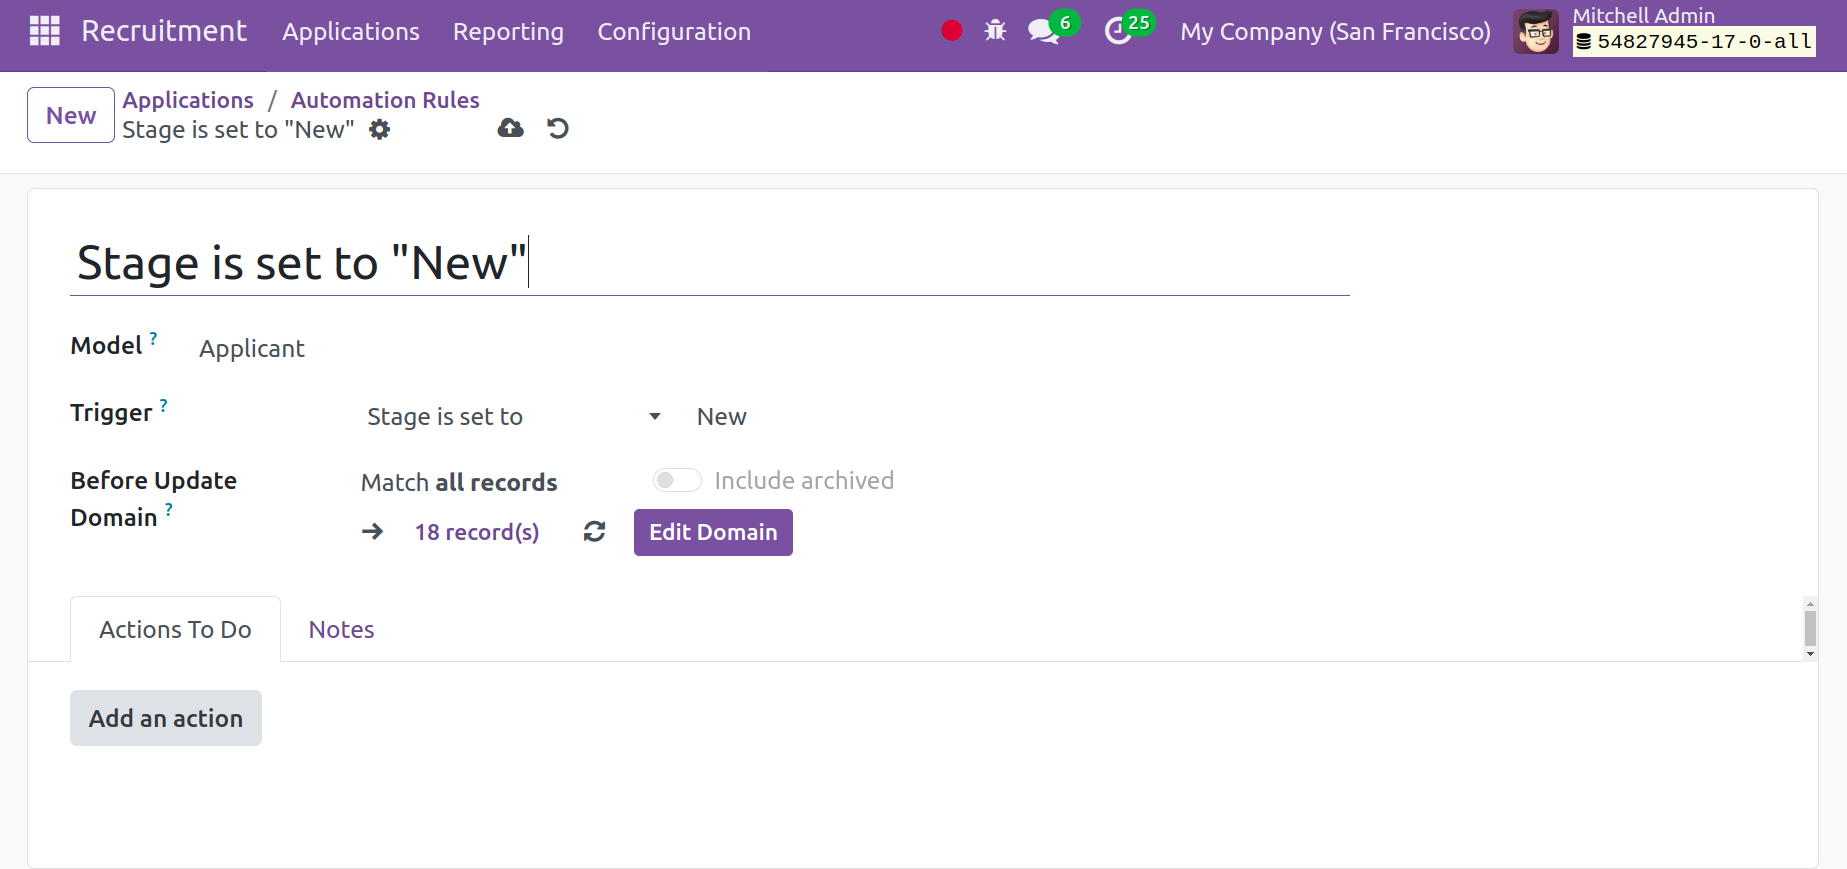
You can then program certain automated tasks to run by selecting the Automation option. A new window that looks like the one below will open when the automation is clicked. First, describe the Model that the automation was run on. One can specify the Trigger circumstances. This requirement must be met before the record is updated if the Before Update Domain is set. Then the necessary action can be set within the Actions to do tab.
Additionally, at each job position, you are given three dots that assist you in offering several choices, including see, new, and reporting. You have applications, interviews, activities, and trackers under the View option. You have the Application choice in the New option, and you also have the Analysis option in the Reporting. As seen in the picture below, you can also obtain the configuration and archive choices.
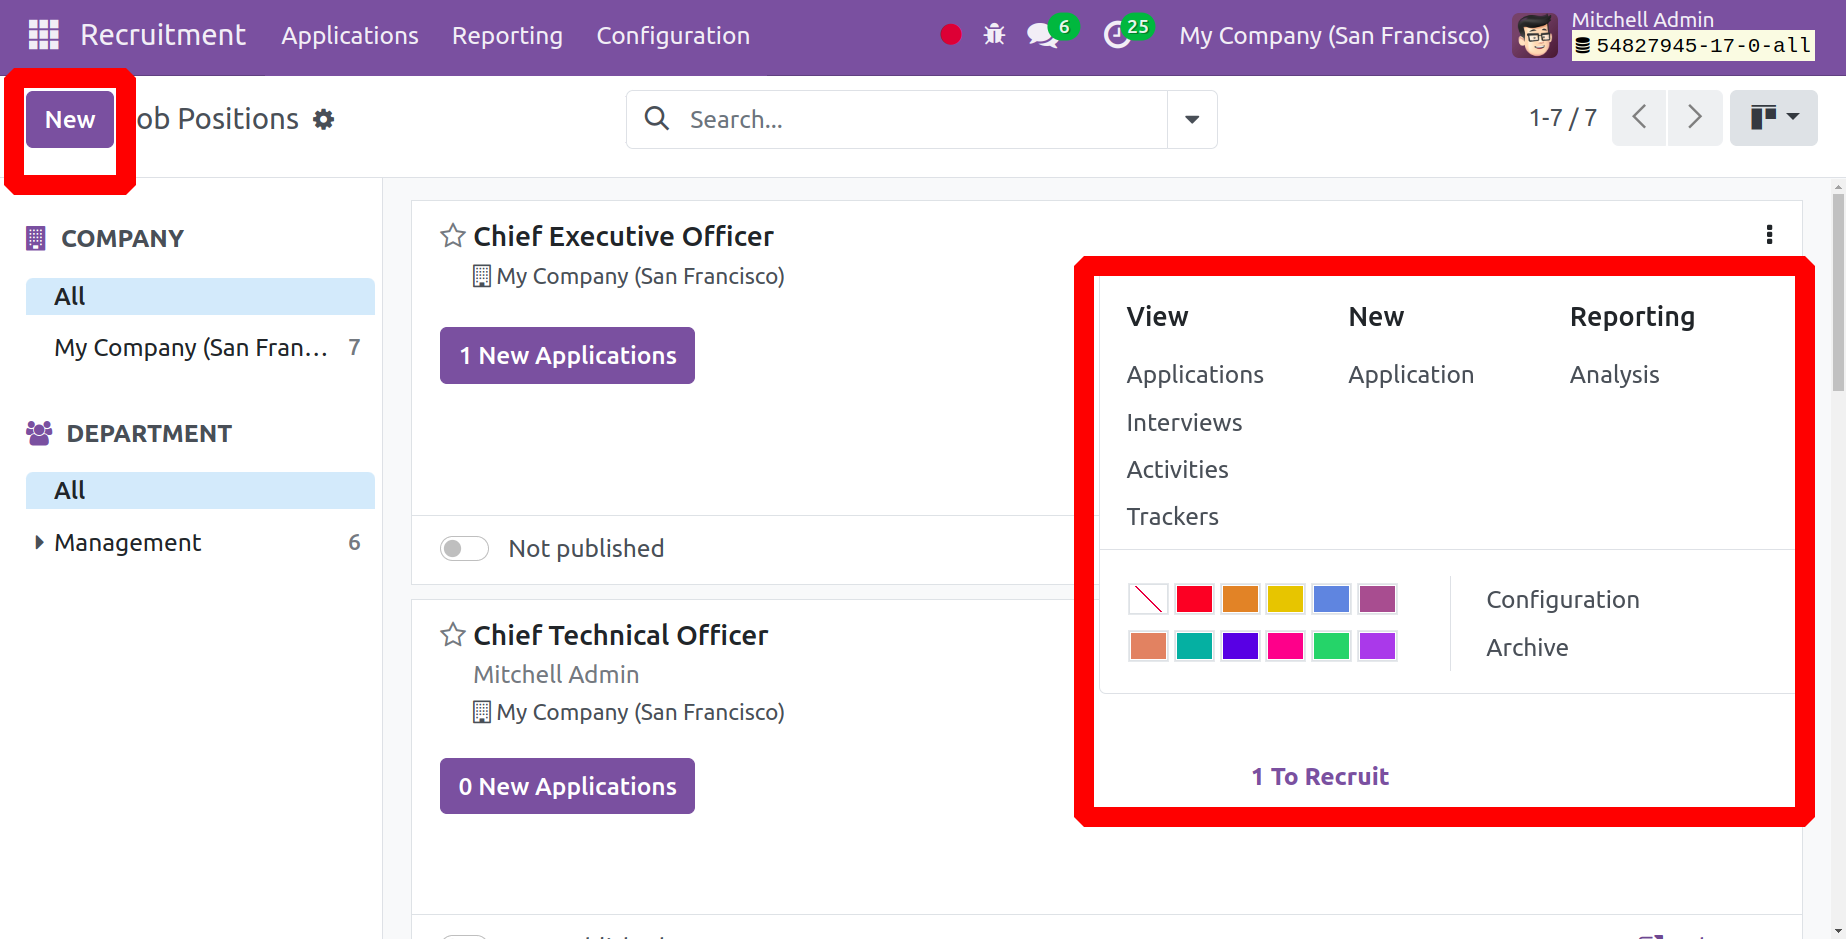
You can now create a new job opening by clicking the New icon on the page.
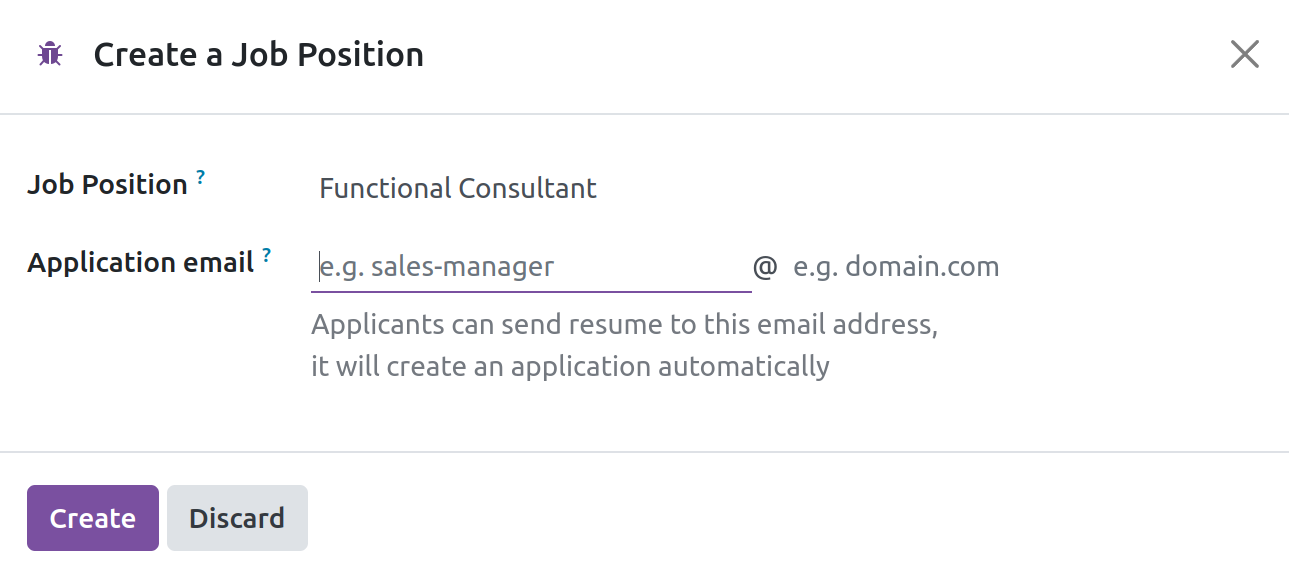
The job position can be added to the page in the designated place, and then it can be created by selecting the Create icon. Then the created job position will be added to the dashboard. From the three dots select the Configure option.
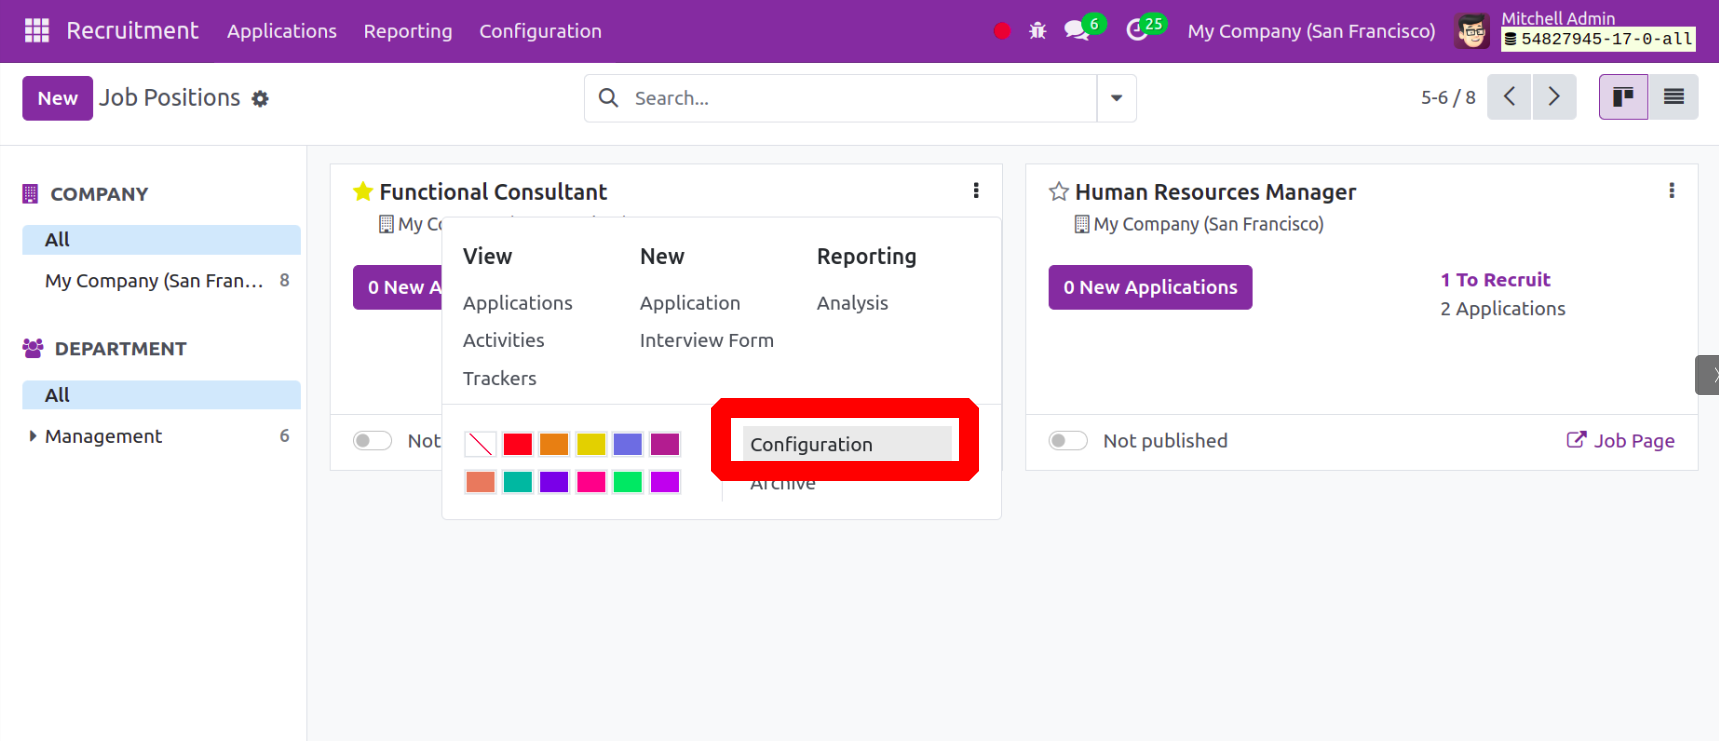
The screenshot below illustrates how the configuration page will look. The title of the employment position must appear at the top of the page. You will find tabs for Job Summary and Recruitment below.
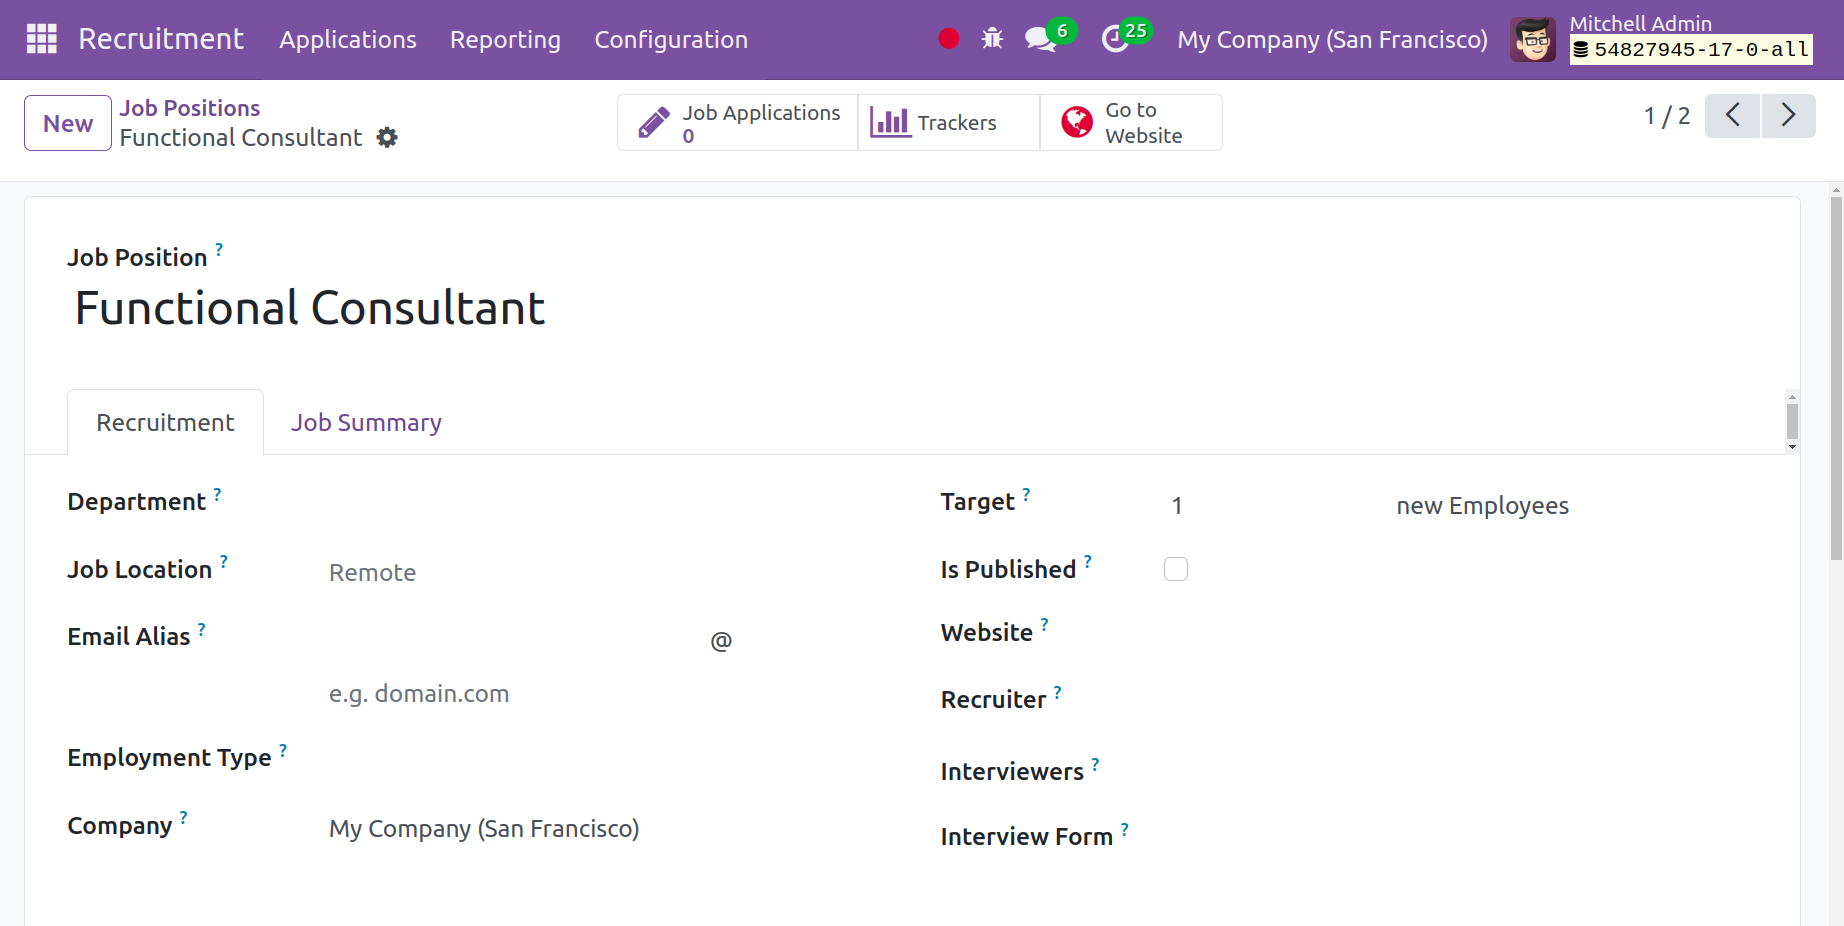
The Department, Job Location, Employment Type, Company name, number of targets, published option to activate, Website, Recruiter, interviewer data, and interview form must all be added under the recruitment tab. The Email Alias is given if you want to catch emails for this job position.
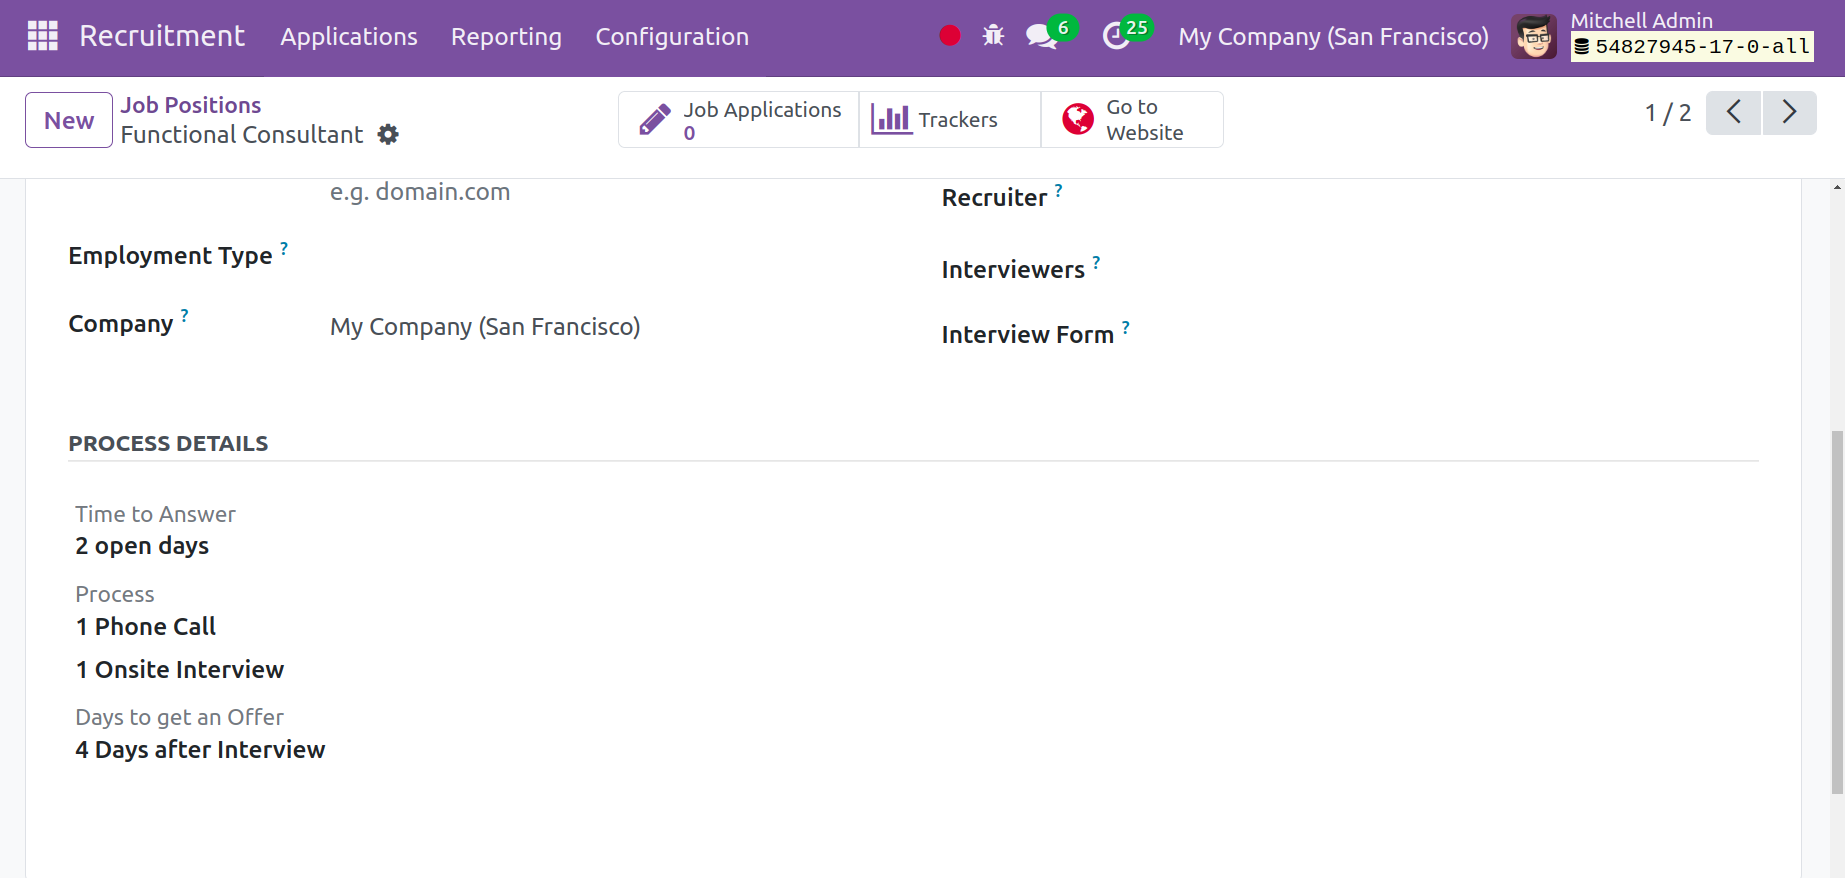
You may now include the PROCESS DETAILS, such as the days it takes to receive an offer option and the time it takes to respond.
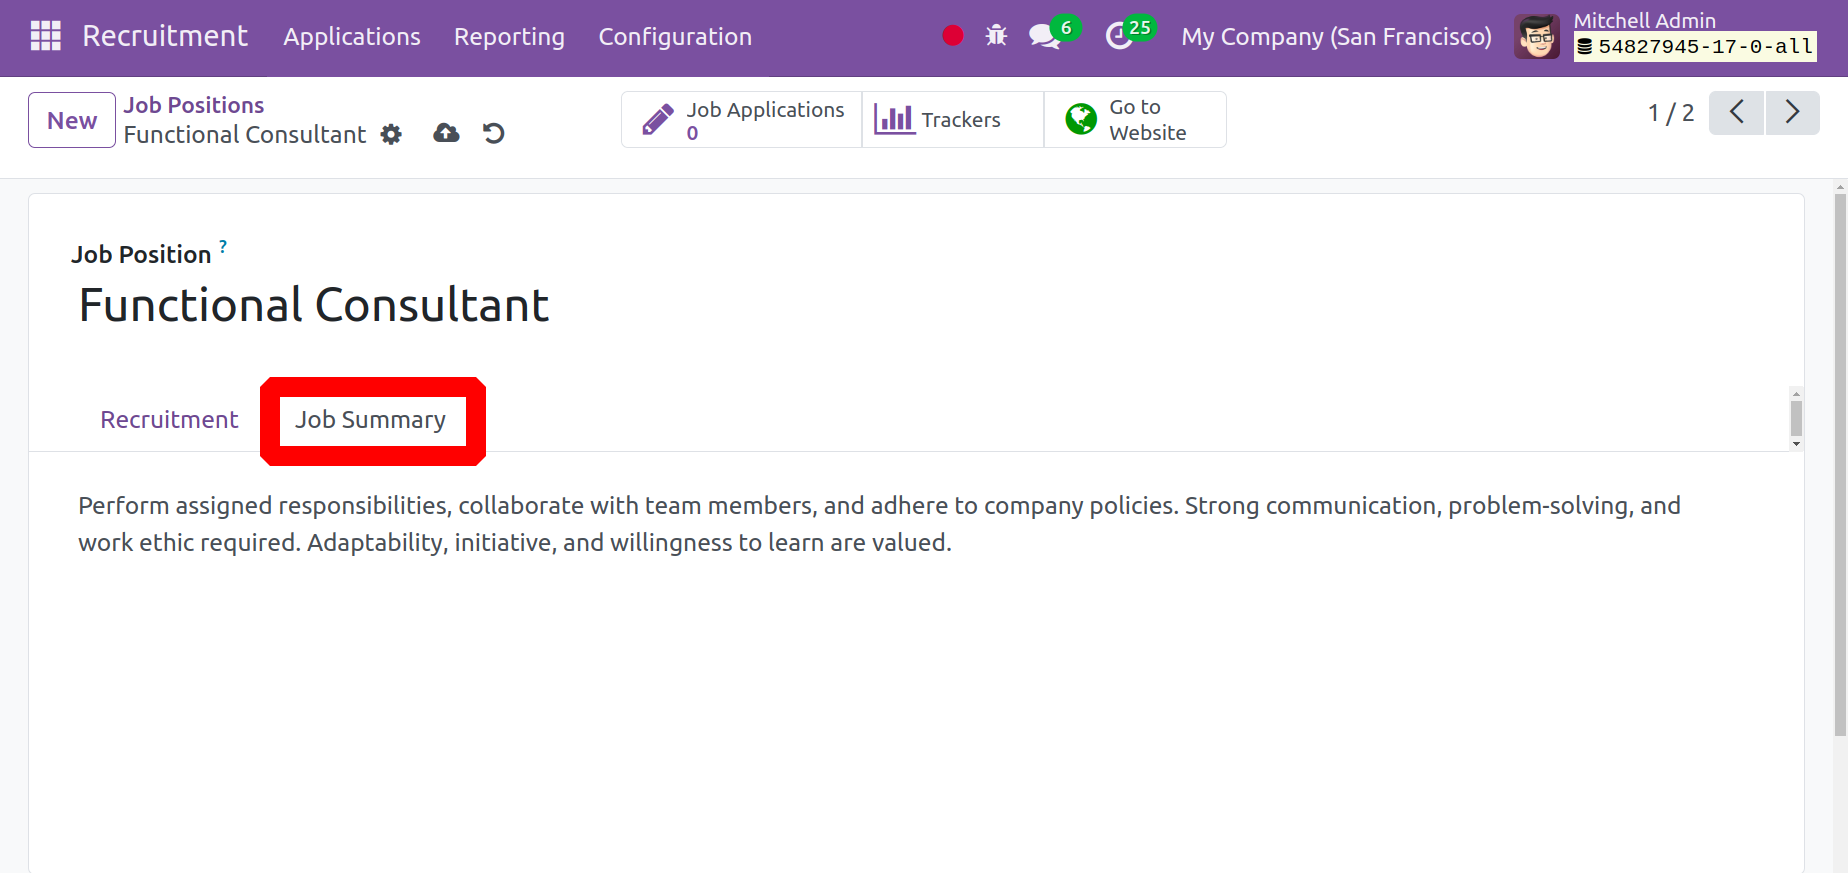
You may now add a brief job description under the Job Summary tab.
Once you have completed entering all the necessary information, click the save icon to add the newly created job position to the list of open openings. With the Go-to website option available on the top right corner of the page, you may now access the website view.
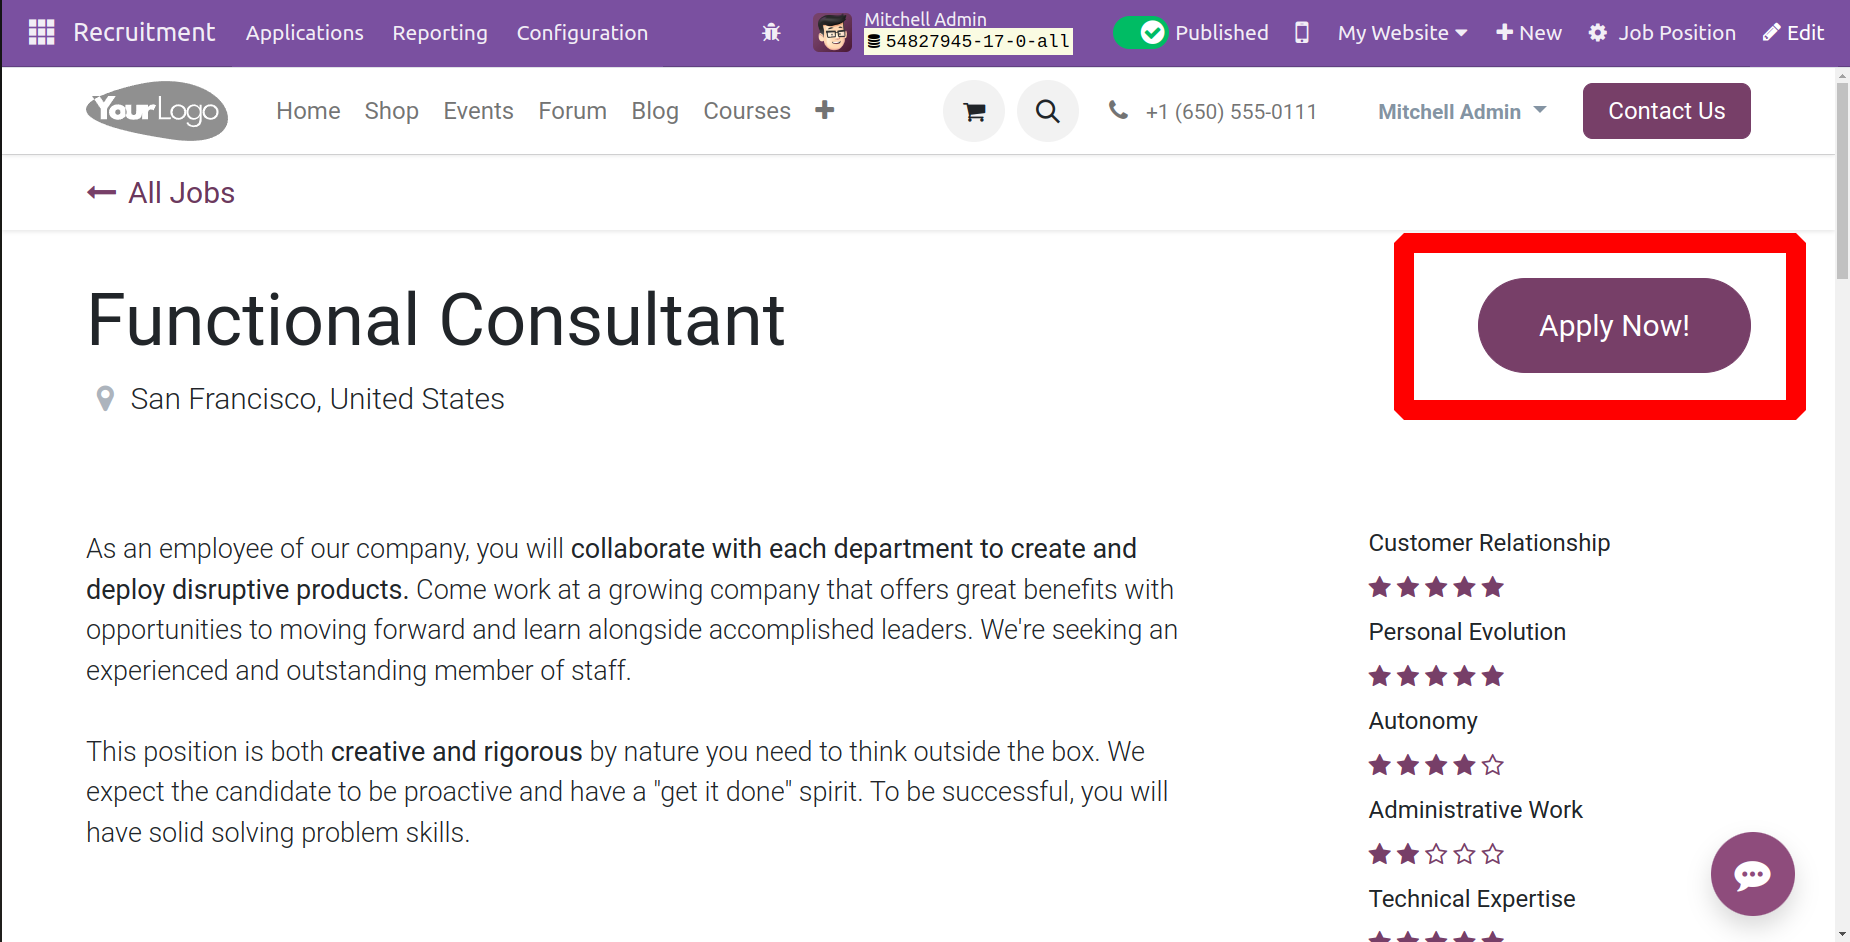
You will see the webpage as indicated above when you choose the "Go-to website" option.
You can apply for the job more easily by using the Apply Now button on the website page. You will see the page seen in the screenshot below when you choose the "Apply Now" option.
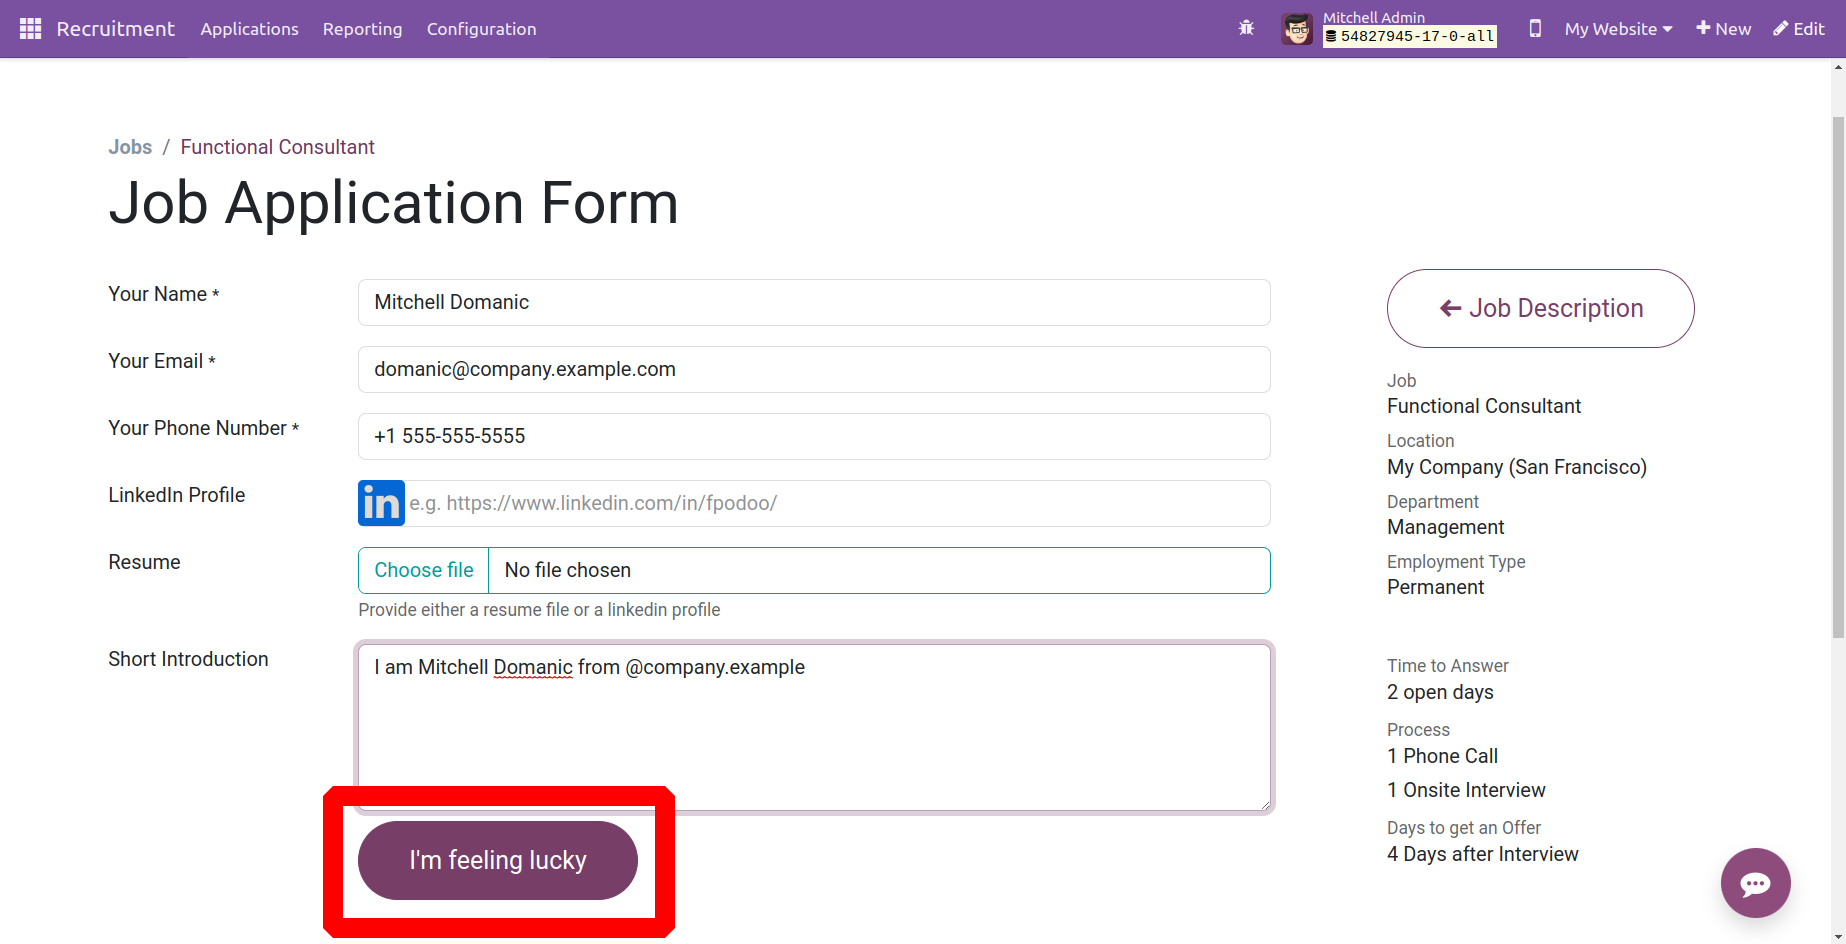
You can include the applicant's name, email address, phone number, LinkedIn profile, resume, and a brief introduction in the provided job application form. You can now use the submit option to save the entered data. The submit button is labeled as I’m feeling lucky. The application will be successfully submitted for the specific job after this is done.