Settings
The Settings option allows for more customizations. It falls under the Configuration menu.
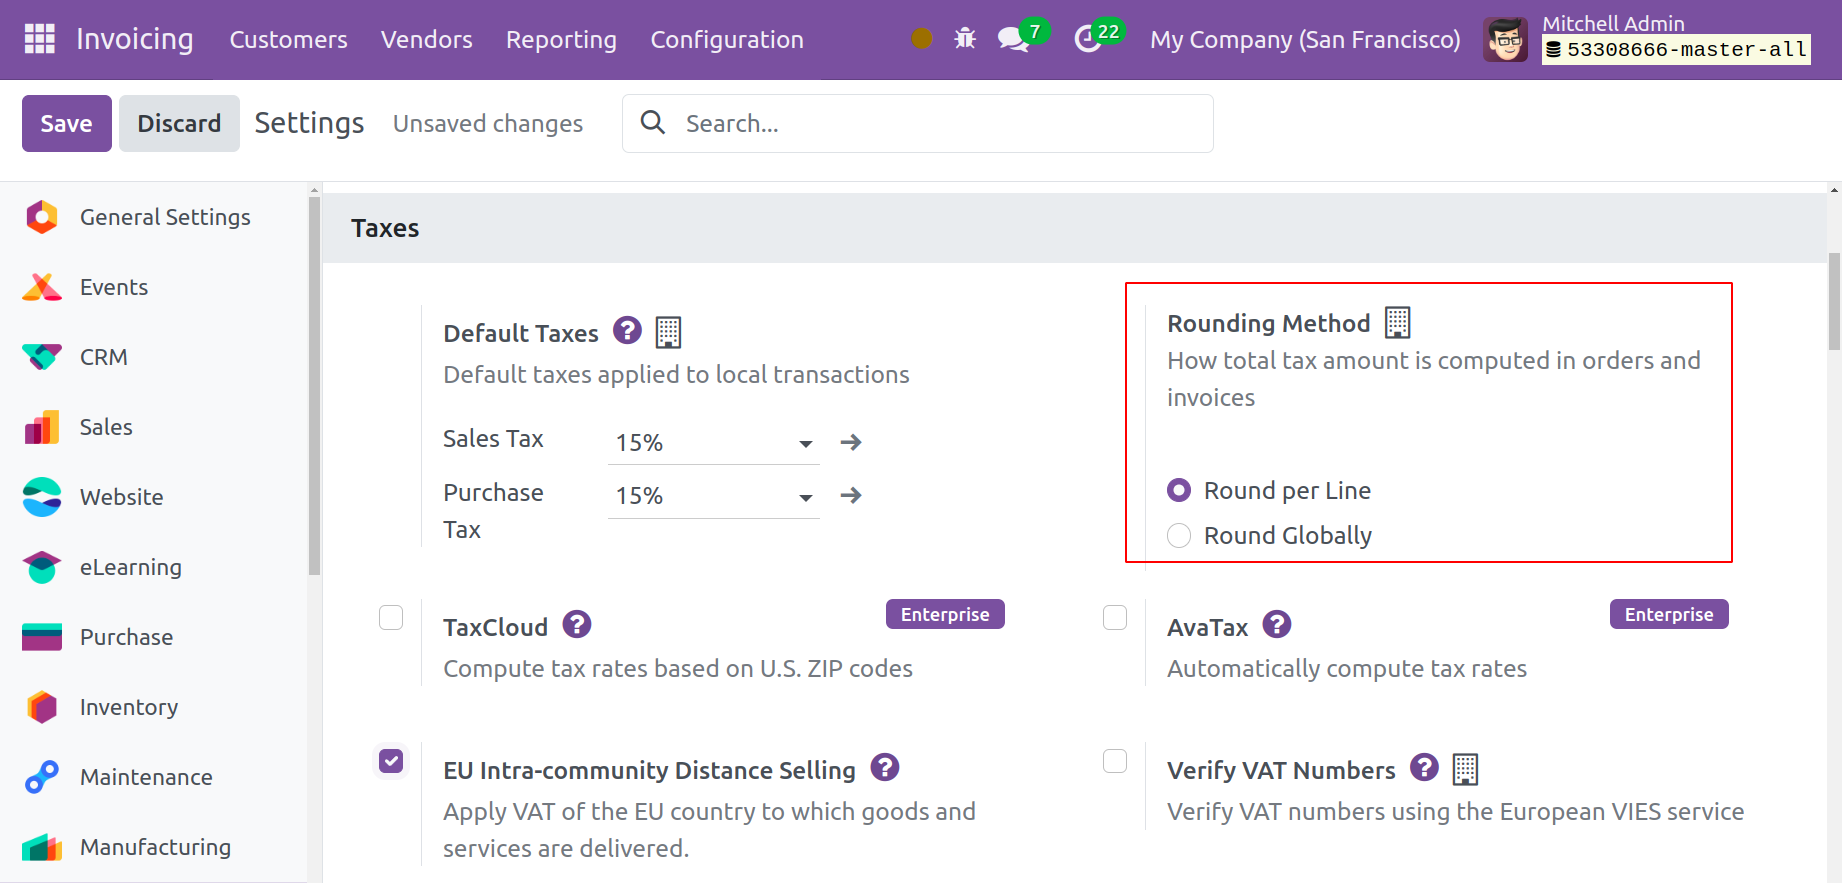
Rounding Method
The method used to determine the total amount of tax on orders and invoices will be specified by the Rounding Method option. For tax rounding, you have the option of using the Round per Line or Round Globally approach. If your prices include tax, it is recommended that you use a rounding per line. In this manner, the total with taxes is equal to the sum of the line subtotals.
EU Intra-community Distance Selling
If a foreign EU consumer purchases products and services from you, you have the option to charge VAT based on the delivery address. You can complete this task with the assistance of the EU Intra-community Distance Selling tool, which is accessible through the Invoicing module's Settings menu.
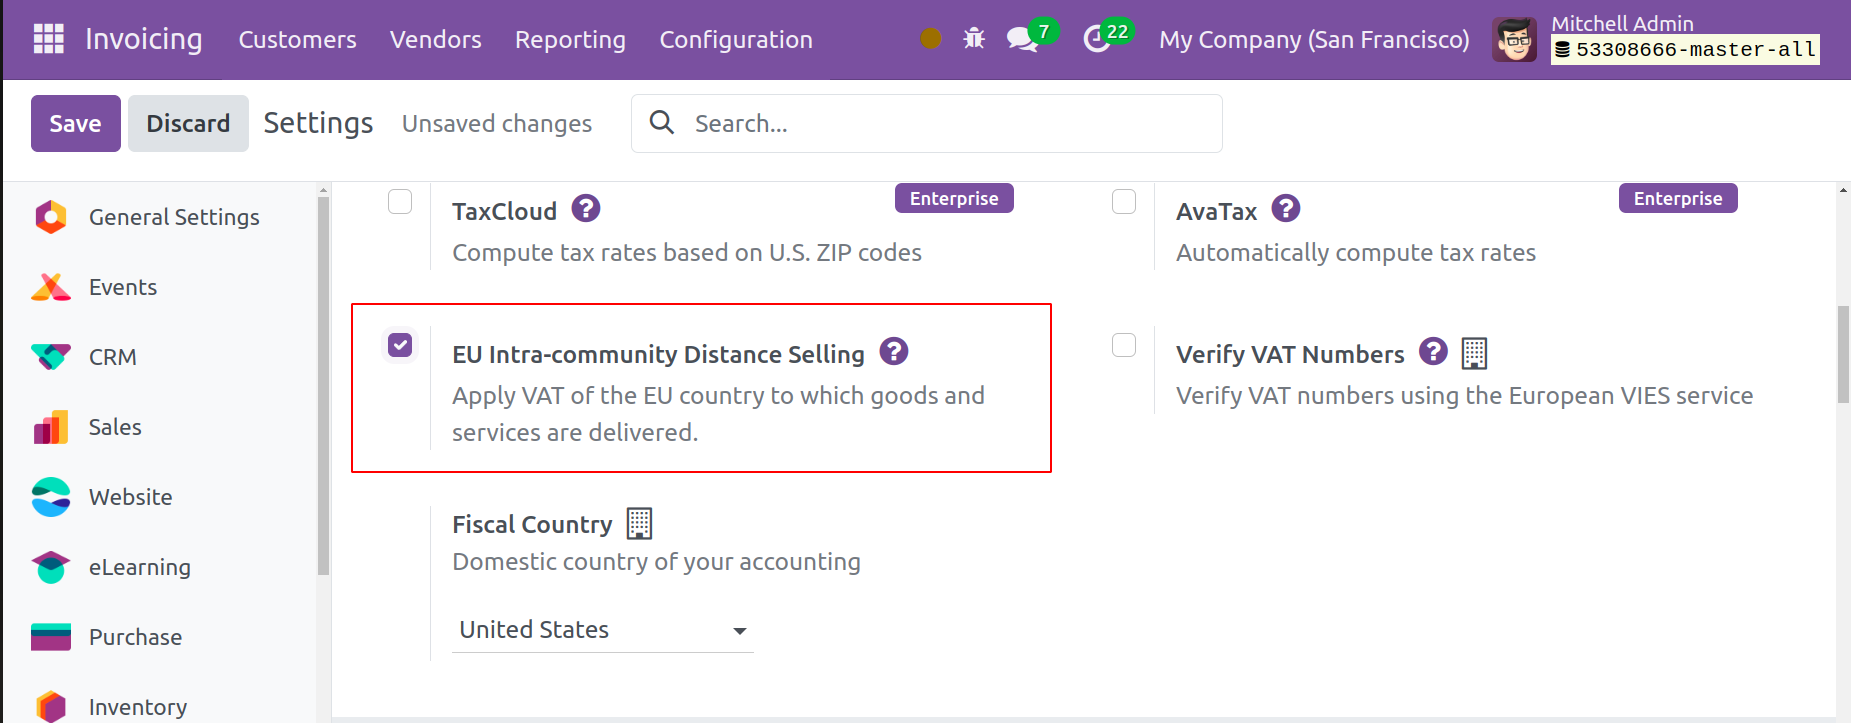
This regulation is applicable everywhere in EU Union. Odoo 17 will automatically apply the proper taxes and fiscal positions for each EU member state based on the customer's country. Utilizing the European VIES service, you can confirm VAT by using the Verify VAT Number tool. By turning on this feature, the contact will only be kept when the European VIES service has validated its VAT number.
Cash Rounding Methods
You can use the Cash Rounding functionality in the Odoo 17 Invoicing module to round the bill's total amount to the closest whole number. Having bills with a rounded total amount will be made easier with this functionality. You must navigate to the Invoicing module's Settings menu in order to use this feature. The Cash Rounding feature is located under the Customer Invoices tab, as the screenshot below illustrates.
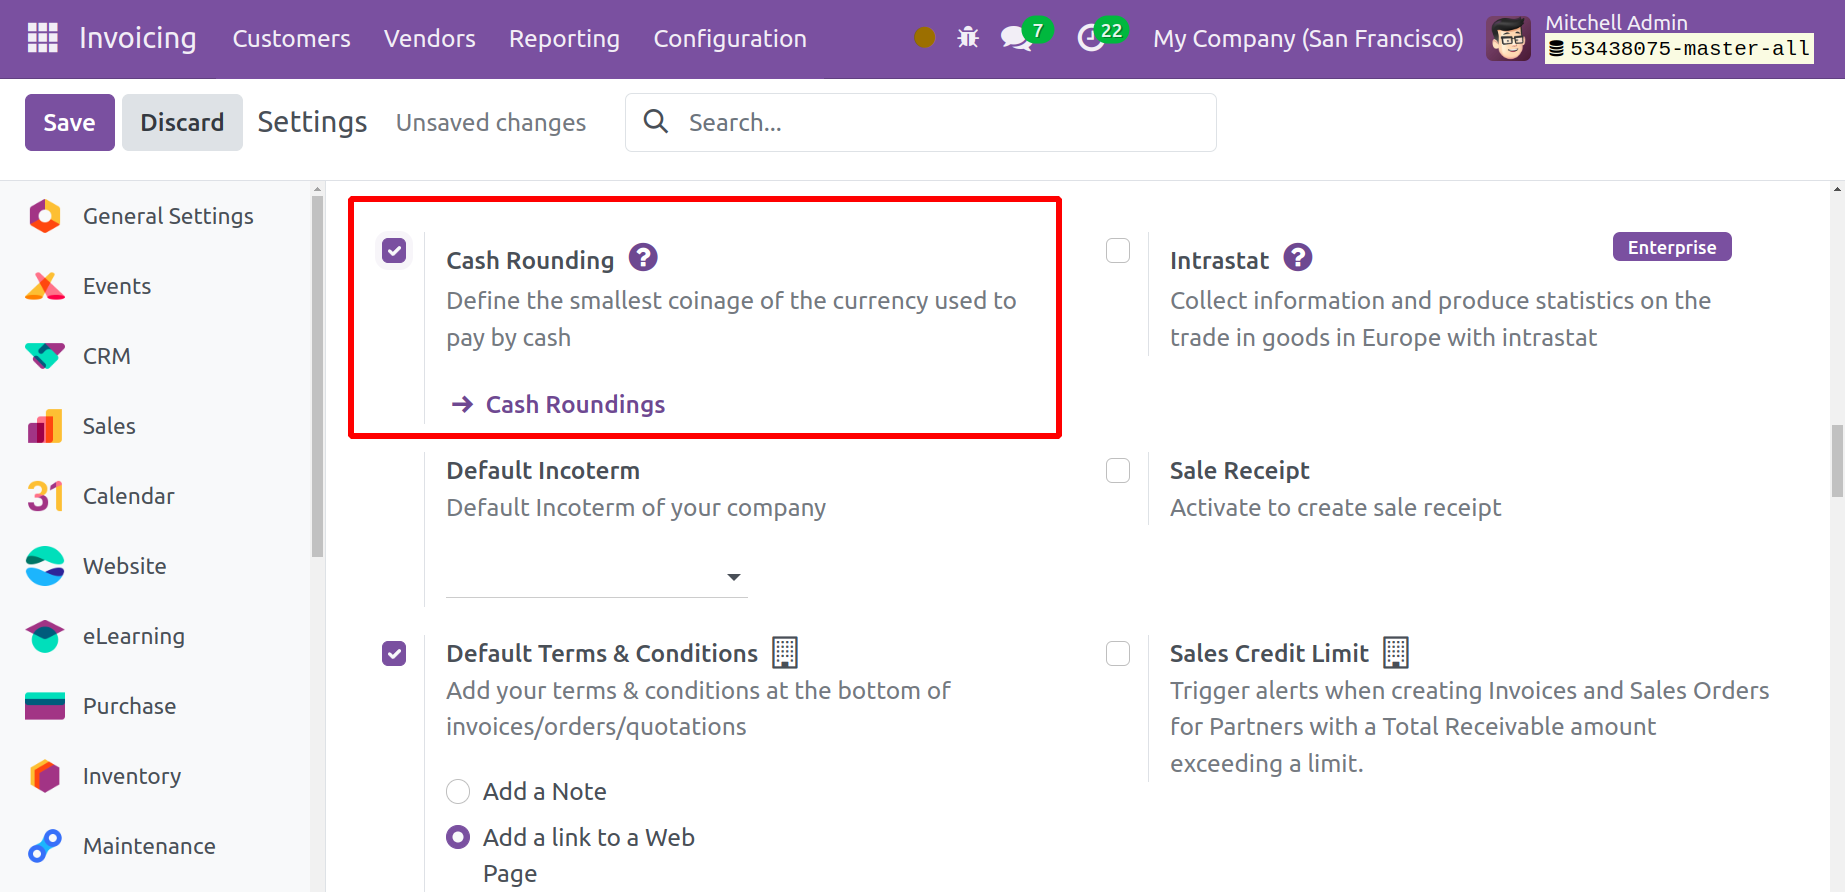
The Cash Rounding option will appear under the Configuration menu if you activate this field. In this module, you may create a new cash rounding by using the New button.
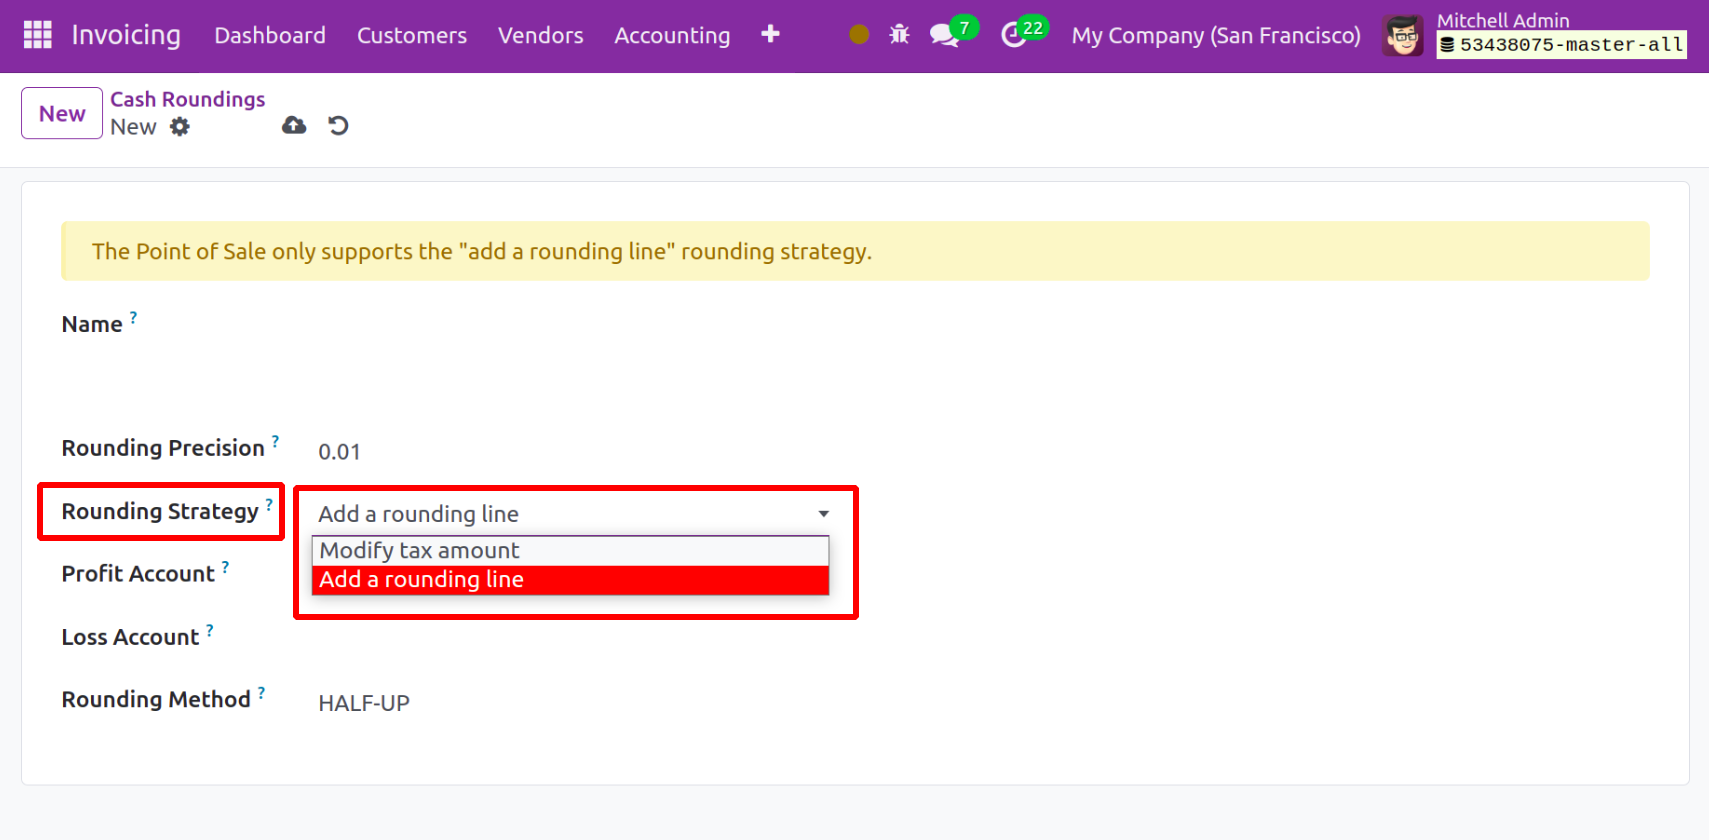
In the designated space, give the cash rounding a name. You can refer to the Rounding Precision and Rounding Strategy in the respective fields. How the invoice amount is rounded to the specified rounding precision will be specified in the rounding technique. Either Add a Rounding Line or Adjust Tax Amount will be the options. Enter the Loss Account and Profit Account in the designated areas.
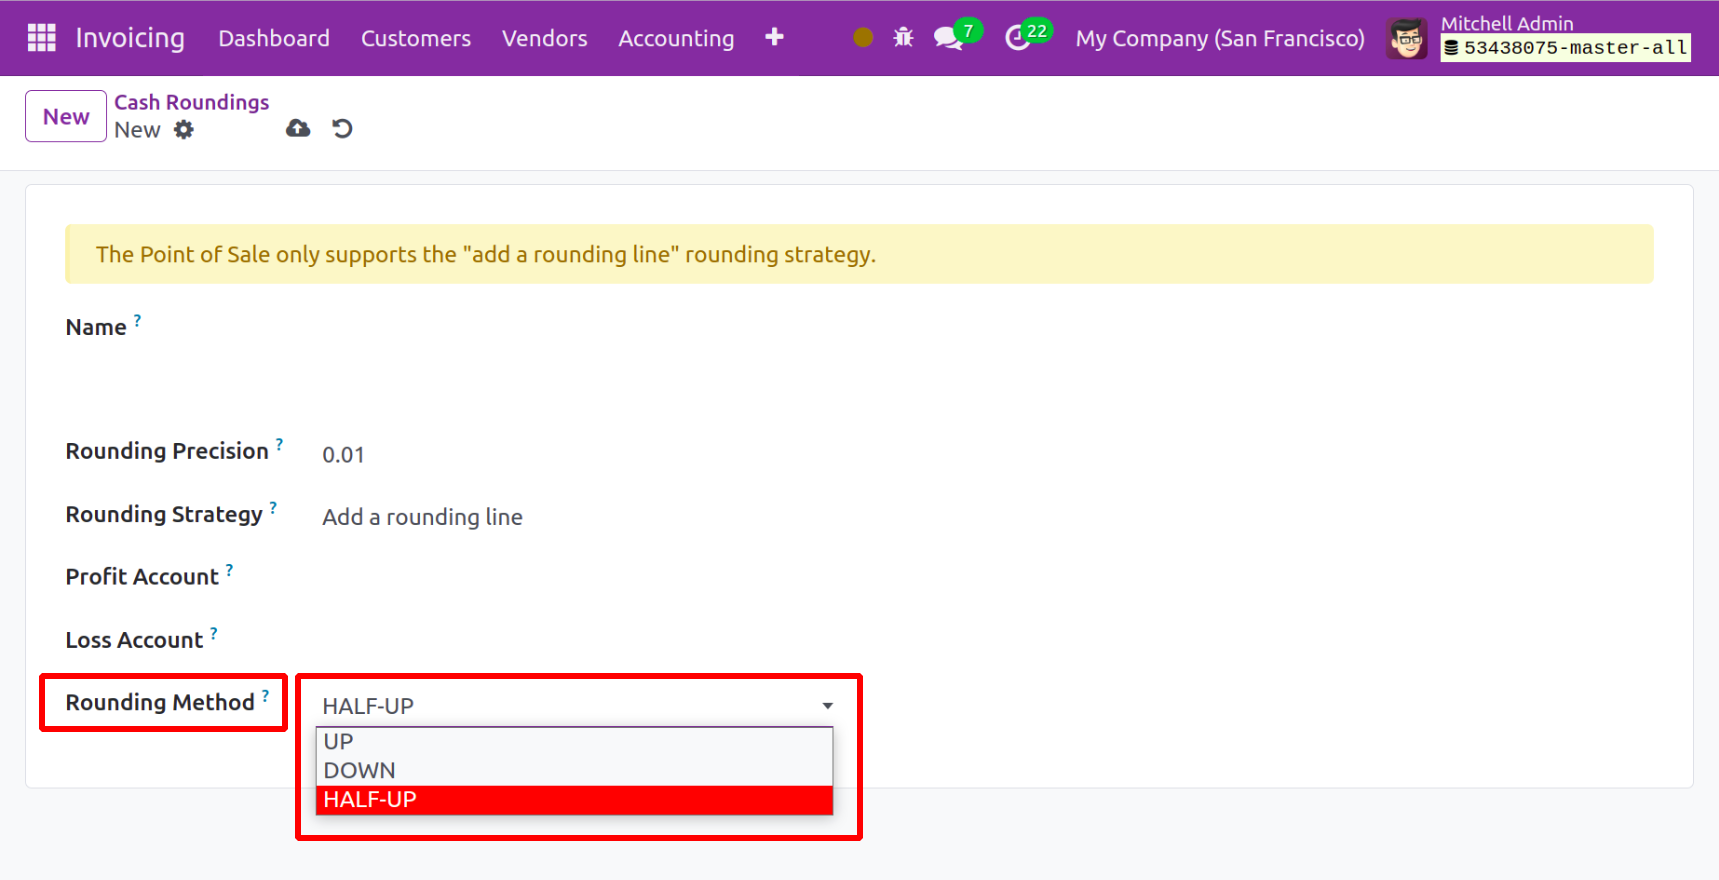
The available list allows you to select the Rounding Method, which includes UP, DOWN, and HALF-UP. The value will round up to the highest infinite in the UP choice and down to the lowest infinity in the DOWN option. When using the HALF-UP option, the number will be rounded up towards plus infinity if the decimal component value is greater than or equal to 0.5 and rounded down towards negative infinity otherwise.
Sale Receipt
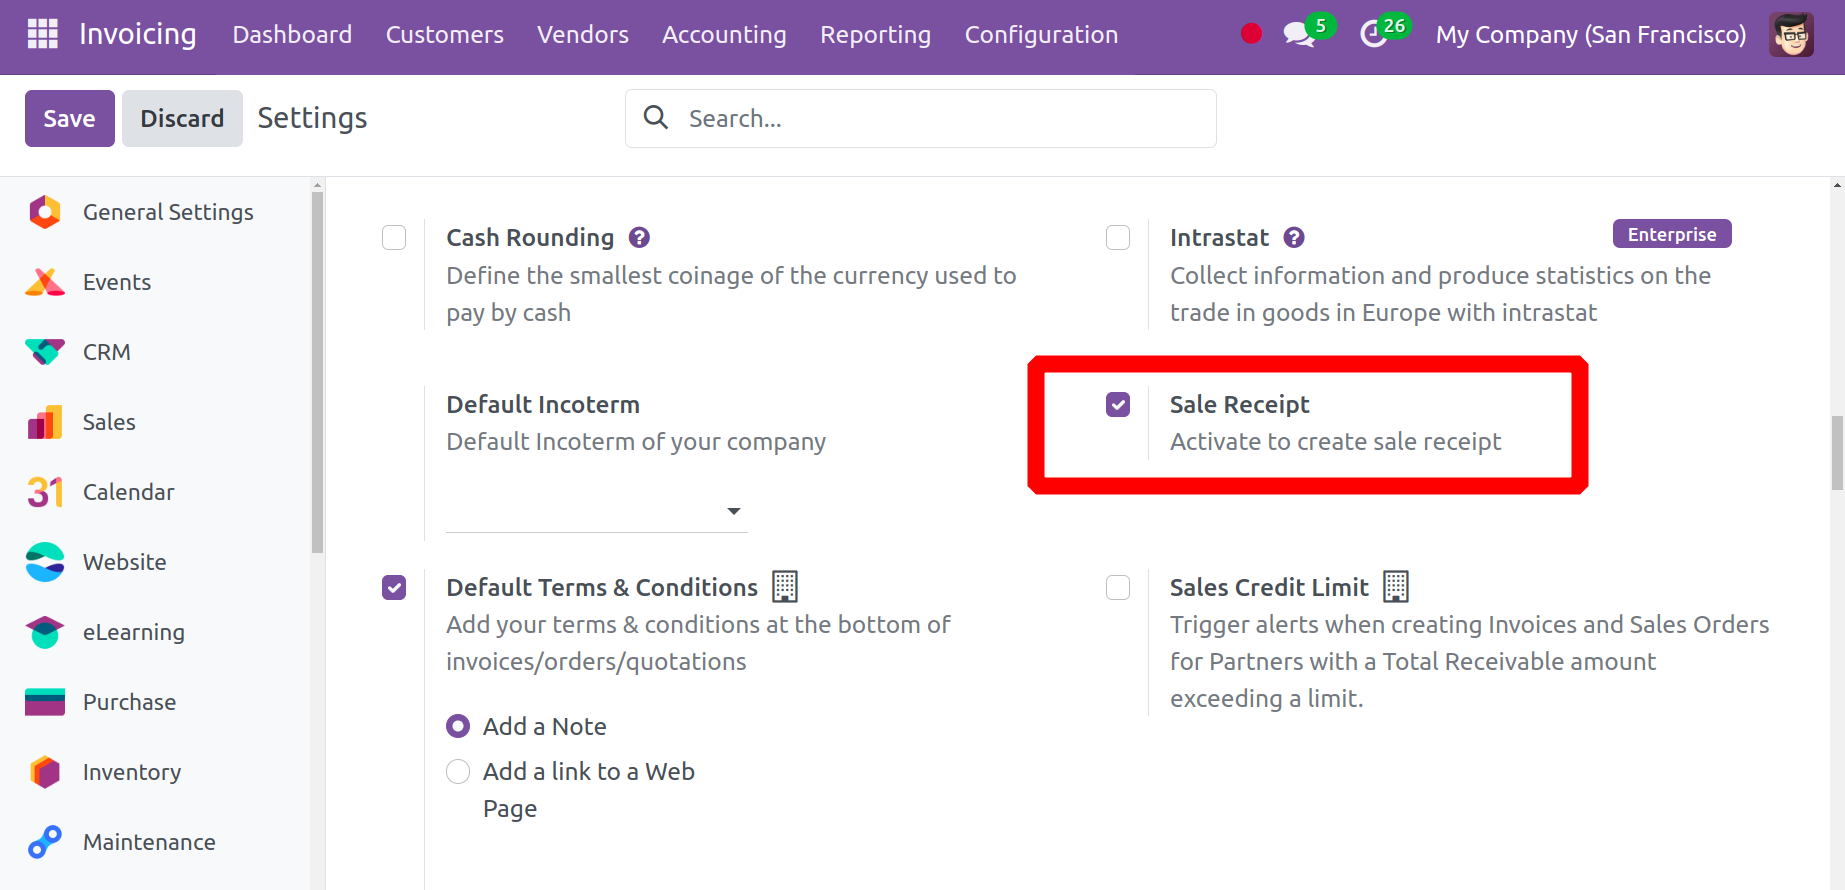
Under the Customers menu, users have access to a sales receipt option. Therefore, the Sales Receipt option from Settings, which is located under the Customer Invoices section, must first be enabled by the user. It aids in the production of a sales receipt.
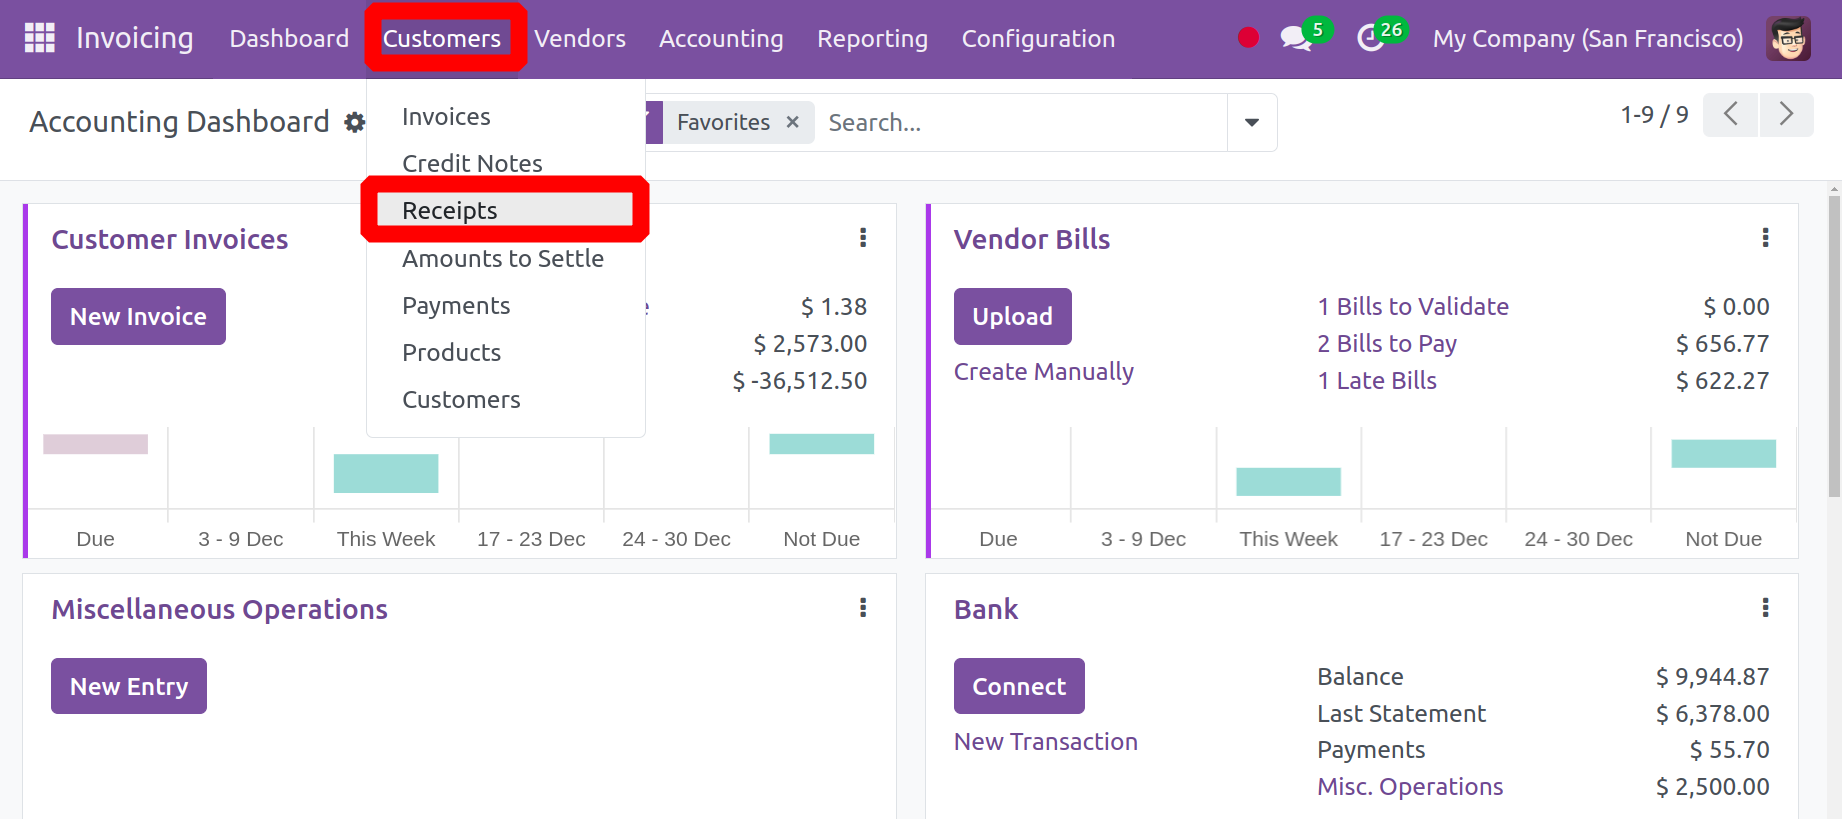
Next, under the Customers menu, the user is presented with an extra Receipt option. The sales receipts are contained in the receipts.
In order to add a new sales receipt, click the New button. An invoice and the creation form are comparable.
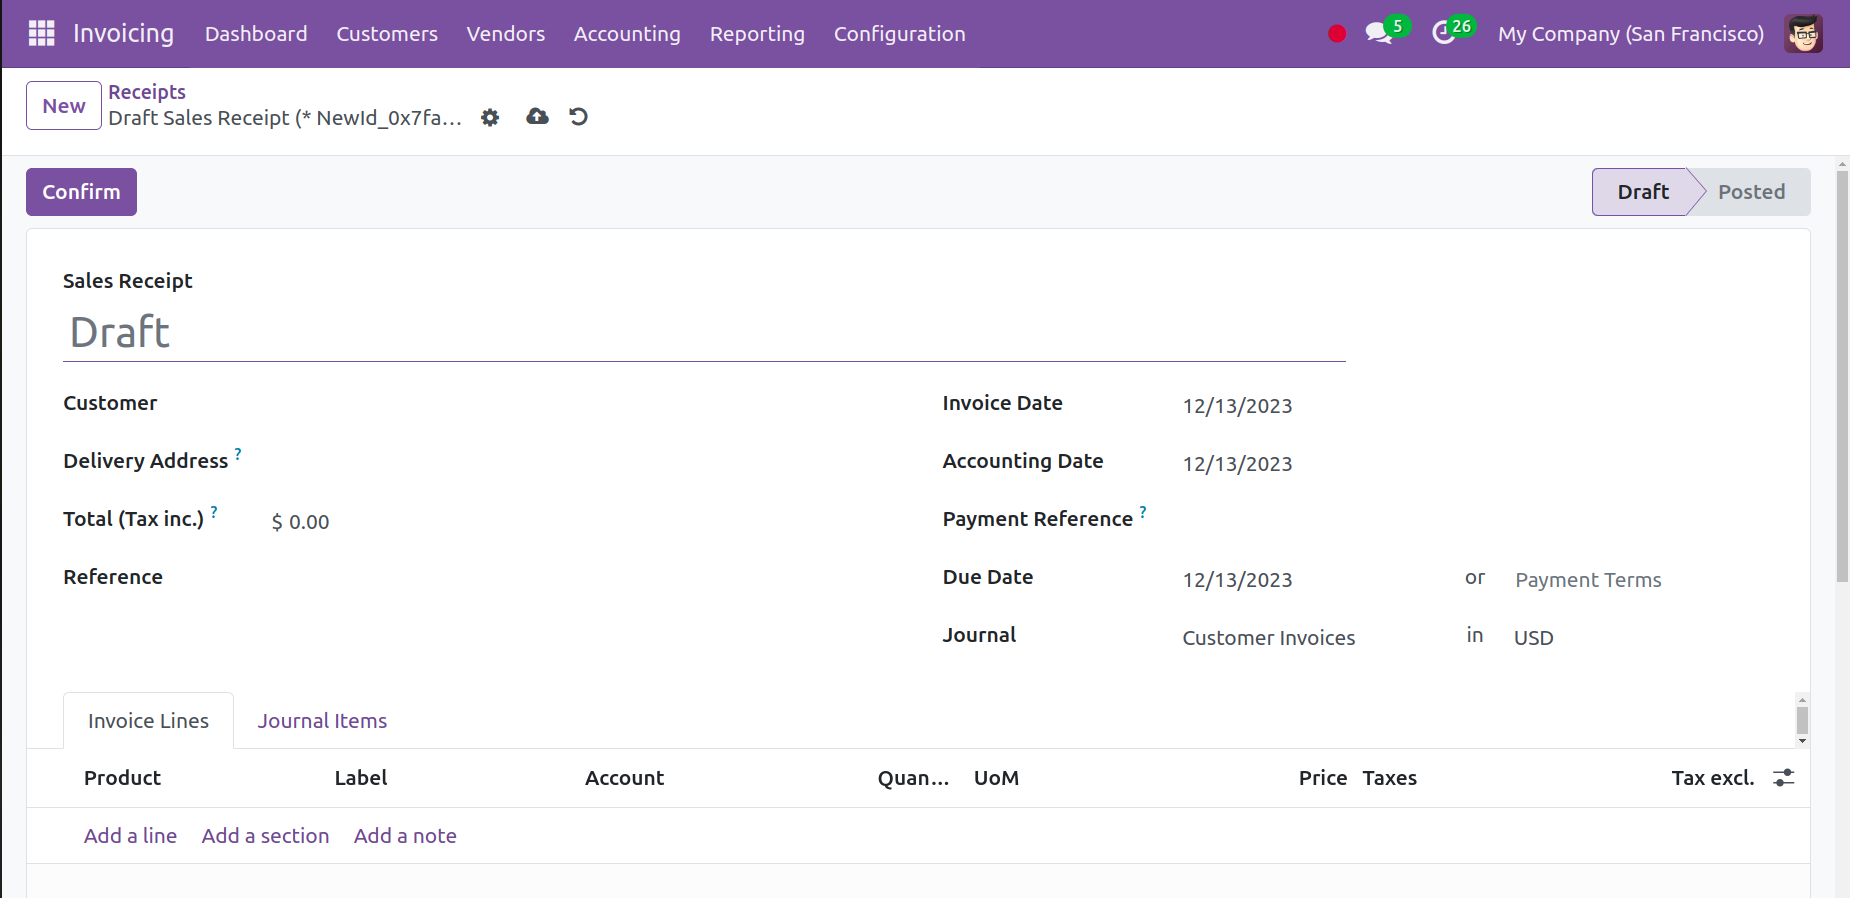
However, the user is unable to make the payment after verifying the receipt because the Register Payment button is missing from the document.
Defaults Terms and Conditions
One of the customization options provided by Odoo17 for the Invoicing module's billing process is Default Terms & Conditions. By default, the invoice might have the user's or the company's terms and conditions added. In the settings, you can make reference to the standard terms and conditions.
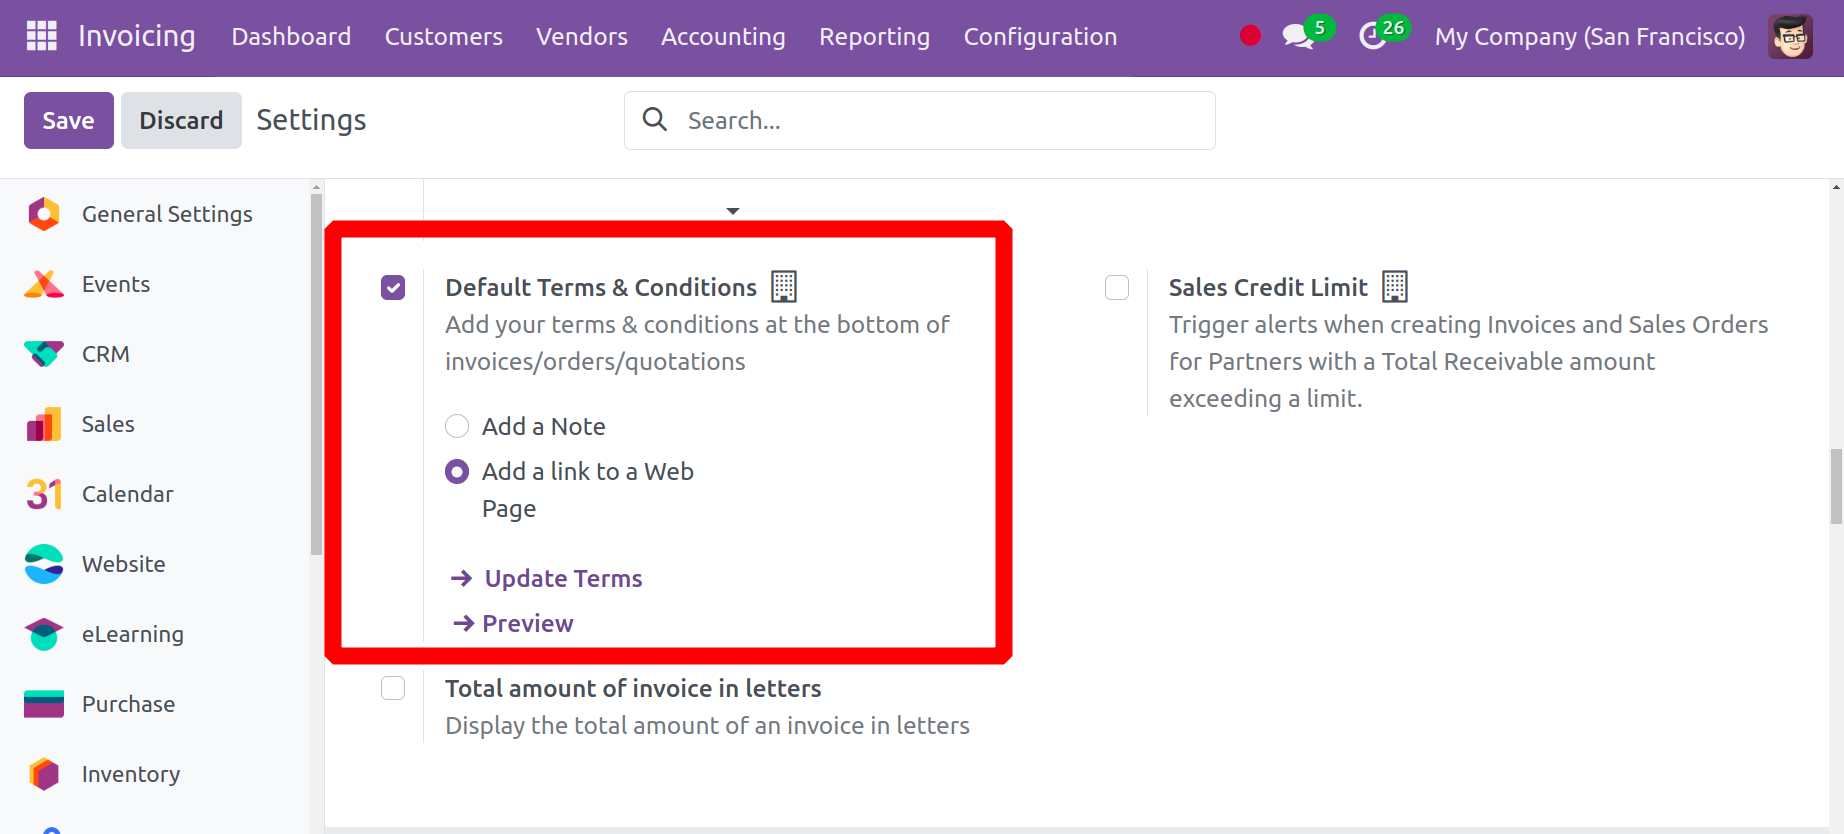
The standard terms and conditions are found under the Customer Invoice section. It may be included as a remark or as a link to an online page.
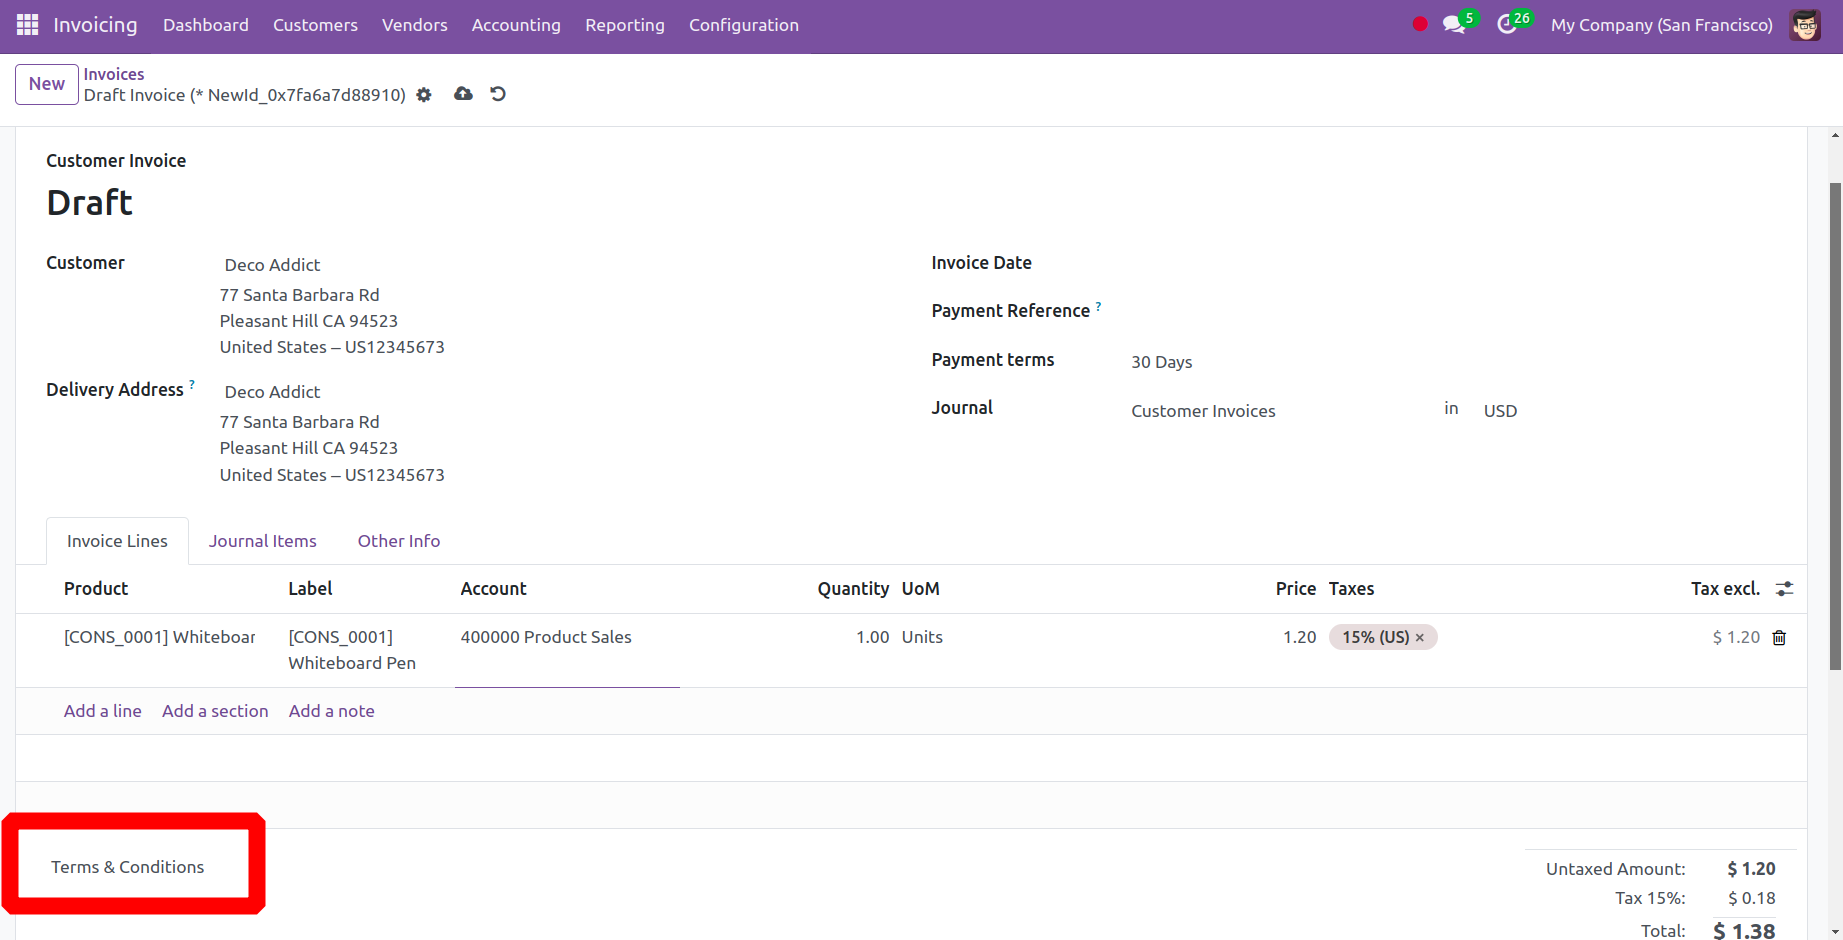
Orders, quotes, and bills will all have the standard terms and conditions listed at the bottom.
Sales Credit Limit
When creating sales orders and invoices for partners whose total amount receivable exceeds a certain limit, an alert can be set up using the Odoo 17 Invoicing module's Sales Credit Limit feature. You can activate this option, as seen in the image below, from the Settings menu.
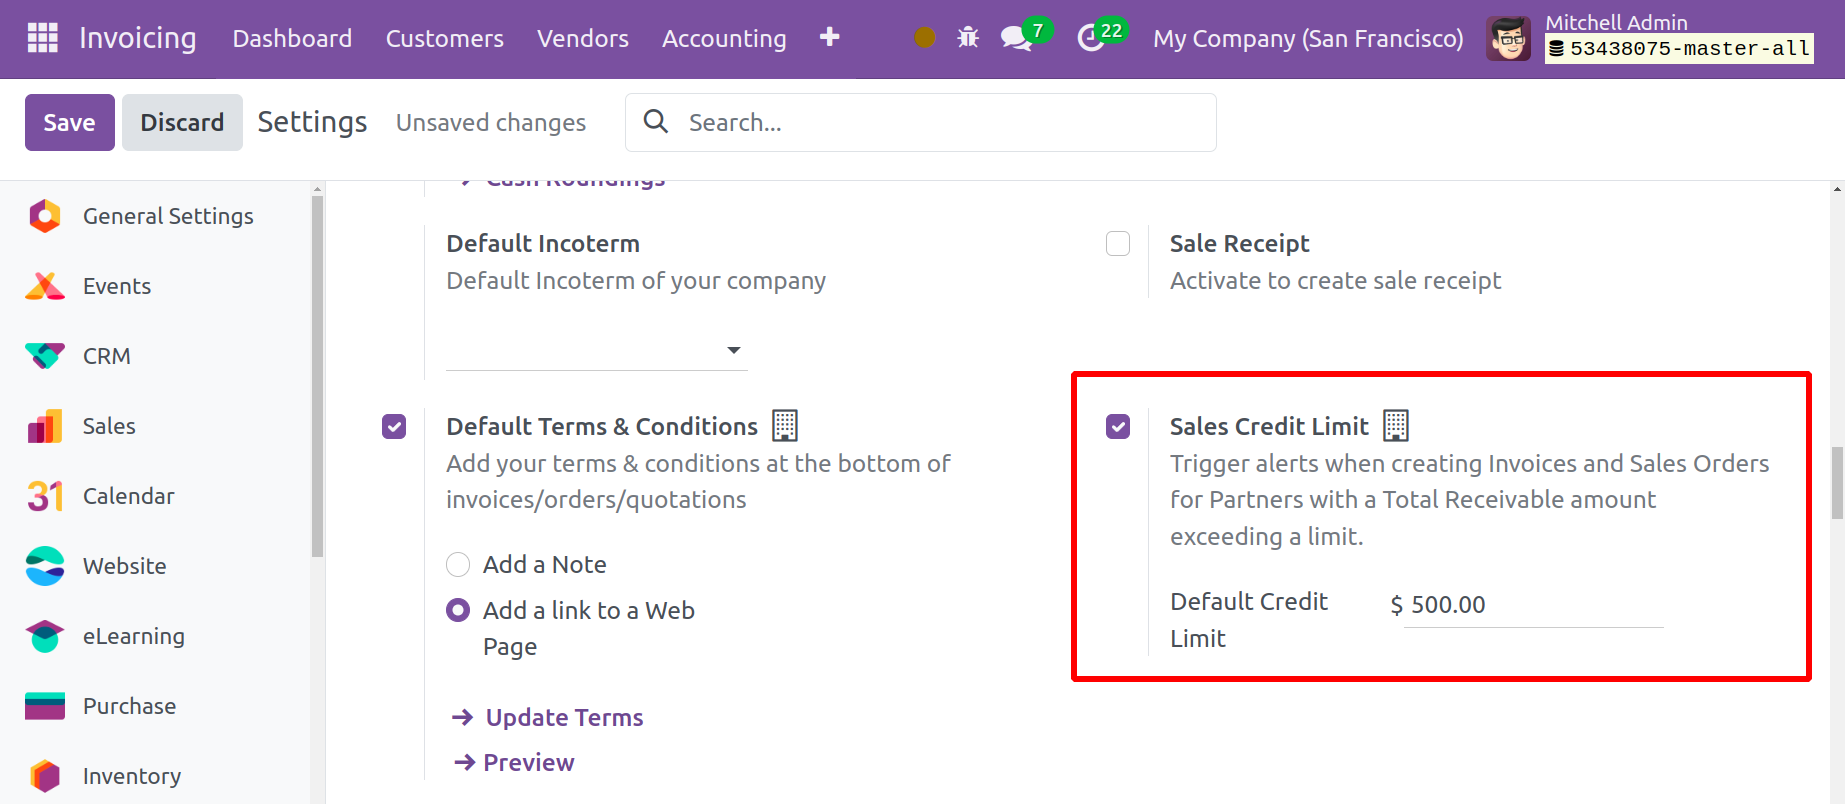
You can specify the credit limit that partners are permitted to utilize in the Default Credit Limit box. As an illustration, we could designate $500 as the Sales Credit Limit. We're going to investigate what occurs when you generate a sales order or invoice for a partner whose credit limit is already above $500.
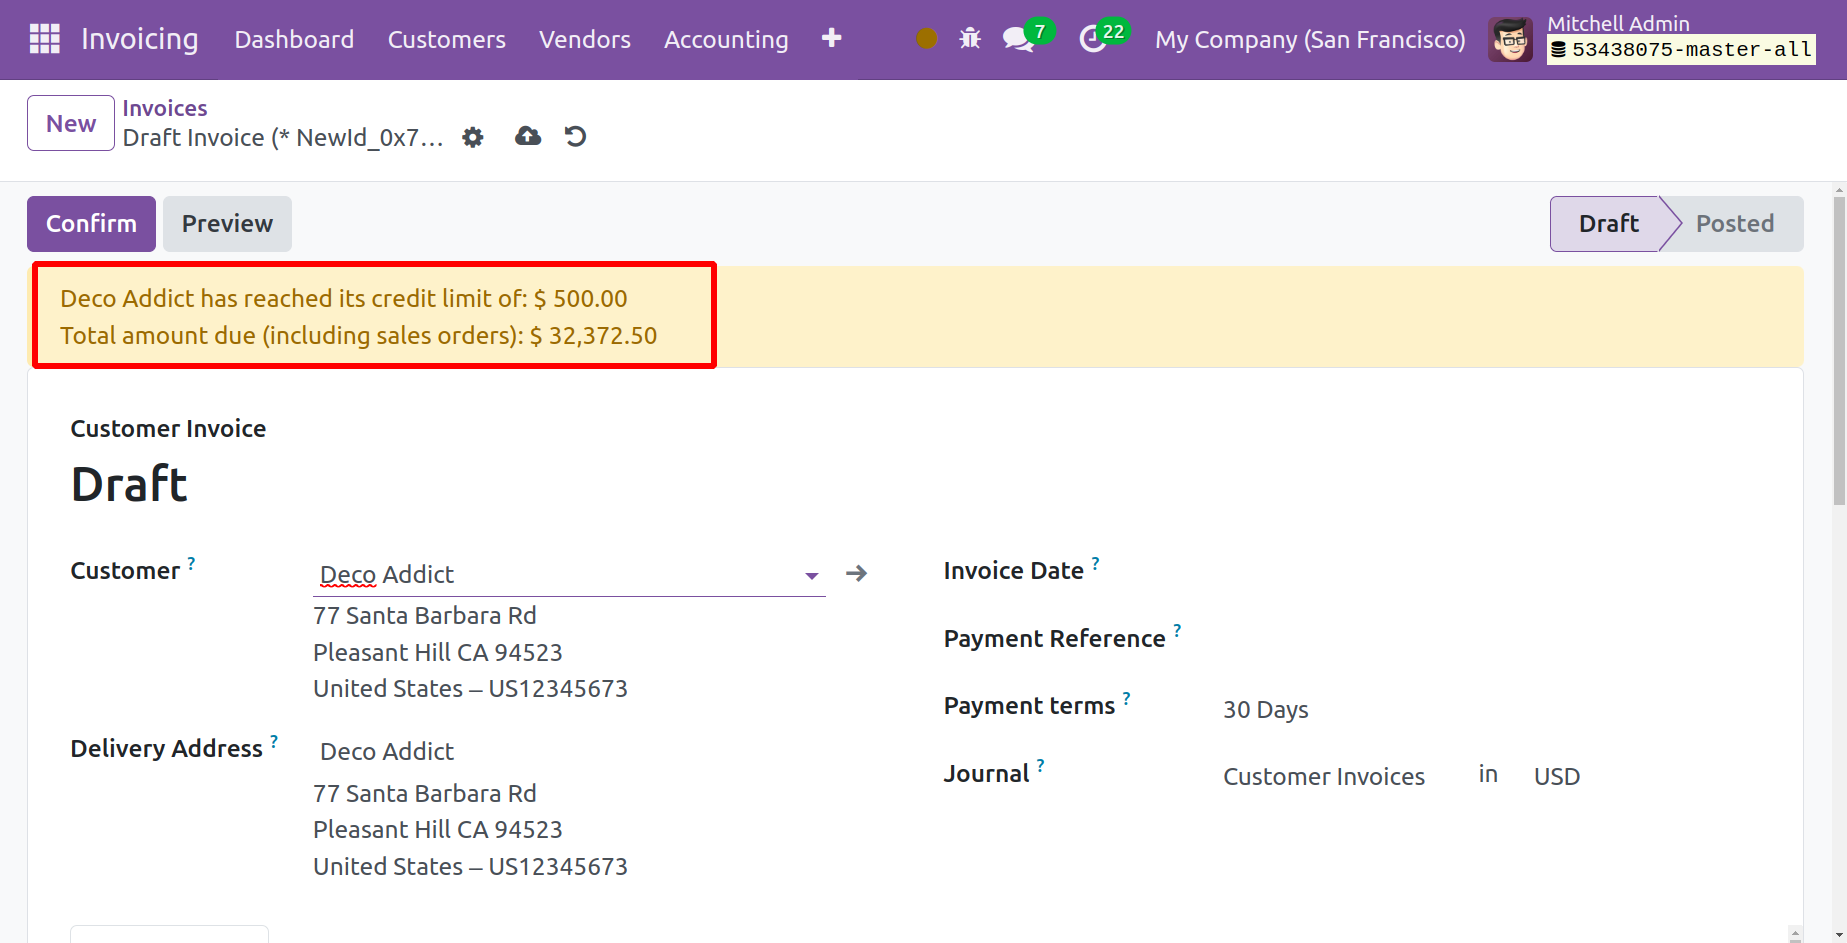
As you can see, the customer has already reached the limit, and a warning message is displayed on the window. From this notice, you can see the partner's total amount owed.
If you would like to establish a credit limit for a certain customer, you can use the Customers option found in the Invoicing module. You can establish the Partner Limit using the Credit Limits settings found under the Invoicing page.
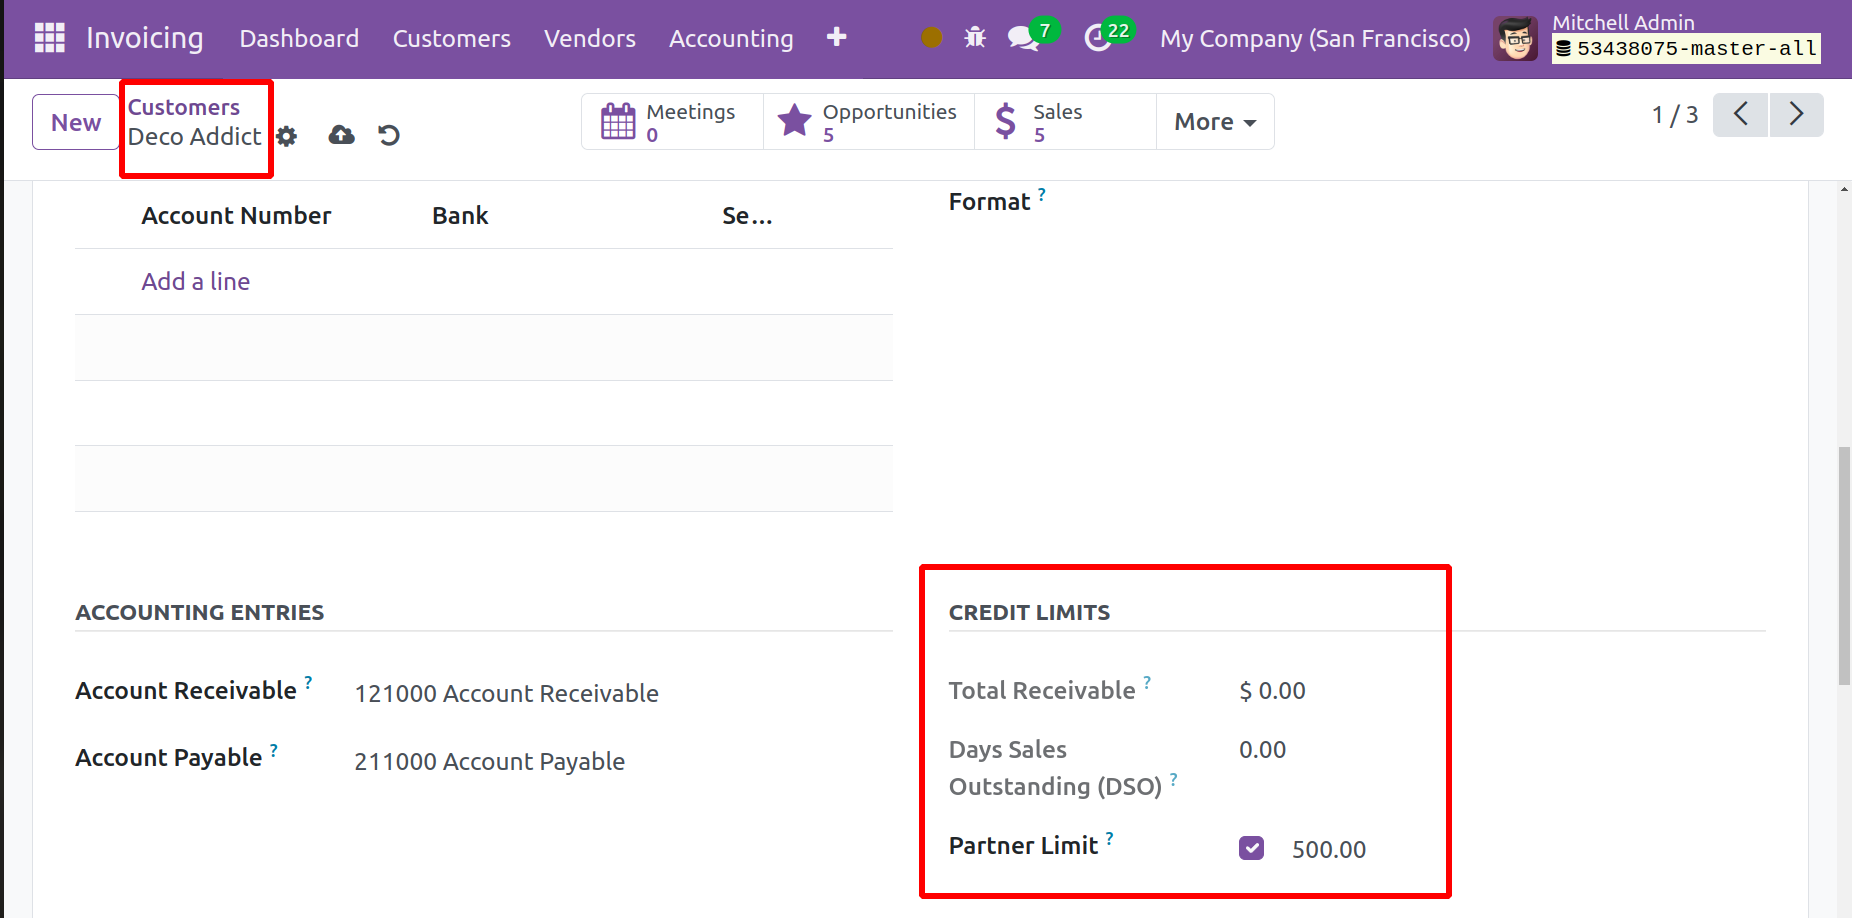
Turn on this function and enter the credit limit in the designated area. The whole amount this customer owes you will be shown in the whole Receivable field. You can set sales credit limits in your system for every customer by using this method.
Total amount of invoice in letters
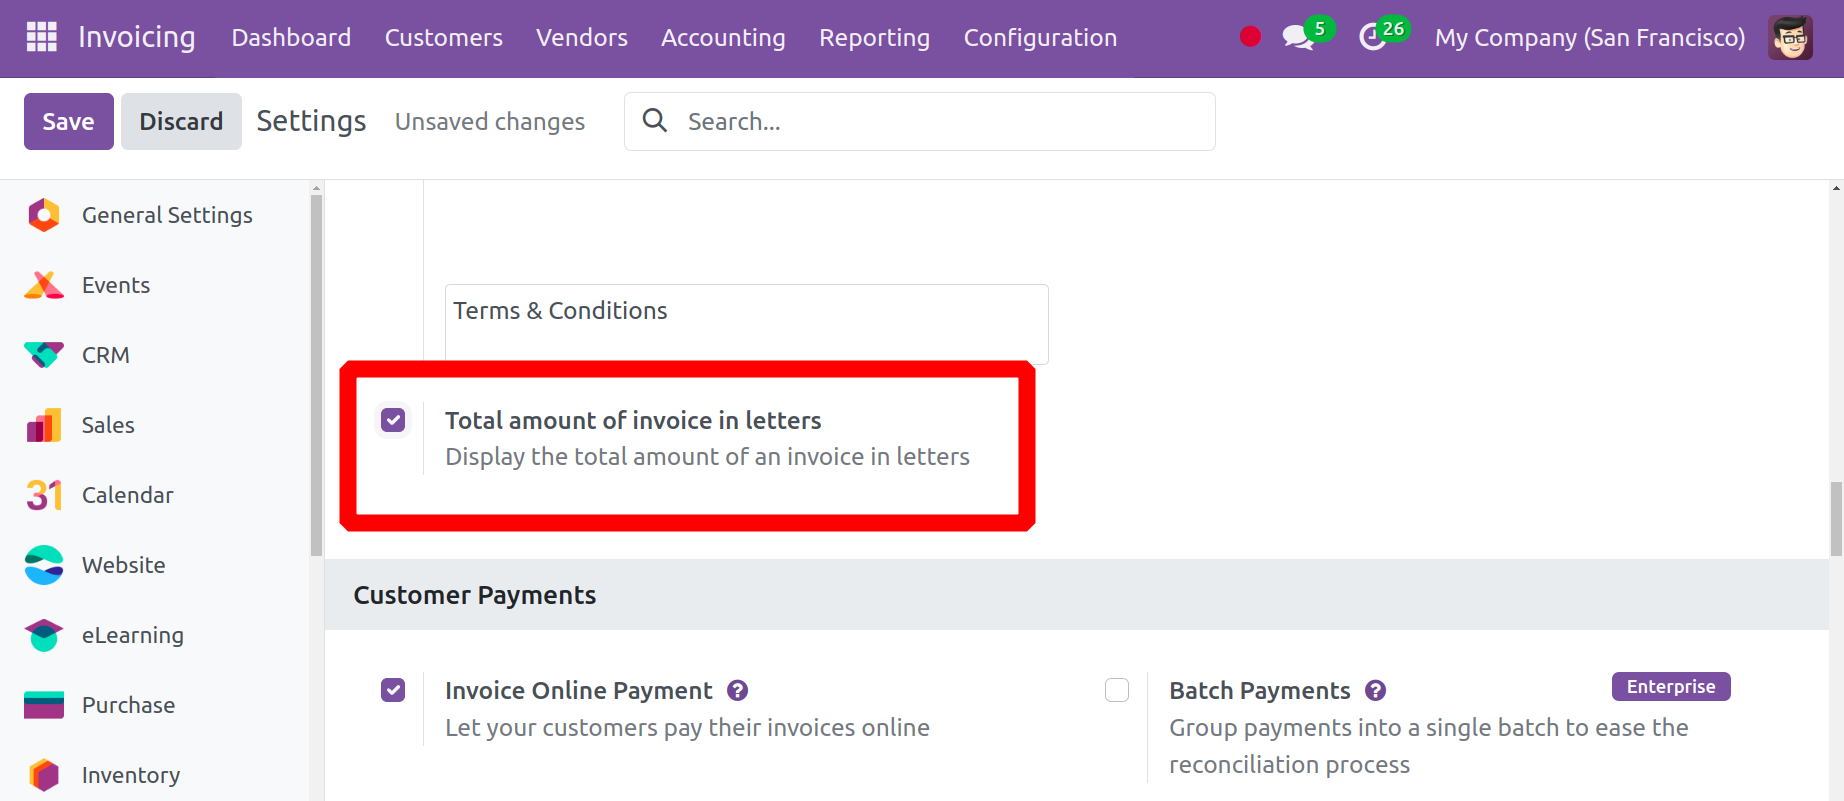
One of the new features that Odoo 17 offers is the total amount of the invoice in letters. This may be found under the Customer Invoice action in the Settings.
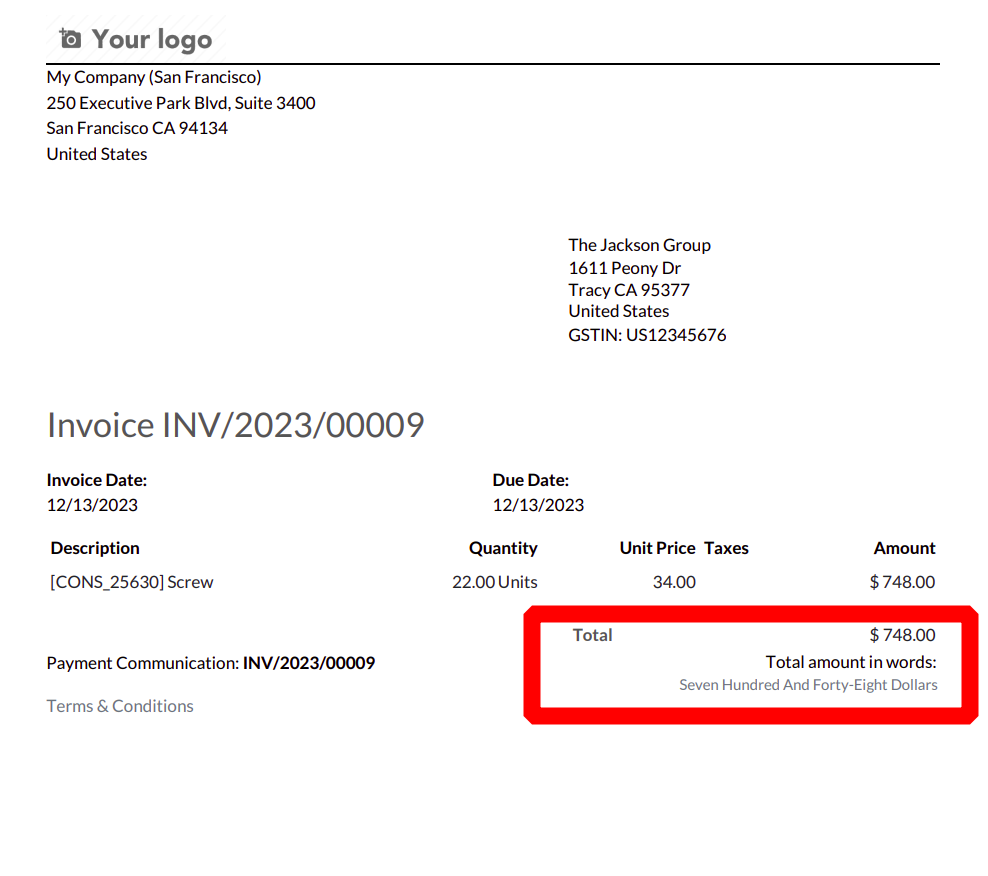
If you enable this, the whole amount of an invoice will also be shown in letters.
Invoice Online Payment
The client payment area contains the option to pay an invoice online. which will allow users to pay through their portal.

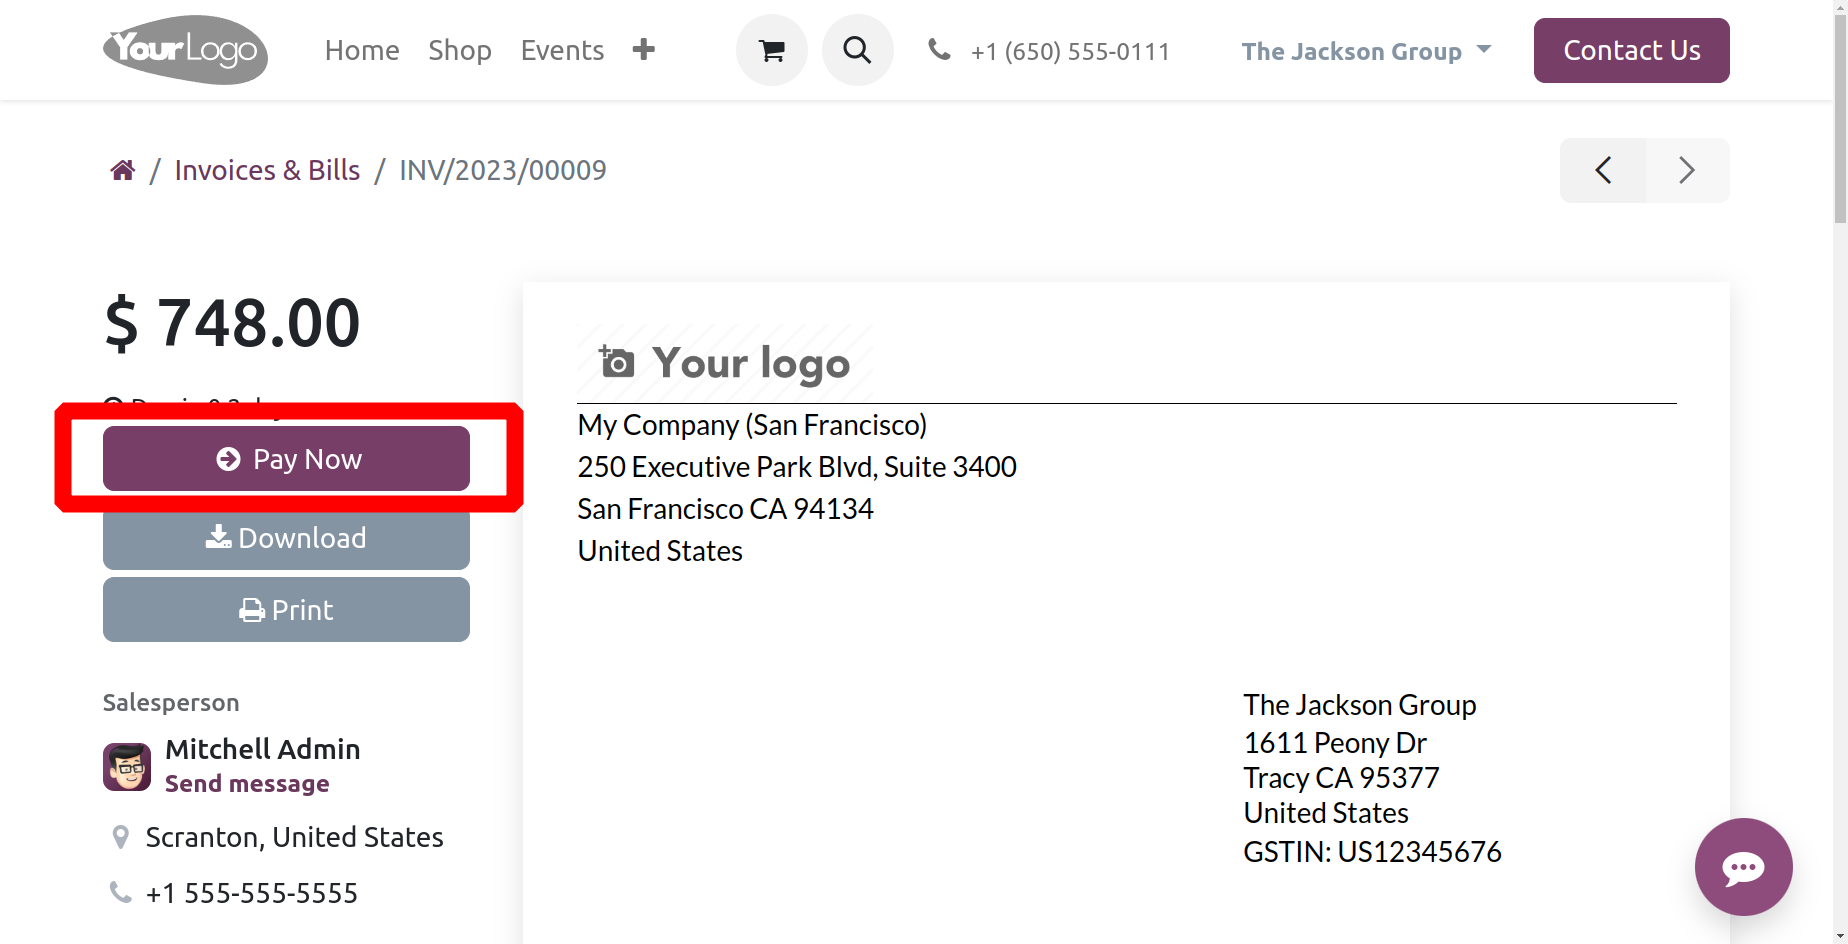
If the customer has activated online invoicing, they will see the Pay Now button on the portal.
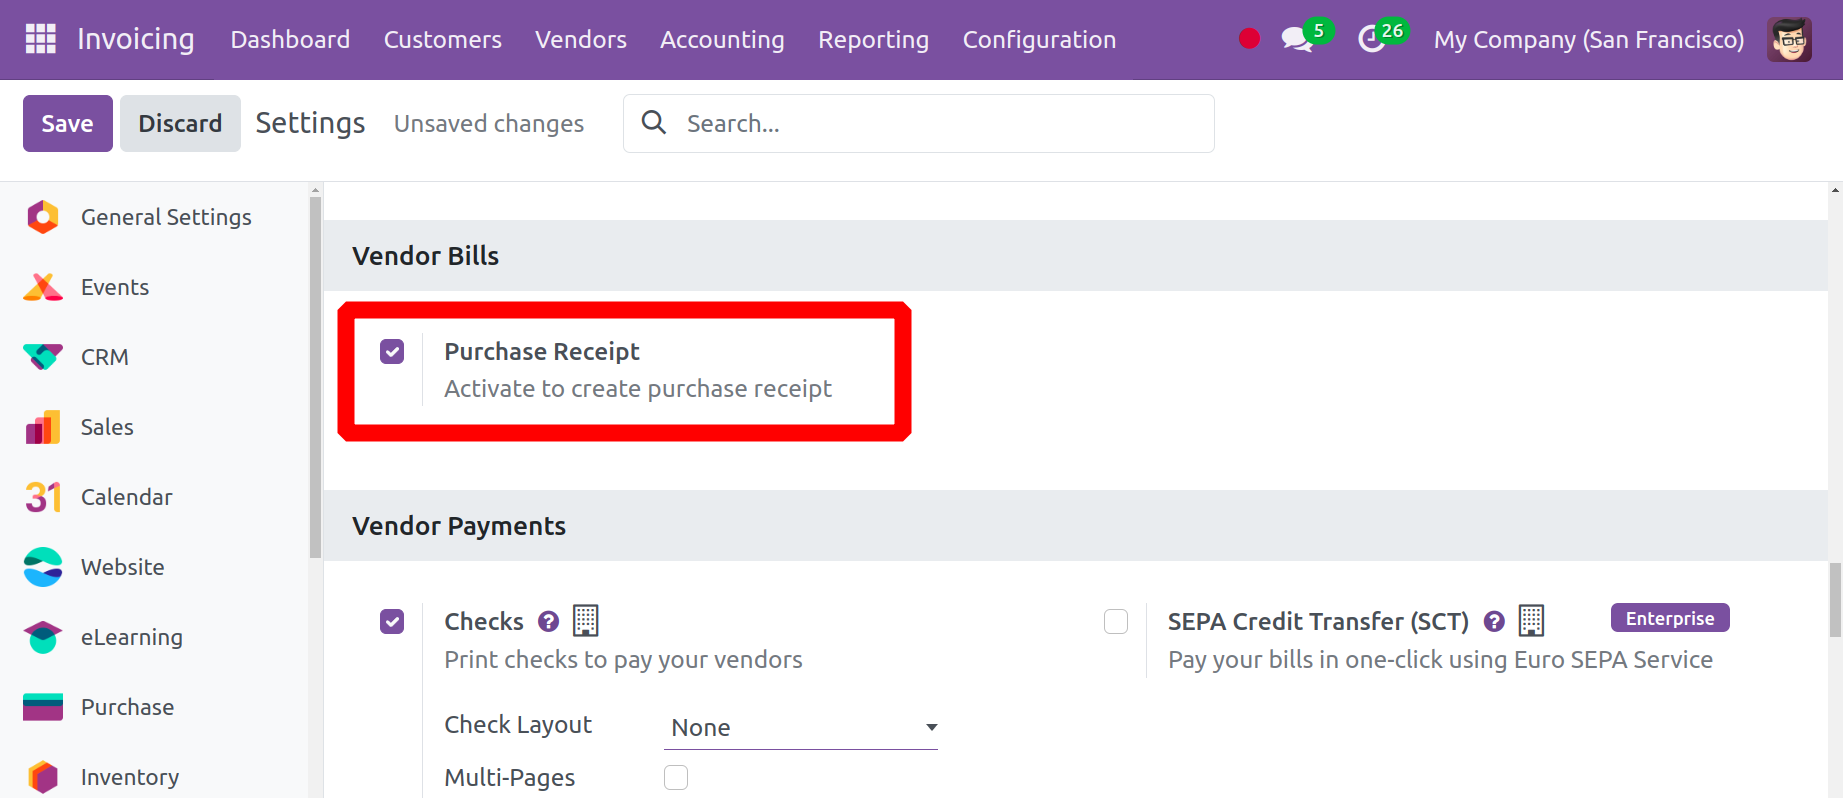
Purchase Receipt
Comparable to a sales receipt Users can select the Purchase receipt option from the Vendors menu. Consequently, the user must first enable the Purchase Receipt option from Settings, which is found under the Vendor Bills section. It helps to ensure that a purchase receipt is produced.
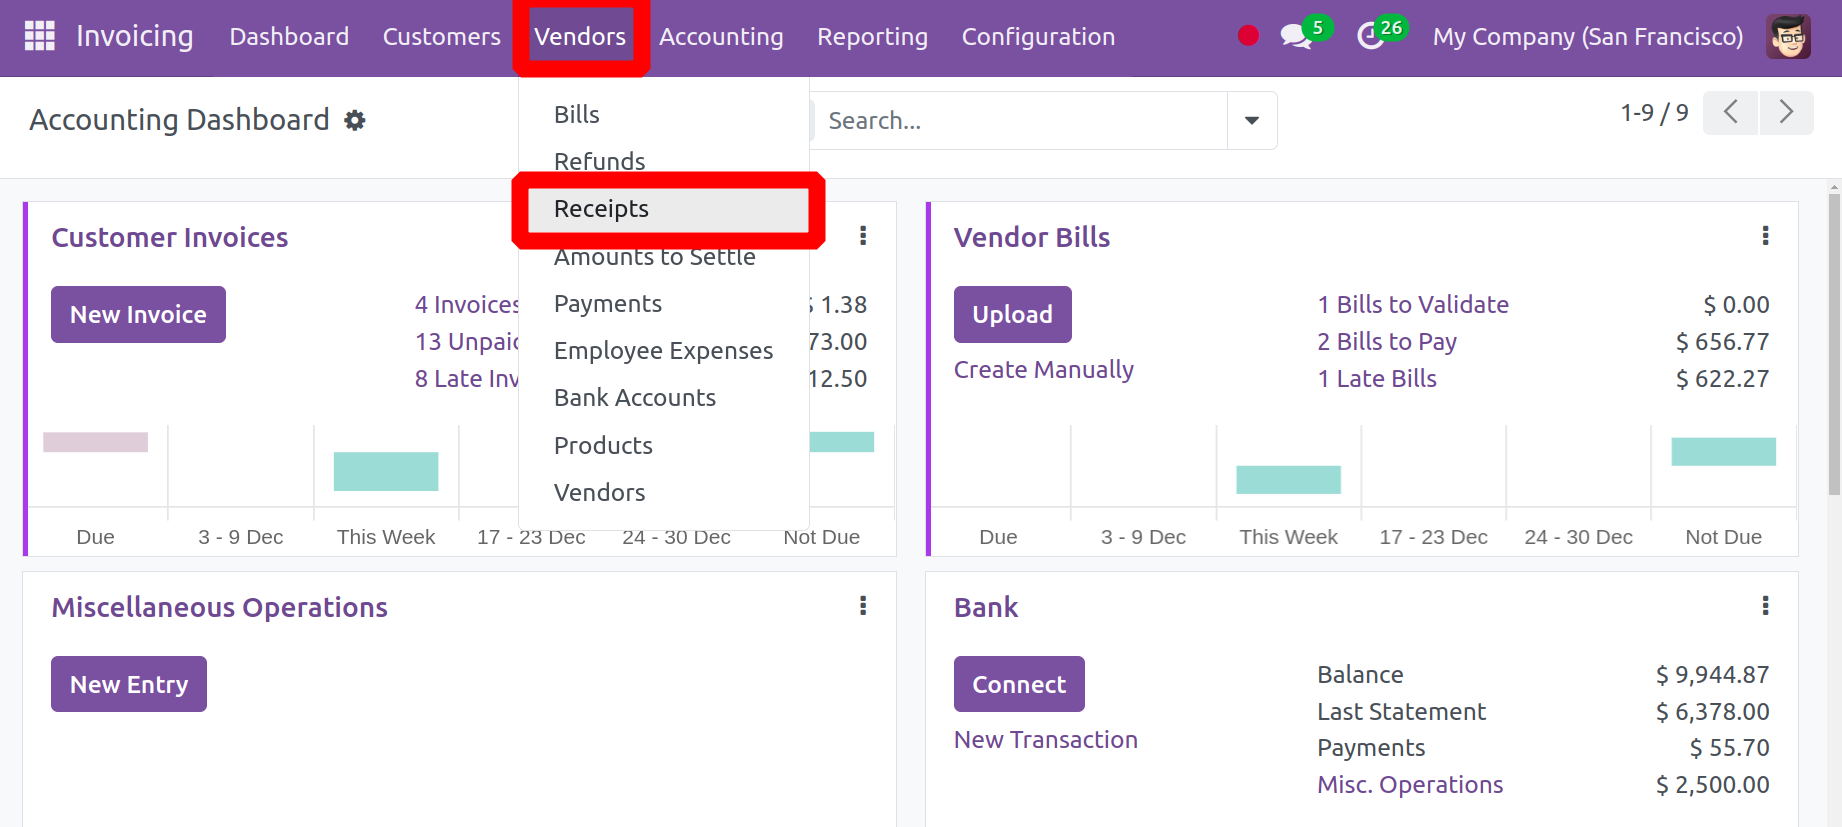
The user is then shown an additional Receipt option under the Vendors menu. The receipts include the purchase receipts.
Select the New button to add a new receipt. The creation form and a bill are similar.
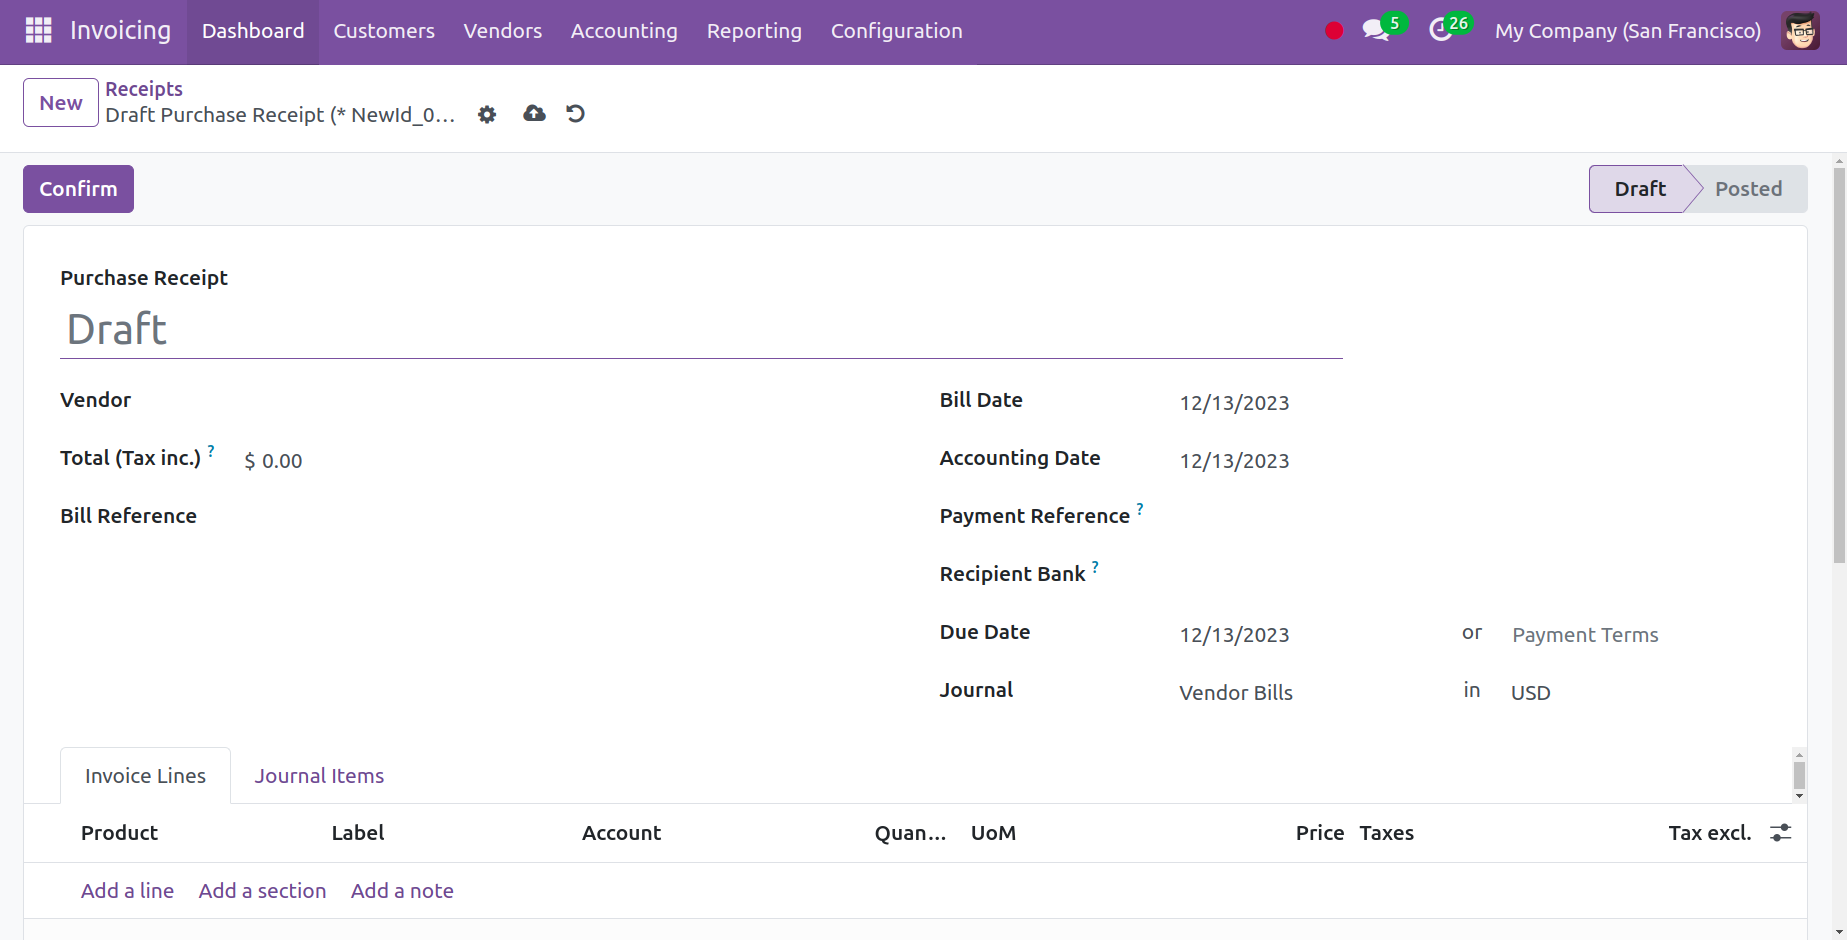
However, because the Register Payment button is absent from the document, the user is unable to complete the payment after confirming the receipt.
Checks
Large vendor payments are occasionally sent to the vendors in the form of cheques. Therefore, these cheque payments are possible with Odoo 17. Therefore, in order to use the Check payment method, the user must first enable the Checks option from Settings.
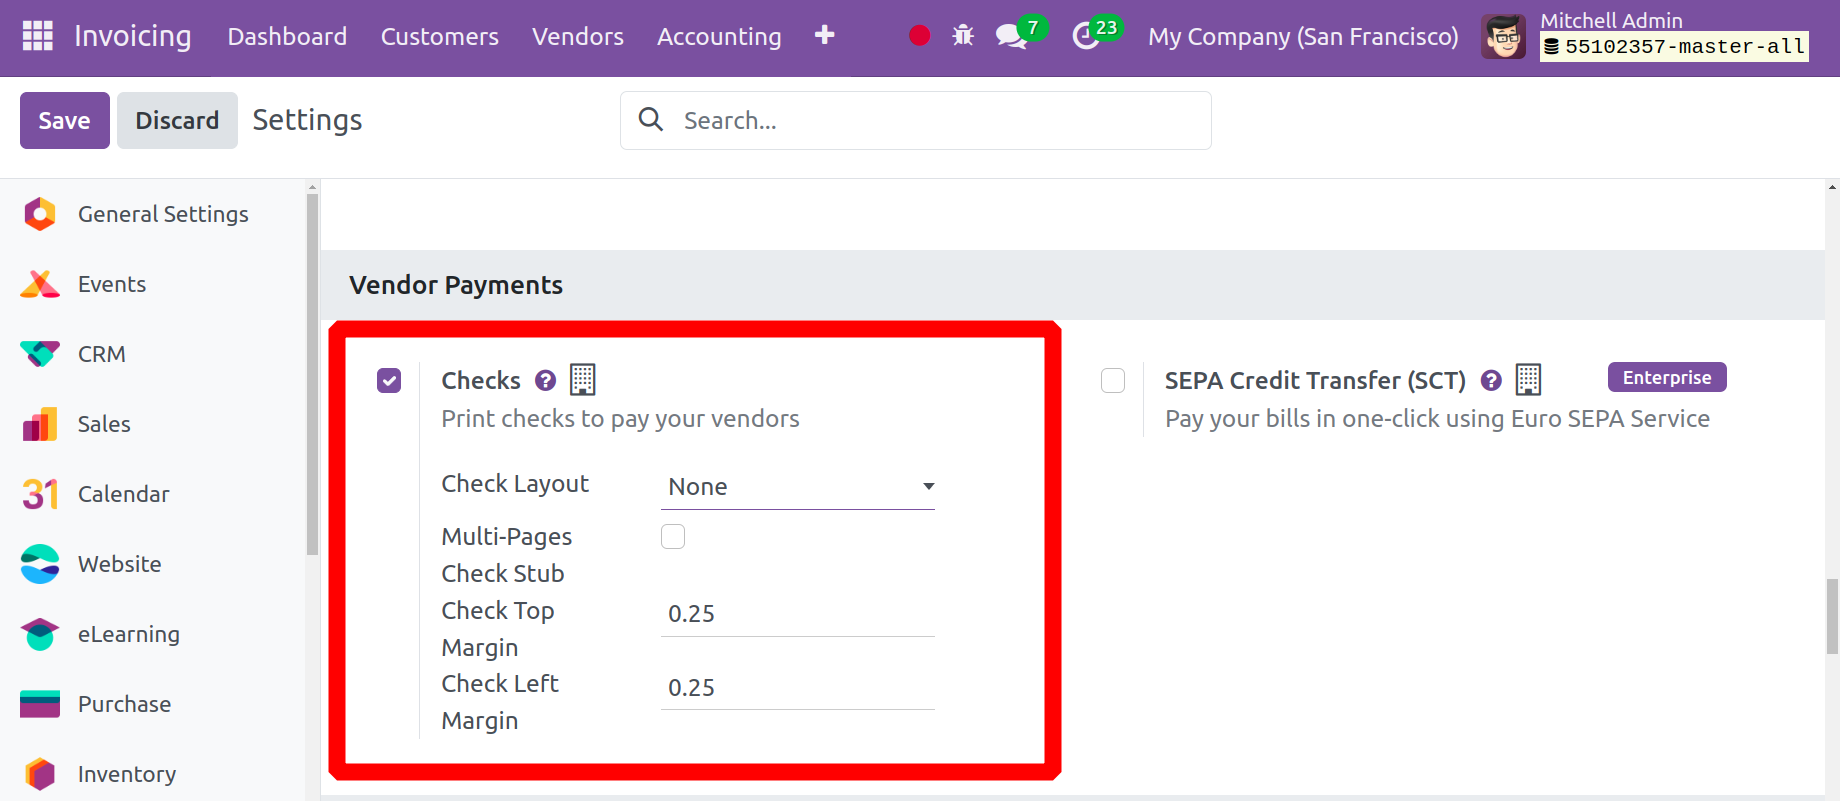
This option allows you to print checks to pay your merchants. As a result, elements such as Check Layout, Check Left Margin and Check Top Margin can be listed there. Save the settings in order to use the vendor payment as a check.
On the Bank Journal’s Outgoing Payment tab, users may then add payment methods. Thus, make checks available there as a mode of payment.
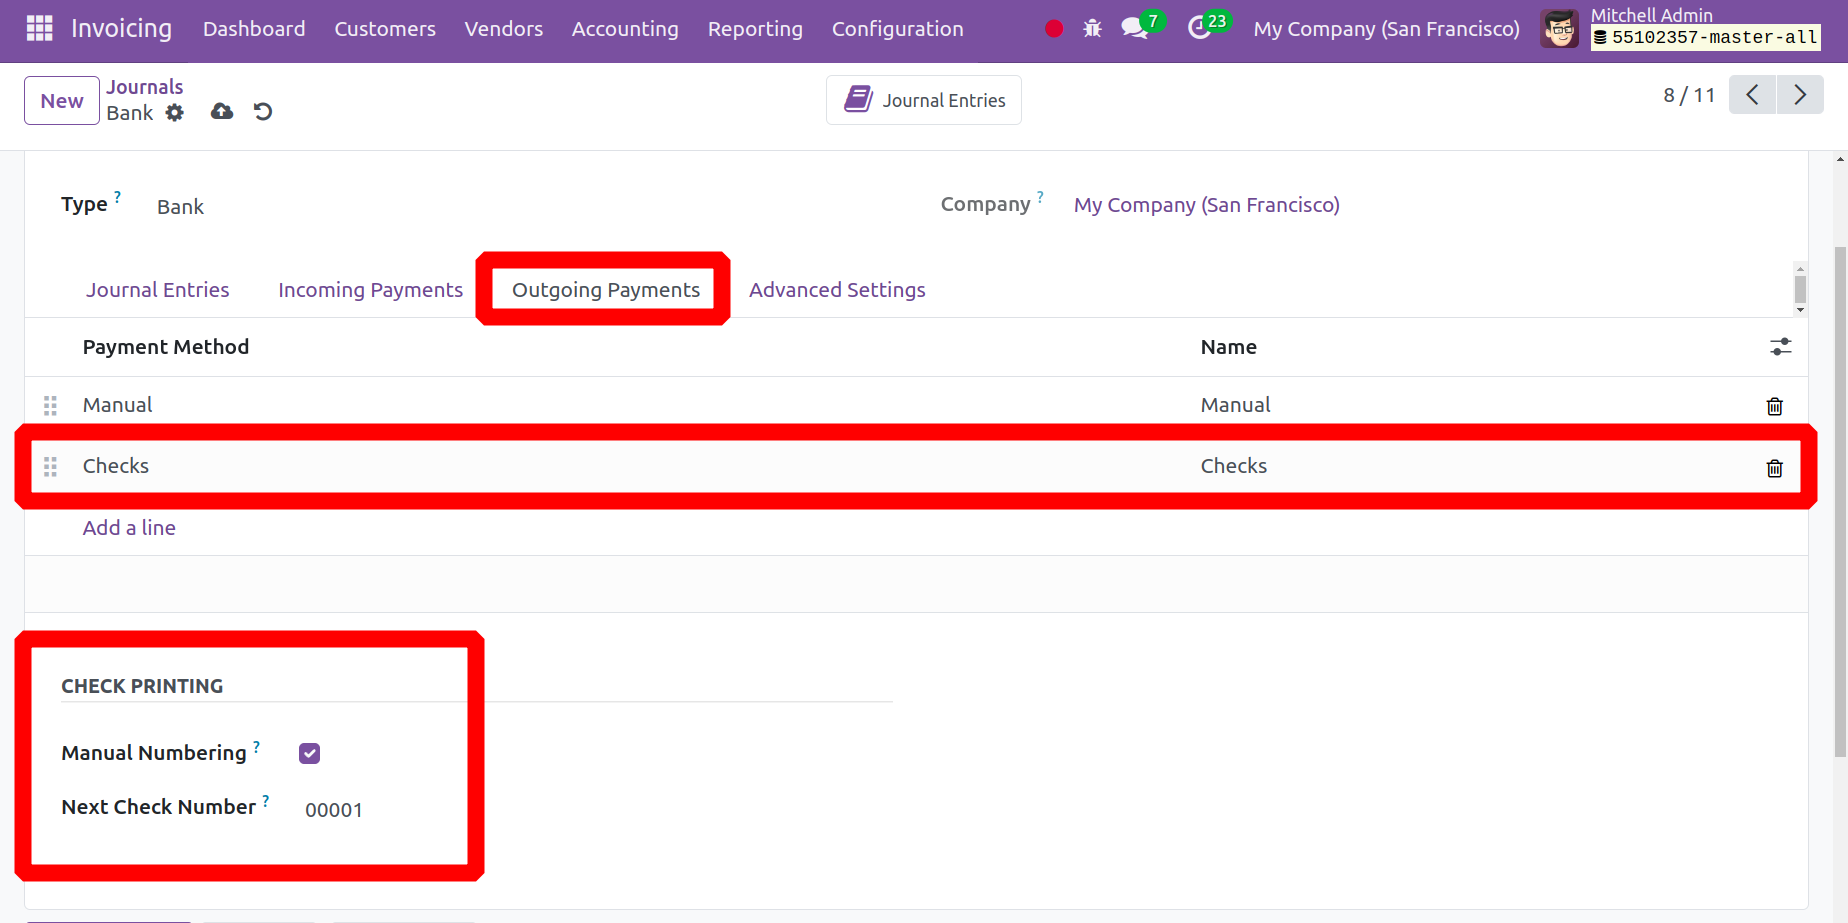
In the bottom left corner, a section marked "CHECK PRINTING" will then show up. After activating Manual Numbering, proceed to add the Next Check Number there. The Next Check Number will be automatically updated.
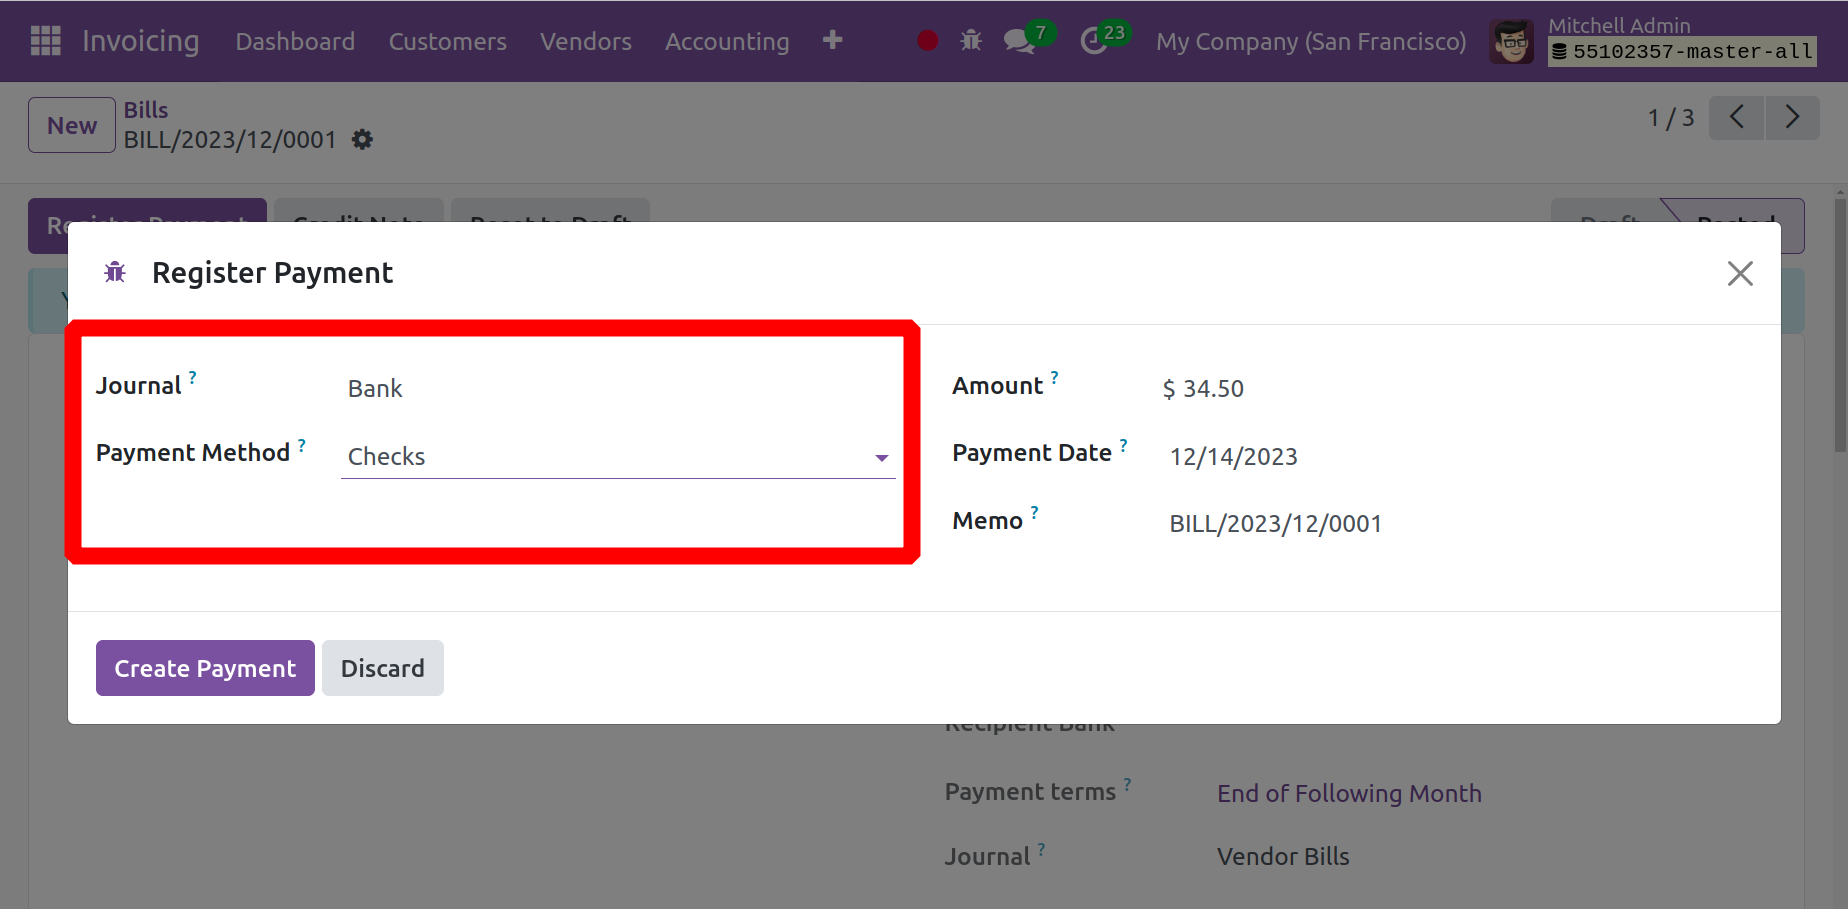
When a vendor payment is added, the Journal and Payment method Checks can be selected from the Register Payment popup box.
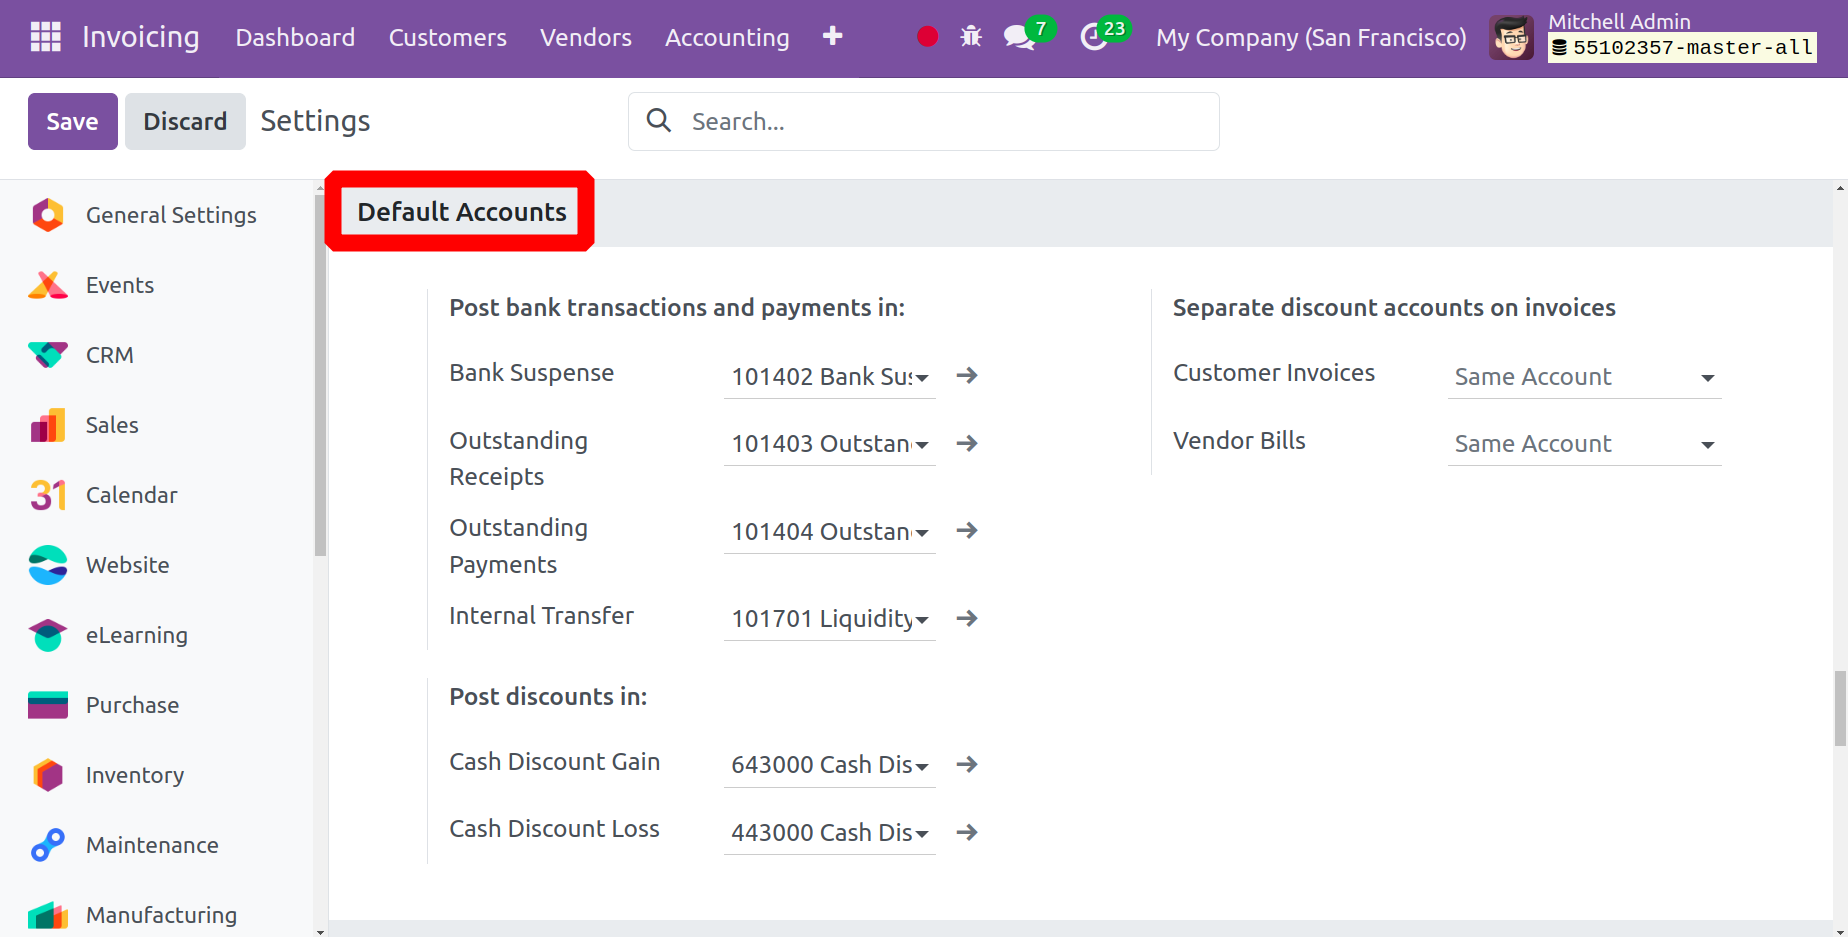
Default Accounts
You can add default accounts that are used for transactions under the Default Accounts section of the settings. This section configures the default accounts that are used to post bank transactions and payments. Accounts for Internal Transfer, Outstanding Payments, Outstanding Receipts, and Bank Suspense are added. The accounts designated for posting the discounts are Cash Discount Gain and Cash Discount Loss.
