Discuss
Every firm needs an effective platform to ensure that messages are properly communicated across its staff. Using a function of the Odoo 17 software, the organizations can communicate in this way. One of Odoo ERP's modules, Discuss, has a feature that can assist you in this regard. Internal communication among employees is one way that this module contributes to the growth of the organization. You can use this module to have both official and informal conversations with the company's personnel. Moreover, you can create both private and group chats based on your needs.
You talk to your friends and other people about your doubts to clarify them regarding your work. You don't need any outside resources to send all those doubts. It is very easy to connect to and collaborate with other modules. Choose the Discuss module to interact with other professionals in your field if you need assistance with any of your challenging assignments. With the aid of this module, you can create groups for the discussions to take place in place of sending emails with your clarifications. The Discuss Module has a lot of new features that raise the module's caliber.
As seen below, when you launch the Discuss Module in Odoo 17, you will be taken to the page where the main mailbox is displayed.
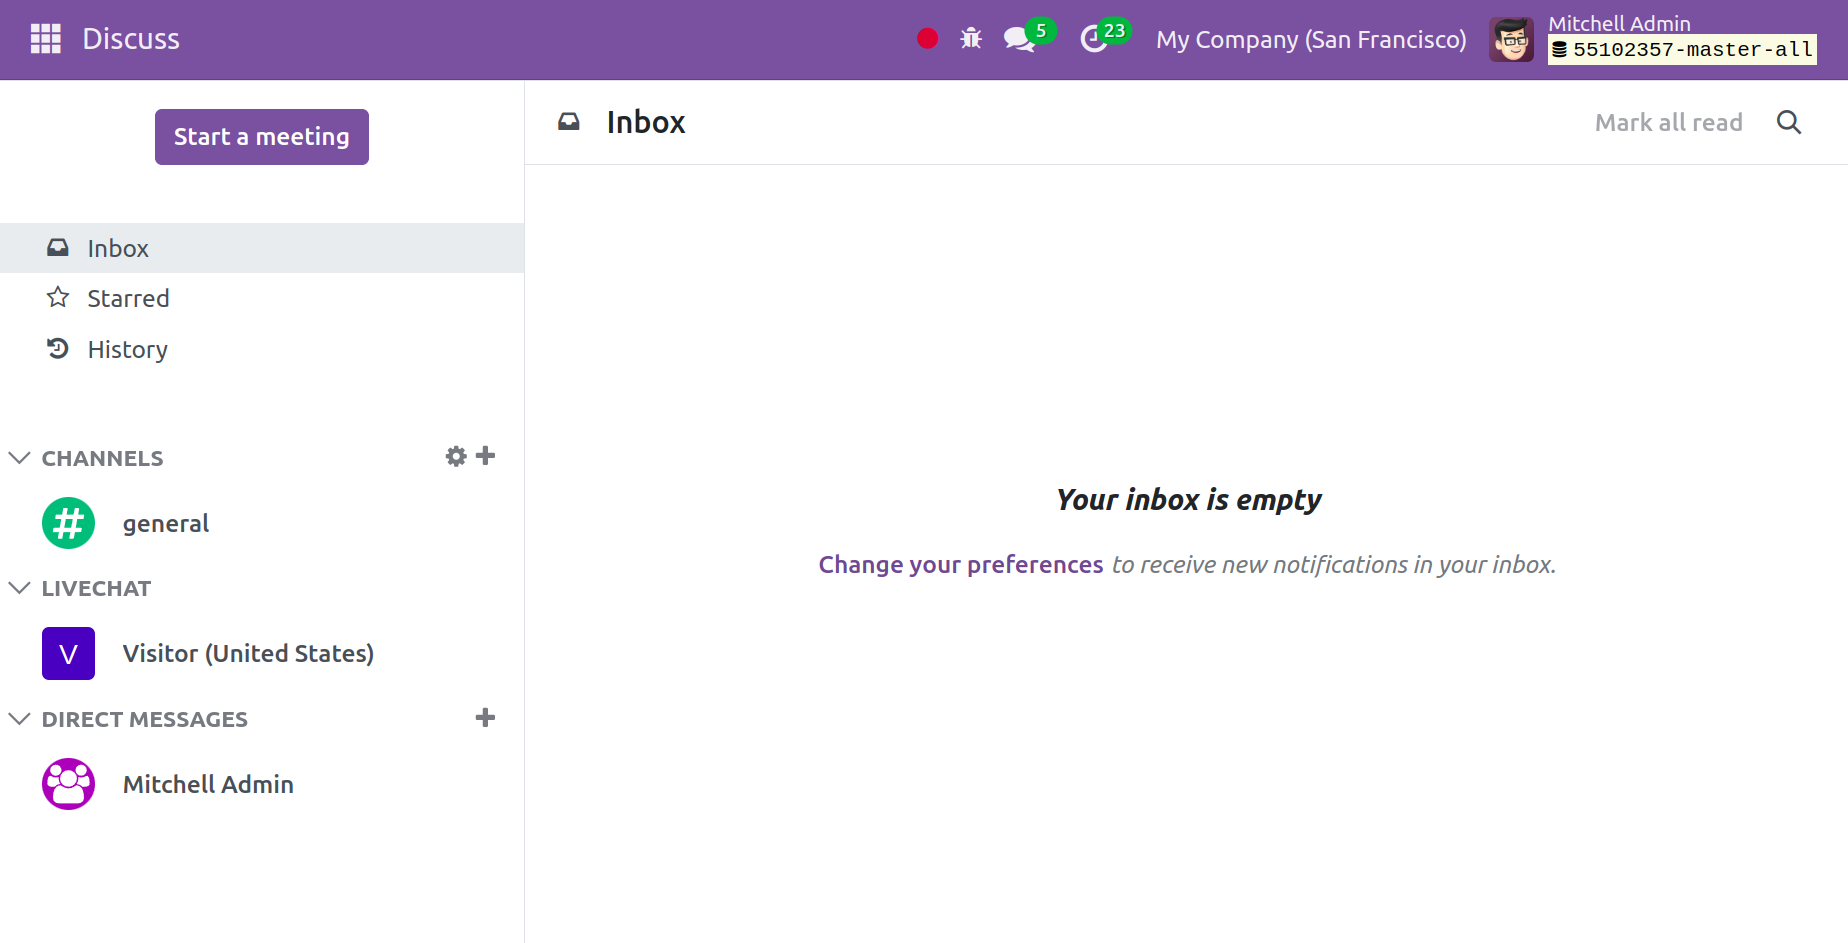
As you can see, the left side of this window contains options for Inbox, Starred, and History. These include the ability to mark significant communications with stars, view conversation history in the History option, see new messages in the main inbox, and, if necessary, mark a message as read by clicking the Mark All Read option in the upper right corner. The quality of the discussion inbox is enhanced in terms of readability. You have a panel with CHANNELS and DIRECT MESSAGES underneath that. You may list the private messages that are exchanged within it by using the Direct Messages feature, and group discussions fall under the Channels section.
How to Create New channels in the Discuss Module
The Discuss Module allows you to create your own channels. To do that, as seen in the figure below, you have the option to construct a channel on the left side.
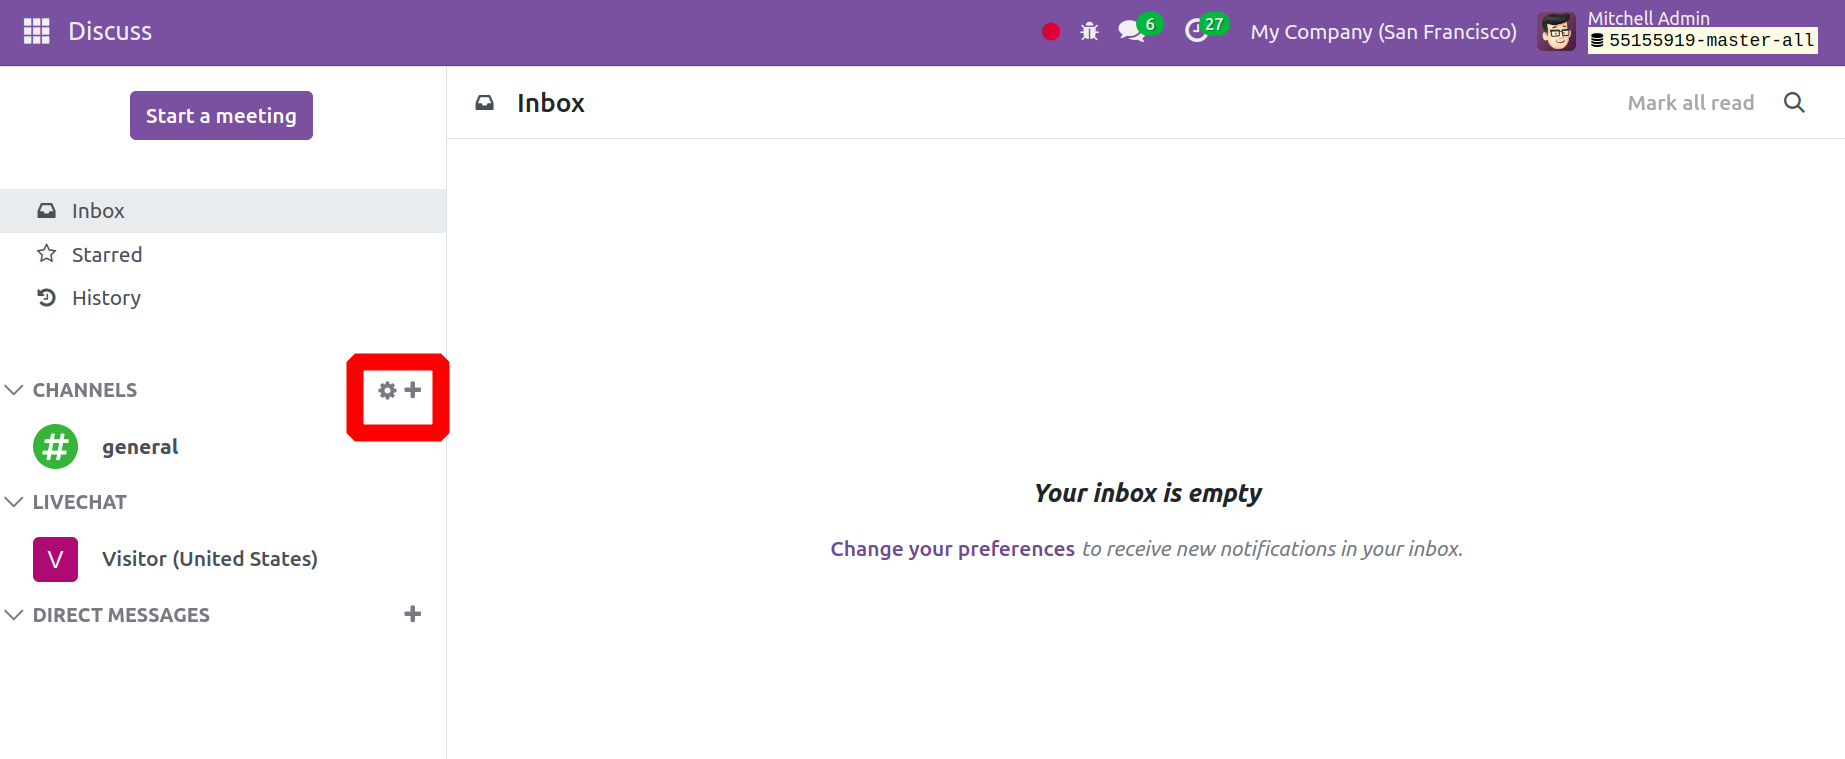
The settings button will display all of the channels that have previously been set up, just like in the picture. With this Settings icon, you can even have the opportunity to join certain channels.
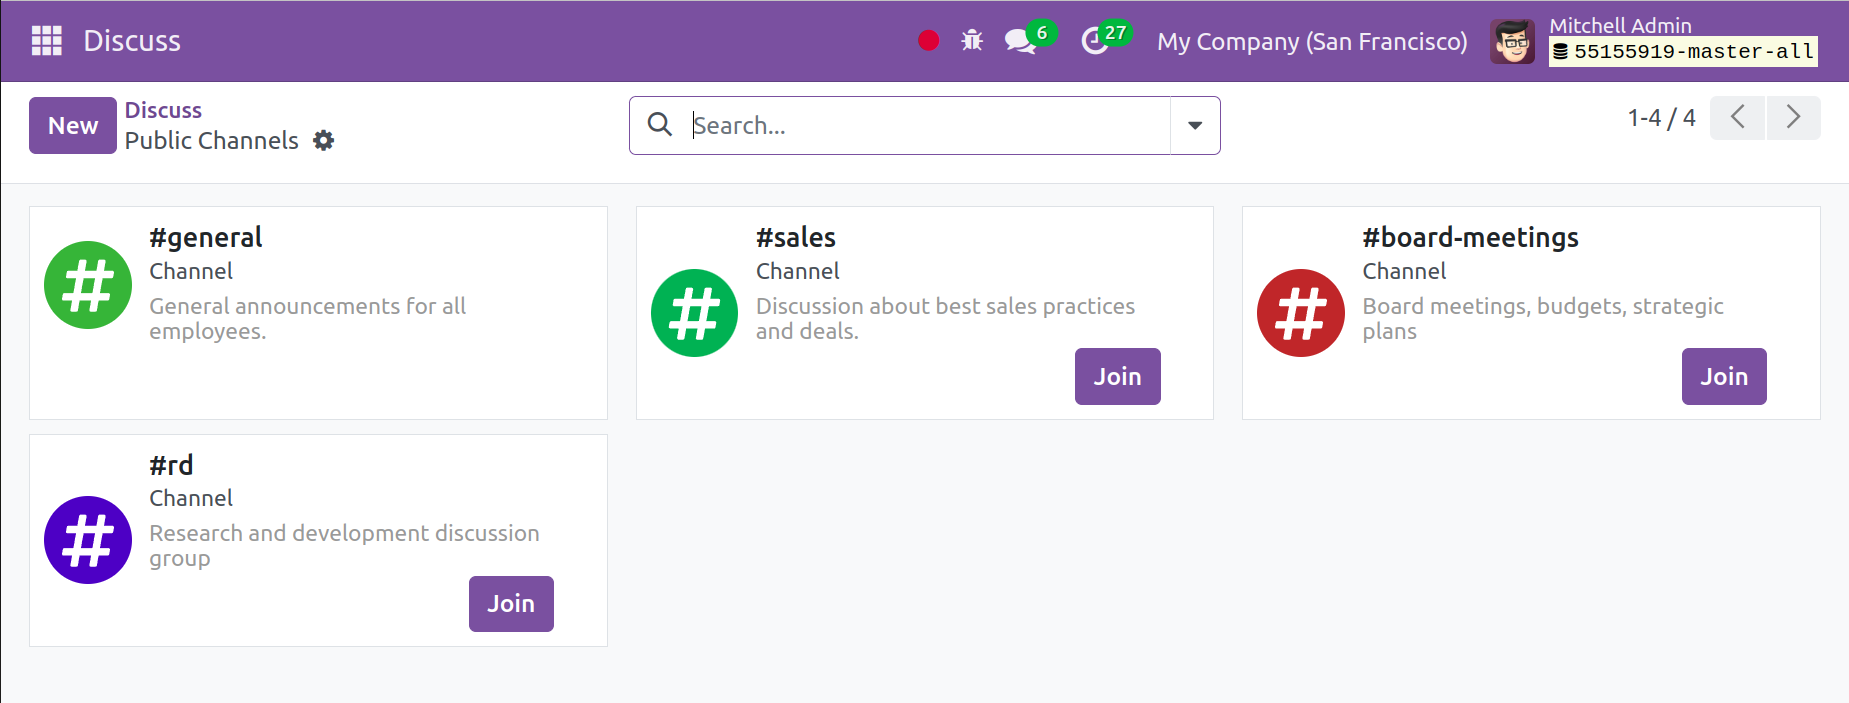
You can see that each channel offers you the chance to join it by clicking the JOIN button and that you can also quit the group by using the quit button. This reduces the visibility of these buttons.
You can filter the group list and filter them according to your needs with the aid of the Filters and Group By choices. Additionally, the Favourites option allows new groups to be added.
The New button in the window can be used to create a new channel. As seen in the screenshot below, after you click the New button, a page requesting certain information will load.
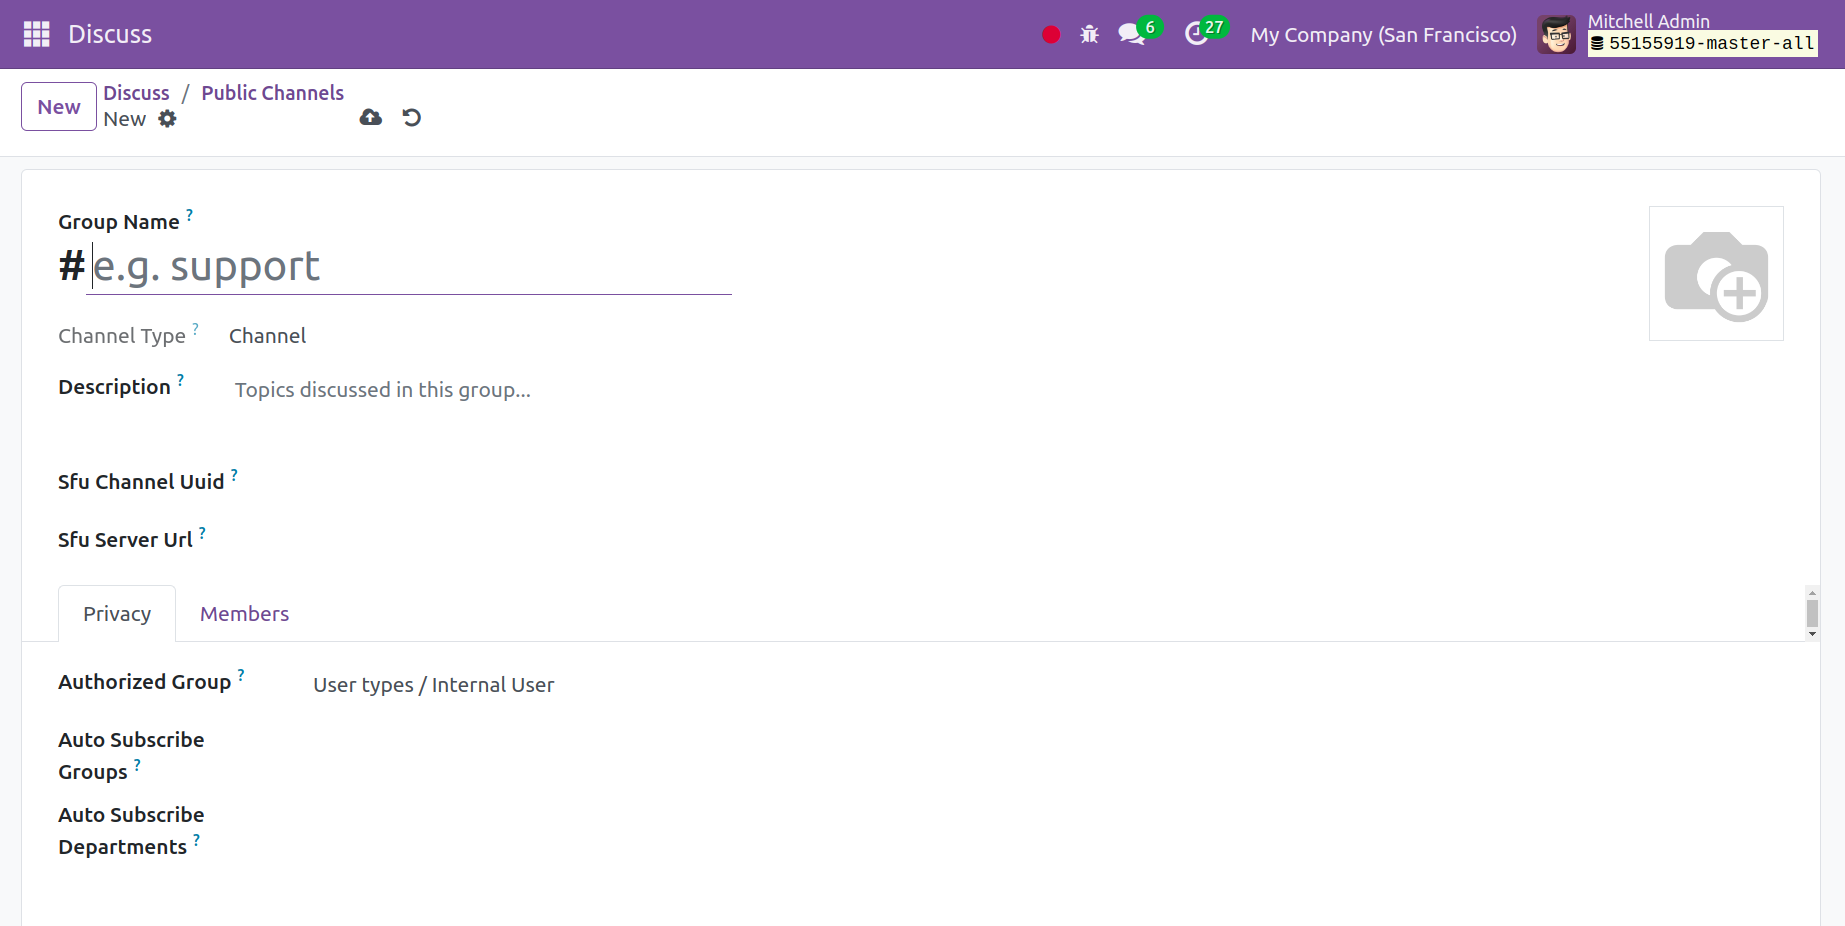
In this instance, the Group Name option allows you to enter the name of your channel. The group's details can be found in the Description field. You must provide details such as the Authorized Subscribe Groups, Authorized Groups, and Auto Subscribe Departments under the Privacy tab. Members of the groups will be added as followers of the newly formed group when the groups are added to the Auto Subscribe Groups. The guest list will be expanded to include them. By choosing the Add a Line option on the Members Tab, as demonstrated below, you can add new members to the group.
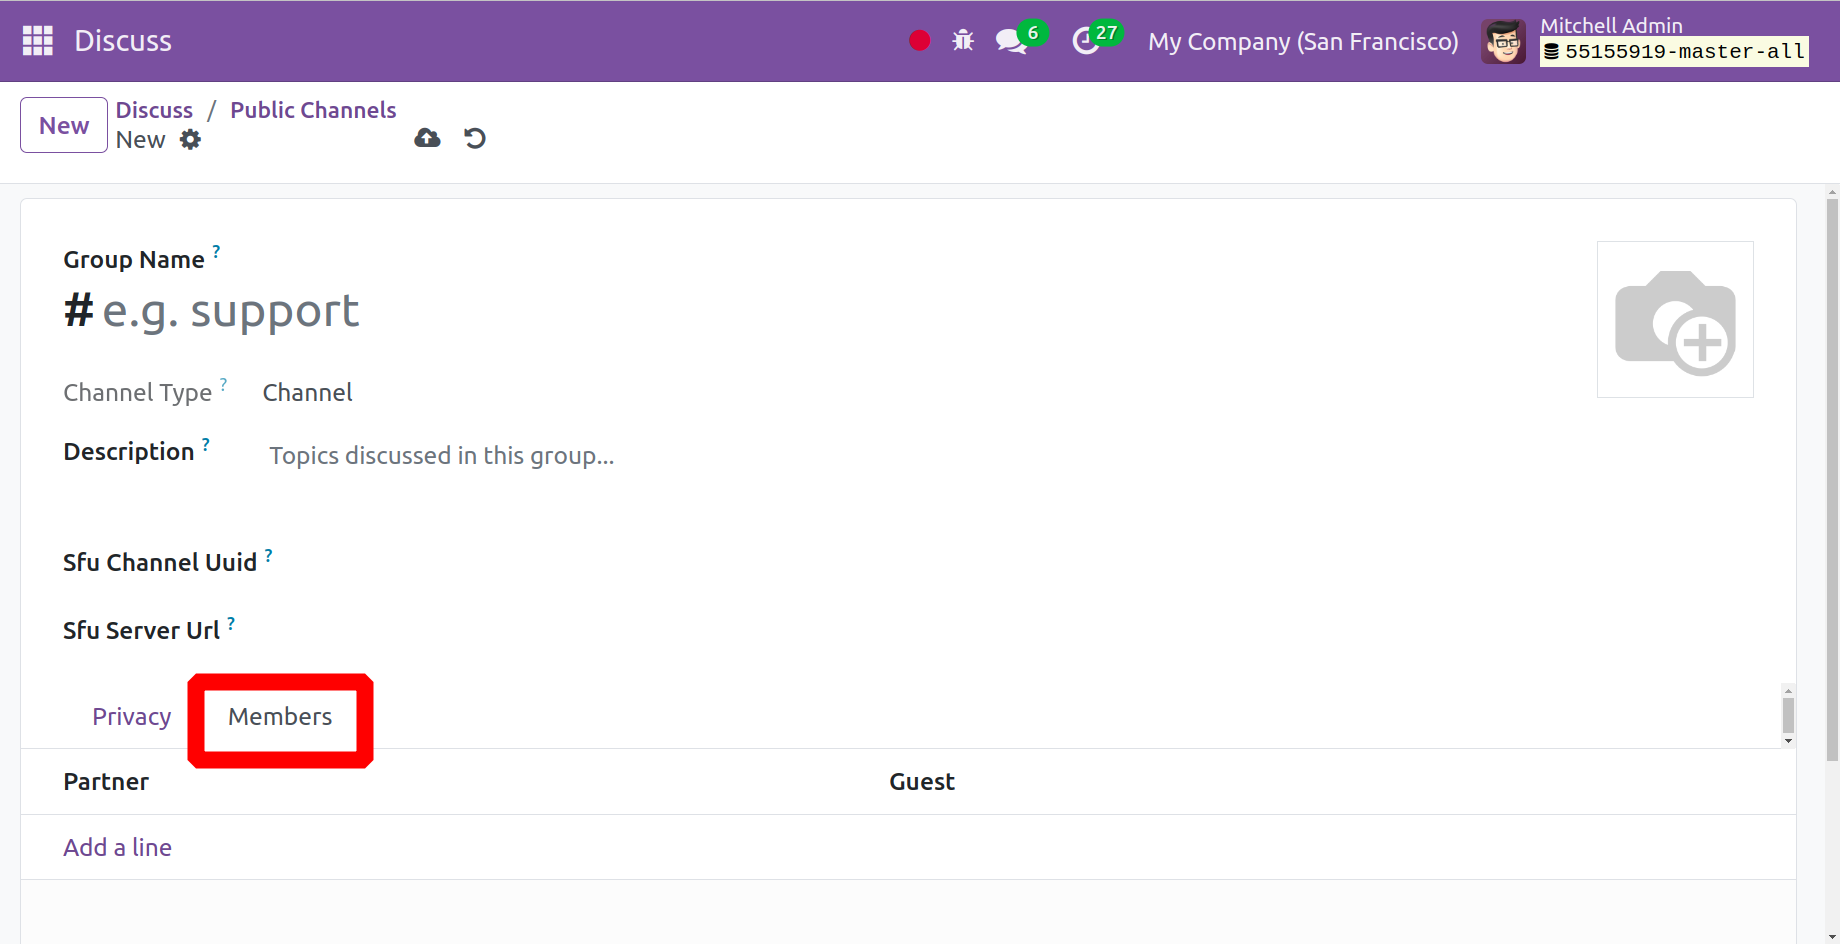
Here, you can fill in the slots with the recipient's name and email address, accordingly. Finally, you can select the Save button. Additionally, the plus icon in the main window can be used to find a new channel.
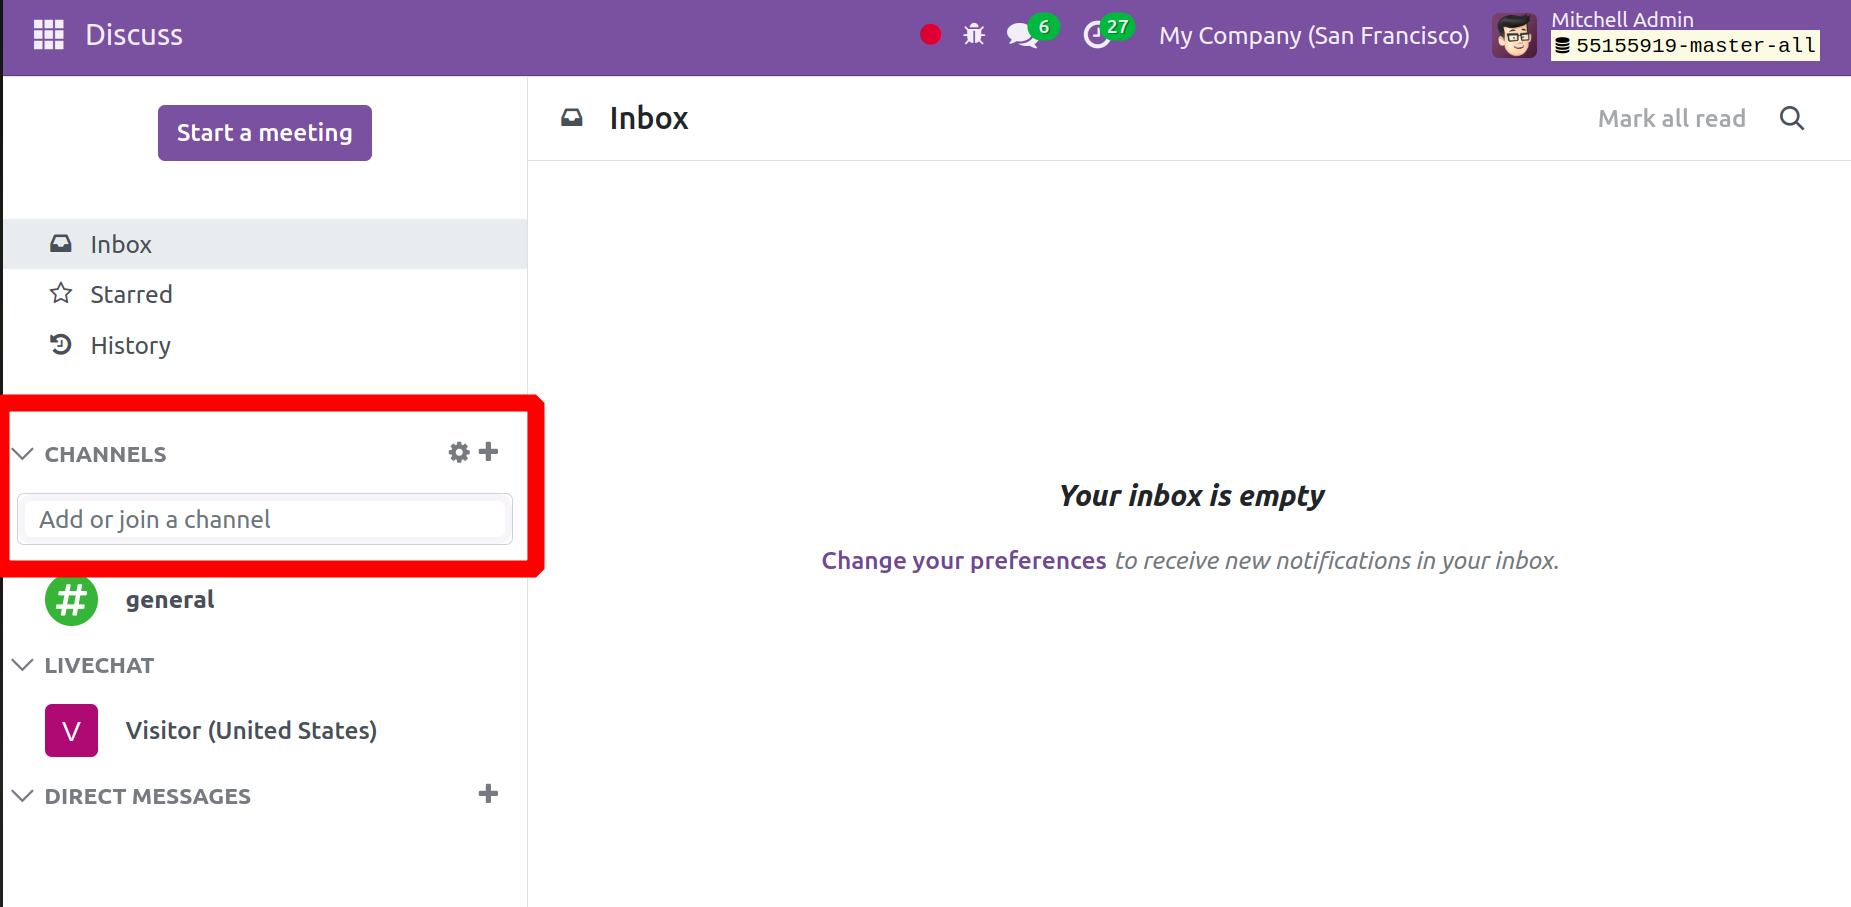
You have the option to make the channel secret or public when you create it.
How to create new Direct Messages
Let's now examine the process of creating new Direct Messages under the Discuss Module. To do that, click the plus icon that appears in the window. When you select it, a new chat option will appear, as seen in the example below.
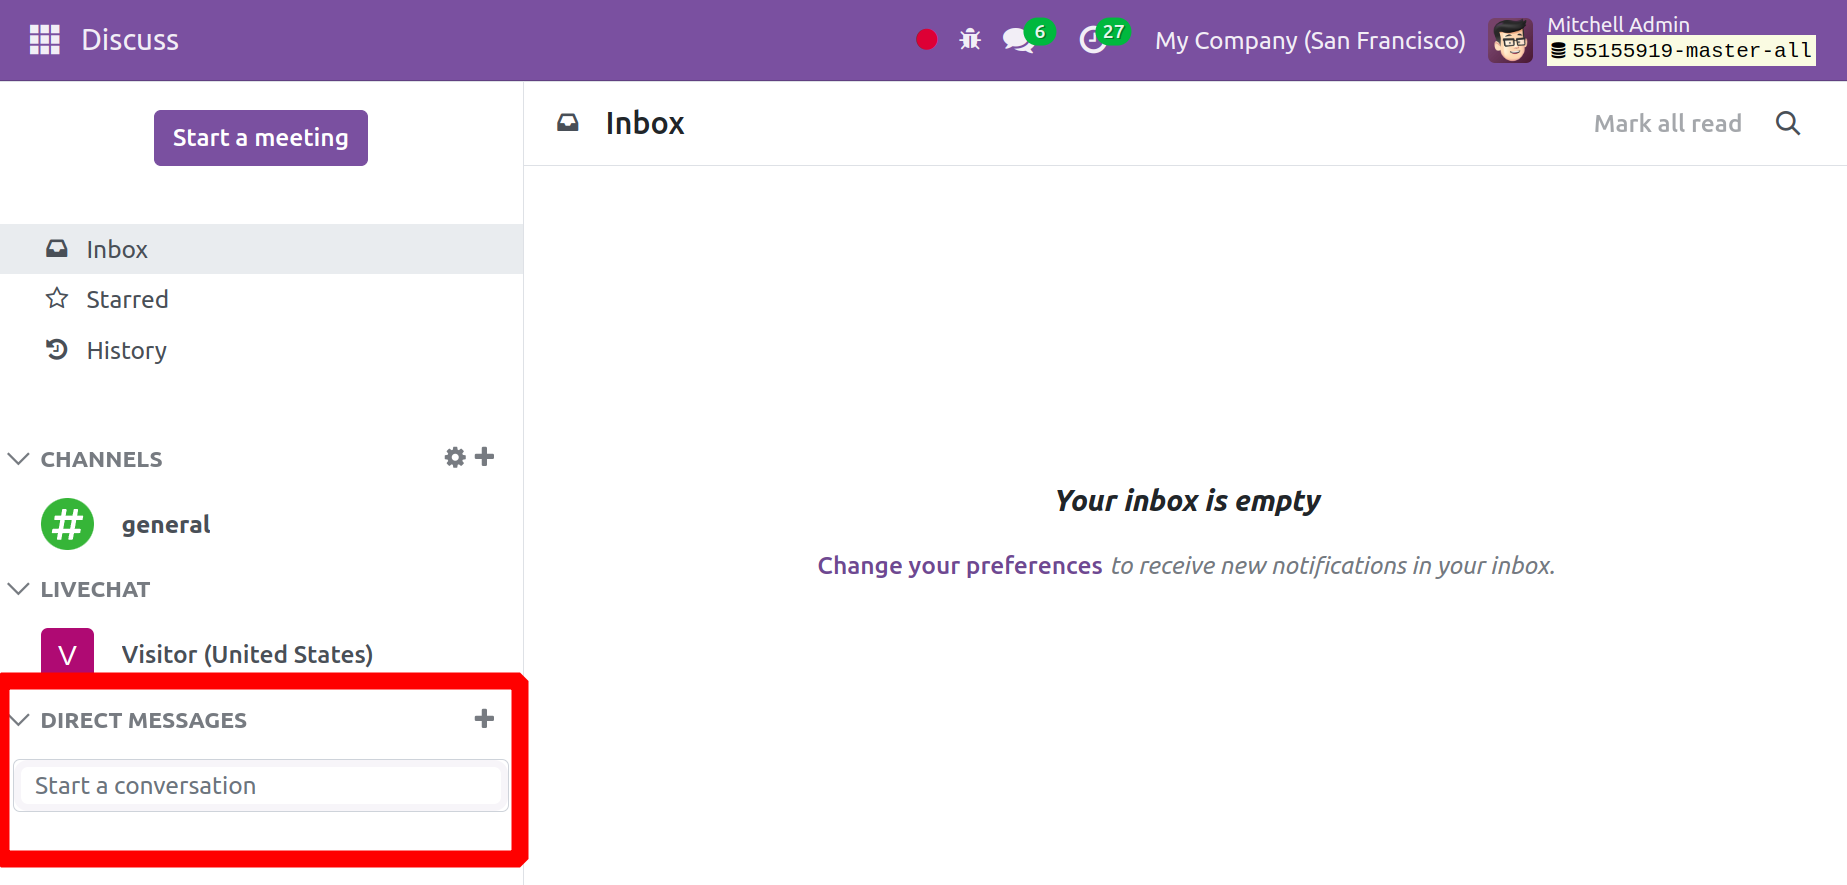
You can send and receive messages to the other group employees by using this option. A newly uploaded message's link preview will be displayed. You can even use this direct messaging option to initiate a regular conversation or a video call. With a dedicated side panel for settings, video calls are now more improved in this instance. When on a video call, the background will get blurry. When attaching any kind of image to a message, you can even download images. Additionally, a range of emojis are available to you based on a certain function.
Clicking the + sign will initiate a conversation inside the team. You can initiate a private conversation by clicking the plus sign ( ) next to the direct messaging option. Using the Search function, you can locate the person you wish to talk to.
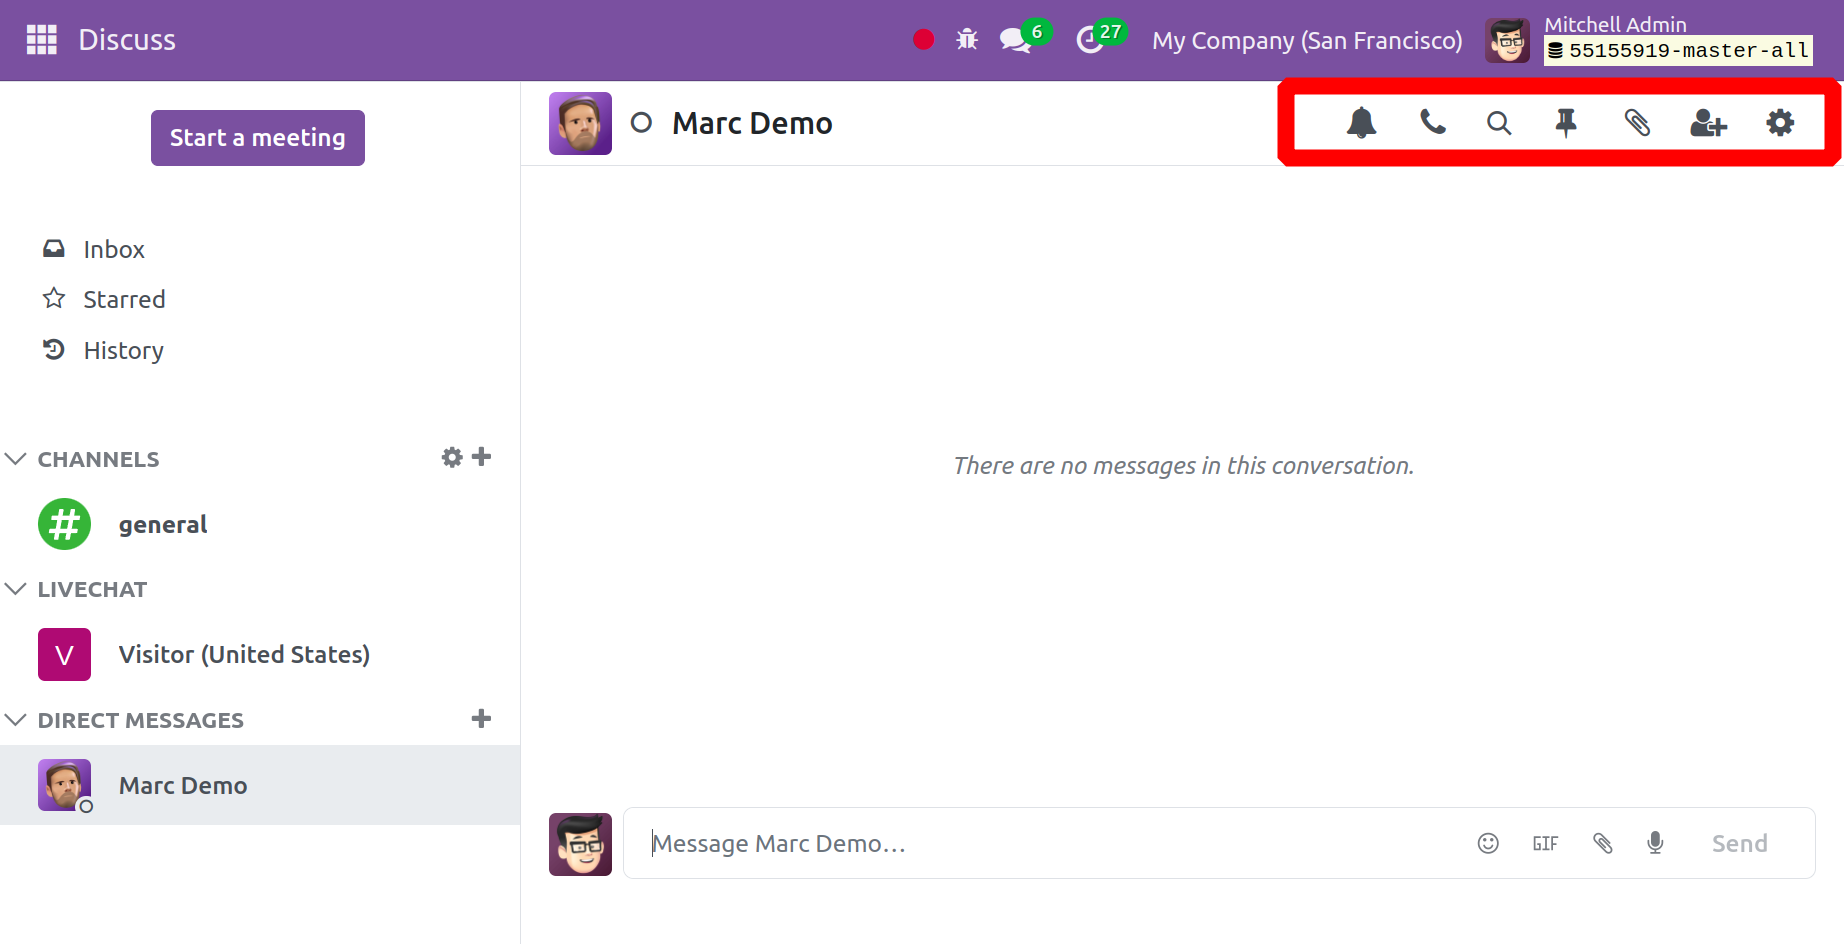
Notifications via message are made easier for the user with the help of the notification symbol. When necessary, you can make use of the phone and video call buttons in the top right corner. You may also add the invited persons to personal chat in order to build a chat room for them.
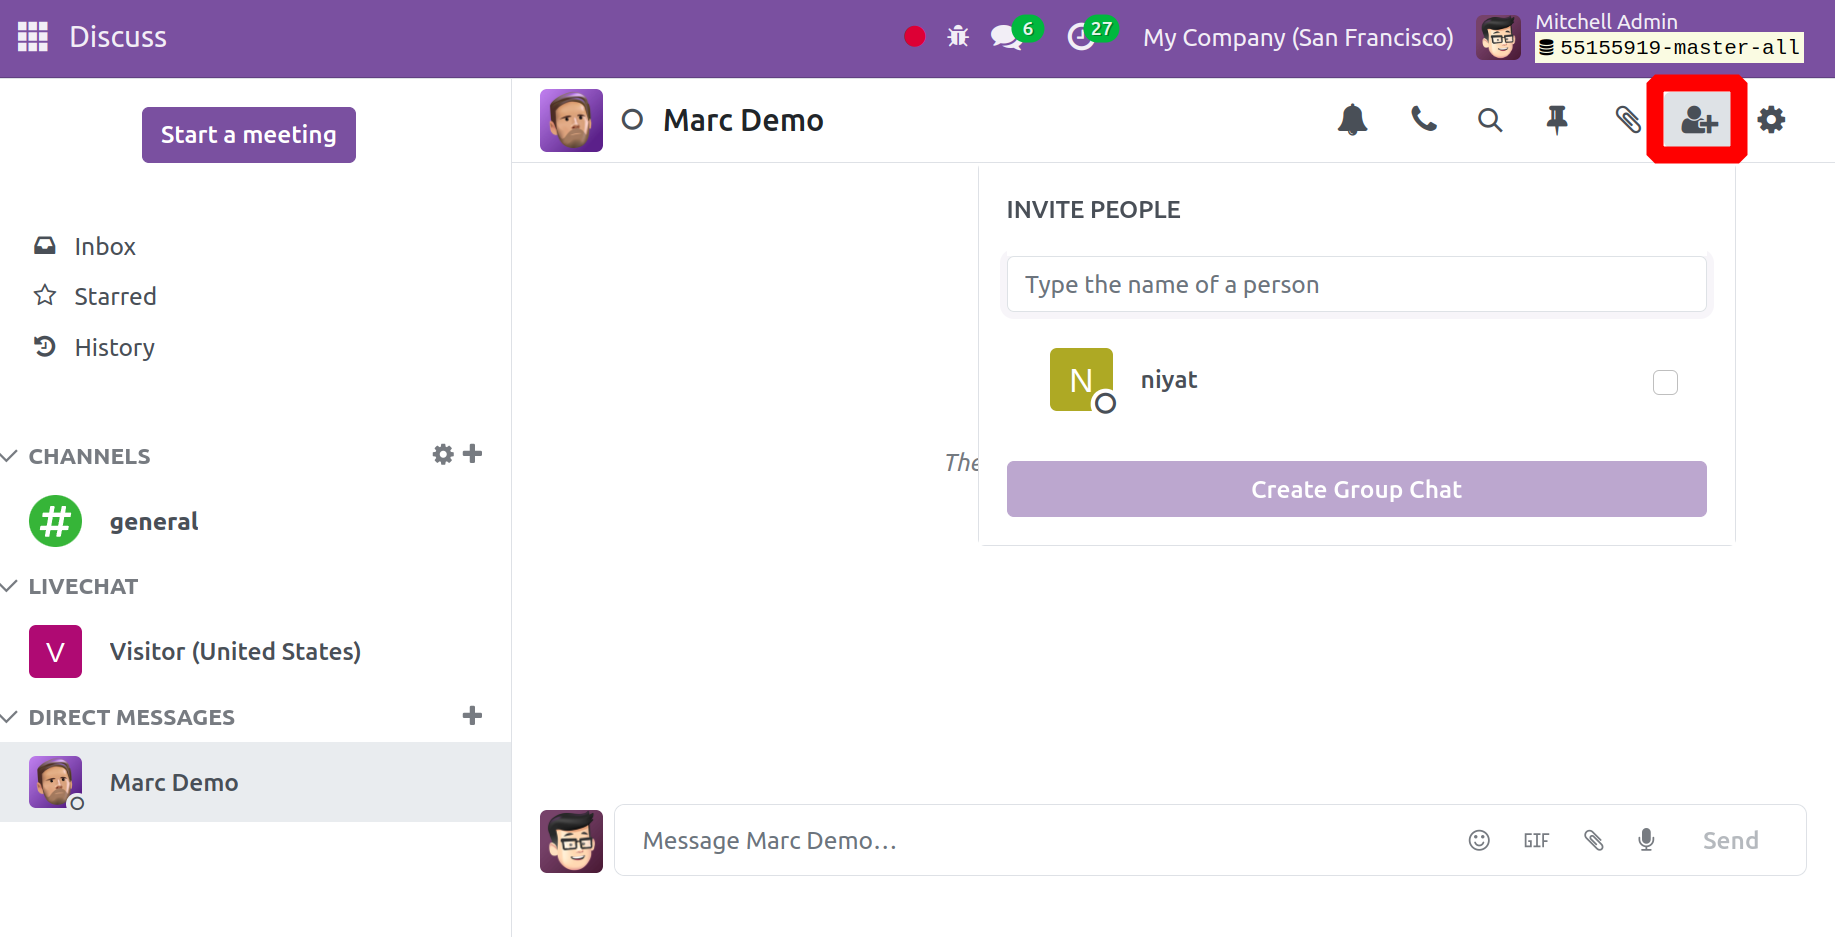
Using the symbols shown in the screenshot above, you can easily invite people to the chat room. You may administrate and regulate the conversation from anywhere in the Odoo17 application. You may view the message notification in Odoo17 from anywhere. By choosing the Apps option in the filter, you may see the chats.
You will receive notifications about your group communications as soon as you turn on desktop notifications. To view the most recent notifications from this module, click the chat button found in the main menu. You can manage every conversation in Odoo by using the symbol displayed in the image below.
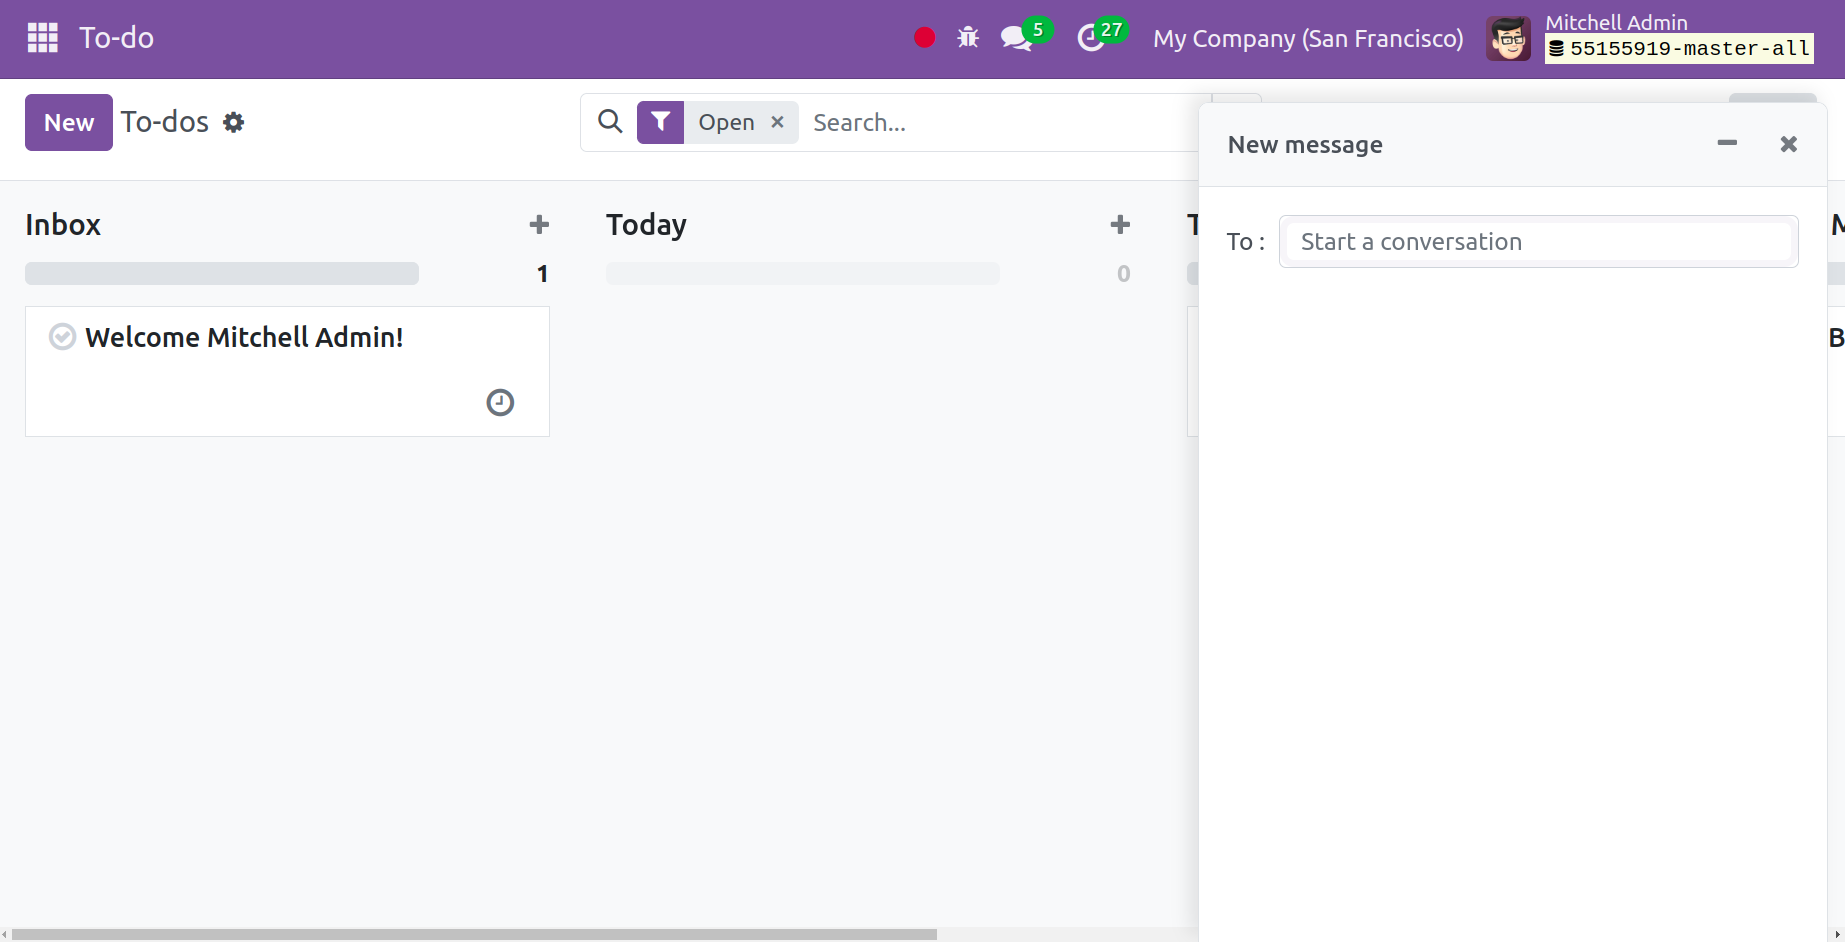
You won't always need to use the Discuss Module thanks to this functionality. Using this icon, you can access this notification from anywhere and respond to any new messages that have been received.
How to Start Meetings in Discuss Module
You can hold meetings and invite other members by using the Discuss Module. You can choose to Start a Meeting in the Discussion Module by following the instructions below. When you choose that option, the name of the person you need to invite to the newly formed meeting appears in a pop-up window.
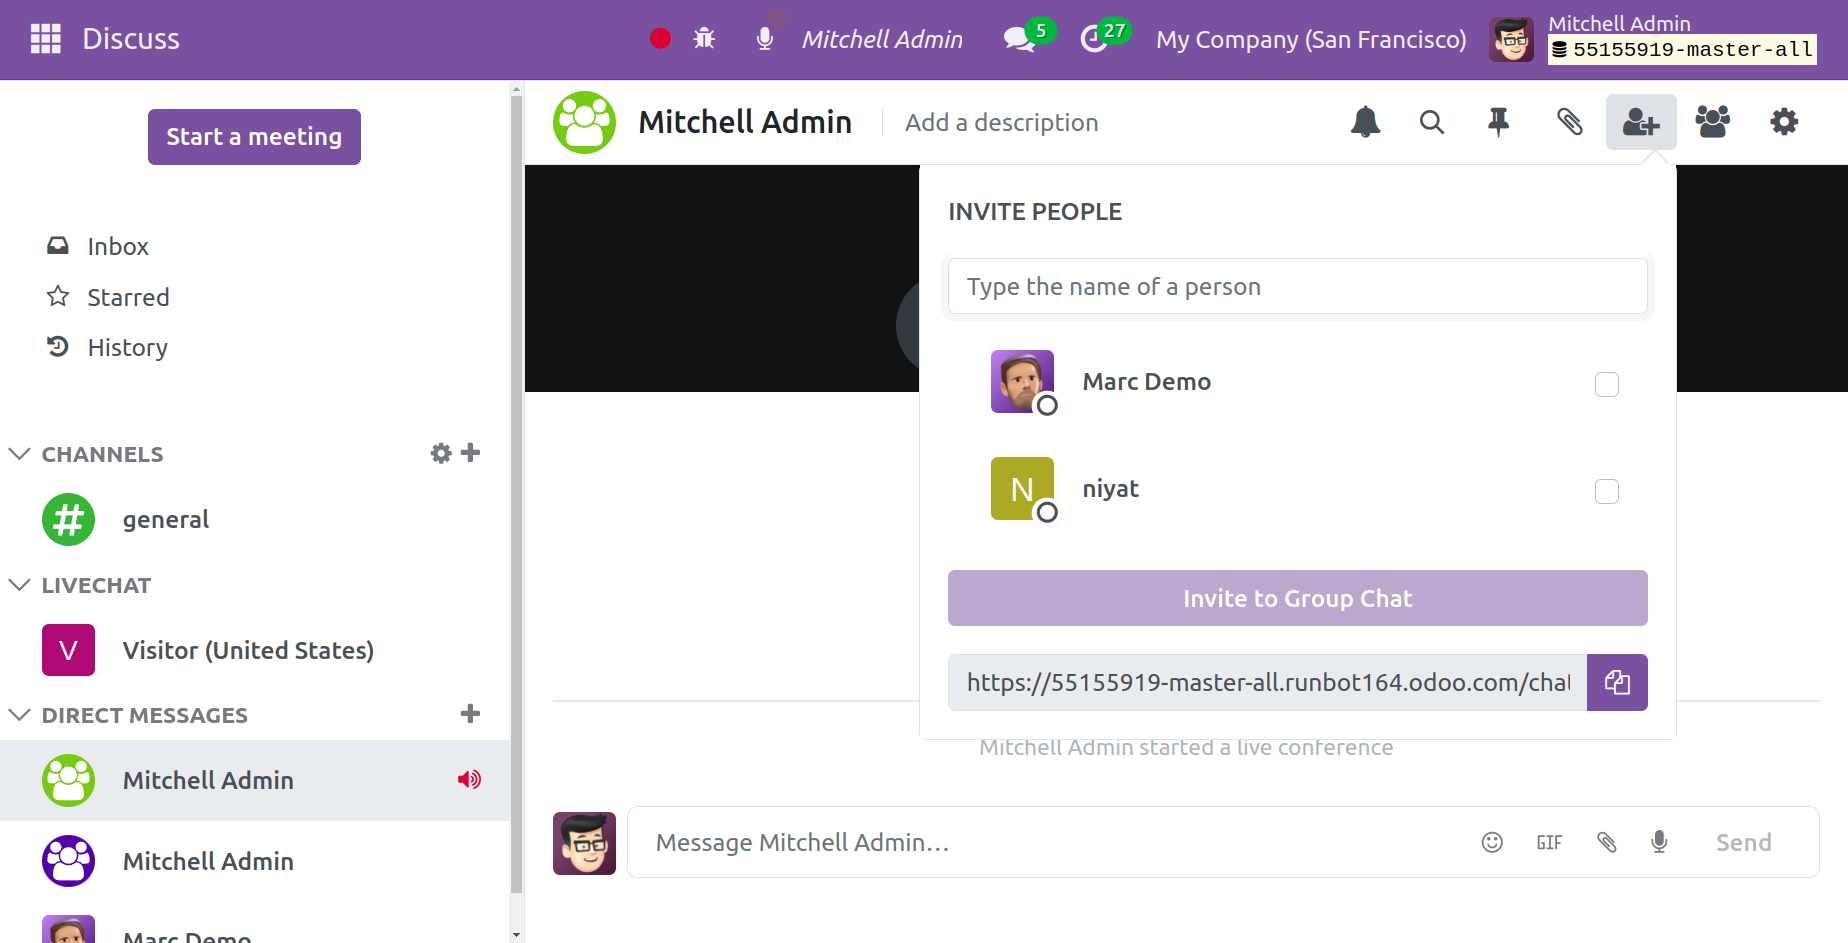
After you've finished adding participants to this section, select Invite to Group Chat. You can also provide those members a link so they can participate in the meeting. A new feature that you can use is to copy the meeting URL link. The search option enables one to search messages and pin the messages using the tool pin messages. Also, notifications can be hidden and mute chat conversations during the meeting.
These are the features available in the Discuss Module that facilitate group communication and help you complete tasks more easily in Odoo 17.
Emojis and the conference chat feature allow you to express how you are feeling about the meeting. You can also use the attachment if needed.
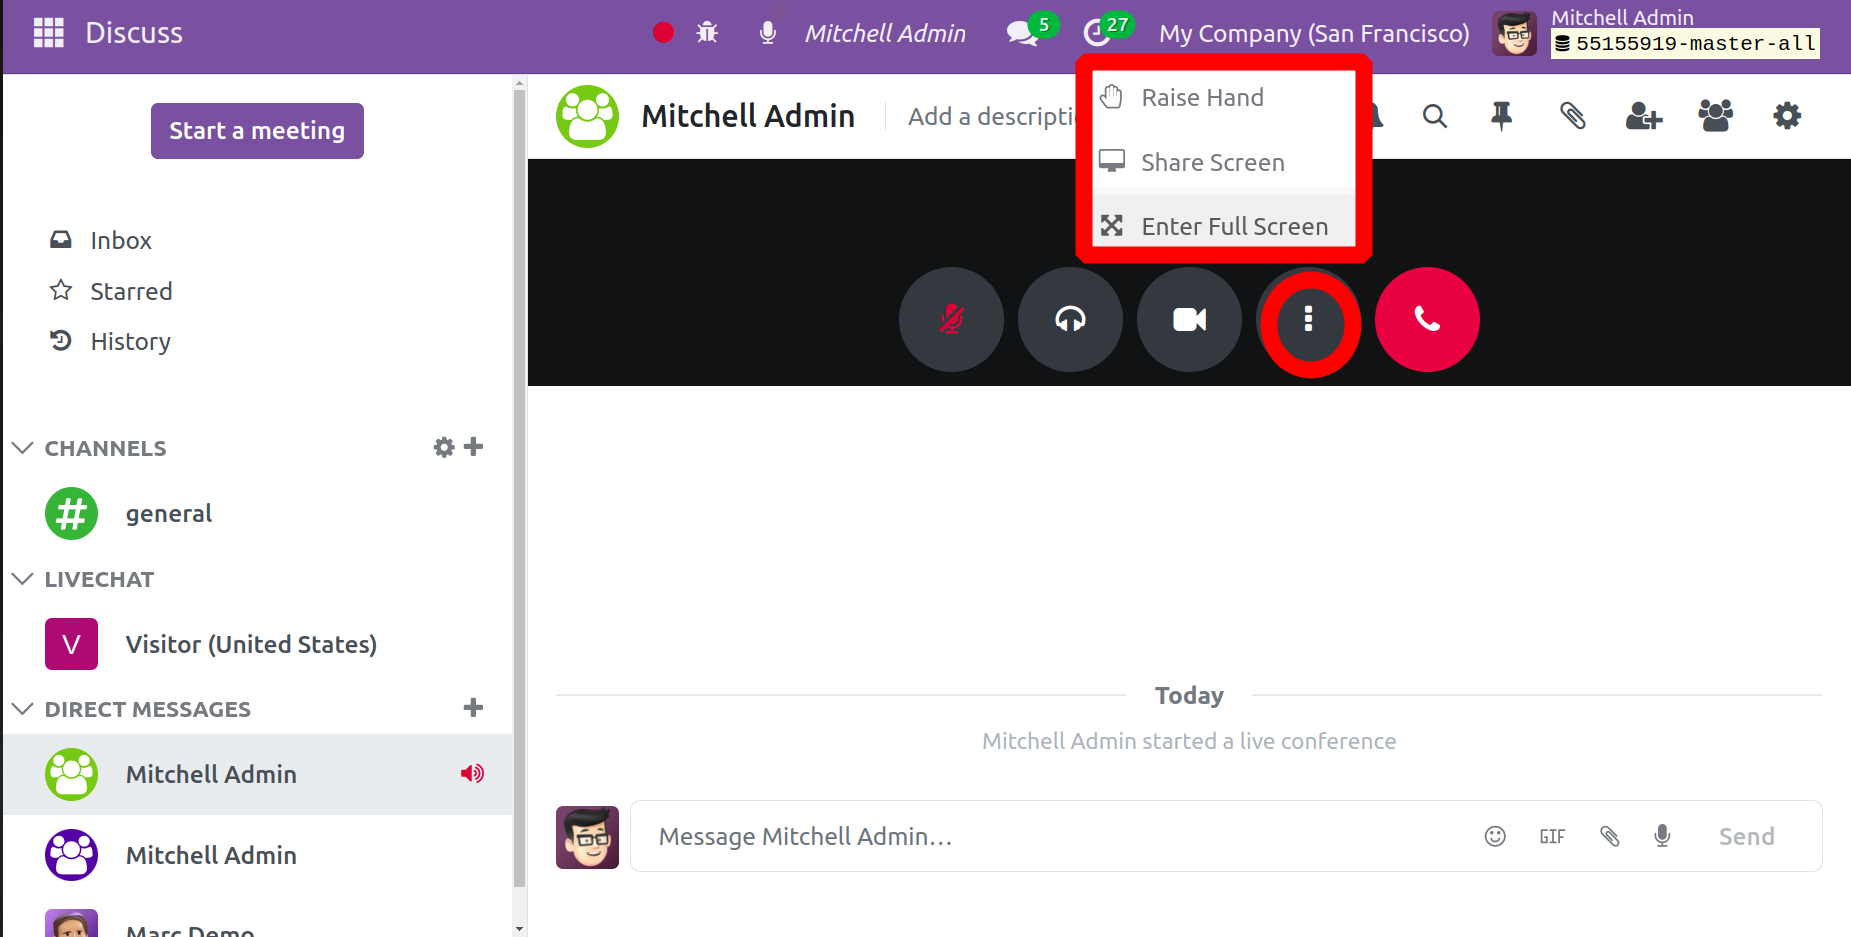
The Raise Hand function will help to add an icon of a raised hand, as shown in the image below. To remove the hand icon, choose the Lower Hand option next.
Likewise, other users can share their screens more easily, thanks to the Share Screen function. To get a full-screen view, you can also click the Enter Full-Screen option.
When you start a video conference during a meeting, you will notice several options in the settings, such as Show video participants only and Blur video background as well. The settings can be enabled if needed. Your browser's and your input device's default settings will be displayed. You can activate the push-to-talk function beneath the input device if needed. The Discuss module of Odoo17 ERP Software has all of these features.